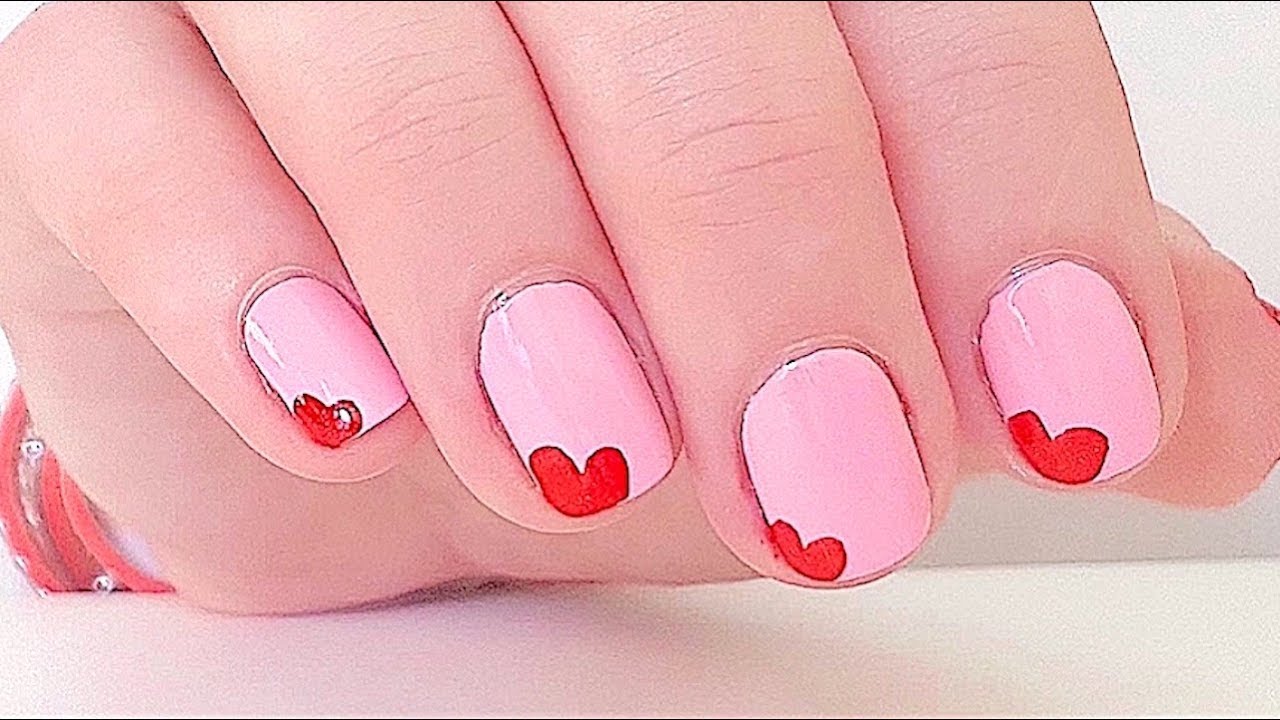
If you love the chic and trendy look of chevron nail art, but don't have any striping tape on hand, don't worry! There are plenty of ways to create this popular design without using tape. In this tutorial, we'll show you how to achieve perfect chevron nails without the hassle of tape. So grab your favorite colors and let's get started! First, start by prepping your nails. File them into your desired shape and apply a base coat to protect your natural nails. Let it dry completely before moving on to the next step. Next, choose two contrasting colors for your chevron design. This could be anything from classic black and white to a bold color combination like pink and yellow. Whatever you choose, make sure they complement each other well. Now, for the fun part! Take your first chosen color and paint your entire nail with it. You can do this in one even coat or build up the color with two coats for a more opaque look. Once it's dry, take your second color and paint half of your nail diagonally, leaving the other half of your nail bare. Once both colors are dry, it's time to create the chevron pattern. Using a thin brush or a toothpick, carefully draw a diagonal line from the top corner of your nail to the bottom corner, making sure to follow the line where the two colors meet. Then, repeat this on the other side, creating a V-shape in the center of your nail. Fill in the V-shape with your first color, creating a chevron pattern. You can also use a stamping tool or nail vinyls to achieve this design if you prefer. Once you're happy with the shape, let it dry completely before applying a top coat to seal in your design. And there you have it - perfect chevron nails without any tape! Experiment with different color combinations and don't be afraid to get creative with the placement of your chevron pattern. This is a great way to add a trendy touch to any manicure without the need for any special tools.1. Chevron Nail Art Tutorial Without Tape

1. Chevron Nail Art Tutorial Without Tape


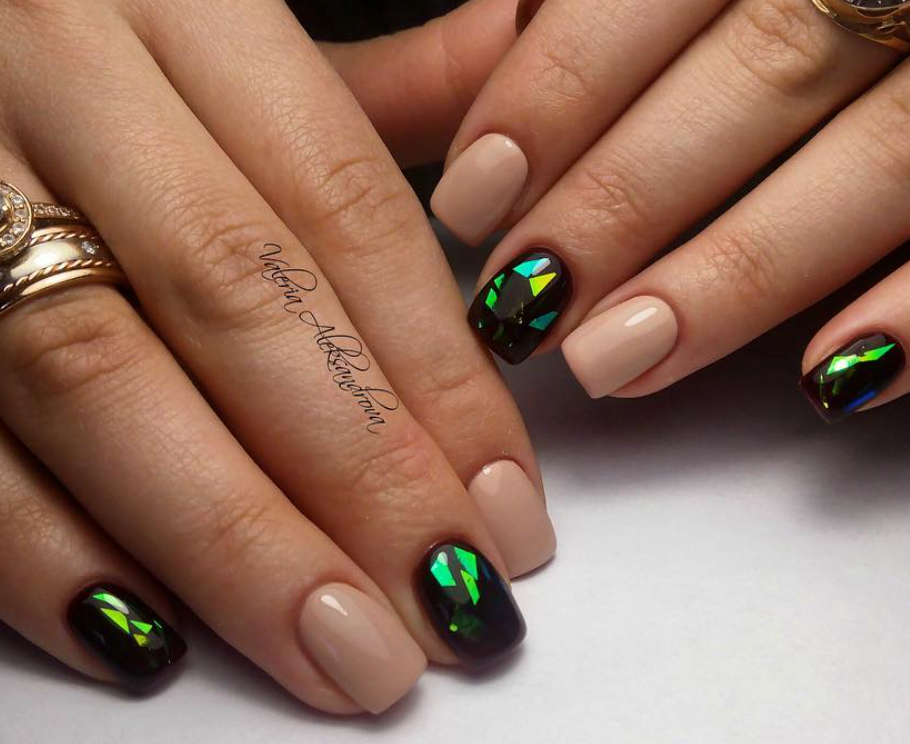
Not everyone has the time or patience for intricate nail art designs, but that shouldn't stop you from trying out the latest trends. With this easy chevron nail art tutorial, you can achieve a stylish and modern look without using any tape. Start by prepping your nails as usual - file them, apply a base coat, and let it dry completely. Then, choose two colors that you want to use for your chevron design. You can go for a classic black and white look or mix it up with bold and bright colors. Take your first chosen color and paint your entire nail with it. Make sure to use a thin brush or to clean up any mistakes with a cotton swab dipped in nail polish remover. Once it's dry, take your second color and paint a diagonal line across your nail, leaving the other half bare. Now comes the easy part - creating the chevron pattern. Using your second color, paint a small triangle at the base of your nail, following the line where the two colors meet. Repeat this on the other side of your nail, creating a V-shape in the center. Then, fill in the V-shape with your first color to complete the chevron pattern. Let your design dry completely before applying a top coat to seal it in. And that's it! You have a chic and simple chevron nail art design without any tape. This is a great option for those who are short on time but still want to rock this popular look.2. Easy Chevron Nail Art Without Tape

2. Easy Chevron Nail Art Without Tape

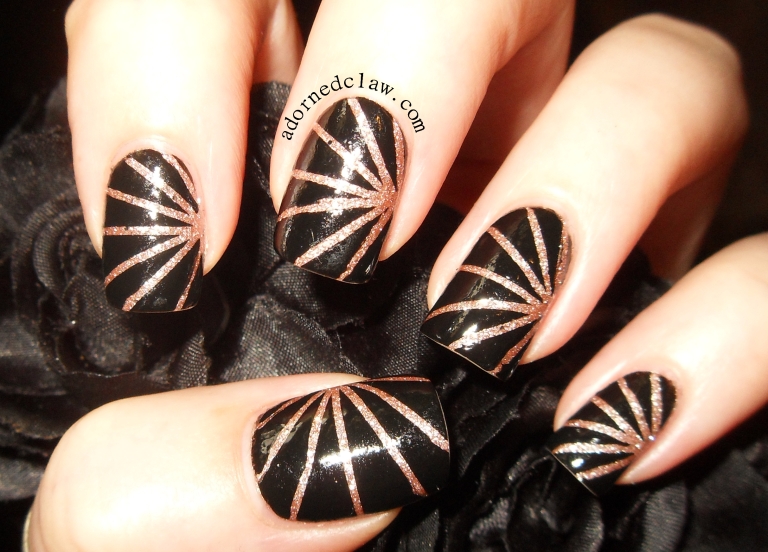
If you're someone who loves to experiment with different nail art designs, you probably know the struggle of running out of striping tape. But fear not, because you can still achieve a stunning chevron nail design without using any tape. Follow this tutorial to learn how! As always, start by prepping your nails - file them, apply a base coat, and let it dry completely. Then, choose two colors for your chevron design. You can stick with classic colors like black and white, or mix it up with bold and bright shades. Take your first chosen color and paint your entire nail with it. You can do this in one even coat or build up the color with two coats for a more opaque look. Once it's dry, take your second color and paint half of your nail diagonally, leaving the other half bare. Now, here's the trick to creating a chevron pattern without tape. Using a toothpick or a thin brush, create small dots along the line where the two colors meet. Then, using your second color, connect the dots to create a V-shape in the center of your nail. Fill in the V-shape with your first color to complete the chevron pattern. Wait for your design to dry completely before applying a top coat to seal it in. And there you have it - a beautiful chevron nail design without any tape! This is a great option for those who want to add a unique twist to their manicure without the need for any special tools.3. No Tape Chevron Nail Design


3. No Tape Chevron Nail Design
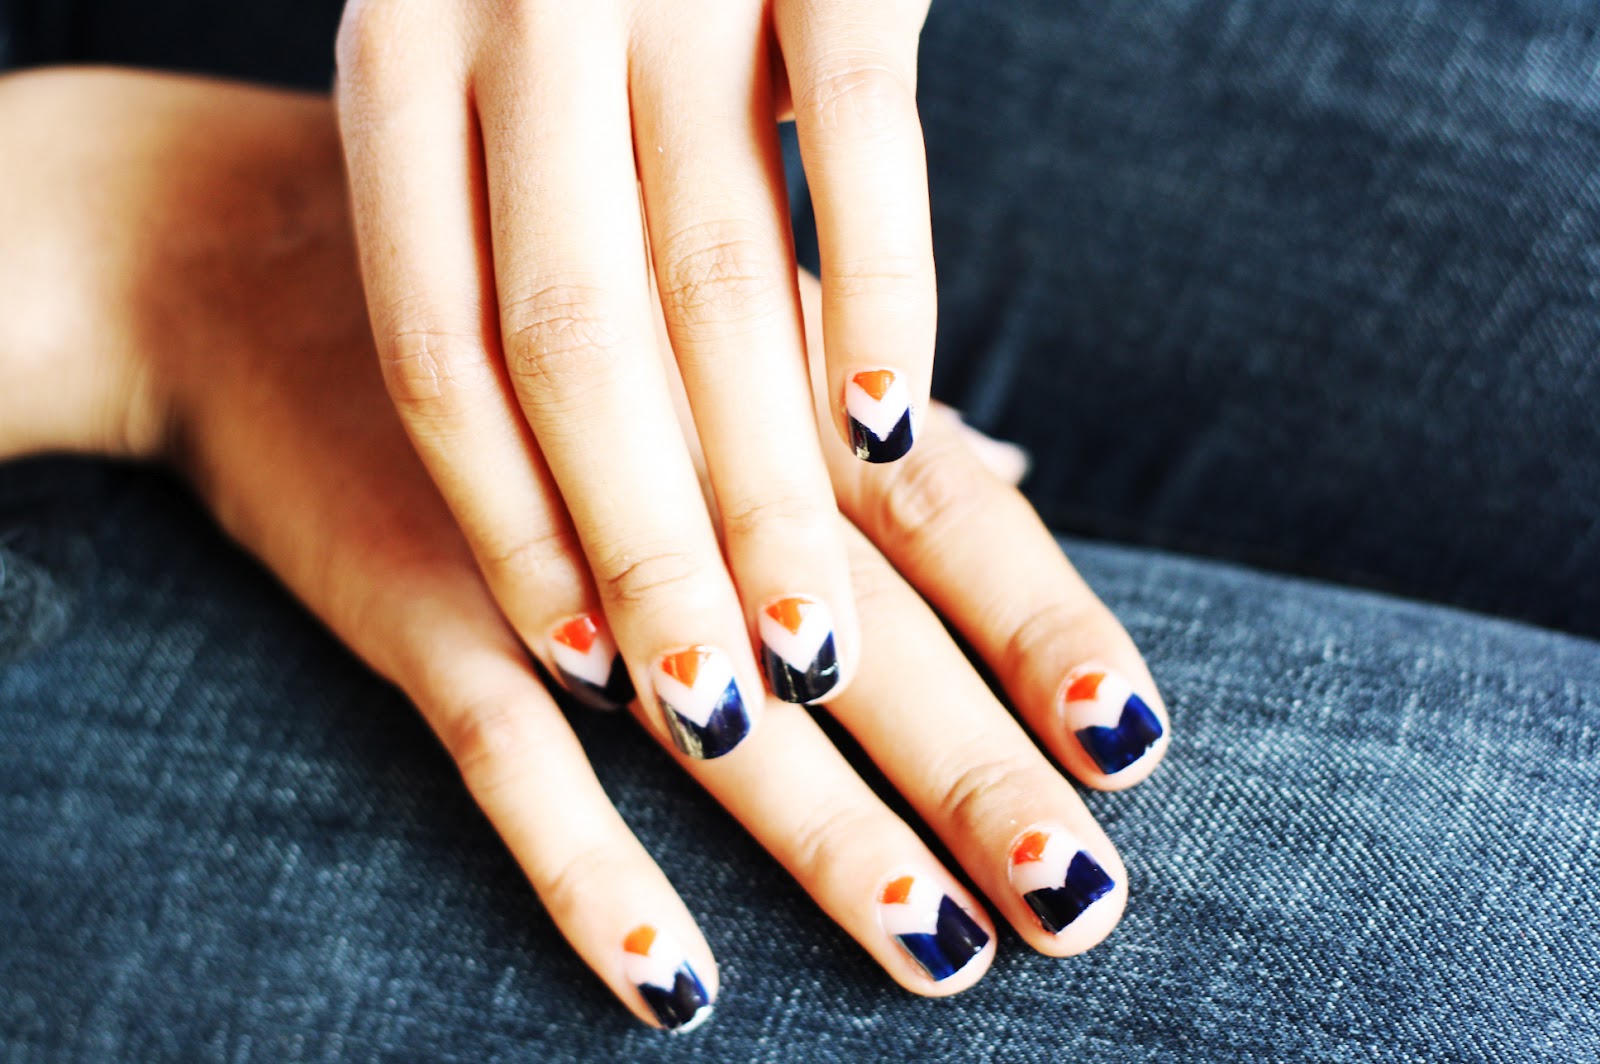
Love the look of chevron nails but don't want to spend money on striping tape? No problem! With this simple DIY tutorial, you can achieve perfect chevron nails without any tape. So get your nail polish collection ready and let's get started. Start by prepping your nails - file them, apply a base coat, and let it dry completely. Then, choose two contrasting colors for your chevron design. You can stick with classic colors like black and white or go for a bold and bright color combination. Take your first chosen color and paint your entire nail with it. Make sure to use a thin brush or to clean up any mistakes with a cotton swab dipped in nail polish remover. Once it's dry, take your second color and paint a diagonal line across your nail, leaving the other half bare. Now, to create the chevron pattern, you can use a variety of household items as a guide. For example, you can use a bobby pin or a toothpick to create small dots along the line where the two colors meet. Then, using your second color, connect the dots to create a V-shape in the center of your nail. Fill in the V-shape with your first color to complete the chevron pattern. Finish off with a top coat to seal in your design and you're done! This DIY chevron nail tutorial is not only budget-friendly but also a fun way to get creative with your manicure.4. DIY Chevron Nails Without Tape

4. DIY Chevron Nails Without Tape
If you're new to nail art and want to try out the chevron trend, this simple tutorial is perfect for you. With just a few steps, you can achieve a stylish and modern chevron design without the need for any tape. So let's get started! As always, start by prepping your nails - file them, apply a base coat, and let it dry completely. Then, choose two colors for your chevron design. You can go for a classic black and white look or mix it up with bold and bright shades. Take your first chosen color and paint your entire nail with it. You can do this in one even coat or build up the color with two coats for a more opaque look. Once it's dry, take your second color and paint a diagonal line across your nail, leaving the other half bare. To create the chevron pattern, simply use a toothpick or a thin brush to draw small diagonal lines along the line where the two colors meet. Then, fill in the spaces with your second color to create a V-shape in the center of your nail. Let it dry completely before applying a top coat to seal in your design. This simple chevron nail art is a great option for beginners or those who prefer a more subtle look. You can also mix up the colors and placement of your chevron pattern to create a unique design every time.5. Simple Chevron Nail Art Without Tape
5. Simple Chevron Nail Art Without Tape


Striping tape is a popular tool for creating precise and clean lines in nail art, but it's not always easy to work with. If you don't have any on hand or simply don't want to deal with the hassle, this chevron nail art tutorial without striping tape is for you. Start by prepping your nails as usual - file them, apply a base coat, and let it dry completely. Then, choose two colors for your chevron design. You can stick with classic colors like black and white or mix it up with bold and bright shades. Take your first chosen color and paint your entire nail with it. Make sure to use a thin brush or to clean up any mistakes with a cotton swab dipped in nail polish remover. Once it's dry, take your second color and paint a diagonal line across your nail, leaving the other half bare. Now, instead of using tape, we'll be using a stencil to create the chevron pattern. You can create your own stencil using tape or use a ready-made nail vinyl. Place the stencil on your nail, making sure it's aligned with the diagonal line, and fill in the V-shape with your first color. Repeat on the other side and let it dry completely before applying a top coat to seal in your design. This method may take a little longer, but the end result is worth it. Plus, you can reuse your homemade stencil for future nail art designs.6. Chevron Nail Art Without Striping Tape


6. Chevron Nail Art Without Striping Tape


Creating chevron nails without tape may seem daunting, but with a little practice, you can achieve perfect results every time. In this tutorial, we'll show you how to create a classic chevron design without using any tape. So get your nail polish collection ready and let's get started! Start by prepping your nails - file them, apply a base coat, and let it dry completely. Then, choose two colors for your chevron design. You can stick with classic colors like black and white or mix it up with bold and bright shades. Take your first chosen color and paint your entire nail with it. You can do this in one even coat or build up the color with two coats for a more opaque look. Once it's dry, take your second color and paint a diagonal line across your nail, leaving the other half bare. Now, to create the chevron pattern, we'll be using a toothpick or a thin brush. Dip it in your second color and create small triangles along the line where the two colors meet. Then, fill in the spaces with your first color to create a V-shape in the center of your nail. Let it dry completely before applying a top coat to seal in your design. With a little practice, you can achieve clean and precise chevron nails without any tape. This is a great option for those who want to add a touch of sophistication to their manicure without any special tools.7. How to Create Chevron Nails Without Tape


7. How to Create Chevron Nails Without Tape


Ready to take your nail art game to the next level? This no tape chevron nail tutorial will show you how to create a unique and eye-catching design without the need for any tape. So let's get started! Start by prepping your nails - file them, apply a base coat, and let it dry completely. Then, choose two colors for your chevron design. You can go for a classic black and white look or mix it up with bold and bright shades. Take your first chosen color and paint your entire nail with it. Make sure to use a thin brush or to clean up any mistakes with a cotton swab dipped in nail polish remover. Once it's dry, take your second color and paint a diagonal line across your nail, leaving the other half bare. To create the chevron pattern, we'll be using a toothpick or a thin brush. Simply draw small diagonal lines along the line where the two colors meet, filling in the spaces with your second color. You can also add small dots or other designs to make your chevron nails stand out even more. Let it dry completely before applying a top coat to seal in your design. This no tape chevron nail tutorial is a great way to add a unique touch to your manicure. Experiment with different colors and designs to create a look that's all your own.8. No Tape Chevron Nail Tutorial
8. No Tape Chevron Nail Tutorial
If you're new to nail art and don't have any special tools on hand, don't worry! You can still achieve a beautiful chevron nail design without any fancy tools or equipment. Follow this tutorial to learn how. Start by prepping your nails - file them, apply a base coat, and let it dry completely. Then, choose two colors for your chevron design. You can stick with classic colors like black and white or mix it up with bold and bright shades. Take your first chosen color and paint your entire nail with it. You can do this in one even coat or build up the color with two coats for a more opaque look. Once it's dry, take your second color and paint a diagonal line across your nail, leaving the other half bare. Now, to create the chevron pattern, we'll be using a toothpick or a thin brush. Using your second color, create small dots along the line where the two colors meet. Then, connect the dots to create a V-shape in the center of your nail, filling in the spaces with your first color. Let it dry completely before applying a top coat to seal in your design. This simple and easy method is perfect for beginners or those who don't have any special tools. With a little practice, you can achieve clean and precise chevron nails without any tape or other tools.9. Chevron Nail Art Without Special Tools

9. Chevron Nail Art Without Special Tools

Tape can be a great tool for creating clean and precise lines in nail art, but it's not always necessary. In fact, you can achieve a stunning chevron nail design without using any tape at all. Follow this tutorial to learn how! Start by prepping your nails - file them, apply a base coat, and let it dry completely. Then, choose two colors for your chevron design. You can go for a classic black and white look or mix it up with bold and bright shades.10. Tape-Free Chevron Nail Design

10. Tape-Free Chevron Nail Design
Create Stunning Chevron Nail Art Without Tape
Elevate Your Nail Game with Chevron Design
Why Go Tape-Free?
Step-by-Step Guide to Chevron Nail Art Without Tape
 Step 1: Prep Your Nails
Start by prepping your nails for the design. This includes shaping, filing, and pushing back your cuticles. Apply a base coat to protect your nails and ensure your design lasts longer.
Step 2: Choose Your Colors
Pick your desired nail polish colors for the chevron design. You can go for a monochromatic look with different shades of the same color or opt for contrasting colors for a bolder effect.
Step 3: Create the Chevron Shape
Using a thin, pointed brush, create a V-shape on your nails with one of your chosen colors. Start from one side of your nail and bring the brush towards the center, then repeat on the other side. You can also use a toothpick or a bobby pin if you don't have a nail art brush.
Step 4: Fill in the Design
Once you have the basic V-shape, fill in the space with your chosen color. You can also use a sponge or a makeup sponge to dab on the color for a gradient effect.
Step 5: Seal the Design
Let the design dry for a few minutes, then apply a top coat to seal in the colors and protect your design from chipping.
Step 1: Prep Your Nails
Start by prepping your nails for the design. This includes shaping, filing, and pushing back your cuticles. Apply a base coat to protect your nails and ensure your design lasts longer.
Step 2: Choose Your Colors
Pick your desired nail polish colors for the chevron design. You can go for a monochromatic look with different shades of the same color or opt for contrasting colors for a bolder effect.
Step 3: Create the Chevron Shape
Using a thin, pointed brush, create a V-shape on your nails with one of your chosen colors. Start from one side of your nail and bring the brush towards the center, then repeat on the other side. You can also use a toothpick or a bobby pin if you don't have a nail art brush.
Step 4: Fill in the Design
Once you have the basic V-shape, fill in the space with your chosen color. You can also use a sponge or a makeup sponge to dab on the color for a gradient effect.
Step 5: Seal the Design
Let the design dry for a few minutes, then apply a top coat to seal in the colors and protect your design from chipping.


