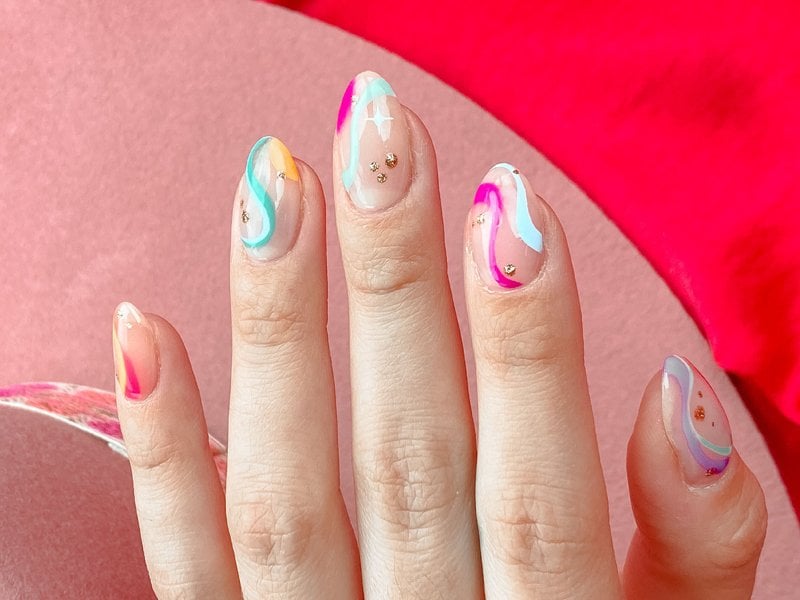
If you're looking for a unique and eye-catching nail art design, then look no further than China Glaze swirl nail art. This technique combines the beauty of swirls with the vibrant colors of China Glaze polishes, creating a stunning and one-of-a-kind look for your nails. In this tutorial, we will show you how to achieve this design step by step, so get your China Glaze polishes ready and let's get started!China Glaze Swirl Nail Art Tutorial


China Glaze Swirl Nail Art Tutorial


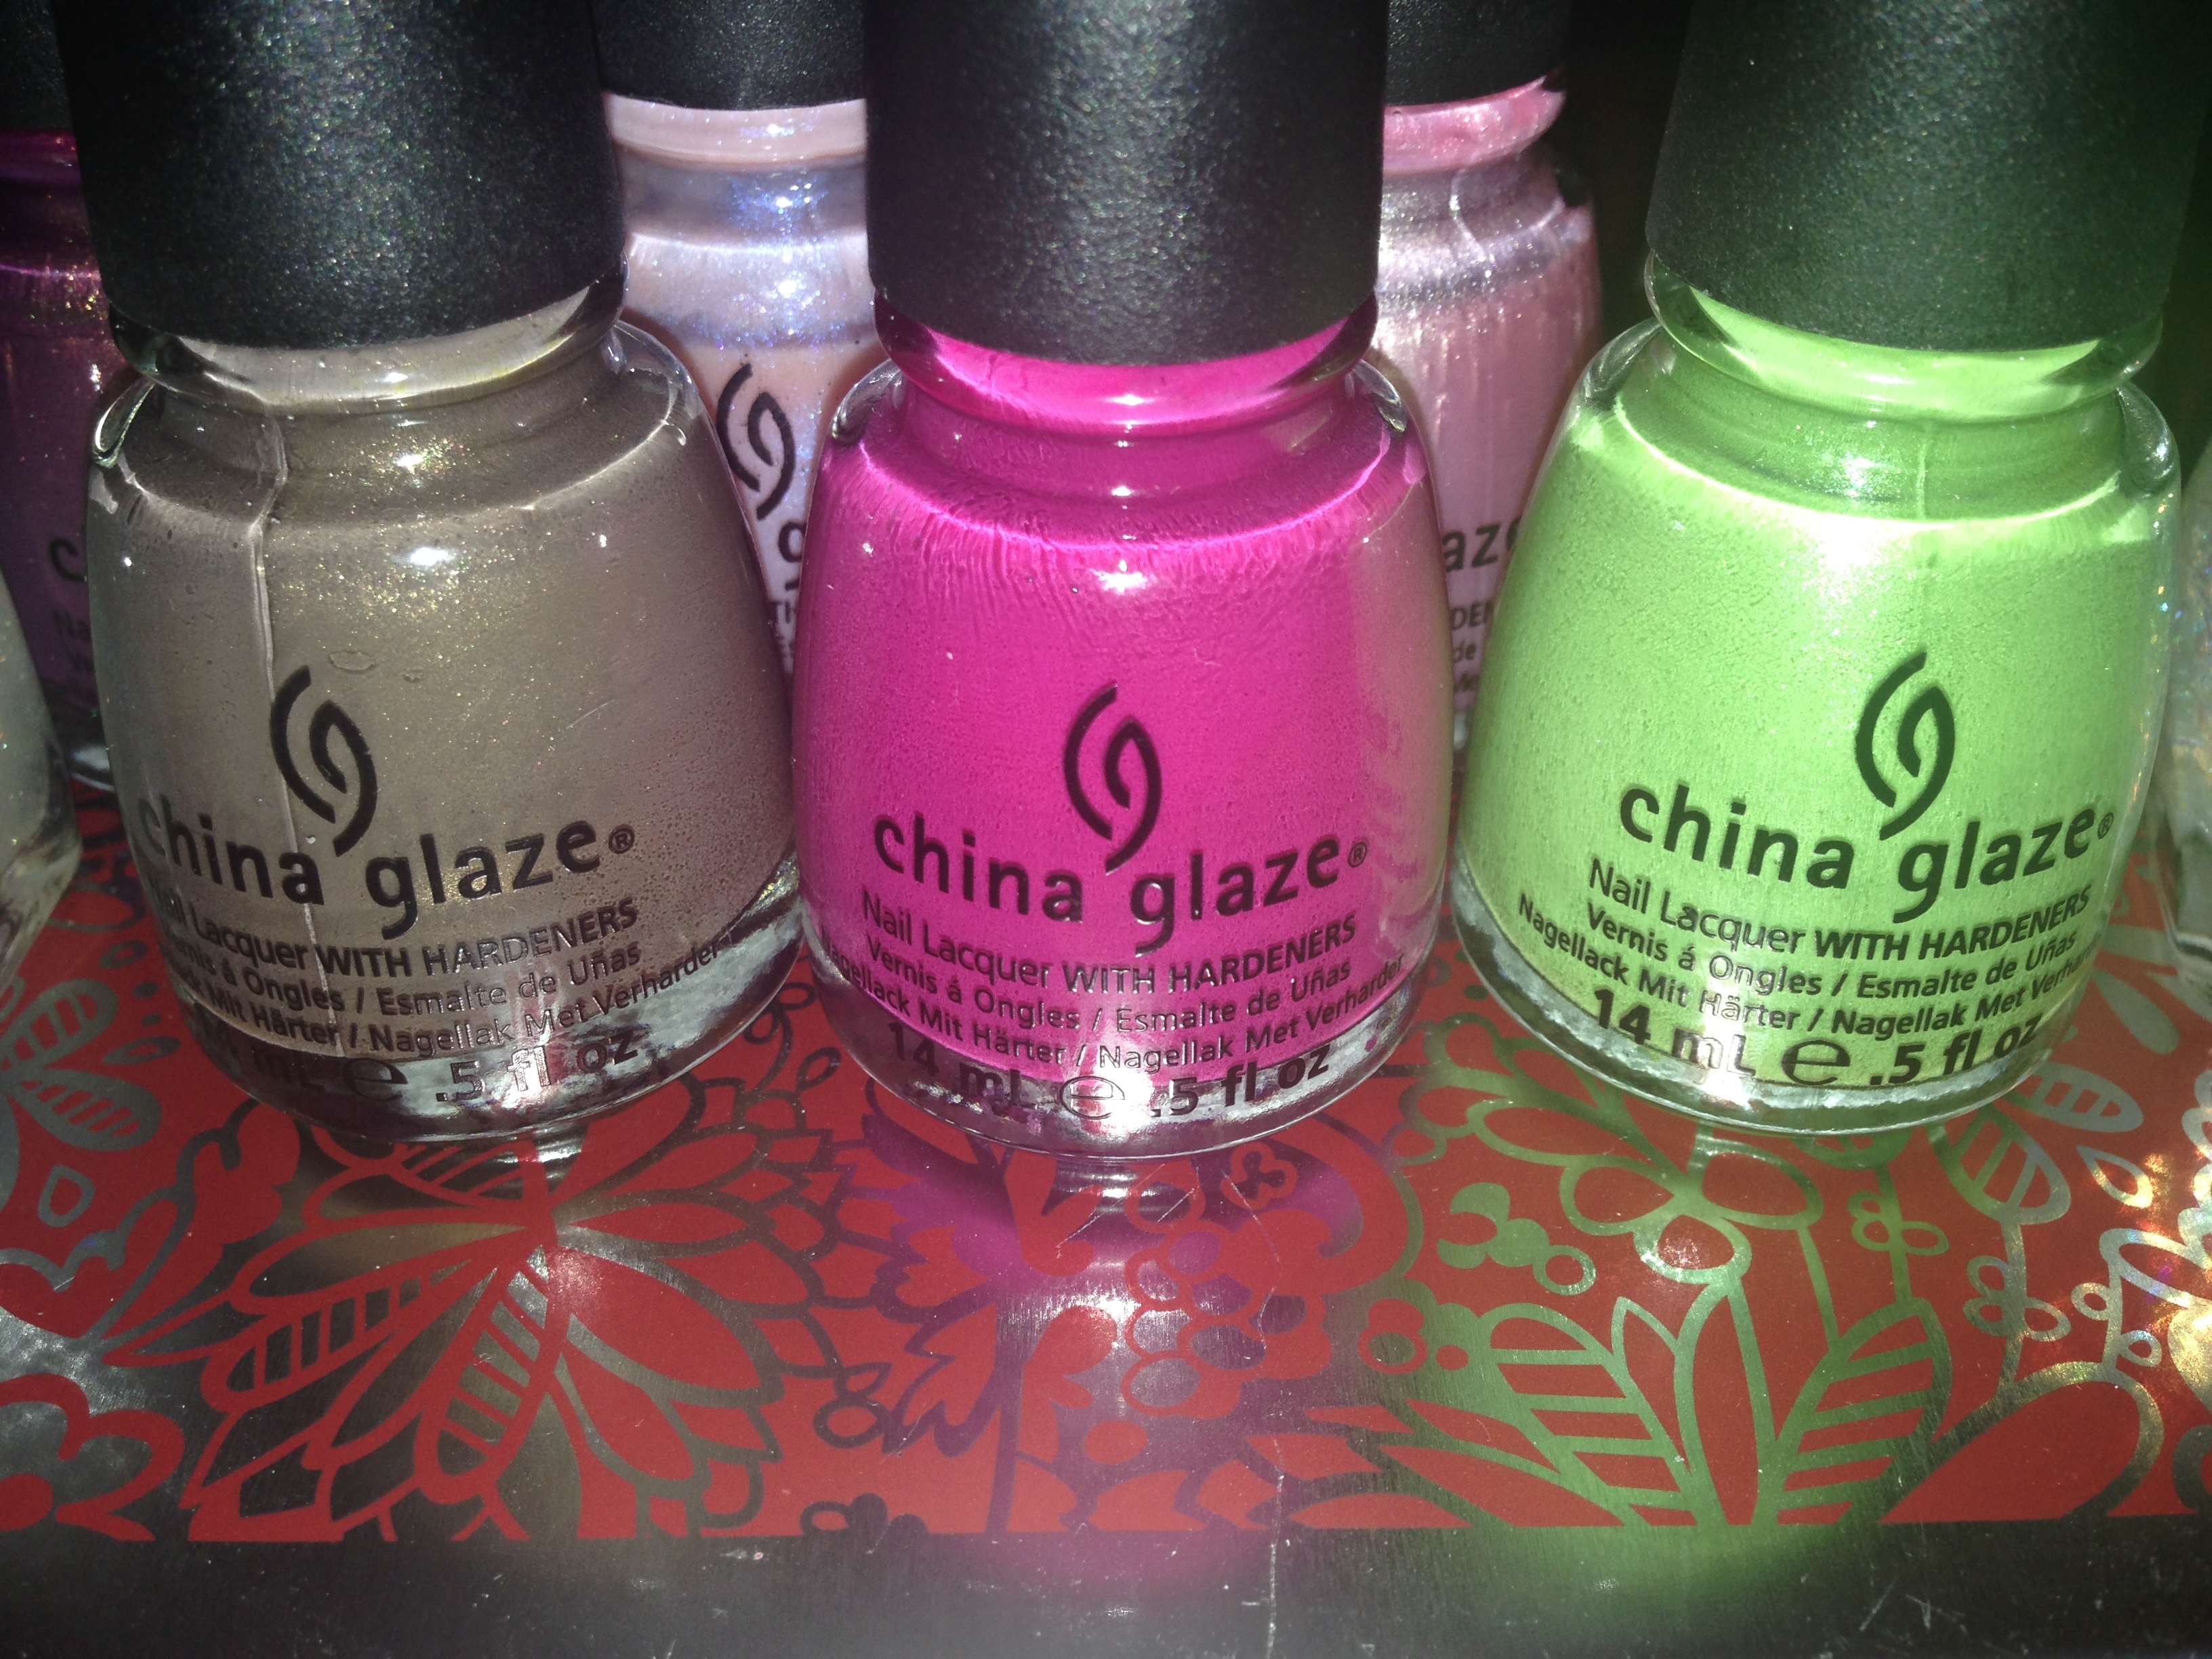
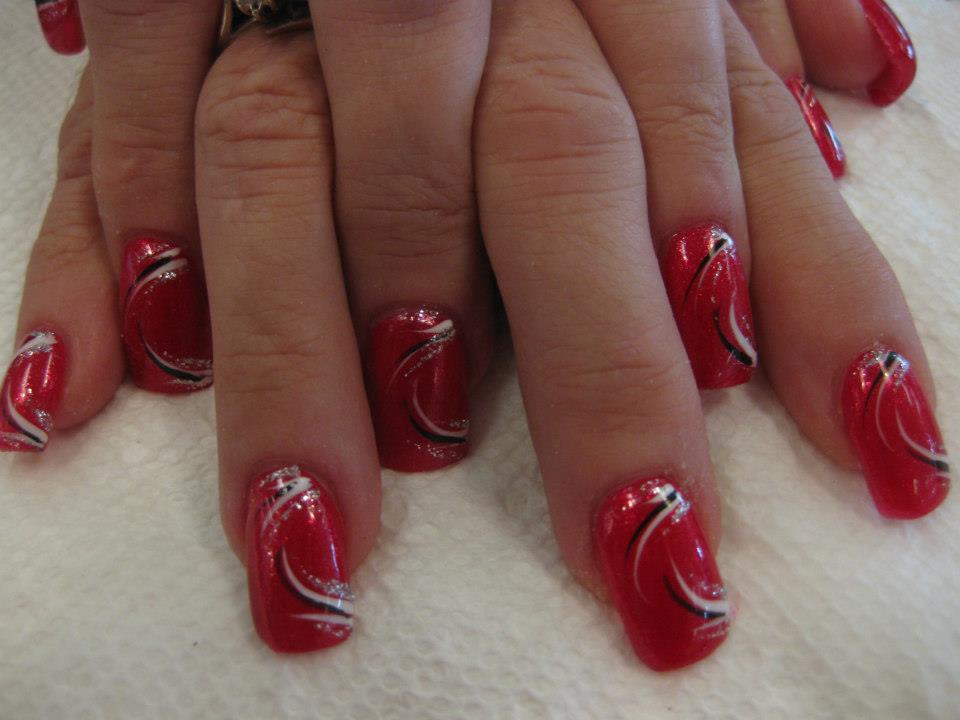
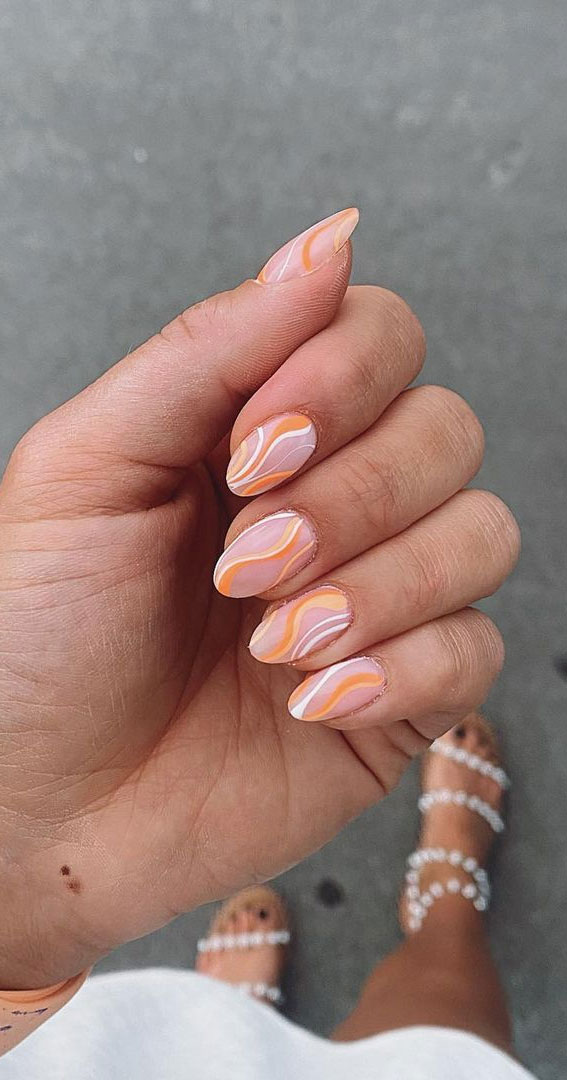
The China Glaze swirl nail art design is all about creating beautiful swirl patterns using different colors of China Glaze polishes. This design is perfect for those who love to experiment with colors and want to make a statement with their nails. With the wide range of China Glaze polishes available, the possibilities for designs are endless. You can mix and match different shades to create your own unique swirl pattern.China Glaze Swirl Nail Art Design


China Glaze Swirl Nail Art Design


There are several techniques you can use to create the perfect China Glaze swirl nail art. One of the most popular techniques is the water marbling technique, which involves creating swirl patterns in a water bath and then transferring them onto the nails. Another technique is using a striping brush to create swirls directly on the nails. Whichever technique you choose, the key is to have patience and a steady hand.China Glaze Swirl Nail Art Techniques


China Glaze Swirl Nail Art Techniques


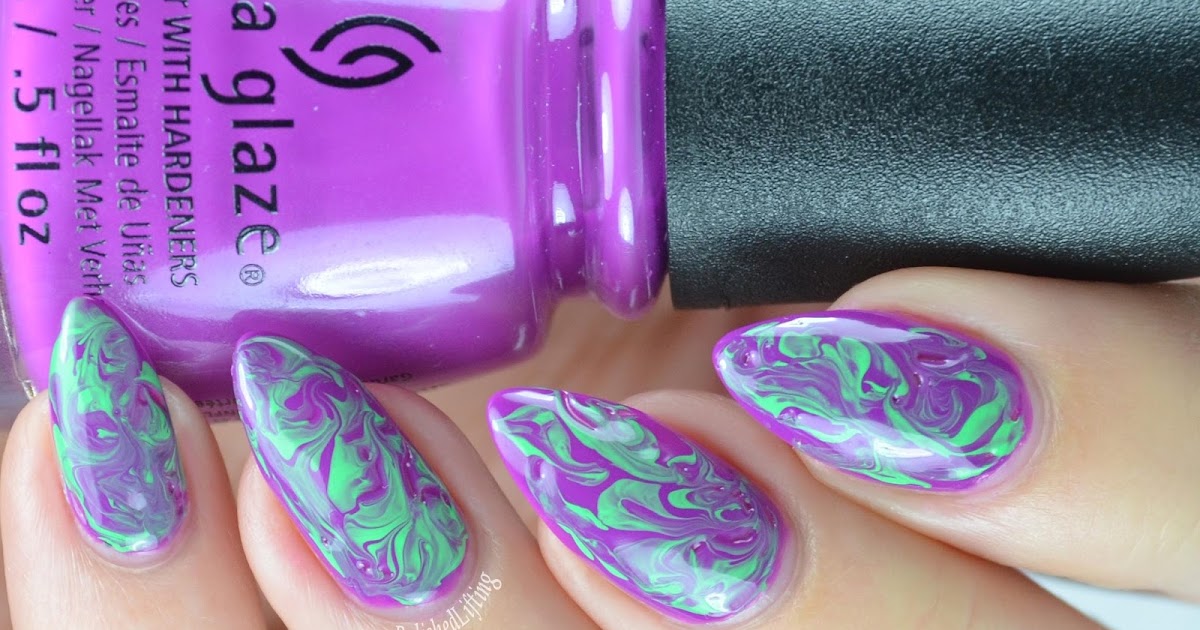
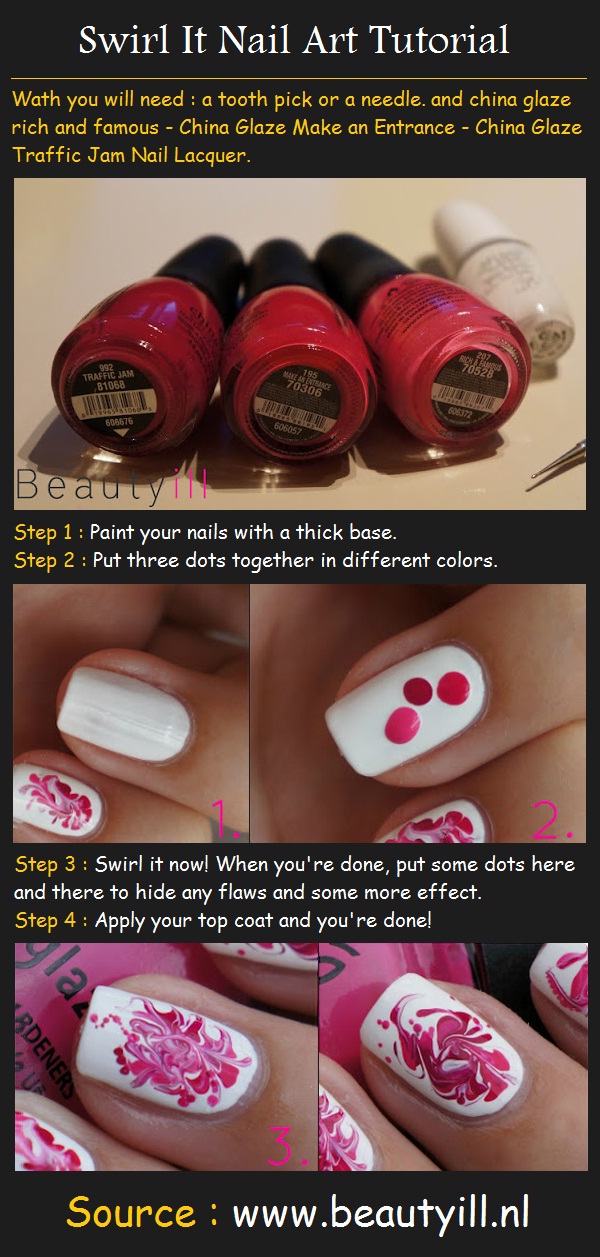
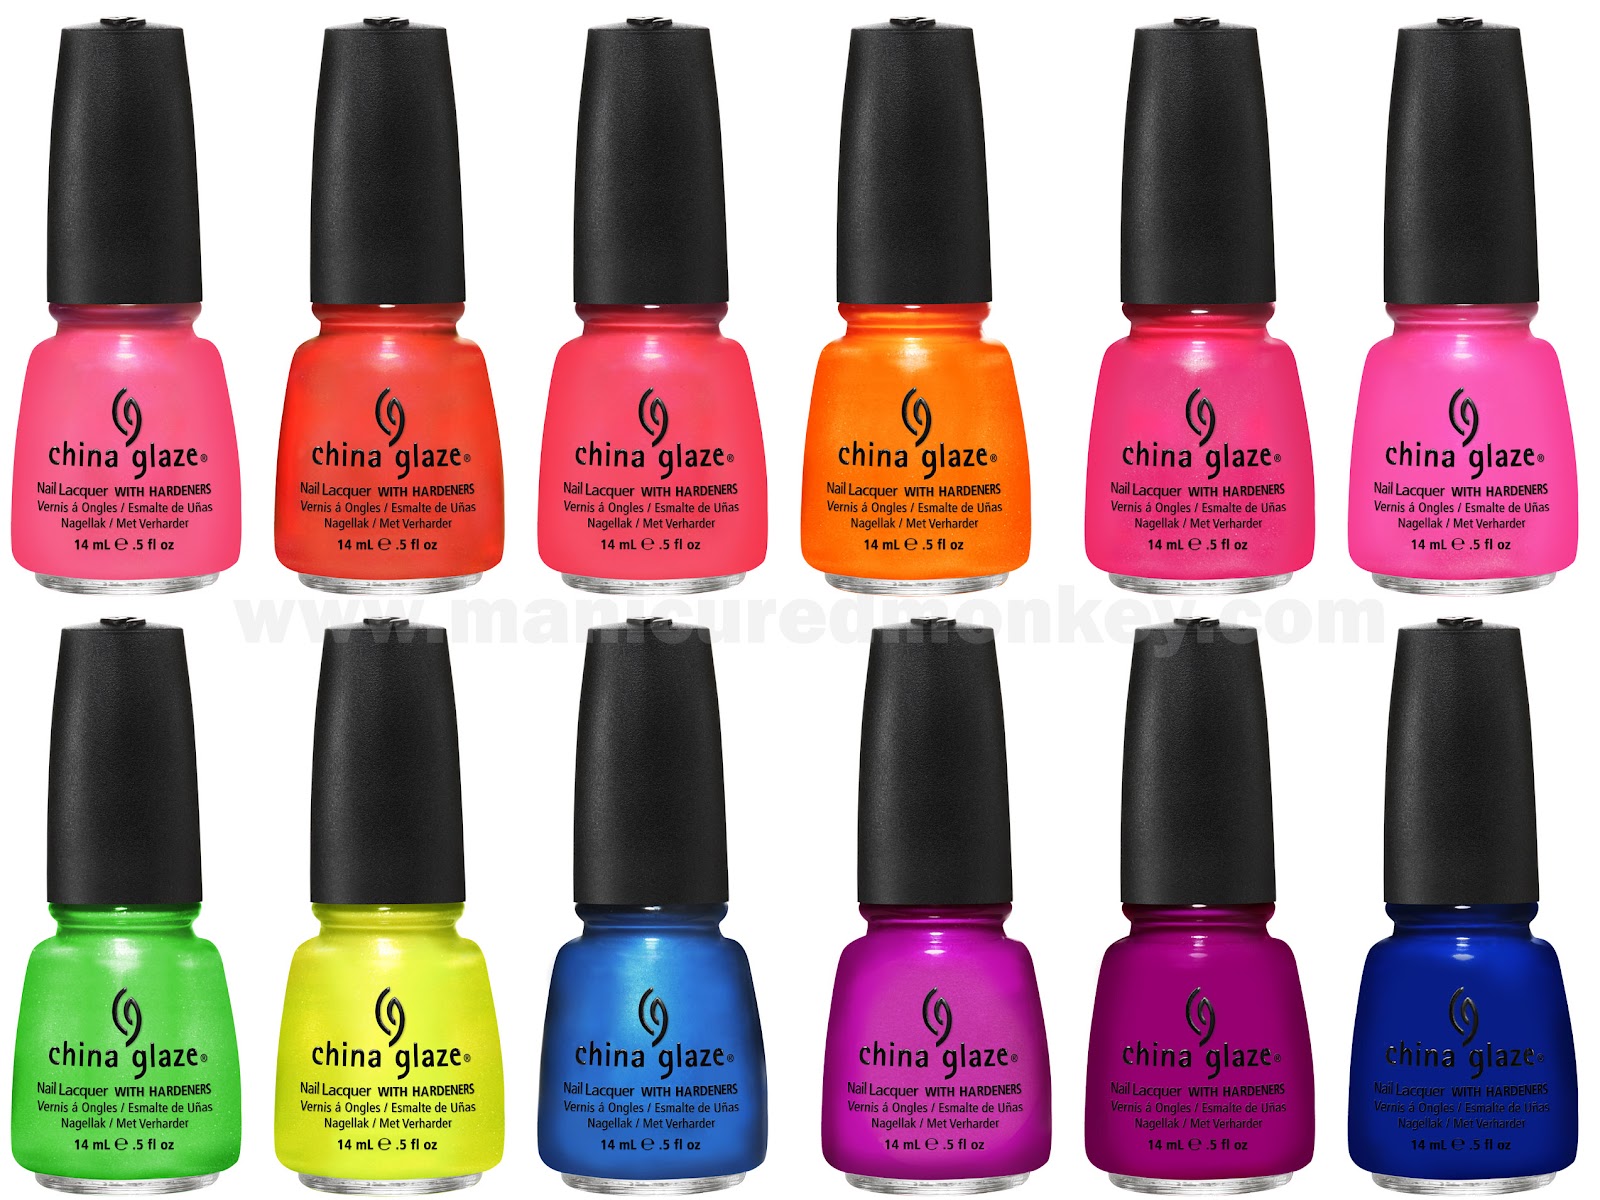
Step 1: Start by applying a base coat to protect your nails and help the polish adhere better. Step 2: Choose your China Glaze polishes. You can use as many colors as you want, but we recommend using at least three for a more dynamic look. Step 3: Fill a small cup with room temperature water. Using the brush of the first polish, drop a few drops into the water. The polish should spread and create a film on the surface of the water. Step 4: Using the brush of the second polish, drop a few drops into the center of the first color. You will see the colors start to spread and create a swirl pattern. Step 5: Repeat this process with your other chosen colors, dropping them into the center of the previous color to create multiple swirl patterns. Step 6: Once you are happy with the swirl pattern, take a toothpick and gently drag it through the polish to create the desired swirl design. Step 7: Dip your finger into the water, making sure to fully submerge the nail. Use a toothpick to remove any excess polish from the surface of the water. Step 8: Slowly pull your finger out of the water and clean up any excess polish around the nail using a cotton swab dipped in nail polish remover. Step 9: Repeat the process on all nails and let them dry completely. Step 10: Finish off with a top coat to seal in the design and add shine to your nails.China Glaze Swirl Nail Art Step by Step

China Glaze Swirl Nail Art Step by Step


If you're new to nail art, the China Glaze swirl nail art may seem intimidating. But don't worry, with a little practice and patience, anyone can master this technique. Start with simple color combinations and don't worry too much about creating a perfect swirl pattern. As you get more comfortable, you can experiment with more colors and more intricate designs.China Glaze Swirl Nail Art for Beginners


China Glaze Swirl Nail Art for Beginners
If you prefer visual instructions, there are many tutorial videos available online that can guide you through the process of creating China Glaze swirl nail art. These videos provide a step-by-step demonstration, making it easier for you to understand and follow along. You can also pause and rewind the video as needed to make sure you don't miss any steps.China Glaze Swirl Nail Art Tutorial Video

China Glaze Swirl Nail Art Tutorial Video


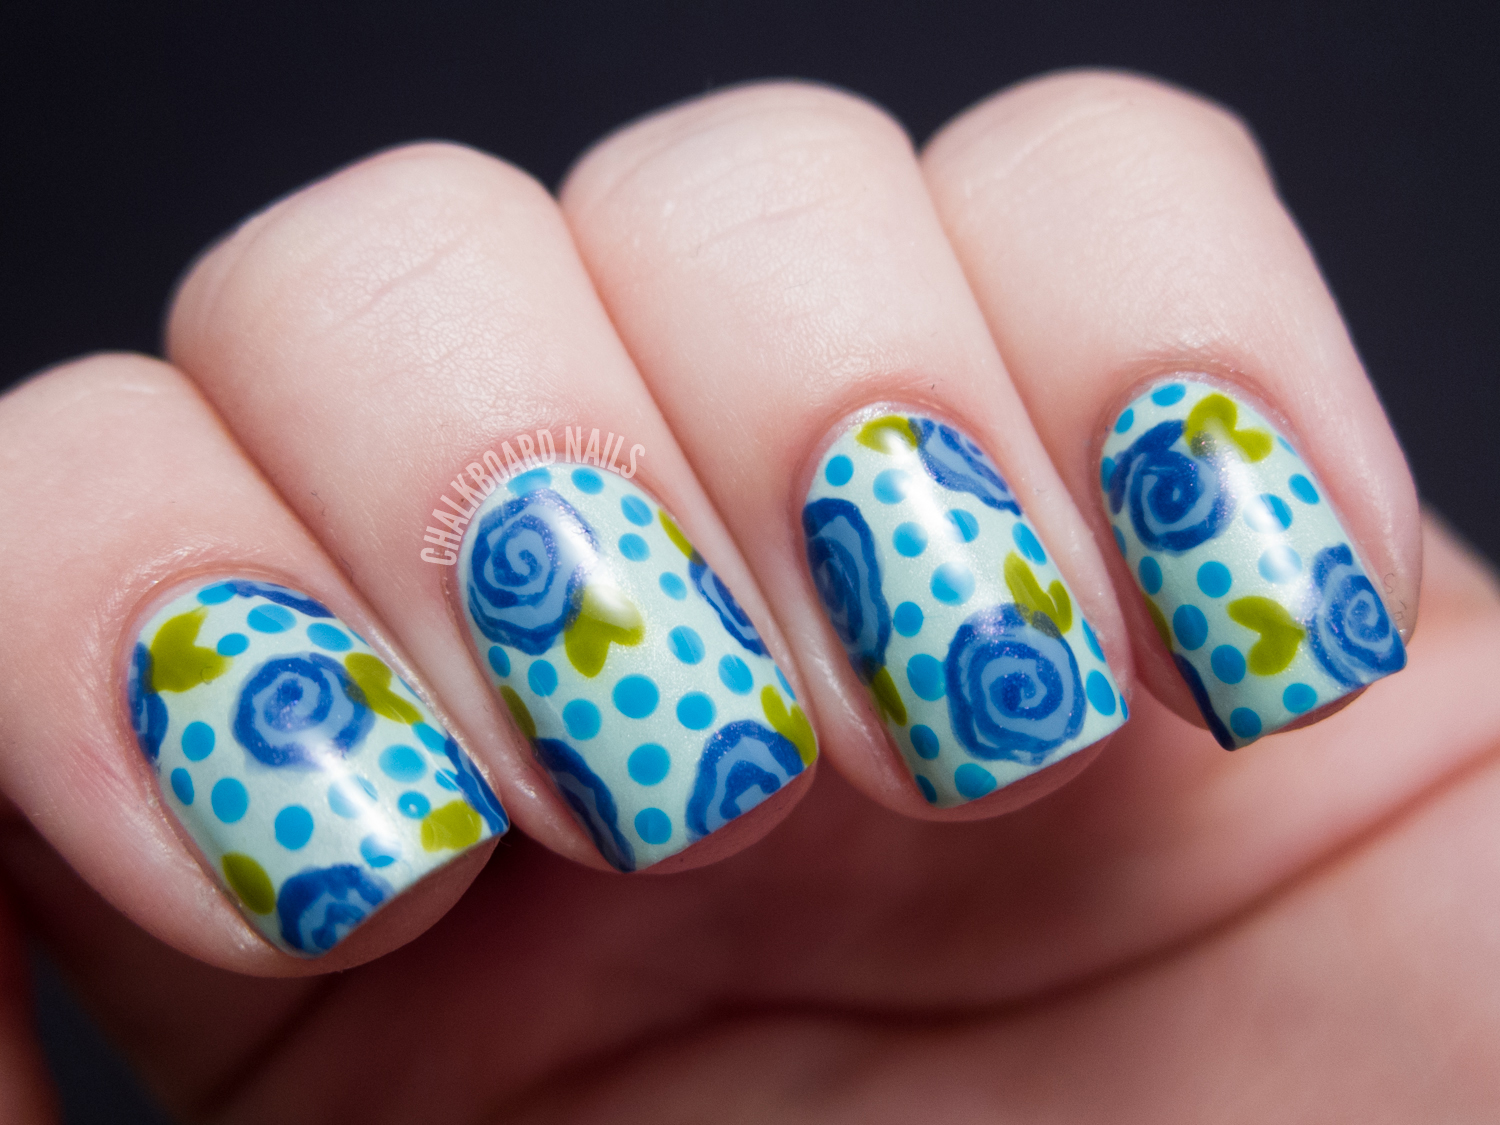
Short nails don't mean you can't rock the China Glaze swirl nail art. In fact, this design can look even more stunning on shorter nails. Just make sure to adjust the amount of polish you drop into the water and the size of your swirl pattern to fit your nail size. You can also use smaller brushes or toothpicks to create more intricate designs on short nails.China Glaze Swirl Nail Art Tutorial for Short Nails

China Glaze Swirl Nail Art Tutorial for Short Nails


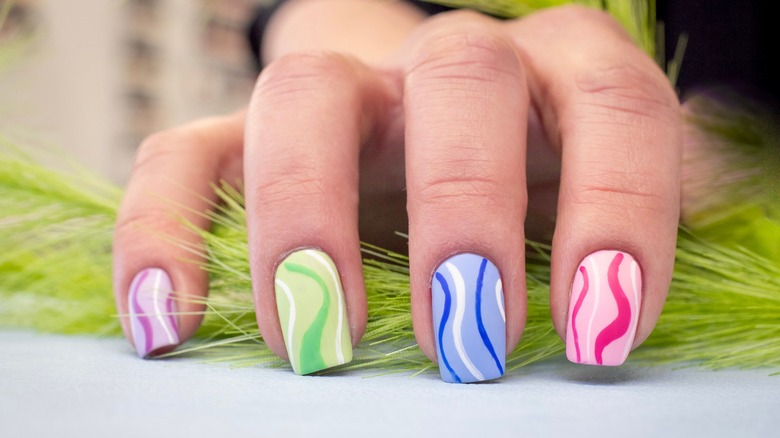
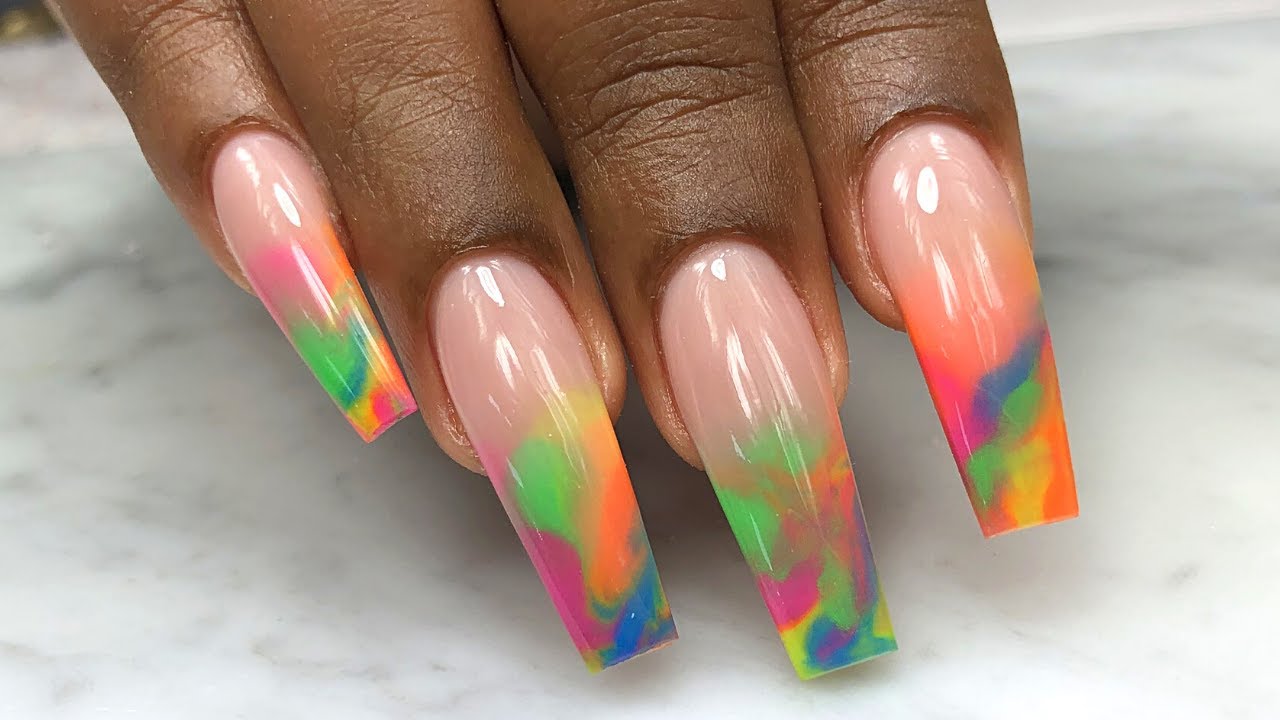
If you have long nails, you can take advantage of the extra space to create more elaborate swirl patterns. Choose a variety of colors and create larger swirls to cover your entire nail. You can also experiment with different patterns, such as diagonal swirls or wavy lines, to make your nails stand out even more.China Glaze Swirl Nail Art Tutorial for Long Nails

China Glaze Swirl Nail Art Tutorial for Long Nails
/image11-eb489b94971c450c9c3e15de8482beb3.jpg)

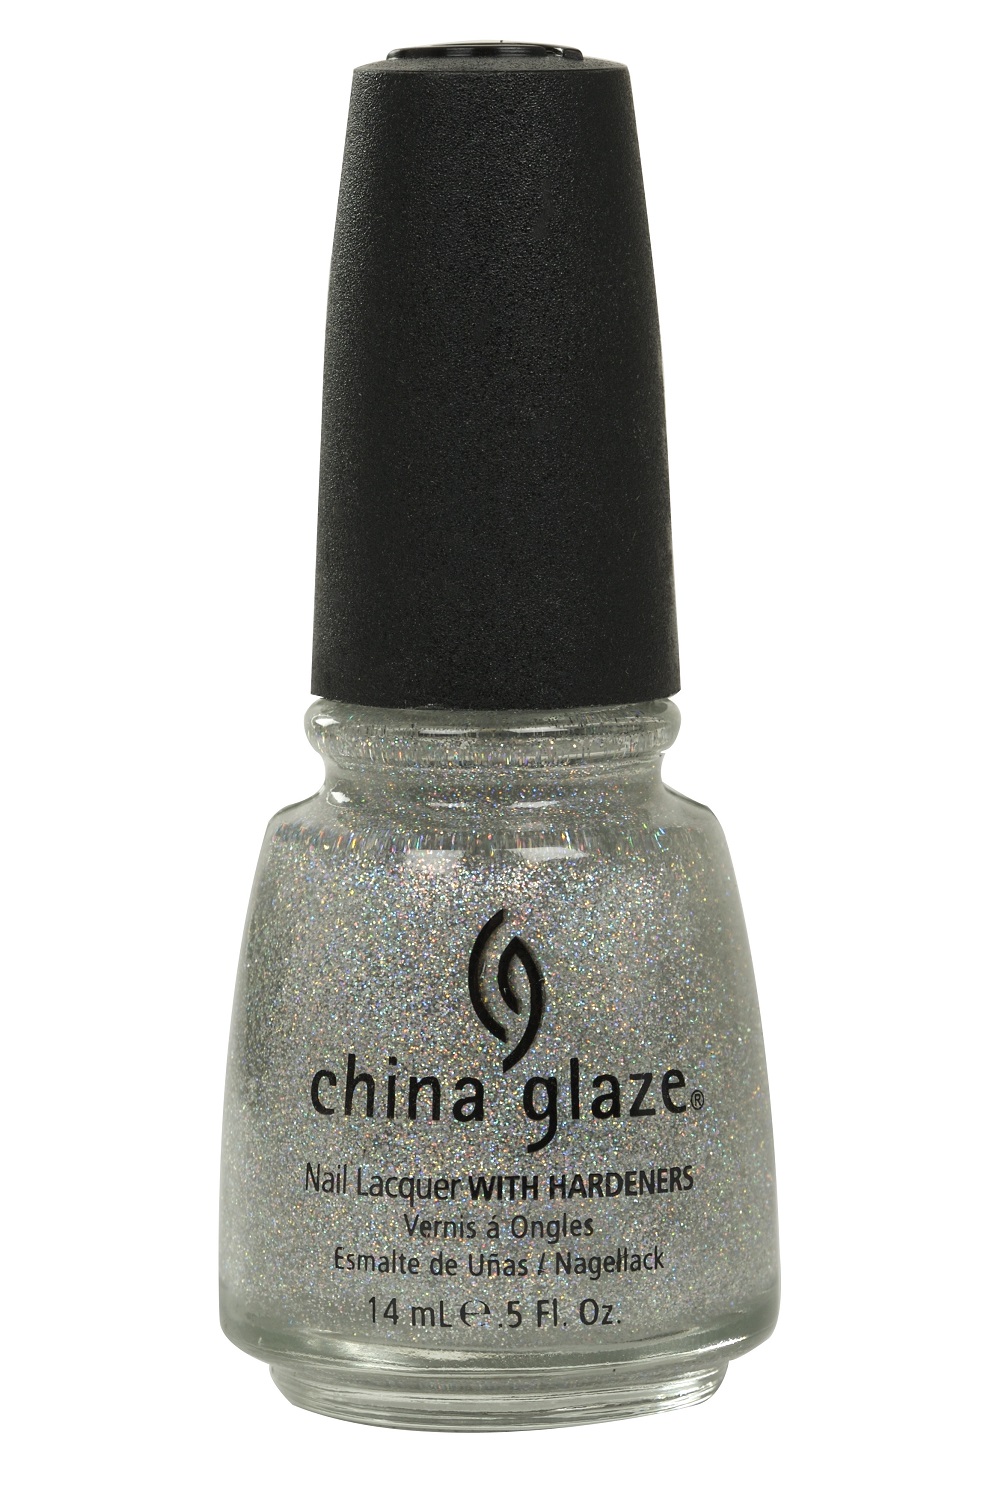
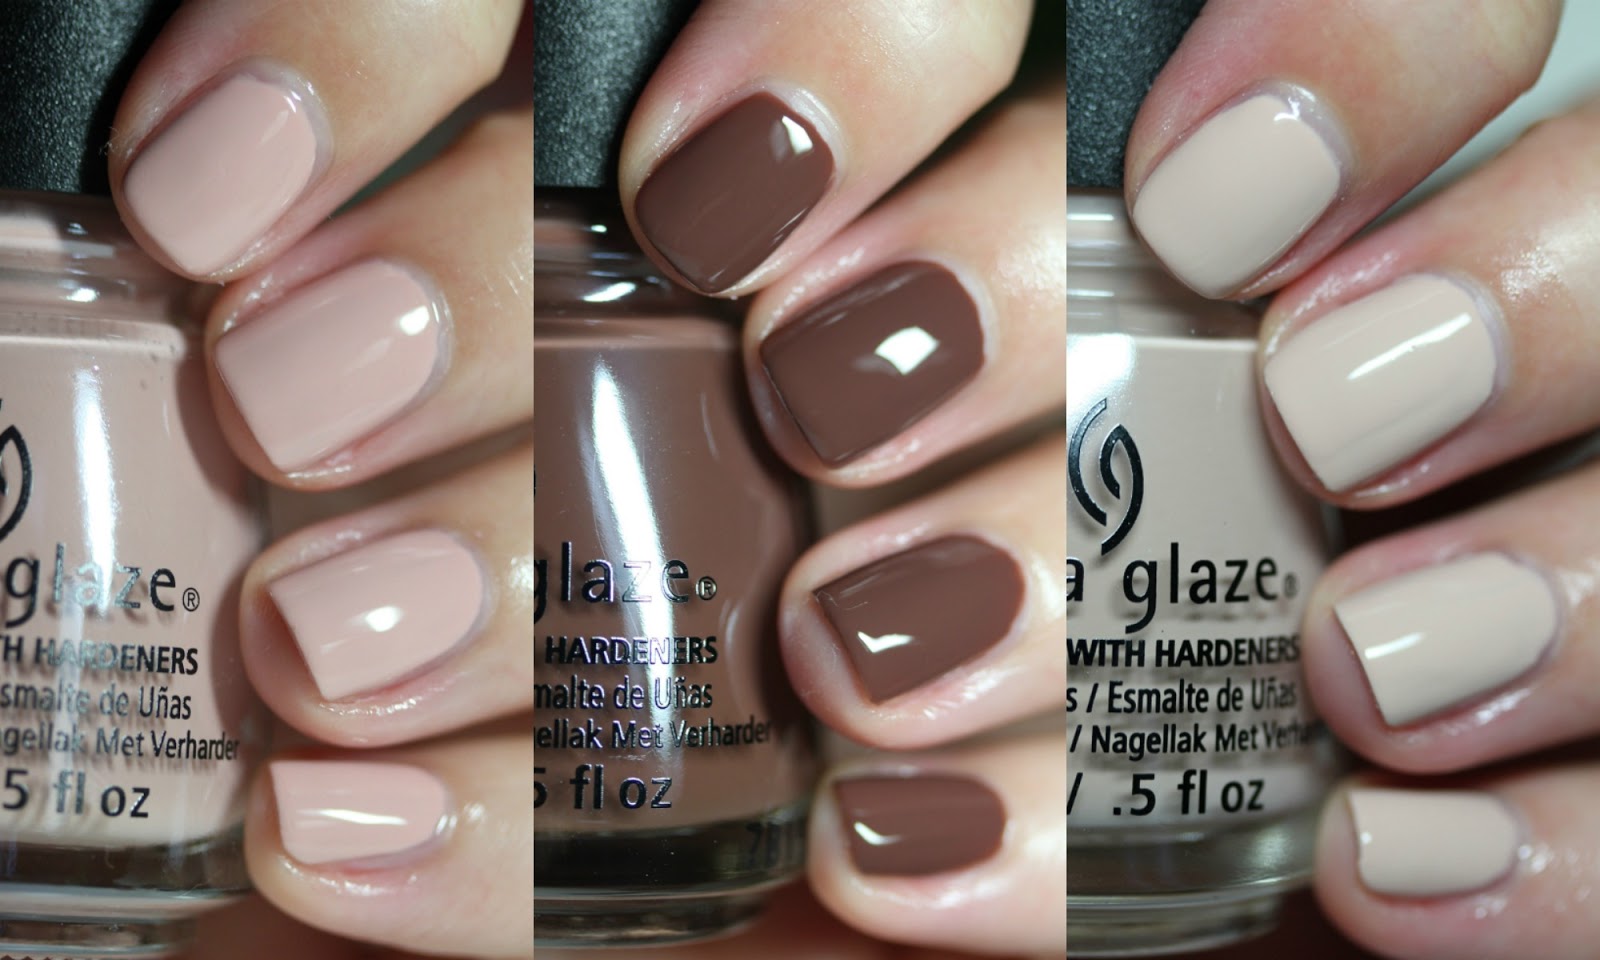
The great thing about China Glaze polishes is that they are formulated without harmful chemicals, making them safe to use on natural nails. If you prefer to keep your nails natural, you can still achieve a beautiful swirl design using this tutorial. Just make sure to use a good base coat and top coat to protect and strengthen your natural nails.China Glaze Swirl Nail Art Tutorial for Natural Nails
China Glaze Swirl Nail Art Tutorial for Natural Nails
If you have acrylic nails, you can still create stunning China Glaze swirl nail art. Just follow the same steps as above, but make sure to use an acrylic-friendly top coat to seal in the design. You can also use acrylic paint instead of polish to create more precise swirl patterns on your nails. With these easy and creative tutorials, you can create your own China Glaze swirl nail art and show off your unique style. So, get your supplies ready and start experimenting with colors and designs to achieve the perfect swirls on your nails!China Glaze Swirl Nail Art Tutorial for Acrylic Nails


China Glaze Swirl Nail Art Tutorial for Acrylic Nails
Creating Eye-Catching Nail Designs with China Glaze Swirl Nail Art
Unleash Your Creativity with China Glaze Swirl Nail Art
 When it comes to nail art, the possibilities are endless. From simple and elegant designs to bold and intricate patterns, there is something for every style and personality. And one of the most popular and versatile nail art techniques is the China Glaze swirl nail art.
Using
China Glaze
nail polish, you can easily create stunning and
eye-catching
swirl designs that will elevate your nail game to the next level. The best part? You don't have to be a professional nail artist to achieve this look. All you need is a steady hand and some patience.
When it comes to nail art, the possibilities are endless. From simple and elegant designs to bold and intricate patterns, there is something for every style and personality. And one of the most popular and versatile nail art techniques is the China Glaze swirl nail art.
Using
China Glaze
nail polish, you can easily create stunning and
eye-catching
swirl designs that will elevate your nail game to the next level. The best part? You don't have to be a professional nail artist to achieve this look. All you need is a steady hand and some patience.
How to Create China Glaze Swirl Nail Art
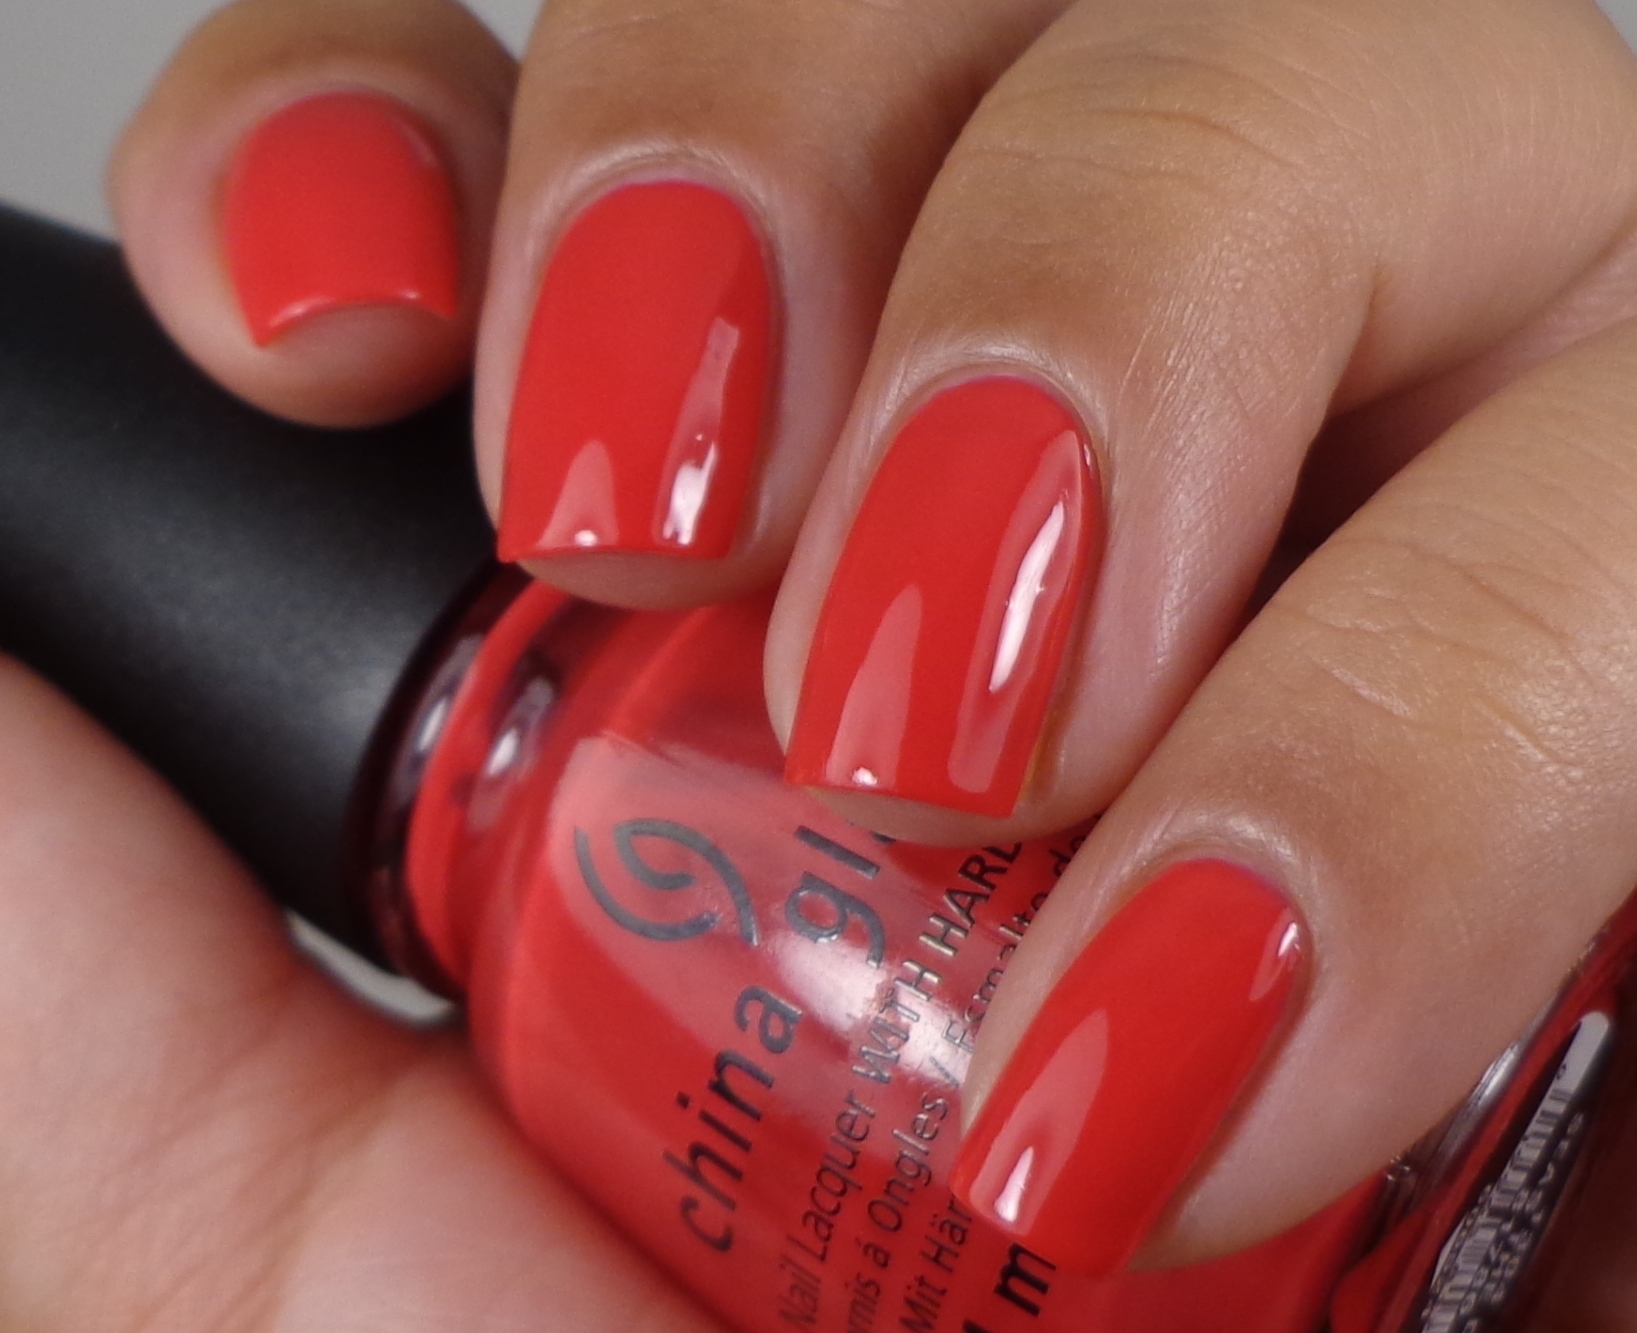
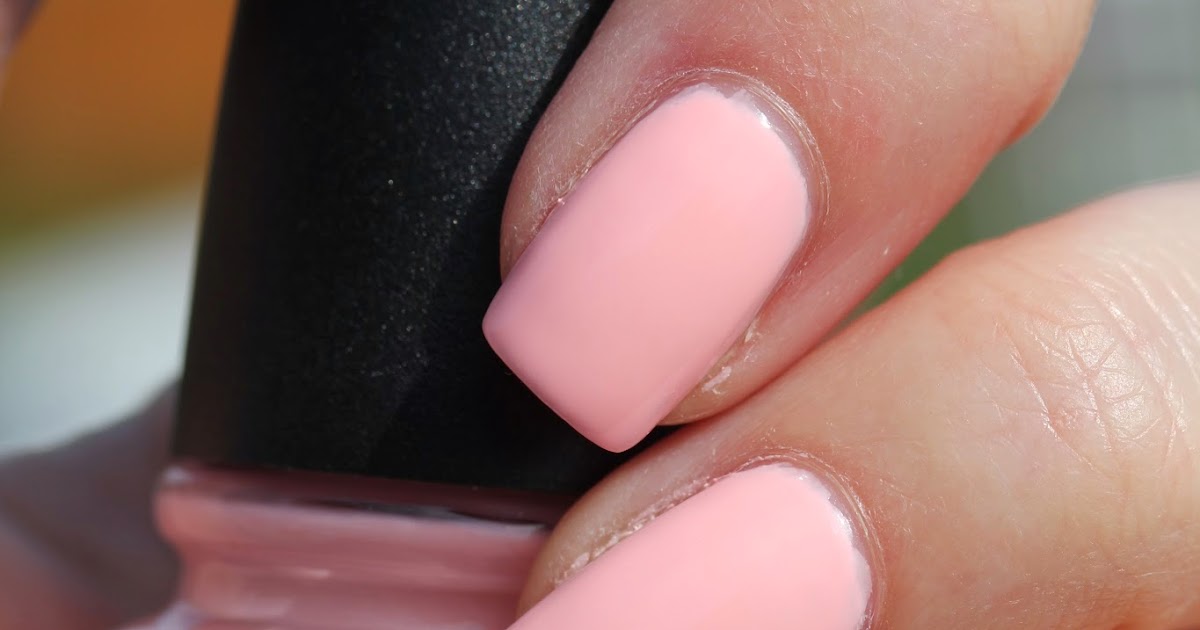
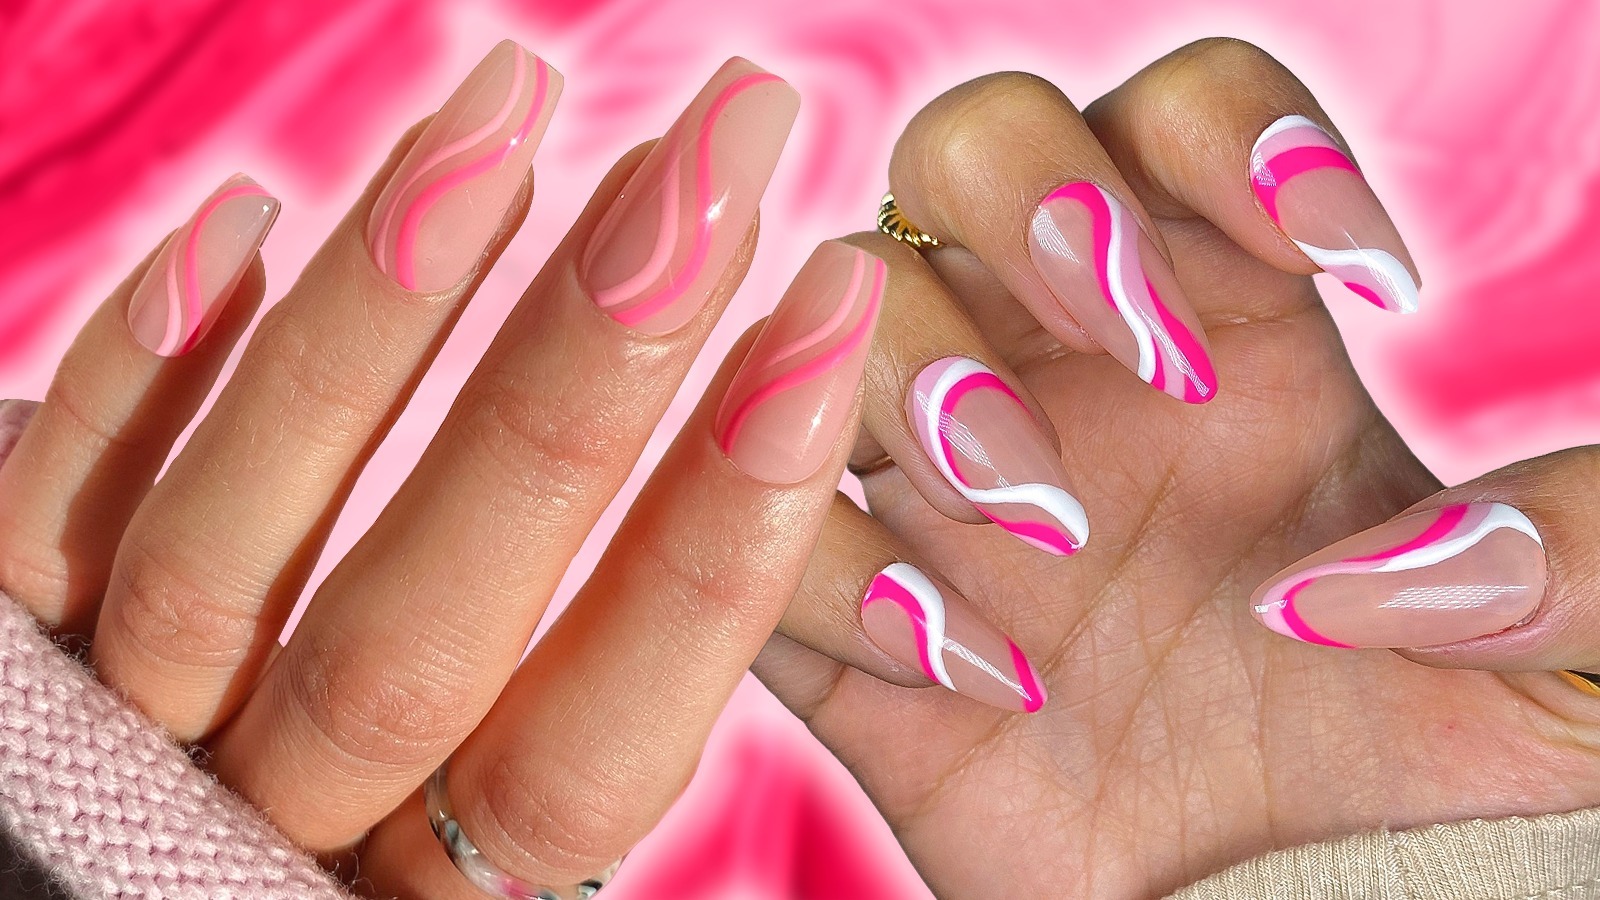
 The first step in creating a China Glaze swirl nail art is to choose your base color. You can go for a neutral shade like nude or white, or opt for a bold color like red or purple. Once you have your base color, apply two coats of it and let it dry completely.
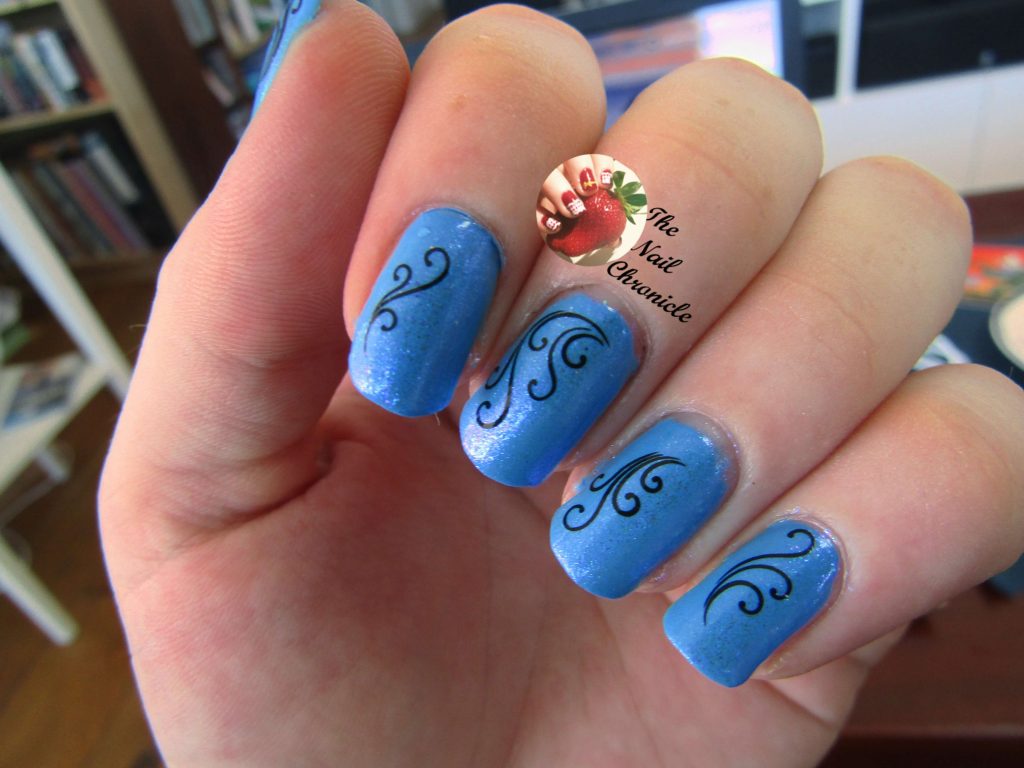
Next, take a
thin nail art brush
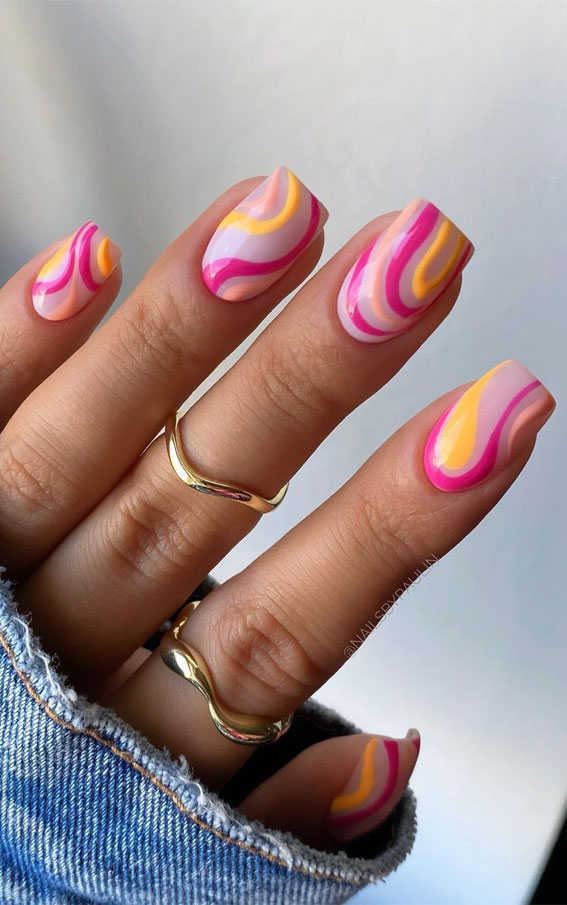
and dip it into a contrasting color of China Glaze nail polish. Slowly and carefully, start creating swirls on your nails. You can make big or small swirls, depending on your preference. Make sure to leave some space between the swirls for a more visually appealing look.
After creating the swirls, let them dry for a few minutes. Once they are completely dry, apply a top coat to seal in the design and add shine to your nails. And voila, you now have gorgeous China Glaze swirl nail art on your fingertips!
The first step in creating a China Glaze swirl nail art is to choose your base color. You can go for a neutral shade like nude or white, or opt for a bold color like red or purple. Once you have your base color, apply two coats of it and let it dry completely.
Next, take a
thin nail art brush
and dip it into a contrasting color of China Glaze nail polish. Slowly and carefully, start creating swirls on your nails. You can make big or small swirls, depending on your preference. Make sure to leave some space between the swirls for a more visually appealing look.
After creating the swirls, let them dry for a few minutes. Once they are completely dry, apply a top coat to seal in the design and add shine to your nails. And voila, you now have gorgeous China Glaze swirl nail art on your fingertips!
Get Creative with China Glaze Swirl Nail Art
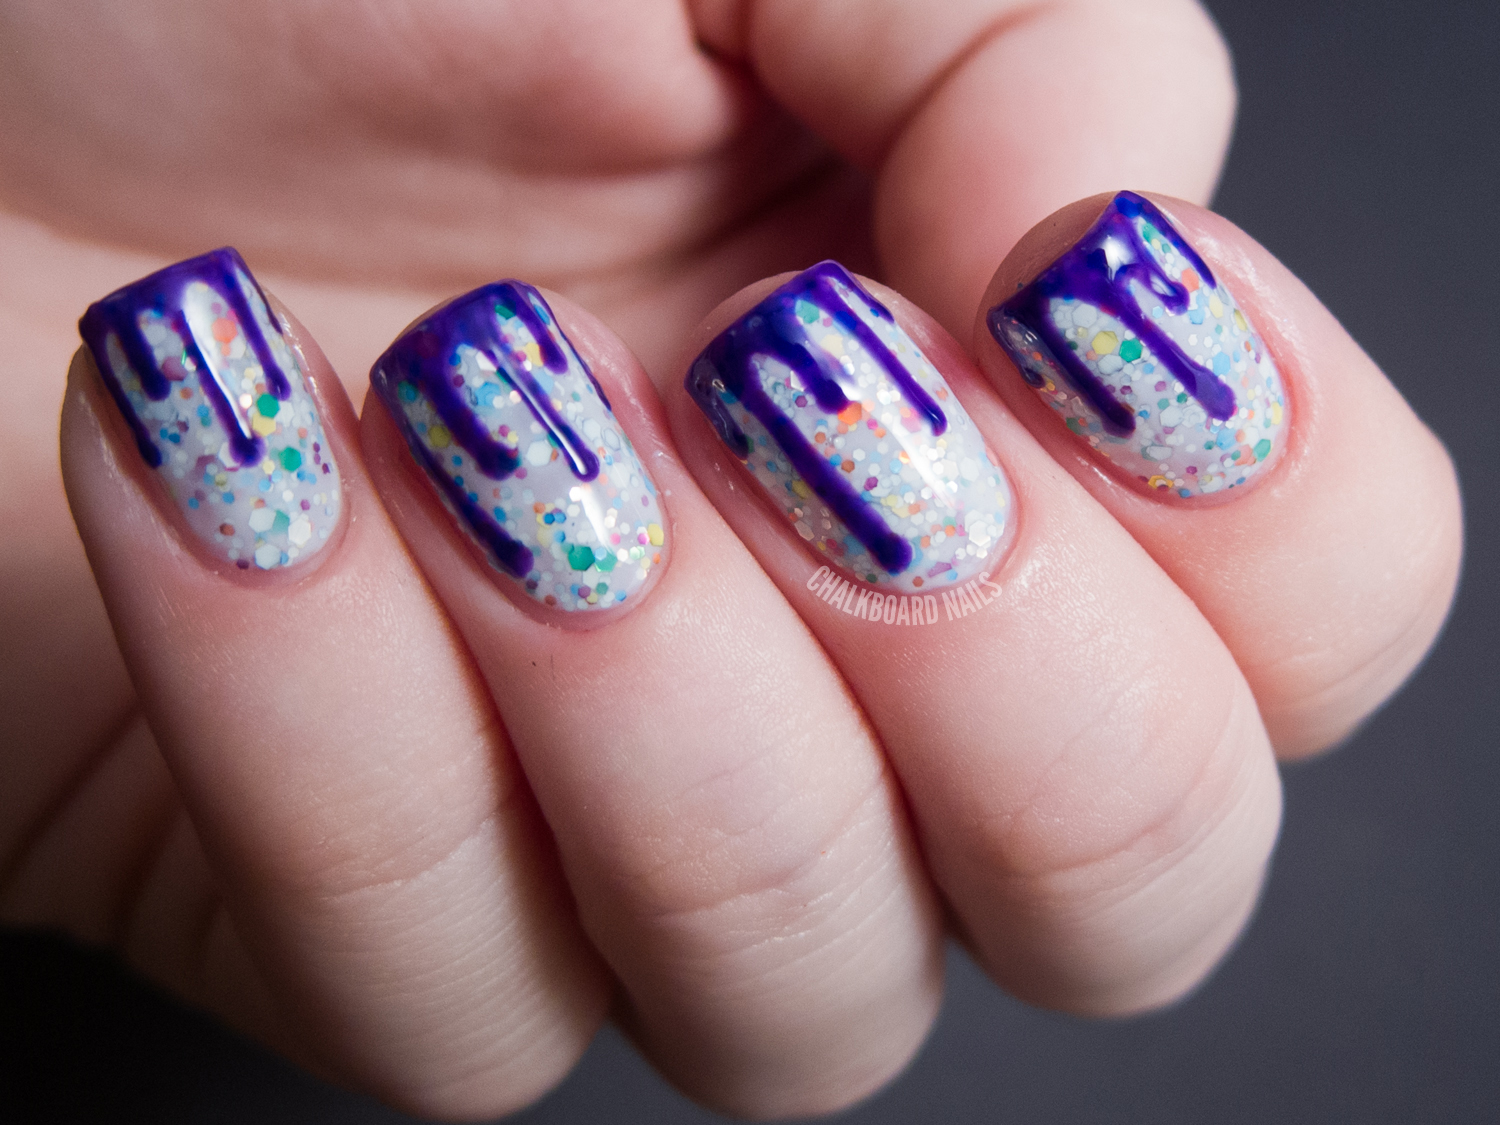
 The best thing about China Glaze swirl nail art is that you can get as creative as you want. You can experiment with different color combinations, add glitter or rhinestones, or even create a gradient effect with the swirls. The possibilities are endless, and the result is always stunning.
So next time you want to add some flair to your nails, give China Glaze swirl nail art a try. With its endless possibilities and easy application, you'll be sure to turn heads and make a statement with your unique and beautiful nail designs.
The best thing about China Glaze swirl nail art is that you can get as creative as you want. You can experiment with different color combinations, add glitter or rhinestones, or even create a gradient effect with the swirls. The possibilities are endless, and the result is always stunning.
So next time you want to add some flair to your nails, give China Glaze swirl nail art a try. With its endless possibilities and easy application, you'll be sure to turn heads and make a statement with your unique and beautiful nail designs.


