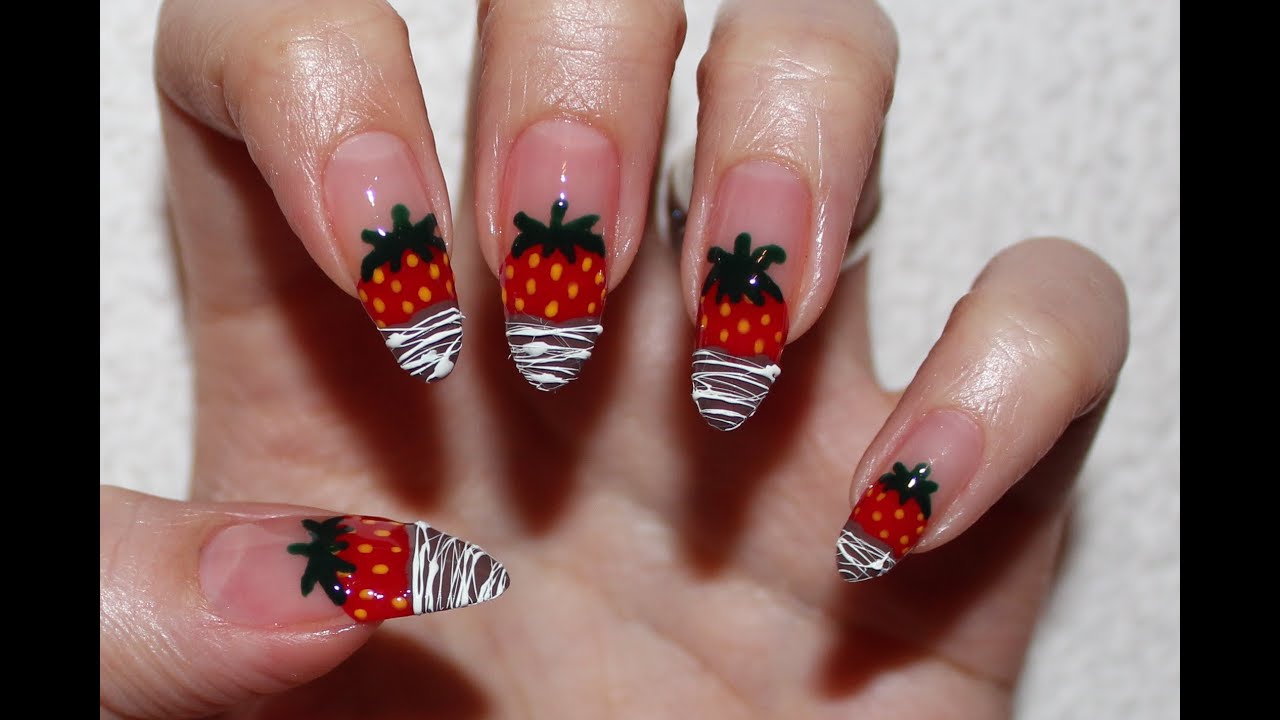
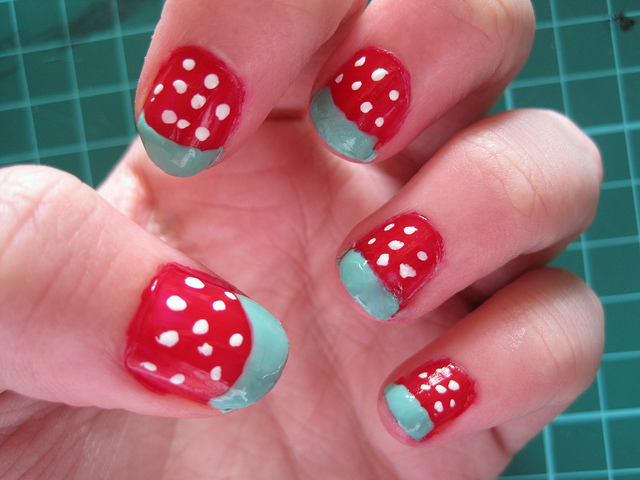
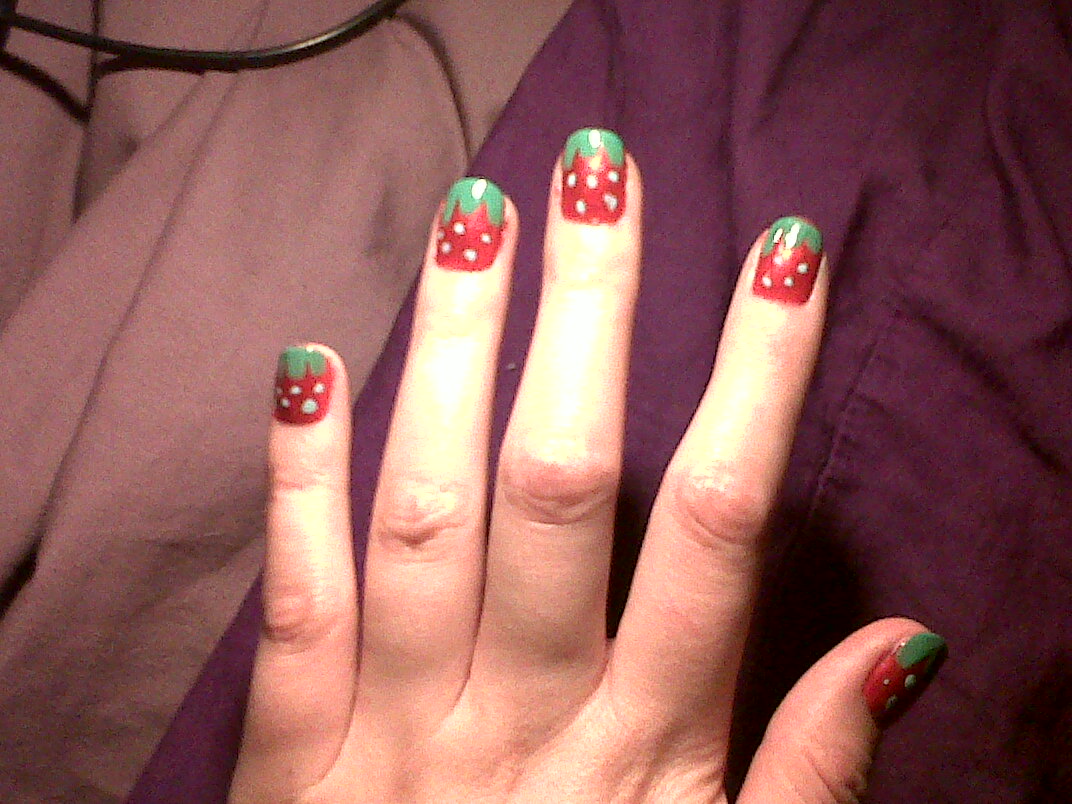
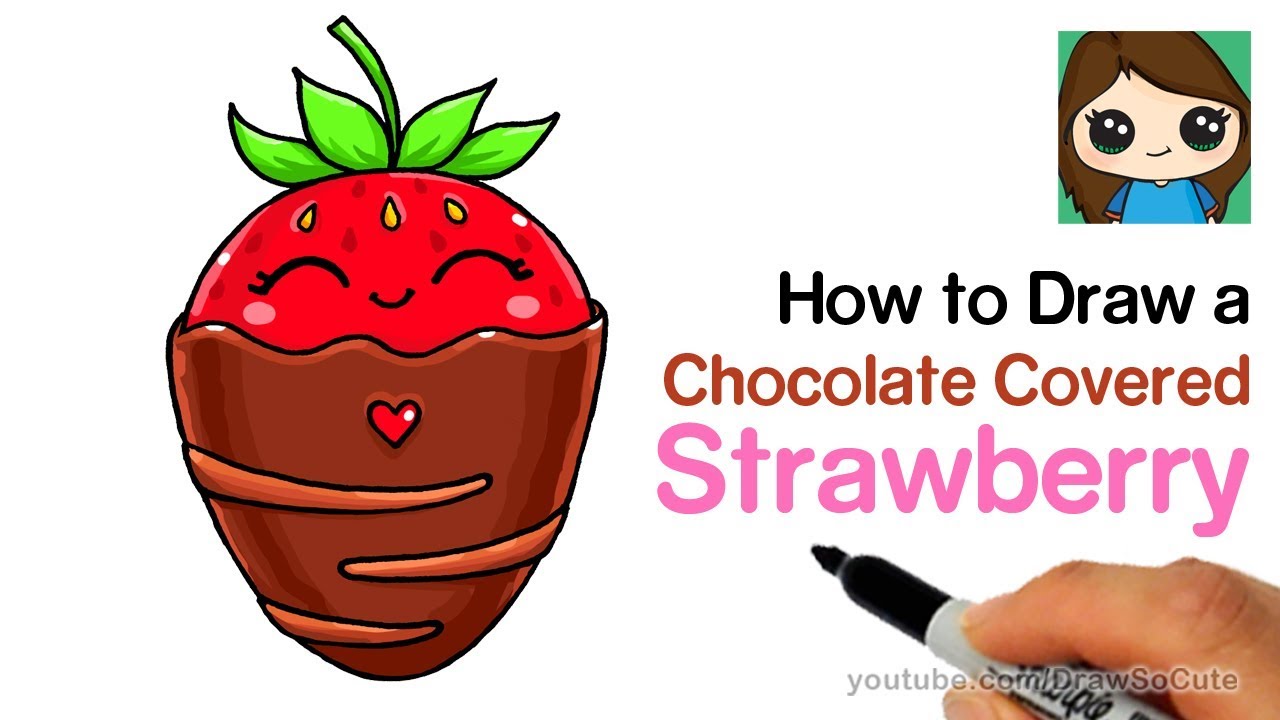
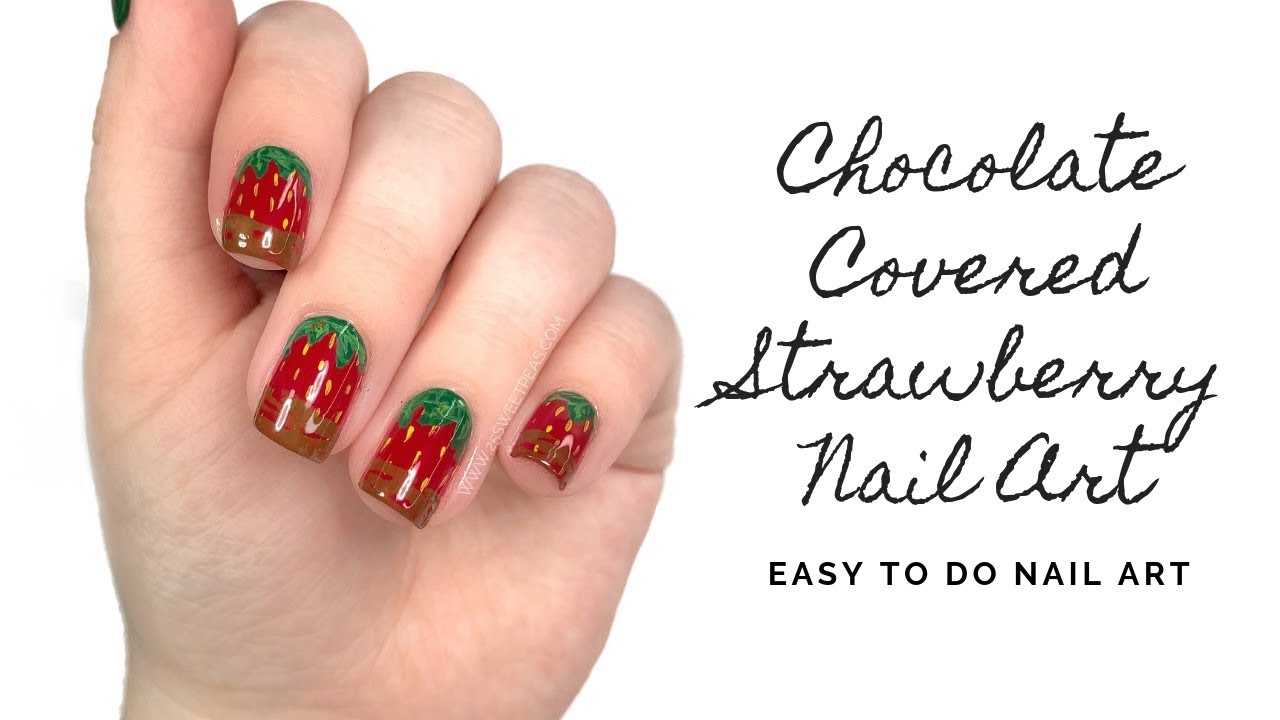
If you're a fan of chocolate covered strawberries, why not incorporate them into your nail art? This sweet and romantic design is perfect for any occasion, whether it's a date night or a girls' night out. Follow this simple tutorial to achieve the perfect chocolate covered strawberry nail art! To start, you'll need a base coat, a nude nail polish, a red nail polish, a brown nail polish, a green nail polish, a top coat, a dotting tool, and a thin brush. Begin by applying a base coat to protect your nails and help your manicure last longer. Next, apply two coats of a nude nail polish as your base color. This will serve as the base for your chocolate-covered strawberries. Once your base color is dry, it's time to create the strawberry design. Take your red nail polish and using the brush, create a half-circle at the tip of your nail. This will be the top of the strawberry. Then, fill in the rest of the nail with the red polish. Next, using a dotting tool, create small white dots on the red part of the strawberry to represent the seeds. You can also use the end of a bobby pin or a toothpick instead of a dotting tool. Now, it's time to add the chocolate! Using your brown nail polish and a thin brush, create a curved line at the base of the red part of the strawberry. This will be the chocolate part of the strawberry. For added detail, you can use the dotting tool to add small lines or dots to the chocolate to make it look more realistic. Lastly, take your green nail polish and using the brush, create a small leaf at the top of the strawberry. You can also use a thin brush to add small details to the leaf, such as veins or lines. Once your design is complete and dry, finish off with a top coat to seal in your design and add shine.Chocolate Covered Strawberry Nail Art Tutorial


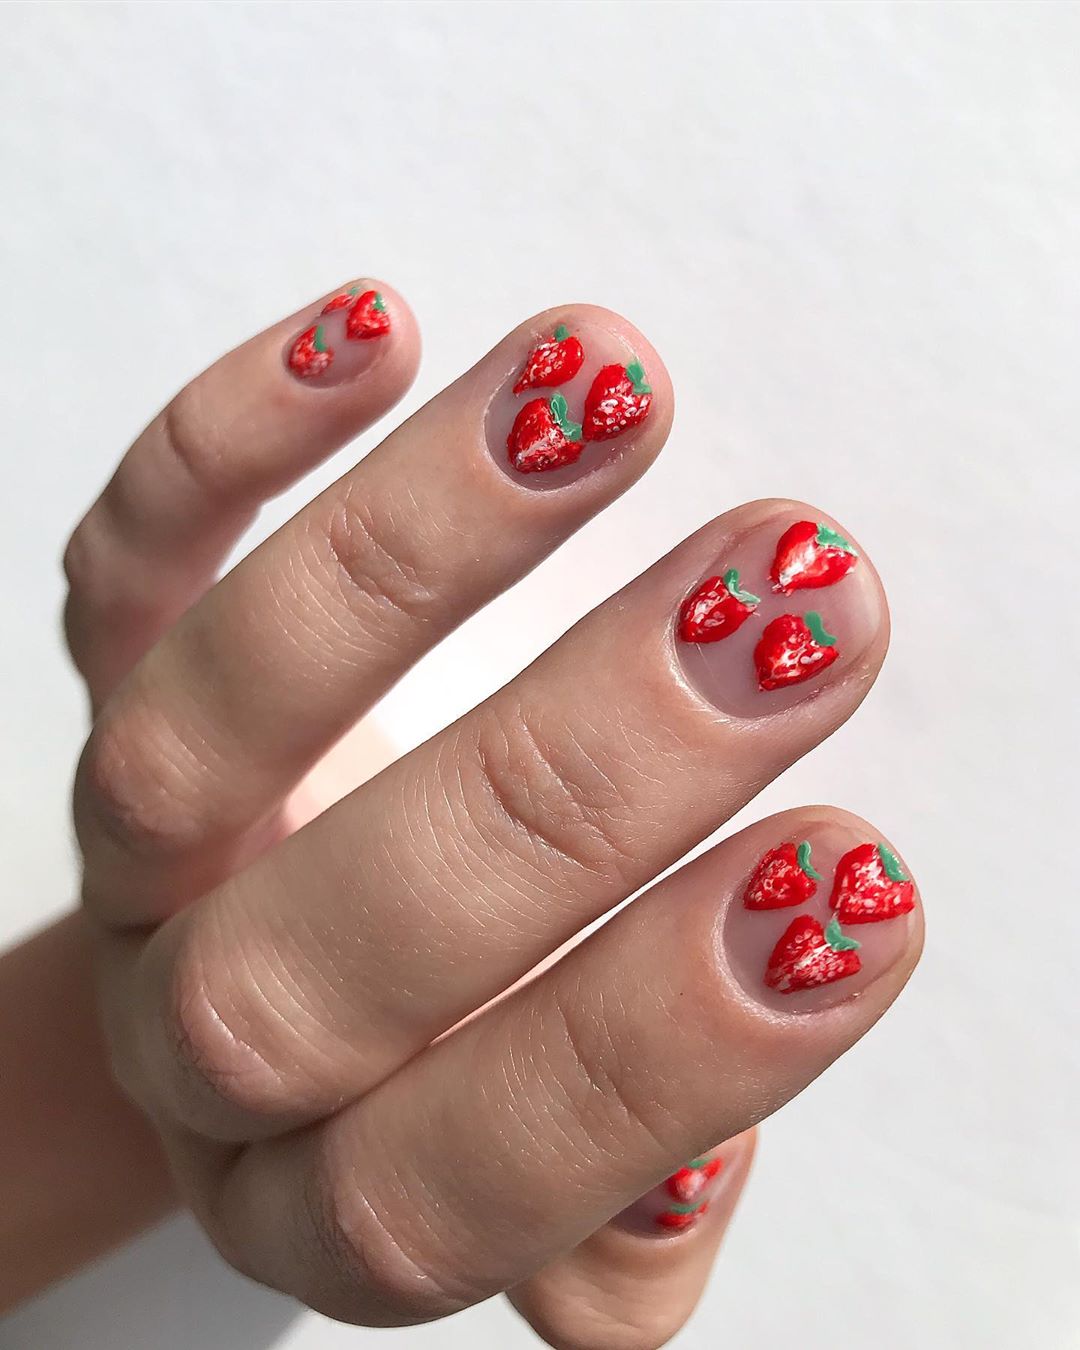
Chocolate Covered Strawberry Nail Art Tutorial


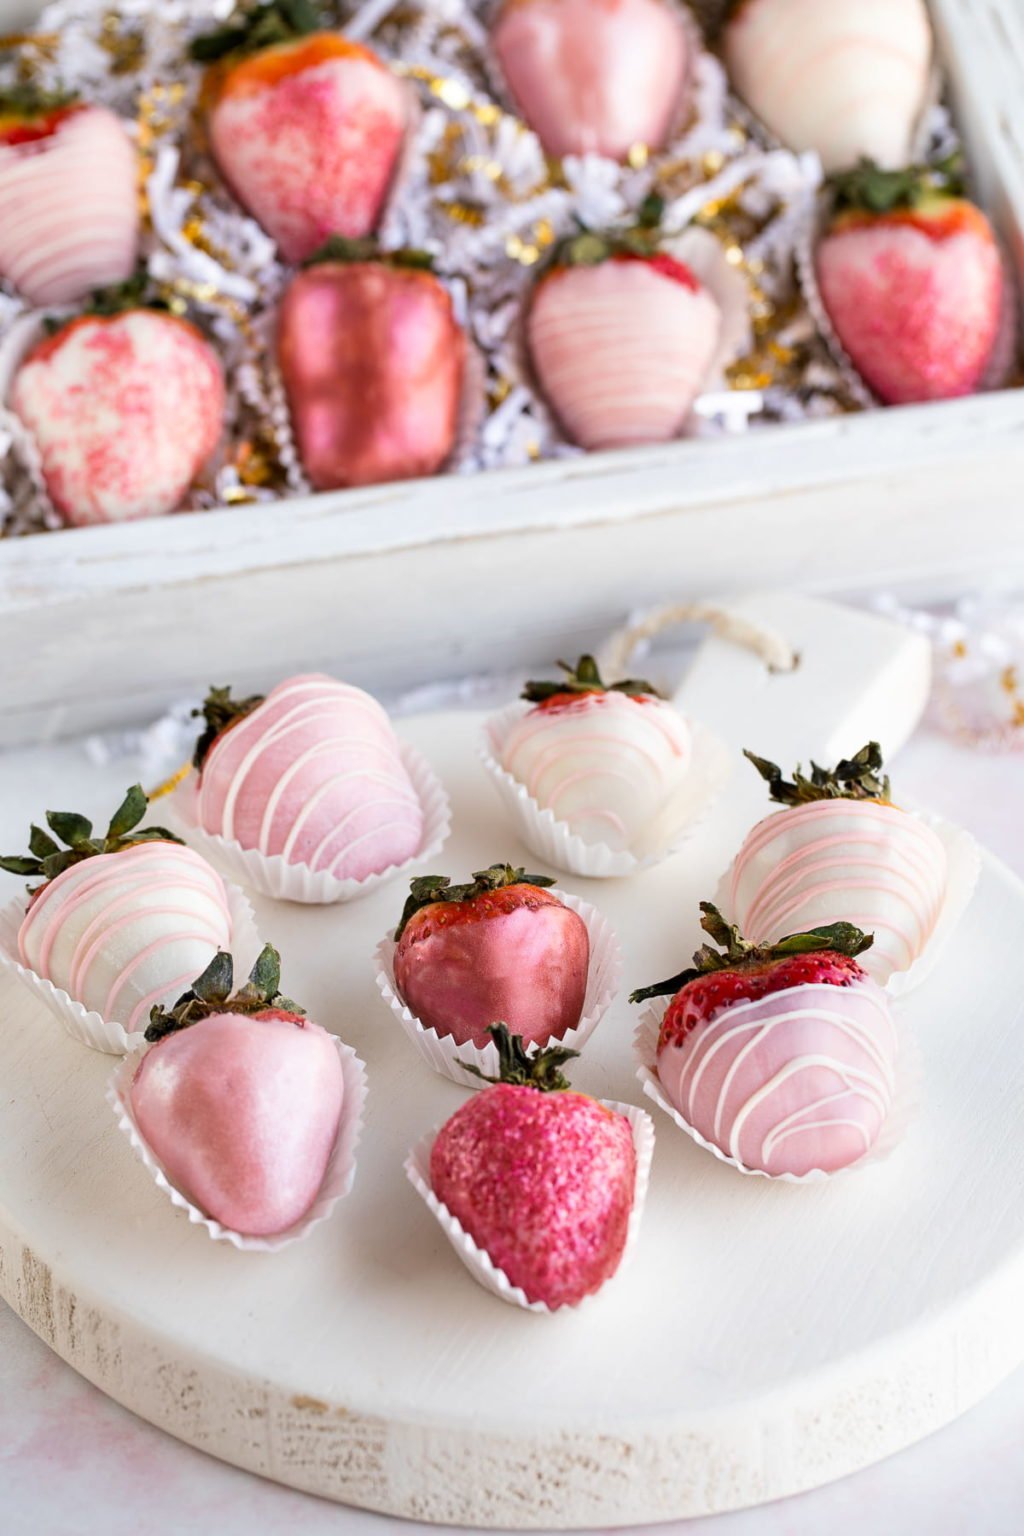
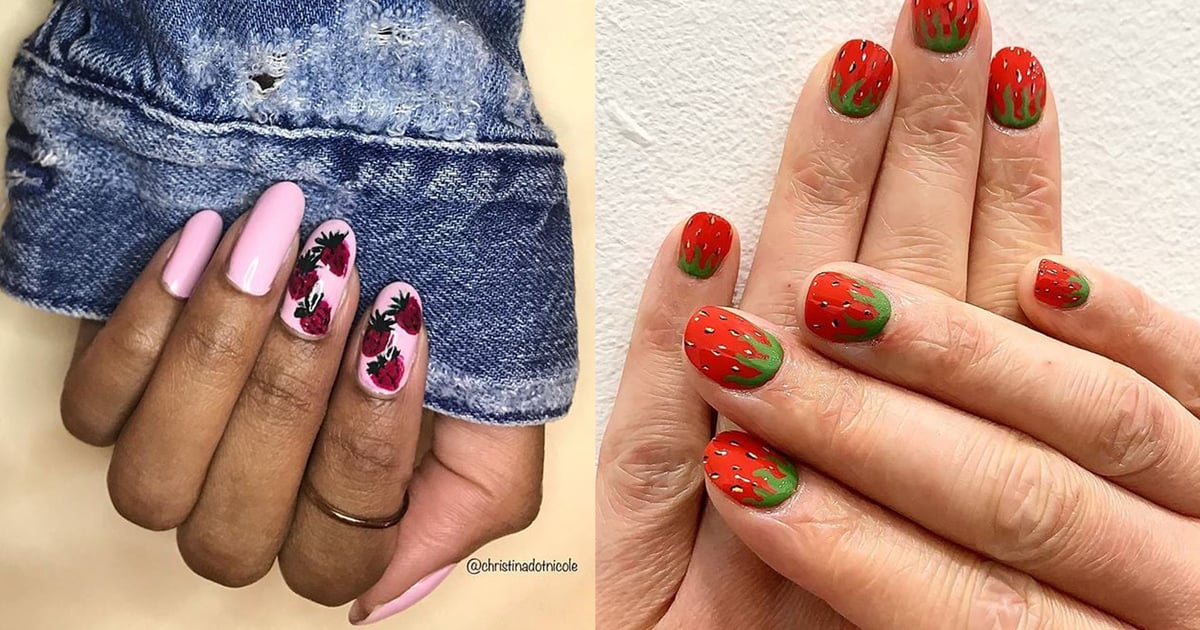
If you're looking for more inspiration for your chocolate covered strawberry nail art, there are endless designs to choose from. You can go for a classic and simple design, or get creative with different colors and patterns. For a more elegant look, try a French tip design with a nude base and a red tip, topped off with chocolate drizzle and a green leaf. You can also add a small bow or a heart-shaped gem for added detail. If you want a more playful design, try incorporating other fruits into your nail art, such as kiwi or watermelon slices. You can also experiment with different shades of red for your strawberries, such as a bright cherry red or a deep burgundy. For a more abstract take on chocolate covered strawberries, try a drip design with brown polish at the tips of your nails, dripping down onto a red base. You can also add small white dots to represent the seeds. No matter which design you choose, make sure to have fun and let your creativity shine through!
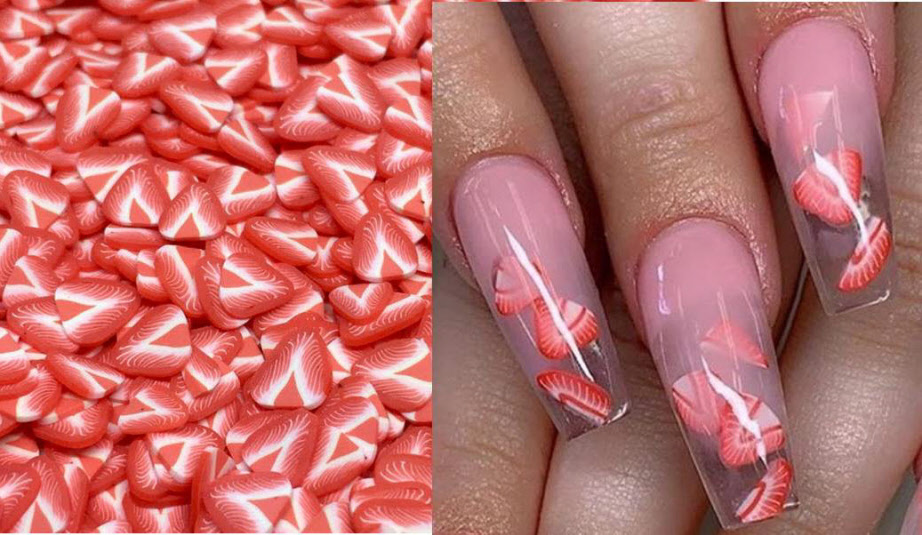
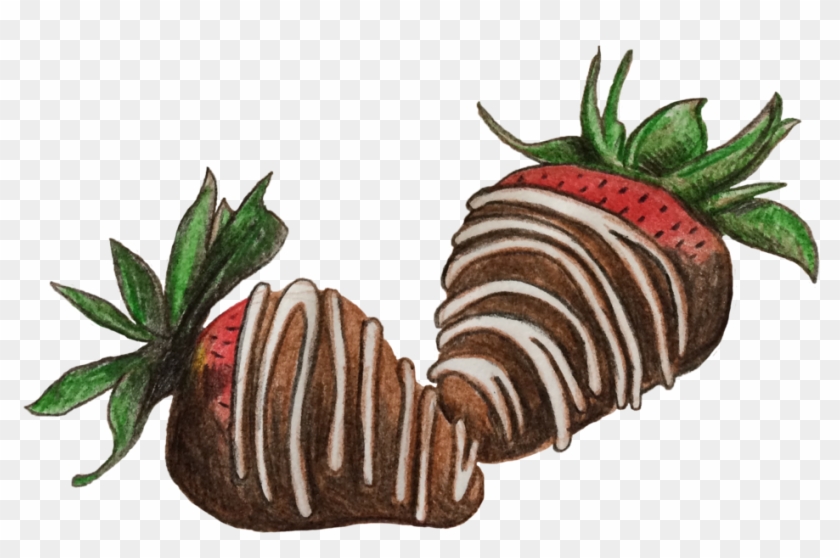
If you're new to nail art or don't have a lot of time, don't worry – you can still achieve a beautiful chocolate covered strawberry design with minimal effort. One easy way to create this design is by using nail wraps or stickers. You can find pre-made designs with chocolate and strawberry patterns that you can simply apply onto your nails. This is a great option for beginners or those who are short on time. You can also use a stamping kit to create this design. Simply stamp a chocolate pattern onto your nails, and then use a small brush to add the red and green details for the strawberries. If you're feeling extra creative, you can even use real strawberries to add a unique touch to your nail art. Simply cut small slices of strawberries and place them onto your nails while the polish is still wet. Once everything is dry, seal it with a top coat and enjoy your delicious-looking nail art!Chocolate Covered Strawberry Nail Art Designs
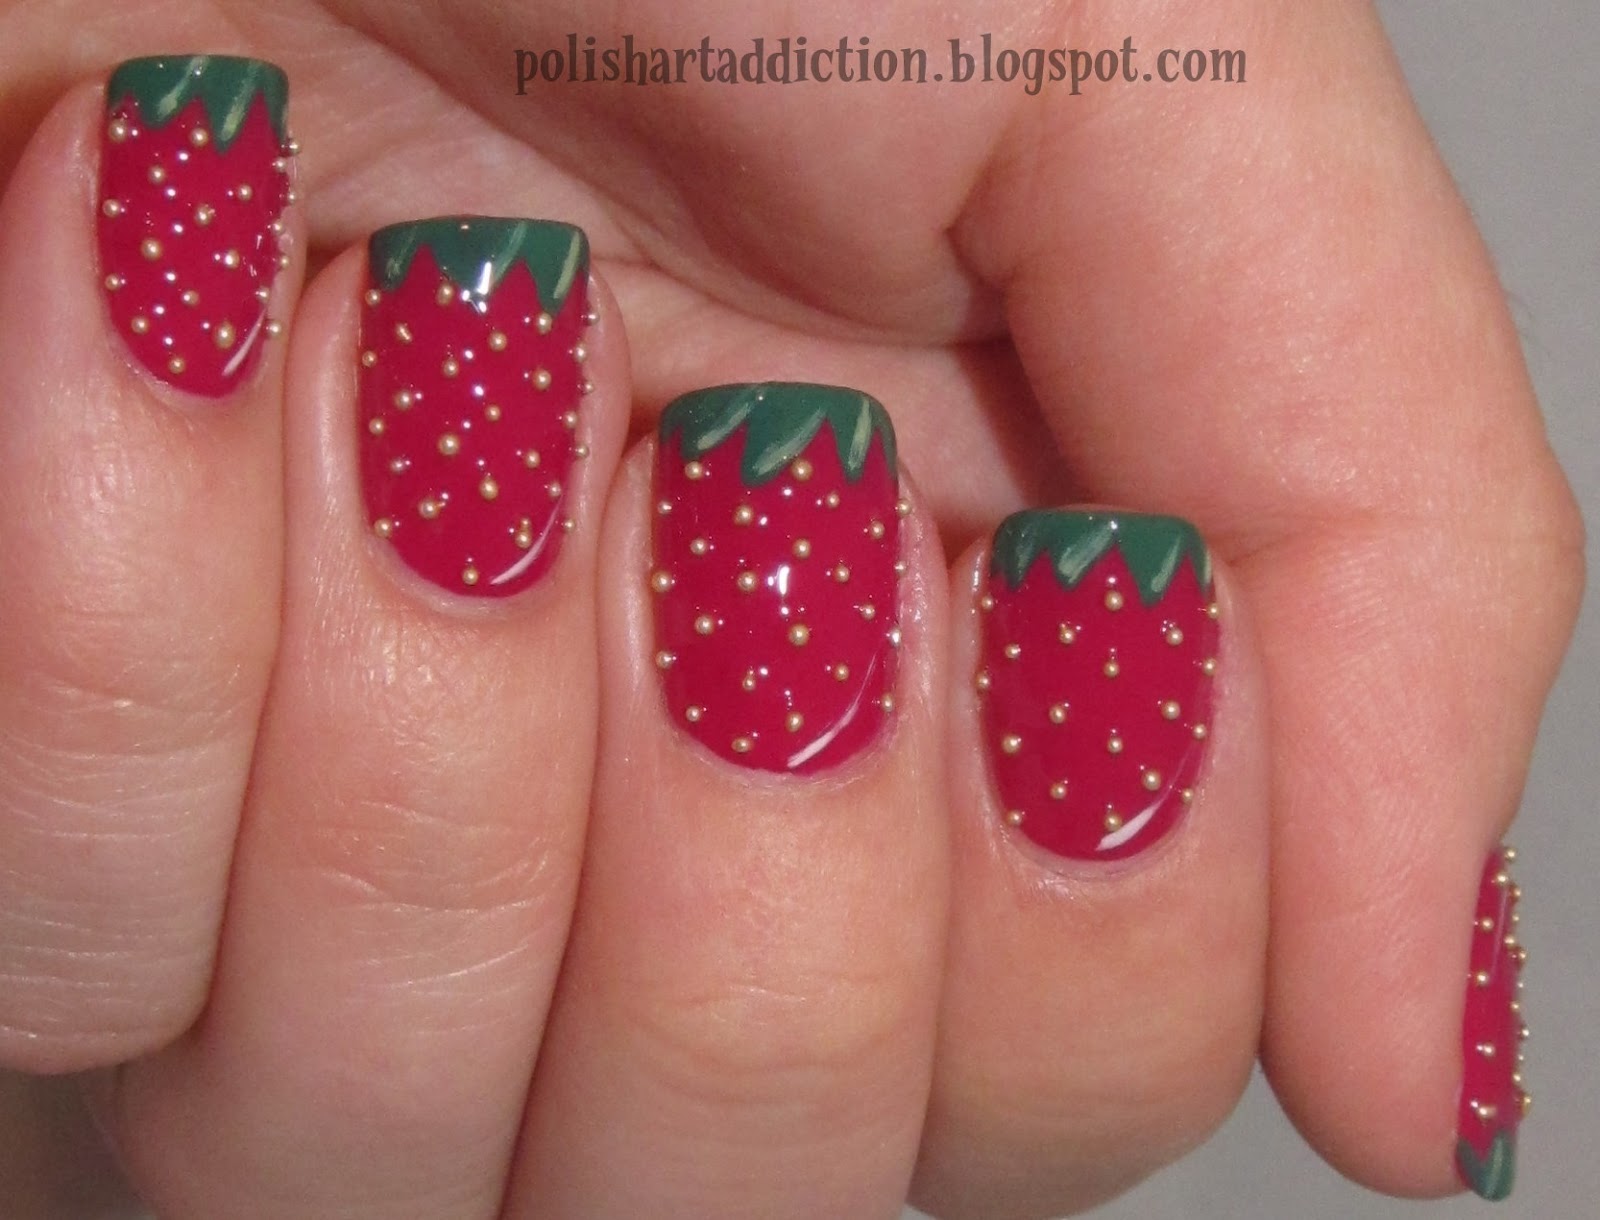
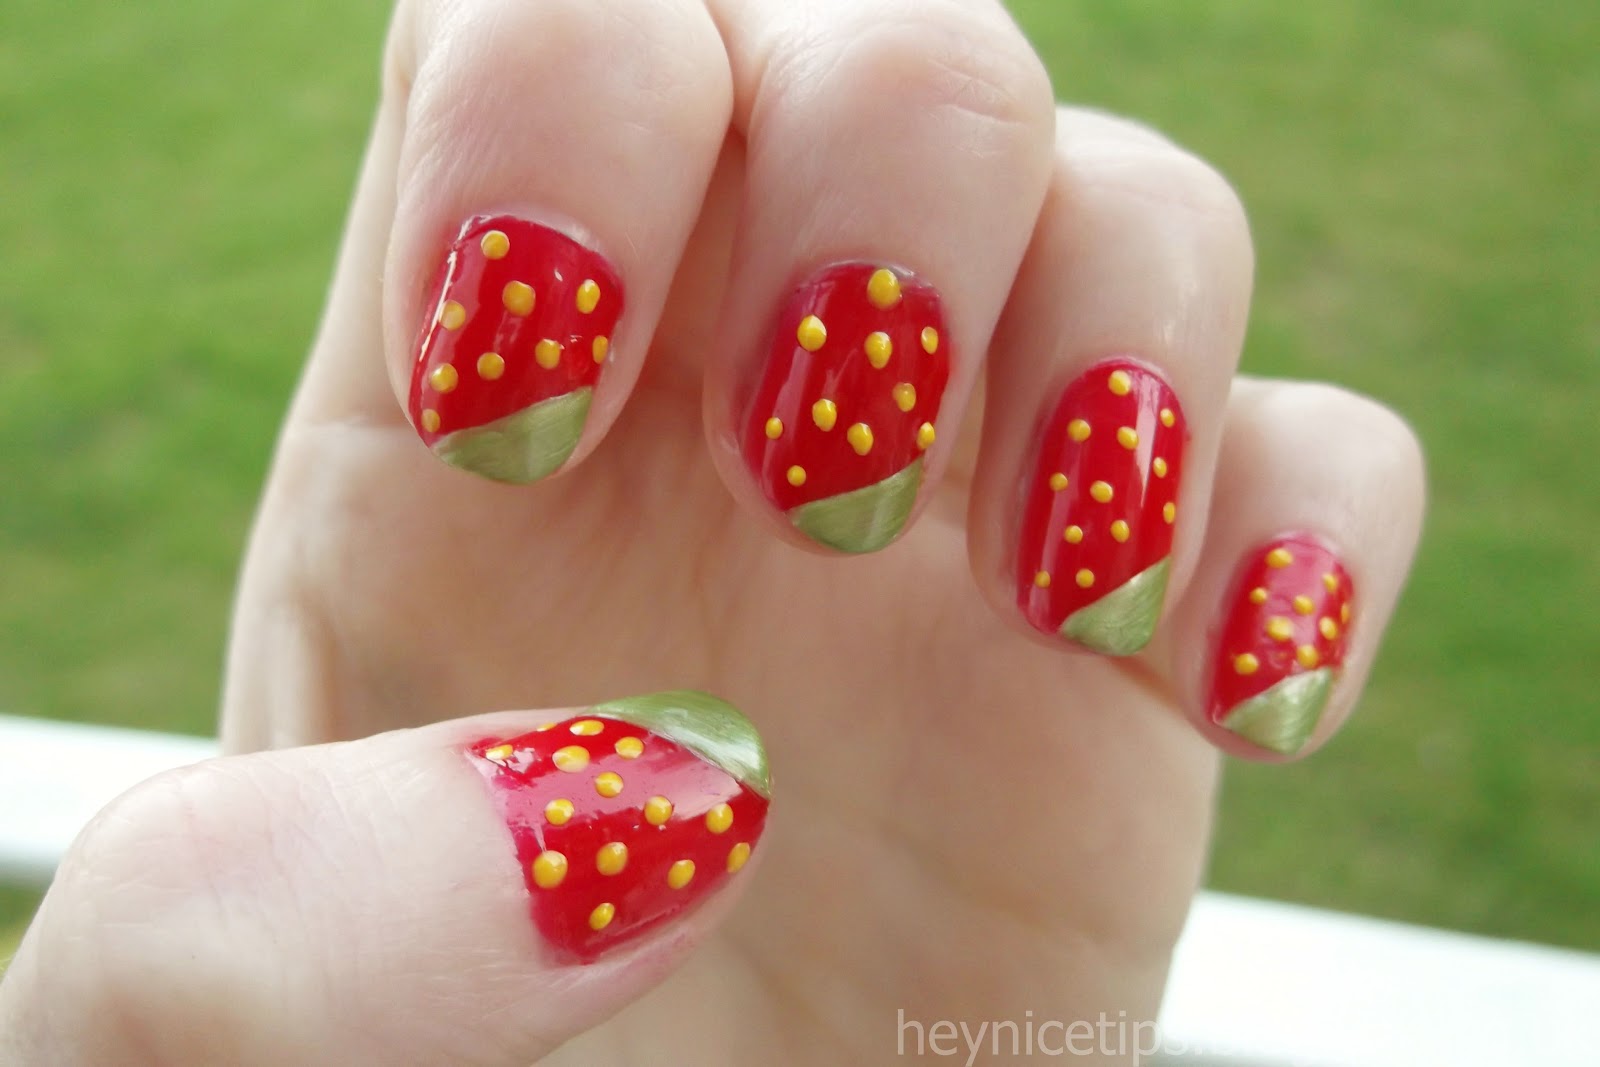
Easy Chocolate Covered Strawberry Nail Art


Chocolate Covered Strawberry Nail Art Designs


If you want to take your chocolate covered strawberry nail art to the next level, here are some ideas to inspire you. For a romantic twist, try adding a heart-shaped gem or stamp onto one of your nails. You can also create a "chocolate box" design by using a dark brown polish as the base and adding small hearts or other designs in red and pink polish. If you want a more modern and edgy look, try using a black or dark grey polish as the base and adding a red strawberry with white and silver details. You can also add some studs or rhinestones for added texture and glam. For a playful and fun design, try adding a smiling face or cartoon eyes to your strawberries. This is a great option for kids or those who want a more whimsical look. Don't be afraid to play around with different colors, patterns, and textures to create your own unique chocolate covered strawberry nail art!Chocolate Covered Strawberry Nail Art Ideas


Easy Chocolate Covered Strawberry Nail Art

Still feeling a little unsure about how to achieve the perfect chocolate covered strawberry nail art? Follow these simple steps for a foolproof guide. Step 1: Prep your nails by trimming and shaping them to your desired length and applying a base coat. Step 2: Apply two coats of a nude nail polish as your base color and let it dry completely. Step 3: Using a red nail polish and a thin brush, create a half-circle at the tip of your nail. Then, fill in the rest of the nail with the red polish. Step 4: Using a dotting tool, create small white dots on the red part of the strawberry to represent the seeds. Step 5: Using a brown nail polish and a thin brush, create a curved line at the base of the red part of the strawberry for the chocolate. Step 6: Using a green nail polish and a thin brush, create a small leaf at the top of the strawberry. Step 7: Let your design dry completely, and then seal it with a top coat for a long-lasting finish. Step 8: Enjoy your beautiful and delicious-looking chocolate covered strawberry nails!Chocolate Covered Strawberry Nail Art Step by Step


Chocolate Covered Strawberry Nail Art Ideas
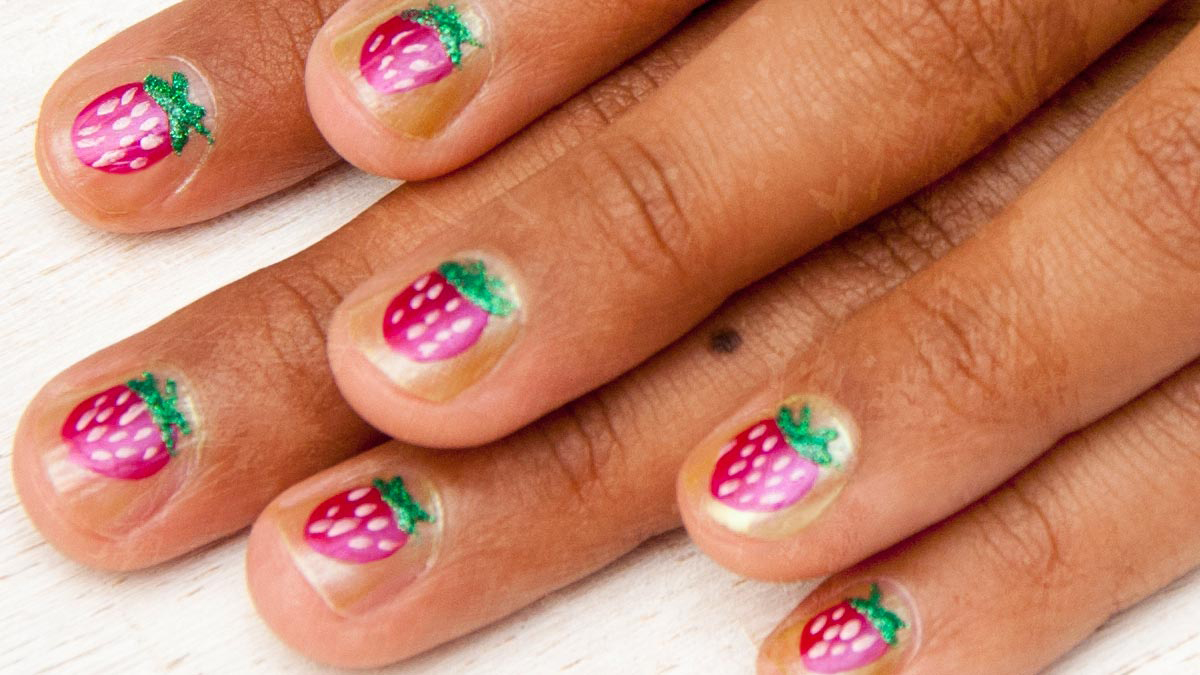
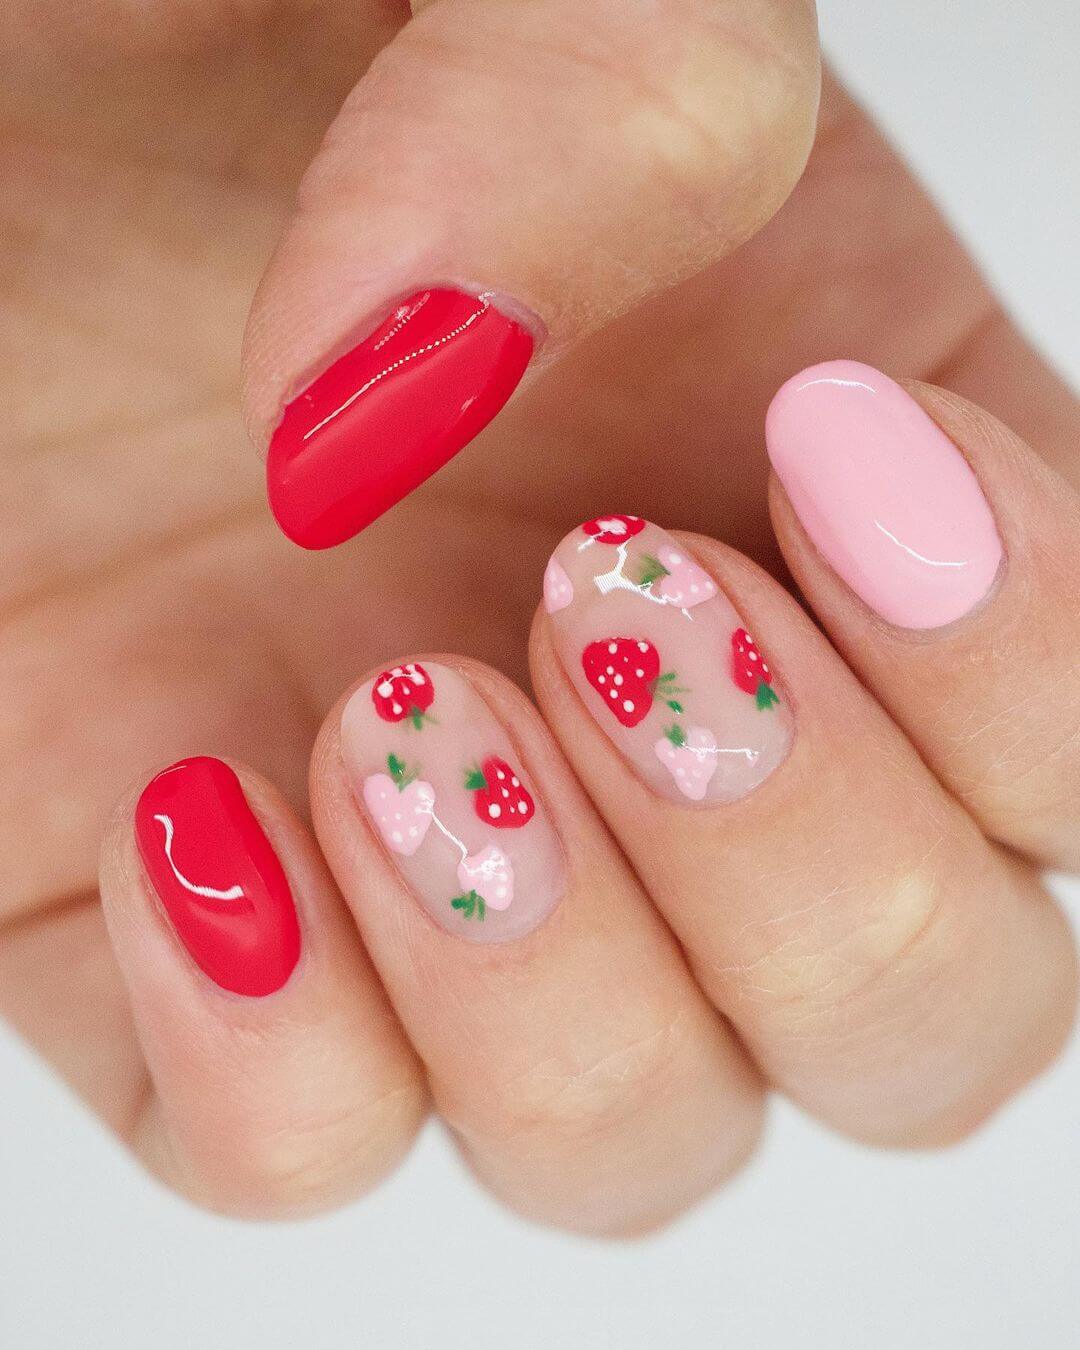
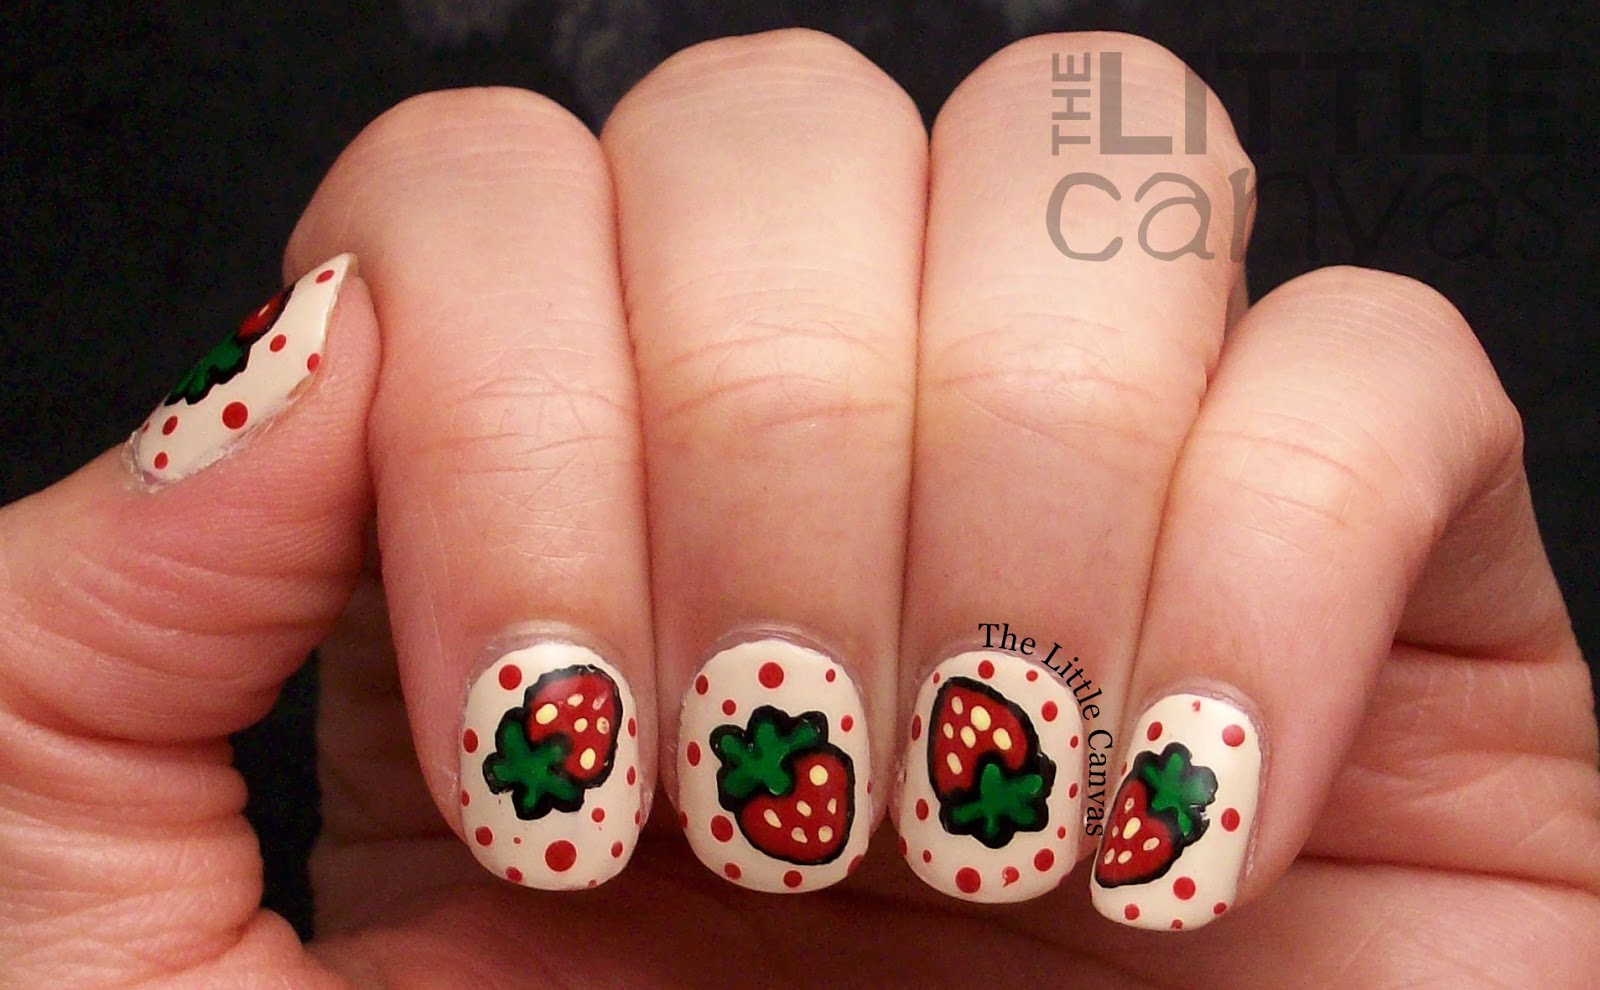
If you want a cute and girly take on this design, there are plenty of options to choose from. Try using a light pink polish as the base for a softer look, or add some glitter for a touch of sparkle. You can also add small hearts or polka dots in different shades of pink for added cuteness. For a more cartoon-like design, try creating big, round strawberries with a smiling face and rosy cheeks. You can even add some small hearts around the strawberries for added charm. If you want a more subtle and understated cute look, try creating a smaller strawberry design on just one nail and adding a heart or other cute detail on the rest of your nails. This will add a pop of cuteness without being too overwhelming.Cute Chocolate Covered Strawberry Nail Art


Chocolate Covered Strawberry Nail Art Step by Step


If you're new to nail art, don't be intimidated by the thought of creating this design. There are plenty of tips and tricks to make it easier for beginners. Start with a simple design, such as a French tip with a strawberry on just one nail. This will give you the opportunity to practice and get more comfortable with the tools and techniques before trying a more detailed design. You can also use pre-made designs, such as stickers or wraps, to achieve a professional-looking design with minimal effort. Or, try using a stamping kit for a quick and easy way to add the strawberry pattern to your nails. Don't forget to have fun and be patient with yourself – with practice, you'll become a nail art pro in no time!Chocolate Covered Strawberry Nail Art for Beginners

Cute Chocolate Covered Strawberry Nail Art
If you want to add a unique twist to your chocolate covered strawberry nail art, try incorporating real strawberries into your design. Using a sharp knife, carefully cut small slices of strawberries and place them onto your nails while the polish is still wet. Once everything is dry, seal it with a top coat to protect the strawberries and keep your design looking fresh. This is a great option for special occasions or if you want to impress your friends with your nail art skills!Chocolate Covered Strawberry Nail Art with Real Strawberries
Chocolate Covered Strawberry Nail Art for Beginners
If you prefer using gel polish for your manicures, don't worry – you can still achieve a beautiful chocolate covered strawberry design. Follow the same steps as you would with regular polish, but make sure to cure each layer of polish under a UV or LED lamp before moving on to the next step. This will ensure that your design stays in place and lasts longer. You can also use a gel top coat to seal in your design and give it a shiny finish. Just make sure to follow the instructions on your gel polish kit carefully to achieve the best results.Chocolate Covered Strawberry Nail Art with Gel Polish

Chocolate Covered Strawberry Nail Art with Real Strawberries


If you don't have a brown or green nail polish, or just prefer to work with acrylic paint, you can still create a beautiful chocolate covered strawberry design. Using a thin brush and a small amount of brown or green acrylic paint, follow the same steps as you would with regular polish to create the chocolate and leaf details for your strawberries. Just make sure to seal your design with a top coat to protect the paint and prevent it from chipping or peeling.Chocolate Covered Strawberry Nail Art with Acrylic Paint


Chocolate Covered Strawberry Nail Art with Gel Polish


Chocolate covered strawberry nail art is a fun and sweet way to add some flair to your nails. With these tips and ideas, you can create a beautiful and delicious-looking design that is sure to turn heads. Whether you're a beginner or a nail art pro, there are endless possibilities to express your creativity and love for chocolate covered strawberries through your manicure. So go ahead and treat yourself to this indulgent nail art – you deserve it! Just make sure not to lick your nails afterwards – they may look delicious, but they're not edible!In Conclusion
Chocolate Covered Strawberry Nail Art with Acrylic Paint


Add a Touch of Fun to Your Nails with Chocolate Covered Strawberry Nail Art

Indulge in Your Love for Chocolate and Strawberries
 Chocolate and strawberries are a classic combination that has been loved by many for centuries. From decadent desserts to romantic gifts, these two flavors never fail to please our taste buds. But have you ever thought about incorporating this delicious duo into your nail art? Yes, you read that right –
chocolate covered strawberry nail art
is the latest trend that is taking the world of nail design by storm.
Chocolate and strawberries are a classic combination that has been loved by many for centuries. From decadent desserts to romantic gifts, these two flavors never fail to please our taste buds. But have you ever thought about incorporating this delicious duo into your nail art? Yes, you read that right –
chocolate covered strawberry nail art
is the latest trend that is taking the world of nail design by storm.
The Perfect Design for the Sweet Tooth
 If you have a sweet tooth and love experimenting with different nail designs, then
chocolate covered strawberry nail art
is the perfect choice for you. This playful and delicious design features a chocolate brown base with vibrant red strawberries and white polka dots, making your nails look like a scrumptious treat. It's a fun and creative way to add a touch of sweetness to your overall look.
If you have a sweet tooth and love experimenting with different nail designs, then
chocolate covered strawberry nail art
is the perfect choice for you. This playful and delicious design features a chocolate brown base with vibrant red strawberries and white polka dots, making your nails look like a scrumptious treat. It's a fun and creative way to add a touch of sweetness to your overall look.
Express Your Love for Desserts with Your Nails
 Not only is this nail art design eye-catching and unique, but it also allows you to express your love for desserts in a fun and playful way. Whether you're a professional nail artist or a DIY enthusiast,
chocolate covered strawberry nail art
is easy to recreate at home with the right tools and a steady hand. You can also add your own twist to the design by using different shades of brown and red, or even adding some glitter for a touch of sparkle.
Not only is this nail art design eye-catching and unique, but it also allows you to express your love for desserts in a fun and playful way. Whether you're a professional nail artist or a DIY enthusiast,
chocolate covered strawberry nail art
is easy to recreate at home with the right tools and a steady hand. You can also add your own twist to the design by using different shades of brown and red, or even adding some glitter for a touch of sparkle.
Perfect for Any Occasion
 One of the best things about
chocolate covered strawberry nail art
is that it's suitable for any occasion. Whether you're heading to a romantic date, a fun girls' night out, or just want to add a playful touch to your everyday look, this design is versatile and can be customized to fit any event. Plus, you can never go wrong with chocolate and strawberries – it's a universally loved combination that will surely catch everyone's attention.
In conclusion,
chocolate covered strawberry nail art is a fun and creative way to show off your love for desserts and add a touch of playfulness to your nails. So go ahead and give this deliciously cute design a try – your nails will thank you for it!
One of the best things about
chocolate covered strawberry nail art
is that it's suitable for any occasion. Whether you're heading to a romantic date, a fun girls' night out, or just want to add a playful touch to your everyday look, this design is versatile and can be customized to fit any event. Plus, you can never go wrong with chocolate and strawberries – it's a universally loved combination that will surely catch everyone's attention.
In conclusion,
chocolate covered strawberry nail art is a fun and creative way to show off your love for desserts and add a touch of playfulness to your nails. So go ahead and give this deliciously cute design a try – your nails will thank you for it!


