Get ready to show off your festive spirit with these beautiful Christmas ombre nail art designs. With just a few simple steps, you can achieve a stunning holiday look that will have everyone complimenting your nails. Follow along with this tutorial to create your own Christmas ombre nails.1. Christmas Ombre Nail Art Tutorial


1. Christmas Ombre Nail Art Tutorial


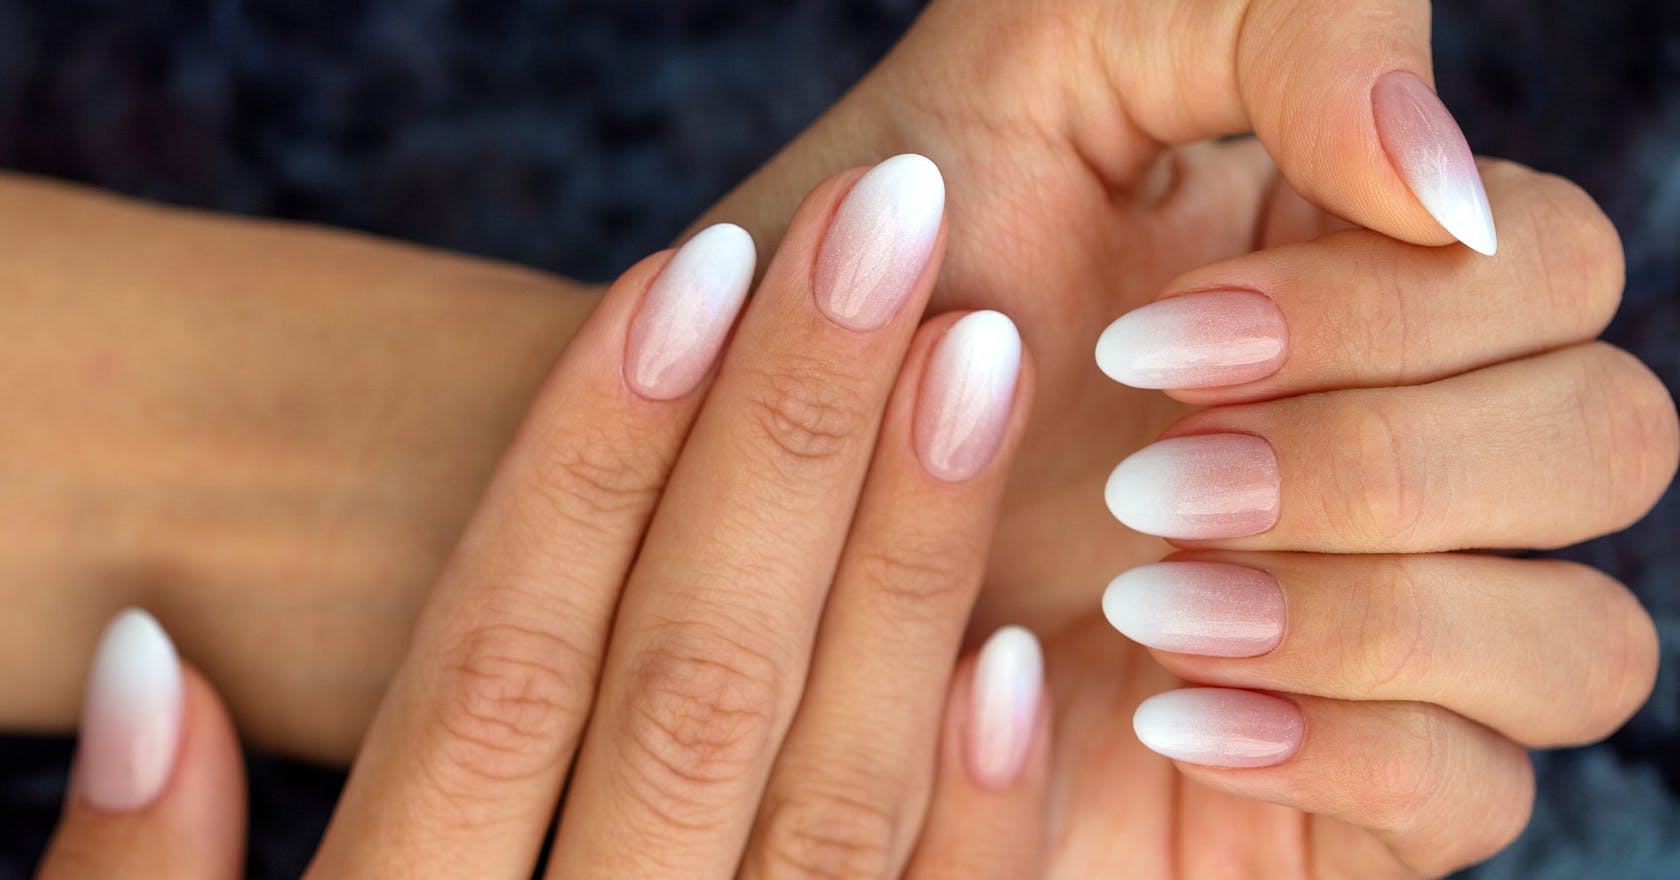
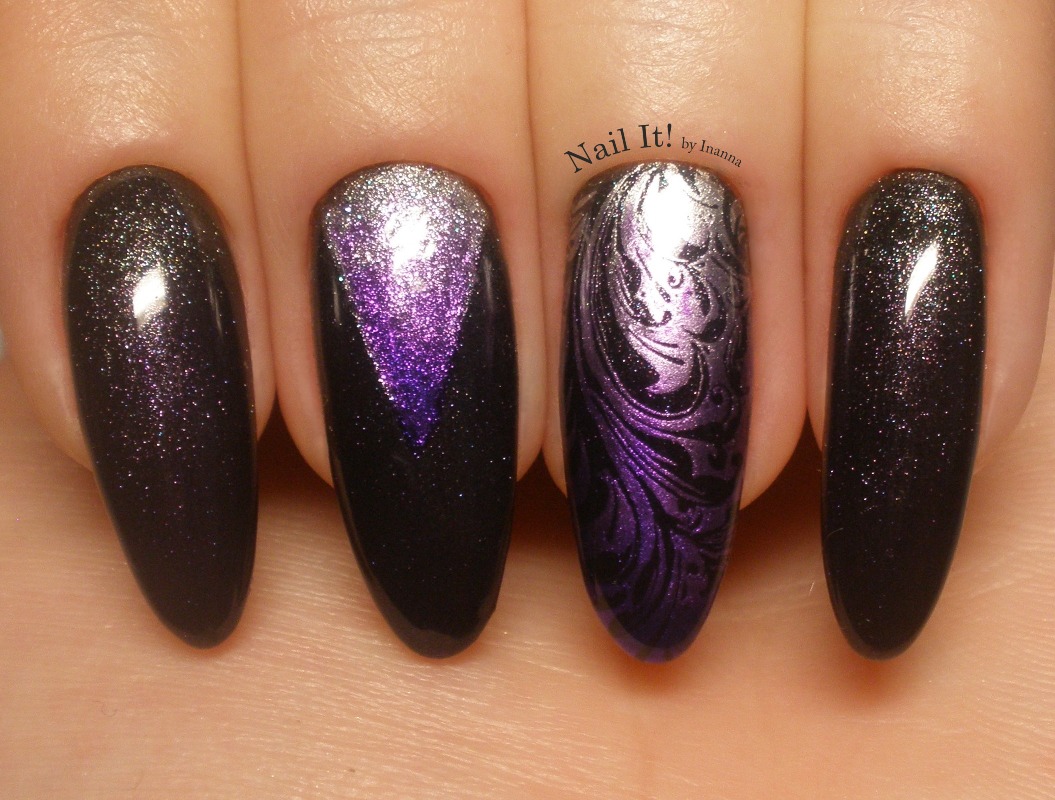
Why stick to plain old red and green nails when you can add some ombre magic to your holiday look? These festive ombre nails are the perfect way to make a statement at all your holiday parties. With different shades and designs to choose from, you can customize your ombre nails to match your personal style.2. Festive Ombre Nails for the Holidays


2. Festive Ombre Nails for the Holidays


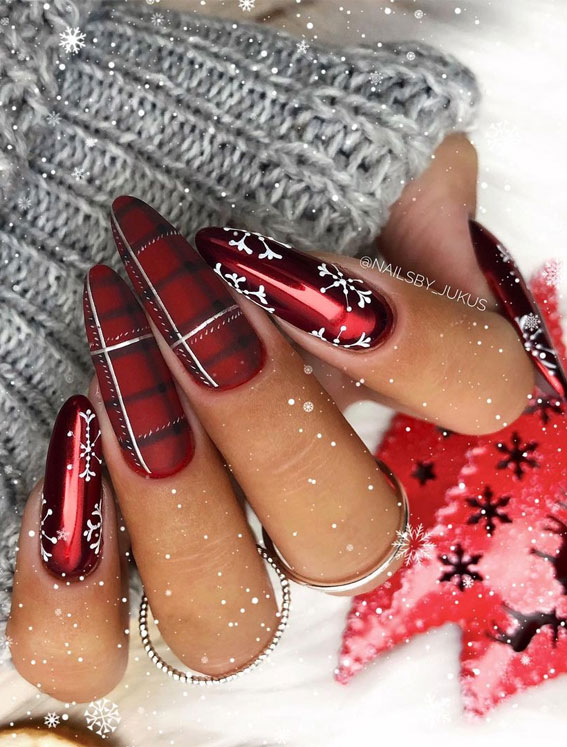
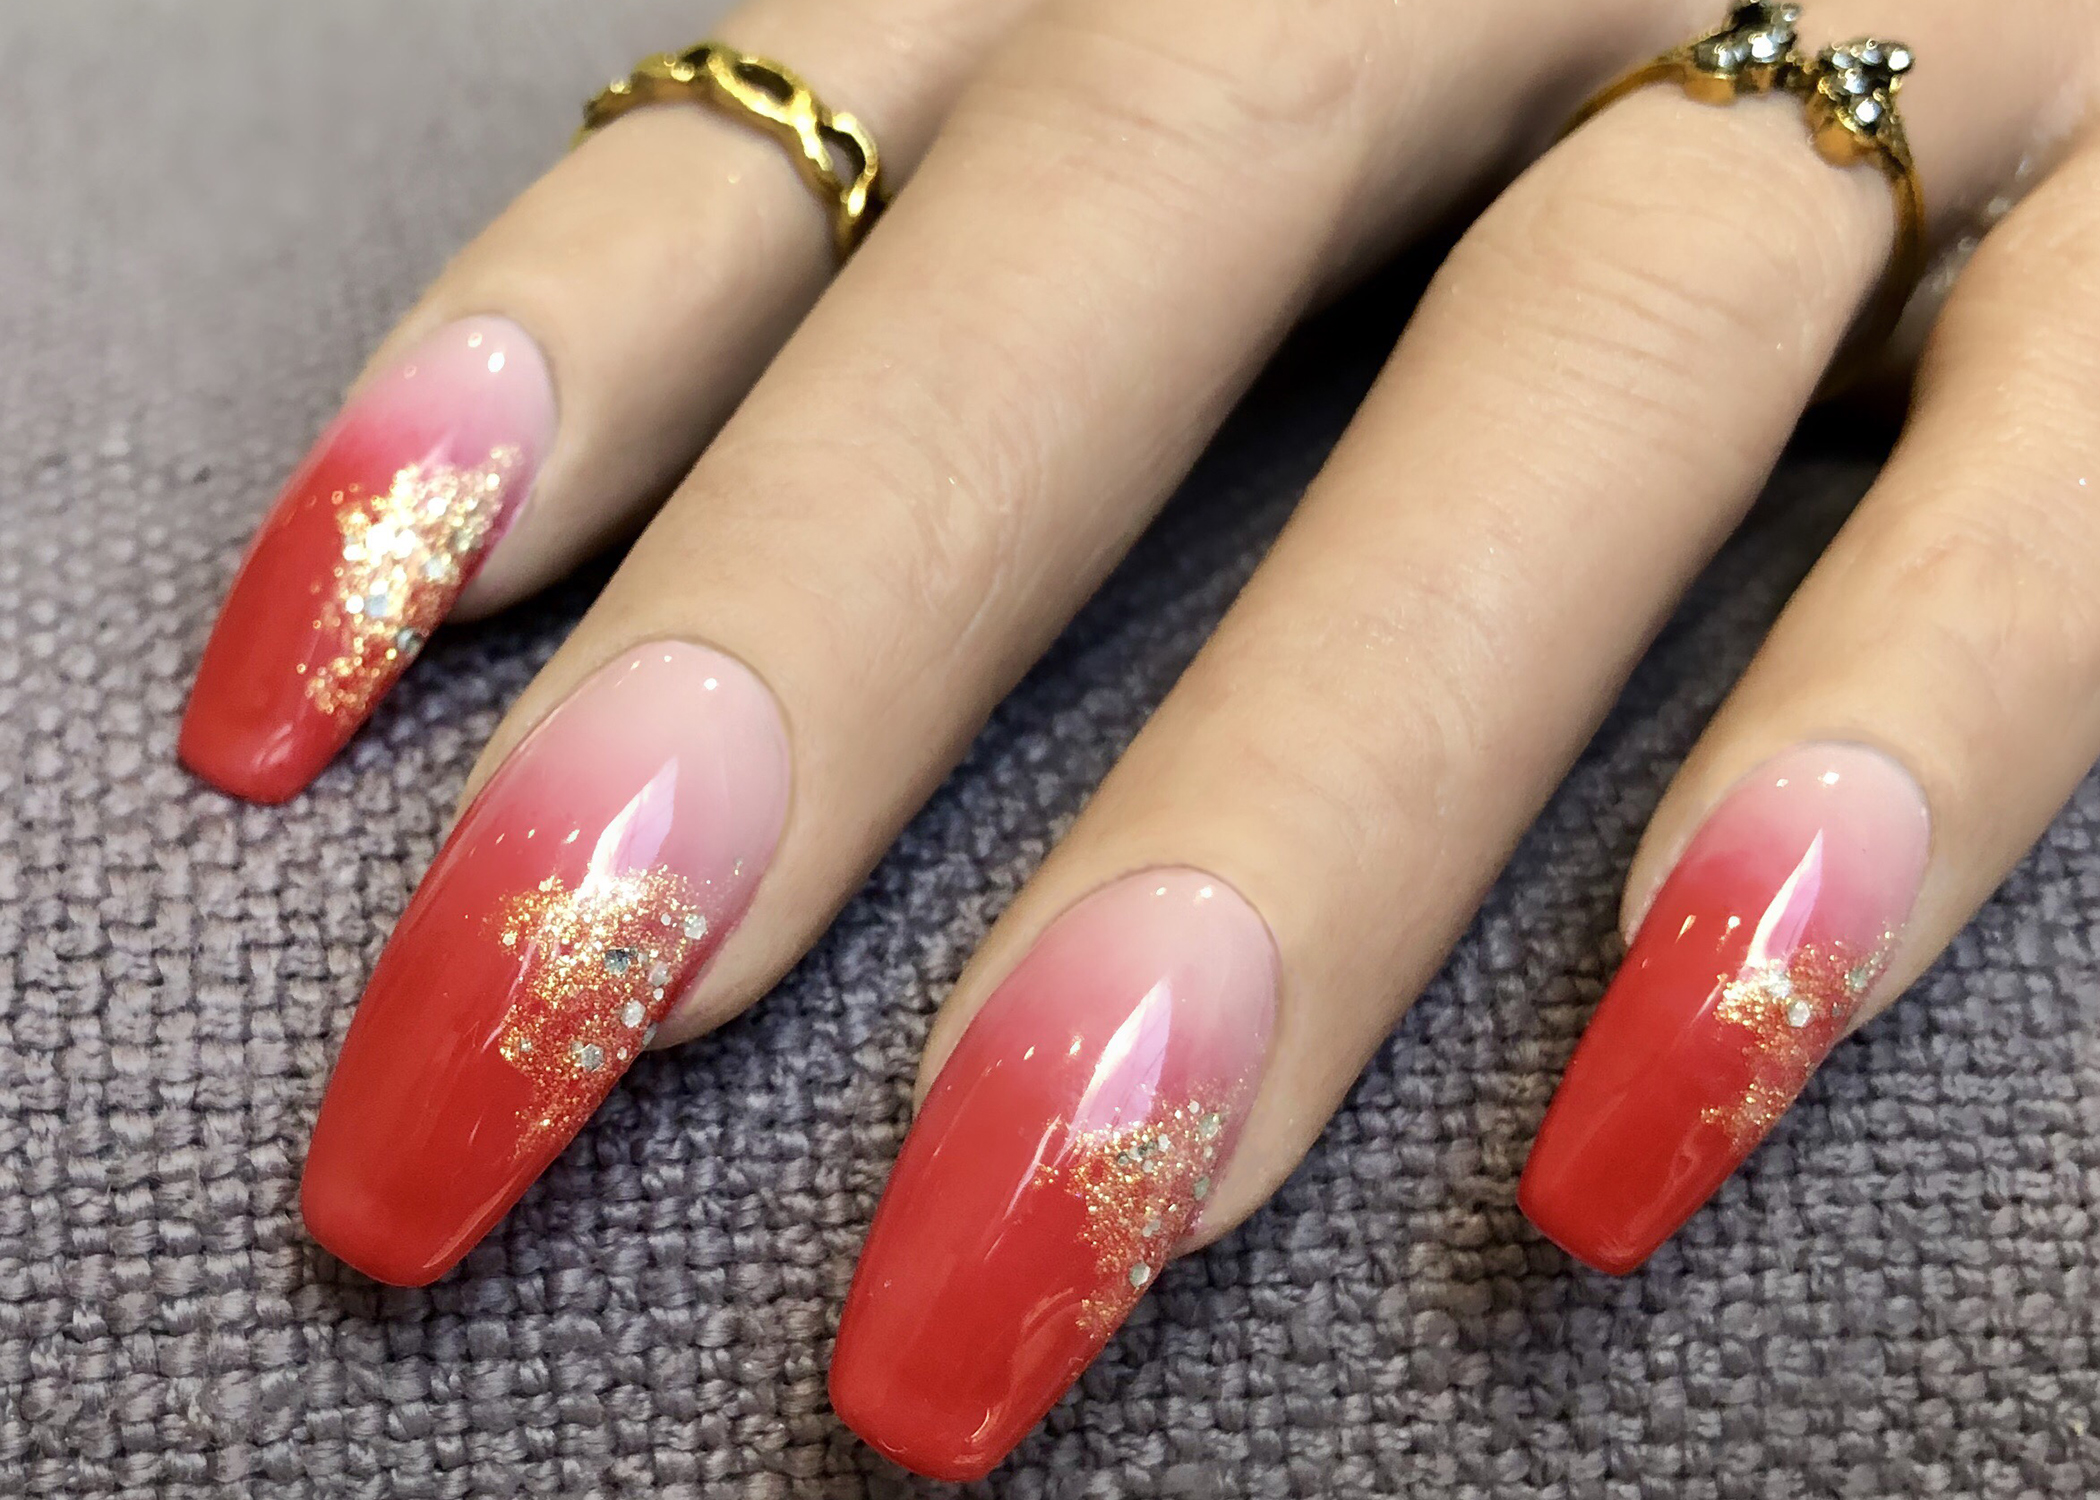
For a classic Christmas nail look, try out these red and green ombre nails. Start with a vibrant red at the base of your nails and gradually fade into a deep green at the tips. Add some glitter or rhinestones for some extra sparkle and you'll have the perfect holiday nails.3. Red and Green Ombre Christmas Nails


3. Red and Green Ombre Christmas Nails


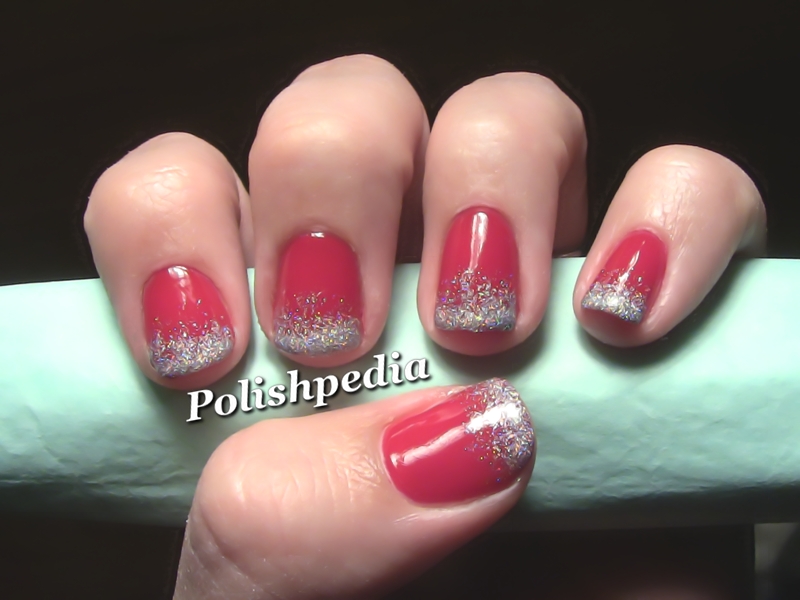
Add some glitz and glamour to your Christmas ombre nails with this glitter design. Start with a white base and add a gradient of gold and silver glitter to create a sparkling ombre effect. This design is perfect for those who love a little extra bling during the holiday season.4. Glitter Ombre Christmas Nail Design


4. Glitter Ombre Christmas Nail Design

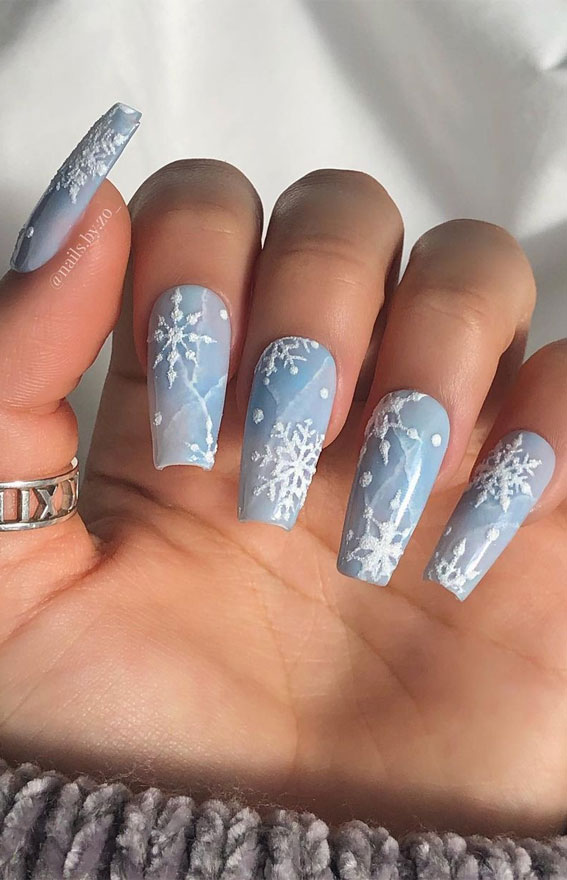
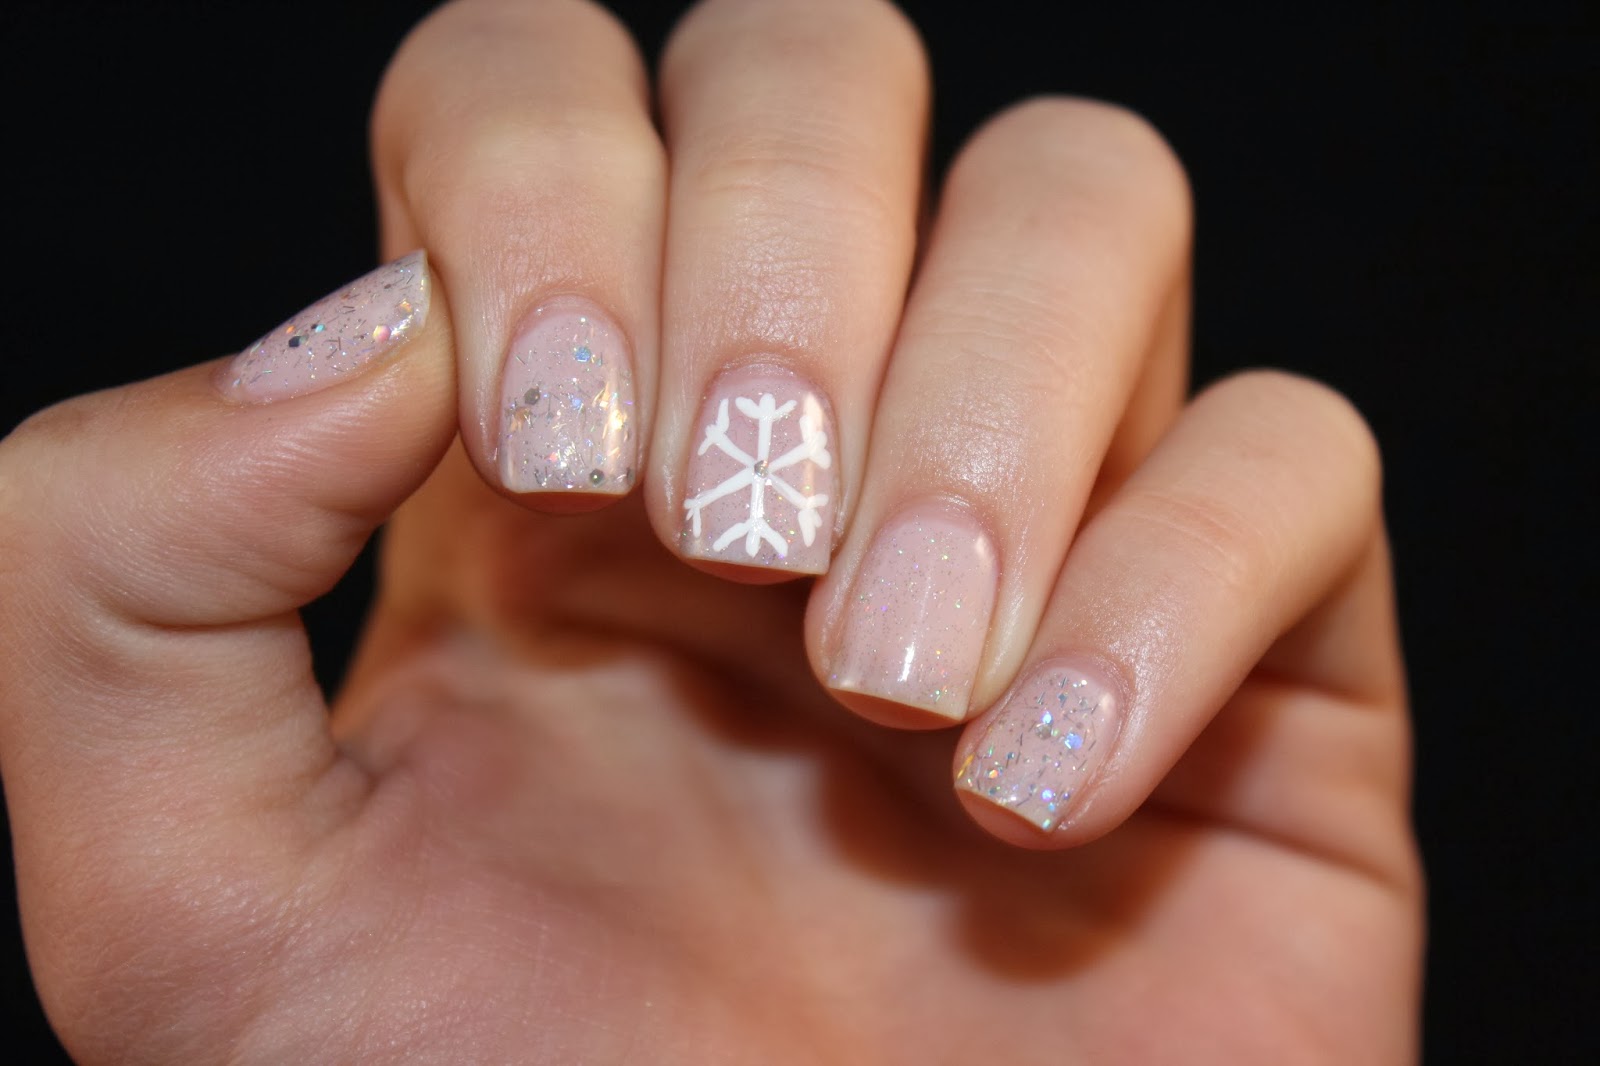
Embrace the winter wonderland with these snowflake ombre nails. Use a light blue base and create a gradient effect with white at the tips. Then, add some intricate snowflake designs using a nail stamp or nail decals. This design will make you feel like you're walking in a winter wonderland every time you look at your nails.5. Snowflake Ombre Nails for Christmas


5. Snowflake Ombre Nails for Christmas


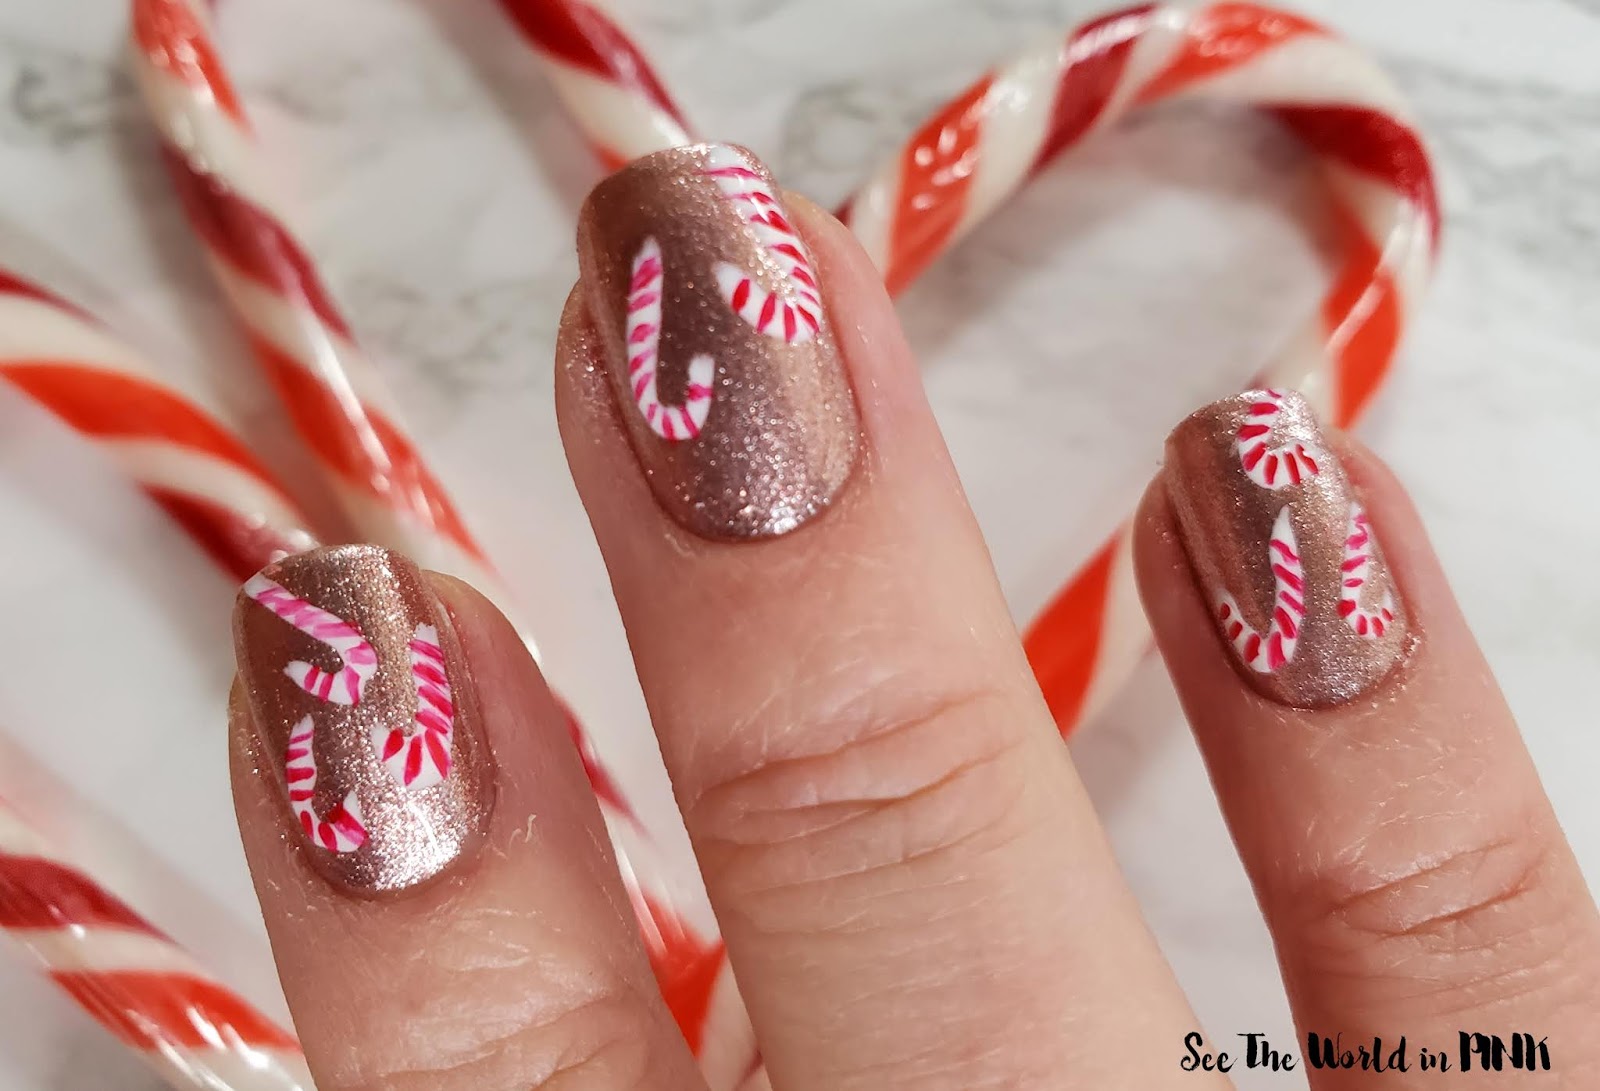
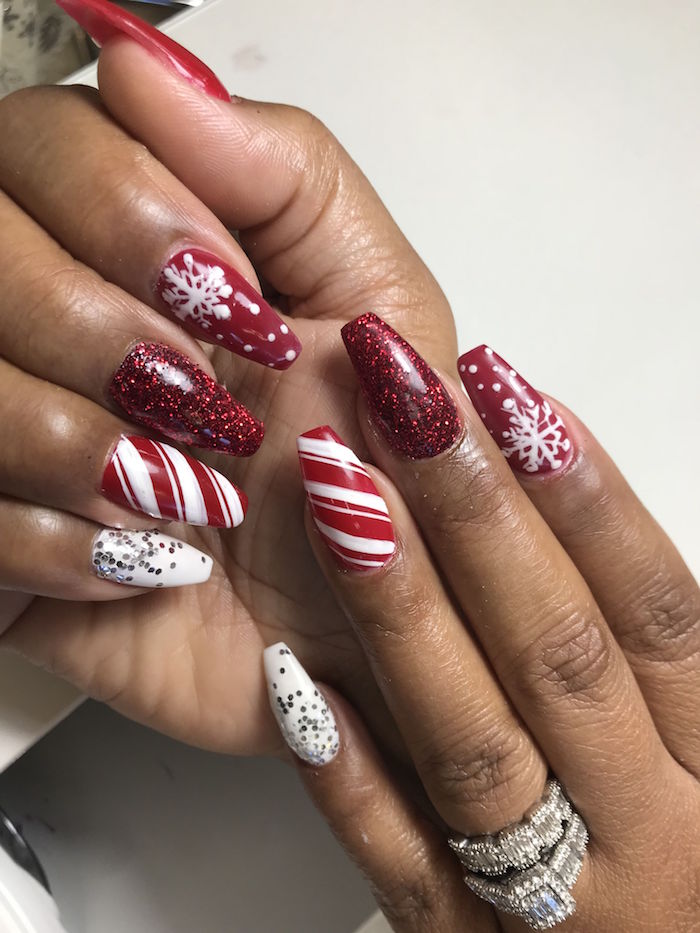
Get into the holiday spirit with these sweet candy cane ombre nails. Start with a white base and use a thin brush to create red stripes on each nail. Then, blend the red and white together to create a seamless ombre effect. This design is perfect for those who love a fun and playful holiday look.6. Candy Cane Ombre Nail Art

6. Candy Cane Ombre Nail Art

Show off your love for Christmas trees with these festive ombre nails. Start with a dark green base and gradually fade into a lighter green at the tips. Then, use a nail brush or nail art pen to create a simple Christmas tree design on each nail. Add a top coat for some shine and your nails will be ready for the holiday season.7. Christmas Tree Ombre Nails


7. Christmas Tree Ombre Nails

Add a touch of luxury to your holiday look with these silver and gold ombre nails. Start with a silver base and blend in some gold glitter at the tips for a stunning gradient effect. You can also add some metallic studs or sequins for an extra touch of glamour.8. Silver and Gold Ombre Christmas Nails
8. Silver and Gold Ombre Christmas Nails
Bring some festive cheer to your nails with these adorable reindeer ombre nails. Start with a light brown base and use a nail brush or nail art pen to create a reindeer design on each nail. Then, use a darker brown at the tips to create a subtle ombre effect. This design is perfect for those who love a cute and whimsical holiday look.9. Reindeer Ombre Nail Design

9. Reindeer Ombre Nail Design


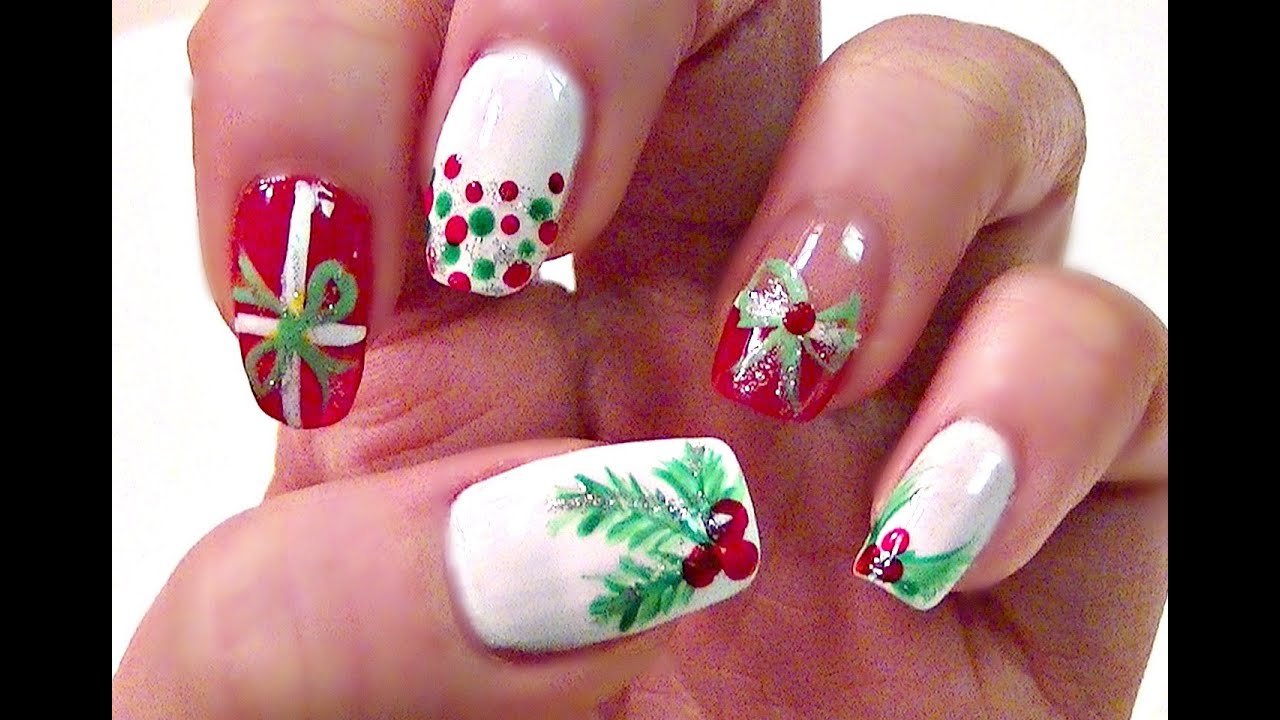
Get into the Christmas spirit with these holly and berry ombre nails. Start with a deep green base and use a nail brush or nail art pen to add holly and berry designs on each nail. Then, use a lighter green at the tips to create a stunning ombre effect. This design is perfect for those who love a traditional holiday look.10. Holly and Berry Ombre Nails for Christmas
10. Holly and Berry Ombre Nails for Christmas
Get Festive with Christmas Ombre Nail Art

Introduction
 Christmas is just around the corner and it's time to get into the holiday spirit! While decorating your house and getting the perfect Christmas tree are important, don't forget about your nails. Adding some festive flair to your nails is a great way to show off your holiday spirit. One trendy and eye-catching nail art design that is perfect for Christmas is ombre nails. This technique creates a gradual color transition from light to dark, giving your nails a unique and beautiful look. In this article, we will explore how you can achieve the perfect Christmas ombre nail art and some creative ideas to make your nails stand out this holiday season.
Step 1: Gather Your Supplies
 Before you begin creating your Christmas ombre nails, make sure you have all the necessary supplies. This includes a base coat, two or three nail polish colors of your choice, a makeup sponge, and a top coat. It's important to have a clean and flat surface to work on, so make sure to lay down some paper towels or a plastic sheet to protect your workspace.
Step 2: Choose Your Colors
 When it comes to Christmas ombre nails, the color options are endless. You can go for the classic red and green combination, or opt for silver and gold for a more glamorous look. You can also add some glitter or metallic shades to make your ombre nails really pop.
Featured keywords: Christmas ombre nail art, holiday spirit, trendy, eye-catching, ombre nails, color transition, unique, beautiful, creative ideas
When it comes to Christmas ombre nails, the color options are endless. You can go for the classic red and green combination, or opt for silver and gold for a more glamorous look. You can also add some glitter or metallic shades to make your ombre nails really pop.
Featured keywords: Christmas ombre nail art, holiday spirit, trendy, eye-catching, ombre nails, color transition, unique, beautiful, creative ideas
Step 3: Prep Your Nails
 Start by applying a base coat to your nails to protect them and create a smooth surface for your ombre design. Let it dry completely before moving on to the next step.
Step 4: Paint Your Gradient
 Take your first nail polish color and paint it onto the makeup sponge in a vertical stripe. Make sure the stripe is wide enough to cover your entire nail. Next, take your second color and paint it onto the sponge, slightly overlapping with the first color. If you are using a third color, repeat the process with the third color.
Related main keywords: ombre design, base coat, gradient, makeup sponge, vertical stripe, nail polish color
Take your first nail polish color and paint it onto the makeup sponge in a vertical stripe. Make sure the stripe is wide enough to cover your entire nail. Next, take your second color and paint it onto the sponge, slightly overlapping with the first color. If you are using a third color, repeat the process with the third color.
Related main keywords: ombre design, base coat, gradient, makeup sponge, vertical stripe, nail polish color
Step 5: Dab on the Colors
 Now comes the fun part! Dab the sponge onto your nail, starting at the cuticle and working your way down to the tip. Gently press and roll the sponge to blend the colors together. You may need to repeat this step a few times to get the desired intensity of the colors.
Step 6: Finish with a Top Coat
 Once your ombre design is dry, apply a top coat to seal in the colors and give your nails a glossy finish. This will also help your Christmas ombre nail art last longer.
Get Creative with Your Designs
 There are endless ways to add some creative touches to your Christmas ombre nails. You can add some holiday-themed nail stickers or use a nail brush to create intricate designs. You can even add some rhinestones or pearls for some extra sparkle. Let your imagination run wild and have fun with it!
Featured keyword: creative
There are endless ways to add some creative touches to your Christmas ombre nails. You can add some holiday-themed nail stickers or use a nail brush to create intricate designs. You can even add some rhinestones or pearls for some extra sparkle. Let your imagination run wild and have fun with it!
Featured keyword: creative
In Conclusion
 Christmas ombre nail art is a great way to add some festive spirit to your holiday look. With the right supplies and some creativity, you can achieve the perfect ombre design for your nails. So why not give it a try and show off your holiday spirit with some gorgeous Christmas ombre nails?


