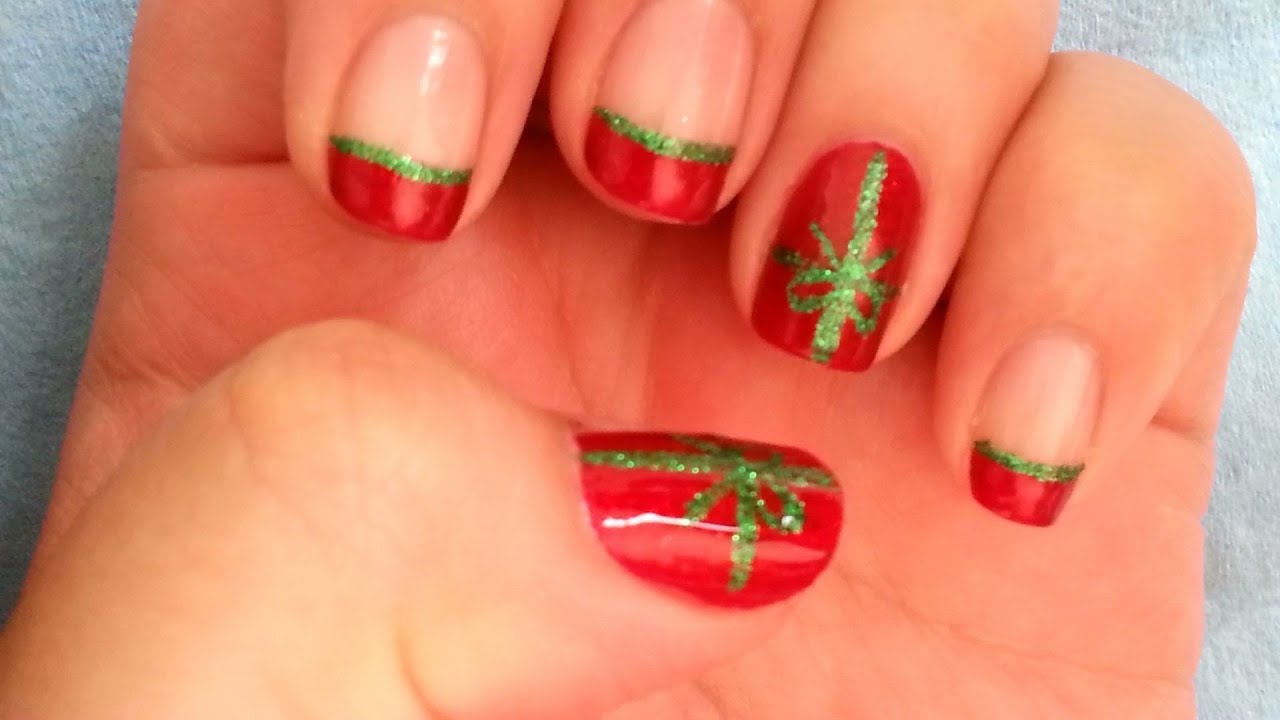
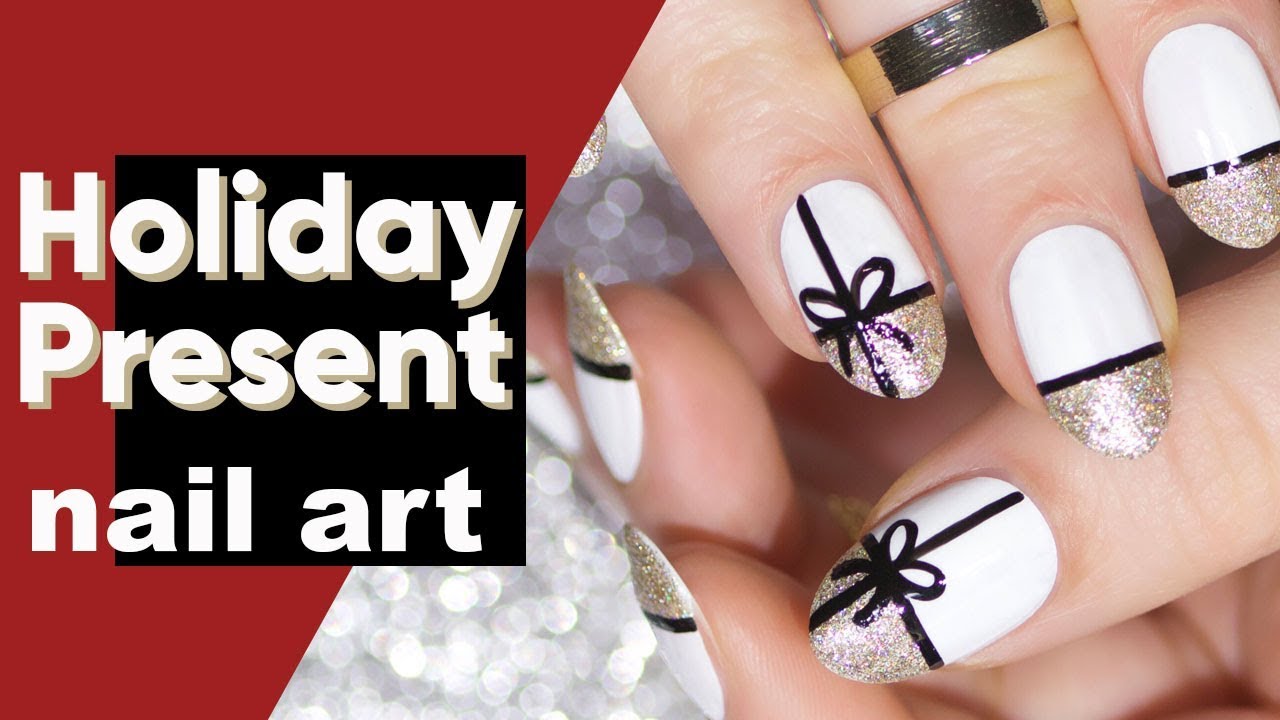
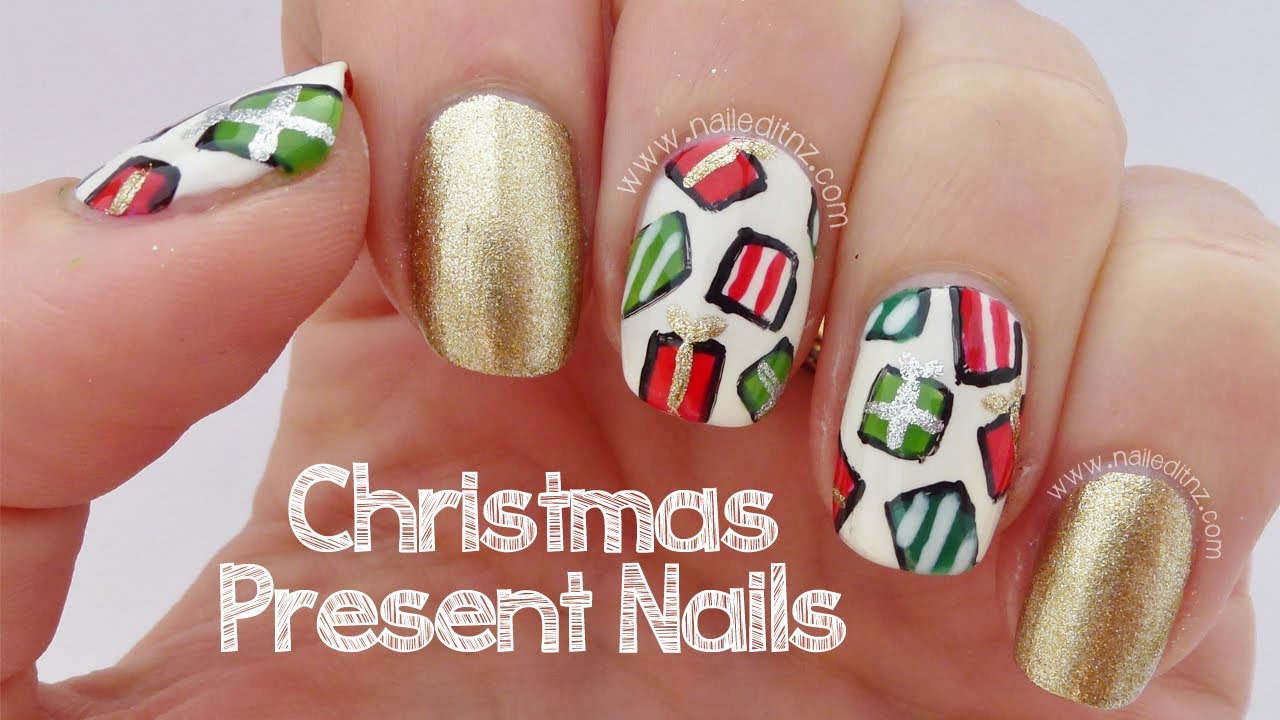
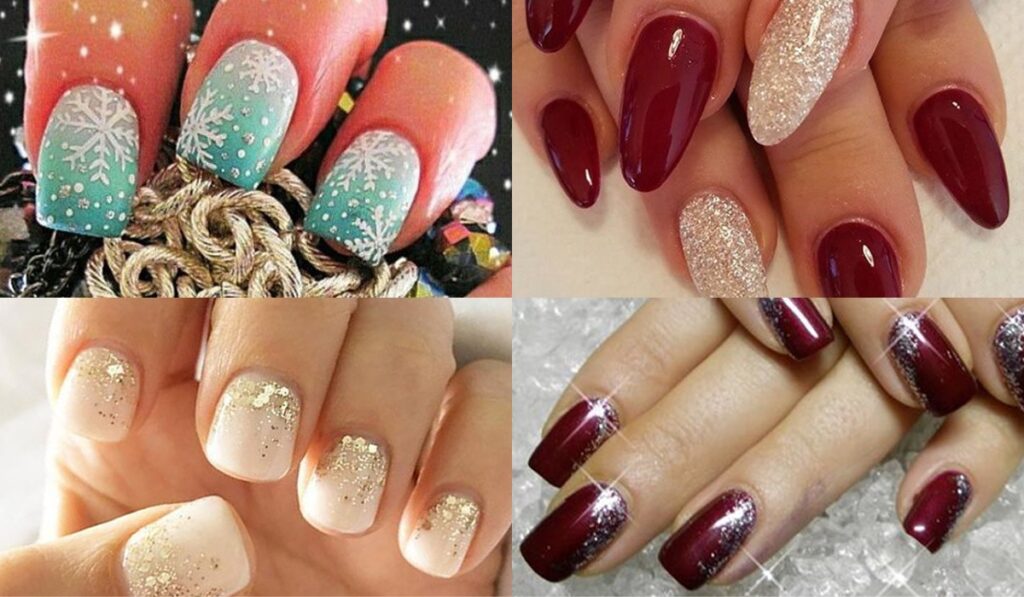
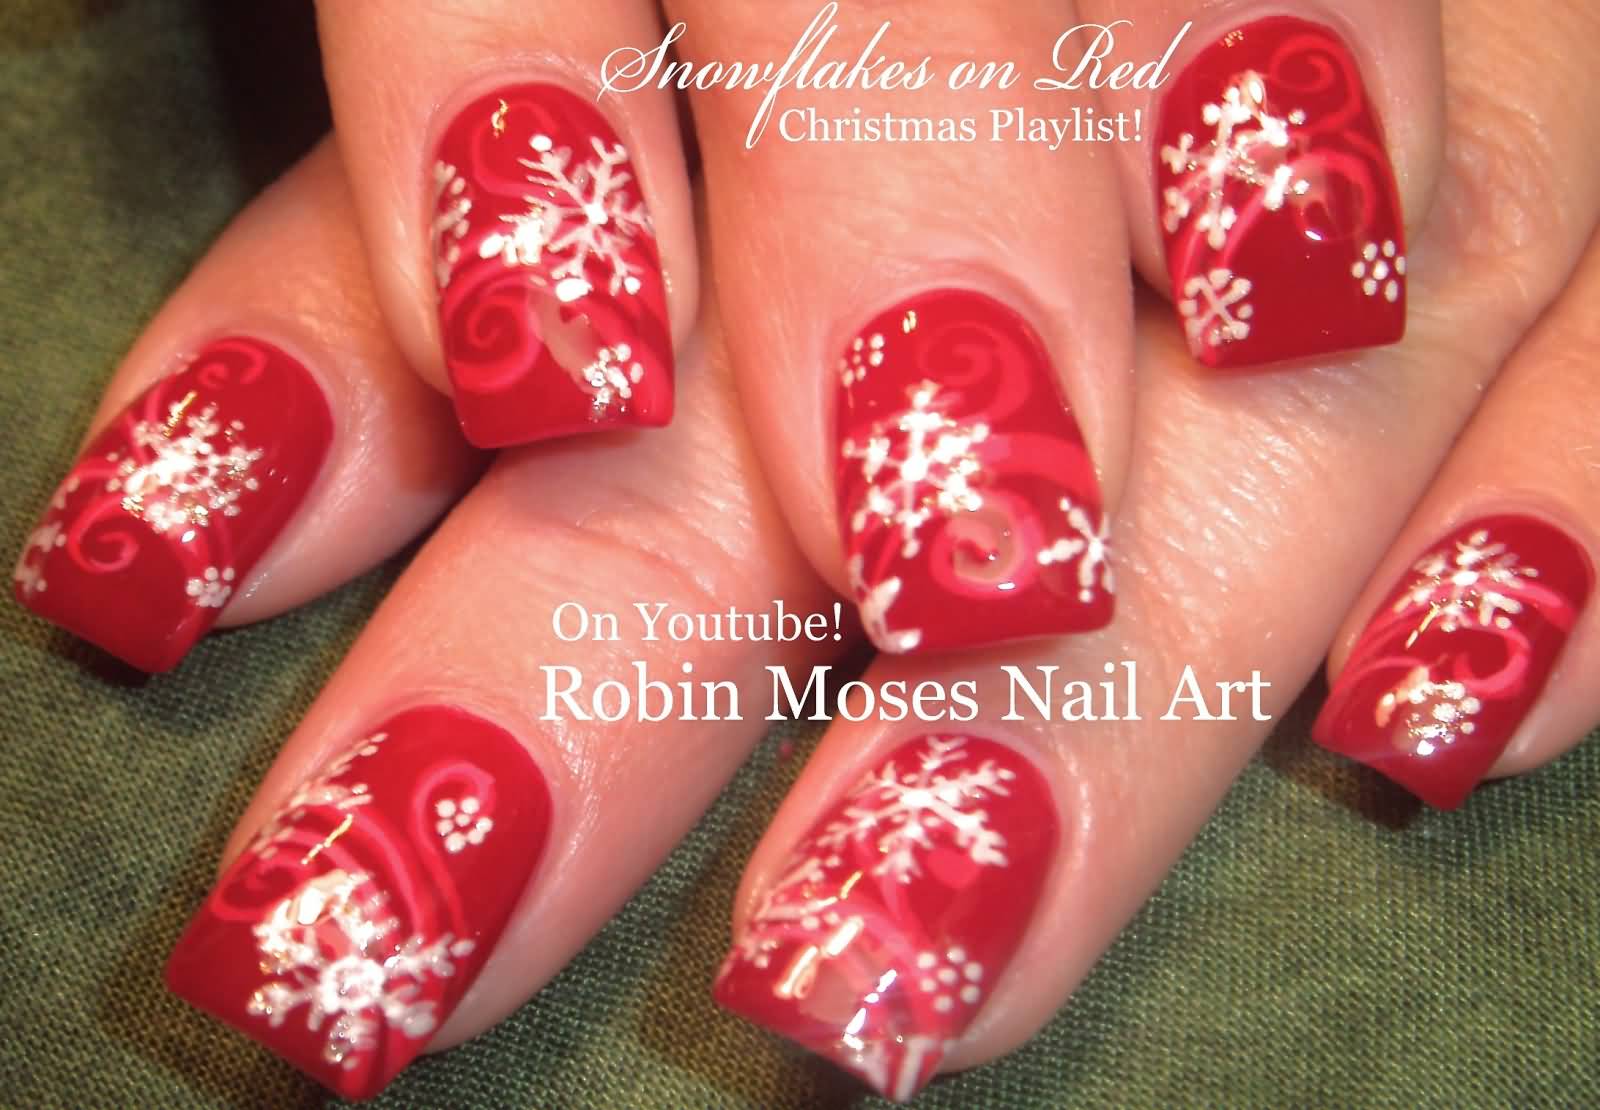
Looking for a simple yet festive nail art design for the holiday season? Look no further than our easy Christmas present nail art tutorial! This design is perfect for beginners and can be created with just a few simple steps. Start by applying a base coat to protect your nails and allow it to dry completely. Then, using red and green nail polish, paint two coats of each color on alternate nails. This will create the base for your Christmas present design. Next, take a thin striping brush and white nail polish to create the ribbon on your presents. Start at one corner of your nail and paint a diagonal line towards the opposite corner. Then, paint another line in the opposite direction to create a cross. Fill in the remaining space with white polish to create a crisp and clean ribbon. For the finishing touch, add a small gold or silver stud at the center of the ribbon to represent the bow. Seal in your design with a glossy top coat and voila! You now have a simple and elegant Christmas present nail art design.1. "Easy Christmas Present Nail Art Tutorial"


1. "Easy Christmas Present Nail Art Tutorial"


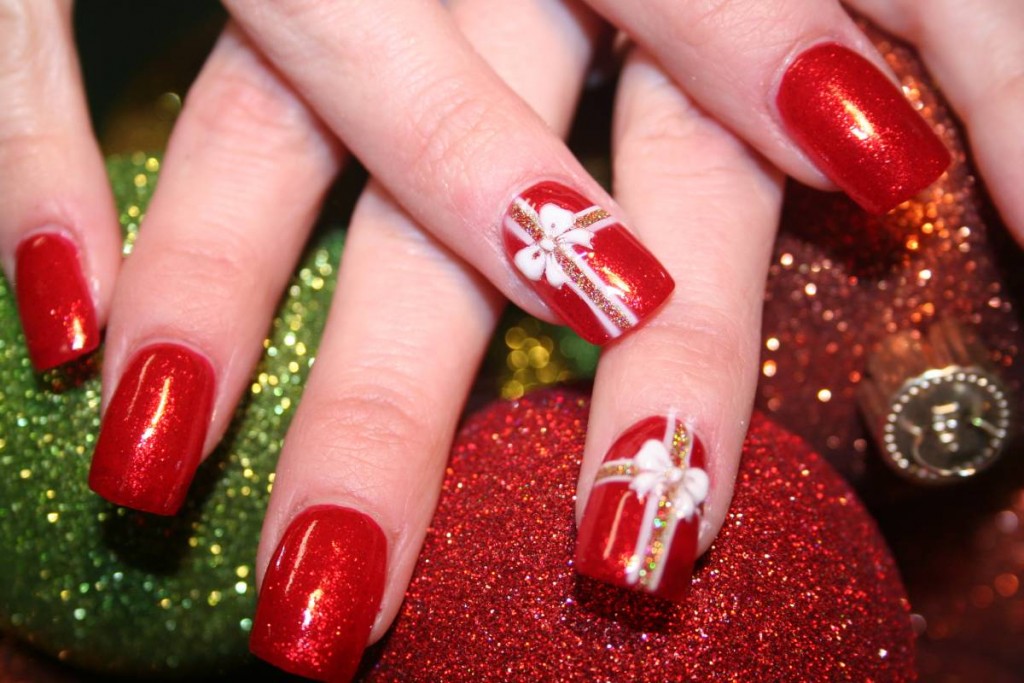

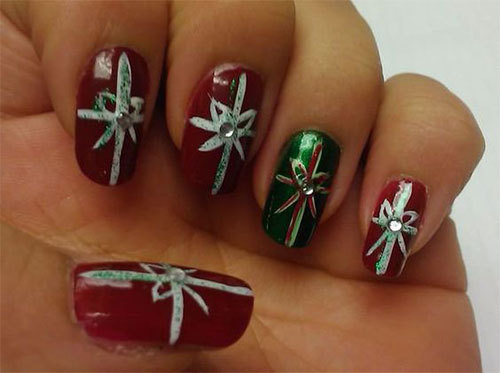
Want to save some extra money this holiday season? Try our DIY Christmas present nail art tutorial to create a stunning design at home. Not only is this a budget-friendly option, but it also allows you to customize the design to your liking. Start with a base coat and allow it to dry completely. Then, using red, green, and white nail polish, create a striped pattern on each nail. You can use tape to create straight lines or freehand it for a more unique look. Next, take a small piece of tape and create a square shape on each nail using the same color as the base. This will represent the present. Then, using a thin striping brush, paint a diagonal line on the square with a different color to create the ribbon. Fill in the remaining space with the same color to complete the present design. For an extra touch, you can add small rhinestones or glitter on the ribbon to make it stand out. Finish with a top coat to seal in your design and you'll have a unique and budget-friendly Christmas present nail art.2. "DIY Christmas Present Nail Art Tutorial"

2. "DIY Christmas Present Nail Art Tutorial"


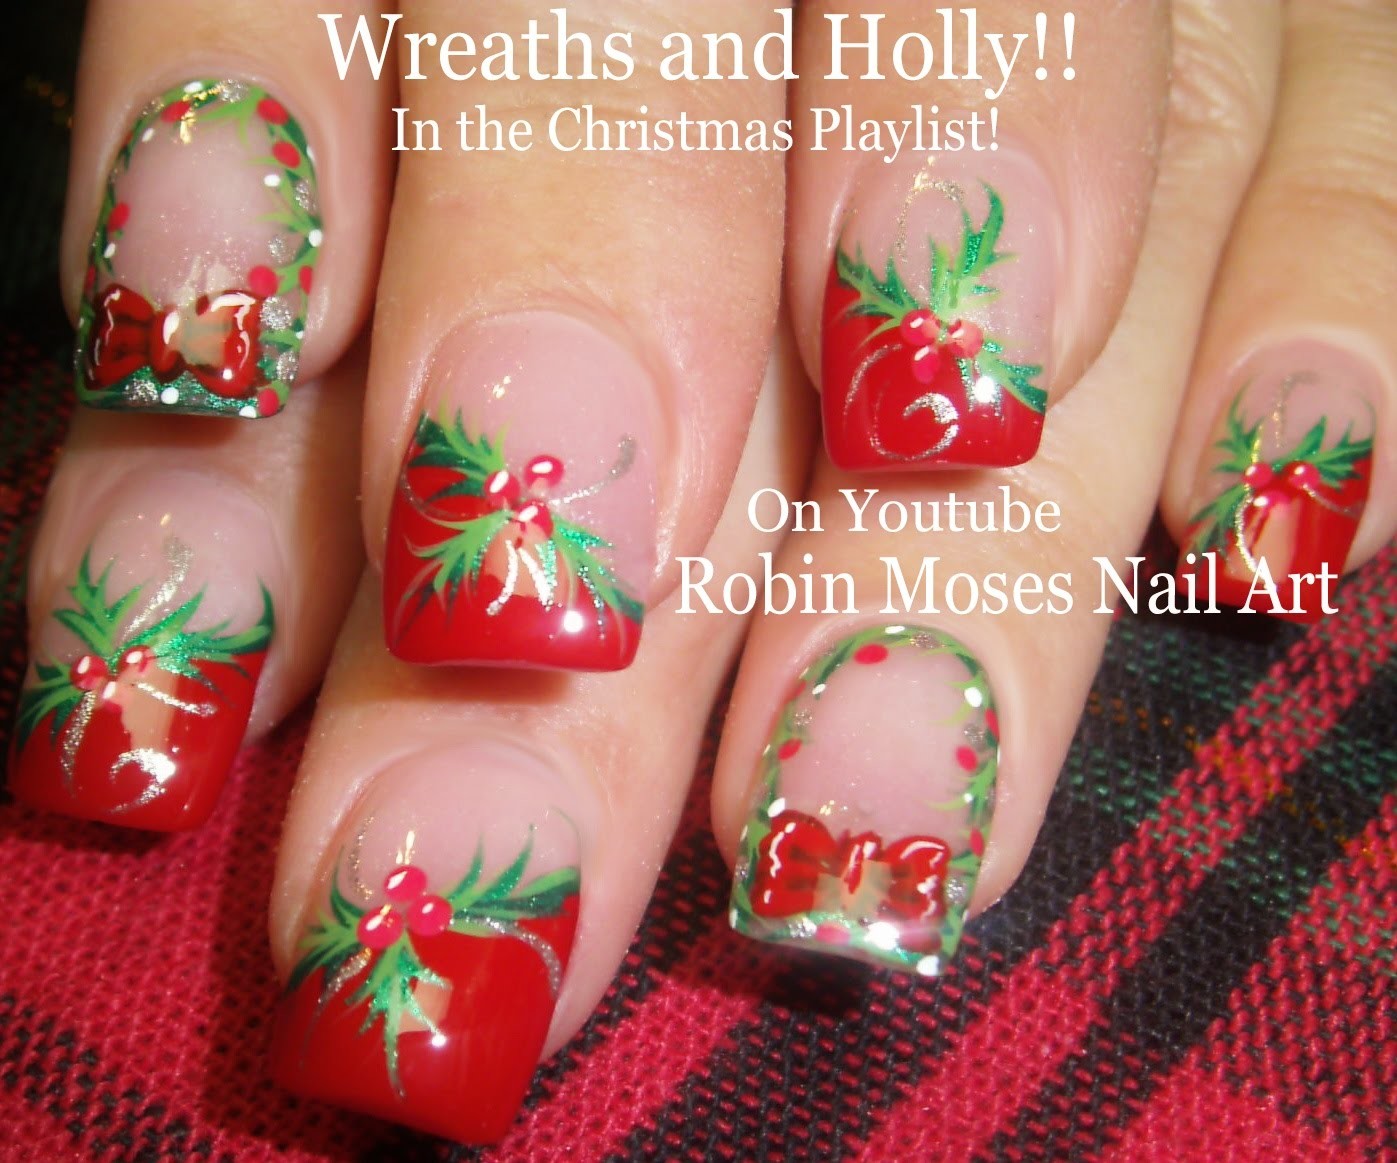
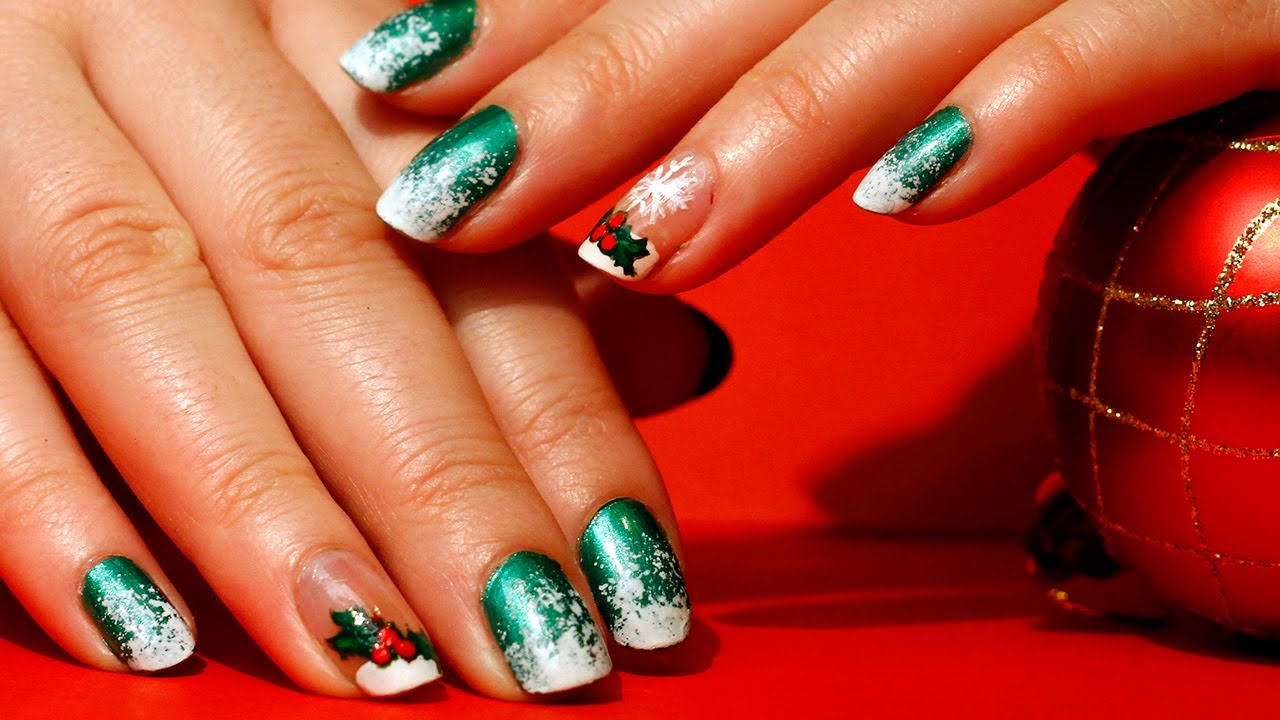
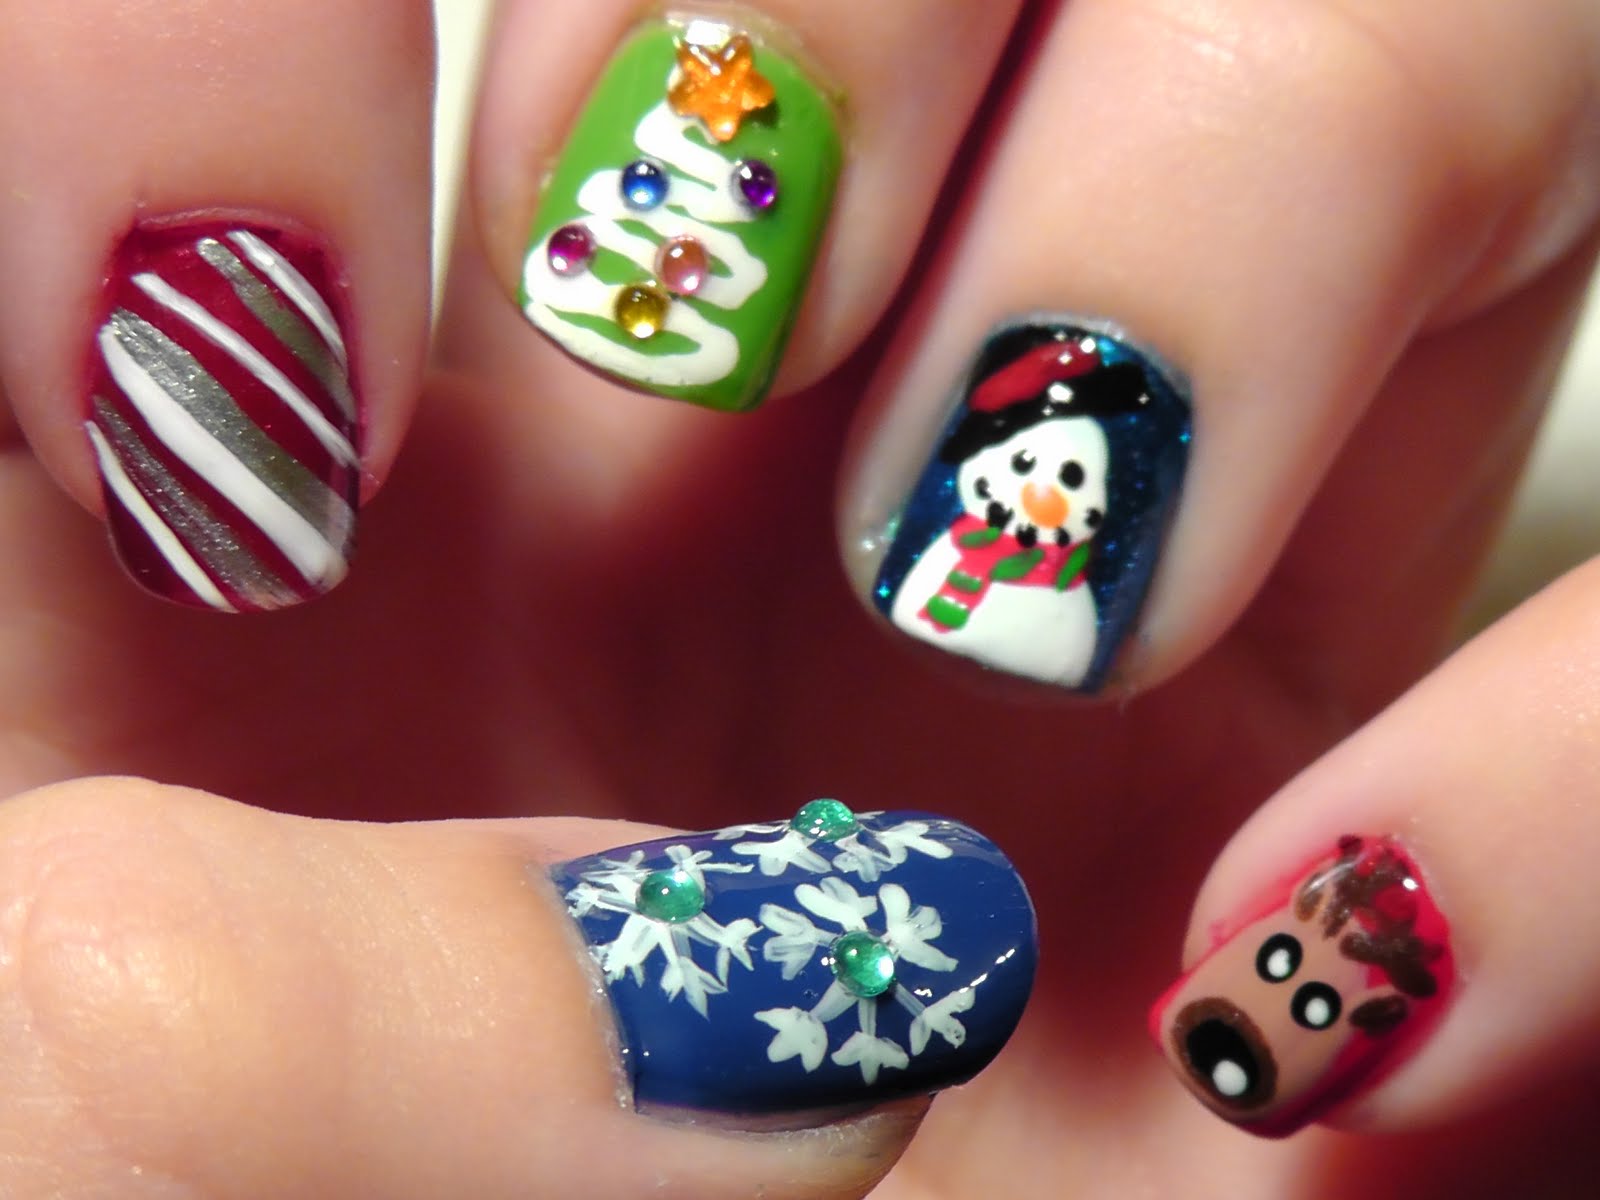
If you're looking for a cute and playful nail art design for the holiday season, our Christmas present tutorial is the perfect fit. This design is fun and festive, making it a great option for all ages. To start, apply a base coat and allow it to dry completely. Then, using white, red, and green nail polish, paint diagonal stripes on each nail. Make sure to leave some space at the bottom for the present design. Next, take a small piece of tape and create a square shape on the bottom of each nail using a contrasting color. Then, using a small dotting tool or toothpick, create small dots on the square to represent the wrapping paper. You can use multiple colors for a more playful look. Finally, using a thin striping brush, paint a diagonal line across the square to create the ribbon. Fill in the remaining space with the same color to complete the present design. Finish with a top coat and you'll have a cute and festive Christmas present nail art.3. "Cute Christmas Present Nail Art Tutorial"


3. "Cute Christmas Present Nail Art Tutorial"


For those who prefer a more detailed and thorough tutorial, our step-by-step Christmas present nail art tutorial is perfect for you. Follow these simple steps to create a beautiful and festive design on your nails. Start by applying a base coat and allowing it to dry completely. Then, using red, green, and white nail polish, create a striped pattern on each nail. You can use tape or freehand it for a more unique look. Next, take a small piece of tape and create a square shape on each nail using a contrasting color. Then, using a thin striping brush, paint a diagonal line across the square to create the ribbon. Fill in the remaining space with the same color to complete the present design. For an extra touch, you can add small rhinestones or glitter on the ribbon to make it stand out. Finish with a top coat to seal in your design and you'll have a stunning Christmas present nail art.4. "Step-by-Step Christmas Present Nail Art Tutorial"
4. "Step-by-Step Christmas Present Nail Art Tutorial"


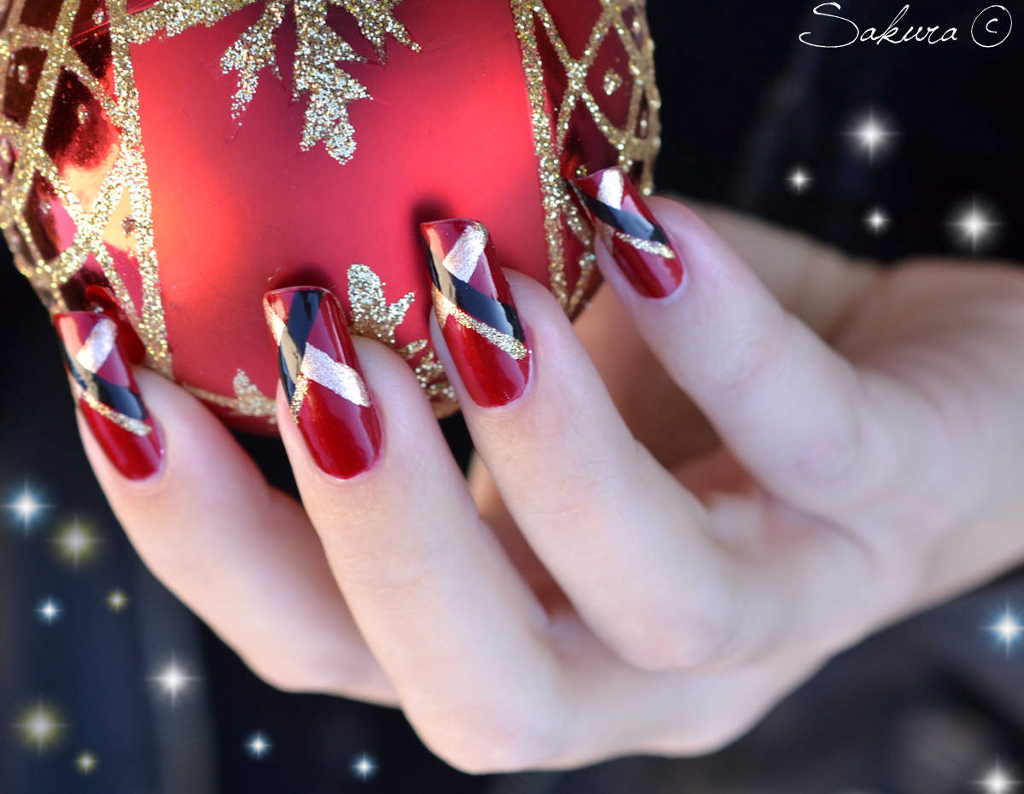

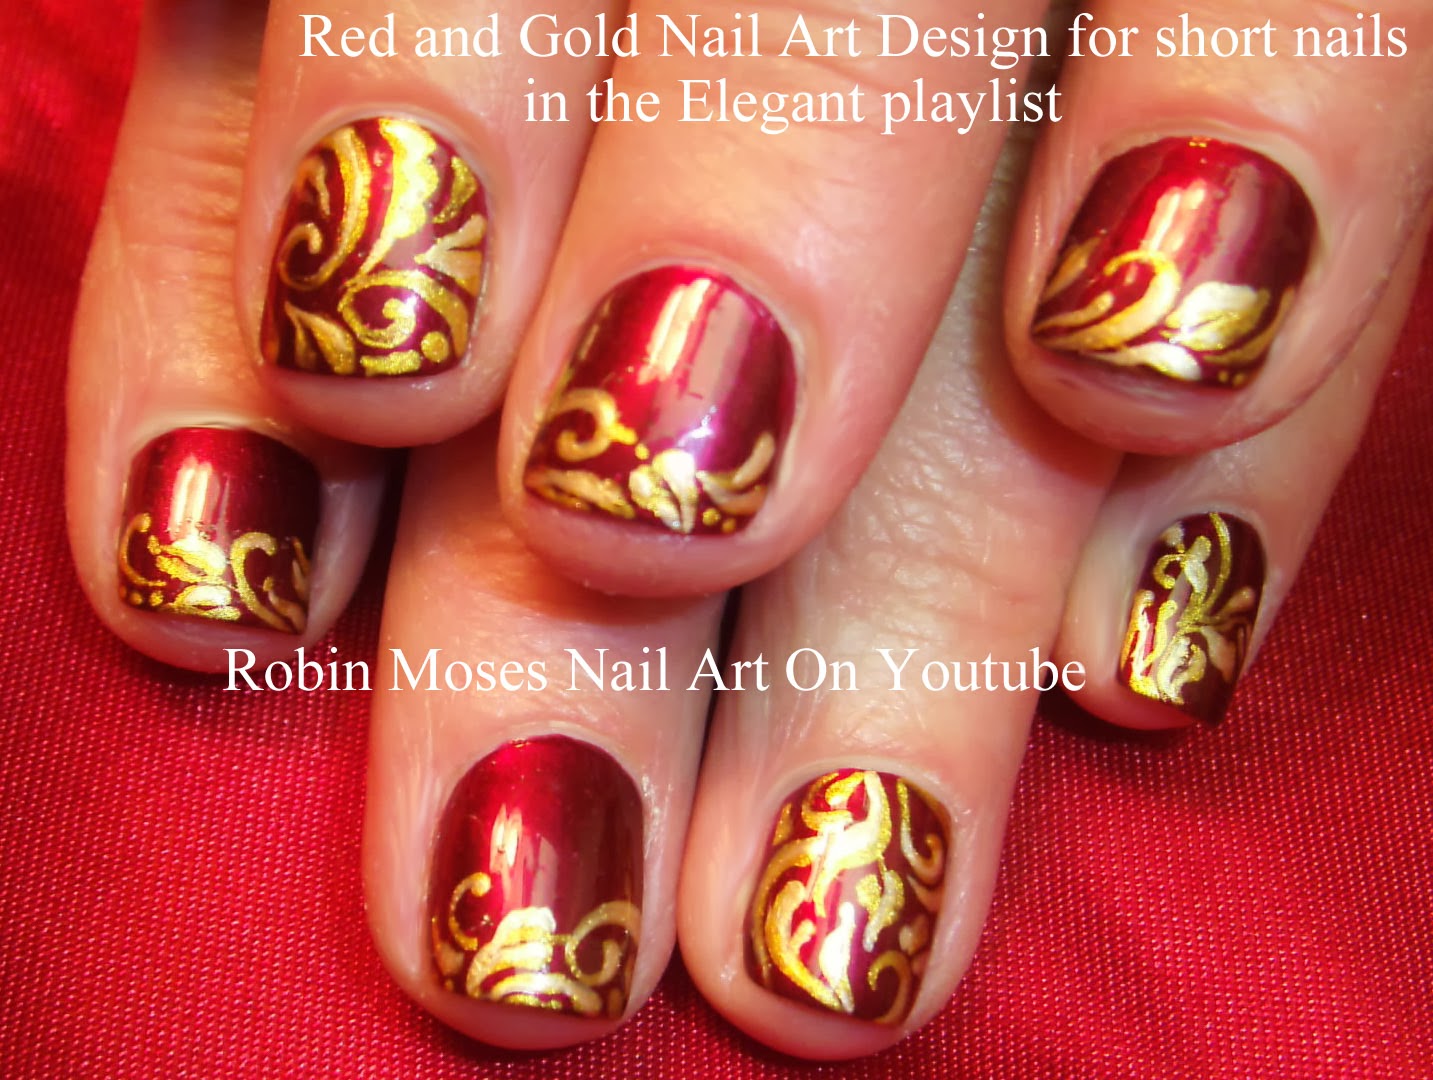
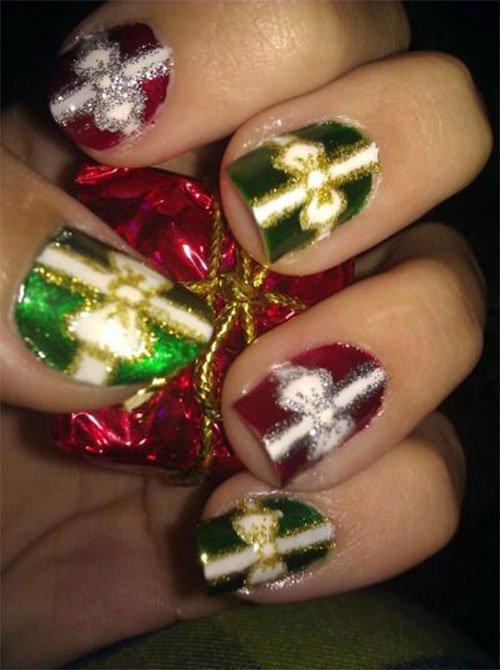
Get into the holiday spirit with our festive Christmas present nail art tutorial. This design is perfect for those who want a more bold and eye-catching look for the holiday season. Start with a base coat and allow it to dry completely. Then, using red, green, and gold nail polish, paint diagonal stripes on each nail. Make sure to leave some space at the bottom for the present design. Next, take a small piece of tape and create a square shape on the bottom of each nail using a contrasting color. Then, using a small dotting tool or toothpick, create small dots on the square to represent the wrapping paper. You can use multiple colors for a more playful look. Finally, using a thin striping brush, paint a diagonal line across the square to create the ribbon. Fill in the remaining space with the same color to complete the present design. Finish with a top coat and you'll have a festive and eye-catching Christmas present nail art.5. "Festive Christmas Present Nail Art Tutorial"


5. "Festive Christmas Present Nail Art Tutorial"
Looking for a versatile holiday nail art design? Our Christmas present design is perfect for any festive occasion, whether it's Christmas, New Year's, or any holiday gathering. To start, apply a base coat and allow it to dry completely. Then, using red, green, and white nail polish, paint diagonal stripes on each nail. You can use tape or freehand it for a more unique look. Next, take a small piece of tape and create a square shape on the bottom of each nail using a contrasting color. Then, using a thin striping brush, paint a diagonal line across the square to create the ribbon. Fill in the remaining space with the same color to complete the present design. For an extra touch, you can add small rhinestones or glitter on the ribbon to make it stand out. Finish with a top coat to seal in your design and you'll have a versatile and festive Christmas present nail art.6. "Holiday Nail Art Tutorial: Christmas Present Design"


6. "Holiday Nail Art Tutorial: Christmas Present Design"

If you're new to nail art, our tutorial on how to create a Christmas present design is a great starting point. Follow these simple steps to create a beautiful and festive design on your nails. Start by applying a base coat and allowing it to dry completely. Then, using red, green, and white nail polish, create a striped pattern on each nail. You can use tape or freehand it for a more unique look. Next, take a small piece of tape and create a square shape on each nail using a contrasting color. Then, using a thin striping brush, paint a diagonal line across the square to create the ribbon. Fill in the remaining space with the same color to complete the present design. For an extra touch, you can add small rhinestones or glitter on the ribbon to make it stand out. Finish with a top coat to seal in your design and you'll have a beautiful Christmas present nail art.7. "Nail Art Tutorial: How to Create a Christmas Present Design"


7. "Nail Art Tutorial: How to Create a Christmas Present Design"


If you're new to nail art and want to try your hand at a festive design, our Christmas present nail art tutorial for beginners is the perfect fit. Follow these simple steps to create a stunning design on your nails. Start with a base coat and allow it to dry completely. Then, using red, green, and white nail polish, paint diagonal stripes on each nail. You can use tape or freehand it for a more unique look. Next, take a small piece of tape and create a square shape on the bottom of each nail using a contrasting color. Then, using a thin striping brush, paint a diagonal line across the square to create the ribbon. Fill in the remaining space with the same color to complete the present design. For an extra touch, you can add small rhinestones or glitter on the ribbon to make it stand out. Finish with a top coat and you'll have a beautiful and easy Christmas present nail art.8. "Christmas Present Nail Art Tutorial for Beginners"
8. "Christmas Present Nail Art Tutorial for Beginners"

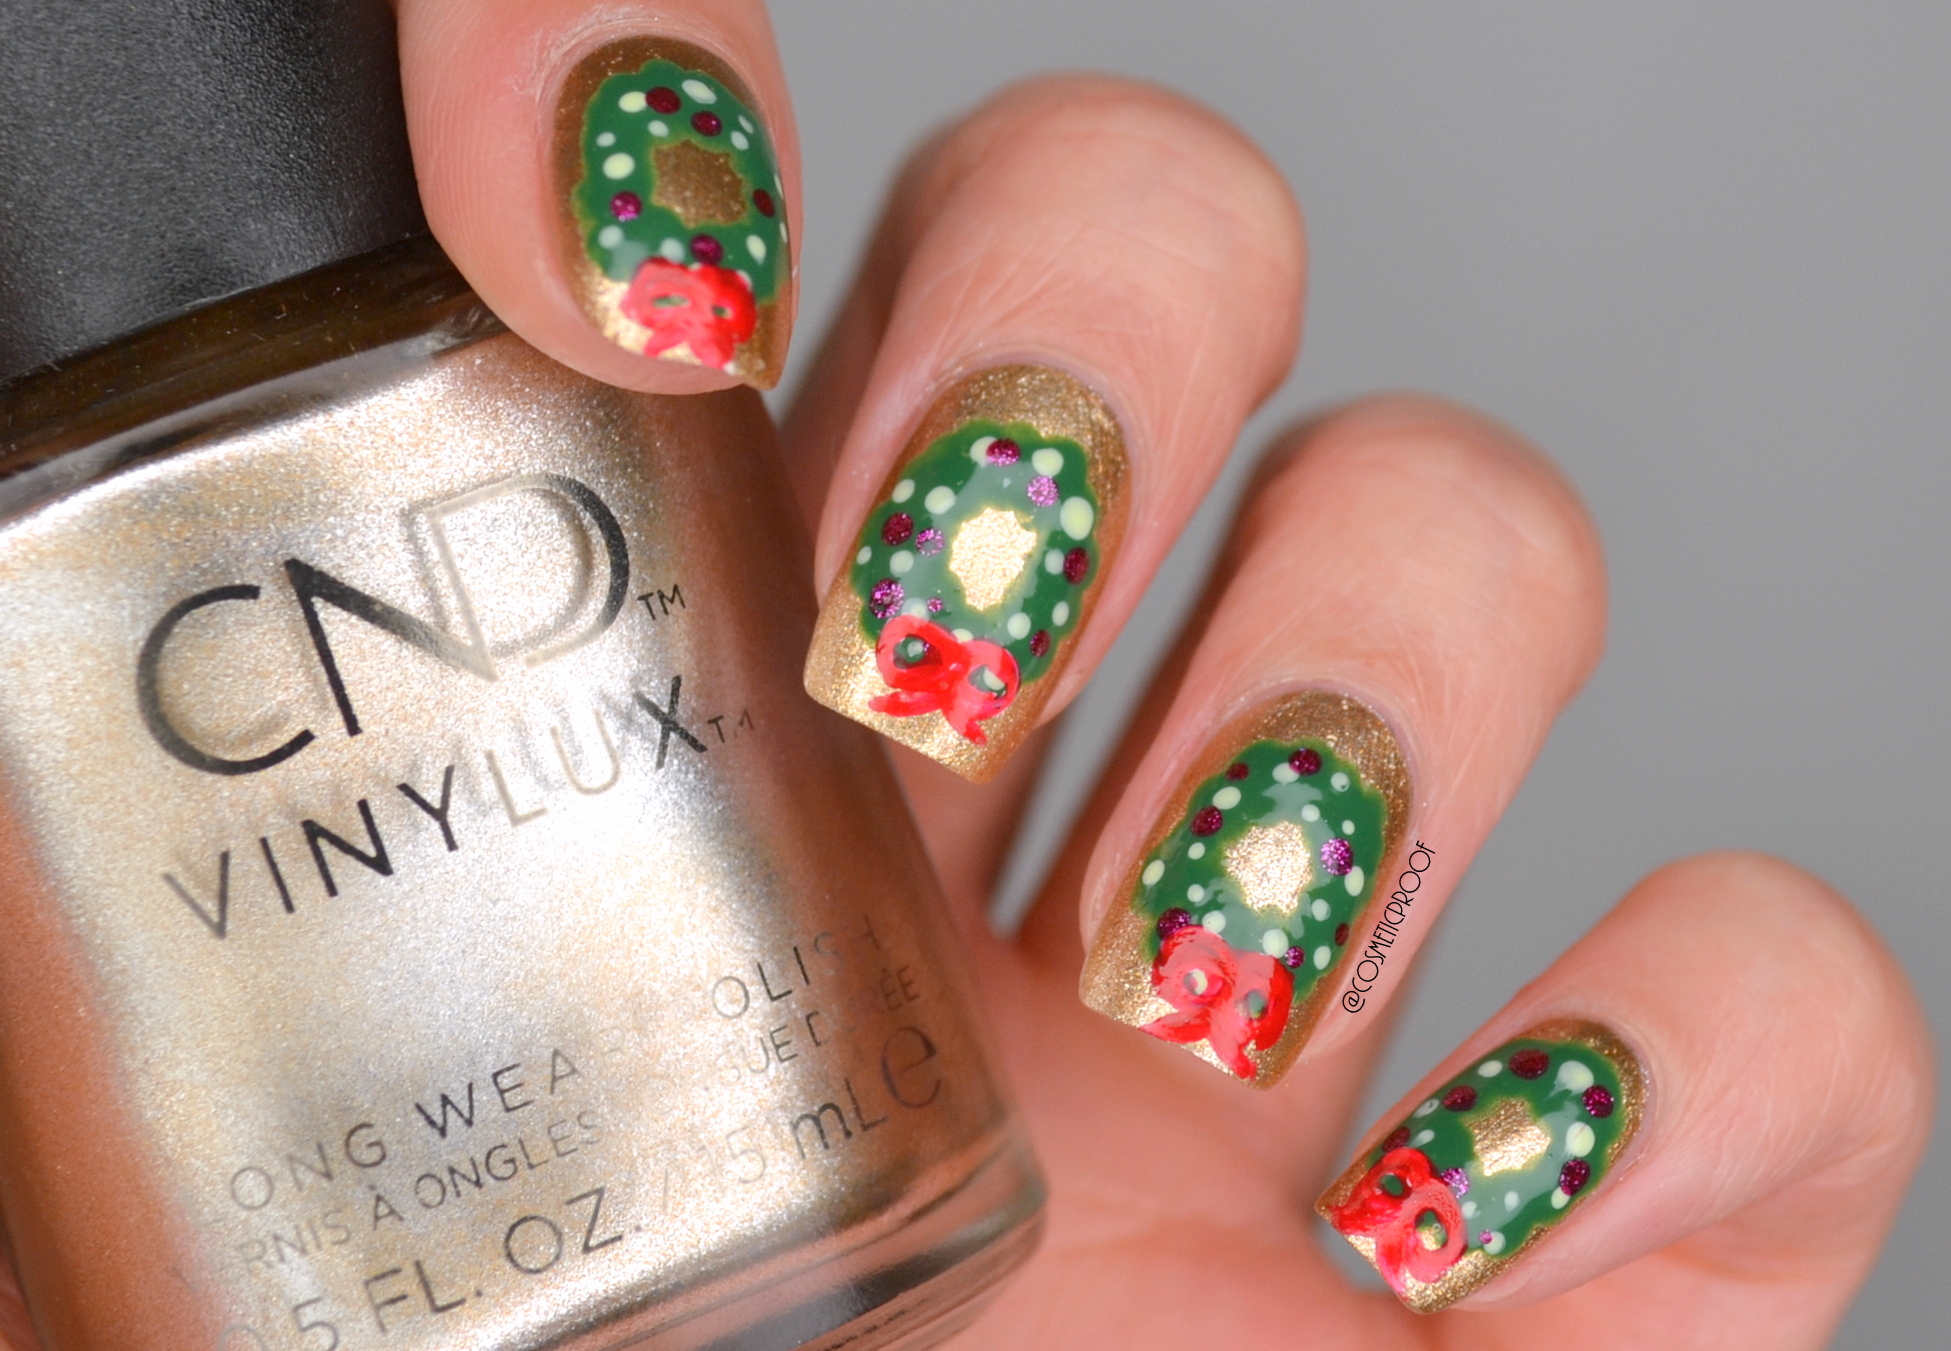
For those who prefer using gel polish, our Christmas present nail art tutorial is perfect for you. Follow these simple steps to create a long-lasting and festive design on your nails. Start with a base coat and allow it to dry completely. Then, using red, green, and white gel polish, create a striped pattern on each nail. Cure each coat under a UV or LED lamp according to the instructions on your gel polish. Next, take a small piece of tape and create a square shape on the bottom of each nail using a contrasting color. Then, using a thin striping brush, paint a diagonal line across the square to create the ribbon. Fill in the remaining space with the same color to complete the present design. For an extra touch, you can add small rhinestones or glitter on the ribbon to make it stand out. Cure under the lamp and finish with a top coat to seal in your design. You now have a beautiful and long-lasting Christmas present nail art.9. "Christmas Present Nail Art Tutorial with Gel Polish"


9. "Christmas Present Nail Art Tutorial with Gel Polish"

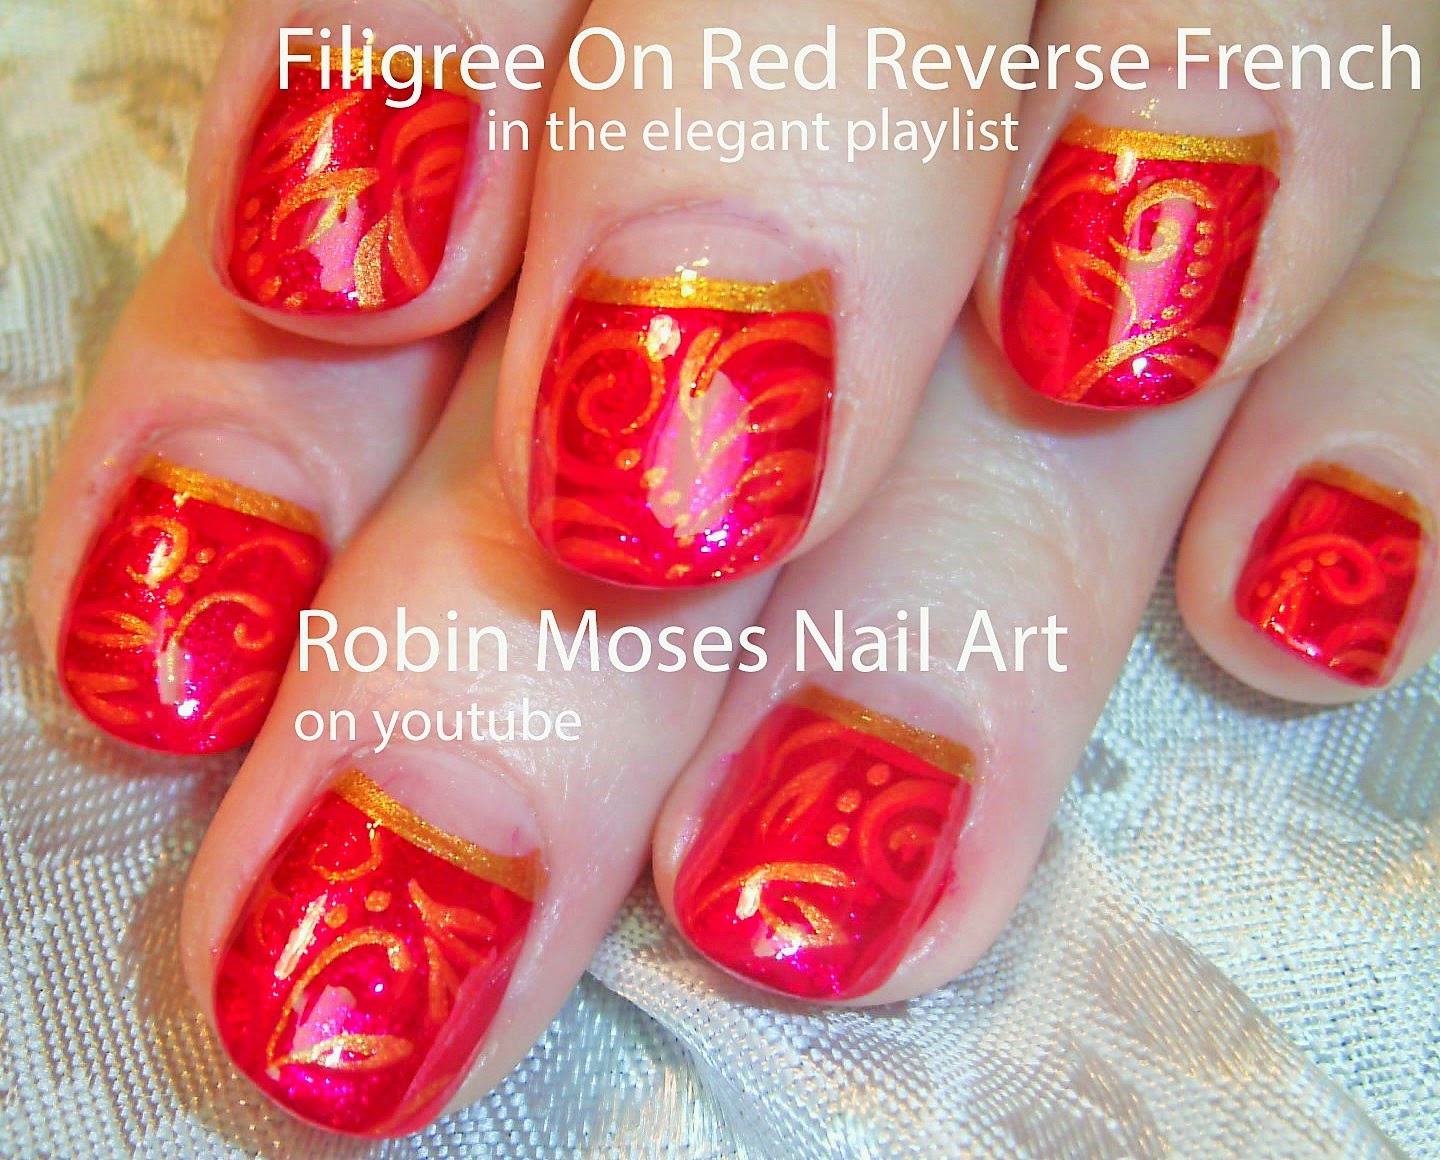

Put a festive spin on the classic French tip with our Christmas present French tip tutorial. This design is perfect for those who want a subtle yet holiday-themed nail art look. Start with a base coat and allow it to dry completely. Then, using red, green, and white nail polish, create a diagonal French tip on each nail. You can use tape or freehand it for a more unique look. Next, take a small piece of tape and create a square shape at the bottom of the French tip using a contrasting color. Then, using a thin striping brush, paint a diagonal line across the square to create the ribbon. Fill in the remaining space with the same color to complete the present design. For an extra touch, you can add small rhinestones or glitter on the ribbon to make it stand out. Finish with a top coat to seal in your design and you'll have a subtle yet festive Christmas present French tip nail art.10. "Nail Art Tutorial: Christmas Present French Tips"


10. "Nail Art Tutorial: Christmas Present French Tips"


Get Ready for Festive Nails: Christmas Present Nail Art Tutorial

Why Nail Art is the Perfect Christmas Present
 Christmas is a time for giving and what better way to spread holiday cheer than with a thoughtful and creative gift? While traditional presents like sweaters and gift cards are always appreciated, why not surprise your loved ones with something a little more unique and personalized? This is where nail art comes in. It's a fun and festive way to show your loved ones that you care, and with this Christmas present nail art tutorial, you can easily create a one-of-a-kind gift for anyone on your list.
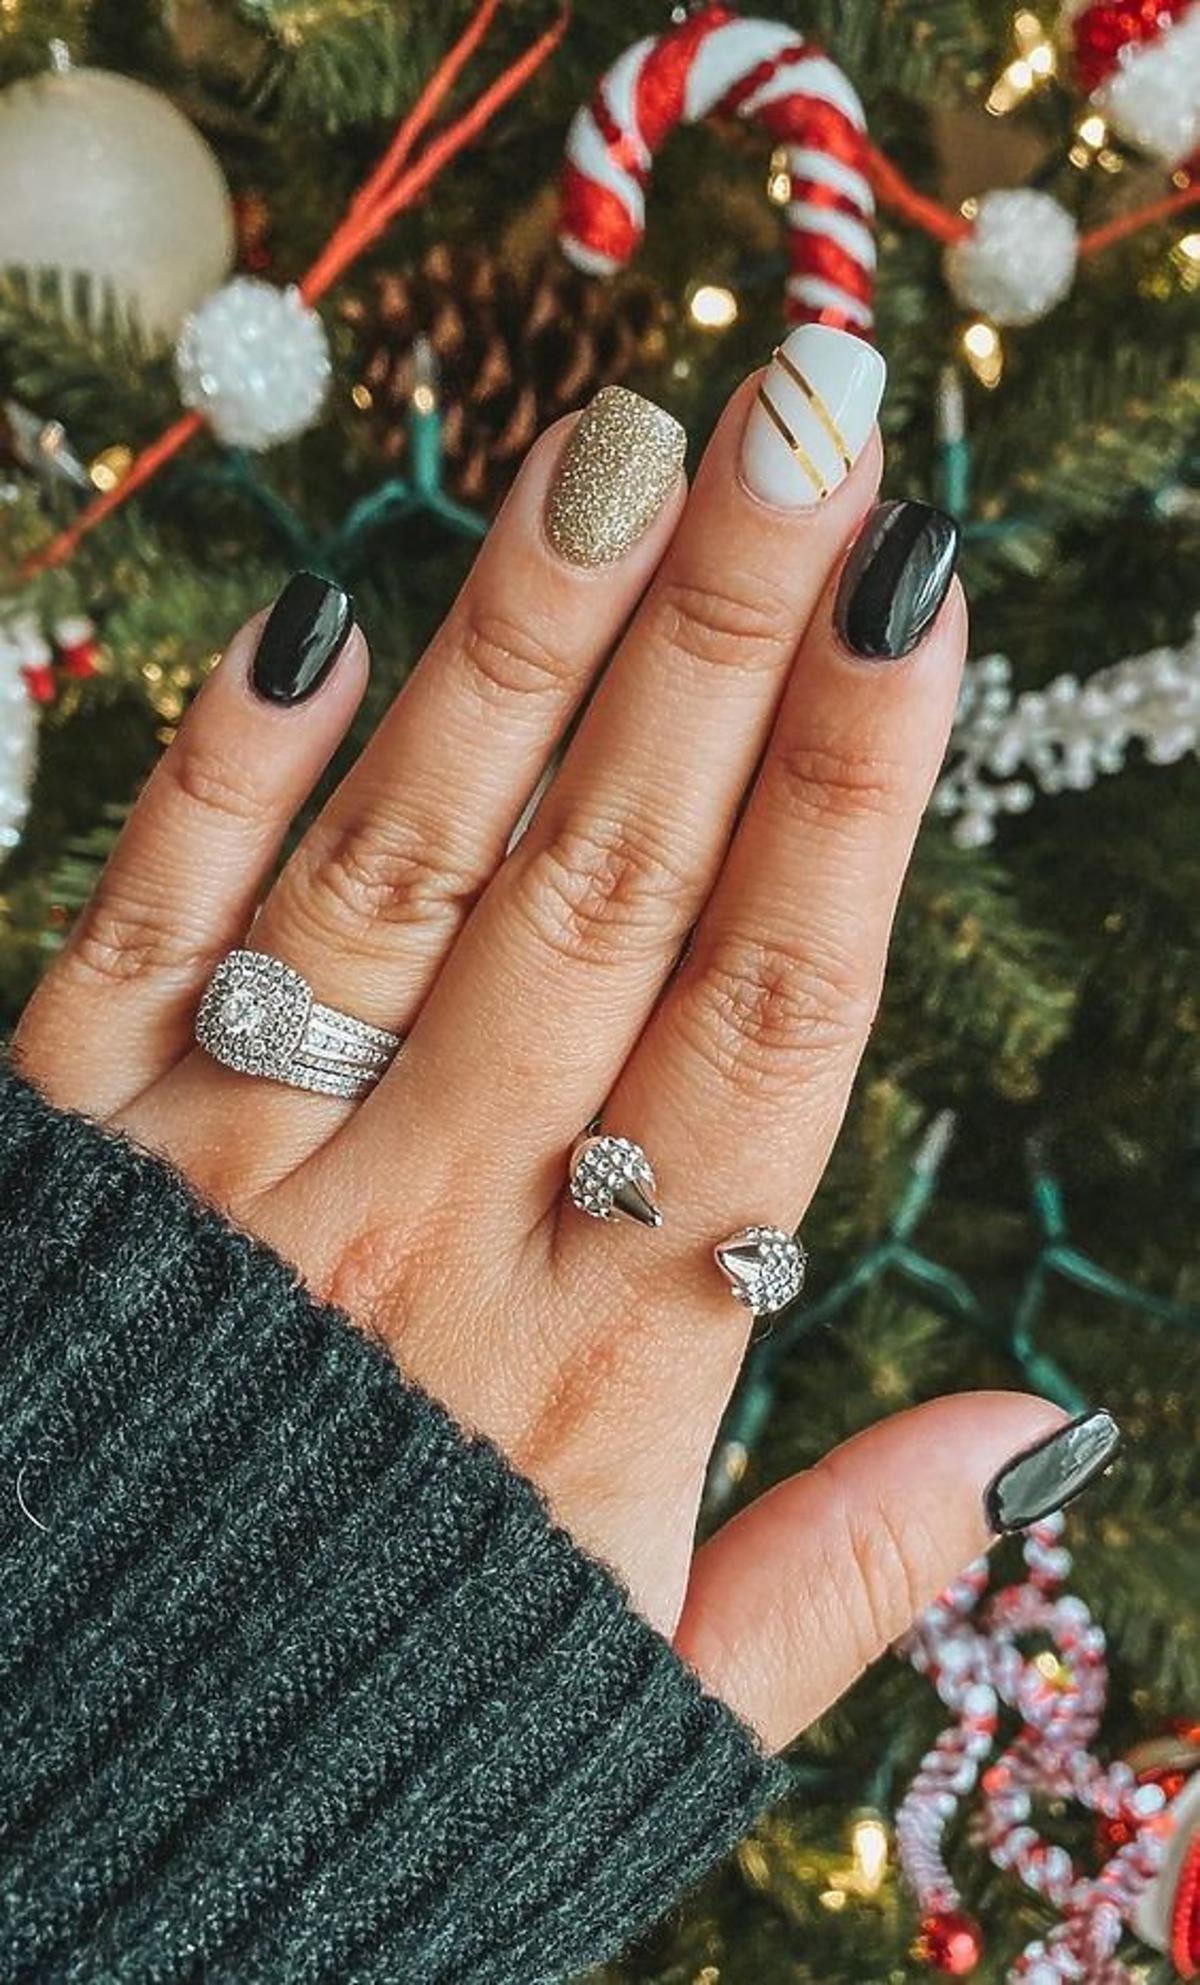
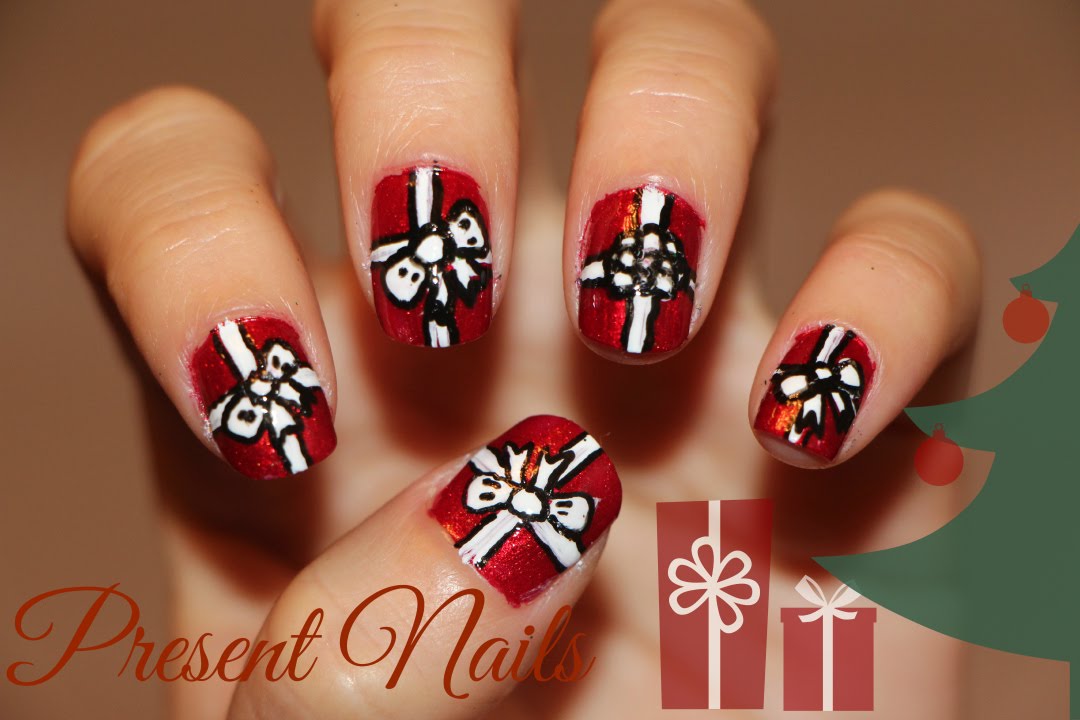
Step-by-Step Tutorial: How to Create Christmas Present Nail Art
 Step 1:
Start by prepping your nails. File them into your desired shape and push back your cuticles.
Step 2:
Apply a base coat to protect your nails and allow it to fully dry.
Step 3:
Using a
red
nail polish, paint two coats on all your nails except for your ring finger.
Step 4:
On your ring finger, paint two coats of
green
nail polish.
Step 5:
Once the polish is completely dry, use a
white
nail polish to create a diagonal line across your ring finger.
Step 6:
On the top half of the diagonal line, use a
black
nail polish to create a small square.
Step 7:
On the bottom half of the diagonal line, use a
gold
nail polish to create a small square.
Step 8:
Using a
white
nail polish again, create a small bow on top of the gold square.
Step 9:
Allow your nails to fully dry before applying a top coat to seal in your design.
Step 1:
Start by prepping your nails. File them into your desired shape and push back your cuticles.
Step 2:
Apply a base coat to protect your nails and allow it to fully dry.
Step 3:
Using a
red
nail polish, paint two coats on all your nails except for your ring finger.
Step 4:
On your ring finger, paint two coats of
green
nail polish.
Step 5:
Once the polish is completely dry, use a
white
nail polish to create a diagonal line across your ring finger.
Step 6:
On the top half of the diagonal line, use a
black
nail polish to create a small square.
Step 7:
On the bottom half of the diagonal line, use a
gold
nail polish to create a small square.
Step 8:
Using a
white
nail polish again, create a small bow on top of the gold square.
Step 9:
Allow your nails to fully dry before applying a top coat to seal in your design.
Personalizing Your Christmas Present Nail Art
 The best part about this nail art tutorial is that you can easily customize it to fit the recipient's style. You can change the colors to their favorite ones, add glitter or rhinestones for a more glamorous look, or even add their initials on the gift box. Get creative and have fun with it!
The Perfect Gift for Anyone
 Nail art is a great gift for anyone on your list. Whether it's for your mom, sister, best friend, or co-worker, they will appreciate the thought and effort put into creating a personalized and festive present. Plus, they can show off their new nails at all the holiday parties and gatherings.
In Conclusion
 This Christmas, skip the traditional presents and opt for something more unique and thoughtful. With this Christmas present nail art tutorial, you can easily create a personalized gift that will bring joy to your loved ones. So gather your nail polish and get ready to spread some holiday cheer!


