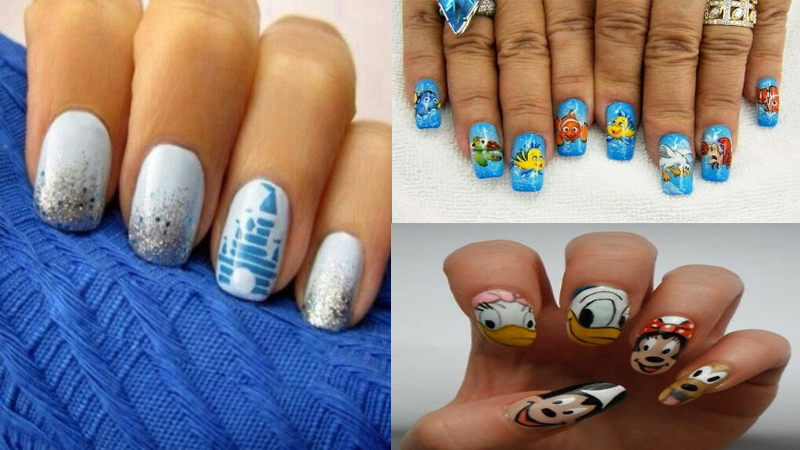
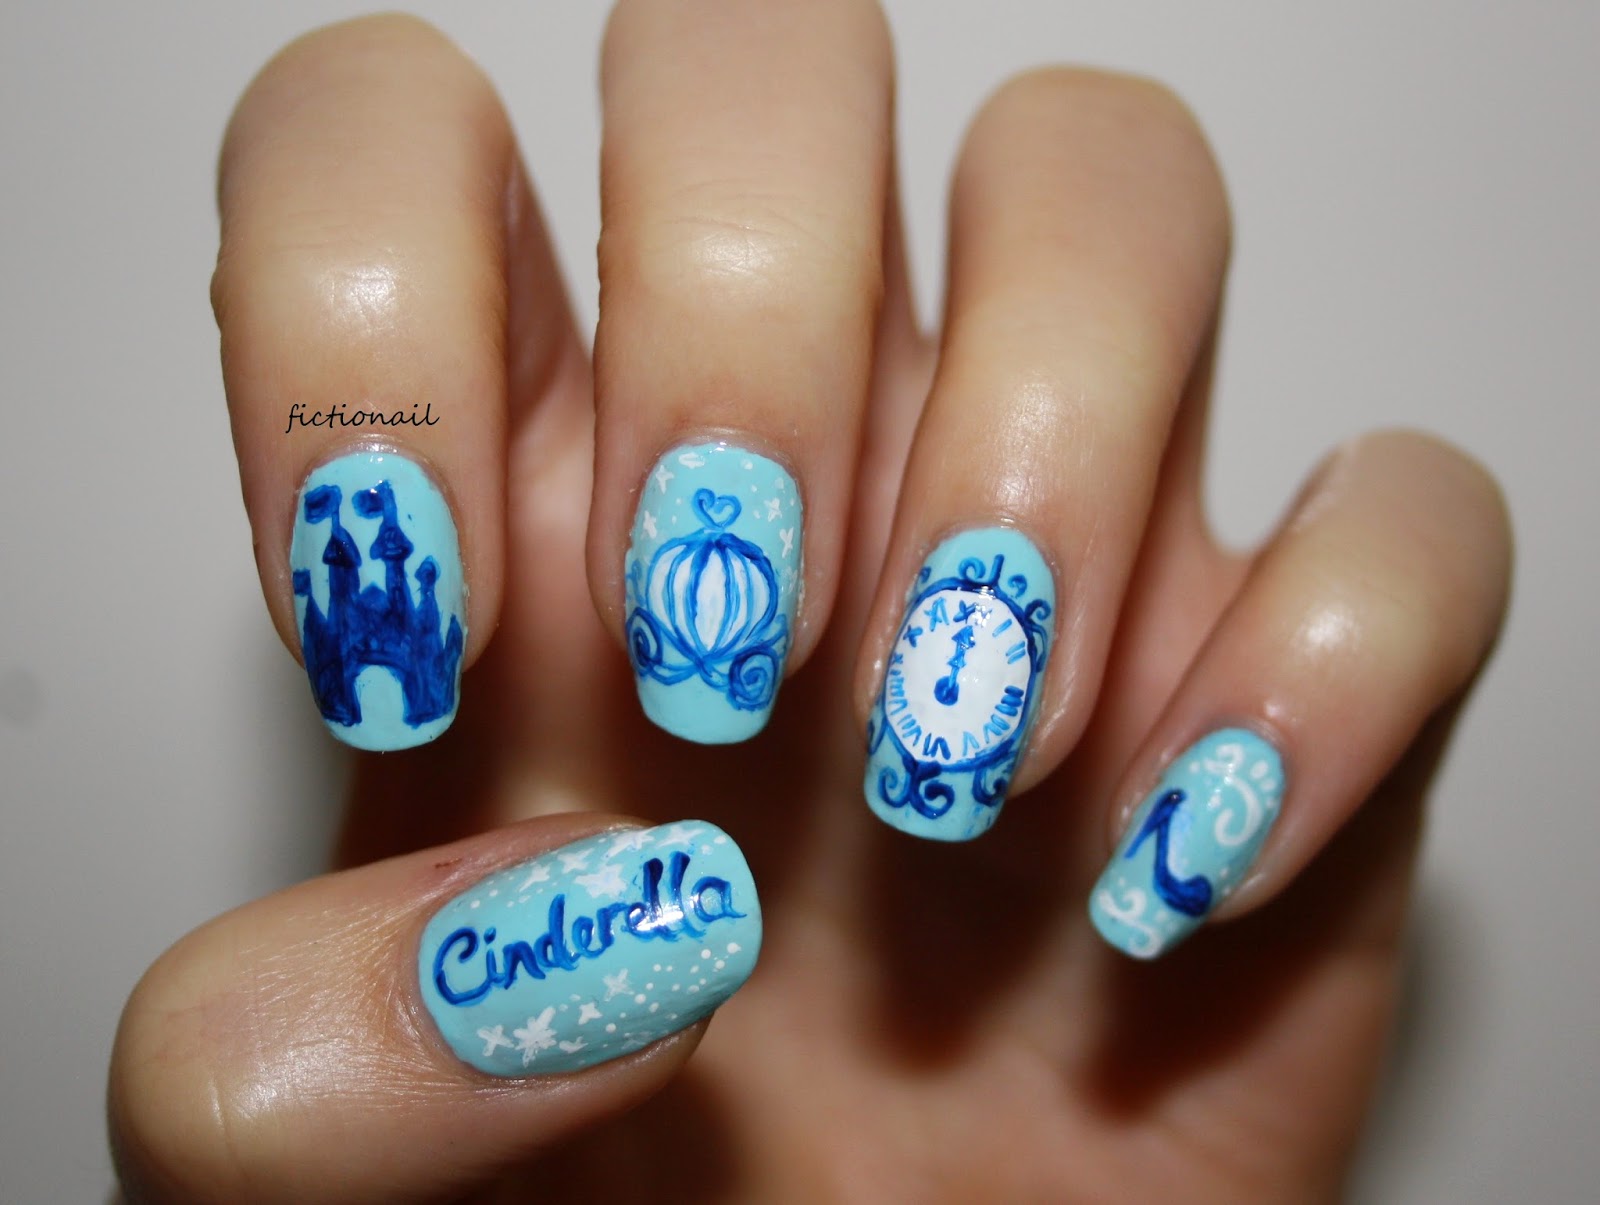
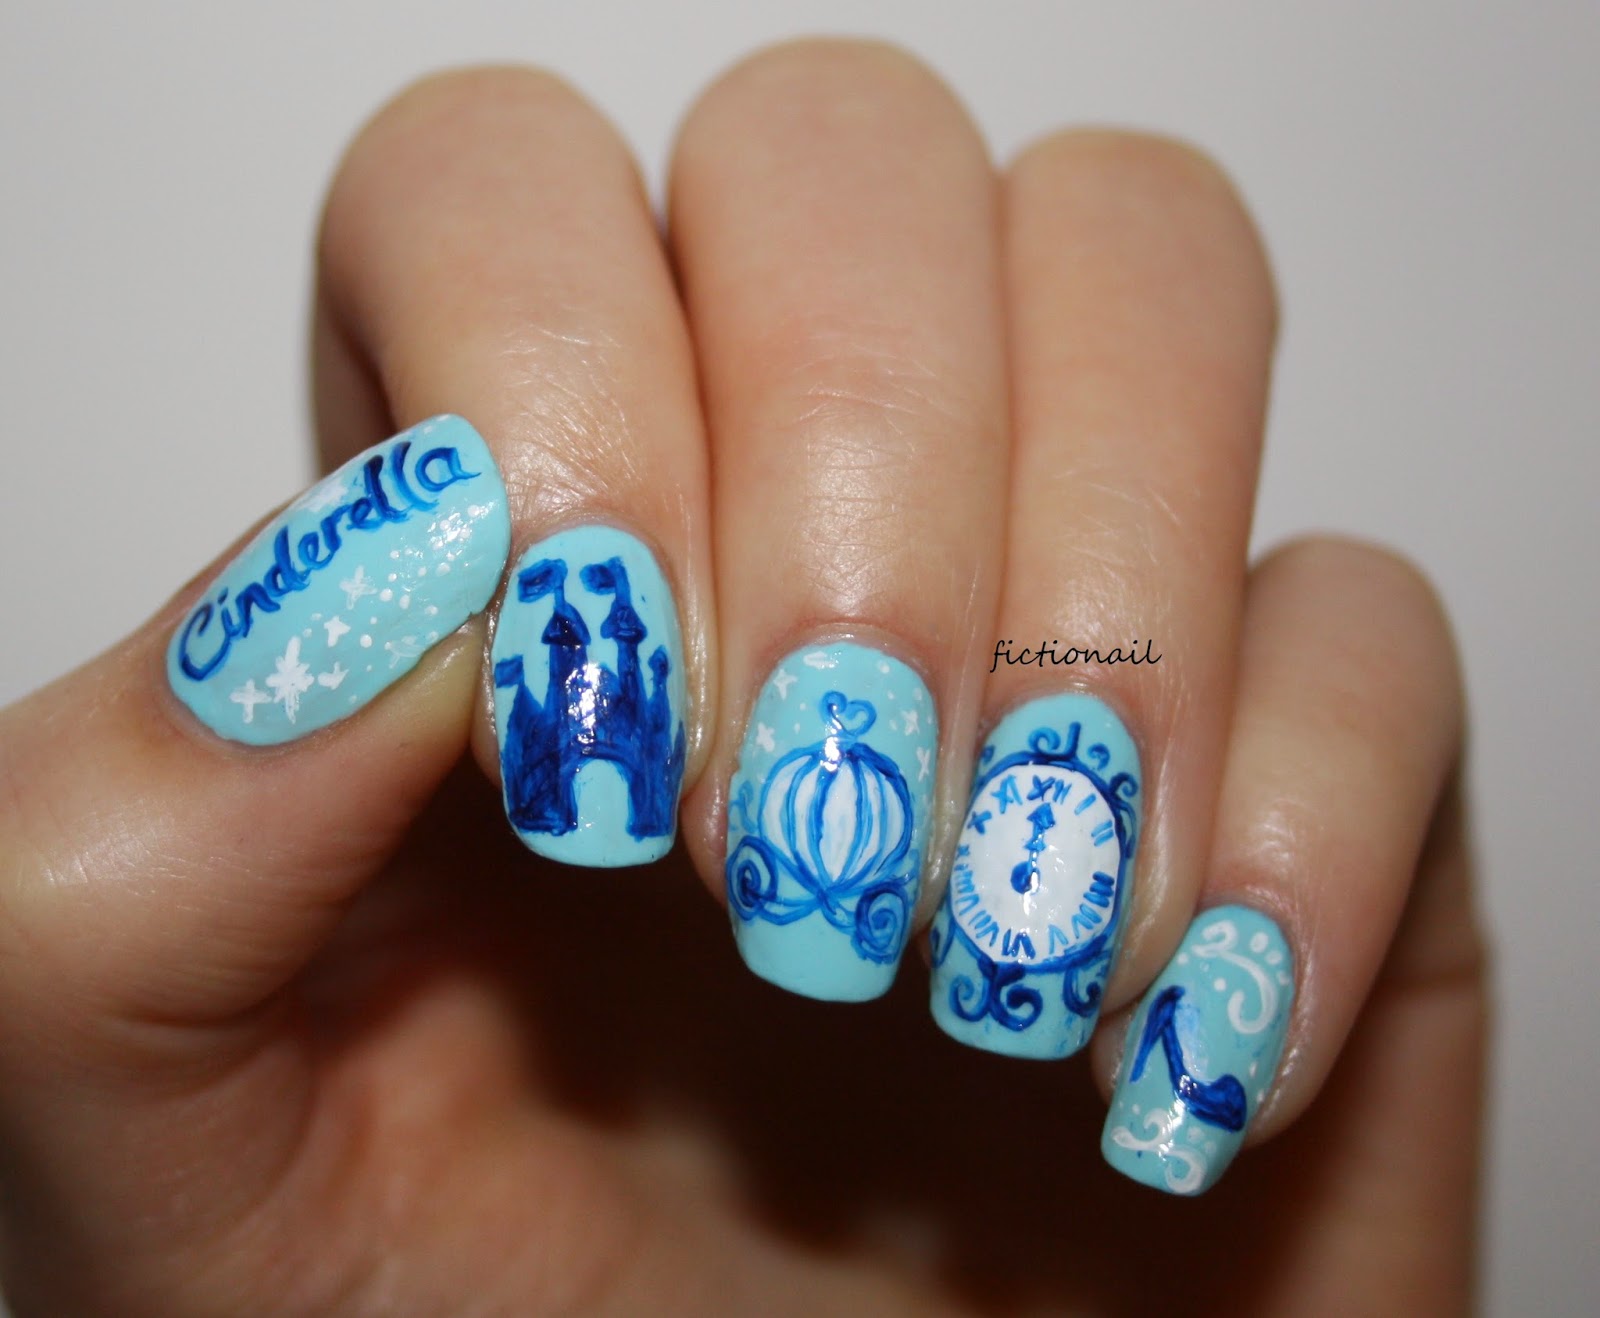
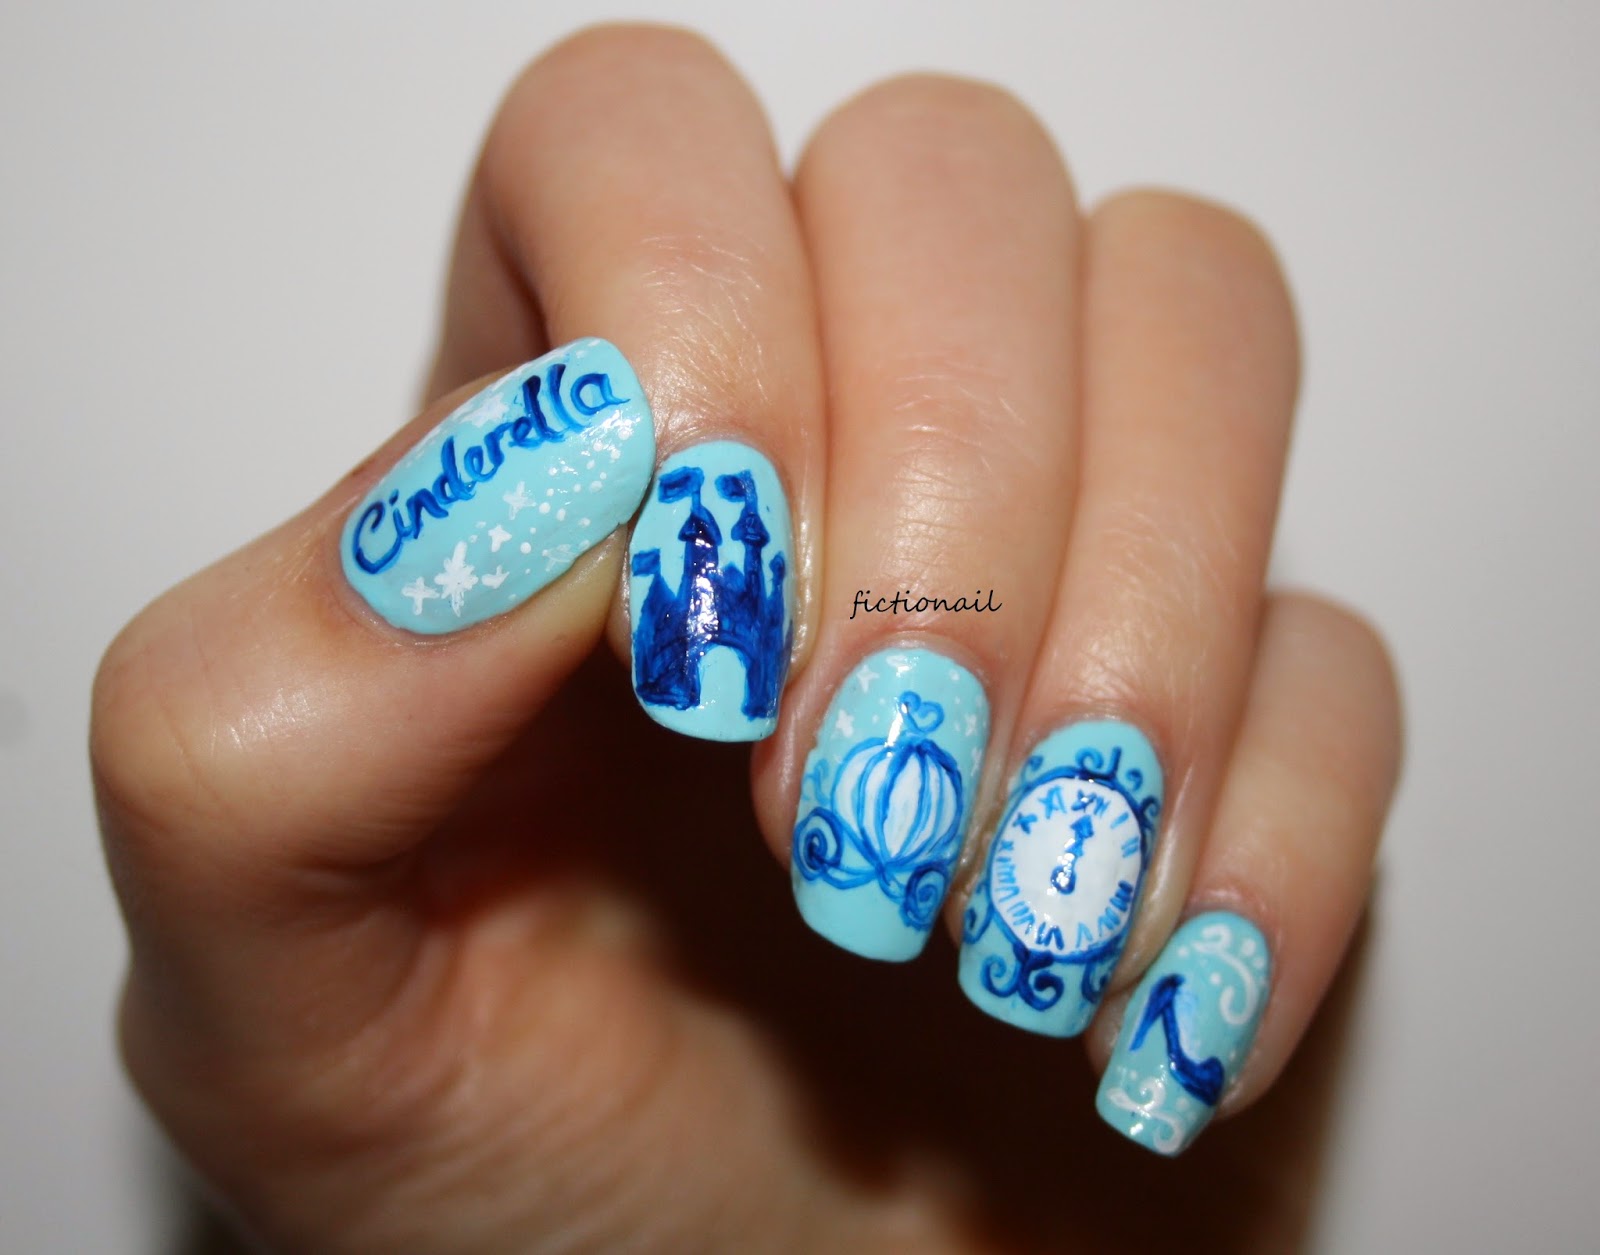
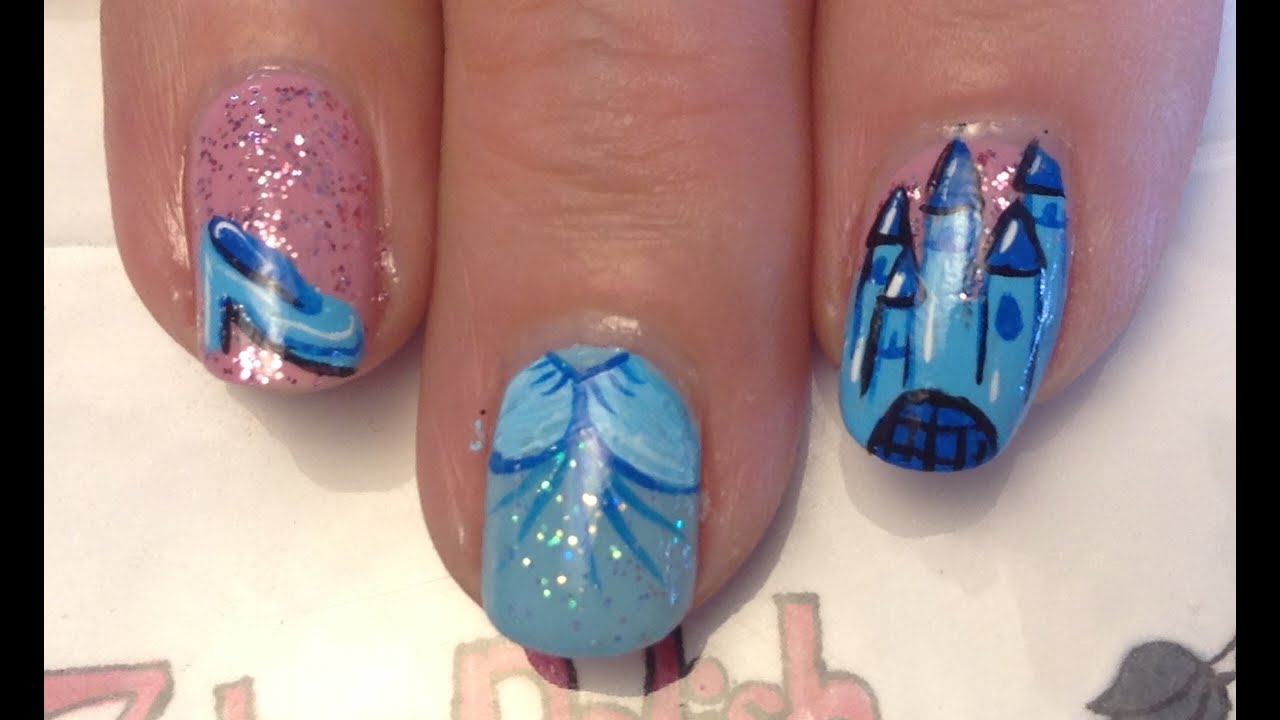
Transform your nails into a magical fairy tale with this step-by-step tutorial for Cinderella Castle nail art. Perfect for any Disney lover, this design will make you feel like a princess every time you look at your nails. To start, gather your supplies. You will need a light blue nail polish for the base, a white nail polish for the castle, and various shades of gray, silver, and gold for the details. Don't forget a small brush or toothpick for precise application. Begin by painting all of your nails with the light blue polish. This will serve as the sky for your castle design. Let it dry completely before moving on to the next step. Next, use the white polish to create the outline of the castle on your ring finger. Start with a square shape for the base and then add three towers on top. Don't worry about making it perfect, as the imperfections will add to the whimsical feel of the design. Once the white polish has dried, take your small brush or toothpick and use the gray polish to add the details of the castle. Think of it as painting a miniature version of Cinderella's iconic castle. Use the silver polish to add shimmer and the gold polish for any accents. For the rest of your nails, you can choose to add additional castle designs or keep it simple with a few small stars or sparkles to represent the night sky. Finish off with a clear top coat to seal in your design and protect it from chipping. With this tutorial, you can easily create your own Cinderella Castle nail art and bring a touch of Disney magic to your fingertips. Perfect for a trip to the theme parks or just for adding some whimsy to your everyday look, these nails will make you feel like a true princess.1. "Cinderella Castle Nail Art Tutorial"


1. "Cinderella Castle Nail Art Tutorial"


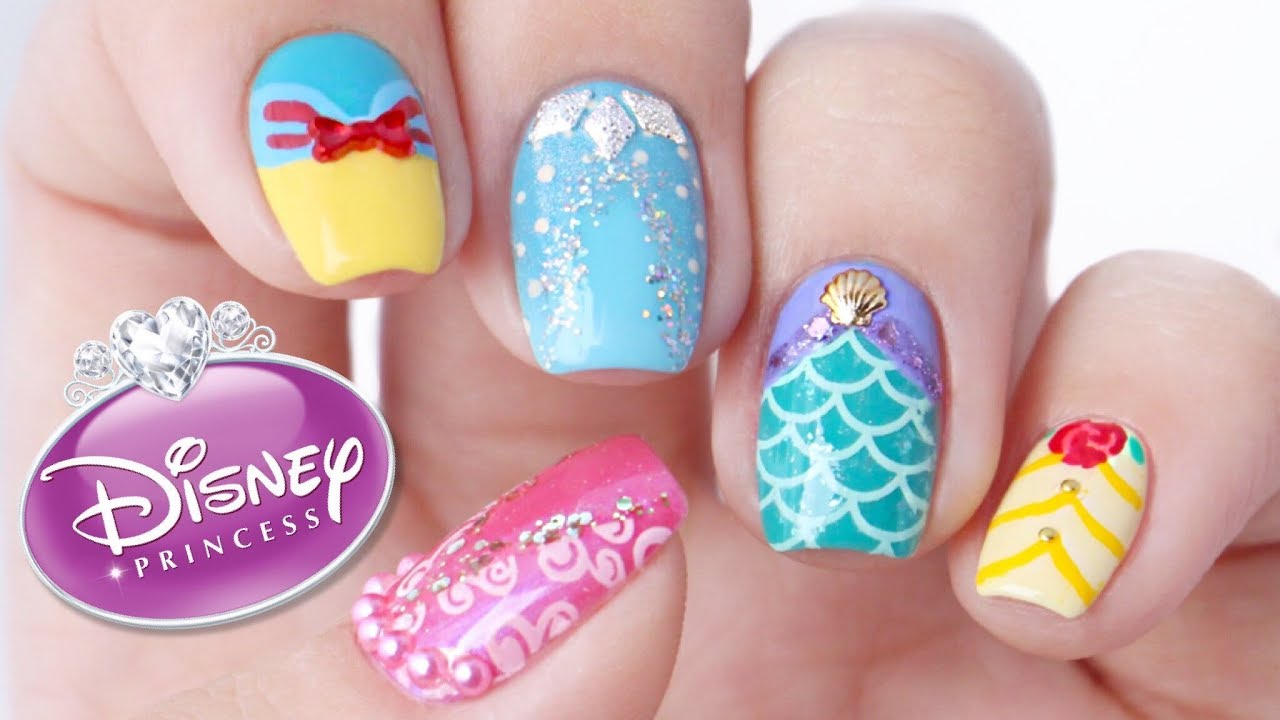
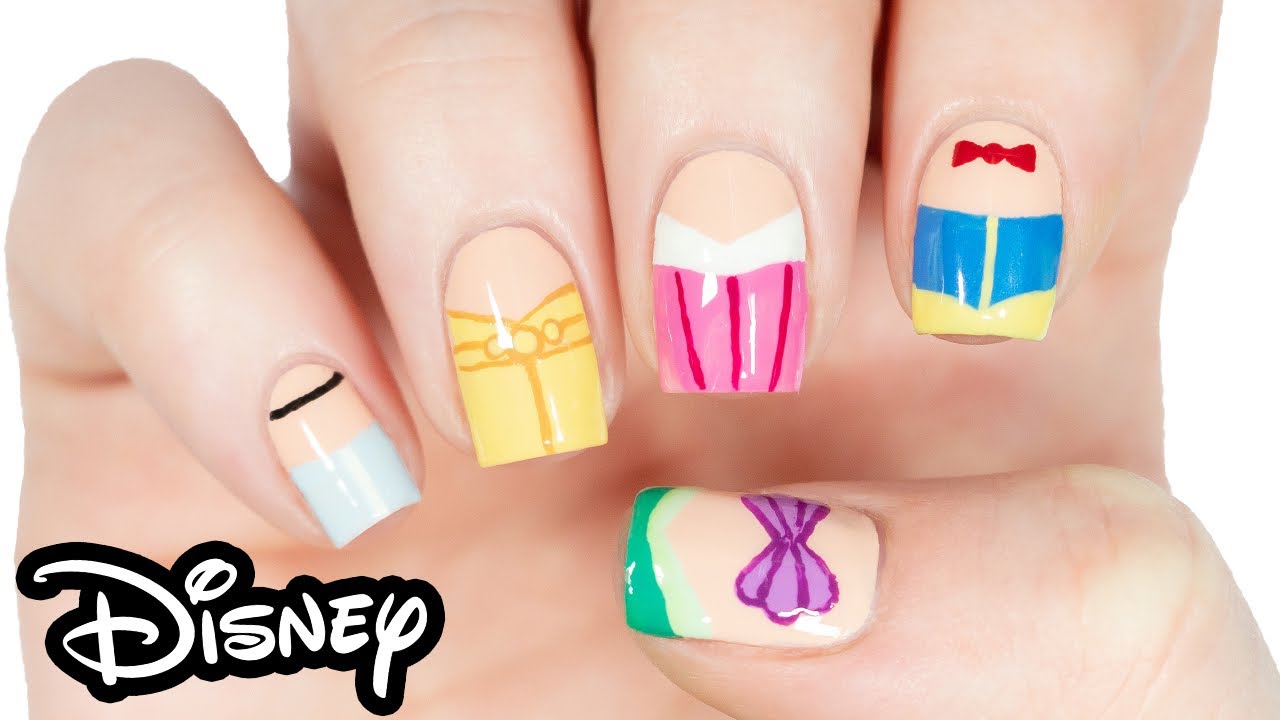
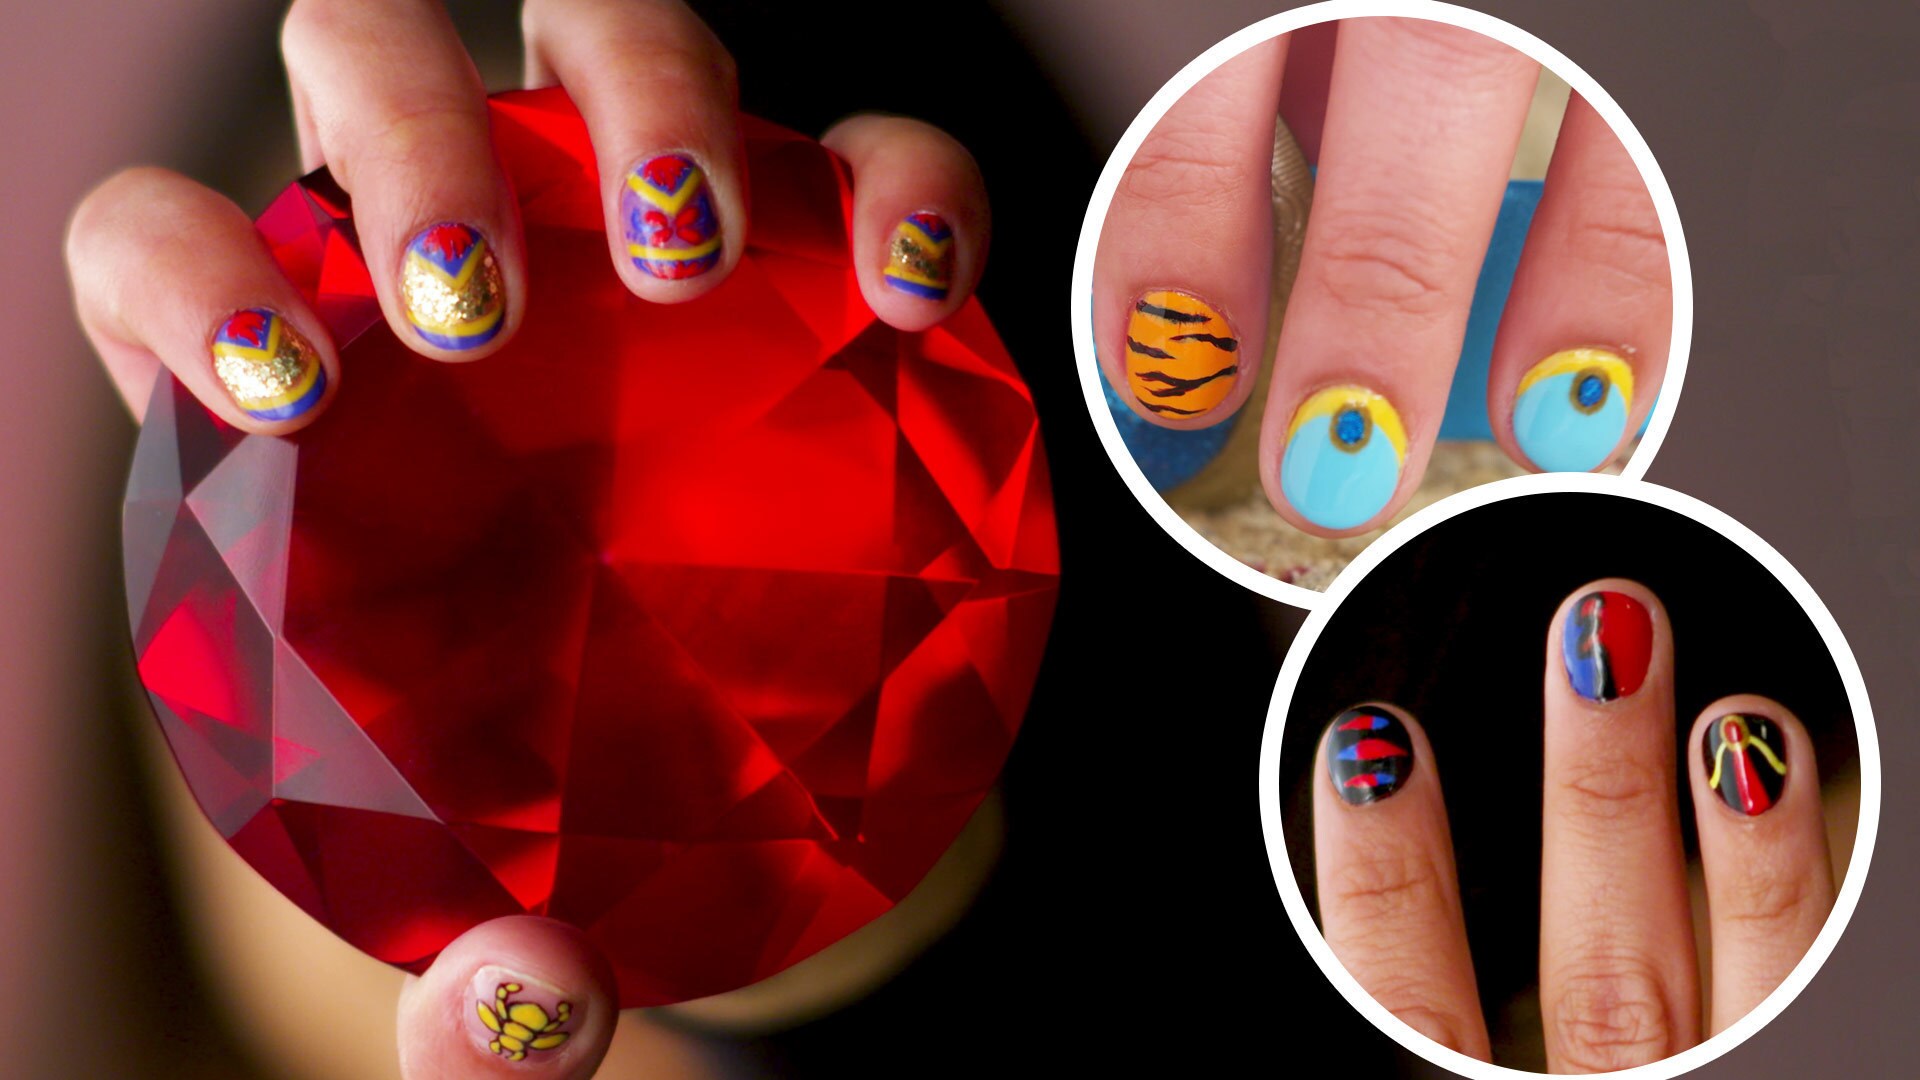
For the ultimate Disney fan, why limit yourself to just one princess? With this nail art design, you can have a different Disney princess on each nail, including Cinderella herself. Start by painting each of your nails a different pastel color. This will serve as the background for each princess. Then, using a small brush or toothpick, add the iconic elements of each princess to their designated nail. For Cinderella, you can use the same technique as in the previous tutorial to create her castle on your ring finger. For Snow White, add a red apple to a yellow background. For Belle, use a small brush to create the shape of her iconic yellow dress on a light blue background. The possibilities are endless with this design, as you can include as many or as few Disney princesses as you like. You can even add their names or a small quote to each nail for an extra touch of magic. With this Disney princess nail art, you can show off your love for all of your favorite characters and bring a touch of the magical kingdom to your everyday look.2. "Disney Princess Nail Art Designs"


2. "Disney Princess Nail Art Designs"


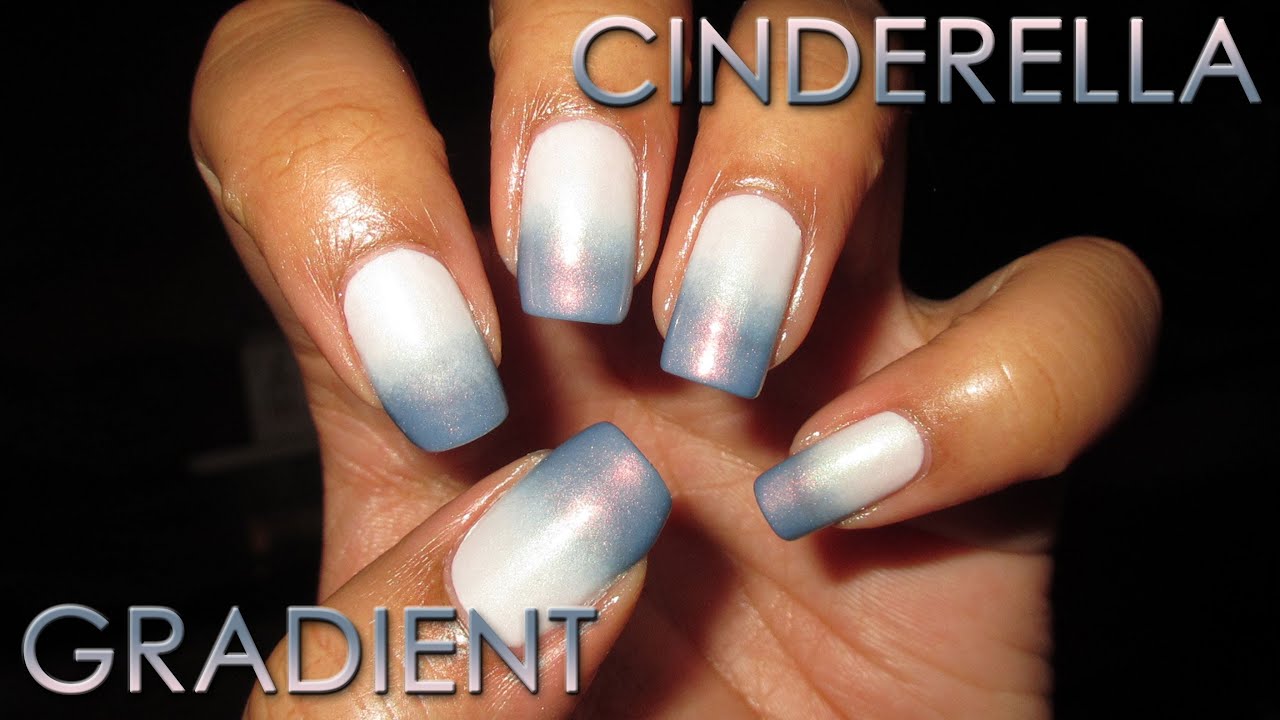
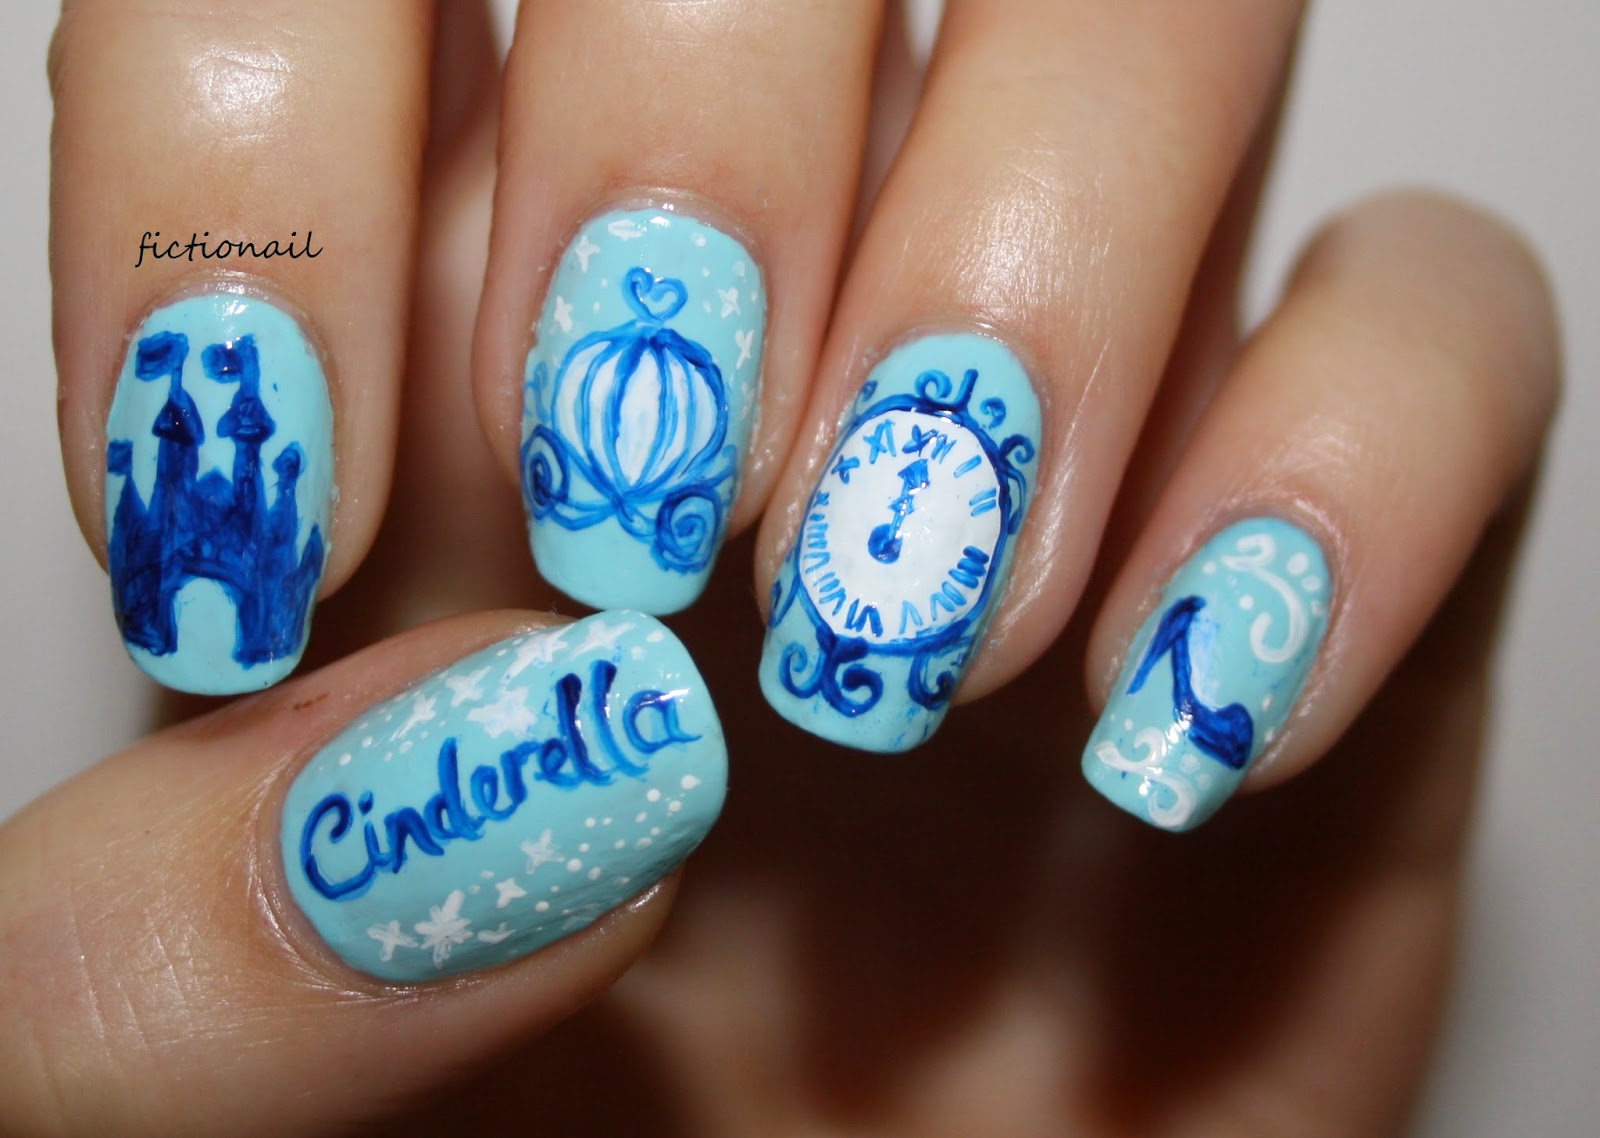
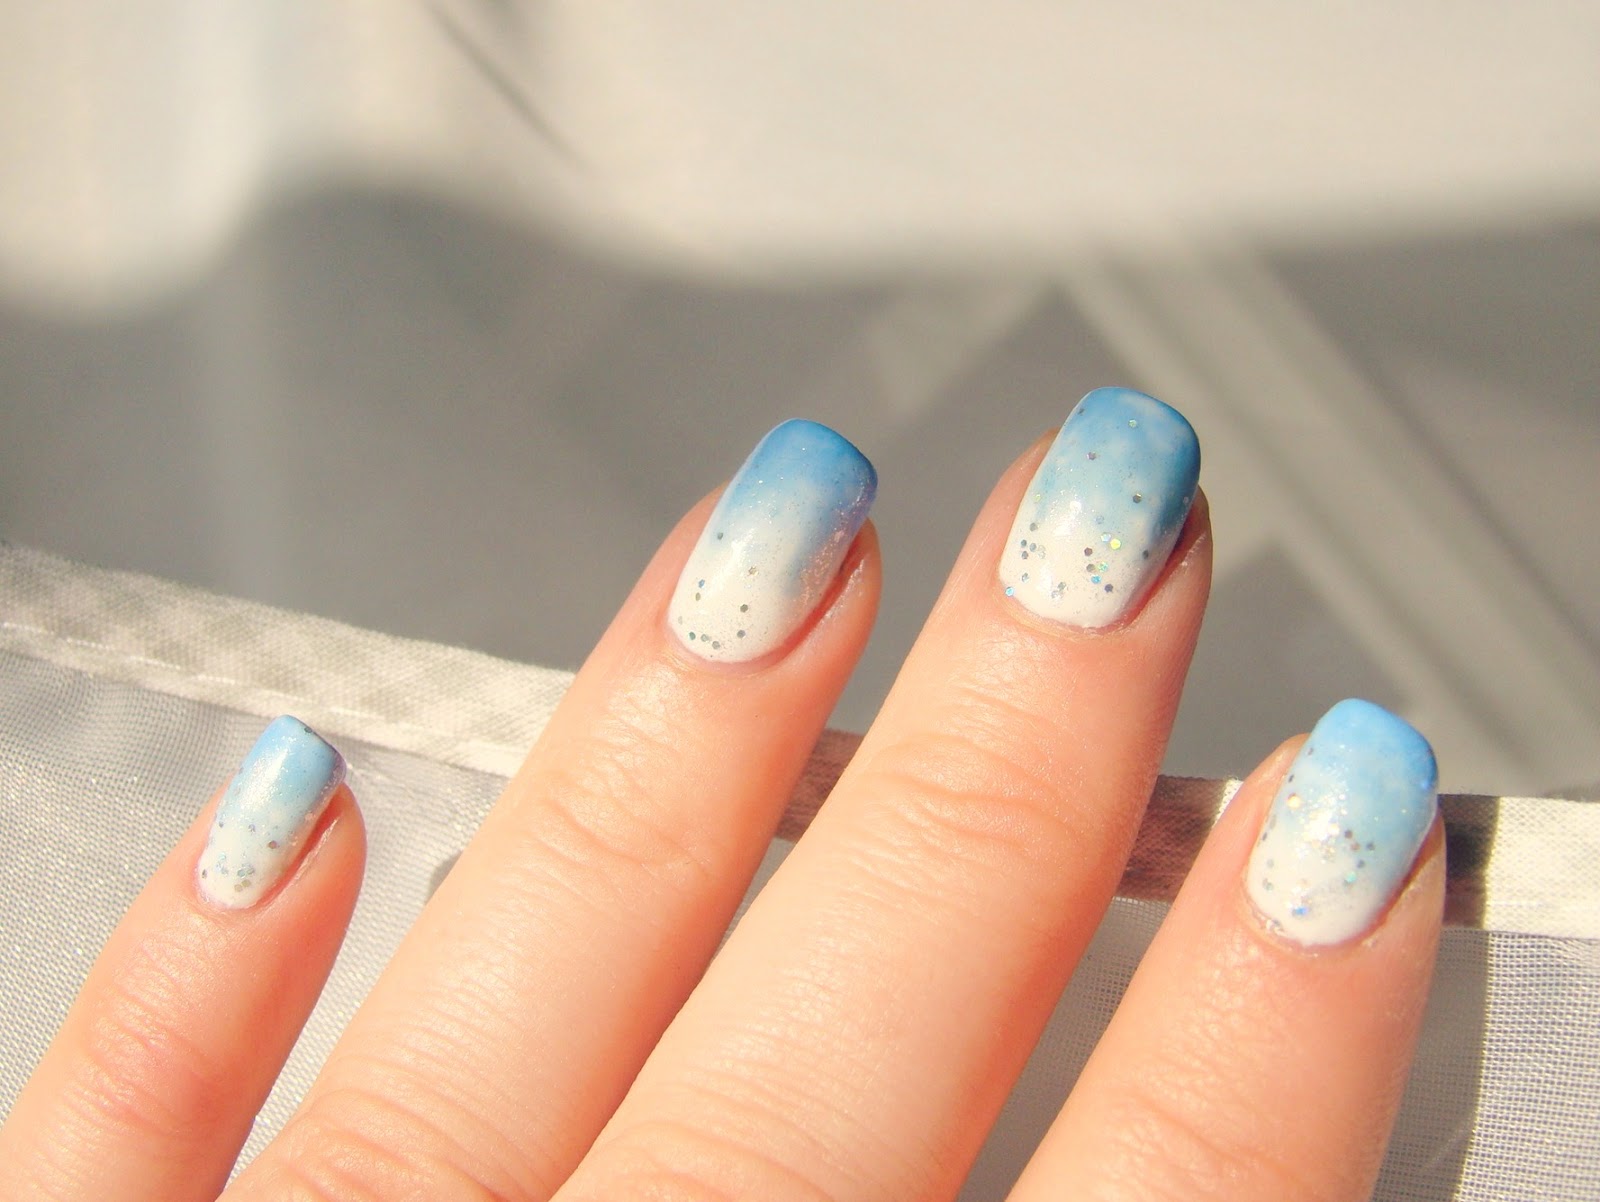
If you want to take your Cinderella castle nail art to the next level, try this design that incorporates glitter and 3D elements for a truly magical look. Start with a light blue base, as in the previous tutorial, and let it dry completely. Then, using a fine glitter polish, paint over your entire nail for a sparkly sky effect. You can also add some silver glitter to represent stars. Next, use a clear nail polish to create the outline of the castle on your ring finger. While the polish is still wet, sprinkle some fine silver or gold glitter on top to add shimmer and dimension to the castle. To make the castle stand out even more, you can add small 3D elements such as tiny rhinestones or studs to the towers. This will give your design a unique and eye-catching look. Finish off with a clear top coat to seal in the glitter and 3D elements, and you will have a truly magical set of Cinderella castle nails that will make you feel like you're in the middle of a fairy tale.3. "Magical Cinderella Castle Nails"


3. "Magical Cinderella Castle Nails"


Cinderella Castle is just one of many iconic fairy tale castles that can inspire stunning nail art designs. From Sleeping Beauty's castle to Rapunzel's tower, there are endless possibilities to bring your favorite fairy tales to your fingertips. One idea is to create a design that incorporates multiple fairy tale castles in a landscape. For example, you can have Cinderella's castle in the background with Snow White's castle in the foreground, and a small Rapunzel tower on one side. This will create a beautiful and whimsical scene on your nails. You can also use elements from other fairy tales, such as a glass slipper for Cinderella or a spinning wheel for Sleeping Beauty, to add a unique touch to your design. With fairy tale nail art, the only limit is your imagination. Let your favorite stories inspire you and create a magical world on your nails.4. "Fairy Tale Nail Art Ideas"

4. "Fairy Tale Nail Art Ideas"


If you're planning a trip to Disney World, why not show off your excitement with some Disney World inspired nails? Not only will it add some extra magic to your trip, but it will also make for some great vacation photos. One idea is to create a design that incorporates the iconic elements of each park. For example, you can have Cinderella Castle on your ring finger to represent Magic Kingdom, the Tree of Life from Animal Kingdom on another finger, and the Epcot ball on a third finger. You can also use the colors of each park in your design, such as green and purple for Animal Kingdom, blue and white for Epcot, and pink and purple for Magic Kingdom. With these Disney World inspired nails, you can show off your love for the happiest place on Earth and make your trip even more magical.5. "Disney World Inspired Nails"

5. "Disney World Inspired Nails"


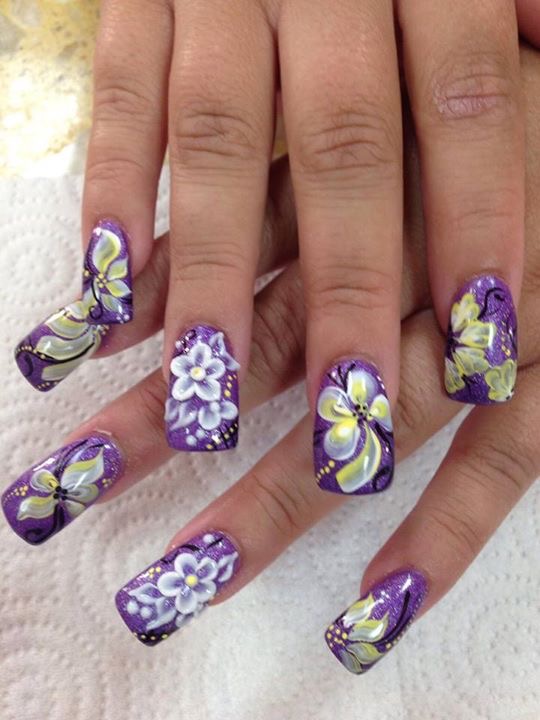
Take your Cinderella castle nail art to a whole new level with this enchanted castle design. Perfect for a special occasion or a romantic date night, this design will make you feel like a true Disney princess. Start with a light pink or lavender base, and add a shimmery top coat. Then, using a small brush, create the outline of the castle on your ring finger with a light blue or silver polish. You can also add some delicate swirls or stars around the castle to give it an ethereal feel. To make your design even more enchanting, you can add small rhinestones or pearls to the towers and around the castle. This will give your nails a touch of glamour and make you feel like you're in a fairy tale. With this enchanted castle nail design, you'll be the belle of the ball wherever you go.6. "Enchanted Castle Nail Design"


6. "Enchanted Castle Nail Design"

If you want to achieve a professional-looking Cinderella castle nail art design without the hassle of painting, try using nail decals. These are small stickers that you can easily apply to your nails for a quick and beautiful design. You can find a variety of Cinderella castle nail decals online or in beauty supply stores. They come in different sizes and designs, so you can choose the one that best fits your nails. To apply, simply paint your nails with a light blue or silver base and let it dry completely. Then, carefully place the decal on your ring finger and gently press down to make sure it sticks. Finish off with a clear top coat for a polished look. With nail decals, you can achieve a stunning Cinderella castle design with minimal effort and still have gorgeous nails.7. "Cinderella's Castle Nail Decals"

7. "Cinderella's Castle Nail Decals"


If you can't decide on just one Disney design for your nails, why not create a compilation of all your favorites? This Disney nail art compilation will showcase all of your beloved characters and movies in one stunning design. Start by painting each nail a different color, such as red, yellow, blue, and white for Mickey Mouse's iconic colors. Then, use a small brush or toothpick to add the details of each character on their designated nail. You can include classic characters like Mickey and Minnie, as well as newer additions like Moana and Elsa. You can also add elements from different Disney movies, such as a rose for Beauty and the Beast or a magic lamp for Aladdin. With this Disney nail art compilation, you can show off your love for all things Disney and have a unique and eye-catching design.8. "Disney Nail Art Compilation"

8. "Disney Nail Art Compilation"


If you're new to nail art or struggle with freehand designs, nail stamping is a great technique to achieve intricate and detailed designs. For a princess castle design, you can use a stamping plate with a castle image and easily transfer it onto your nails. Start by painting your nails with a light blue or silver base and let it dry. Then, choose a stamping plate with a castle image and apply a white polish to the design. Use a stamping tool to transfer the image onto your nails, and voila! You have a perfect castle design. You can also experiment with different colors and stamping plates to create unique and personalized castle designs. With nail stamping, the possibilities are endless.9. "Princess Castle Nail Stamping"


9. "Princess Castle Nail Stamping"

If you want a longer-lasting and more durable Cinderella castle nail art design, consider getting acrylic nails. These are artificial nails that are applied over your natural nails and can last up to two weeks. You can go to a nail salon and ask for a custom Cinderella castle design, or you can bring a picture or tutorial with you for reference. The nail technician will use acrylic powders and paints to create a beautiful and intricate castle on your nails. With acrylic nails, you can have a Cinderella castle design that will last much longer than regular nail polish and will withstand everyday activities. In conclusion, these 10 Cinderella castle nail art designs are perfect for any Disney lover looking to add some magic to their nails. Whether you choose to do it yourself or go to a professional, these designs will make you feel like a true Disney princess and bring a touch of whimsy to your everyday life.10. "Cinderella Castle Acrylic Nails"


10. "Cinderella Castle Acrylic Nails"


The Magic of Cinderella Castle Nail Art

Bringing the Fairytale to Your Fingertips

When it comes to creating Cinderella Castle nail art , the possibilities are endless. This iconic Disney landmark has captured the hearts and imaginations of people all over the world, and now, you can bring its magic to your fingertips. Whether you're a fan of the classic fairy tale or just love all things Disney, this nail art is perfect for any occasion.
Getting Started
The first step in creating your own Cinderella Castle masterpiece is to gather your supplies. You will need a base coat, top coat, blue, white, and silver nail polish, a fine-tipped nail art brush, and optional glitter or rhinestones for added sparkle. Make sure to have a clean and flat surface to work on, such as a table or desk, and protect it with a towel or paper towels.
Creating the Perfect Castle
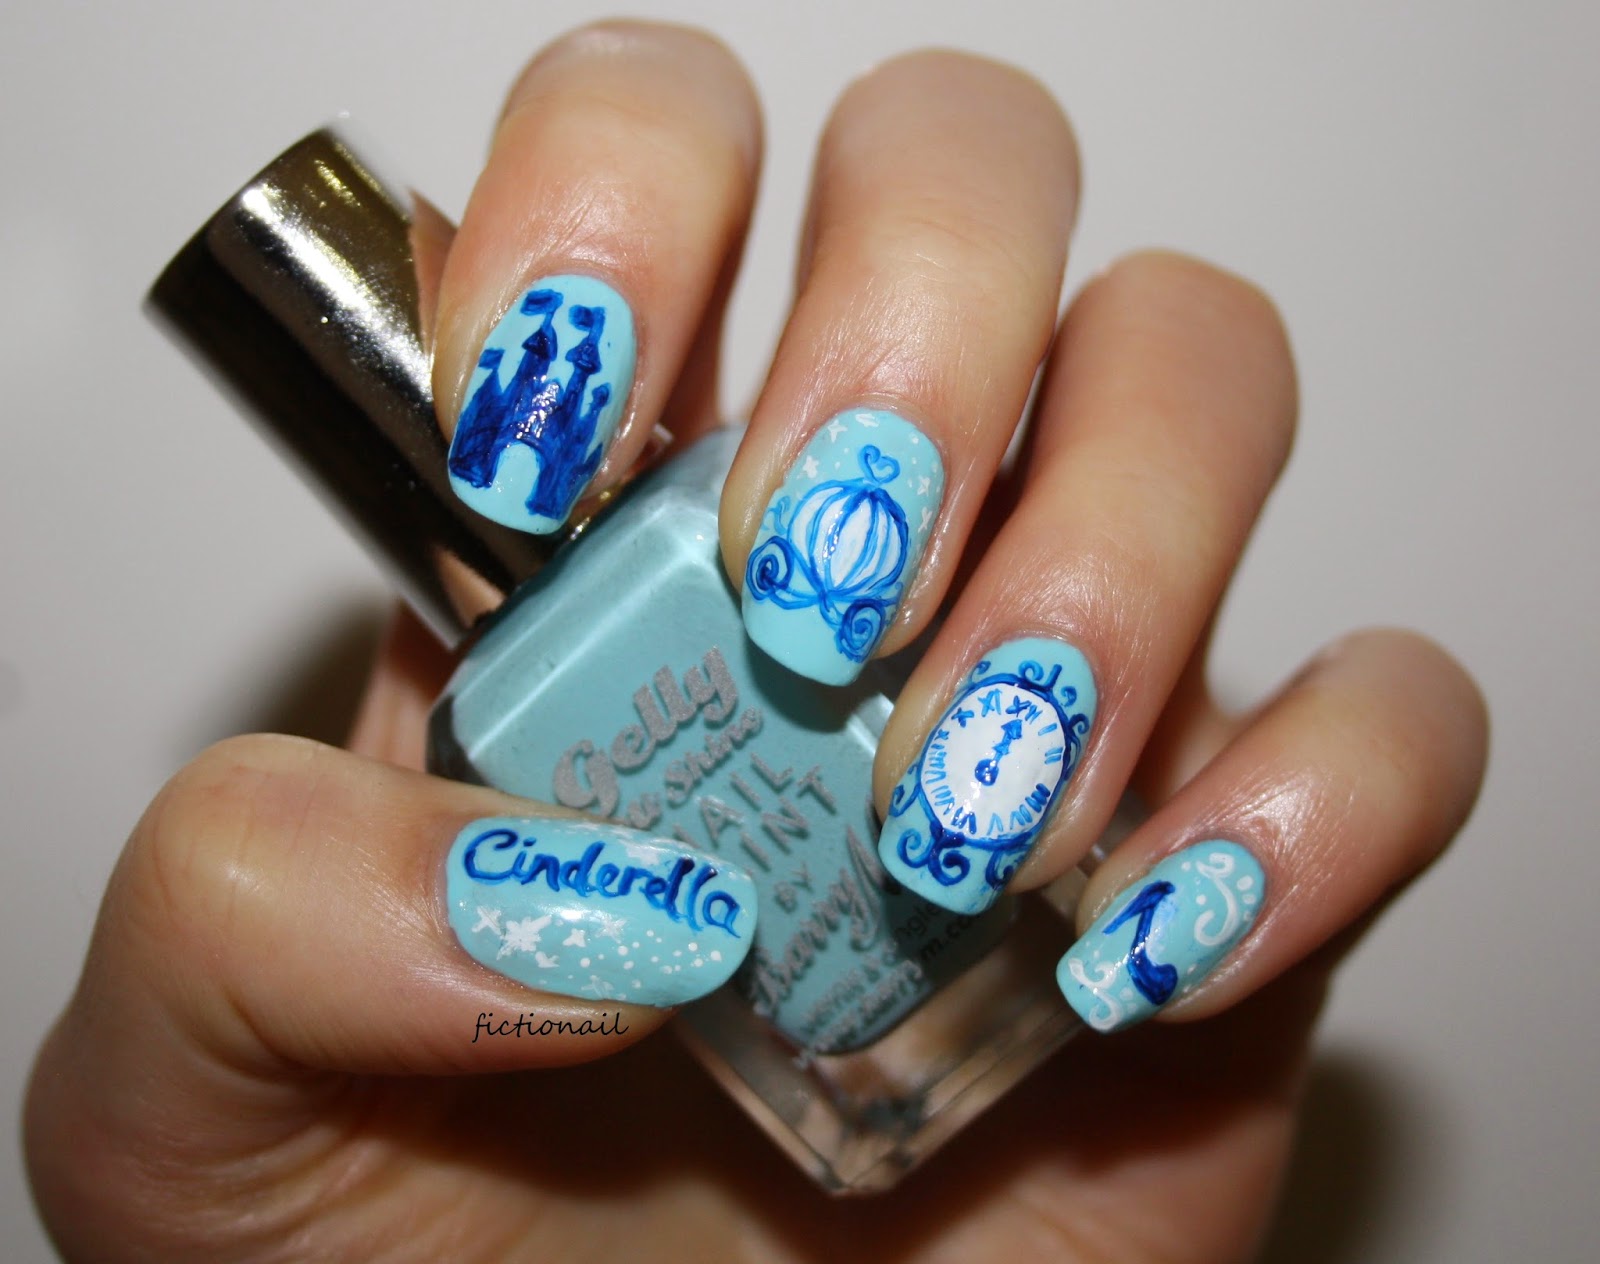
Start by applying a base coat to protect your nails and allow it to dry completely. Next, paint all your nails with a light blue nail polish, representing the sky. Once it is dry, use a fine-tipped nail art brush and white nail polish to carefully draw the outline of the castle on your nails. Take your time and be patient, as it may take a few tries to get the shape just right. You can also use a nail stencil or sticker for a more precise design.
After the white polish has dried, use the same brush and a silver nail polish to add details to the castle, such as windows, doors, and spires. You can also add glitter or rhinestones for a touch of sparkle. For a more intricate design, you can use a small dotting tool to create tiny stars in the sky.
Finishing Touches

Once your castle is complete, let it dry for a few minutes before applying a top coat to seal in your design and add shine. This will also help your nail art last longer. For an extra touch of magic, you can add a small 3D charm, such as a carriage or glass slipper, to one of your nails.
Perfect for Any Occasion
With Cinderella Castle nail art , you can add a touch of Disney magic to any occasion. Whether it's a trip to the theme parks, a special event, or just a fun day out, this nail art is sure to make you feel like a princess. You can also experiment with different color combinations, such as pink or purple for a more whimsical look.
So why wait? Grab your supplies and start creating your very own Cinderella Castle nail art today. With a little bit of patience and a touch of magic, you can bring the fairytale to your fingertips and show off your love for all things Disney.


