Keeping your nail art sponges clean is essential for creating flawless and beautiful manicures. But if you're new to using nail art sponges, you may be wondering how to properly clean them. The good news is, it's a simple process that will keep your sponges in top condition for many uses to come. First, gather your supplies. You will need gentle soap or shampoo, warm water, a small bowl, and a clean towel. It is important to use a gentle soap or shampoo to avoid damaging the sponge fibers. Next, add a few drops of soap or shampoo to the bowl of warm water and mix until it becomes sudsy. Then, take your nail art sponge and gently swirl it around in the soapy water. Do not rub or scrub the sponge too hard, as this can cause it to tear or lose its shape. After a few minutes of swirling, remove the sponge from the soapy water and rinse it thoroughly under running water. Make sure all the soap or shampoo is rinsed out to avoid any residue on the sponge. Once the sponge is clean, gently squeeze out any excess water and lay it flat on a clean towel to dry. Do not wring out the sponge, as this can damage the fibers and cause it to lose its shape. Allow the sponge to air dry completely before using it again. Cleaning your nail art sponge after each use is recommended to prevent any buildup of polish or debris. If you use a sponge for a specific color, it is best to clean it immediately after use to avoid any staining or color transfer. With proper care and cleaning, your nail art sponge will last through many manicures and give you flawless results every time.1. How to Clean a Nail Art Sponge


1. How to Clean a Nail Art Sponge


When it comes to cleaning your nail art sponges, there are a few different methods you can try. Some people prefer to use a brush cleaner or makeup remover, while others swear by using vinegar or rubbing alcohol. However, the best and most gentle way to clean your nail art sponges is by using soap and water. As mentioned before, using a gentle soap or shampoo is key to keeping your sponges in top condition. Harsh chemicals or cleaners can damage the sponge fibers and affect the application of your nail polish. Stick to mild, gentle products to ensure the longevity of your sponges. In addition to using soap and water, you can also try using a nail polish remover to clean your sponges. However, be cautious when using this method as nail polish remover can be harsh and drying on the sponge. If you do decide to use nail polish remover, dilute it with water and only use a small amount to avoid damaging the sponge. Another tip for the best way to clean your nail art sponges is to avoid using hot water. Hot water can cause the sponge to expand and lose its shape or even melt if it is made from a synthetic material. Stick to warm or room temperature water for the best results. Overall, the best way to clean your nail art sponges is by using a gentle soap or shampoo, warm water, and allowing them to air dry. This method will keep your sponges in top condition and ensure flawless application for all your nail art designs.2. Best Way to Clean Nail Art Sponges


2. Best Way to Clean Nail Art Sponges


If you're looking for a more budget-friendly option for cleaning your nail art sponges, there are a few DIY methods you can try. You may already have some of these ingredients in your pantry, making this a convenient and cost-effective way to keep your sponges clean. One DIY method for cleaning nail art sponges is using white vinegar. Vinegar has antibacterial properties and can help remove any buildup or residue on your sponges. Simply mix equal parts water and white vinegar in a small bowl, and soak your sponges for a few minutes. Rinse thoroughly and allow them to air dry. Another DIY option is using baking soda. Baking soda is a natural cleaner and can help remove tough stains or buildup on your sponges. Mix a small amount of baking soda with water to create a paste, then use a clean toothbrush to gently scrub your sponges. Rinse thoroughly and allow them to dry. Lastly, you can also try using dish soap and olive oil to clean your nail art sponges. The combination of these two ingredients can help remove any stubborn polish and nourish the sponge fibers. Mix equal parts dish soap and olive oil in a small bowl, then dip your sponge in the mixture and gently swirl it around. Rinse thoroughly and allow it to air dry. These DIY methods may take a bit more time and effort, but they are a great option for those looking to save money and use natural ingredients to clean their nail art sponges.3. DIY Nail Art Sponge Cleaning


3. DIY Nail Art Sponge Cleaning
Cleaning your nail art sponges may seem like a simple task, but there are a few tips and tricks that can make the process even easier and more effective. Firstly, it is important to clean your sponges after each use to prevent any buildup of polish or debris. This will also ensure that your sponges are ready to use for your next manicure. When using soap and water to clean your sponges, make sure to use a gentle soap or shampoo, and avoid rubbing or scrubbing the sponge too hard. This can cause damage to the fibers and affect the application of your nail polish. If you notice your sponges are not getting as clean as you'd like, try soaking them in warm water and gentle soap for a longer period of time, or using a gentle brush to help remove any stubborn residue. Avoid using harsh chemicals or cleaners as they can damage the sponge fibers. After cleaning your sponges, make sure to squeeze out any excess water and lay them flat to dry. Do not wring out the sponge as this can affect its shape and cause it to lose its effectiveness. Lastly, it is important to store your nail art sponges in a clean and dry place. Avoid storing them in damp or humid areas as this can cause mold or mildew to grow on the sponge, rendering it unusable.4. Cleaning Tips for Nail Art Sponges


4. Cleaning Tips for Nail Art Sponges

Properly cleaning your nail art sponges is essential for achieving flawless and beautiful manicures. Here is a step-by-step guide on how to properly clean your sponges: Step 1: Gather your supplies - You will need gentle soap or shampoo, warm water, a small bowl, and a clean towel. Step 2: Create a soapy mixture - Add a few drops of soap or shampoo to the bowl of warm water and mix until it becomes sudsy. Step 3: Swirl the sponge - Gently swirl the sponge in the soapy water for a few minutes, making sure to cover all areas of the sponge. Step 4: Rinse thoroughly - Remove the sponge from the soapy water and rinse it thoroughly under running water, making sure to remove all soap or shampoo residue. Step 5: Squeeze out excess water - Gently squeeze out any excess water from the sponge and lay it flat on a clean towel to dry. Step 6: Allow the sponge to air dry - Do not wring out the sponge or use heat to dry it, as this can cause damage to the fibers. Allow the sponge to air dry completely before using it again. Step 7: Store in a clean and dry place - It is important to store your nail art sponges in a clean and dry place to prevent any mold or mildew growth. Keep them in a sealed plastic bag or container until you are ready to use them again. By following these steps, you can ensure that your nail art sponges are properly cleaned and ready to use for your next manicure.5. How to Properly Clean a Nail Art Sponge


5. How to Properly Clean a Nail Art Sponge
If you're short on time but still want to keep your nail art sponges clean, there are a few quick and easy methods you can try. One option is using a brush cleaner or makeup remover. These products are specifically designed to remove makeup and can be effective in removing nail polish from your sponges. Simply apply a small amount to a clean toothbrush and gently scrub your sponges, then rinse and allow them to dry. Another quick and easy option is using a nail polish remover. This method is best for those who use their sponges for a specific color and want to clean them immediately after use to avoid any staining or color transfer. Dilute the nail polish remover with water and use a small amount to gently clean the sponge, then rinse and allow it to dry. Lastly, you can also try using a gentle face cleanser or baby shampoo to clean your sponges. These products are gentle on the skin and can also be effective in removing nail polish from your sponges. Simply mix a small amount with water and use a clean toothbrush to scrub the sponge, then rinse and allow it to dry. These quick and easy methods are great for those who are short on time but still want to keep their nail art sponges clean and in top condition.6. Quick and Easy Nail Art Sponge Cleaning


6. Quick and Easy Nail Art Sponge Cleaning


Keeping your nail art sponges clean is not just about maintaining their appearance, it is also essential for achieving flawless and beautiful manicures. When sponges are not properly cleaned, they can become clogged with old polish, debris, and bacteria, affecting the application of your nail polish and potentially causing infections or irritation to your nails. Regular cleaning of your sponges will prevent any buildup and ensure that they are ready to use for your next manicure. Clean sponges also provide better coverage and blending when creating nail art designs. Old polish or residue on the sponge can affect the color and texture of your nail polish, resulting in uneven or streaky application. By cleaning your sponges regularly, you can achieve flawless and professional-looking manicures every time. Moreover, cleaning your nail art sponges can also extend their lifespan, saving you money in the long run. By properly caring for your sponges, you can continue to use them for many manicures to come, making them a worthwhile investment for any nail art enthusiast.7. The Importance of Cleaning Nail Art Sponges


7. The Importance of Cleaning Nail Art Sponges

If you're looking for some extra tips and tricks to make cleaning your nail art sponges even easier, here are some cleaning hacks you can try. One hack is using a mesh bag or lingerie bag to wash your sponges in the washing machine. This is a great option for those with a large number of sponges or for those who want a more thorough clean. Place your sponges in the mesh bag and wash them on a gentle cycle with a gentle detergent. Allow them to air dry before using them again. Another hack is using a lint roller to remove any excess polish or debris from your sponges. This is a quick and easy method that can be done in between uses to prevent any buildup. You can also try using a hair donut or foam hair roller as a substitute for a nail art sponge. These items are easier to clean and can be used multiple times before needing to be replaced. Simply cut the hair donut or foam roller into smaller pieces and use them as you would a regular nail art sponge. These cleaning hacks can help make the task of cleaning your nail art sponges even more efficient and effective.8. Cleaning Hacks for Nail Art Sponges


8. Cleaning Hacks for Nail Art Sponges


For those who prefer a more visual guide, here is a step-by-step guide to cleaning your nail art sponges: Step 1: Gather your supplies - You will need gentle soap or shampoo, warm water, a small bowl, and a clean towel. Step 2: Create a soapy mixture - Add a few drops of soap or shampoo to the bowl of warm water and mix until it becomes sudsy. Step 3: Swirl the sponge - Gently swirl the sponge in the soapy water for a few minutes, making sure to cover all areas of the sponge. Step 4: Rinse thoroughly - Remove the sponge from the soapy water and rinse it thoroughly under running water, making sure to remove all soap or shampoo residue. Step 5: Squeeze out excess water - Gently squeeze out any excess water from the sponge and lay it flat on a clean towel to dry. Step 6: Allow the sponge to air dry - Do not wring out the sponge or use heat to dry it, as this can cause damage to the fibers. Allow the sponge to air dry completely before using it again. Step 7: Store in a clean and dry place - It is important to store your nail art sponges in a clean and dry place to prevent any mold or mildew growth. Keep them in a sealed plastic bag or container until you are ready to use them again.9. Step-by-Step Guide to Cleaning Nail Art Sponges


9. Step-by-Step Guide to Cleaning Nail Art Sponges


Lastly, here are some must-have products for cleaning your nail art sponges: Gentle soap or shampoo - A gentle soap or shampoo is essential for cleaning your sponges without damaging the fibers. Look for products that are specifically designed for sensitive skin or baby products. Small bowl - A small bowl is convenient for creating your soapy mixture and swirling your sponges.10. Must-Have Products for Cleaning Nail Art Sponges
10. Must-Have Products for Cleaning Nail Art Sponges


Clean Nail Art Sponge: The Secret to Flawless Nail Designs
Introduction
 When it comes to creating a beautiful and professional-looking nail design, using a
clean nail art sponge
is a crucial step that is often overlooked. Many nail enthusiasts focus on having a wide selection of nail polish colors or intricate nail art tools, but fail to realize the importance of a clean and well-maintained sponge. In this article, we'll dive into the world of nail design and discuss why a clean nail art sponge is the secret to achieving flawless and stunning nail designs.
When it comes to creating a beautiful and professional-looking nail design, using a
clean nail art sponge
is a crucial step that is often overlooked. Many nail enthusiasts focus on having a wide selection of nail polish colors or intricate nail art tools, but fail to realize the importance of a clean and well-maintained sponge. In this article, we'll dive into the world of nail design and discuss why a clean nail art sponge is the secret to achieving flawless and stunning nail designs.
The Role of a Nail Art Sponge
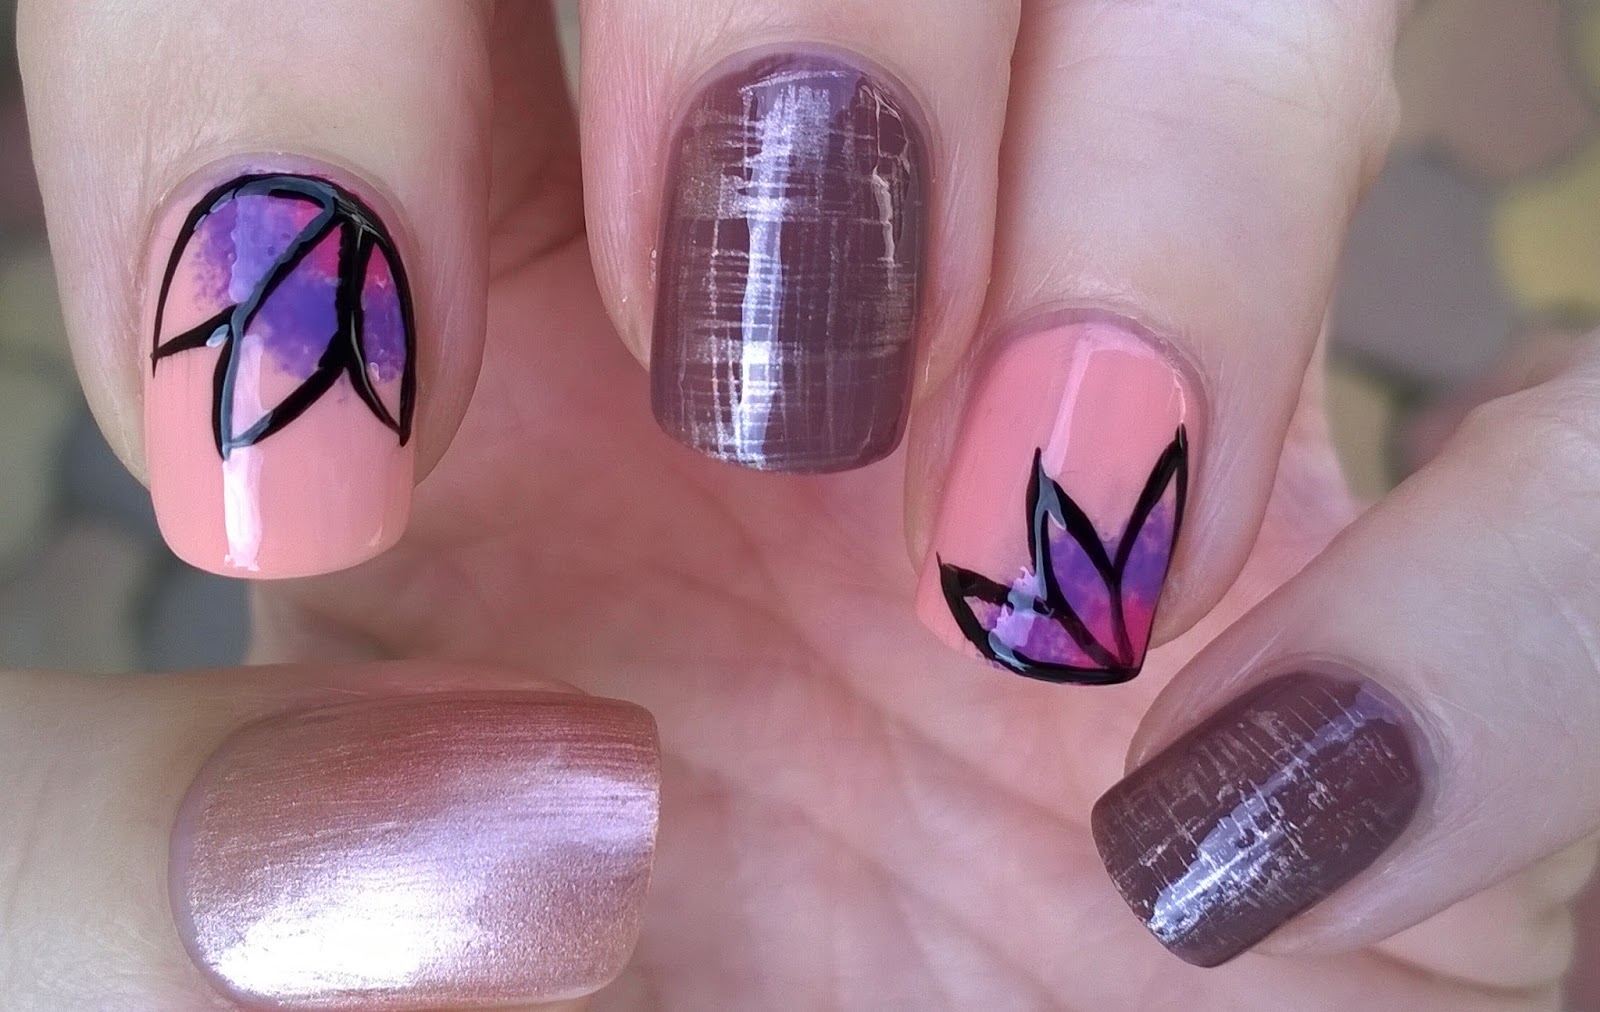
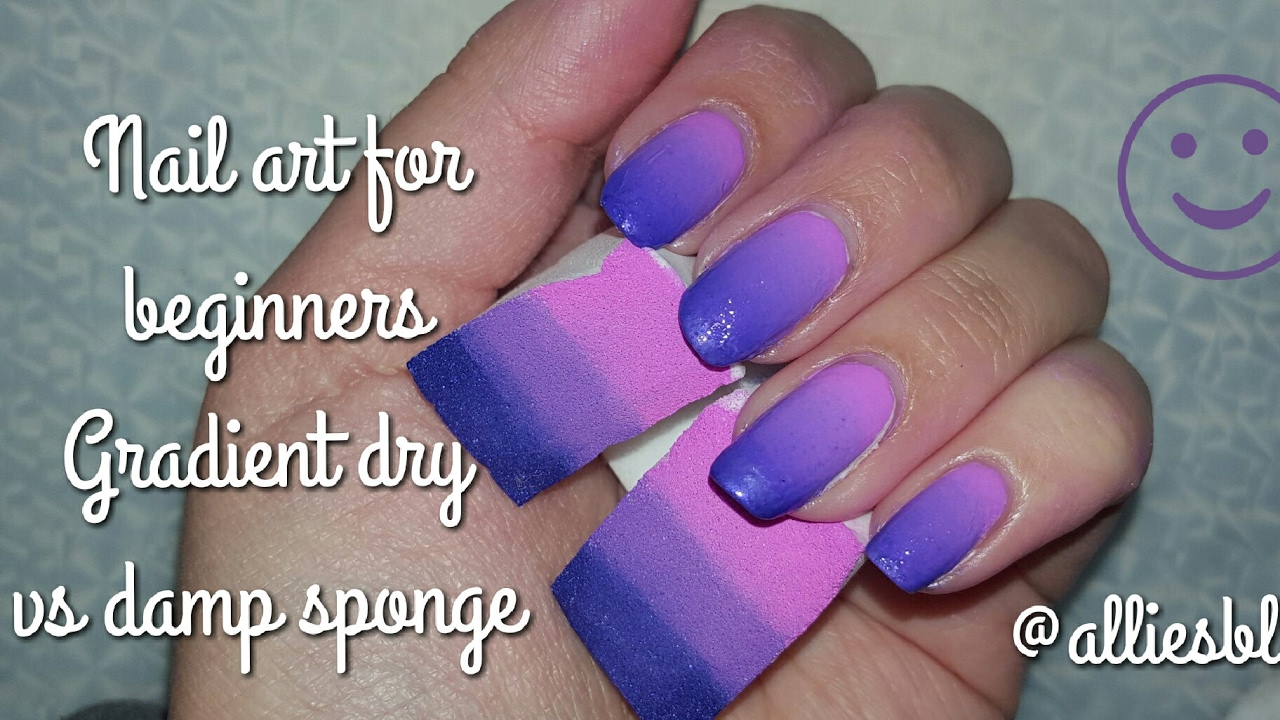
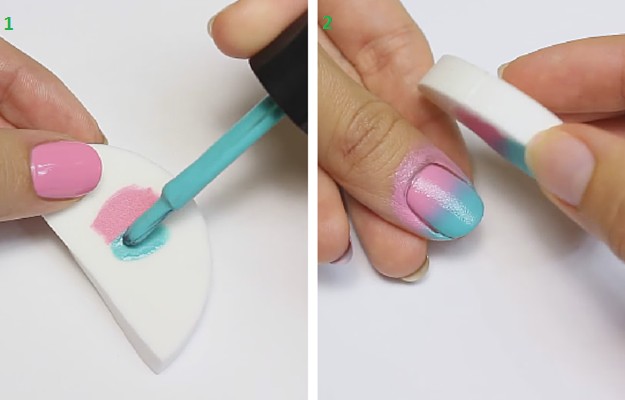
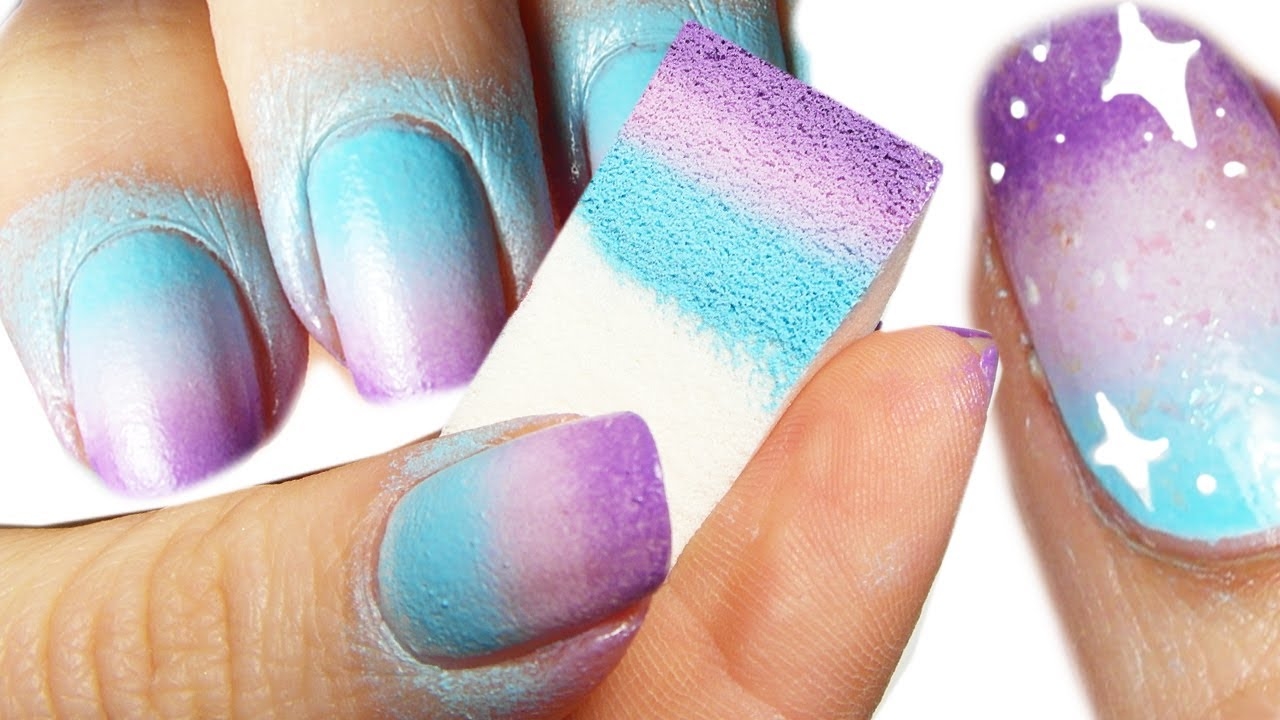
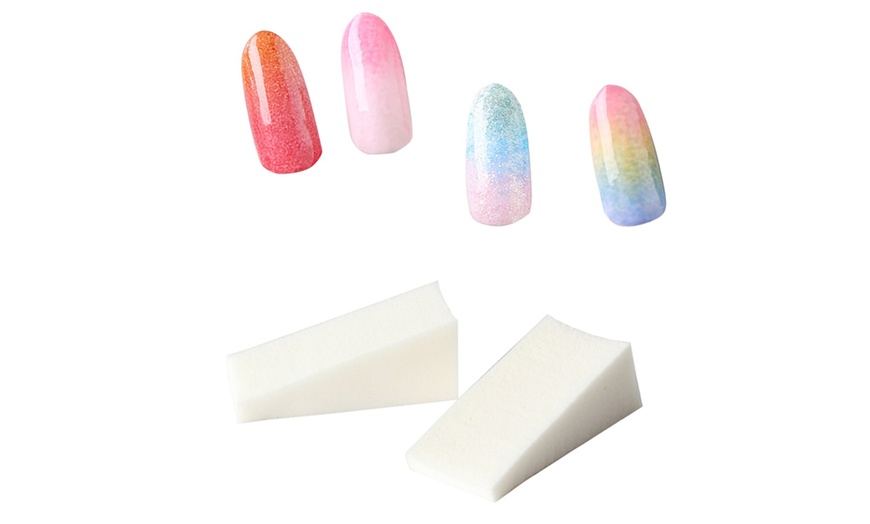
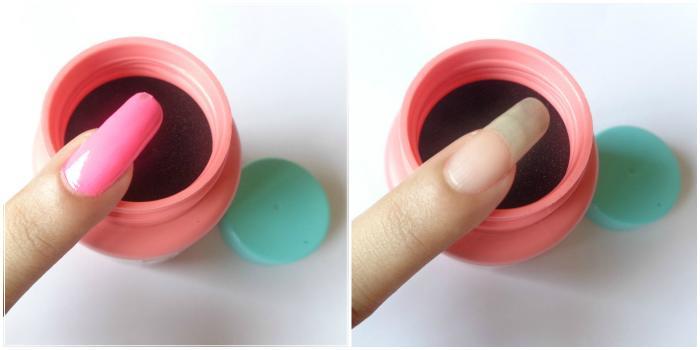
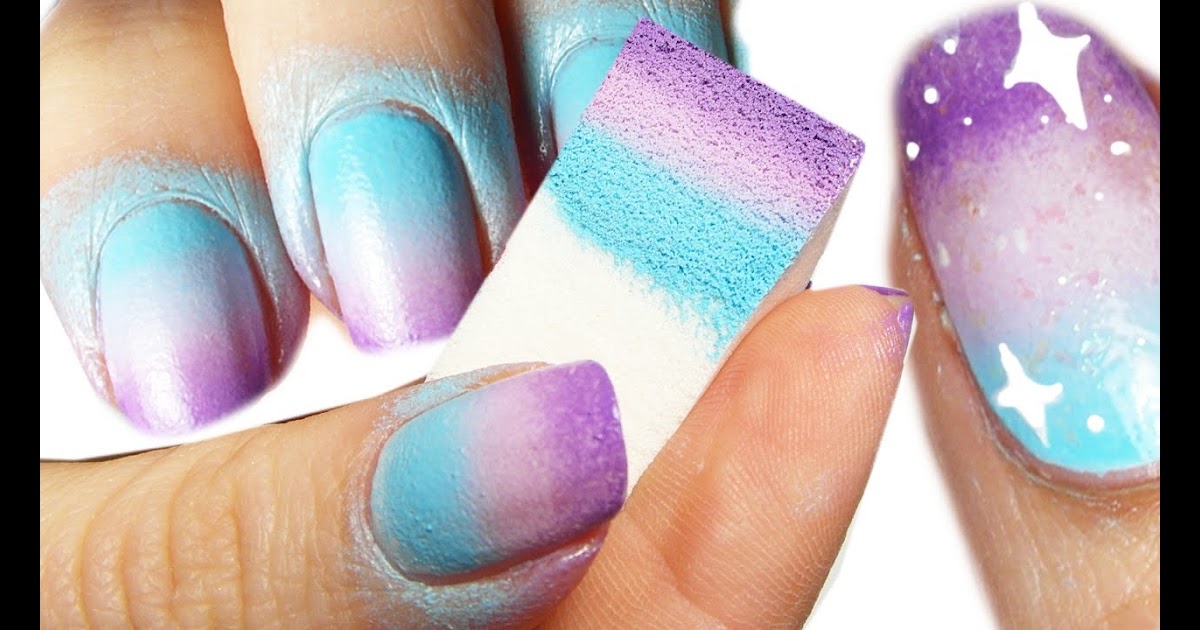
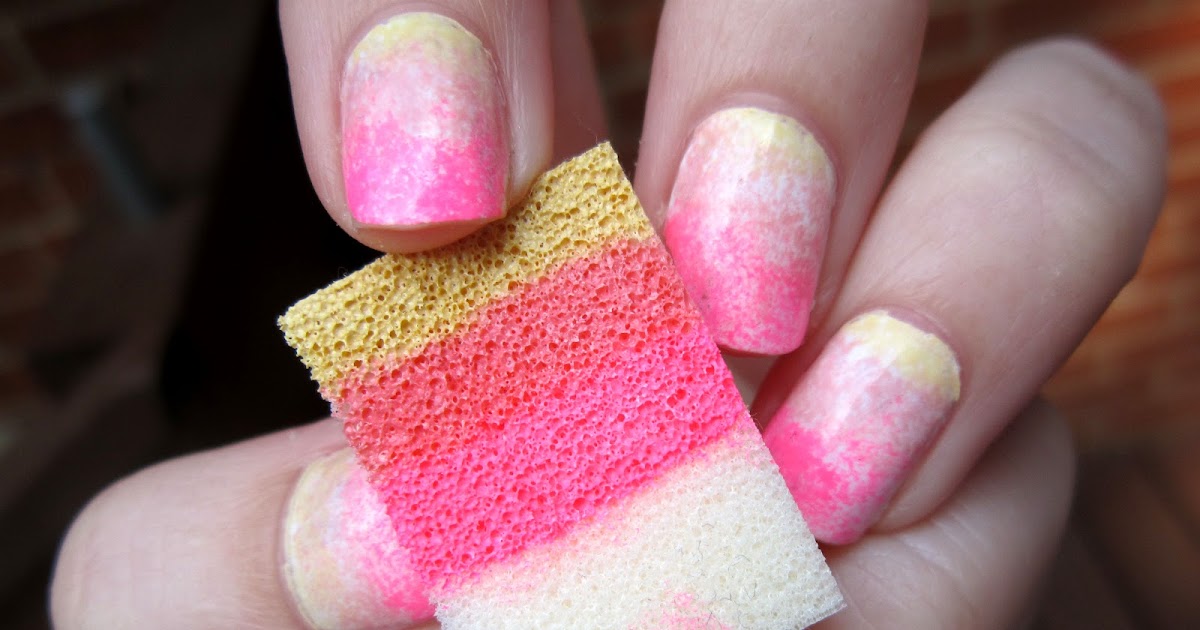
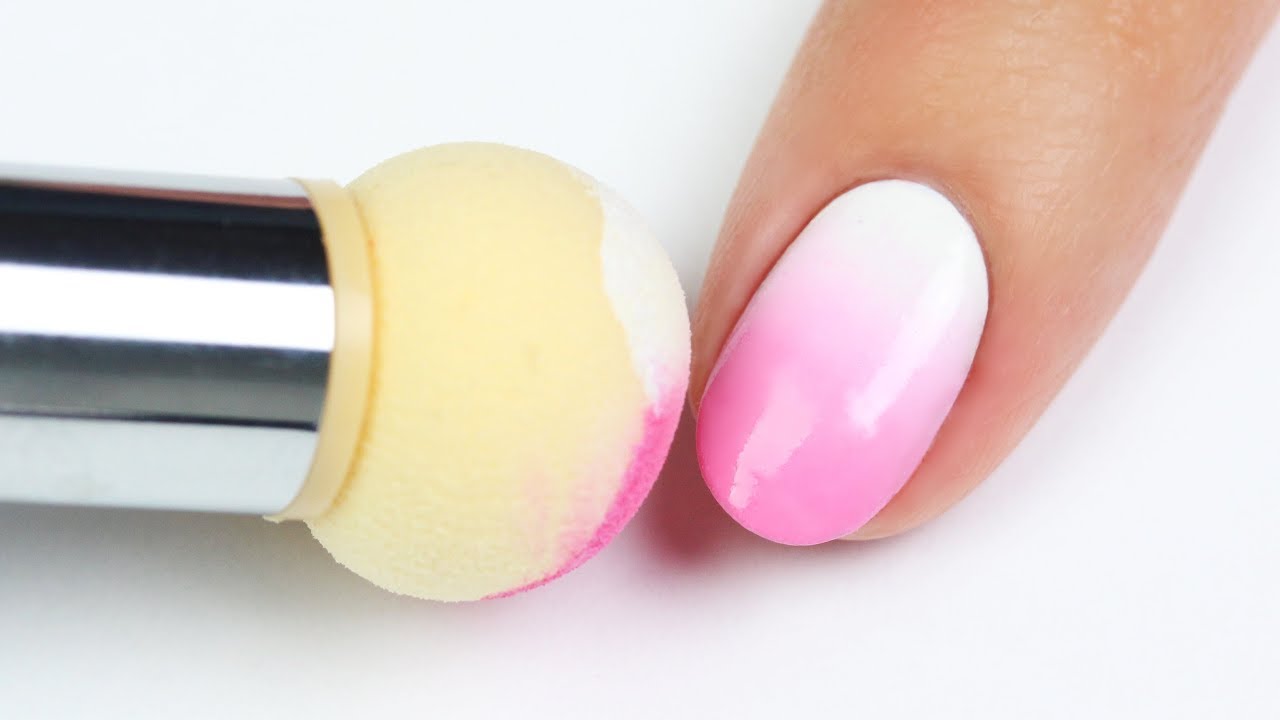
 Before we dive into the importance of keeping your nail art sponge clean, let's first understand its role in creating a beautiful nail design. A nail art sponge is a versatile tool that is used to create gradient or ombre designs on nails. It is typically made of a soft, porous material that allows for smooth blending of different nail polish colors. The sponge also helps to create a seamless transition between colors, giving your nails a professional and polished look.
The Dangers of a Dirty Nail Art Sponge
 Now that we understand the role of a nail art sponge, let's discuss why it is crucial to keep it clean. Over time, a nail art sponge can become clogged with old nail polish, dirt, and bacteria. This can affect the quality of your nail designs, making them appear streaky and uneven. Additionally, a dirty nail art sponge can harbor harmful bacteria that can lead to infections and other nail-related issues. Therefore, it is essential to regularly
clean your nail art sponge
to maintain the integrity of your nail designs and protect your nails' health.
Now that we understand the role of a nail art sponge, let's discuss why it is crucial to keep it clean. Over time, a nail art sponge can become clogged with old nail polish, dirt, and bacteria. This can affect the quality of your nail designs, making them appear streaky and uneven. Additionally, a dirty nail art sponge can harbor harmful bacteria that can lead to infections and other nail-related issues. Therefore, it is essential to regularly
clean your nail art sponge
to maintain the integrity of your nail designs and protect your nails' health.
How to Clean a Nail Art Sponge
 Cleaning a nail art sponge is a simple process that can be done with a few basic household items. First, soak the sponge in warm soapy water for a few minutes to loosen any nail polish residue. Then, gently squeeze and rinse the sponge until the water runs clear. For tougher stains, you can use a small amount of rubbing alcohol or nail polish remover to help remove the residue. Once clean, let the sponge air dry before using it again.
Conclusion
 In conclusion, a
clean nail art sponge
is an essential tool in achieving flawless and professional-looking nail designs. Regularly cleaning your nail art sponge not only improves the quality of your nail designs but also helps to maintain healthy nails. So, the next time you sit down to do your nails, don't forget to give your nail art sponge a good clean. Your nails will thank you for it!
In conclusion, a
clean nail art sponge
is an essential tool in achieving flawless and professional-looking nail designs. Regularly cleaning your nail art sponge not only improves the quality of your nail designs but also helps to maintain healthy nails. So, the next time you sit down to do your nails, don't forget to give your nail art sponge a good clean. Your nails will thank you for it!


