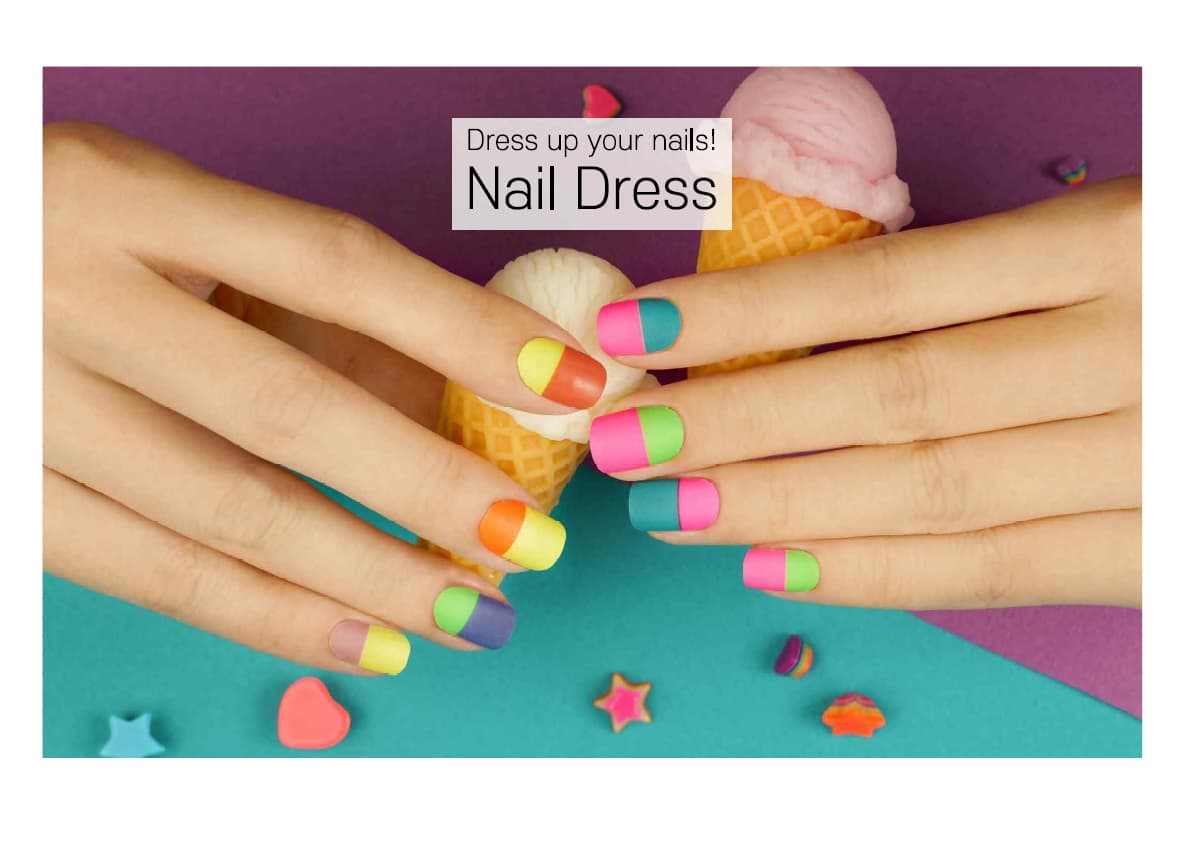
Clear nail art is a fun and unique way to spice up your manicure game. If you're new to the world of nail art, creating clear designs may seem intimidating. But fear not, because with this easy clear nail art tutorial, you'll be able to create stunning designs in no time. So grab your clear polish and let's get started!Clear Nail Art Tutorial for Beginners | How to Create Clear Nail Art


Clear Nail Art Tutorial for Beginners

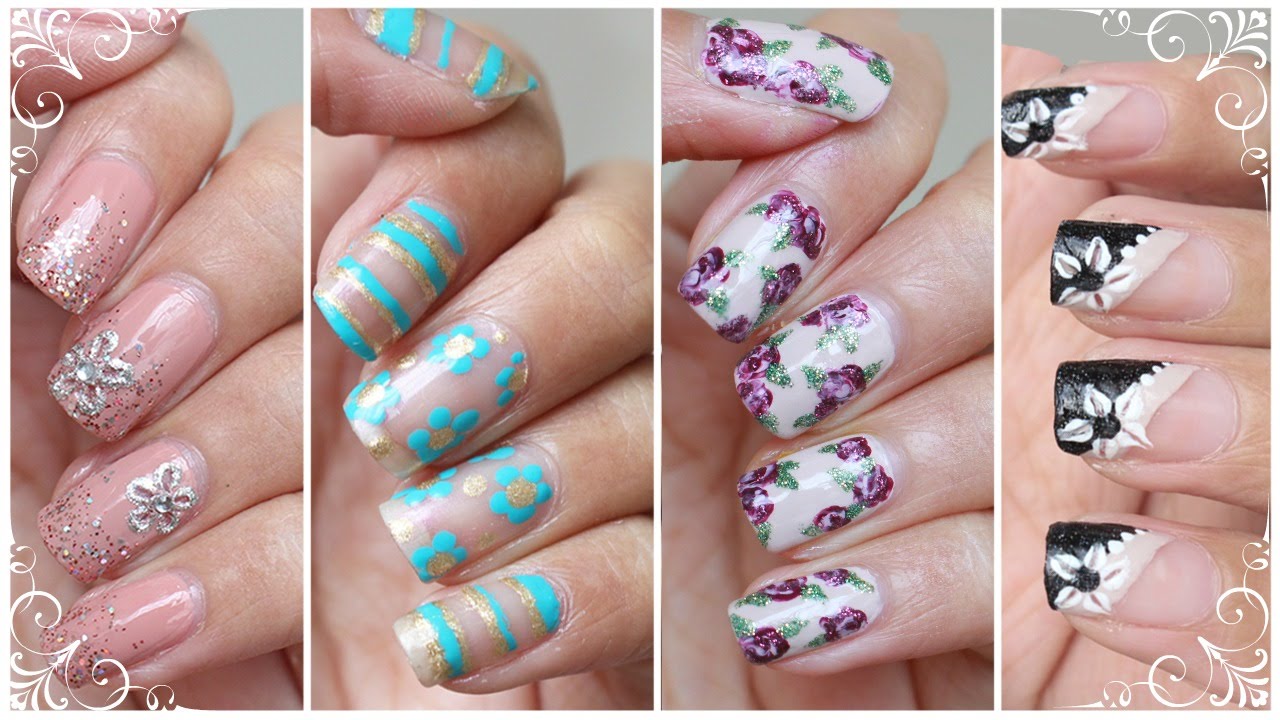


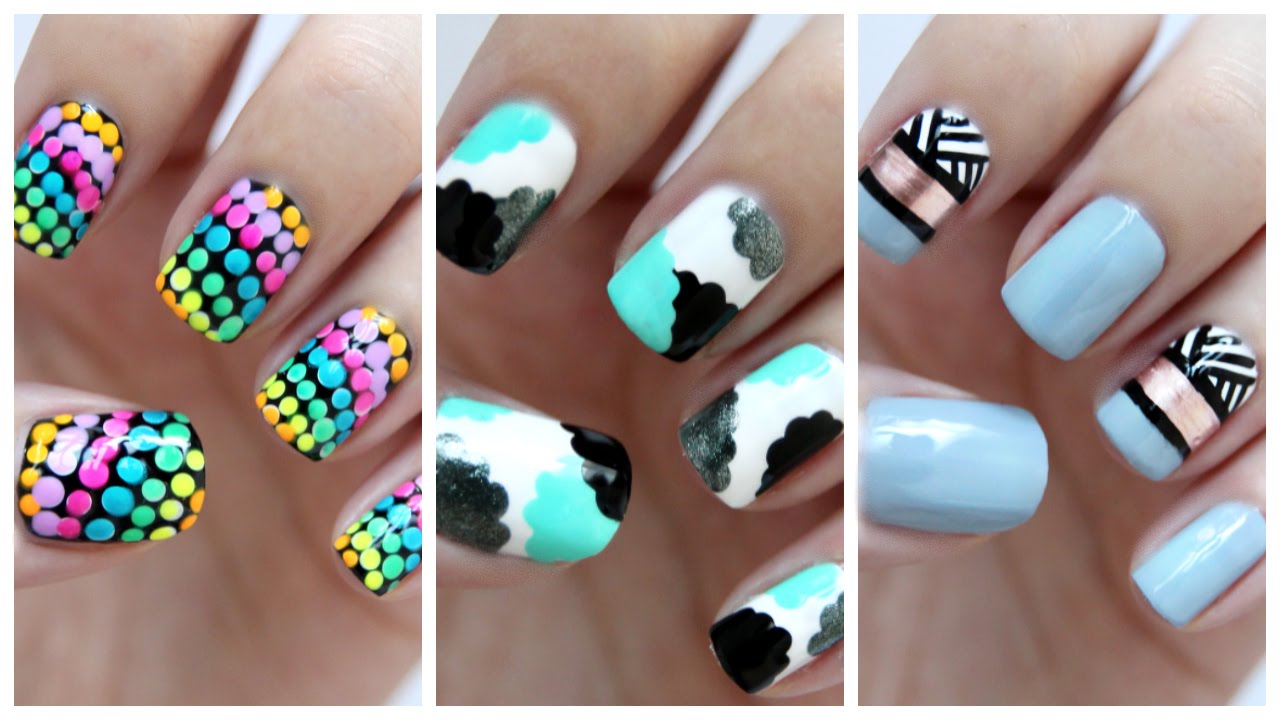
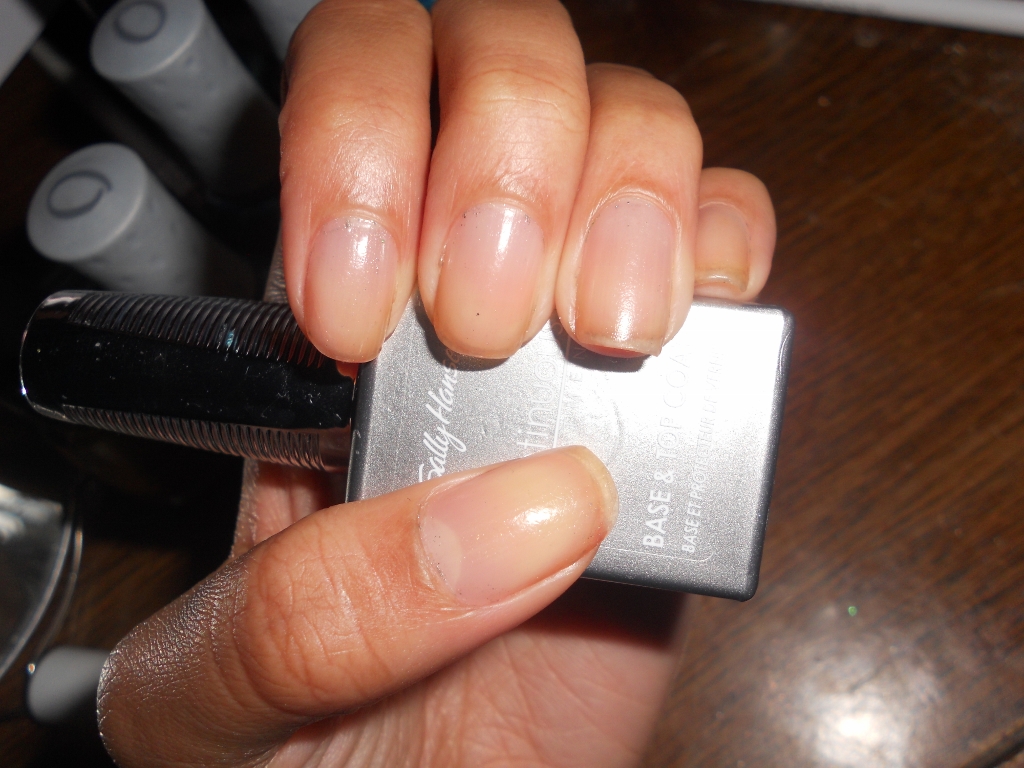
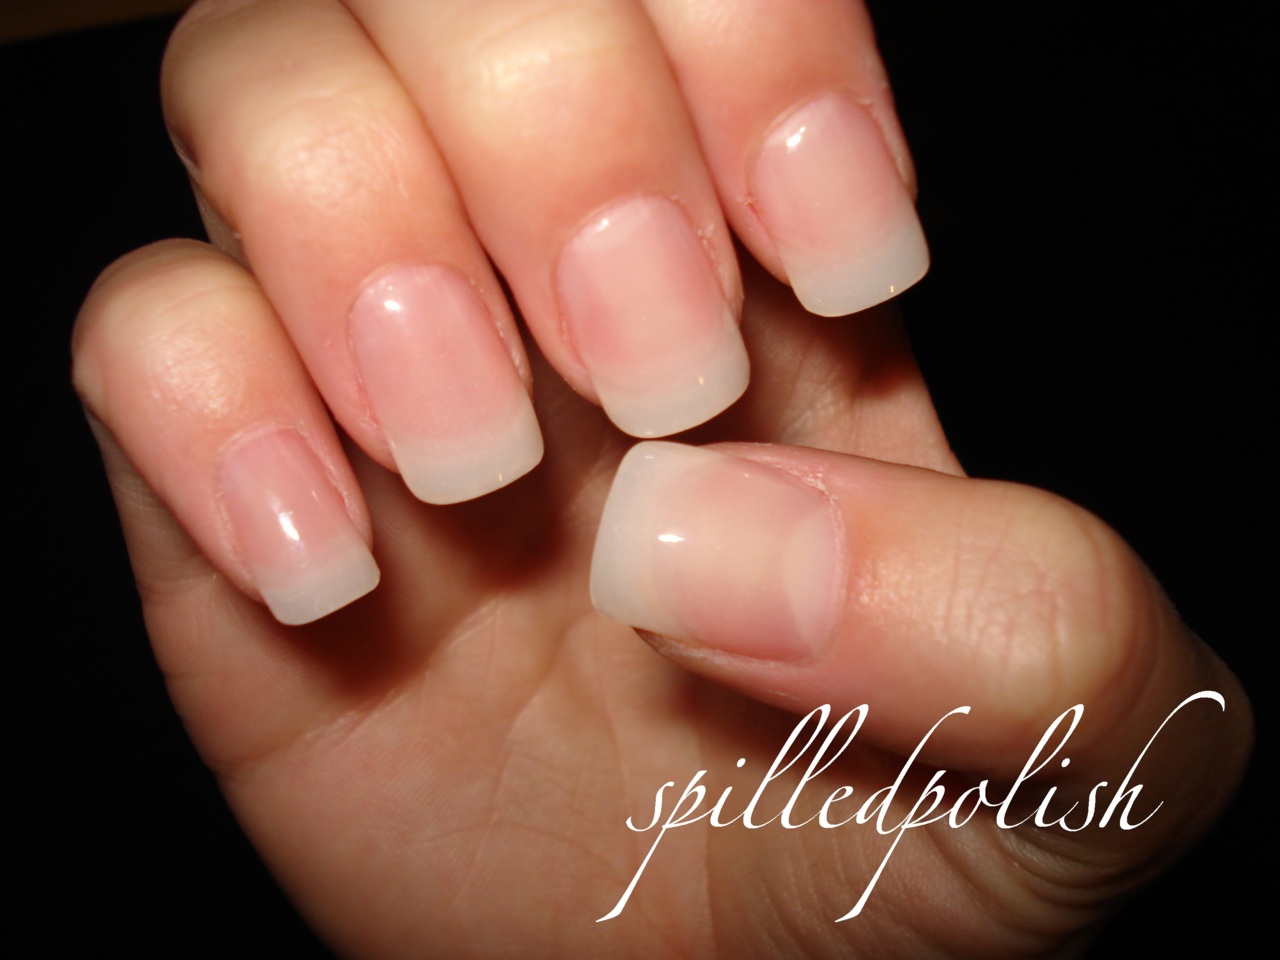
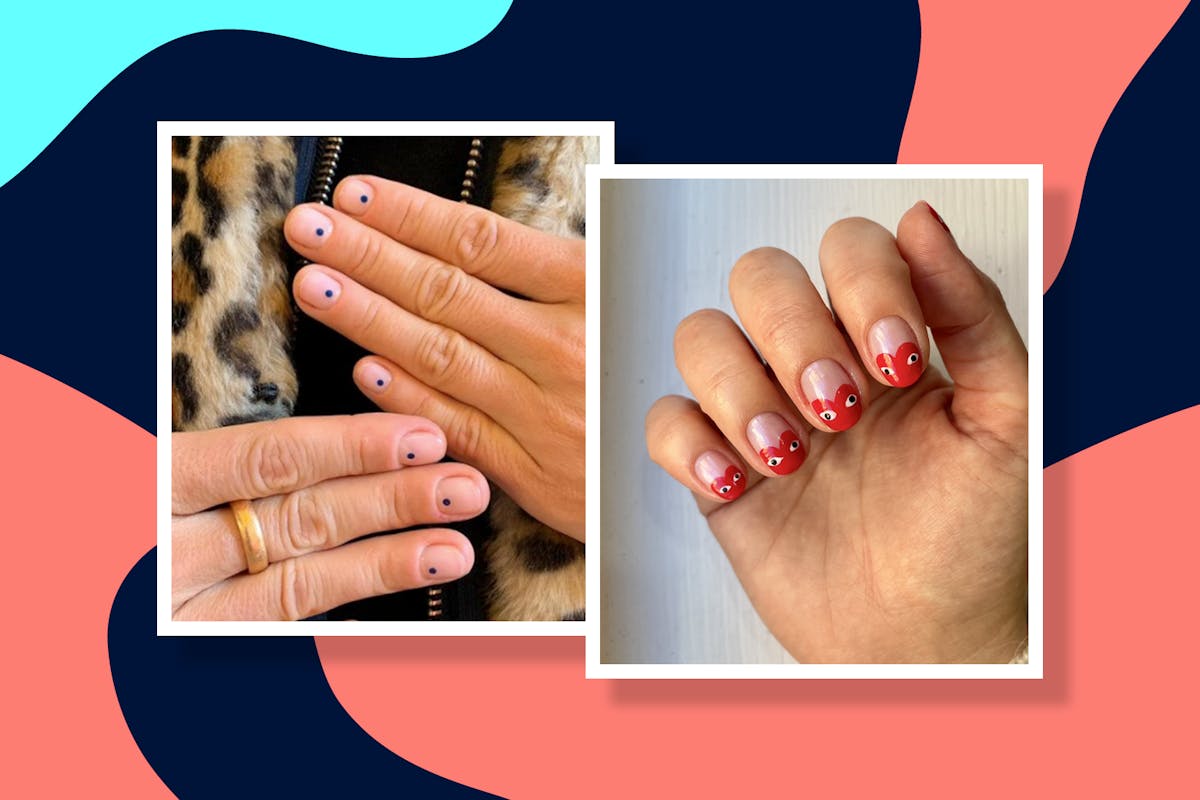
Creating clear nail art doesn't have to be complicated. In fact, it can be quite simple and easy. All you need is a clear base coat, a few colors of your choice, and some tools like toothpicks or bobby pins for creating designs. Step 1: Start by applying a clear base coat to your nails. This will help protect your natural nails and create a smooth surface for the design. Step 2: Once the base coat is dry, use a toothpick or bobby pin to create your desired design. You can make polka dots, stripes, hearts, or any other design you like. Get creative! Step 3: After you've created your design, let it dry completely. This may take a few minutes, so be patient. Step 4: Once the design is dry, seal it in with another layer of clear polish. This will give your design a glossy finish and make it last longer. Step 5: Lastly, clean up any excess polish around your nails with a cotton swab dipped in nail polish remover.Easy Clear Nail Art Tutorial | Step by Step Guide


How to Create Clear Nail Art


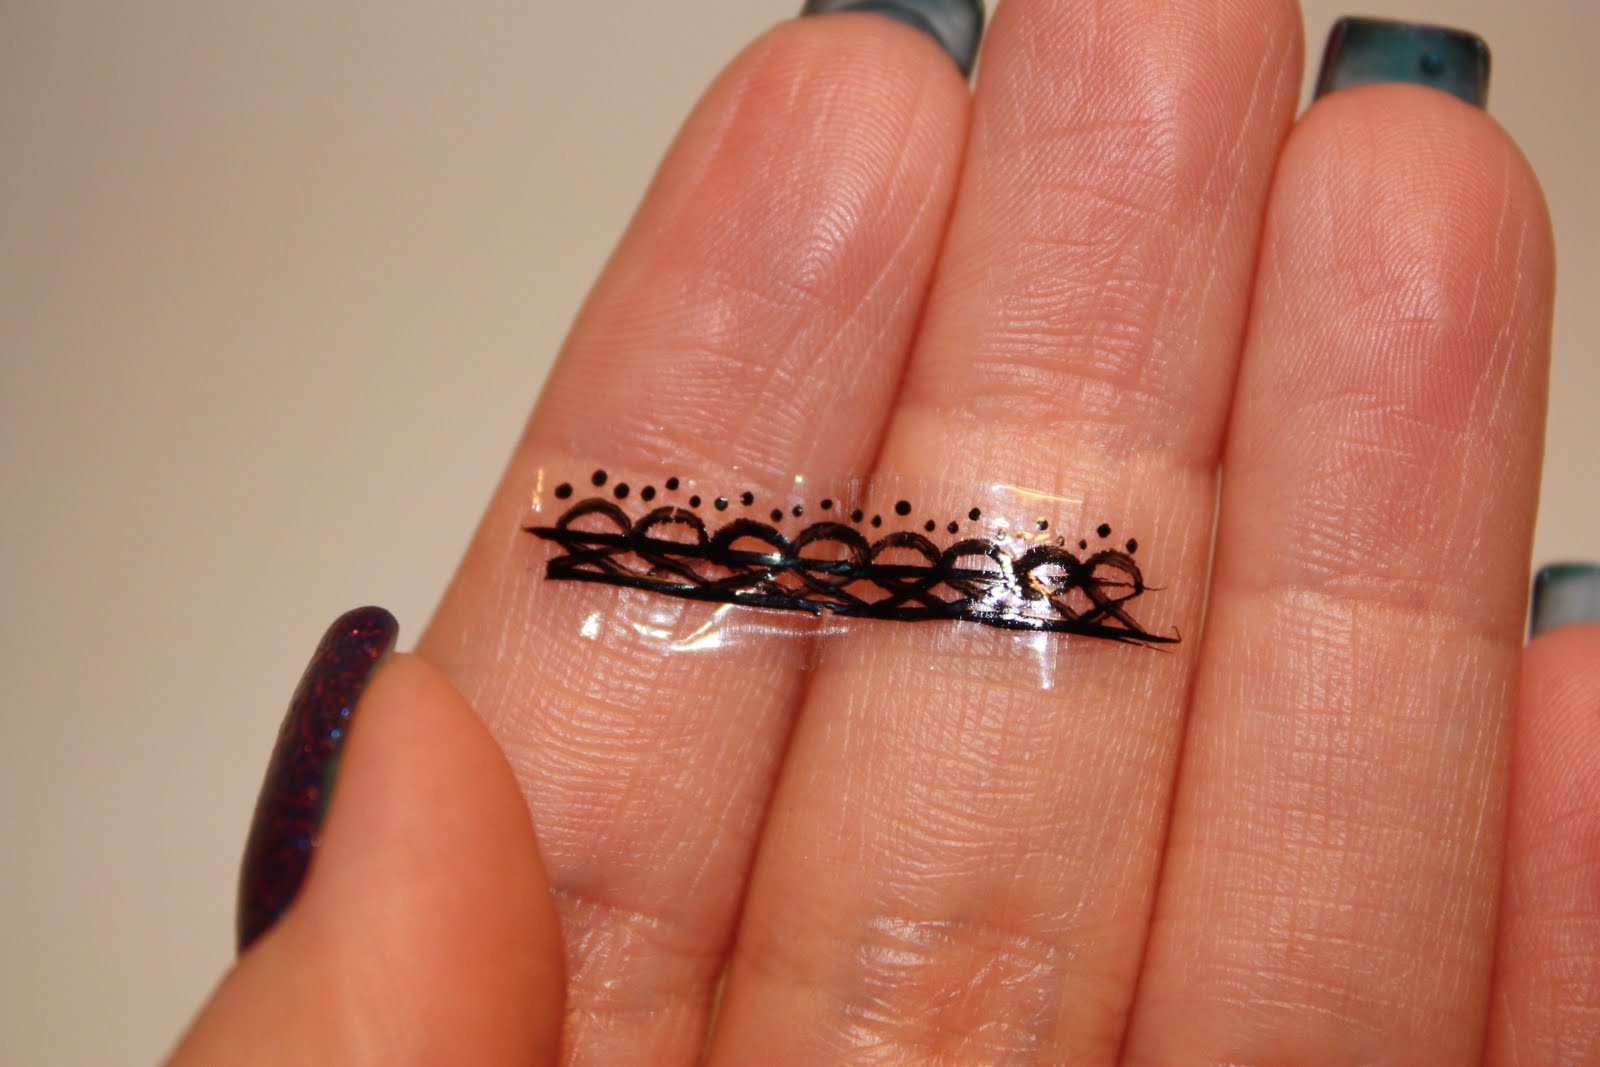
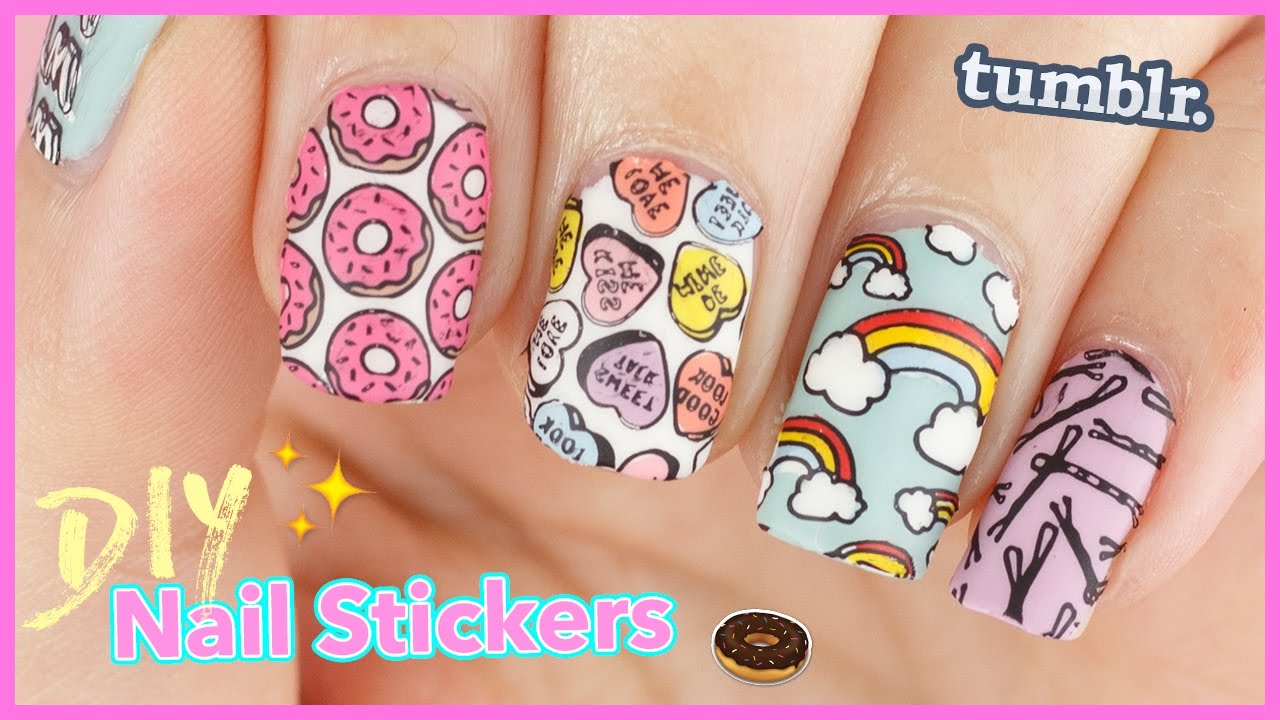
If you're not confident in your hand-drawing skills, you can still achieve beautiful clear nail art with the help of stickers and decals. These are available in a variety of designs and are easy to use. Step 1: Apply a clear base coat to your nails and let it dry completely. Step 2: Choose your desired sticker or decal and carefully place it on your nail. You can use tweezers for more precision. Step 3: Press down the sticker or decal to make sure it's fully adhered to the nail. Step 4: Apply a layer of clear polish to seal in the design and let it dry. Step 5: Clean up any excess polish and you're done!Clear Nail Art Tutorial Using Stickers and Decals

Easy Clear Nail Art Tutorial


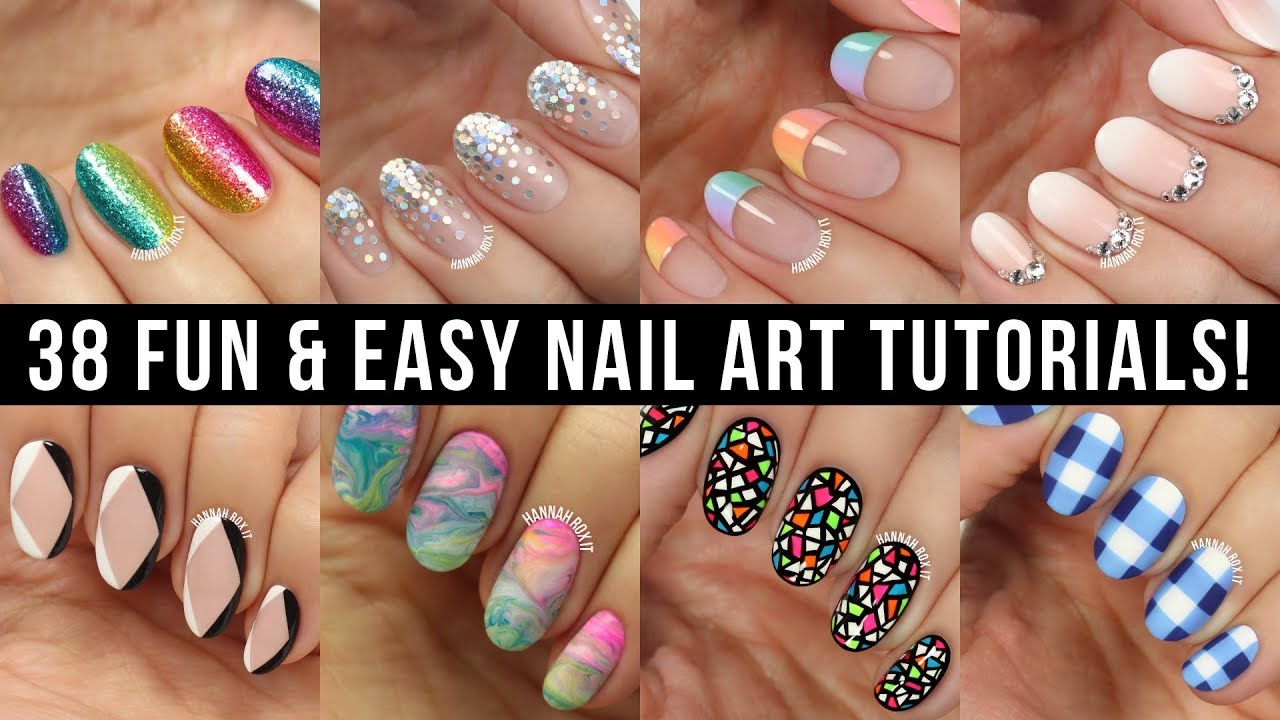


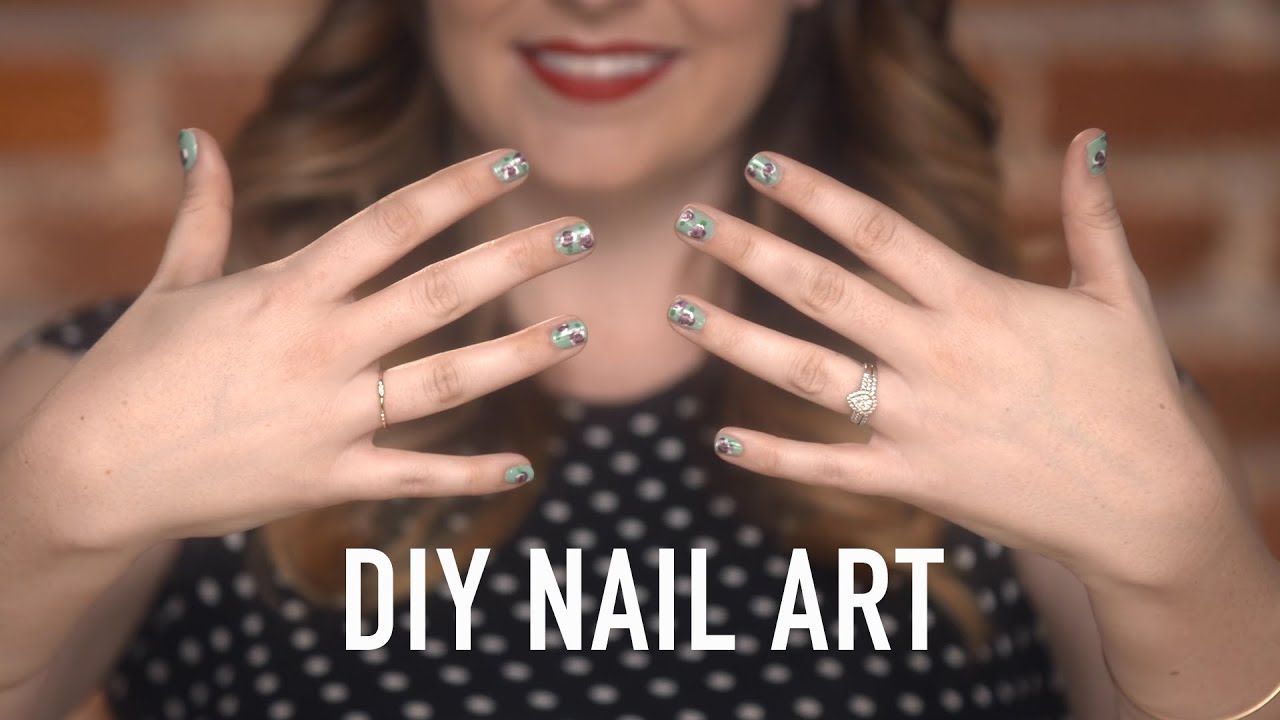
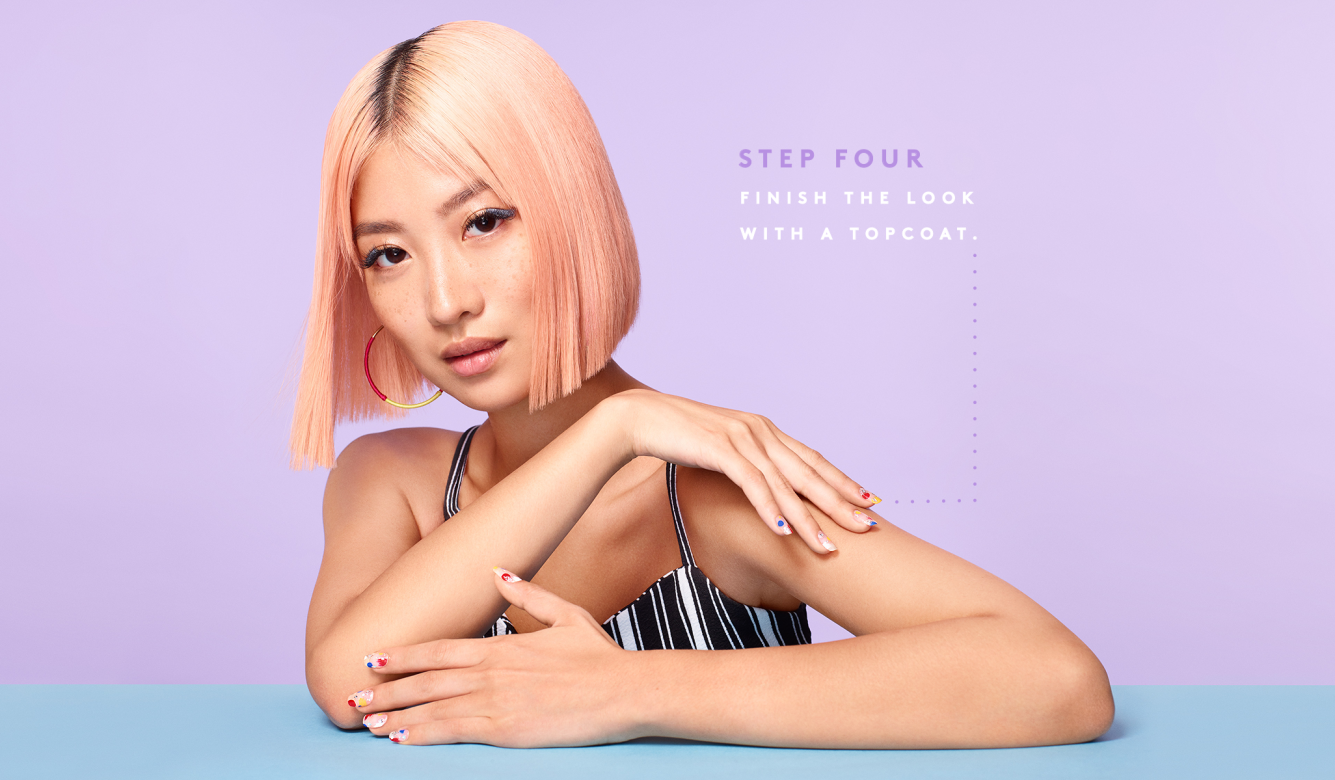
Creating your own clear nail art at home can be a fun and rewarding experience. Here are some tips and tricks to help you achieve the best results: Tip 1: Use a toothpick or bobby pin to create designs, as they provide more control than a nail art brush. Tip 2: Let each layer of polish dry completely before moving onto the next step. Tip 3: To prevent smudging, use a quick-dry top coat to seal in your design. Tip 4: Practice makes perfect, so don't be afraid to experiment with different designs and techniques. Tip 5: Have fun and be patient. Clear nail art may take a bit more time and effort, but the end result is worth it!DIY Clear Nail Art Tutorial | Tips and Tricks


Step by Step Guide


If you want your clear nail art to last longer, consider using gel polish. Gel polish is more durable and can last up to two weeks without chipping. Step 1: Prep your nails by buffing them and removing any excess oils. Step 2: Apply a clear base coat and cure it under a UV or LED lamp. Step 3: Using a gel polish in your desired color, create your design with a toothpick or bobby pin. Step 4: Cure the gel polish under the lamp for the recommended time. Step 5: Apply a layer of clear gel top coat and cure it under the lamp. Step 6: Clean up any excess gel with a cotton swab dipped in rubbing alcohol.Clear Nail Art Tutorial with Gel Polish | Long Lasting Designs

Clear Nail Art Tutorial Using Stickers and Decals


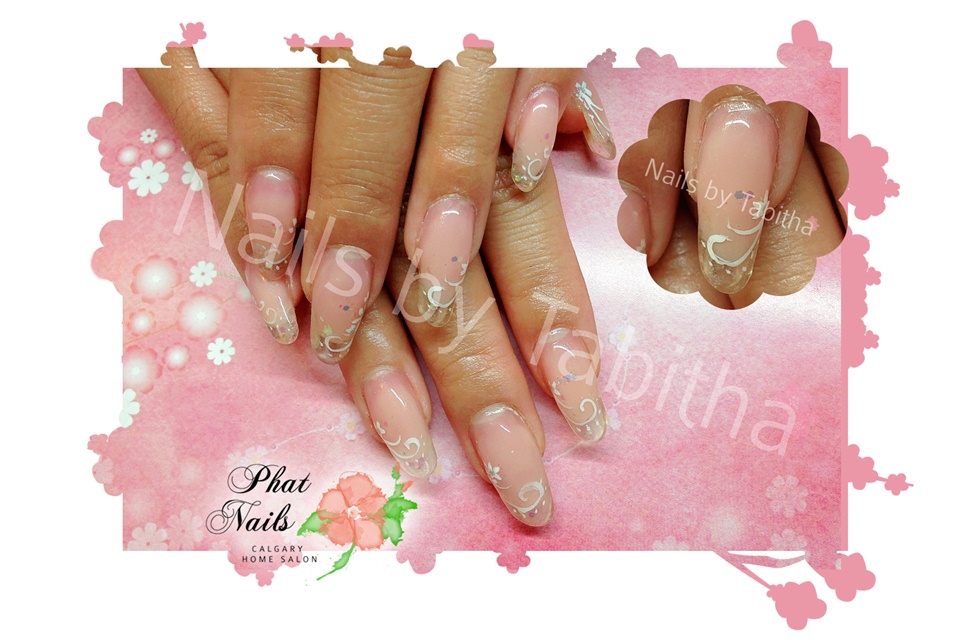
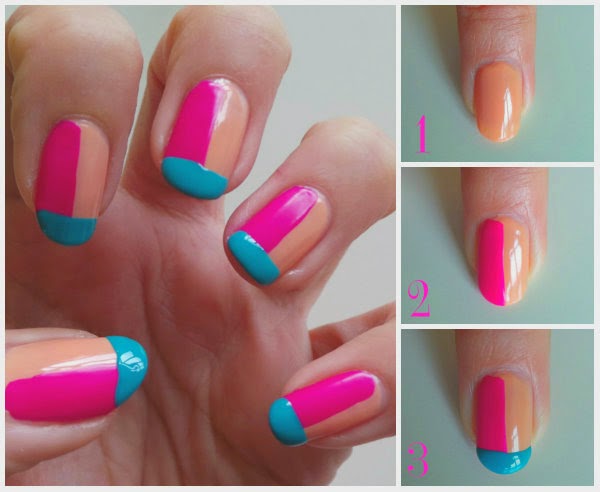
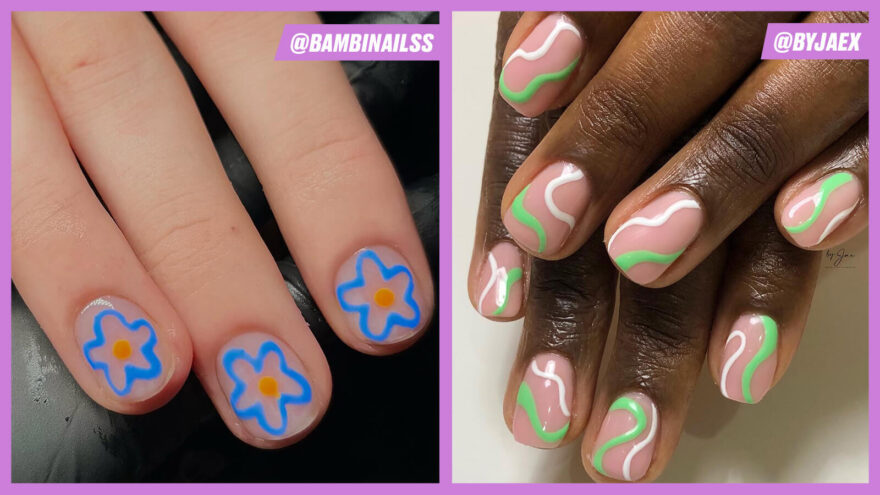
Short nails can still rock clear nail art. In fact, clear designs can make your nails appear longer and more stylish. Here are some creative ideas for short nails: Idea 1: Create a half-moon design on the base of your nails using clear polish. Idea 2: Use a metallic polish to create a French tip on your short nails. Idea 3: Use a toothpick to create small flowers or hearts on your nails. Idea 4: Apply a glittery top coat over a clear base for a fun and sparkly look. Idea 5: Create a negative space design by leaving some parts of your nails clear and painting designs on the rest of the nail.Clear Nail Art Tutorial for Short Nails | Creative Ideas


DIY Clear Nail Art Tutorial


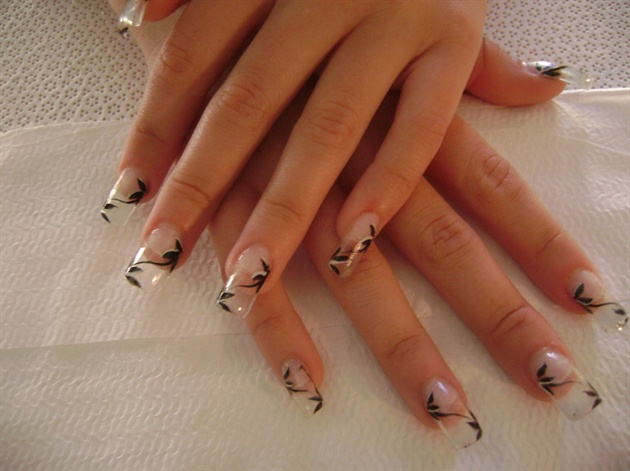
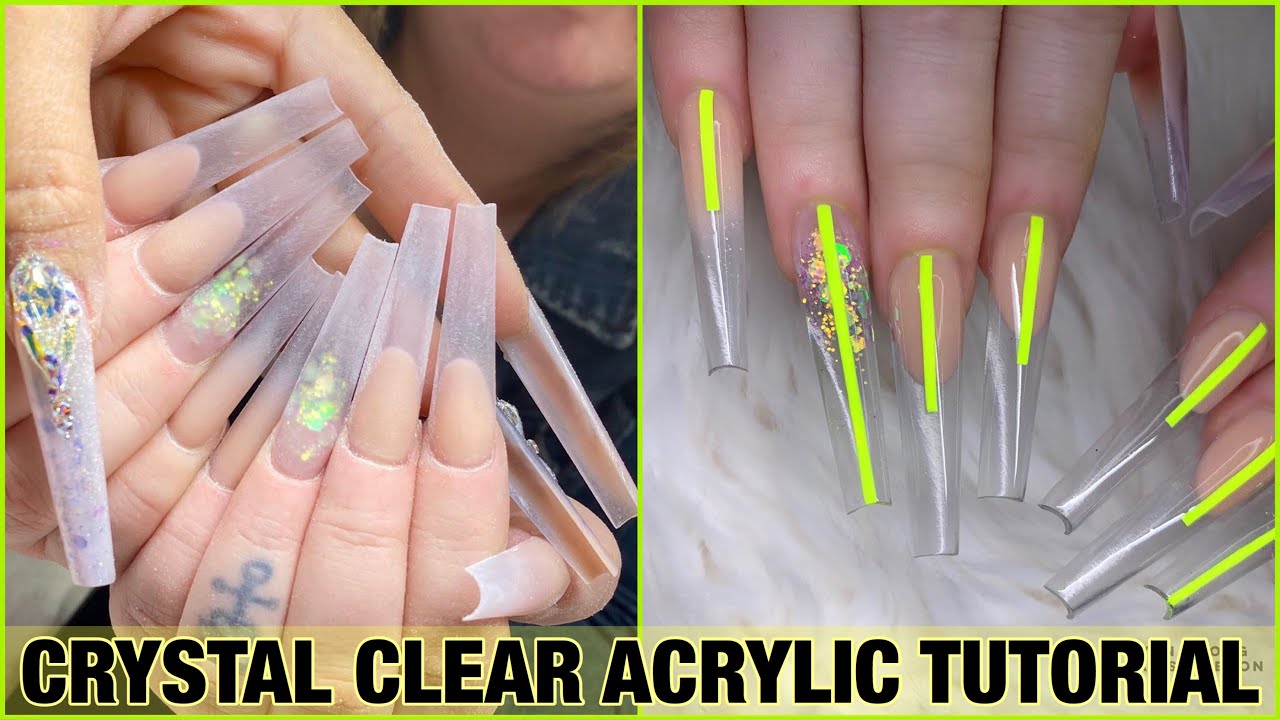
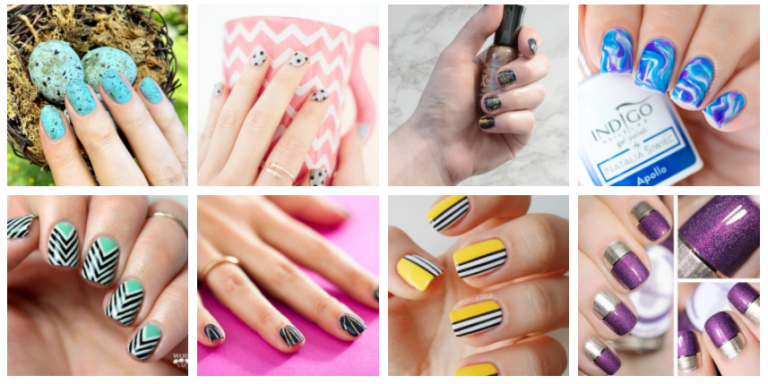
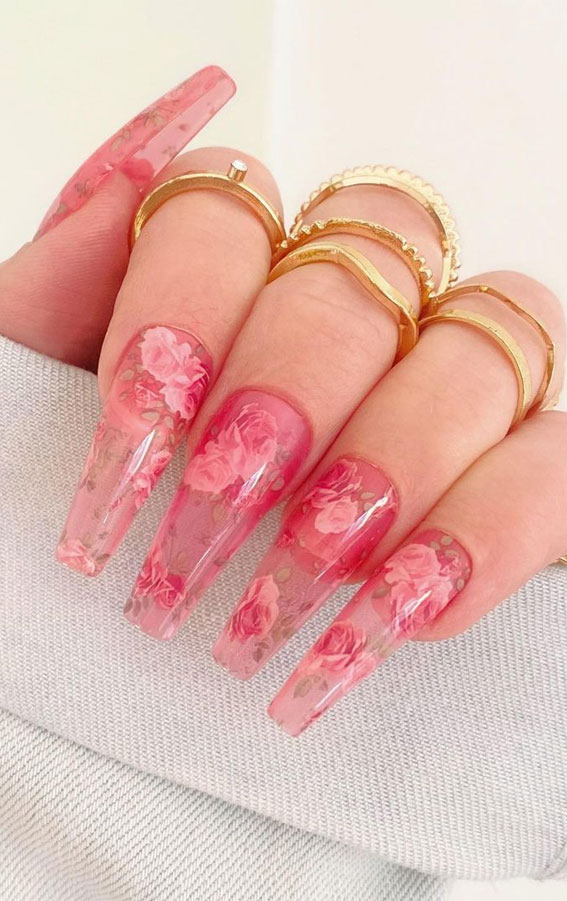
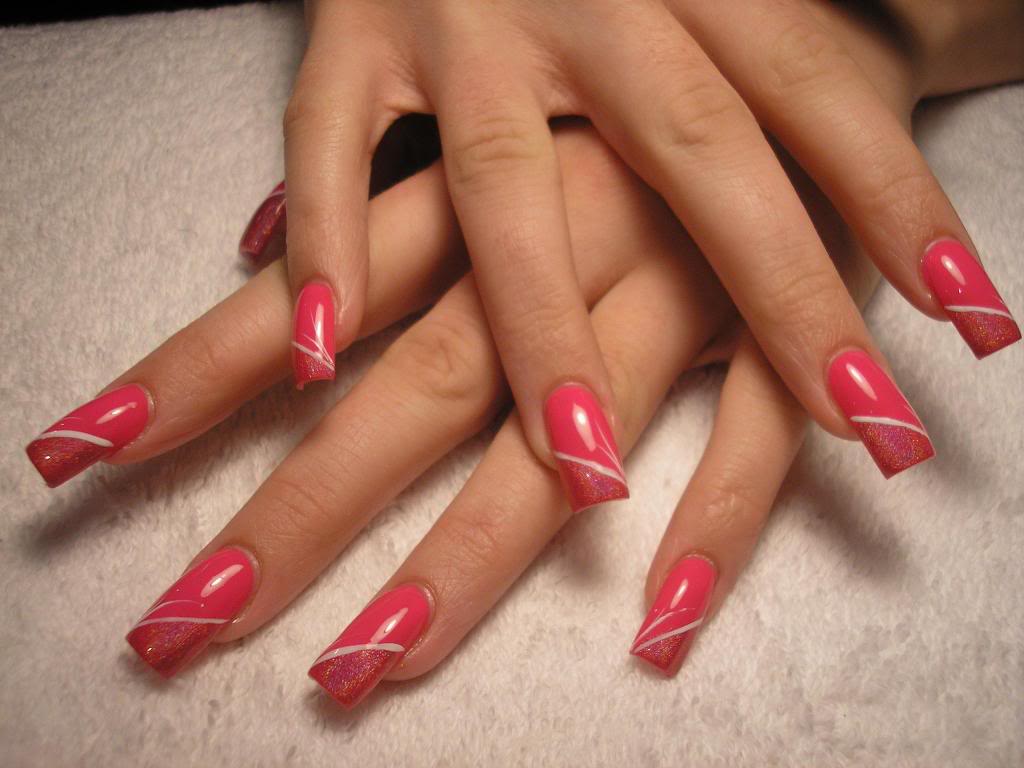
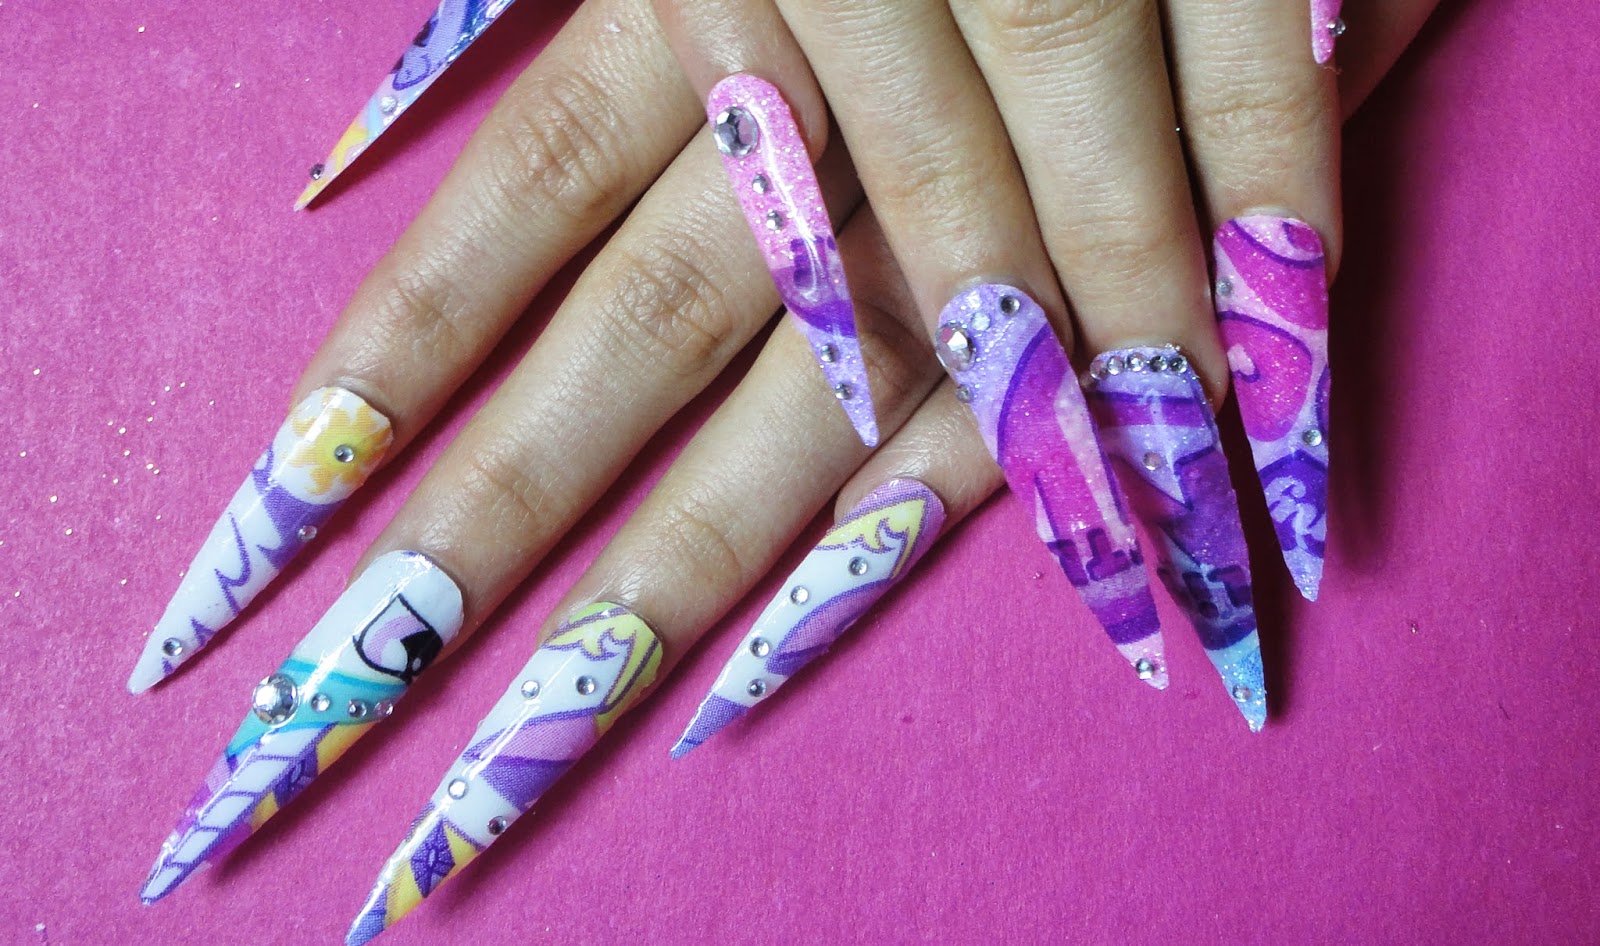
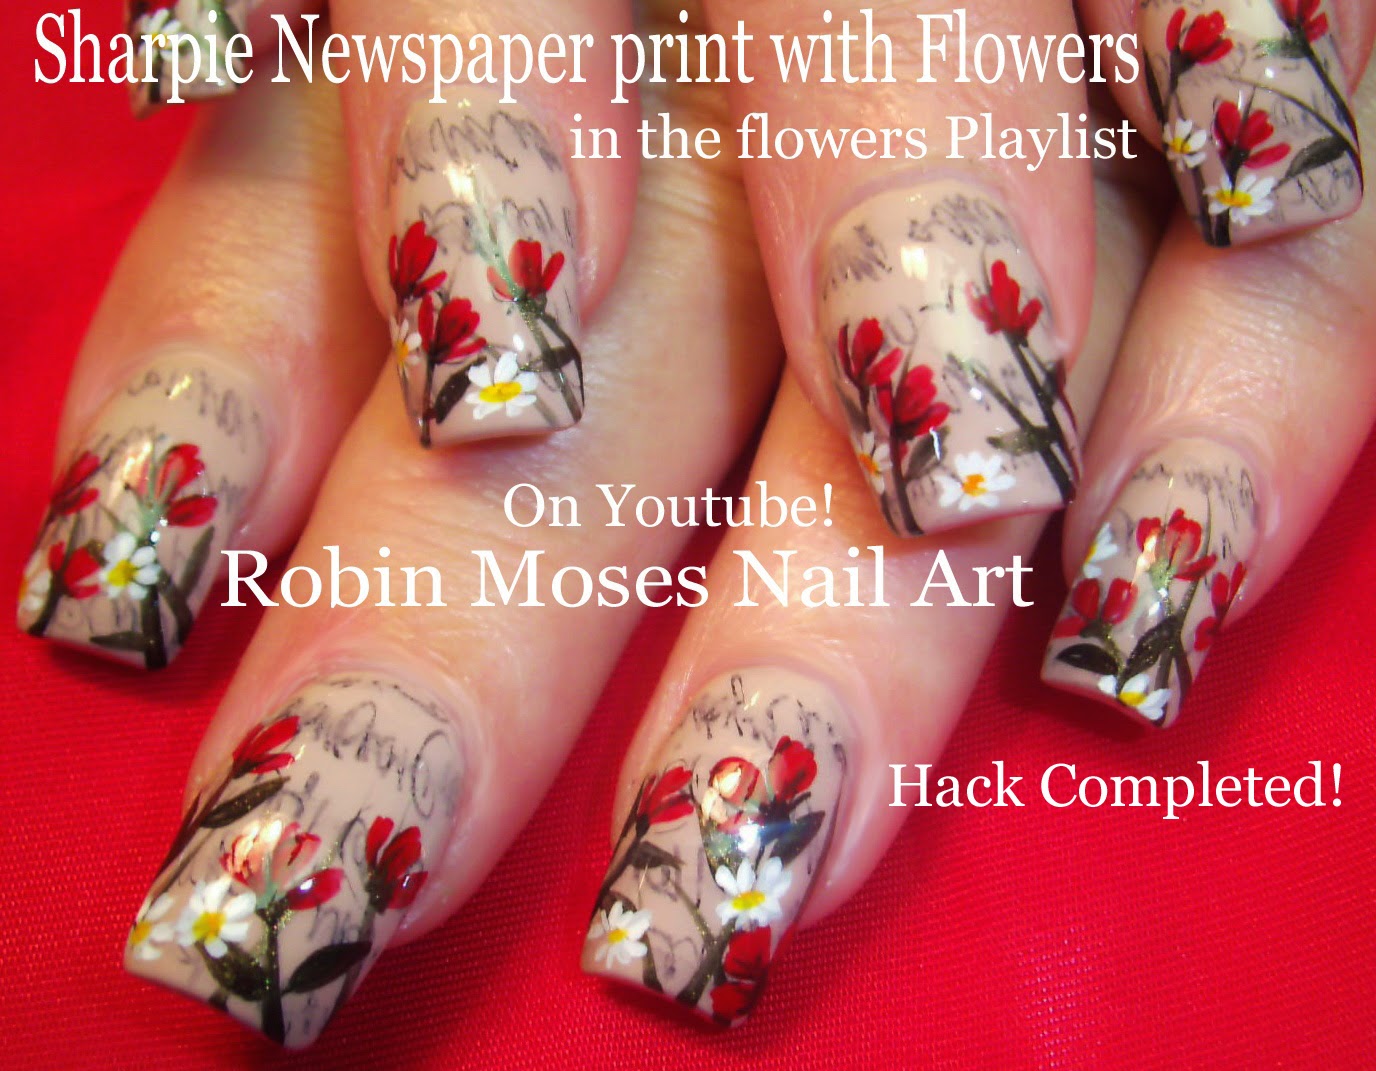
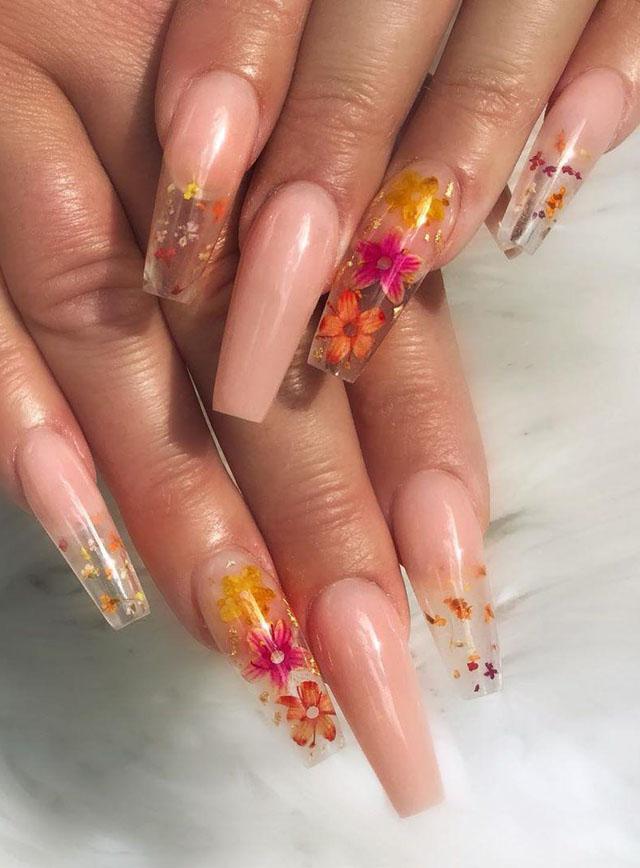
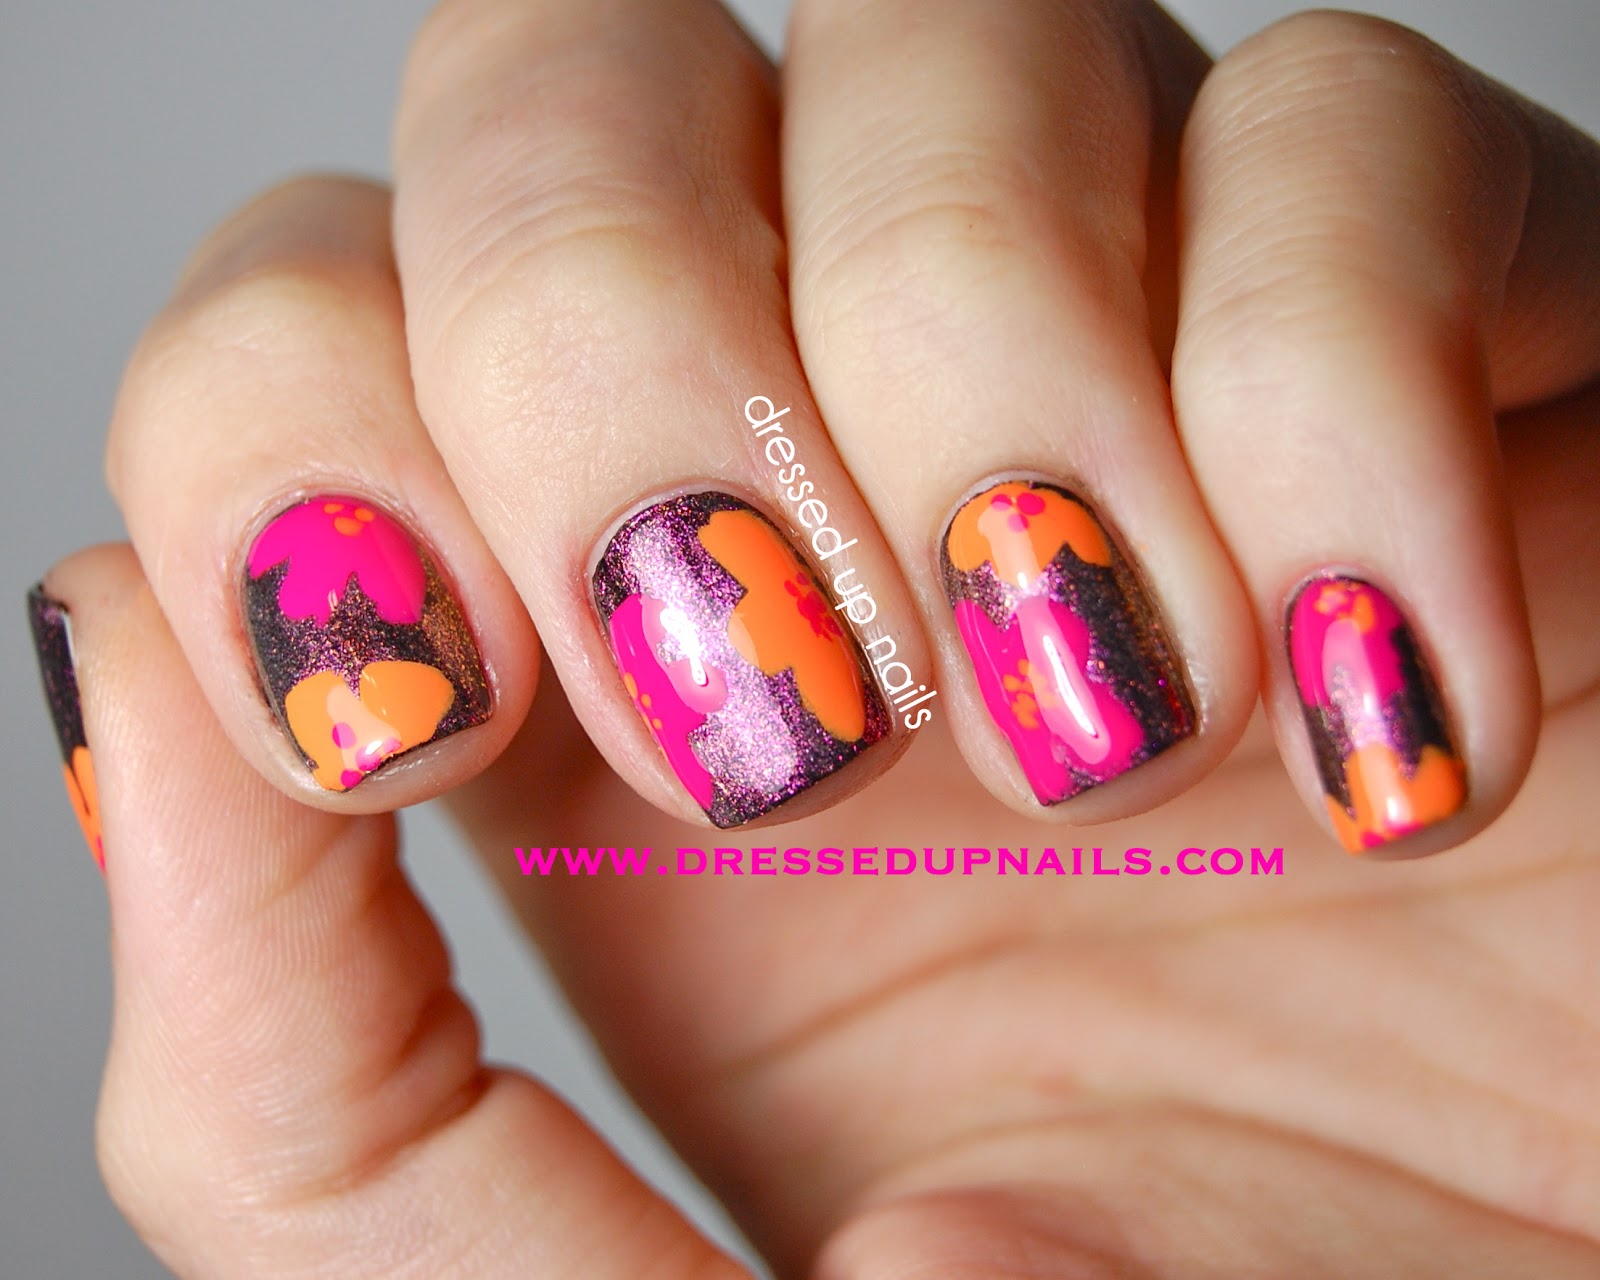
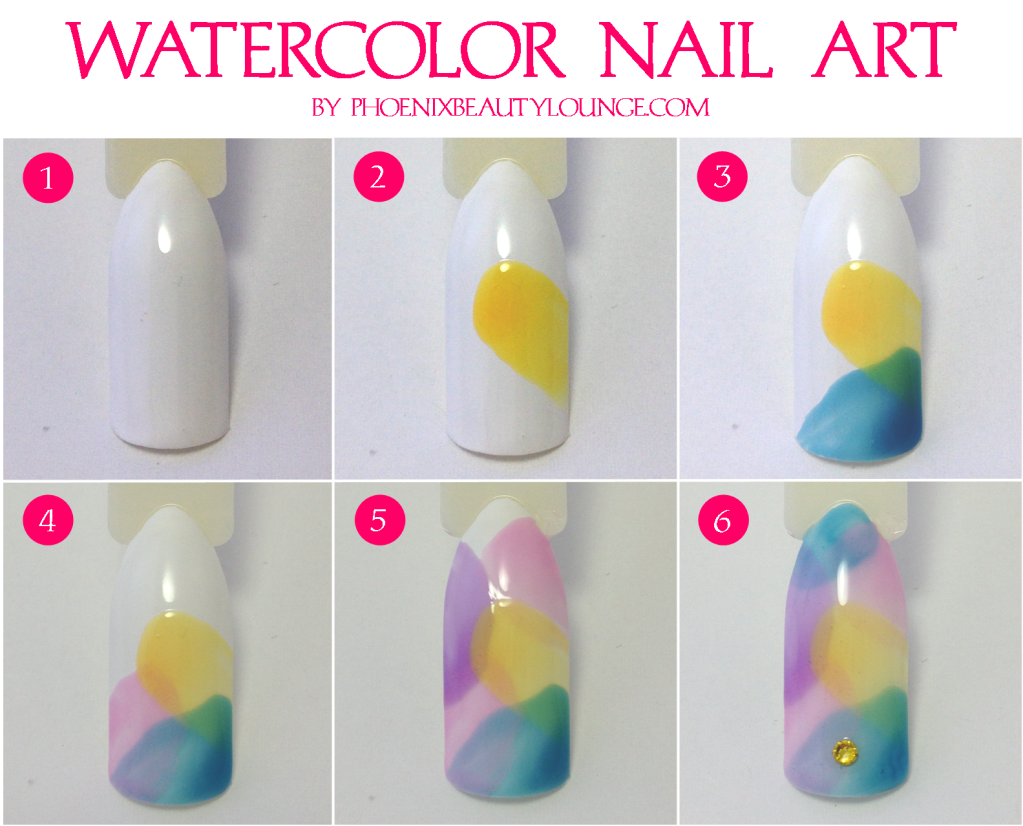
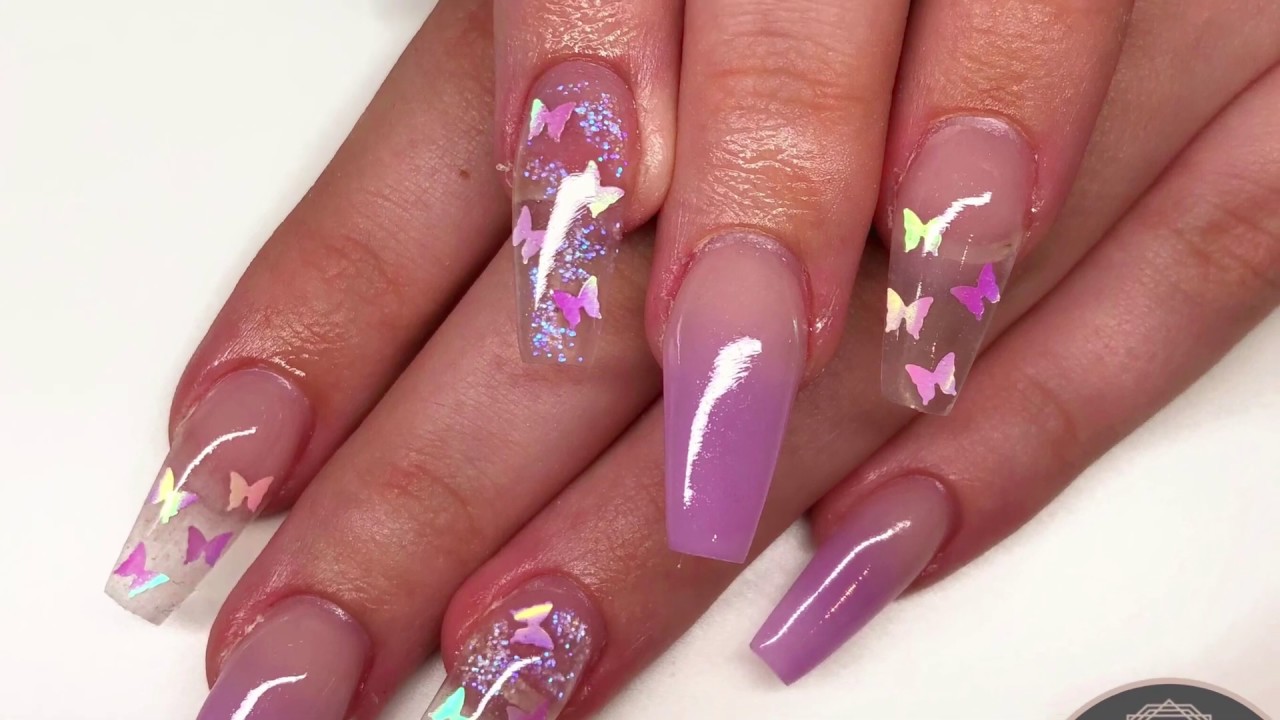
Long nails provide more space to get creative with clear nail art. Here are some elegant designs to try: Idea 1: Create a marble effect by swirling different colors of clear polish together on your nails. Idea 2: Use a white nail polish to create a lace design on top of a clear base. Idea 3: Apply a gradient effect using different shades of clear polish. Idea 4: Use a metallic polish to create a geometric design on your nails. Idea 5: Create a stained glass effect by using different colored clear polishes and a black nail art pen to outline shapes.Clear Nail Art Tutorial for Long Nails | Elegant Designs
Tips and Tricks

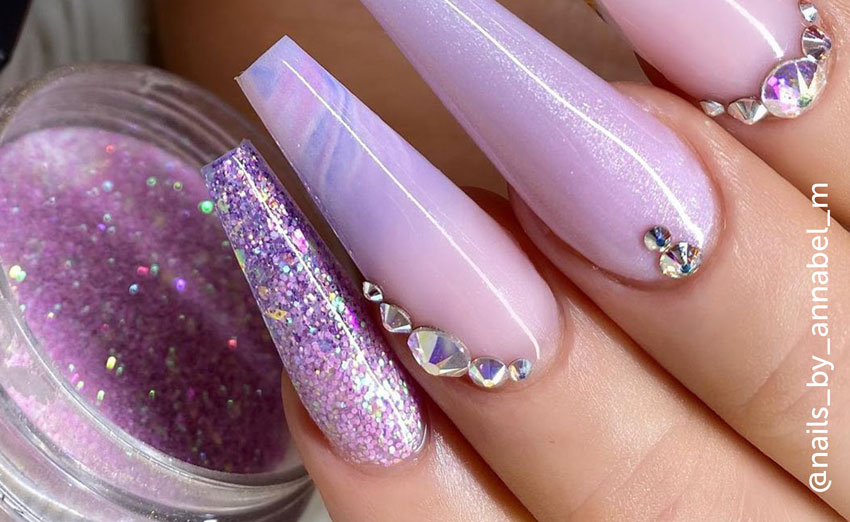
Add some bling to your clear nail art by incorporating rhinestones. Here's how: Step 1: Apply a clear base coat and let it dry completely. Step 2: Use a toothpick to apply a small amount of clear polish to where you want to place the rhinestone. Step 3: Using tweezers, carefully pick up the rhinestone and place it on the nail. Step 4: Continue adding rhinestones in your desired design. Step 5: Once you're happy with the placement, seal in the rhinestones with a clear top coat.Clear Nail Art Tutorial with Rhinestones | Glamorous Looks


Clear Nail Art Tutorial with Gel Polish


Add some shine to your clear nail art with metallic foil. Here's how: Step 1: Apply a clear base coat and let it dry completely. Step 2: Cut small pieces of metallic foil in your desired shape and size. Step 3: Apply a clear polish to the area where you want to place the foil. Step 4: While the polish is still wet, place the foil on top and gently press down. Step 5: Carefully peel off the foil to reveal the design on your nail. Step 6: Seal in the foil with a clear top coat.Clear Nail Art Tutorial with Foil | Metallic Designs


Long Lasting Designs


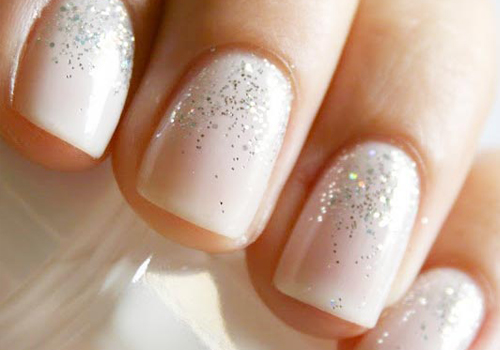
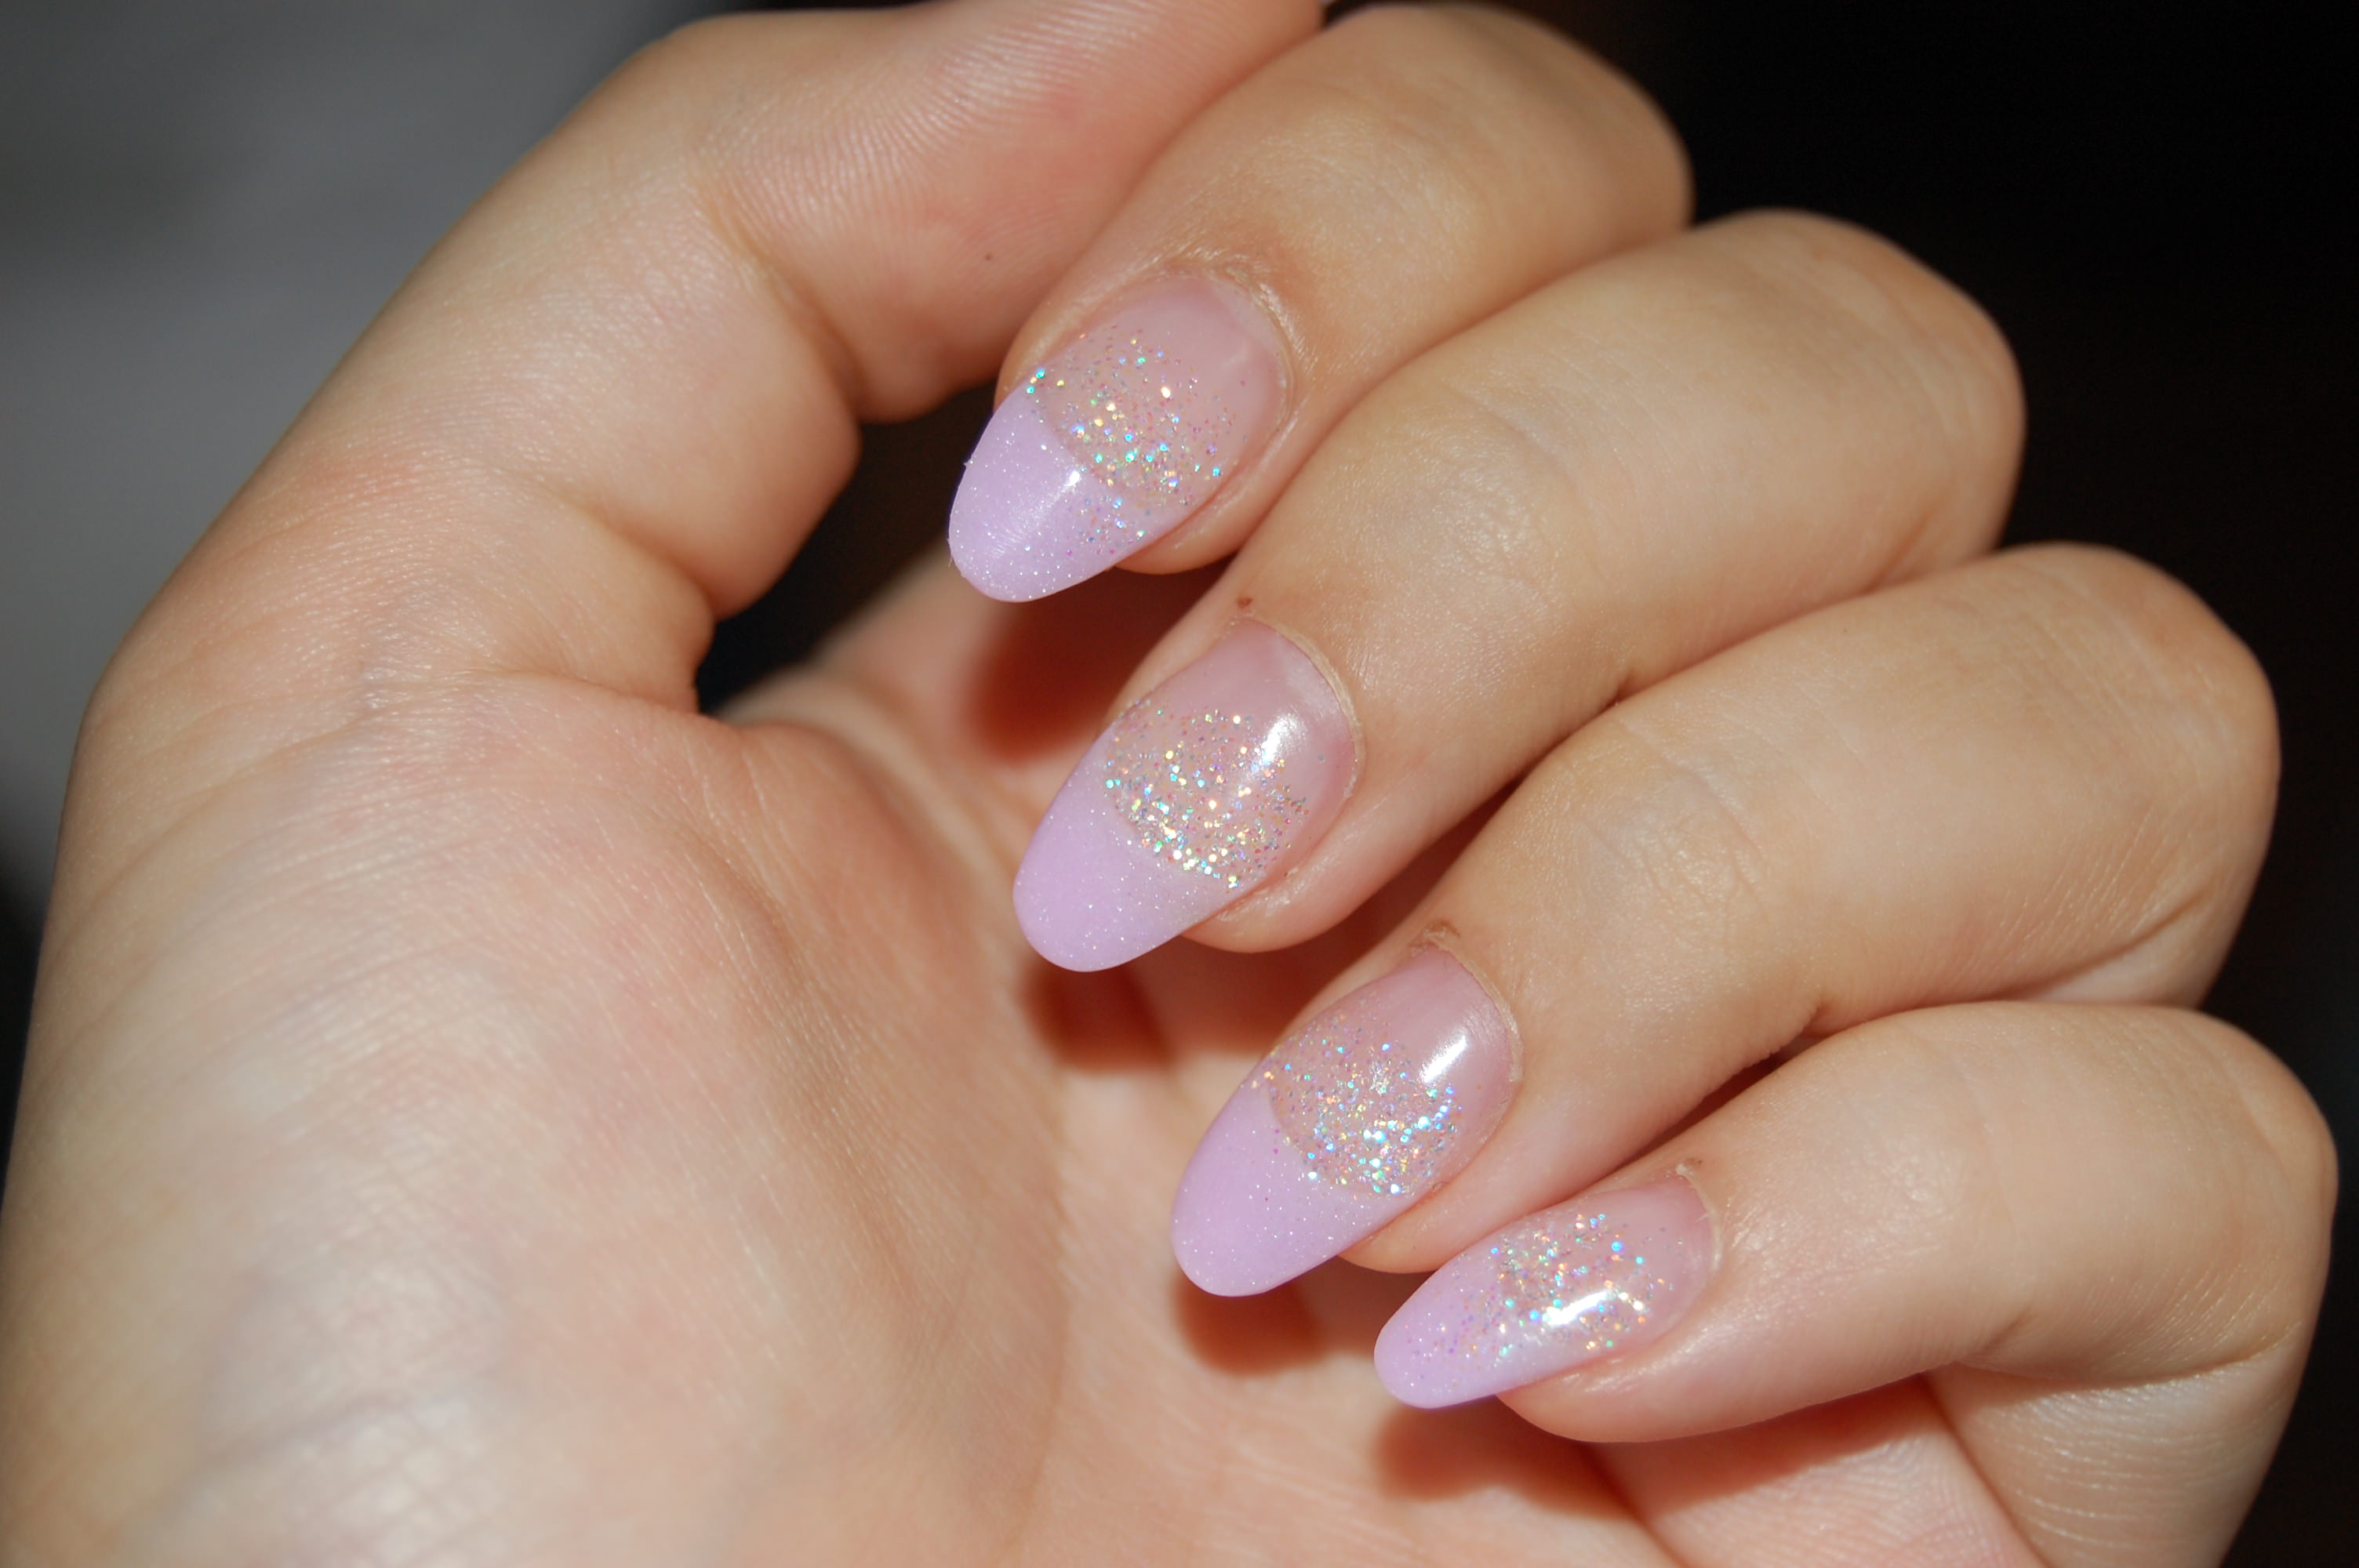
Clear nail art is perfect for special occasions like weddings, prom, or any other formal event. Here are some ideas to make your nails stand out: Idea 1: Create a clear base with a glittery top coat for a subtle yet elegant look. Idea 2: Use a white nail polish to create a lace design on top of a clear base for a romantic look. Idea 3: Add some rhinestones or pearls to your clear nail art for a touch of glam. Idea 4: Create a negative space design with clear polish and add a small touch of gold or silver for a sophisticated look. Idea 5: Use a metallic polish to create a geometric design for a modern and chic look.Clear Nail Art Tutorial for Special Occasions | Wedding, Prom, and More

Clear Nail Art Tutorial for Short Nails


Clear nail art is a fun and versatile way to express your creativity and add some extra flair to your manicure. With these easy tutorials and tips, you'll be able to create stunning designs on your own. So go ahead and give it a try – clear nail art is waiting for you!In Conclusion


Creative Ideas


Why Nail Art is the Perfect Addition to Your House Design
The Power of Nail Art
 When it comes to decorating our homes, we often focus on larger elements like furniture, paint colors, and artwork. But what if we told you that the smallest detail, such as your nails, can make a big impact on your house design?
Nail art
is a versatile and creative way to add a unique touch to your home. Not only is it a fun and easy DIY project, but it also allows you to
showcase your personality
and elevate your interior design.
When it comes to decorating our homes, we often focus on larger elements like furniture, paint colors, and artwork. But what if we told you that the smallest detail, such as your nails, can make a big impact on your house design?
Nail art
is a versatile and creative way to add a unique touch to your home. Not only is it a fun and easy DIY project, but it also allows you to
showcase your personality
and elevate your interior design.
Personalization and Customization
 One of the biggest benefits of incorporating
nail art
into your house design is the ability to personalize and customize your space. Just like how you choose the color and style of your nails to match your outfit or mood, you can use
nail art
to add a pop of color or texture to any room in your home. You can choose from endless designs, patterns, and colors to create a unique and personalized look that reflects your taste and style.
One of the biggest benefits of incorporating
nail art
into your house design is the ability to personalize and customize your space. Just like how you choose the color and style of your nails to match your outfit or mood, you can use
nail art
to add a pop of color or texture to any room in your home. You can choose from endless designs, patterns, and colors to create a unique and personalized look that reflects your taste and style.
Cost-Effective and Flexible
 Adding
nail art
to your house design doesn't have to break the bank. In fact, it can be a cost-effective way to update and refresh your home. With
DIY tutorials
available online, you can create stunning
nail art
designs at a fraction of the cost of hiring a professional decorator. It also gives you the flexibility to change up your design whenever you want, making it perfect for those who like to switch up their home decor frequently.
Adding
nail art
to your house design doesn't have to break the bank. In fact, it can be a cost-effective way to update and refresh your home. With
DIY tutorials
available online, you can create stunning
nail art
designs at a fraction of the cost of hiring a professional decorator. It also gives you the flexibility to change up your design whenever you want, making it perfect for those who like to switch up their home decor frequently.
A Unique Conversation Starter
 We all want our homes to be a reflection of ourselves, and what better way to showcase your personality than through
nail art
? Your guests will be intrigued and impressed by the creative and unique touch you've added to your house design. It's a great conversation starter and a way to make your home stand out from the rest.
In conclusion,
nail art
is a beautiful and creative way to add a personal touch to your house design. It's cost-effective, flexible, and allows you to showcase your personality in a unique way. So why not give it a try and see how it can transform your home?
We all want our homes to be a reflection of ourselves, and what better way to showcase your personality than through
nail art
? Your guests will be intrigued and impressed by the creative and unique touch you've added to your house design. It's a great conversation starter and a way to make your home stand out from the rest.
In conclusion,
nail art
is a beautiful and creative way to add a personal touch to your house design. It's cost-effective, flexible, and allows you to showcase your personality in a unique way. So why not give it a try and see how it can transform your home?


