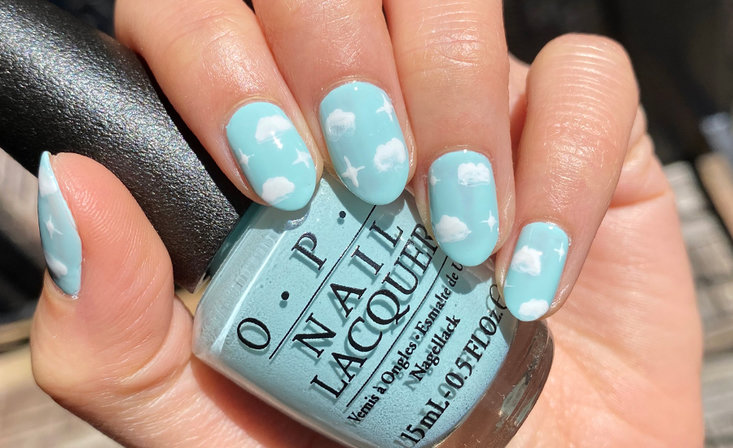
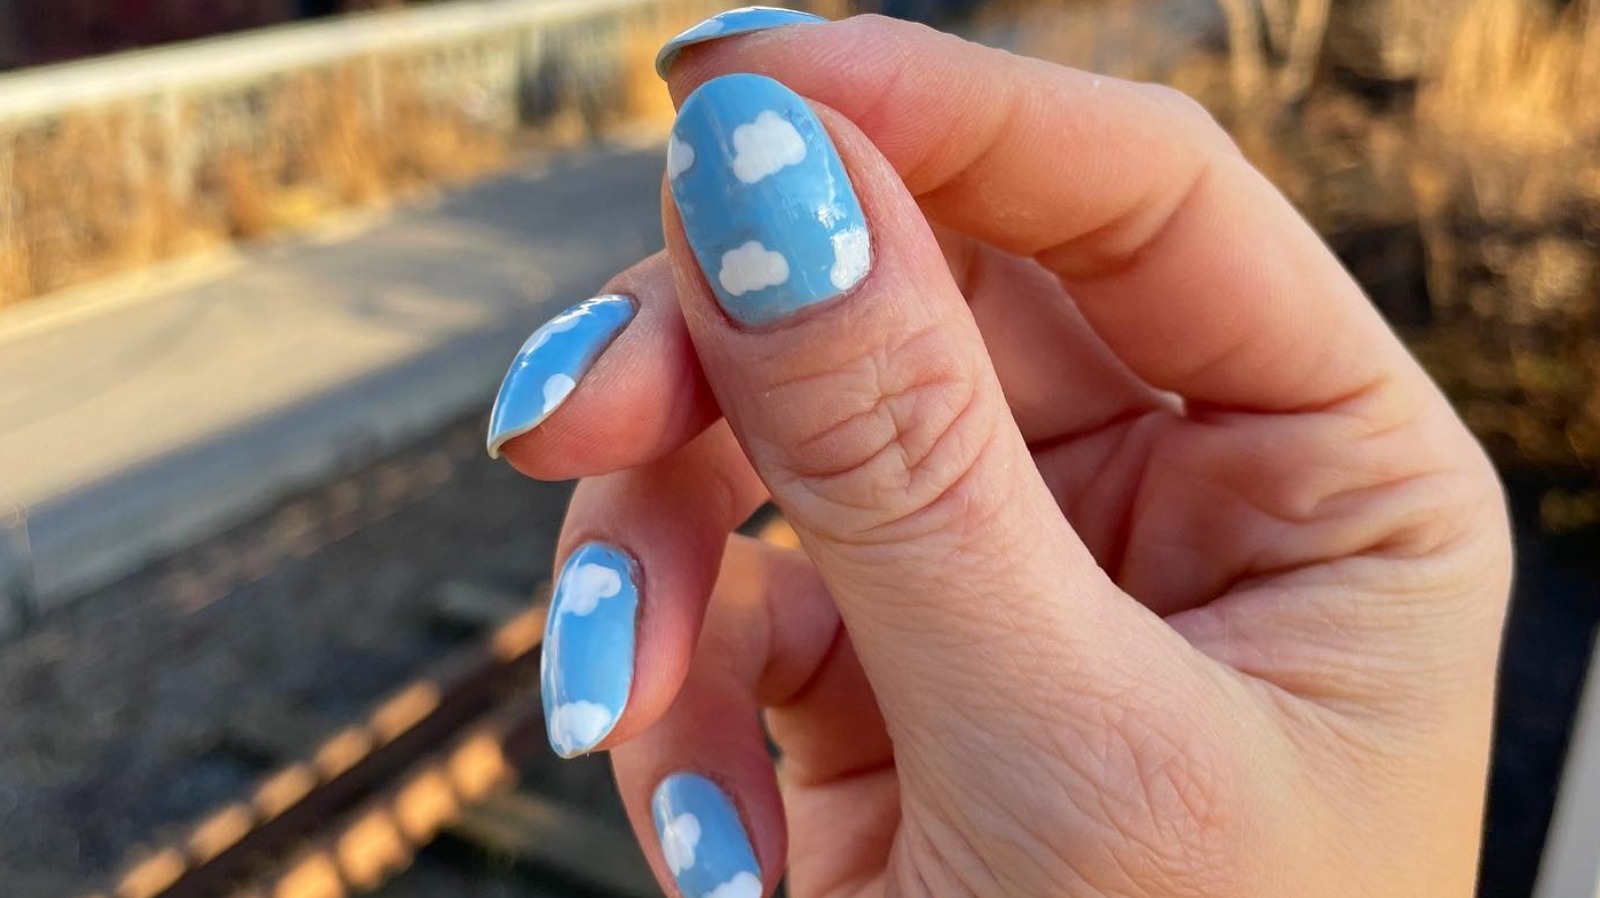
Looking for a simple yet stunning nail art design? Look no further than this easy cloud nail art tutorial. With just a few simple steps, you can achieve a dreamy and whimsical look that is perfect for any occasion. To start, you will need a light blue nail polish, a white nail polish, a top coat, and a toothpick. Begin by painting your nails with the light blue polish and letting it dry completely. Next, take the white polish and use the toothpick to create small, fluffy clouds on your nails. You can make them as big or as small as you like, and you can even add a few extra clouds on some nails for a more realistic look. Once the clouds are dry, apply a layer of top coat to seal in your design and give it a glossy finish. And that's it! You now have a beautiful cloud nail art that is perfect for a day out or a special event.1. Easy Cloud Nail Art Tutorial
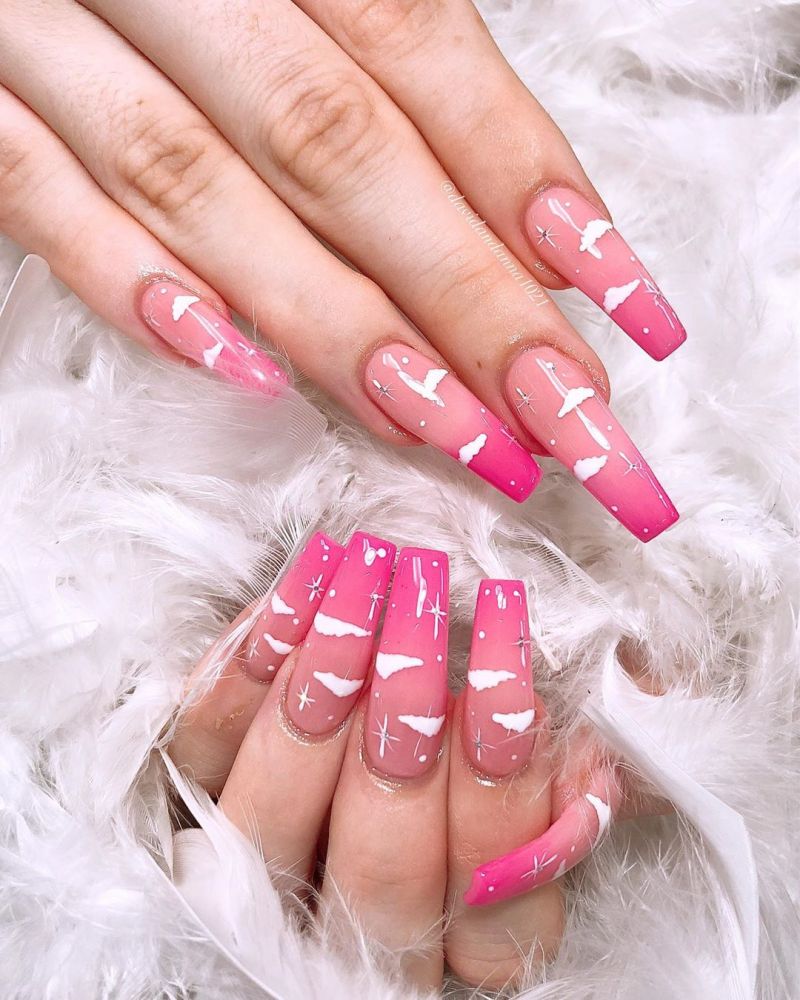

1. Easy Cloud Nail Art Tutorial


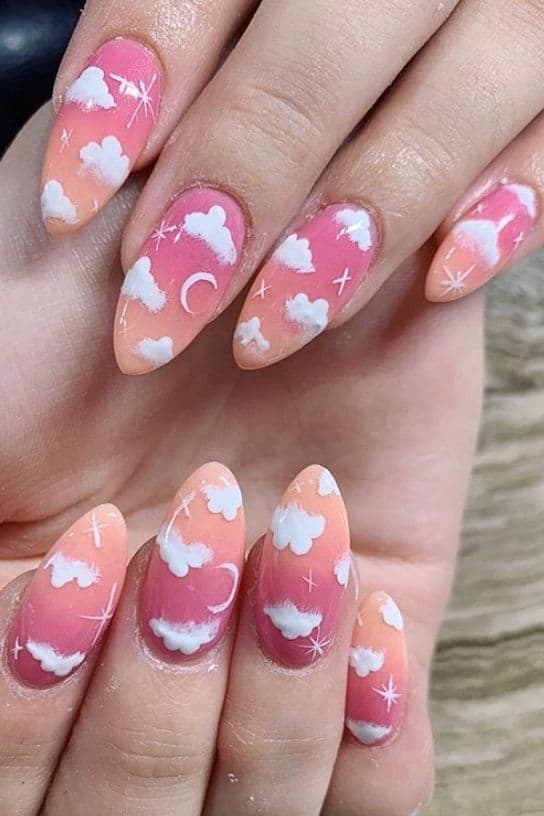
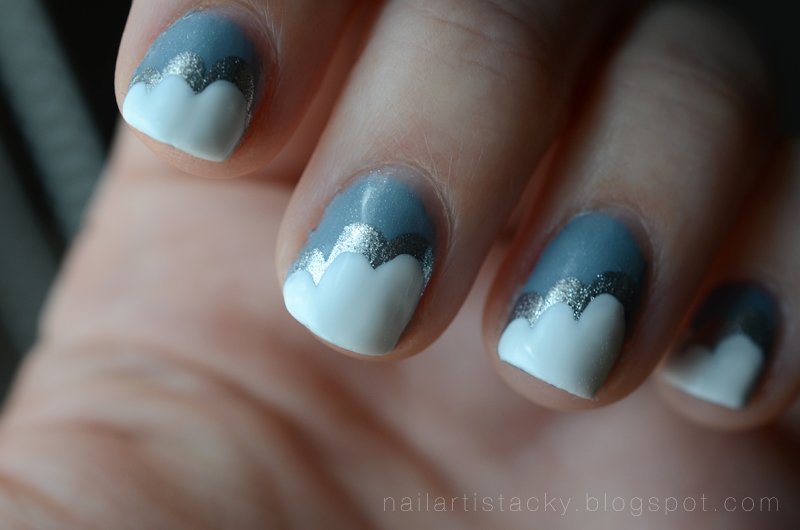
If you're new to nail art, don't worry! This step-by-step cloud nail art tutorial will guide you through the process and help you achieve a flawless look. To begin, gather your supplies: a light blue nail polish, a white nail polish, a top coat, a toothpick, and a small makeup sponge. Start by painting your nails with the light blue polish and letting it dry completely. Next, take the small makeup sponge and lightly dab it into the white polish. Gently press the sponge onto your nails to create a gradient effect. This will serve as the background for your clouds. Once the white polish is dry, use the toothpick to create small clouds on your nails. You can make them as big or as small as you like, and you can even add some variation by making some clouds more pointy or round. Finish off with a layer of top coat to seal in your design and give it a glossy finish. And there you have it! A beautiful cloud nail art that is perfect for any occasion.2. Step-by-Step Cloud Nail Art Tutorial


2. Step-by-Step Cloud Nail Art Tutorial

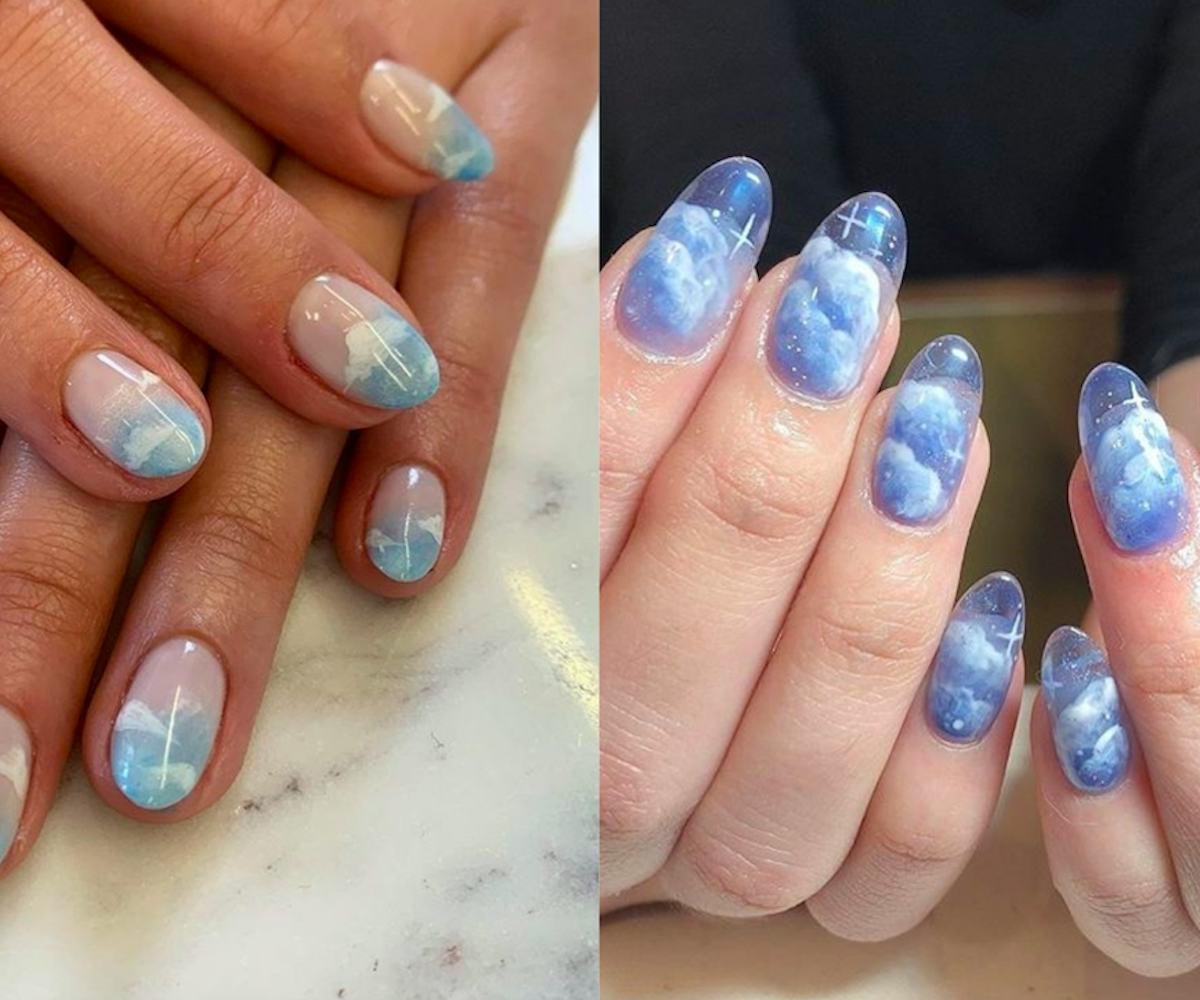
Want to try something cute and fun on your nails? This cloud nail art tutorial is perfect for beginners and will leave you with an adorable and whimsical design. To start, you will need a light blue nail polish, a white nail polish, a top coat, a toothpick, and a nail art brush. Begin by painting your nails with the light blue polish and letting it dry completely. Next, use the nail art brush to create small, fluffy clouds on your nails using the white polish. Start by making a small dot on your nail and then dragging the brush upwards to create the cloud shape. You can add as many or as few clouds as you like, and you can even add some smaller clouds in between the bigger ones for a more realistic look. Once the clouds are dry, apply a layer of top coat to seal in your design. And there you have it! A cute and simple cloud nail art that is perfect for those just starting out with nail art.3. Cute Cloud Nail Art Tutorial for Beginners

3. Cute Cloud Nail Art Tutorial for Beginners

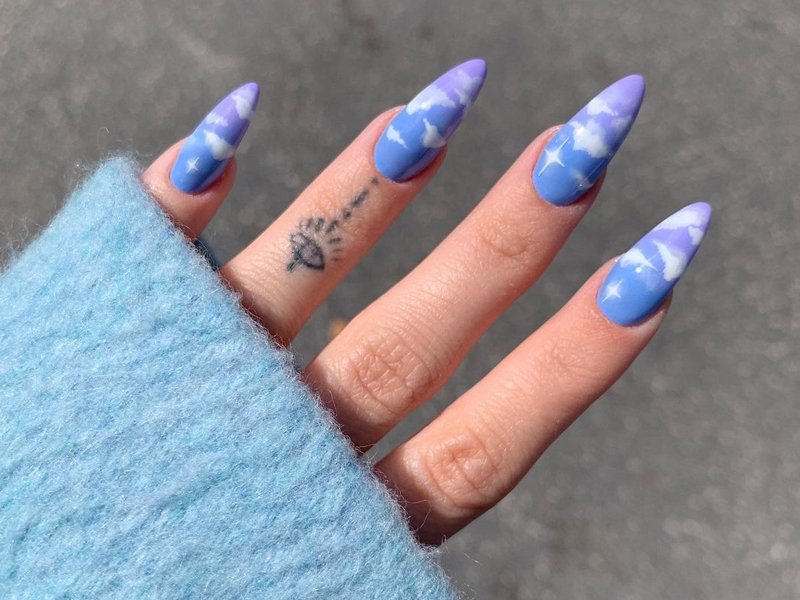
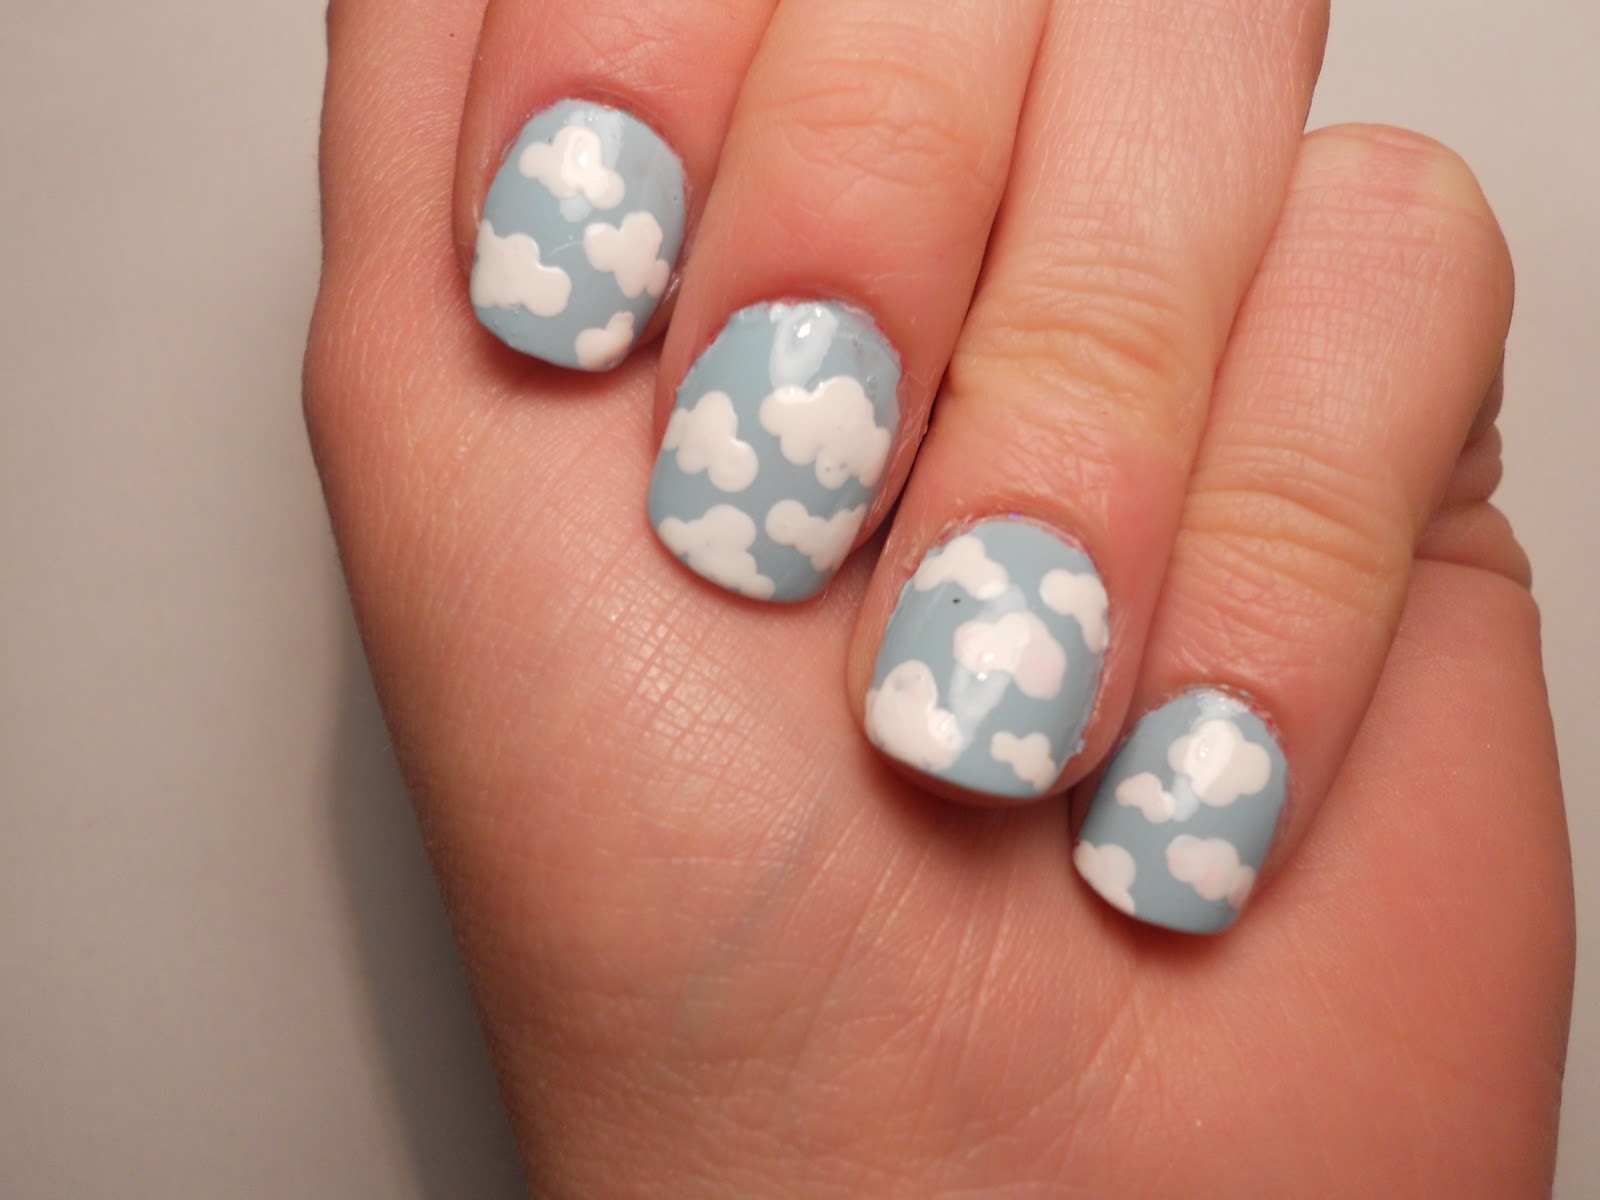
If you don't have any fancy nail art tools, don't worry! This cloud nail art tutorial uses a simple toothpick to create a beautiful and unique design. Start by painting your nails with a light blue polish and letting it dry completely. Next, take a white polish and use the toothpick to create small, fluffy clouds on your nails. You can make the clouds as big or as small as you like, and you can even add some variation by making some clouds more pointy or round. Once the clouds are dry, finish off with a layer of top coat to seal in your design and give it a glossy finish. And there you have it! A fun and easy cloud nail art that you can create with just a toothpick.4. Cloud Nail Art Tutorial with Toothpick

4. Cloud Nail Art Tutorial with Toothpick


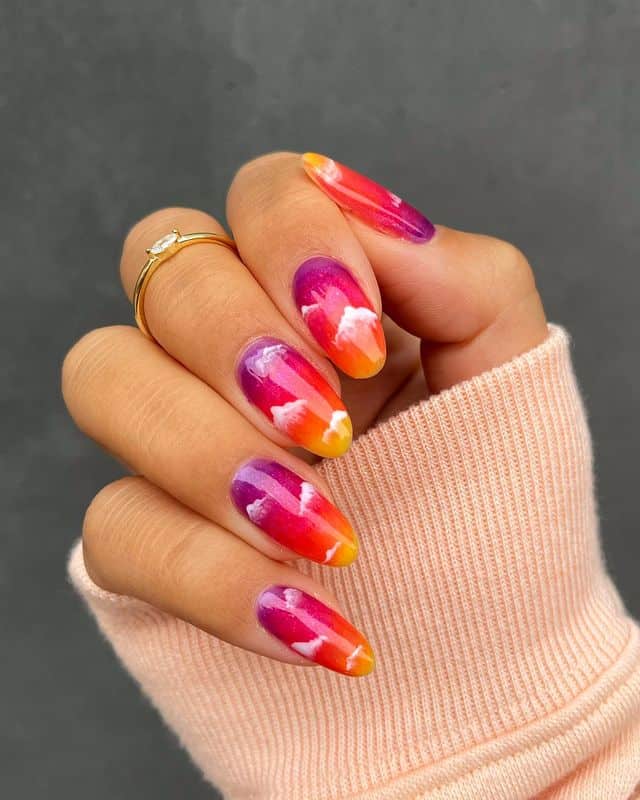
Looking for a unique twist on the classic cloud nail art? This gradient cloud nail art tutorial will add a pop of color to your nails and give your design a whole new dimension. To start, you will need a light blue nail polish, a white nail polish, a top coat, a makeup sponge, and a toothpick. Begin by painting your nails with the light blue polish and letting it dry completely. Next, take the makeup sponge and dab it into the white polish. Gently press the sponge onto your nails to create a gradient effect. This will serve as the background for your clouds. Once the white polish is dry, use the toothpick to create small clouds on your nails. You can make them as big or as small as you like, and you can even add some variation by making some clouds more pointy or round. Finish off with a layer of top coat to seal in your design and give it a glossy finish. And there you have it! A stunning gradient cloud nail art that is sure to turn heads.5. Gradient Cloud Nail Art Tutorial


5. Gradient Cloud Nail Art Tutorial


Looking for a quick and easy cloud nail art? This tutorial uses a makeup sponge to create a beautiful and fluffy cloud design that will make your nails stand out. Start by painting your nails with a light blue polish and letting it dry completely. Next, take a white nail polish and dab it onto a makeup sponge. Gently press the sponge onto your nails to create a cloudy background. Once the white polish is dry, use a toothpick to create small clouds on your nails. You can make them as big or as small as you like, and you can even add some variation by making some clouds more pointy or round. Finish off with a layer of top coat to seal in your design and give it a glossy finish. And there you have it! A simple and unique cloud nail art that you can create with just a sponge.6. Cloud Nail Art Tutorial with Sponge

6. Cloud Nail Art Tutorial with Sponge
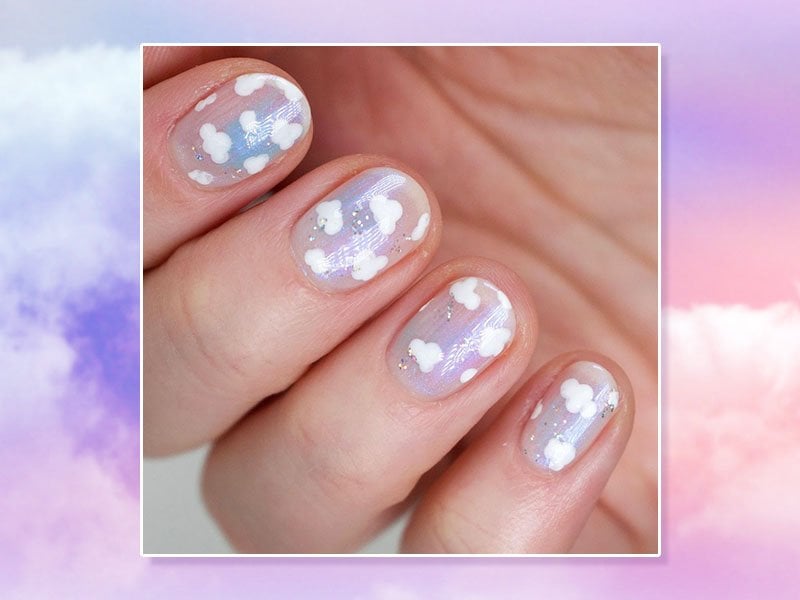
If you want a nail art design that is dreamy and whimsical, this tutorial is for you. With just a few simple steps, you can achieve a beautiful cloud nail art that will transport you to a fantasy world. Start by painting your nails with a light blue polish and letting it dry completely. Next, use a white nail polish and a toothpick to create small, fluffy clouds on your nails. For an added touch, you can also use a glitter nail polish to create some sparkly clouds. Finish off with a layer of top coat to seal in your design and give it a glossy finish. And there you have it! A whimsical cloud nail art that is perfect for those who love a touch of magic in their nail designs.7. Whimsical Cloud Nail Art Tutorial

7. Whimsical Cloud Nail Art Tutorial
If you have a nail stamping kit, you can easily create a beautiful cloud nail art with just a few simple steps. This tutorial will guide you through the process and help you achieve a flawless design. Start by painting your nails with a light blue polish and letting it dry completely. Next, take a white nail polish and use a nail stamping plate with a cloud design to create the clouds on your nails. If you don't have a nail stamping plate, you can also use a toothpick to create the clouds. Once the design is dry, finish off with a layer of top coat to seal it in and give it a glossy finish. You now have a stunning cloud nail art that looks like it was done by a professional.8. Cloud Nail Art Tutorial with Stamping

8. Cloud Nail Art Tutorial with Stamping
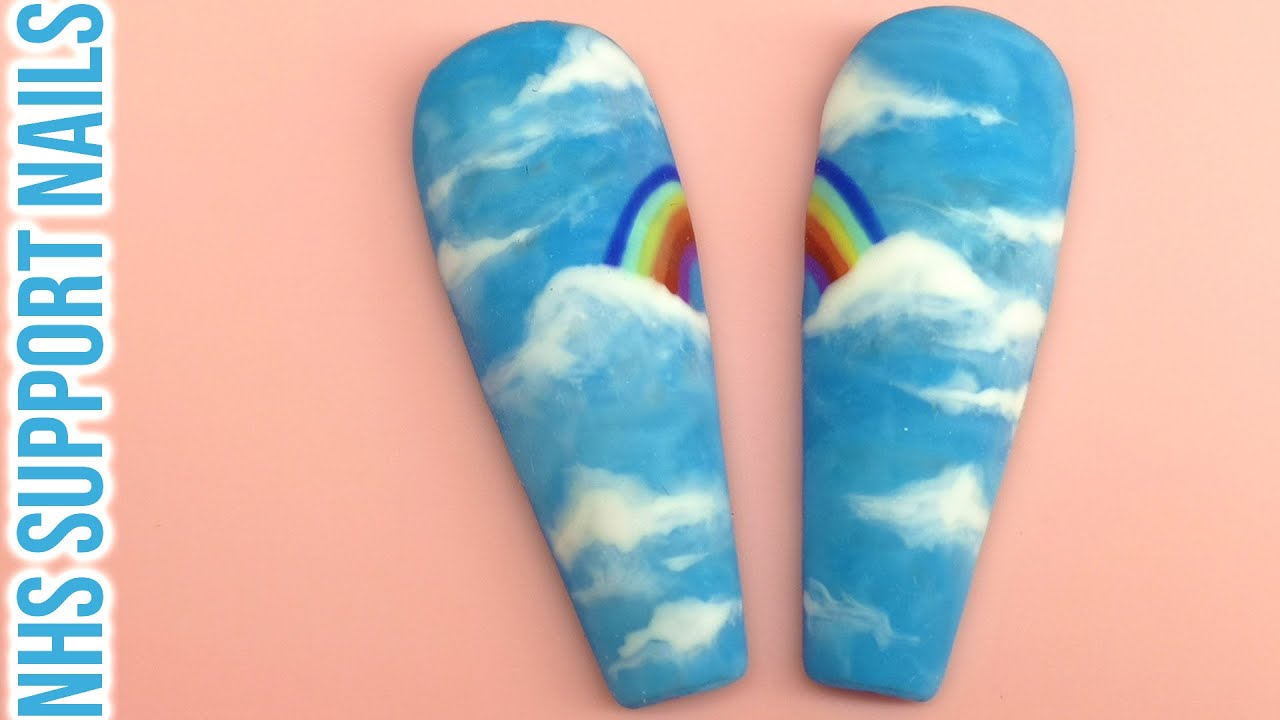
For a dreamy and ethereal look, this cloud nail art tutorial is the perfect fit. With just a few simple steps, you can achieve a design that will make your nails look like they belong in the sky. Start by painting your nails with a light blue polish and letting it dry completely. Next, take a white nail polish and use a nail art brush to create fluffy clouds on your nails. You can make the clouds as big or as small as you like, and you can also add some variation by making some clouds more pointy or round. Finish off with a layer of top coat to seal in your design and give it a glossy finish. And there you have it! A dreamy cloud nail art that will make your nails stand out.9. Dreamy Cloud Nail Art Tutorial

9. Dreamy Cloud Nail Art Tutorial


For a touch of sparkle and shine, this cloud nail art tutorial with glitter is the perfect choice. With just a few simple steps, you can create a stunning design that will make your nails look like they are floating on a cloud. Start by painting your nails with a light blue polish and letting it dry completely. Next, use a white nail polish and a toothpick to create small, fluffy clouds on your nails. For an added touch, you can also use a glitter nail polish to create some sparkly clouds. Finish off with a layer of top coat to seal in your design and give it a glossy finish. And there you have it! A beautiful cloud nail art with a touch of glitter that is perfect for any occasion.10. Cloud Nail Art Tutorial with Glitter

10. Cloud Nail Art Tutorial with Glitter
Creating a Dreamy Look with Cloud Nail Art

Why Choose Cloud Nail Art?
 Cloud nail art has been gaining popularity in recent years, and for good reason. This whimsical and dreamy design adds a touch of magic and fantasy to any manicure. Plus, it's versatile enough to be worn for any occasion, from casual outings to special events. With a bit of practice and the right tools, you can easily create your own cloud nail art and elevate your nail game to the next level.
What You'll Need
 Before diving into the tutorial, make sure you have all the necessary tools and materials. This includes a base coat, top coat, your choice of nail polish colors, a thin nail art brush, and a sponge. You can also add some glitter or rhinestones for an extra touch of sparkle.
Step-by-Step Tutorial
 Now, let's get into the fun part - creating your own cloud nail art!
Step 1:
Begin by applying a base coat to protect your nails and help the polish last longer.
Step 2:
Choose the base color for your nails. It can be any color you like, but for a dreamy look, pastel shades work best. Apply two coats of the chosen color and let it dry completely.
Step 3:
Take your sponge and cut it into a small, cloud-like shape. You can also use a makeup sponge for this step.
Step 4:
Using a white or light blue nail polish, dab the sponge lightly onto your nails to create cloud shapes. You can vary the size and placement of the clouds to make your design more interesting.
Step 5:
After the clouds have dried, use a thin nail art brush and a darker shade of nail polish to add details to the clouds. This can include swirls, lines, or other shapes to give your clouds more dimension.
Step 6:
For an extra touch of sparkle, you can add some glitter or rhinestones to your design. Simply apply a small amount of clear top coat and use tweezers to place the glitter or rhinestones onto your nails.
Step 7:
Once your design is complete, let it dry for a few minutes before applying a top coat to seal everything in and add shine.
Now, let's get into the fun part - creating your own cloud nail art!
Step 1:
Begin by applying a base coat to protect your nails and help the polish last longer.
Step 2:
Choose the base color for your nails. It can be any color you like, but for a dreamy look, pastel shades work best. Apply two coats of the chosen color and let it dry completely.
Step 3:
Take your sponge and cut it into a small, cloud-like shape. You can also use a makeup sponge for this step.
Step 4:
Using a white or light blue nail polish, dab the sponge lightly onto your nails to create cloud shapes. You can vary the size and placement of the clouds to make your design more interesting.
Step 5:
After the clouds have dried, use a thin nail art brush and a darker shade of nail polish to add details to the clouds. This can include swirls, lines, or other shapes to give your clouds more dimension.
Step 6:
For an extra touch of sparkle, you can add some glitter or rhinestones to your design. Simply apply a small amount of clear top coat and use tweezers to place the glitter or rhinestones onto your nails.
Step 7:
Once your design is complete, let it dry for a few minutes before applying a top coat to seal everything in and add shine.
In Conclusion
 Cloud nail art is a fun and creative way to add a dreamy touch to your nails. With this simple tutorial, you can easily create your own cloud design and impress everyone with your nail skills. So grab your tools and get ready to rock this whimsical look on your next manicure!


