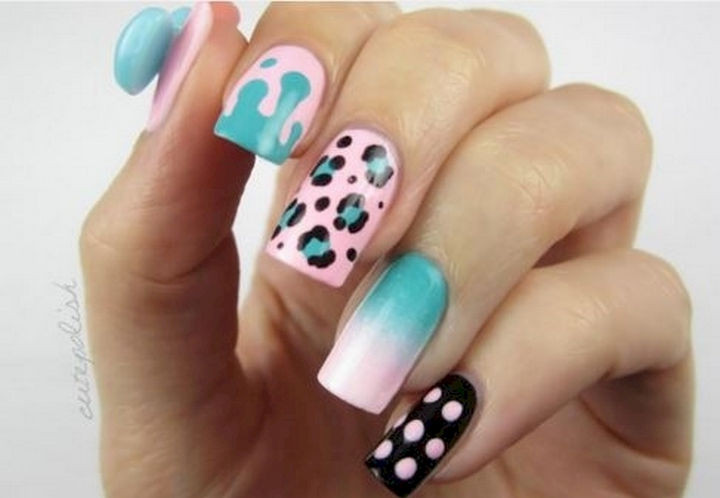
Are you looking for a fun and playful nail design that will make your nails stand out? Look no further than this easy cotton candy nail art tutorial! With just a few simple steps, you can create a sweet and colorful look that will have everyone asking where you got your nails done. To begin, you will need a few basic supplies: a light pink nail polish, a light blue nail polish, a white nail polish, a small makeup sponge, and a toothpick or dotting tool. You can also add some glitter or rhinestones for some extra sparkle. Start by painting your nails with the light pink nail polish as a base. Once it is dry, take the light blue nail polish and paint it on the makeup sponge, creating a gradient effect by blending the two colors together on the sponge. Next, gently dab the sponge onto your nails, starting from the tip and working your way down. This will create a soft, ombre effect reminiscent of cotton candy. You can repeat this step as many times as you like to build up the color intensity. Once the base is dry, take the white nail polish and use the toothpick or dotting tool to create small dots on your nails to represent the sugar crystals in cotton candy. You can also add some glitter or rhinestones for a touch of sparkle. Finish off with a clear top coat to seal in your design and give it a glossy finish. And there you have it – an easy cotton candy nail art look that is sure to turn heads!1. "Easy Cotton Candy Nail Art Tutorial"


1. "Easy Cotton Candy Nail Art Tutorial"


Are you a fan of DIY projects and love to get creative with your nails? Then this DIY cotton candy nail art tutorial is perfect for you! With a few simple materials, you can create a unique and whimsical look that will have your friends asking for your secret. To get started, you will need a light pink nail polish, a light blue nail polish, a white nail polish, a small makeup sponge, a toothpick or dotting tool, and some clear tape. You can also add some glitter or rhinestones for some extra flair. First, paint your nails with the light pink nail polish and let it dry completely. Then, take a small piece of clear tape and cut it in half. Place the tape diagonally across your nail, leaving a small space at the tip. This will create a clean line for your ombre effect. Next, take the light blue nail polish and paint it on the makeup sponge. Blend the two colors together on the sponge and then gently dab it onto your nails, starting from the tip and working your way down. This will create a soft, ombre effect similar to cotton candy. Remove the tape and let the base color dry. Then, use a toothpick or dotting tool to create small dots with the white nail polish, representing the sugar crystals in cotton candy. You can also add some glitter or rhinestones for a touch of sparkle. Finish off with a clear top coat to seal in your design and give it a glossy finish. And there you have it – a DIY cotton candy nail art look that is sure to impress!2. "DIY Cotton Candy Nail Art Tutorial"


2. "DIY Cotton Candy Nail Art Tutorial"

If you're new to nail art or just want a detailed guide on how to create a cotton candy look, this step-by-step tutorial is for you. With clear instructions and pictures, you'll be able to recreate this fun and colorful design in no time. To get started, you will need a light pink nail polish, a light blue nail polish, a white nail polish, a small makeup sponge, a toothpick or dotting tool, and some clear tape. You can also add some glitter or rhinestones for some extra sparkle. Step 1: Begin by painting your nails with the light pink nail polish as a base. Let it dry completely. Step 2: Take a small piece of clear tape and cut it in half. Place the tape diagonally across your nail, leaving a small space at the tip. This will create a clean line for your ombre effect. Step 3: Paint the light blue nail polish on the makeup sponge and blend the two colors together. Gently dab the sponge onto your nails, starting from the tip and working your way down. Remove the tape and let the base color dry. Step 4: Use a toothpick or dotting tool to create small dots with the white nail polish, representing the sugar crystals in cotton candy. You can also add some glitter or rhinestones for a touch of sparkle. Step 5: Finish off with a clear top coat to seal in your design and give it a glossy finish. And there you have it – a beautiful cotton candy nail art look!3. "Step-by-Step Cotton Candy Nail Art Tutorial"


3. "Step-by-Step Cotton Candy Nail Art Tutorial"


If you're new to nail art and want to try out a fun and easy design, this cotton candy nail art tutorial is perfect for beginners. With just a few simple steps, you can create a playful and colorful look that will make your nails stand out. To get started, you will need a light pink nail polish, a light blue nail polish, a white nail polish, a small makeup sponge, and a toothpick or dotting tool. You can also add some glitter or rhinestones for some extra sparkle. Start by painting your nails with the light pink nail polish as a base. Once it is dry, take the light blue nail polish and paint it on the makeup sponge, creating a gradient effect by blending the two colors together on the sponge. Next, gently dab the sponge onto your nails, starting from the tip and working your way down. This will create a soft, ombre effect reminiscent of cotton candy. You can repeat this step as many times as you like to build up the color intensity. Once the base is dry, take the white nail polish and use the toothpick or dotting tool to create small dots on your nails to represent the sugar crystals in cotton candy. You can also add some glitter or rhinestones for a touch of sparkle. Finish off with a clear top coat to seal in your design and give it a glossy finish. And there you have it – a beginner-friendly cotton candy nail art look that anyone can achieve!4. "Cotton Candy Nail Art Tutorial for Beginners"


4. "Cotton Candy Nail Art Tutorial for Beginners"
If you love the look of ombre nails but want to add a fun twist, this cotton candy ombre nail art tutorial is the perfect choice. With the soft, pastel colors and whimsical design, your nails will look like a delicious treat. For this look, you will need a light pink nail polish, a light blue nail polish, a white nail polish, a small makeup sponge, and a toothpick or dotting tool. You can also add some glitter or rhinestones for some extra sparkle. Start by painting your nails with the light pink nail polish as a base. Once it is dry, take the light blue nail polish and paint it on the makeup sponge, creating a gradient effect by blending the two colors together on the sponge. Next, gently dab the sponge onto your nails, starting from the tip and working your way down. This will create a soft, ombre effect similar to cotton candy. You can repeat this step as many times as you like to build up the color intensity. Once the base is dry, take the white nail polish and use the toothpick or dotting tool to create small dots on your nails to represent the sugar crystals in cotton candy. You can also add some glitter or rhinestones for a touch of sparkle. Finish off with a clear top coat to seal in your design and give it a glossy finish. And there you have it – a beautiful cotton candy ombre nail art look that is sure to turn heads.5. "Cotton Candy Ombre Nail Art Tutorial"

5. "Cotton Candy Ombre Nail Art Tutorial"


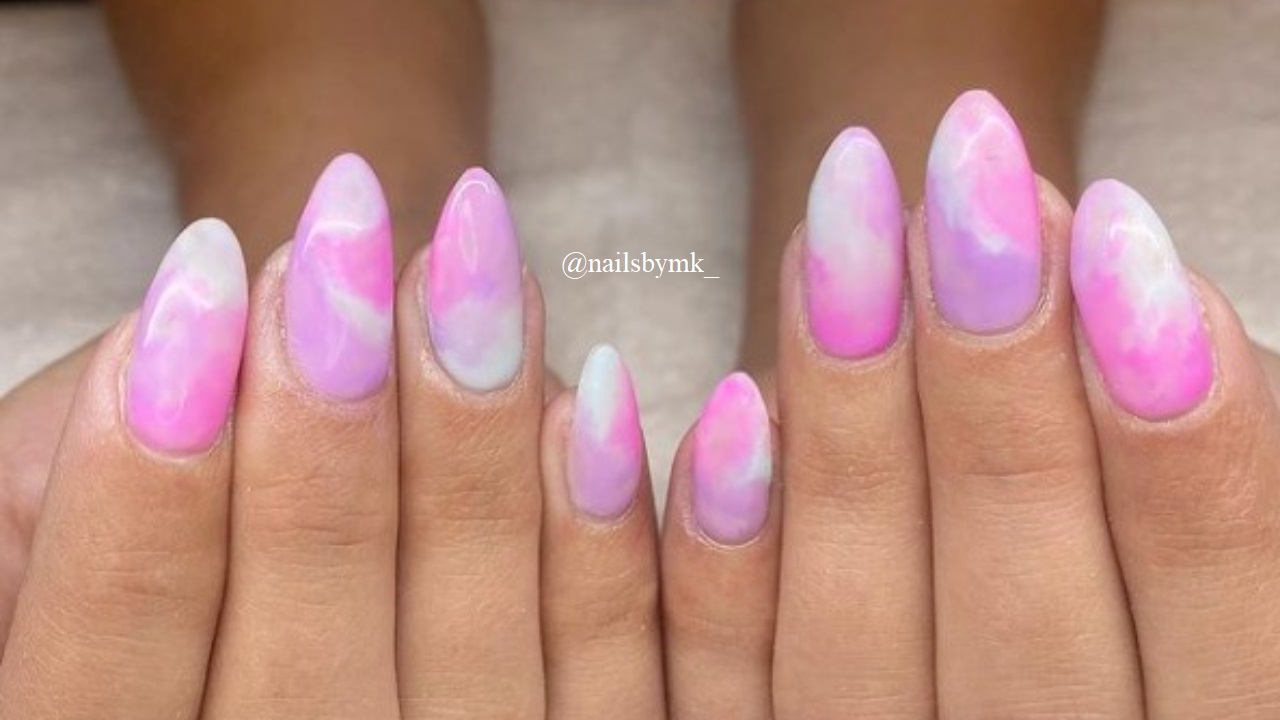
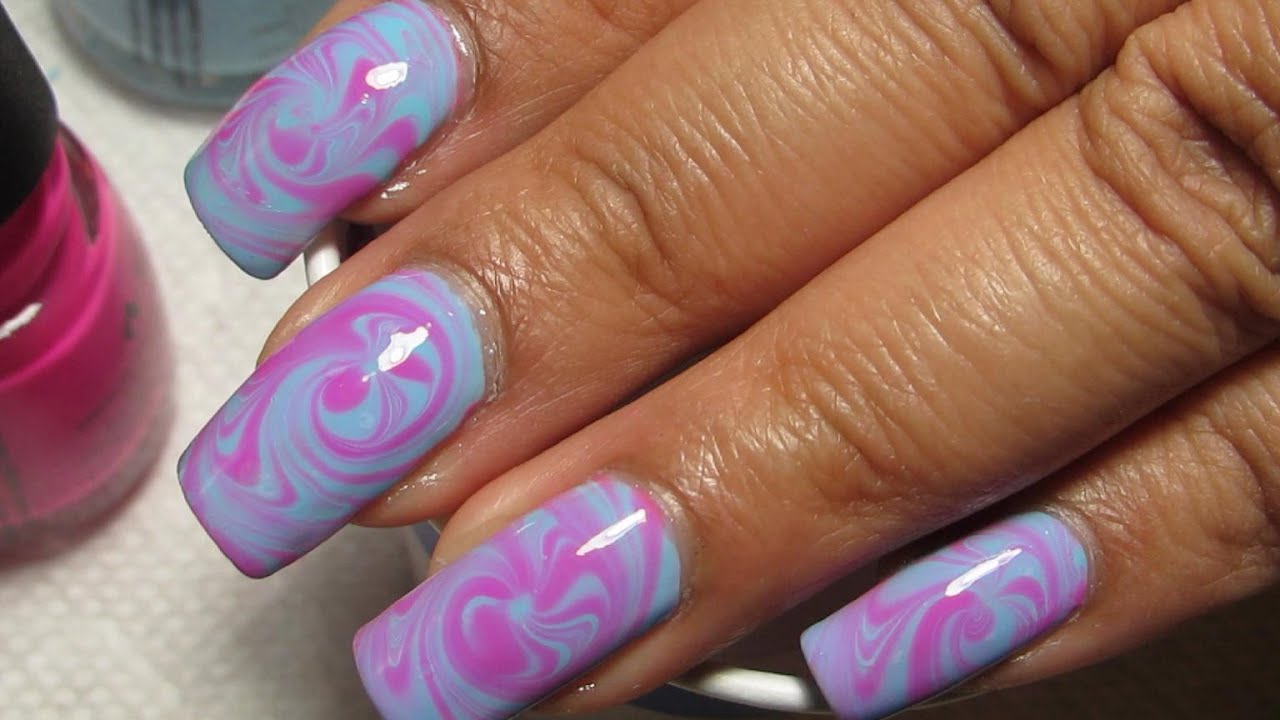
If you're a fan of marble nail art and want to try something new, this cotton candy marble nail art tutorial is the perfect choice. With its soft, swirling colors, your nails will look like a delicious treat. You will need a light pink nail polish, a light blue nail polish, a white nail polish, a small makeup sponge, and a toothpick or dotting tool for this look. Start by painting your nails with the light pink nail polish as a base. Once it is dry, take the light blue nail polish and paint it on the makeup sponge, creating a marble effect by dabbing the sponge onto your nails. Next, use the toothpick or dotting tool to create small swirls with the white nail polish, representing the cotton candy. You can also add some glitter or rhinestones for some extra sparkle. Finish off with a clear top coat to seal in your design and give it a glossy finish. And there you have it – a beautiful cotton candy marble nail art look that is sure to impress.6. "Cotton Candy Marble Nail Art Tutorial"


6. "Cotton Candy Marble Nail Art Tutorial"

Add a touch of whimsy to your nails with this cotton candy swirl nail art tutorial. With its playful design and soft colors, this look is perfect for anyone who loves to have fun with their nails. To achieve this look, you will need a light pink nail polish, a light blue nail polish, a white nail polish, a small makeup sponge, and a toothpick or dotting tool. You can also add some glitter or rhinestones for some extra sparkle. Start by painting your nails with the light pink nail polish as a base. Once it is dry, take the light blue nail polish and paint it on the makeup sponge, creating a gradient effect by blending the two colors together on the sponge. Next, gently dab the sponge onto your nails, starting from the tip and working your way down. This will create a soft, ombre effect similar to cotton candy. You can repeat this step as many times as you like to build up the color intensity. Once the base is dry, use the toothpick or dotting tool to create swirls with the white nail polish, representing the cotton candy. You can also add some glitter or rhinestones for a touch of sparkle. Finish off with a clear top coat to seal in your design and give it a glossy finish. And there you have it – a playful cotton candy swirl nail art look that is sure to make you smile.7. "Cotton Candy Swirl Nail Art Tutorial"
7. "Cotton Candy Swirl Nail Art Tutorial"

If you want a dreamy and ethereal nail design, this cotton candy cloud nail art tutorial is the perfect choice. With its soft colors and fluffy clouds, your nails will look like they're floating in the sky. To achieve this look, you will need a light pink nail polish, a light blue nail polish, a white nail polish, a small makeup sponge, and a toothpick or dotting tool. You can also add some glitter or rhinestones for some extra sparkle. Start by painting your nails with the light pink nail polish as a base. Once it is dry, take the light blue nail polish and paint it on the makeup sponge, creating a gradient effect by blending the two colors together on the sponge. Next, gently dab the sponge onto your nails, starting from the tip and working your way down. This will create a soft, ombre effect reminiscent of cotton candy. You can repeat this step as many times as you like to build up the color intensity. Once the base is dry, use the toothpick or dotting tool to create small clouds with the white nail polish. You can also add some glitter or rhinestones for a touch of sparkle. Finish off with a clear top coat to seal in your design and give it a glossy finish. And there you have it – a dreamy cotton candy cloud nail art look that will transport you to the sky.8. "Cotton Candy Cloud Nail Art Tutorial"


8. "Cotton Candy Cloud Nail Art Tutorial"
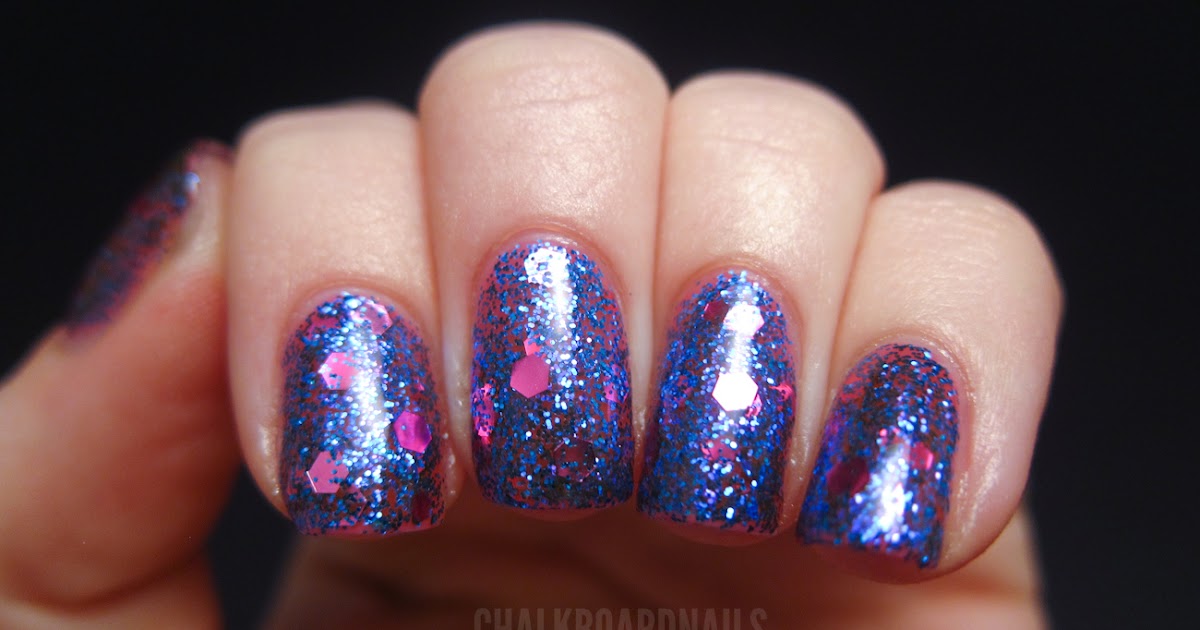
Do you love a little sparkle and shine on your nails? Then this cotton candy glitter nail art tutorial is the perfect choice for you. With its combination of soft colors and glitter, your nails will look like they're covered in sugar crystals. To achieve this look, you will need a light pink nail polish, a light blue nail polish, a white nail polish, a small makeup sponge, a toothpick or dotting tool, and some glitter or rhinestones. Start by painting your nails with the light pink nail polish as a base. Once it is dry, take the light blue nail polish and paint it on the makeup sponge, creating a gradient effect by blending the two colors together on the sponge. Next, gently dab the sponge onto your nails, starting from the tip and working your way down. This will create a soft, ombre effect similar to cotton candy. You can repeat this step as many times as you like to build up the color intensity. Once the base is dry, use the toothpick or dotting tool to create small dots with the white nail polish, representing the sugar crystals in cotton candy. Then, add some glitter or rhinestones for a touch of sparkle. Finish off with a clear top coat to seal in your design and give it a glossy finish. And there you have it – a sweet and sparkly cotton candy glitter nail art look.9. "Cotton Candy Glitter Nail Art Tutorial"


9. "Cotton Candy Glitter Nail Art Tutorial"


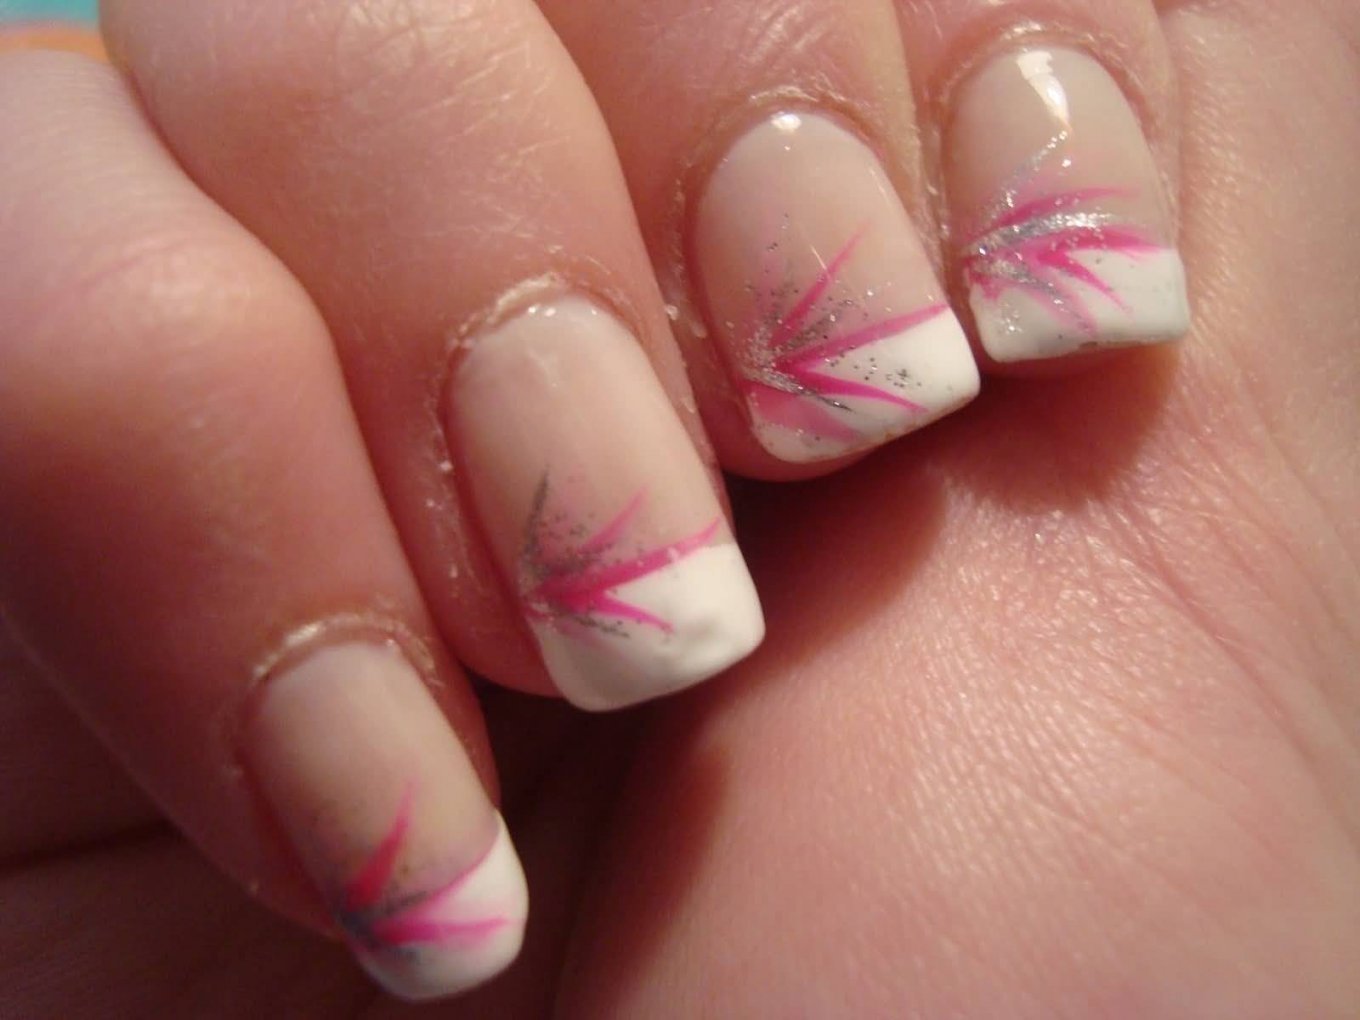
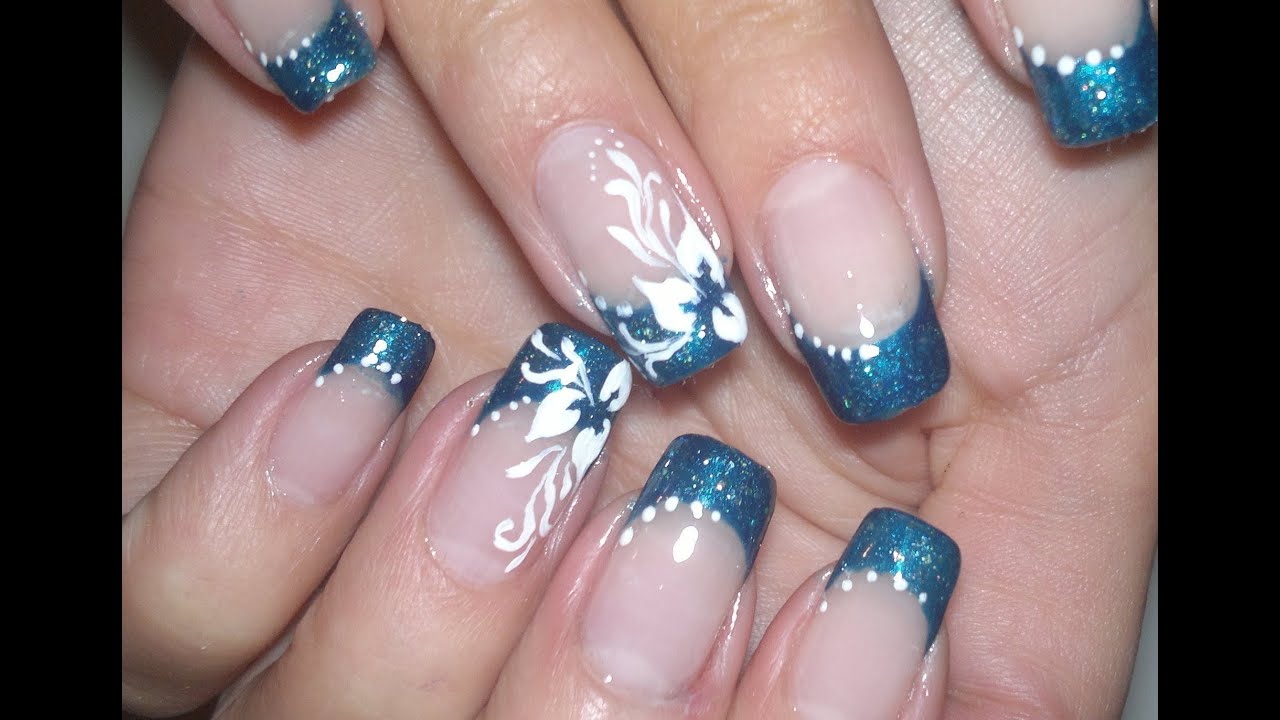
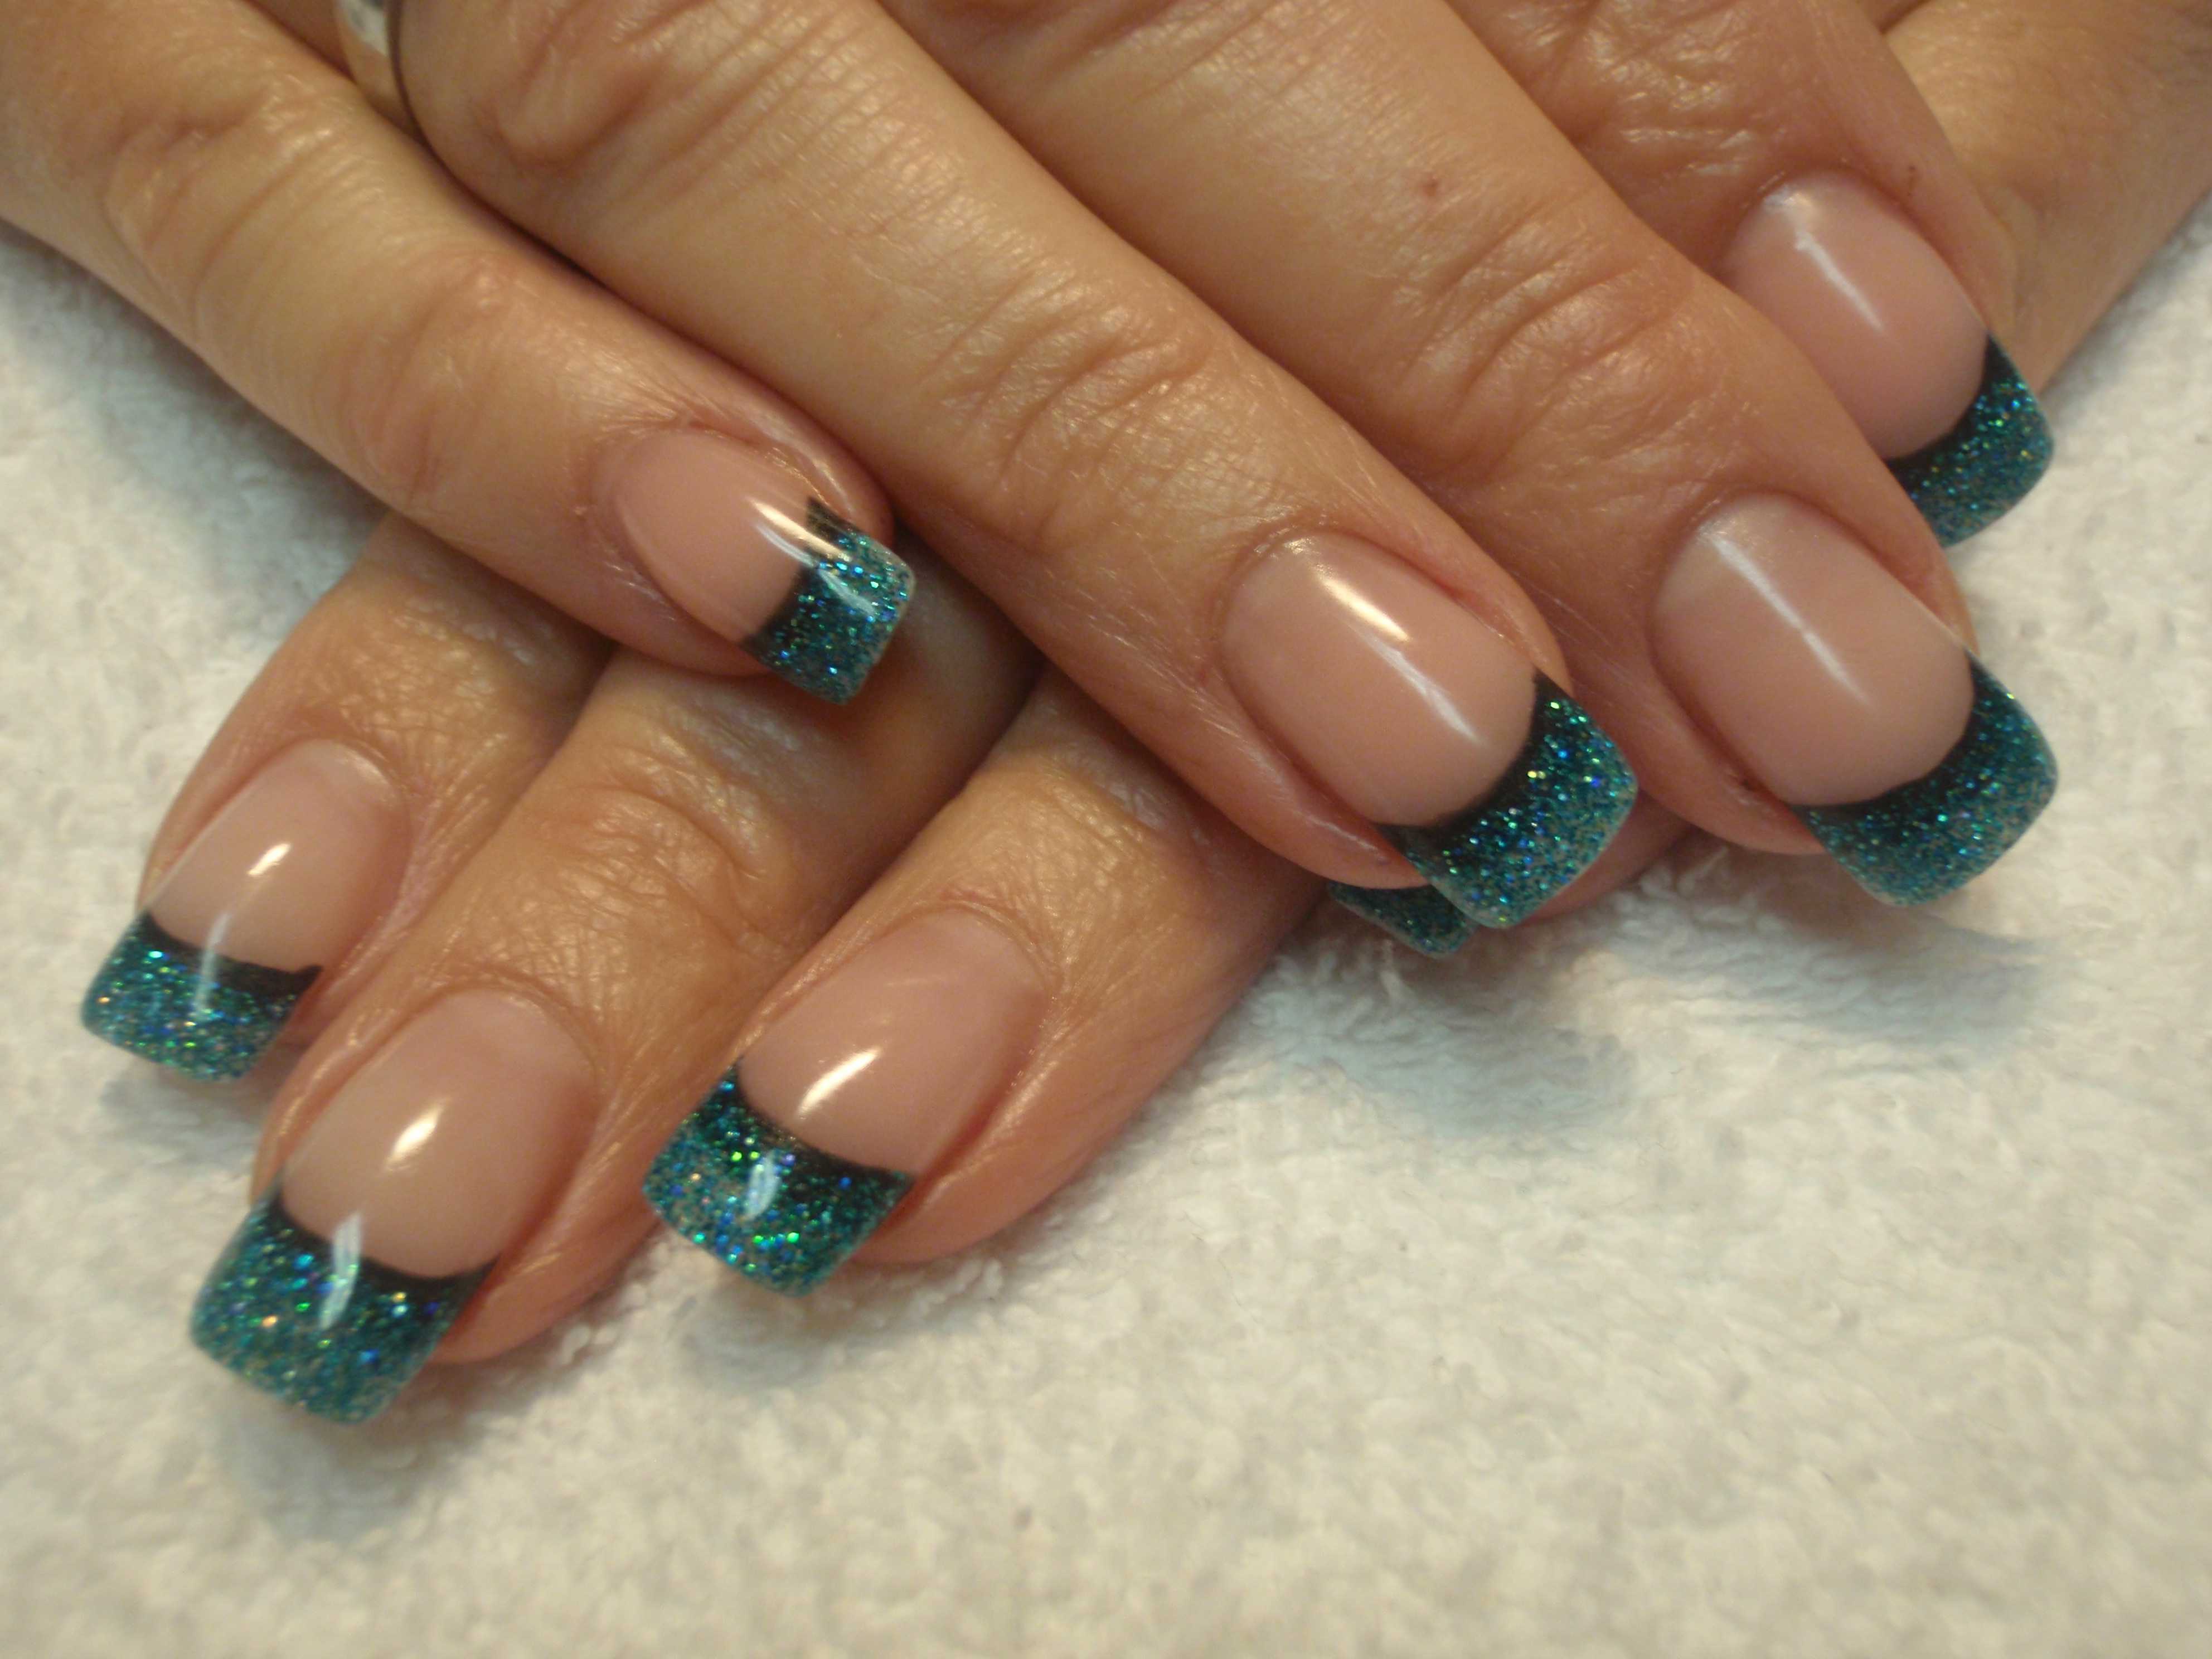
If you love the classic French tip look but want to add a fun twist, this cotton candy French tip nail art tutorial is for you. With its soft colors and playful design, your nails will look like they're dipped in cotton candy. To achieve this look, you will need a light pink nail polish, a light blue nail polish, a white nail polish, a small makeup sponge, and a toothpick or dotting tool. You can also add some glitter or rhinestones for some extra sparkle. Start by painting your nails with the light pink nail polish as a base. Once it is dry, take the light blue nail polish and paint it on the makeup sponge, creating a gradient effect by blending the two colors together on the sponge. Next, gently dab the sponge onto the tips of your nails, creating a French tip design. You can repeat this step as many times as you like to build up the color intensity.10. "Cotton Candy French Tip Nail Art Tutorial"


10. "Cotton Candy French Tip Nail Art Tutorial"


Creating a Cotton Candy-Inspired Nail Art Look

Gather Your Supplies
 To create a cotton candy nail art look, you will need a few key supplies. First, gather a base coat, top coat, and your choice of
pastel nail polish
colors. You will also need a
nail art brush
or toothpick,
cotton candy nail art powder
in pink and blue shades, and a small bowl of water.
To create a cotton candy nail art look, you will need a few key supplies. First, gather a base coat, top coat, and your choice of
pastel nail polish
colors. You will also need a
nail art brush
or toothpick,
cotton candy nail art powder
in pink and blue shades, and a small bowl of water.
Prep Your Nails
 Start by prepping your nails for the design. This includes trimming, shaping, and buffing your nails as desired. Then, apply a base coat to protect your nails and create a smooth surface for the polish.
Create Your Base
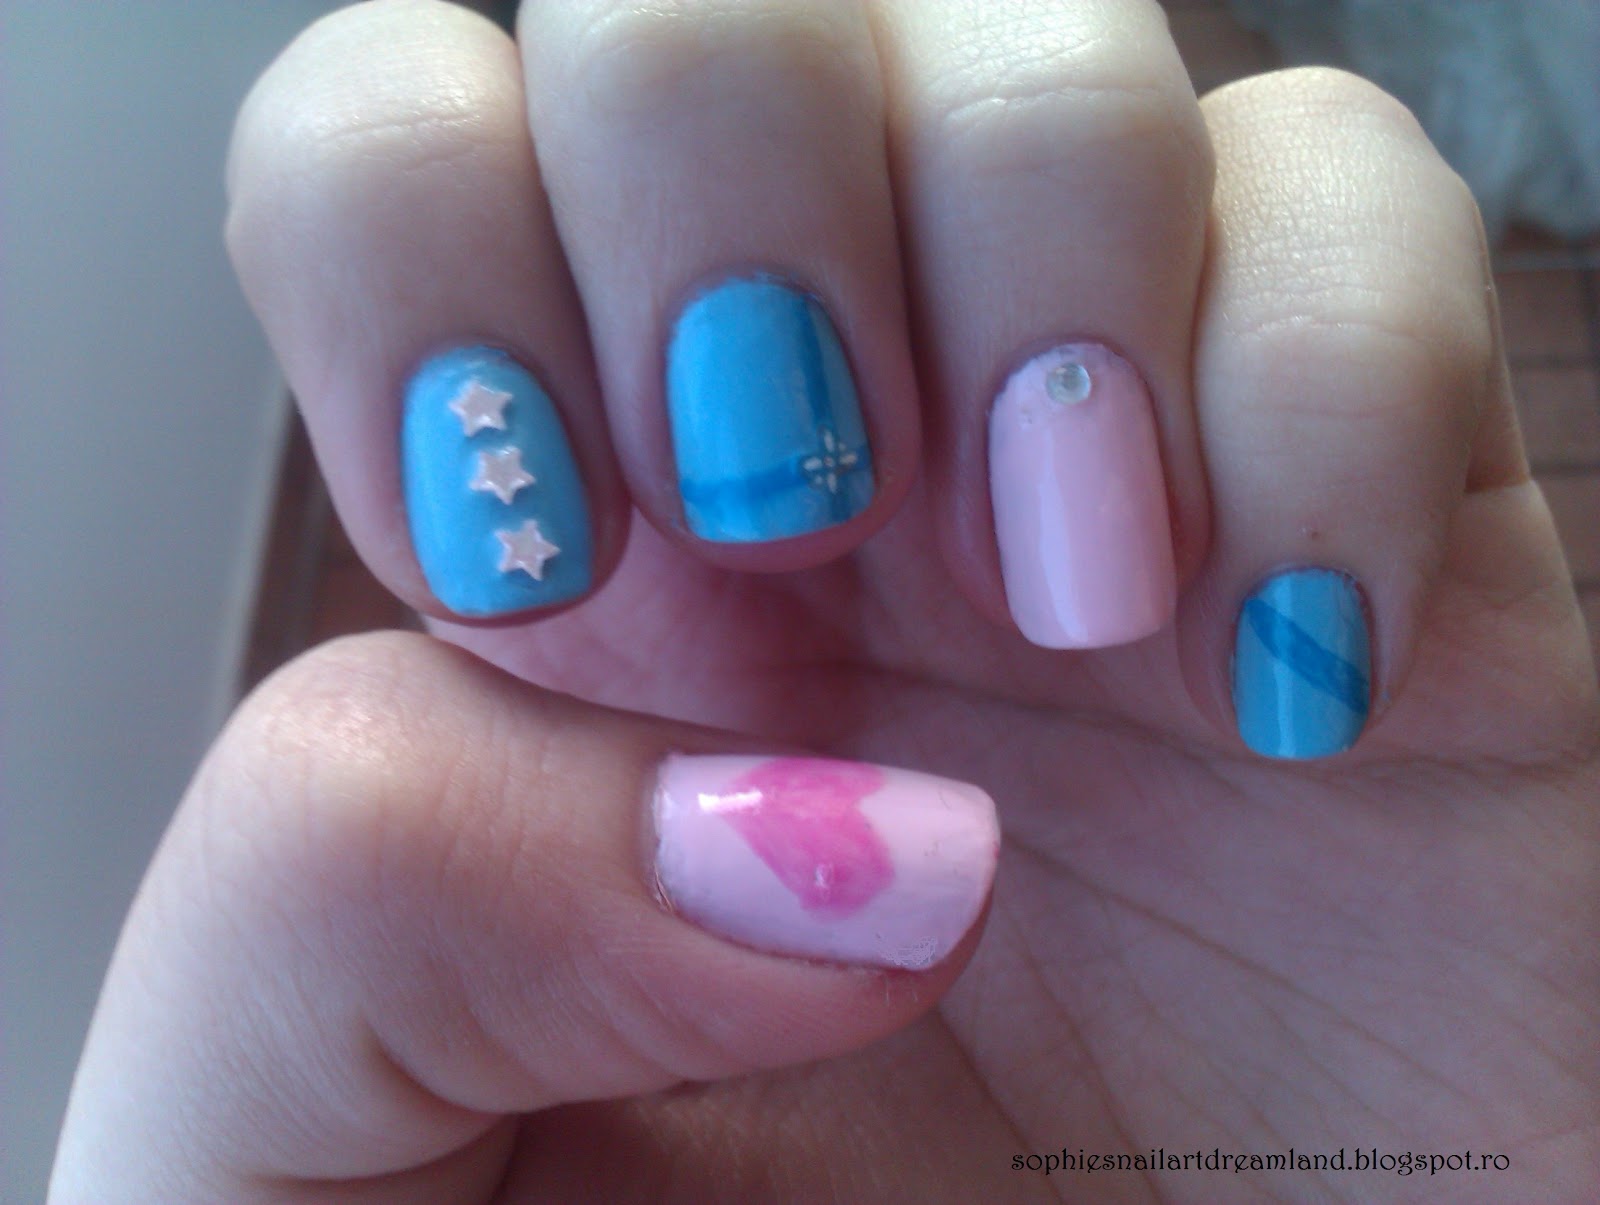
 Once your base coat has dried, it's time to add some color. Choose your first
pastel nail polish
and apply it to your nails. You can choose to paint all of your nails the same color or mix and match for a fun, playful look.
Once your base coat has dried, it's time to add some color. Choose your first
pastel nail polish
and apply it to your nails. You can choose to paint all of your nails the same color or mix and match for a fun, playful look.
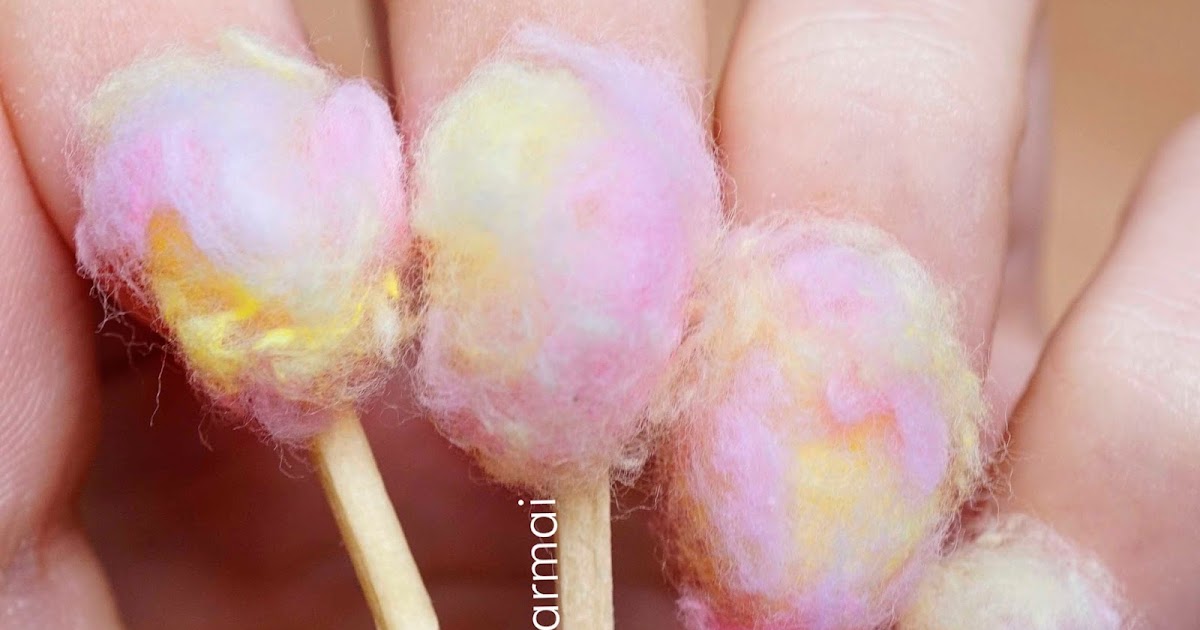
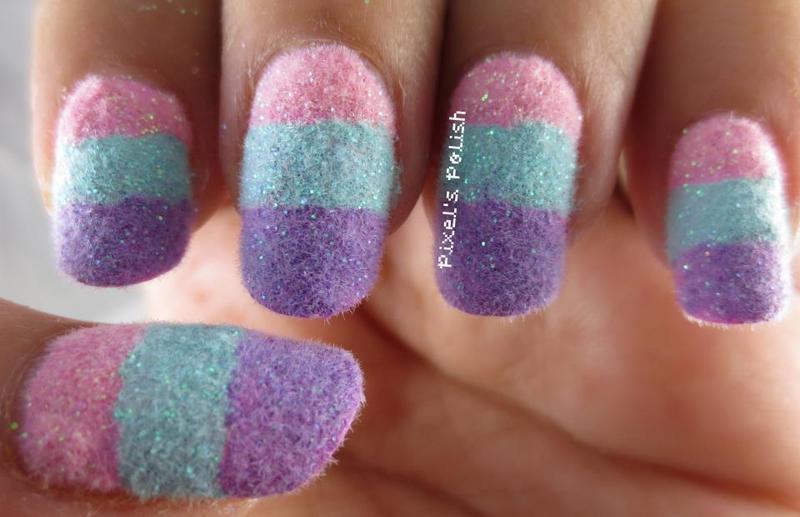
Add the Cotton Candy Effect
 Now comes the fun part - creating the cotton candy effect. Dip your nail art brush or toothpick into the water, then into the pink
cotton candy powder
. Gently swirl the powder onto your nails, focusing on the tips to create a gradient effect. Repeat the process with the blue
cotton candy powder
, adding it in between the pink sections.
Now comes the fun part - creating the cotton candy effect. Dip your nail art brush or toothpick into the water, then into the pink
cotton candy powder
. Gently swirl the powder onto your nails, focusing on the tips to create a gradient effect. Repeat the process with the blue
cotton candy powder
, adding it in between the pink sections.
Finishing Touches
 Once you're happy with the cotton candy effect, let it dry for a few minutes. Then, apply a top coat to seal in the design and add shine. You can also add some
glitter
or
rhinestones
for extra sparkle and dimension.
Once you're happy with the cotton candy effect, let it dry for a few minutes. Then, apply a top coat to seal in the design and add shine. You can also add some
glitter
or
rhinestones
for extra sparkle and dimension.
Final Thoughts
 Creating a cotton candy nail art look is a fun and easy way to add some whimsy to your nails. With the right supplies and a little bit of creativity, you can achieve a beautiful and unique design that will surely turn heads. So why not give it a try and add a touch of sweetness to your next manicure?


