Nail art has become a popular way to express one's creativity and style. And one of the most popular designs is the crown nail art. If you're new to nail art and want to try this regal design, don't worry, it's easier than you think. In this tutorial, we'll show you how to create an easy crown nail art design that's perfect for beginners. Featured keywords: easy crown nail art, beginners, regal design, tutorial.1. "Easy Crown Nail Art Tutorial for Beginners"


1. "Easy Crown Nail Art Tutorial for Beginners"


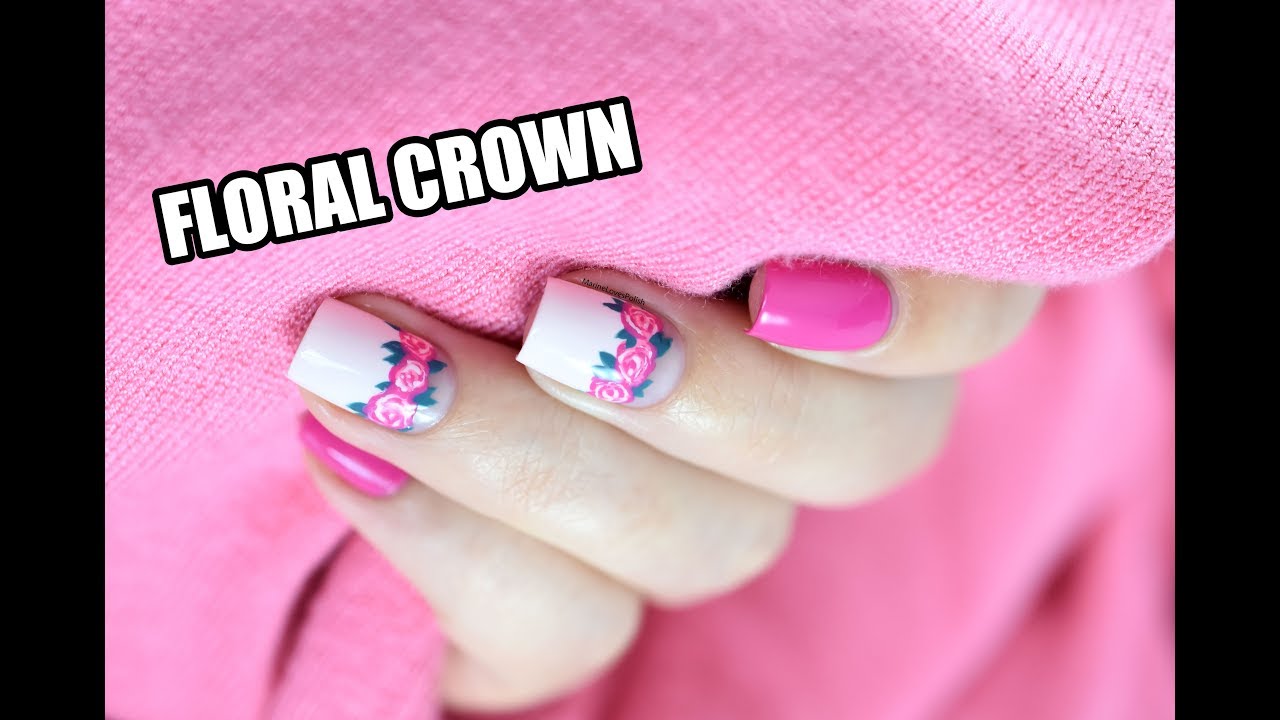
For those who want a more detailed guide on creating crown nail art, this step-by-step tutorial is for you. You'll learn how to create a crown design using different techniques and tools, making your nails look like royalty in no time. So get your nail polish and tools ready, and let's get started! Featured keywords: step-by-step, crown nail art, techniques, tools, royalty.2. "Step-by-Step Crown Nail Art Tutorial"

2. "Step-by-Step Crown Nail Art Tutorial"
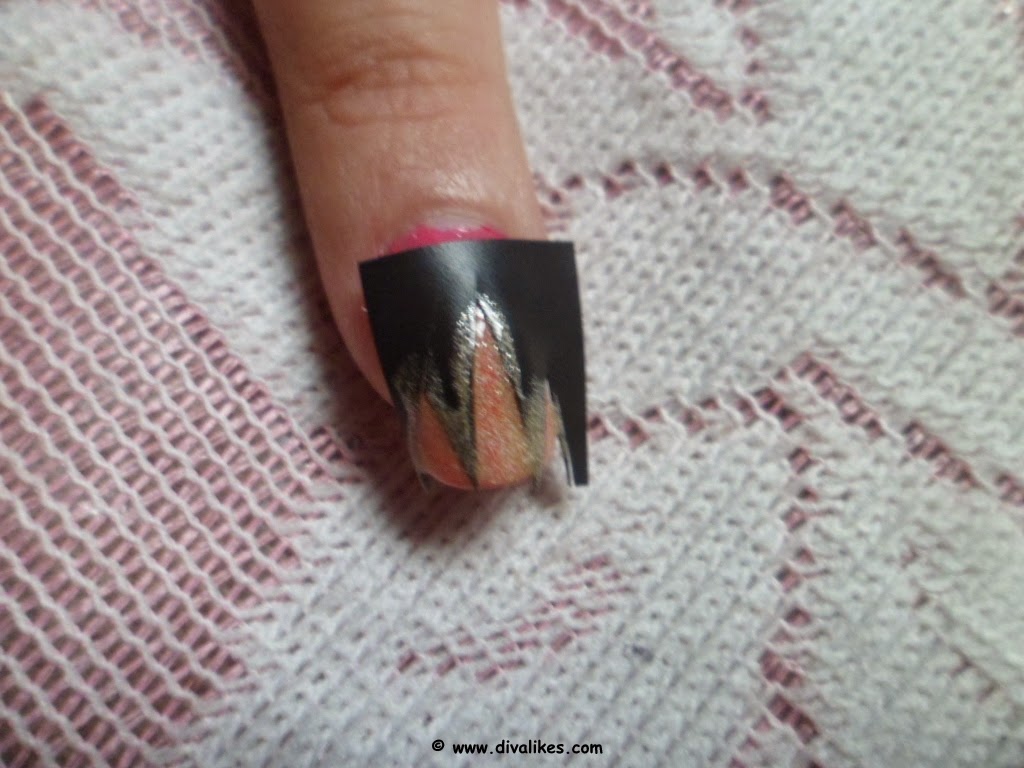
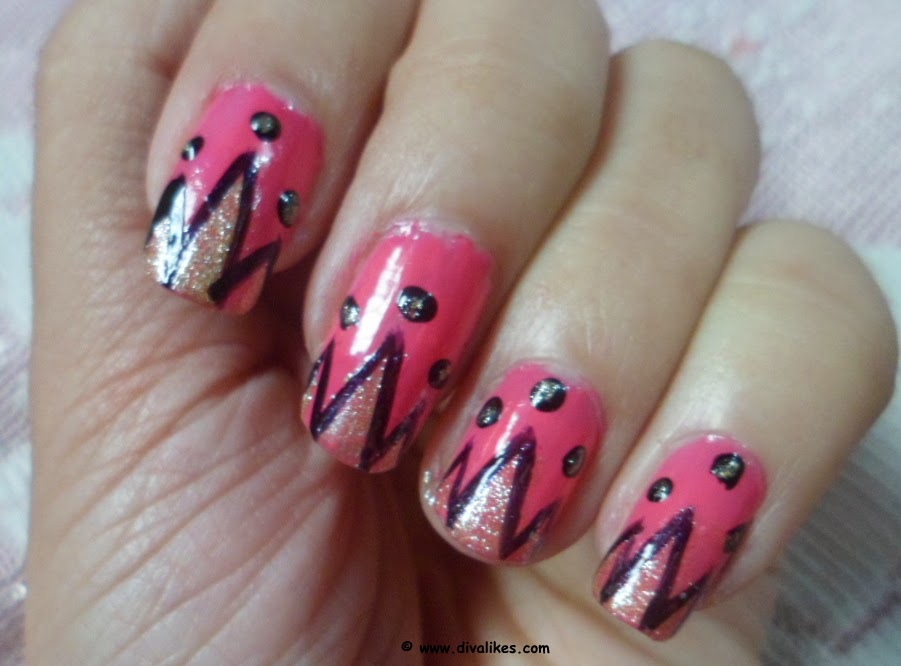

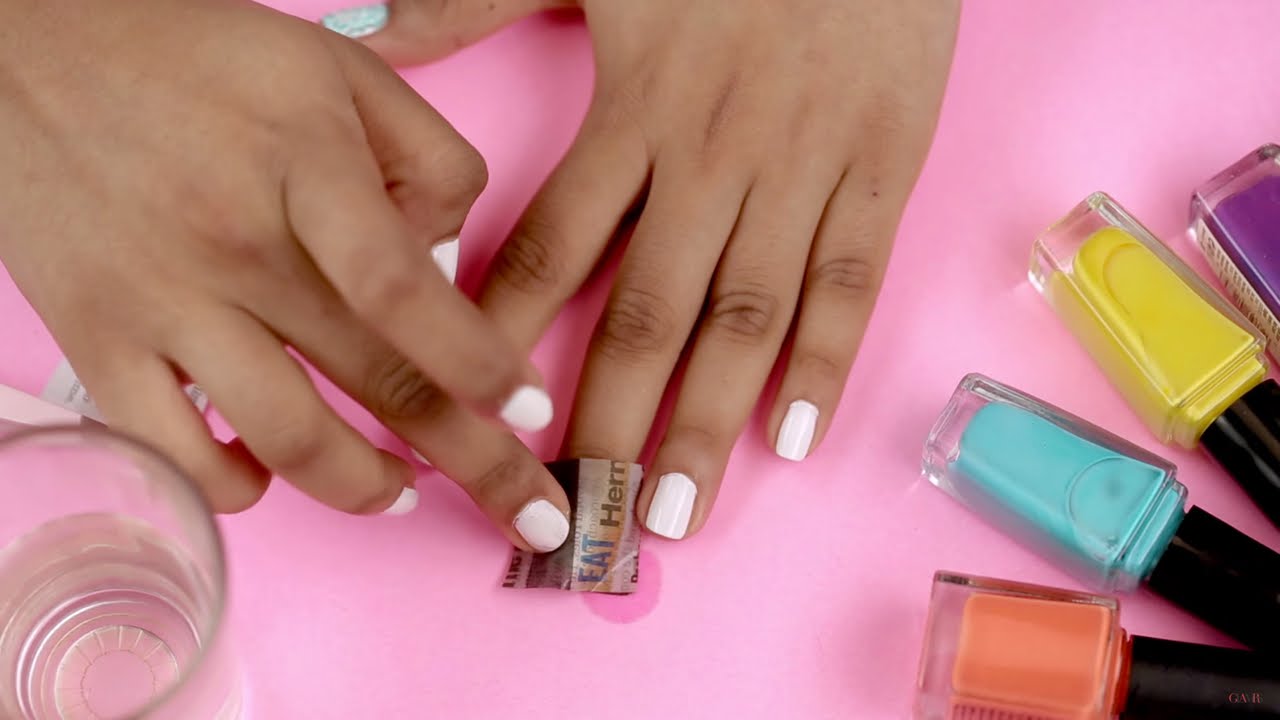
Don't have any fancy nail art tools? No problem! You can still create a stunning crown nail art design using items you can find in your household. From bobby pins to toothpicks, you'll be surprised at how these everyday items can help you achieve a beautiful and intricate crown design on your nails. Featured keywords: DIY, crown nail art, household items, bobby pins, toothpicks, intricate design.3. "DIY Crown Nail Art Tutorial Using Household Items"


3. "DIY Crown Nail Art Tutorial Using Household Items"


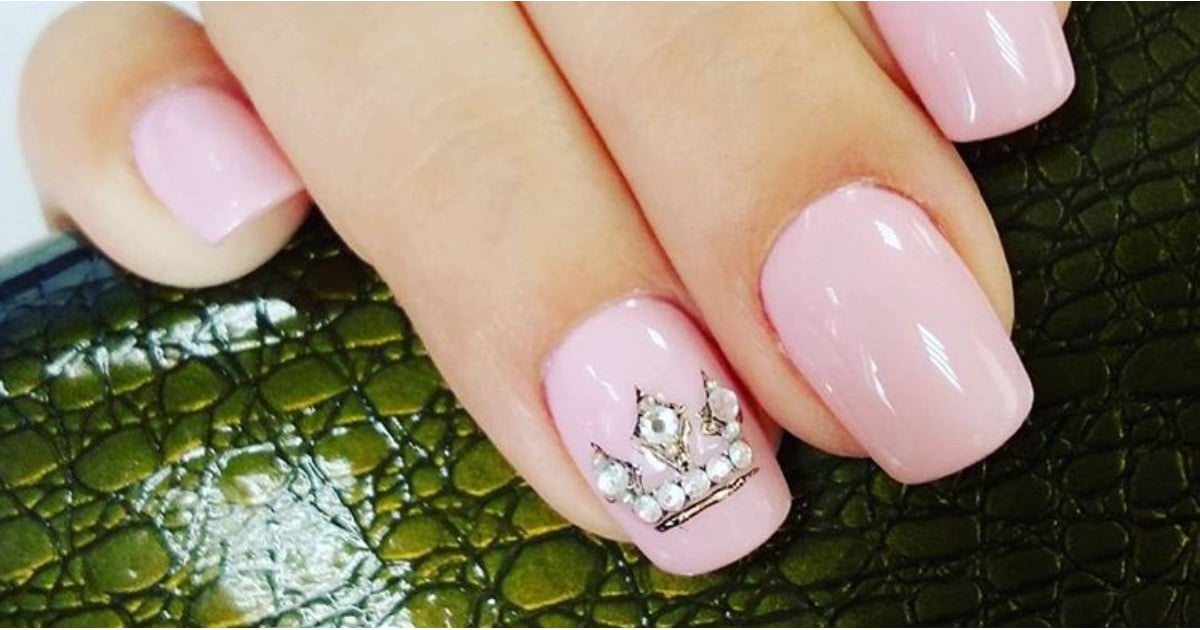
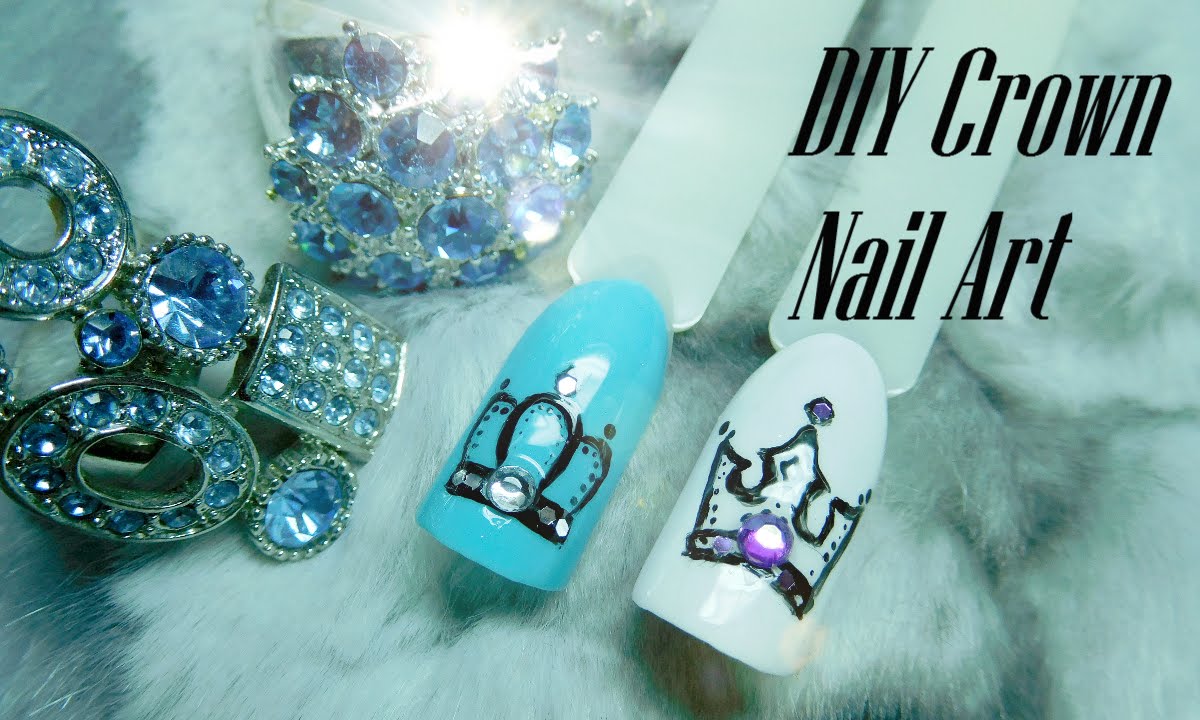
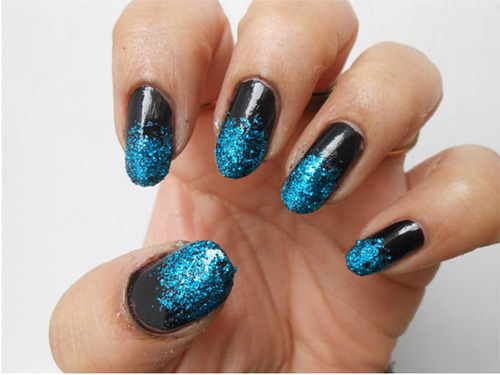
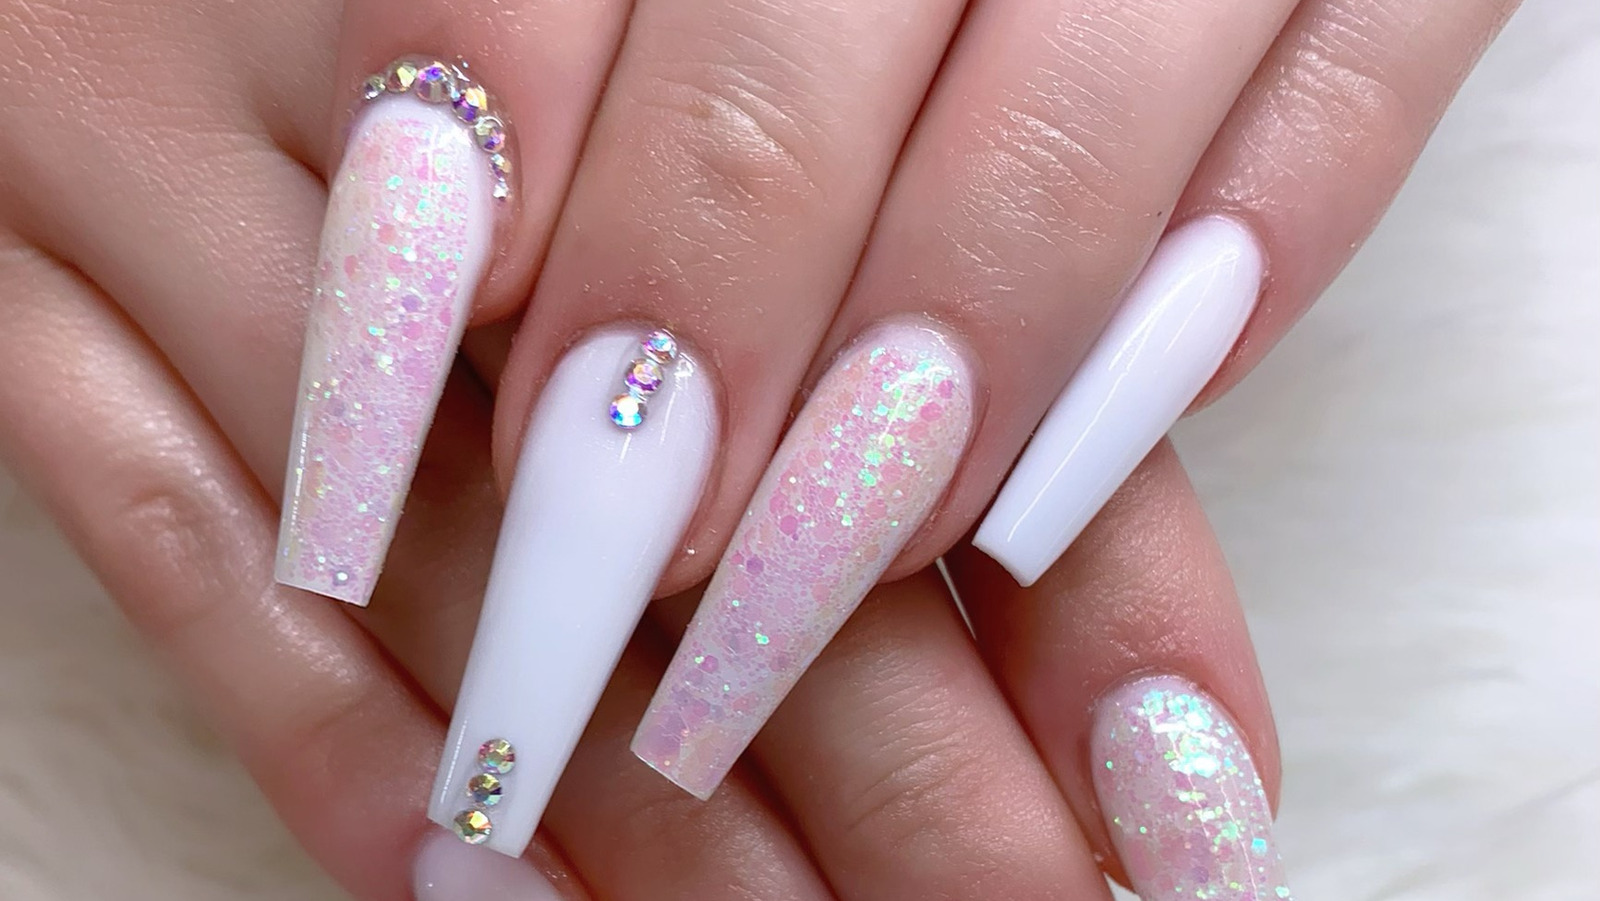
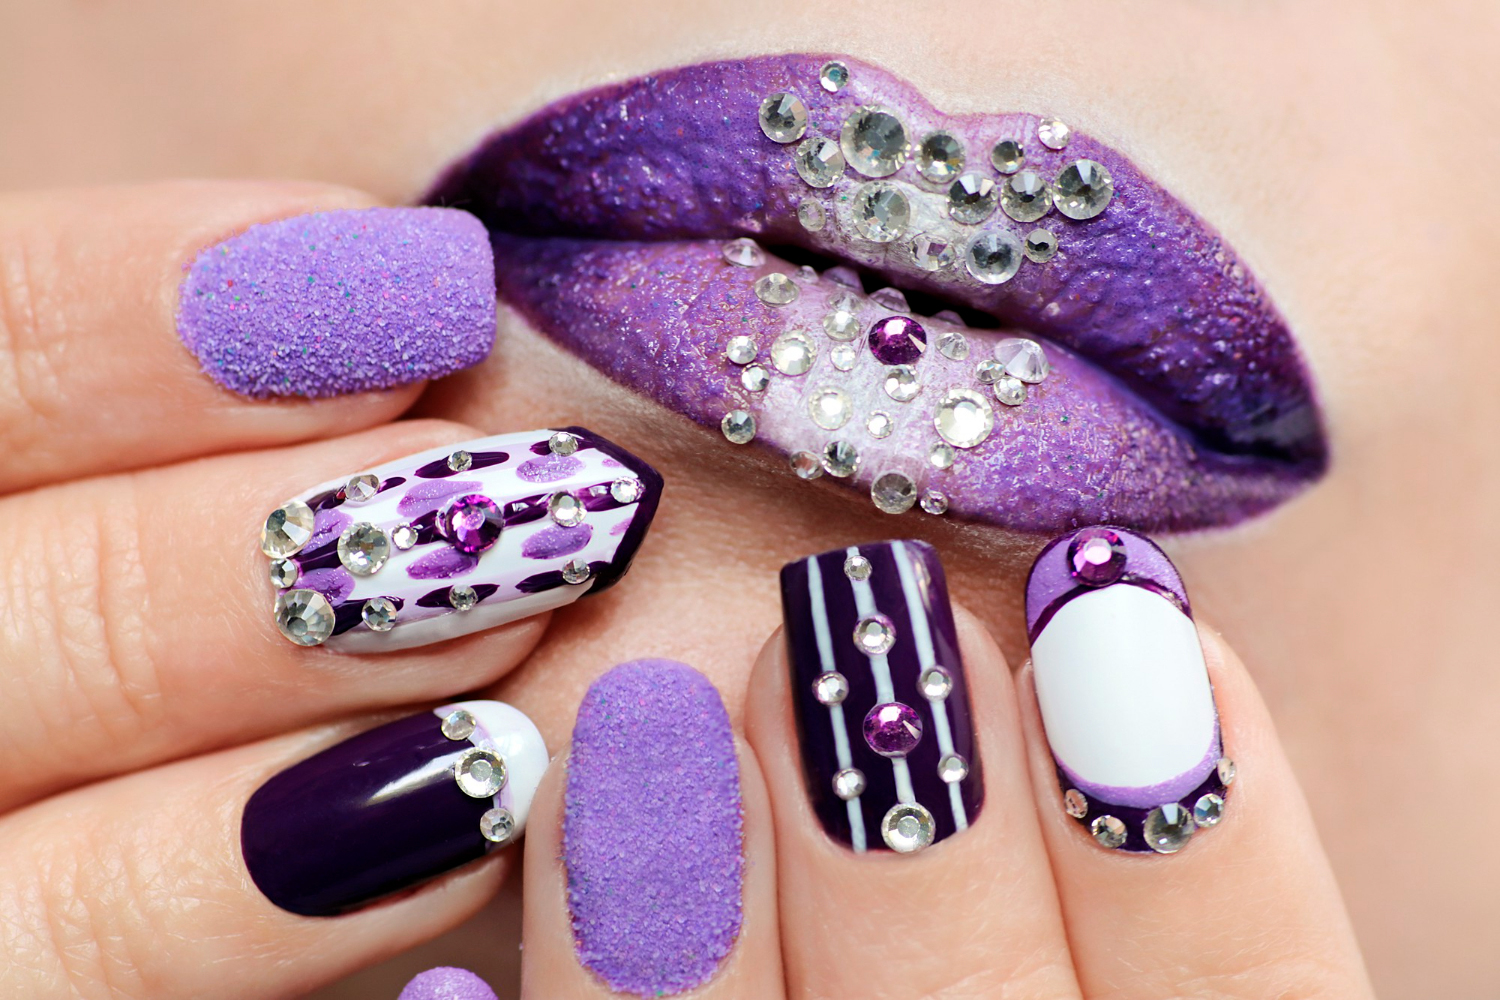
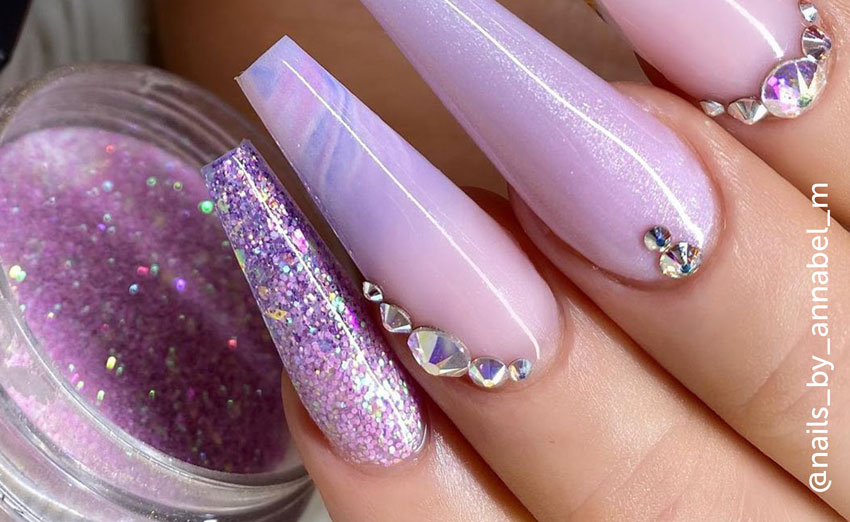
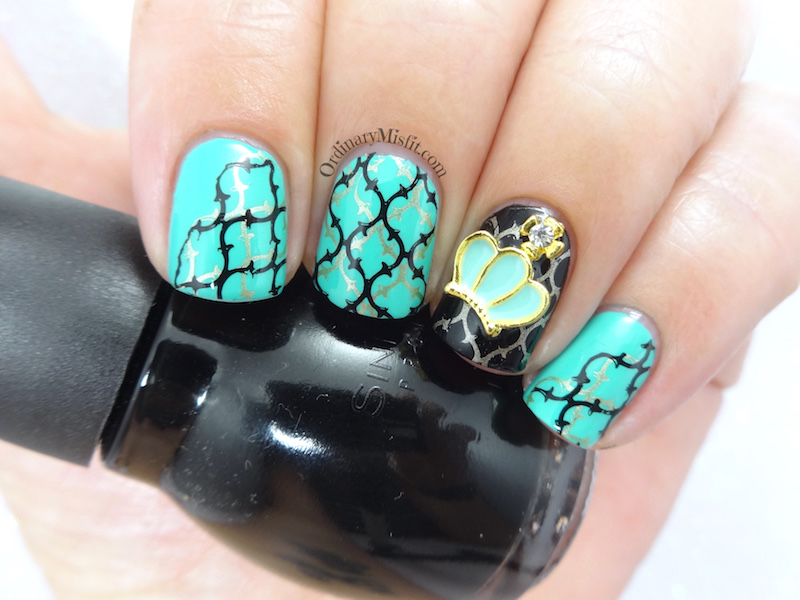
For a more glamorous and eye-catching crown nail art design, add some rhinestones and glitter into the mix. This tutorial will show you how to incorporate these sparkly elements to create a stunning and luxurious crown design on your nails. Perfect for special occasions or when you want to feel like a queen. Featured keywords: crown nail art, rhinestones, glitter, glamorous, luxurious, special occasions, queen.4. "Crown Nail Art Tutorial with Rhinestones and Glitter"


4. "Crown Nail Art Tutorial with Rhinestones and Glitter"


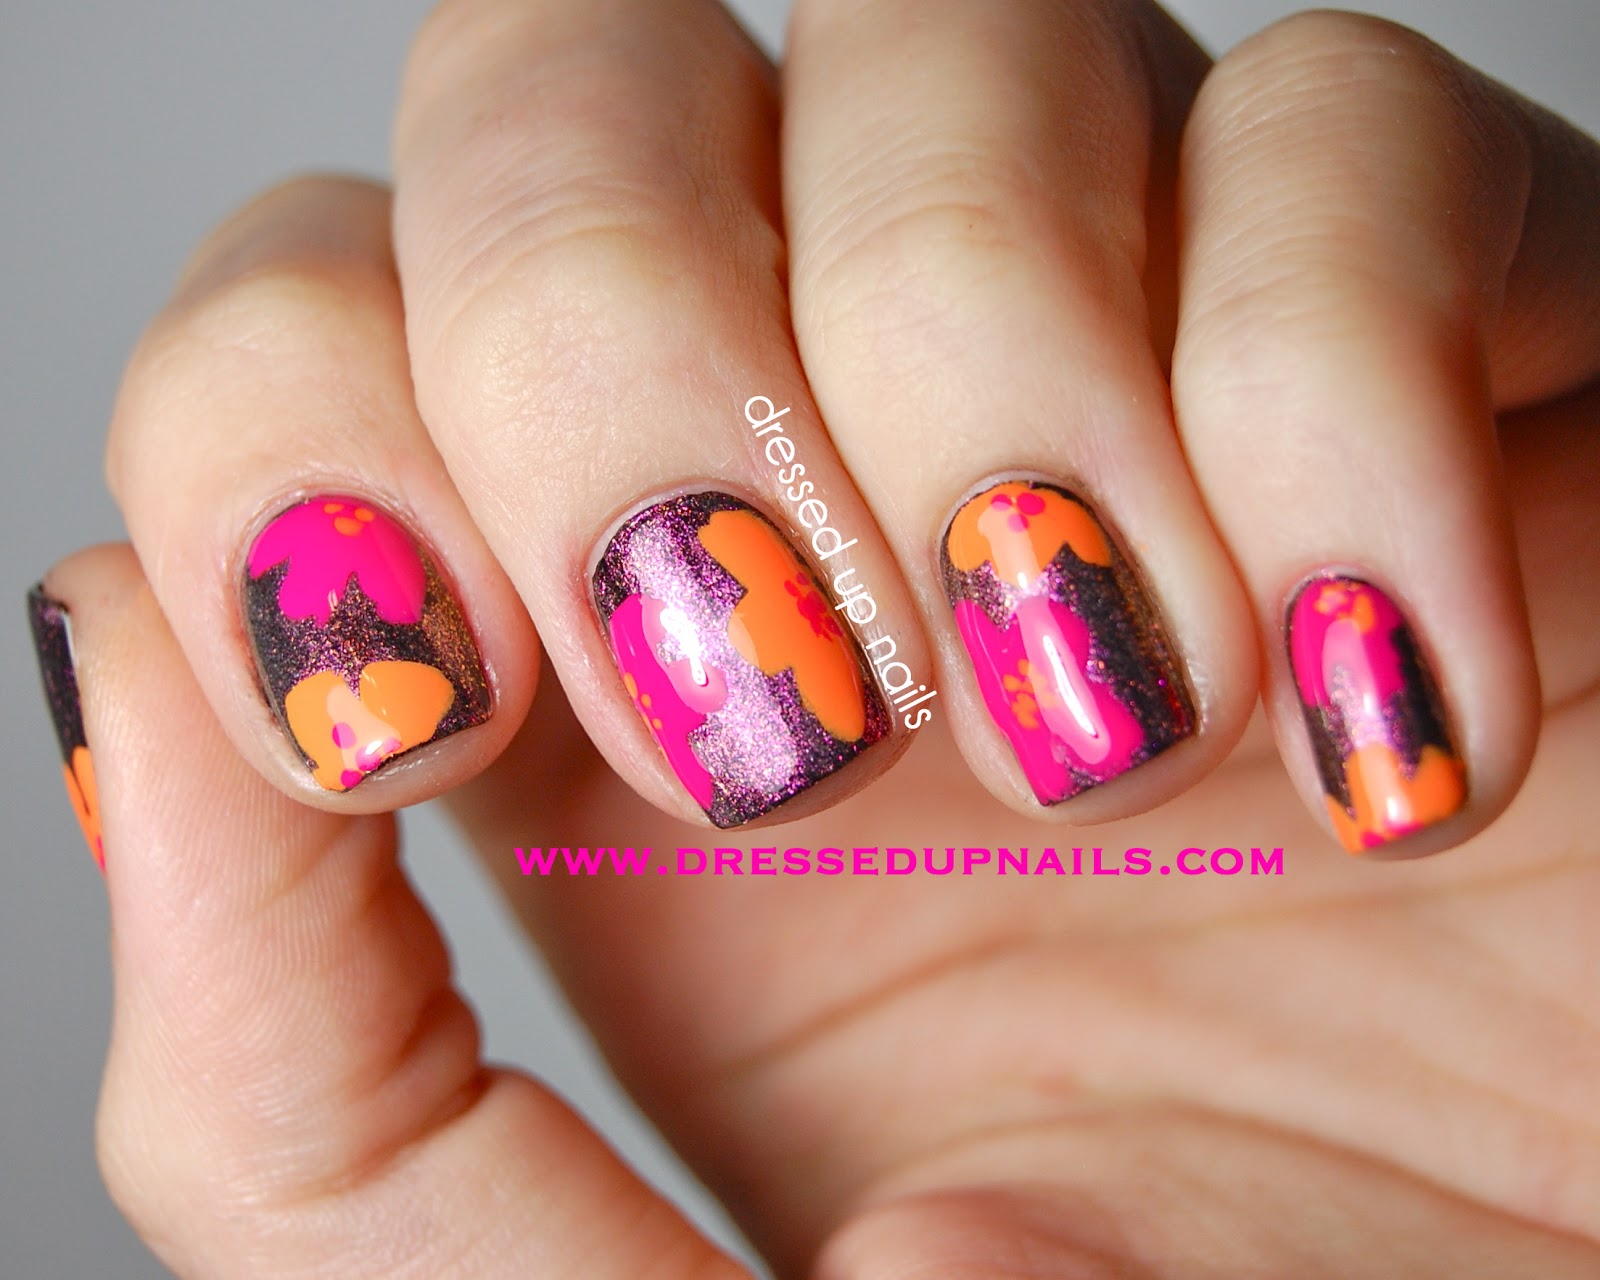
Short nails? No problem! You can still rock a crown nail art design with this tutorial specifically made for those with shorter nails. Learn how to adjust the design to fit your nail length and create a cute and chic crown design that's perfect for everyday wear. Featured keywords: crown nail art, short nails, adjust, cute, chic, everyday wear.5. "Crown Nail Art Tutorial for Short Nails"

5. "Crown Nail Art Tutorial for Short Nails"

If you have long nails, you have more space to play around with when it comes to nail art. This tutorial will show you how to take advantage of that space and create a bold and intricate crown design that's sure to make a statement. Follow the steps and get ready to show off your regal nails. Featured keywords: crown nail art, long nails, space, bold, intricate, statement, regal nails.6. "Crown Nail Art Tutorial for Long Nails"


6. "Crown Nail Art Tutorial for Long Nails"


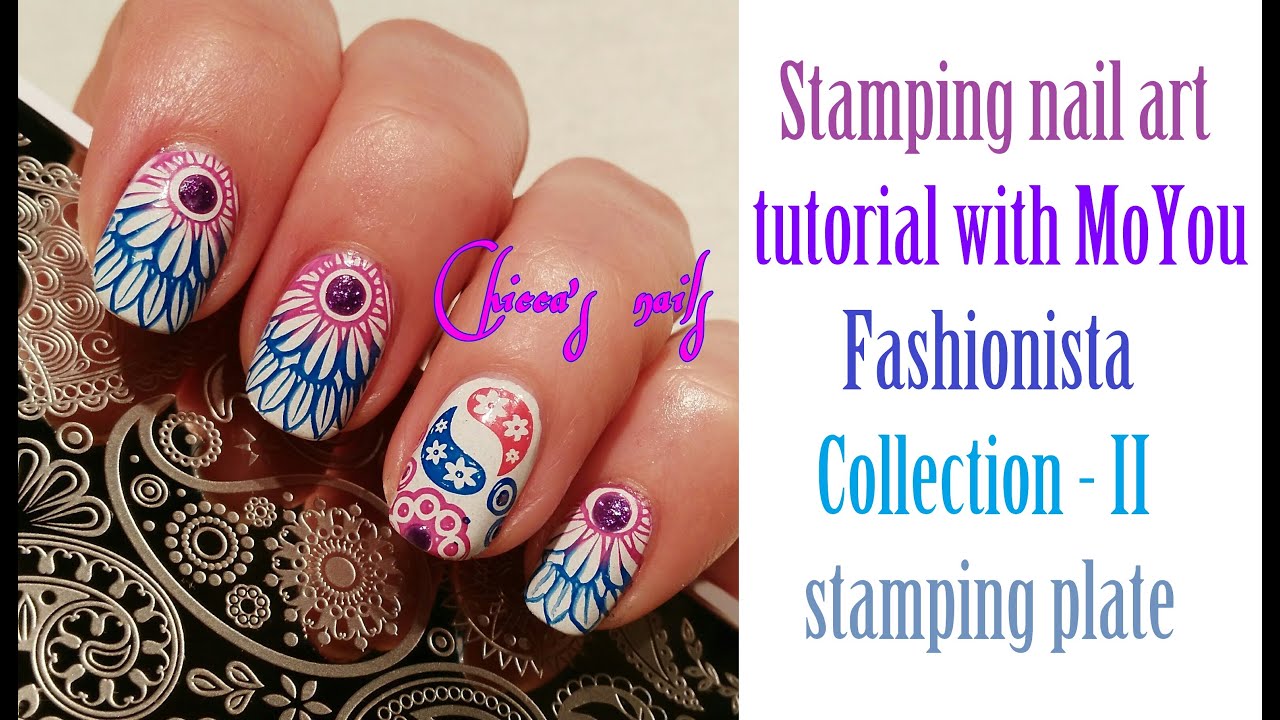
Stamping is a popular nail art technique that can help you create intricate and detailed designs with ease. In this tutorial, we'll show you how to use stamping to create a beautiful crown design on your nails. With the right tools and techniques, you'll have a stunning set of nails fit for a queen. Featured keywords: crown nail art, stamping, intricate, detailed designs, tools, techniques, queen.7. "Crown Nail Art Tutorial with Stamping"


7. "Crown Nail Art Tutorial with Stamping"

Foil is a fun and unique way to add some shine and texture to your nails. This tutorial will show you how to incorporate foil into your crown nail art design, giving it a metallic and regal touch. Perfect for those who want something different and eye-catching. Featured keywords: crown nail art, foil, shine, texture, metallic, regal touch, eye-catching.8. "Crown Nail Art Tutorial with Foil"

8. "Crown Nail Art Tutorial with Foil"
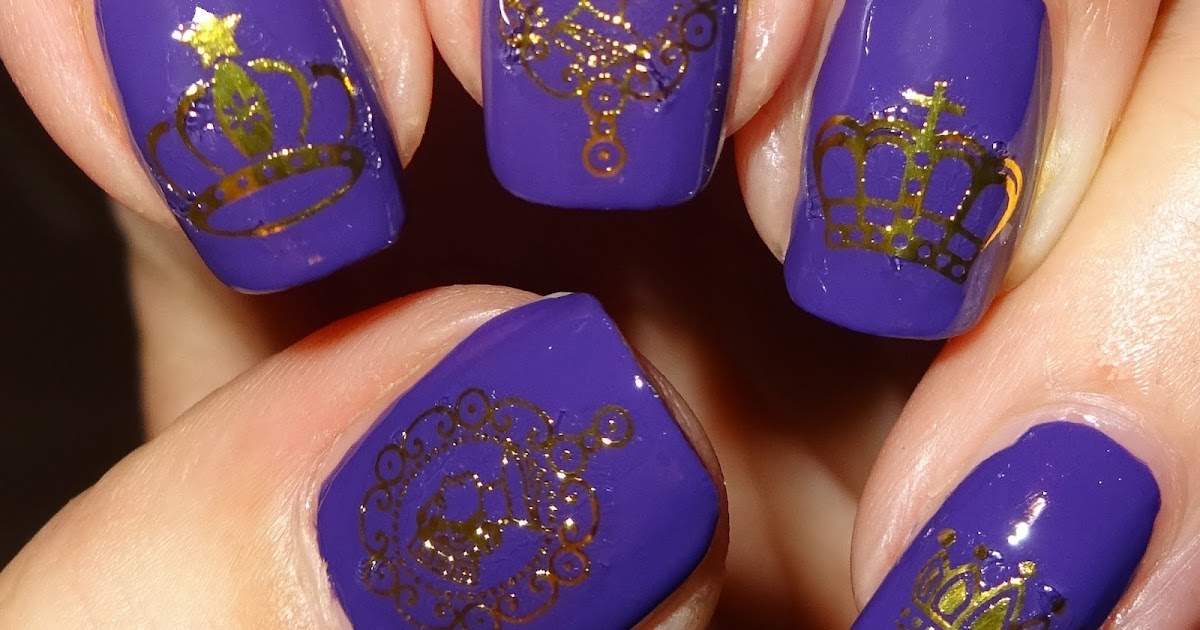
Water decals are a great way to add intricate designs to your nails without having to do it by hand. In this tutorial, we'll show you how to use water decals to create a stunning crown nail art design. It's an easy and mess-free way to achieve a beautiful and detailed design on your nails. Featured keywords: crown nail art, water decals, intricate designs, easy, mess-free, beautiful, detailed design.9. "Crown Nail Art Tutorial with Water Decals"


9. "Crown Nail Art Tutorial with Water Decals"


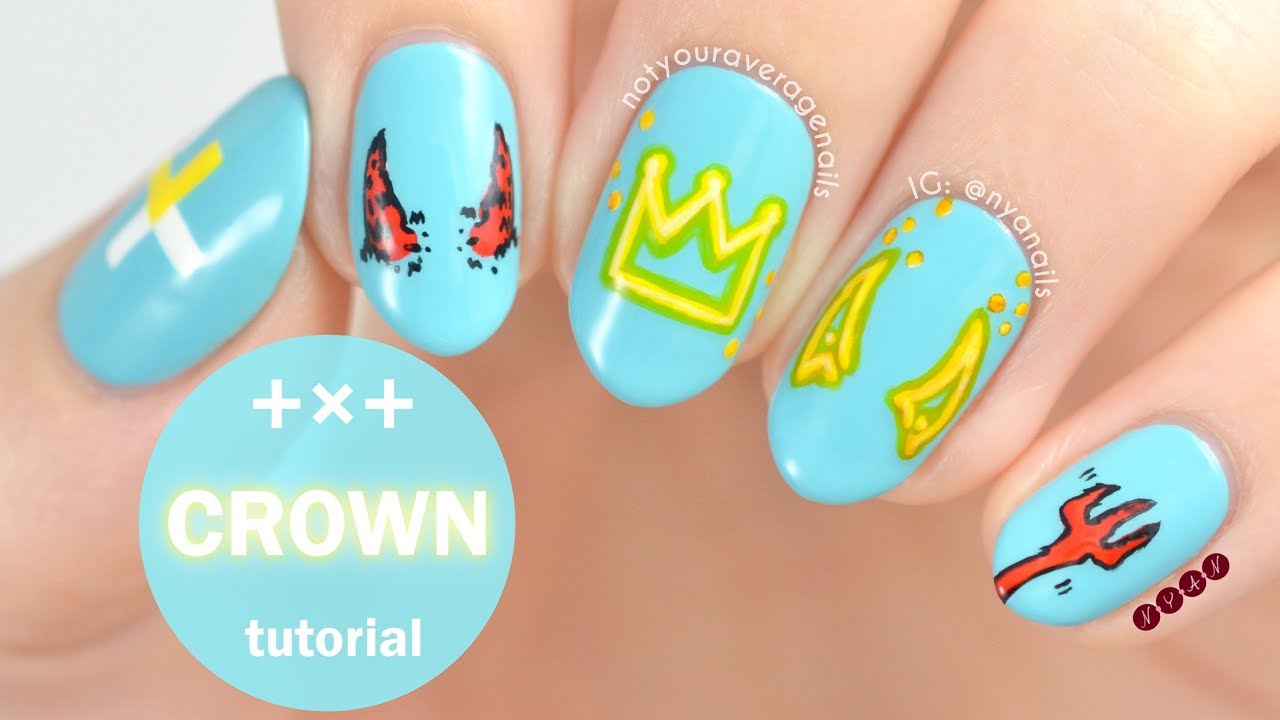
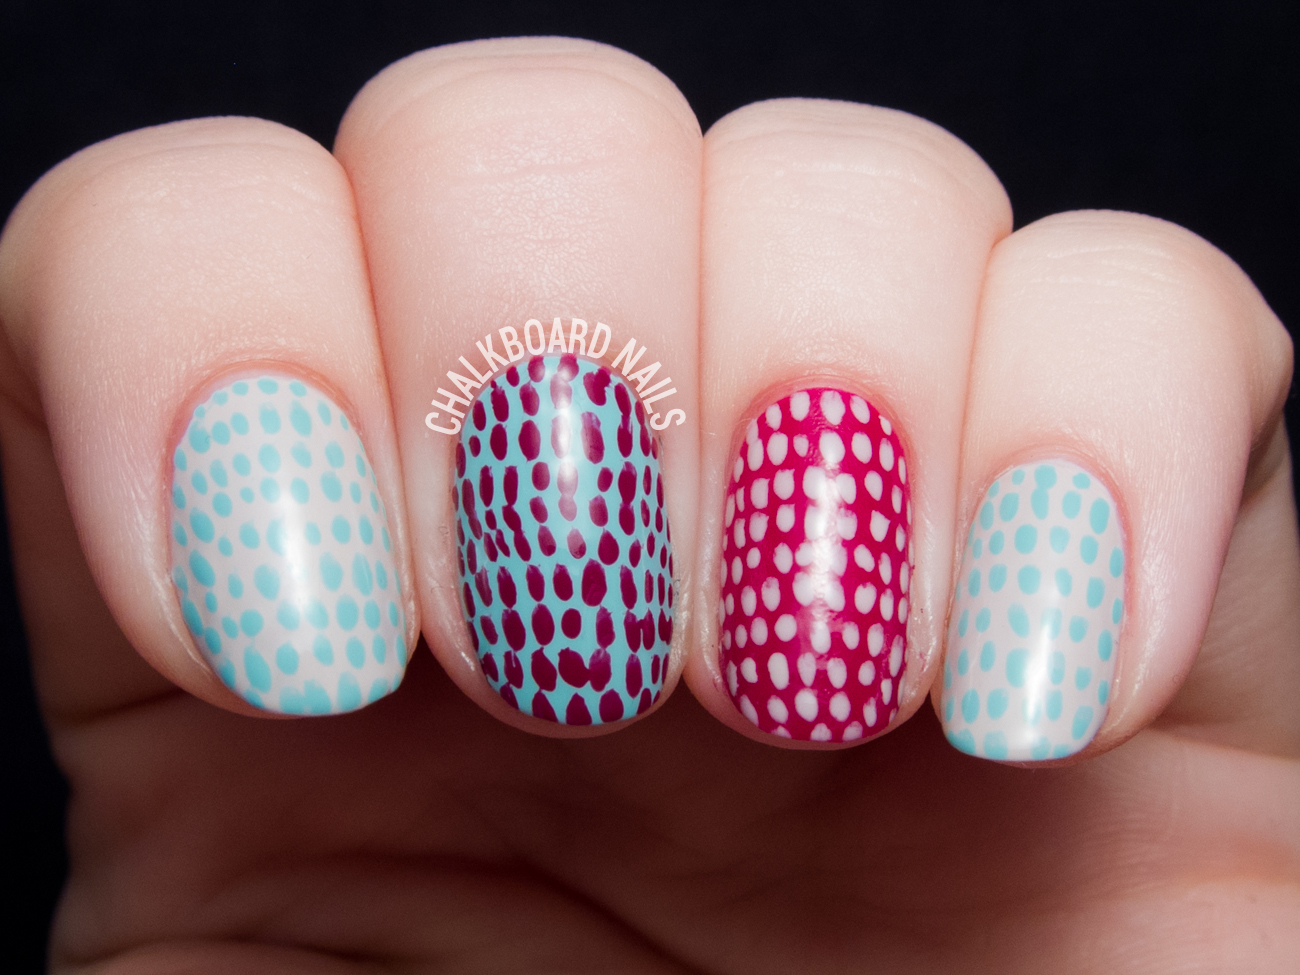
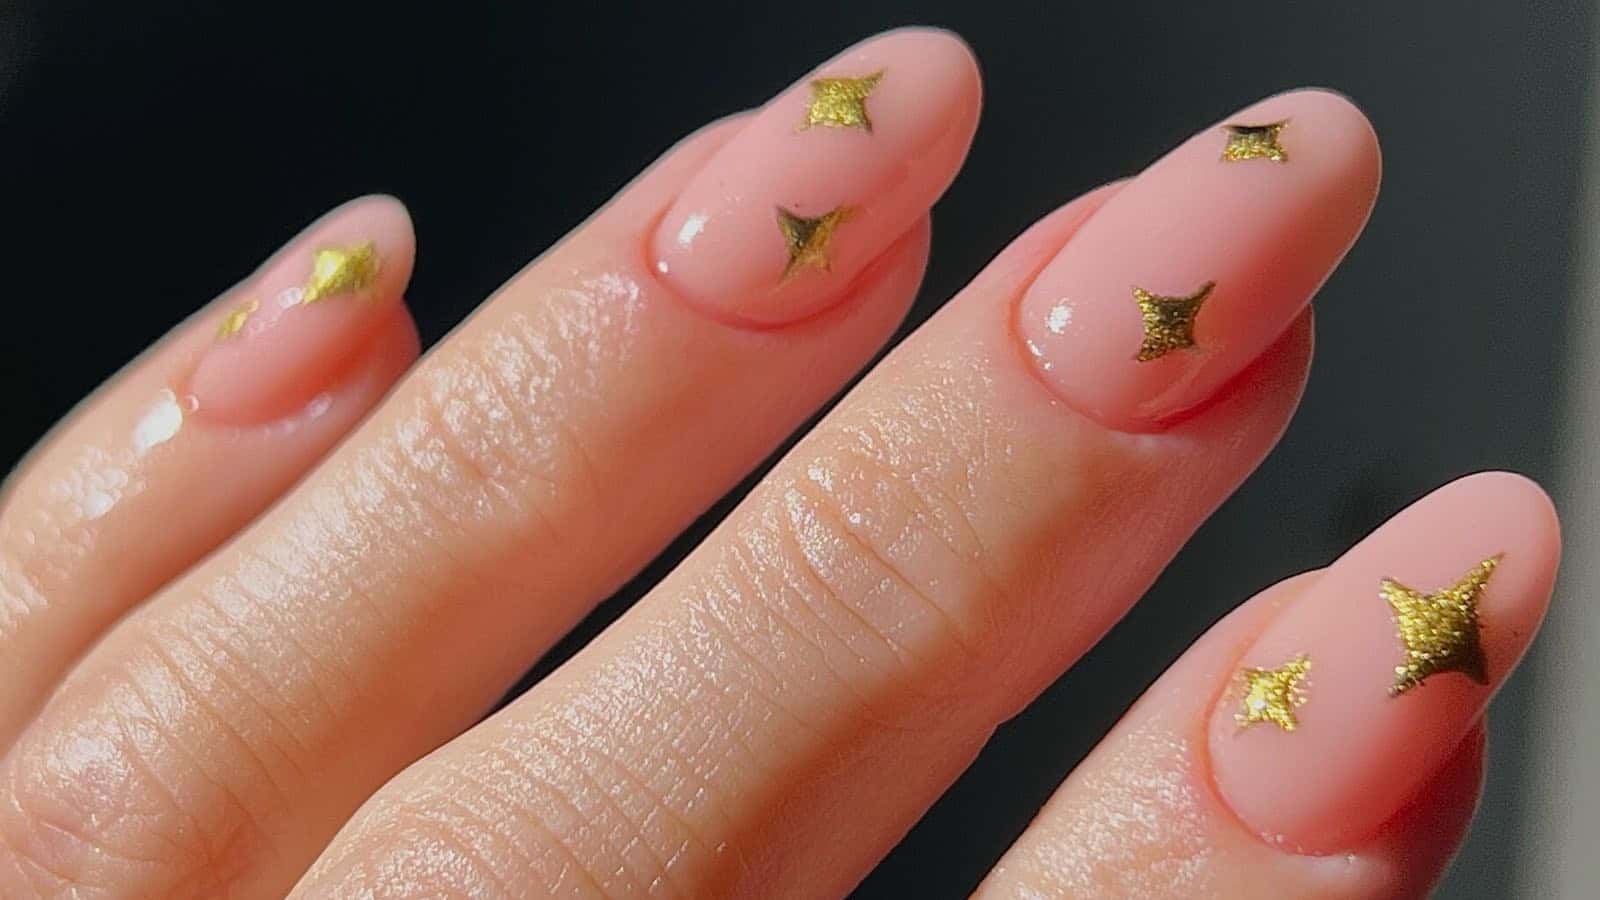
Negative space nail art is a trendy and modern way to create unique designs on your nails. In this tutorial, we'll show you how to use negative space to create a chic and minimalist crown design on your nails. It's a fun and creative way to incorporate the crown trend into your nail art. Featured keywords: crown nail art, negative space, trendy, modern, unique designs, chic, minimalist, creative. 10. "Crown Nail Art Tutorial with Negative Space"


10. "Crown Nail Art Tutorial with Negative Space"
Crown Nail Art Tutorial: A Royal Touch to Your Nails
 Nail art has become a popular form of self-expression and creativity in recent years. From intricate designs to simple patterns, there are endless possibilities when it comes to decorating your nails. One trend that has been gaining popularity is crown nail art. This regal design adds a touch of elegance and glamour to your fingertips. In this tutorial, we will show you how to create your own crown nail art to give your nails a royal touch.
Gather Your Materials
 Before we dive into the tutorial, make sure you have all the necessary materials. You will need:
- A base coat
to protect your nails and create a smooth canvas for your design.
- A light-colored nail polish
to serve as the base color for your design.
- A darker-colored nail polish
for the crown details.
- A thin nail art brush
to create precise lines.
- A dotting tool or toothpick
for adding small details.
- A top coat
to seal and protect your design.
Before we dive into the tutorial, make sure you have all the necessary materials. You will need:
- A base coat
to protect your nails and create a smooth canvas for your design.
- A light-colored nail polish
to serve as the base color for your design.
- A darker-colored nail polish
for the crown details.
- A thin nail art brush
to create precise lines.
- A dotting tool or toothpick
for adding small details.
- A top coat
to seal and protect your design.
Step 1: Prep Your Nails
 Start by applying a base coat to your nails. This will protect your nails from staining and help your design last longer. Once the base coat is dry, apply 2-3 coats of your chosen light-colored nail polish. Make sure each coat is completely dry before moving on to the next step.
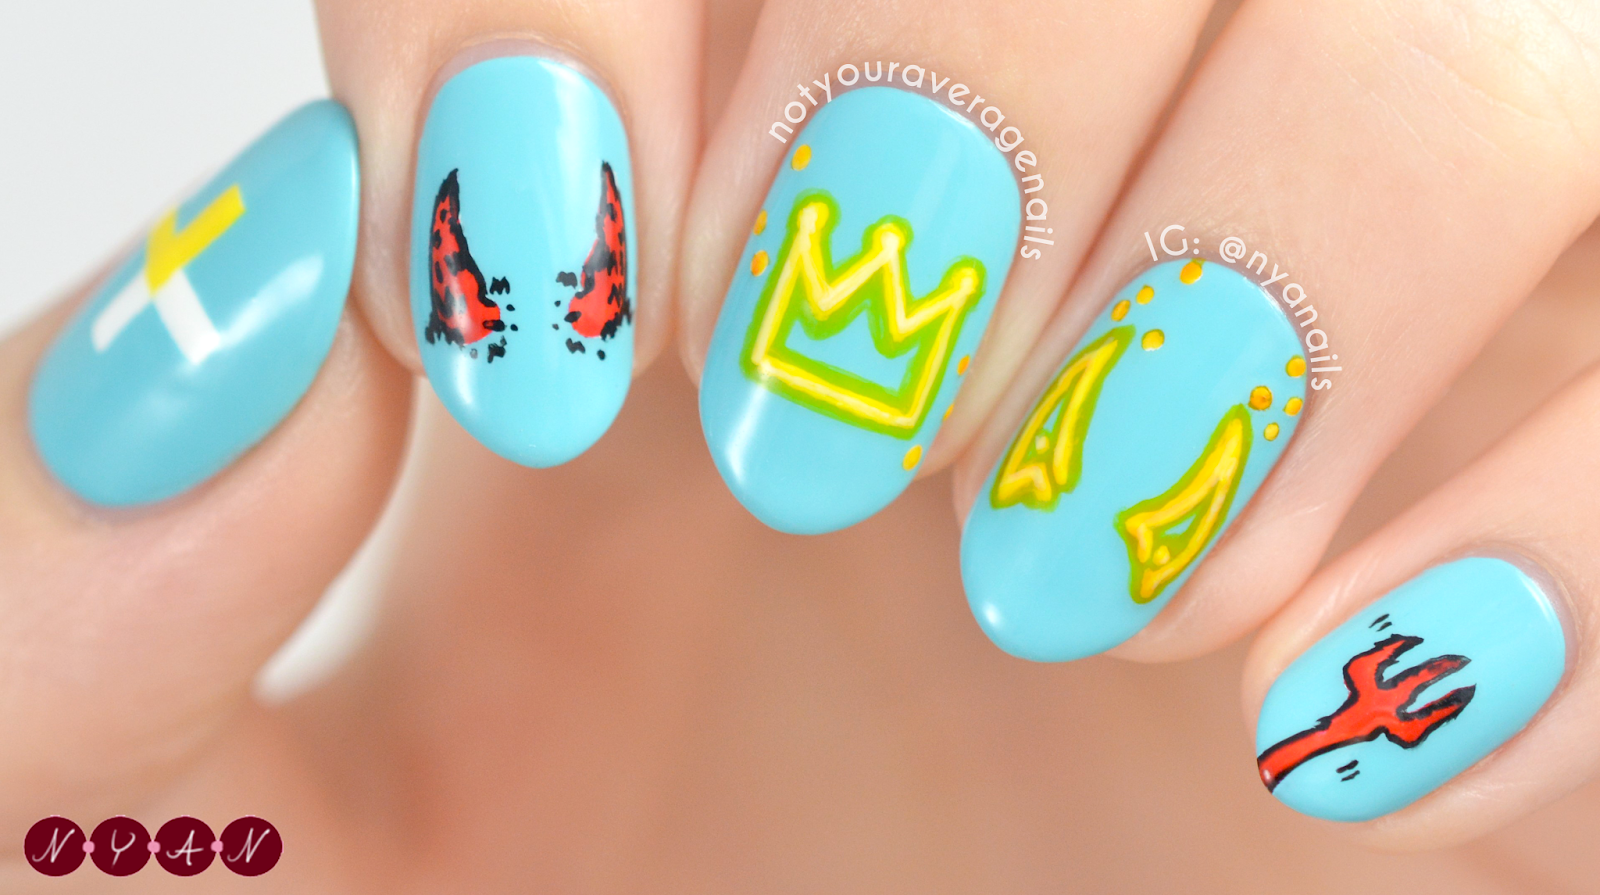
Step 2: Create the Crown Shape
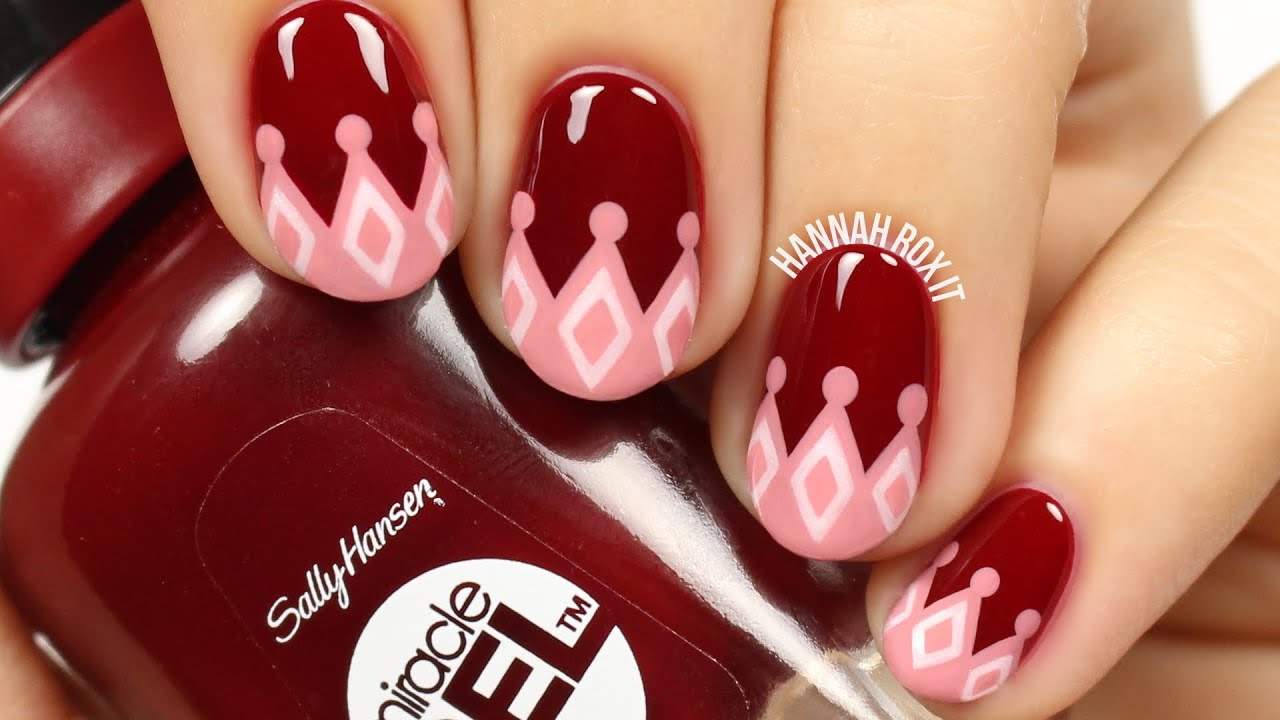
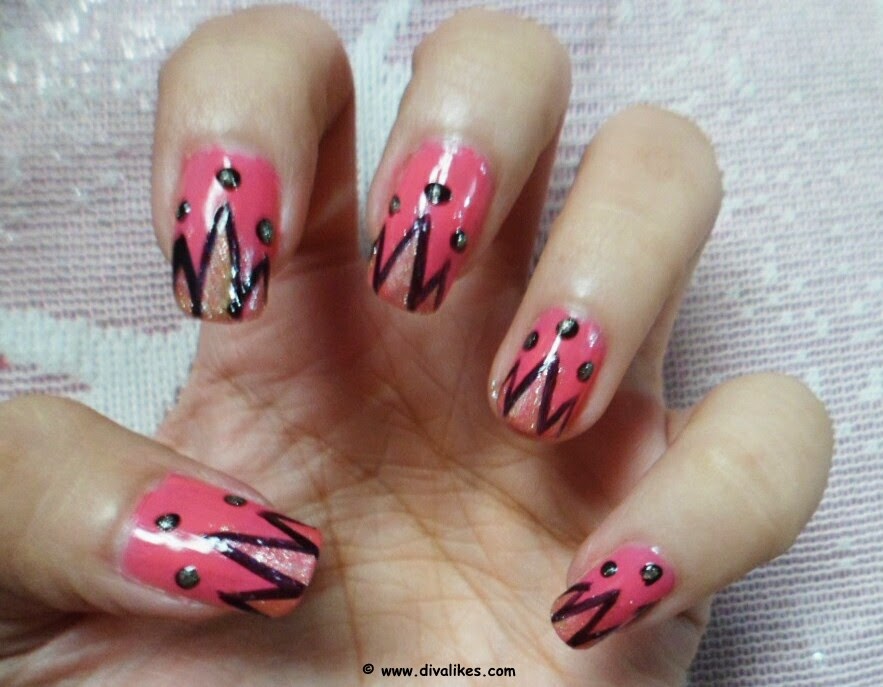 Using your thin nail art brush and the darker-colored nail polish, create a small triangle at the base of your nail. This will serve as the base of your crown. Then, using the same brush, create two curved lines on either side of the triangle, meeting at the top. This will create the crown shape. You can use a toothpick or dotting tool to clean up any mistakes or create more precise lines.
Step 3: Add Details
 To make your crown look more realistic, add small dots or lines along the top of the crown using your dotting tool or toothpick. You can also add tiny gemstones or glitter for some extra sparkle.
Step 4: Seal Your Design
 Once the design is dry, seal it with a top coat to protect it and give it a glossy finish. This will also help your design last longer.
Final Thoughts
 Crown nail art is a fun and elegant way to add a royal touch to your nails. With a little patience and the right tools, you can create your own regal design. So go ahead and give this tutorial a try, and let your nails reign supreme.


