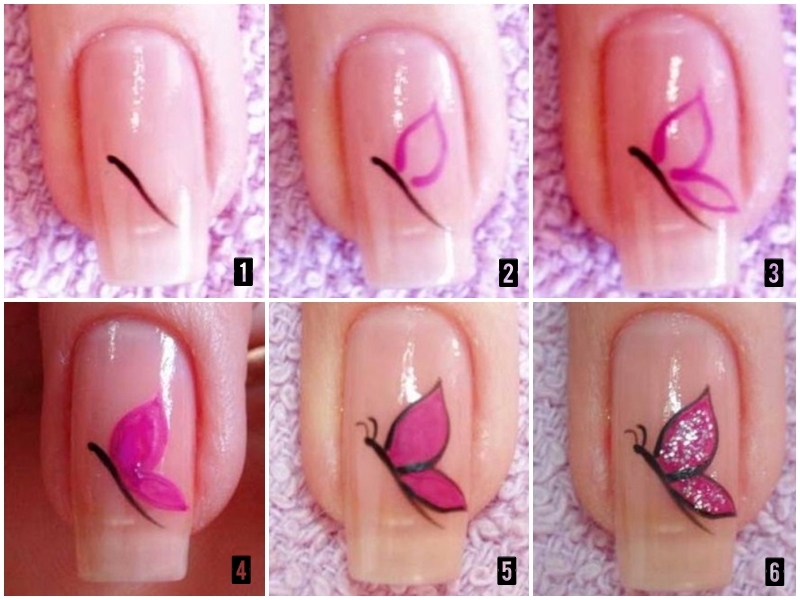
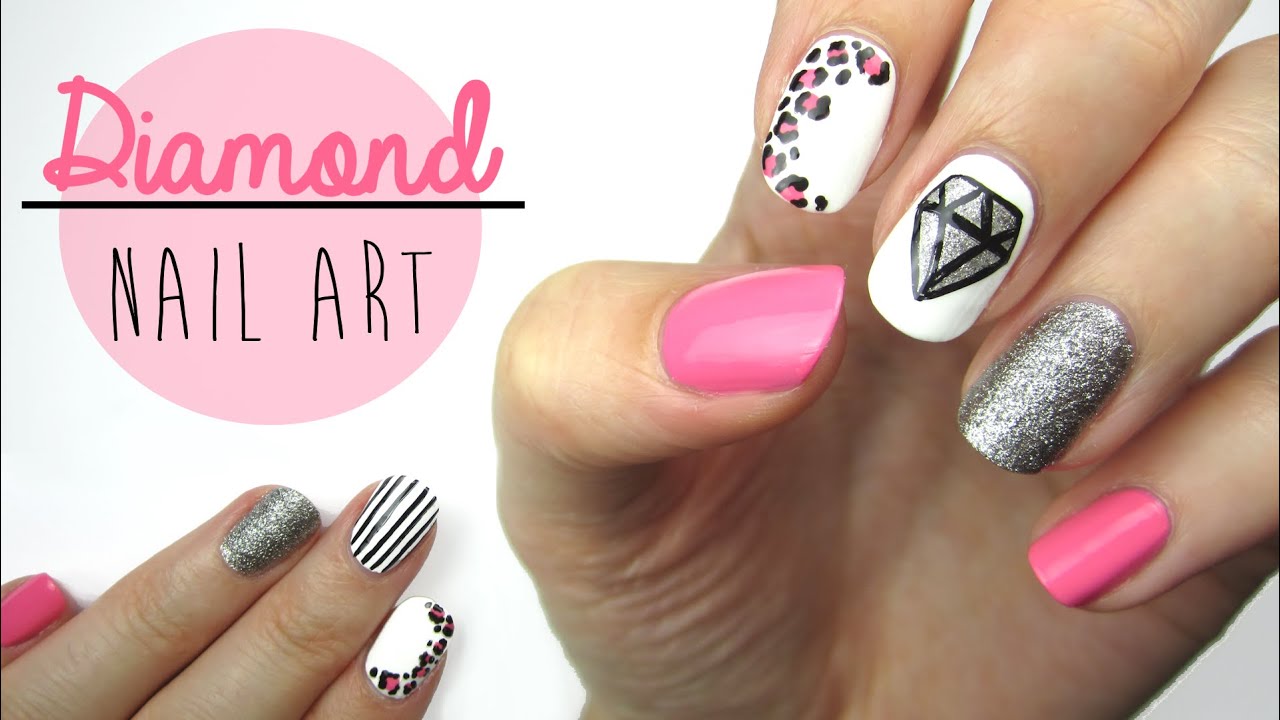
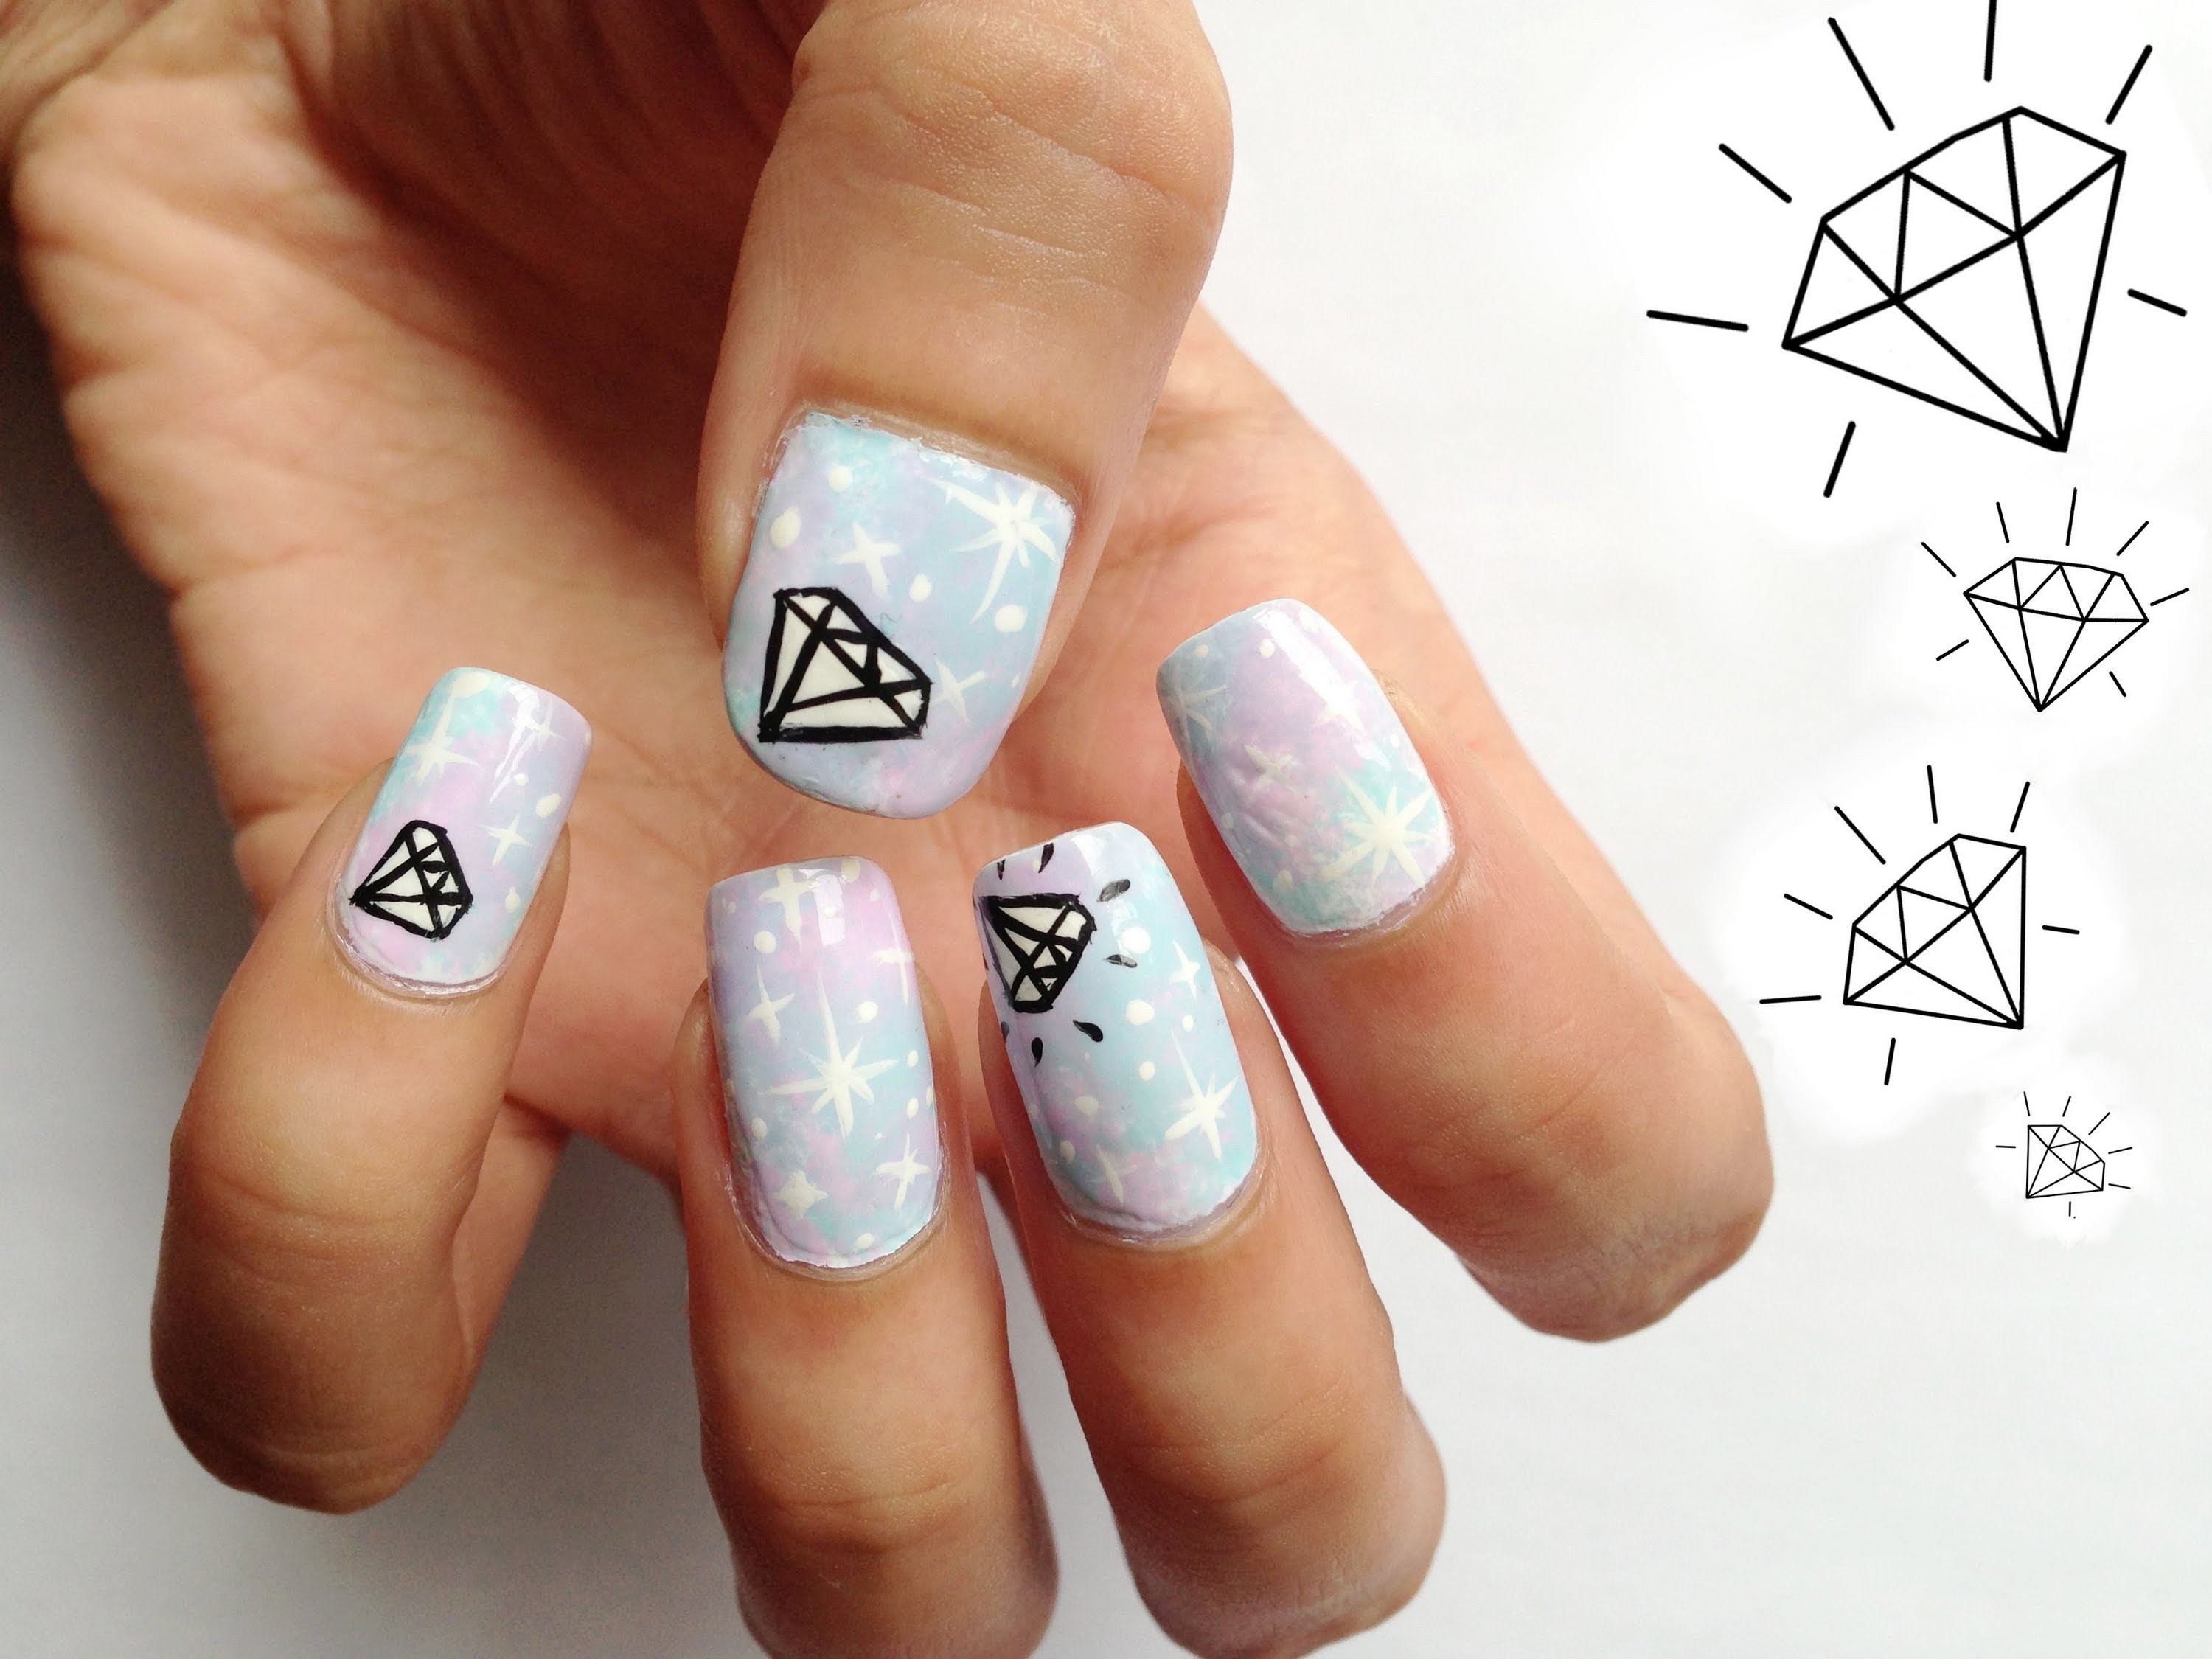
If you're new to nail art and want to add some sparkle to your manicure, this easy diamond nail art tutorial is perfect for you! All you need is a few simple tools and nail polish in your favorite colors to create a dazzling diamond design. Start by painting your nails with a base color of your choice. Light pink or nude shades work well for this design. Then, using a thin nail art brush, draw a small triangle shape at the base of your nail. This will be the center of your diamond. Next, use a silver nail polish to create the outline of the diamond. Make sure to leave some space between the triangle and the outline to give the diamond a 3D effect. Then, fill in the diamond shape with the silver polish. For the finishing touch, add small rhinestones at the corners of the diamond to give it some extra sparkle. Seal in your design with a clear top coat and voila! You now have a stunning diamond nail art design that is perfect for any occasion.1. Easy Diamond Nail Art Tutorial for Beginners

1. Easy Diamond Nail Art Tutorial for Beginners


If you want to take your diamond nail art to the next level, follow this step-by-step tutorial for a more intricate design. Start by painting your nails with a white base color. This will make the diamond stand out more against the background. Using a thin nail art brush, create a thin diagonal line across your nail with silver nail polish. Then, create another diagonal line in the opposite direction to create an "X" shape. This will be the outline of your diamond. Next, fill in the diamond shape with gold nail polish. Make sure to leave some space between the outline and the gold to give the diamond a 3D effect. Then, use a dotting tool to create small silver dots along the edges of the diamond. To add some extra sparkle, use a glitter nail polish to create small lines along the edges of the diamond. Finish off with a clear top coat to seal in your design and give it a glossy finish.2. Step-by-Step Diamond Nail Art Tutorial


2. Step-by-Step Diamond Nail Art Tutorial
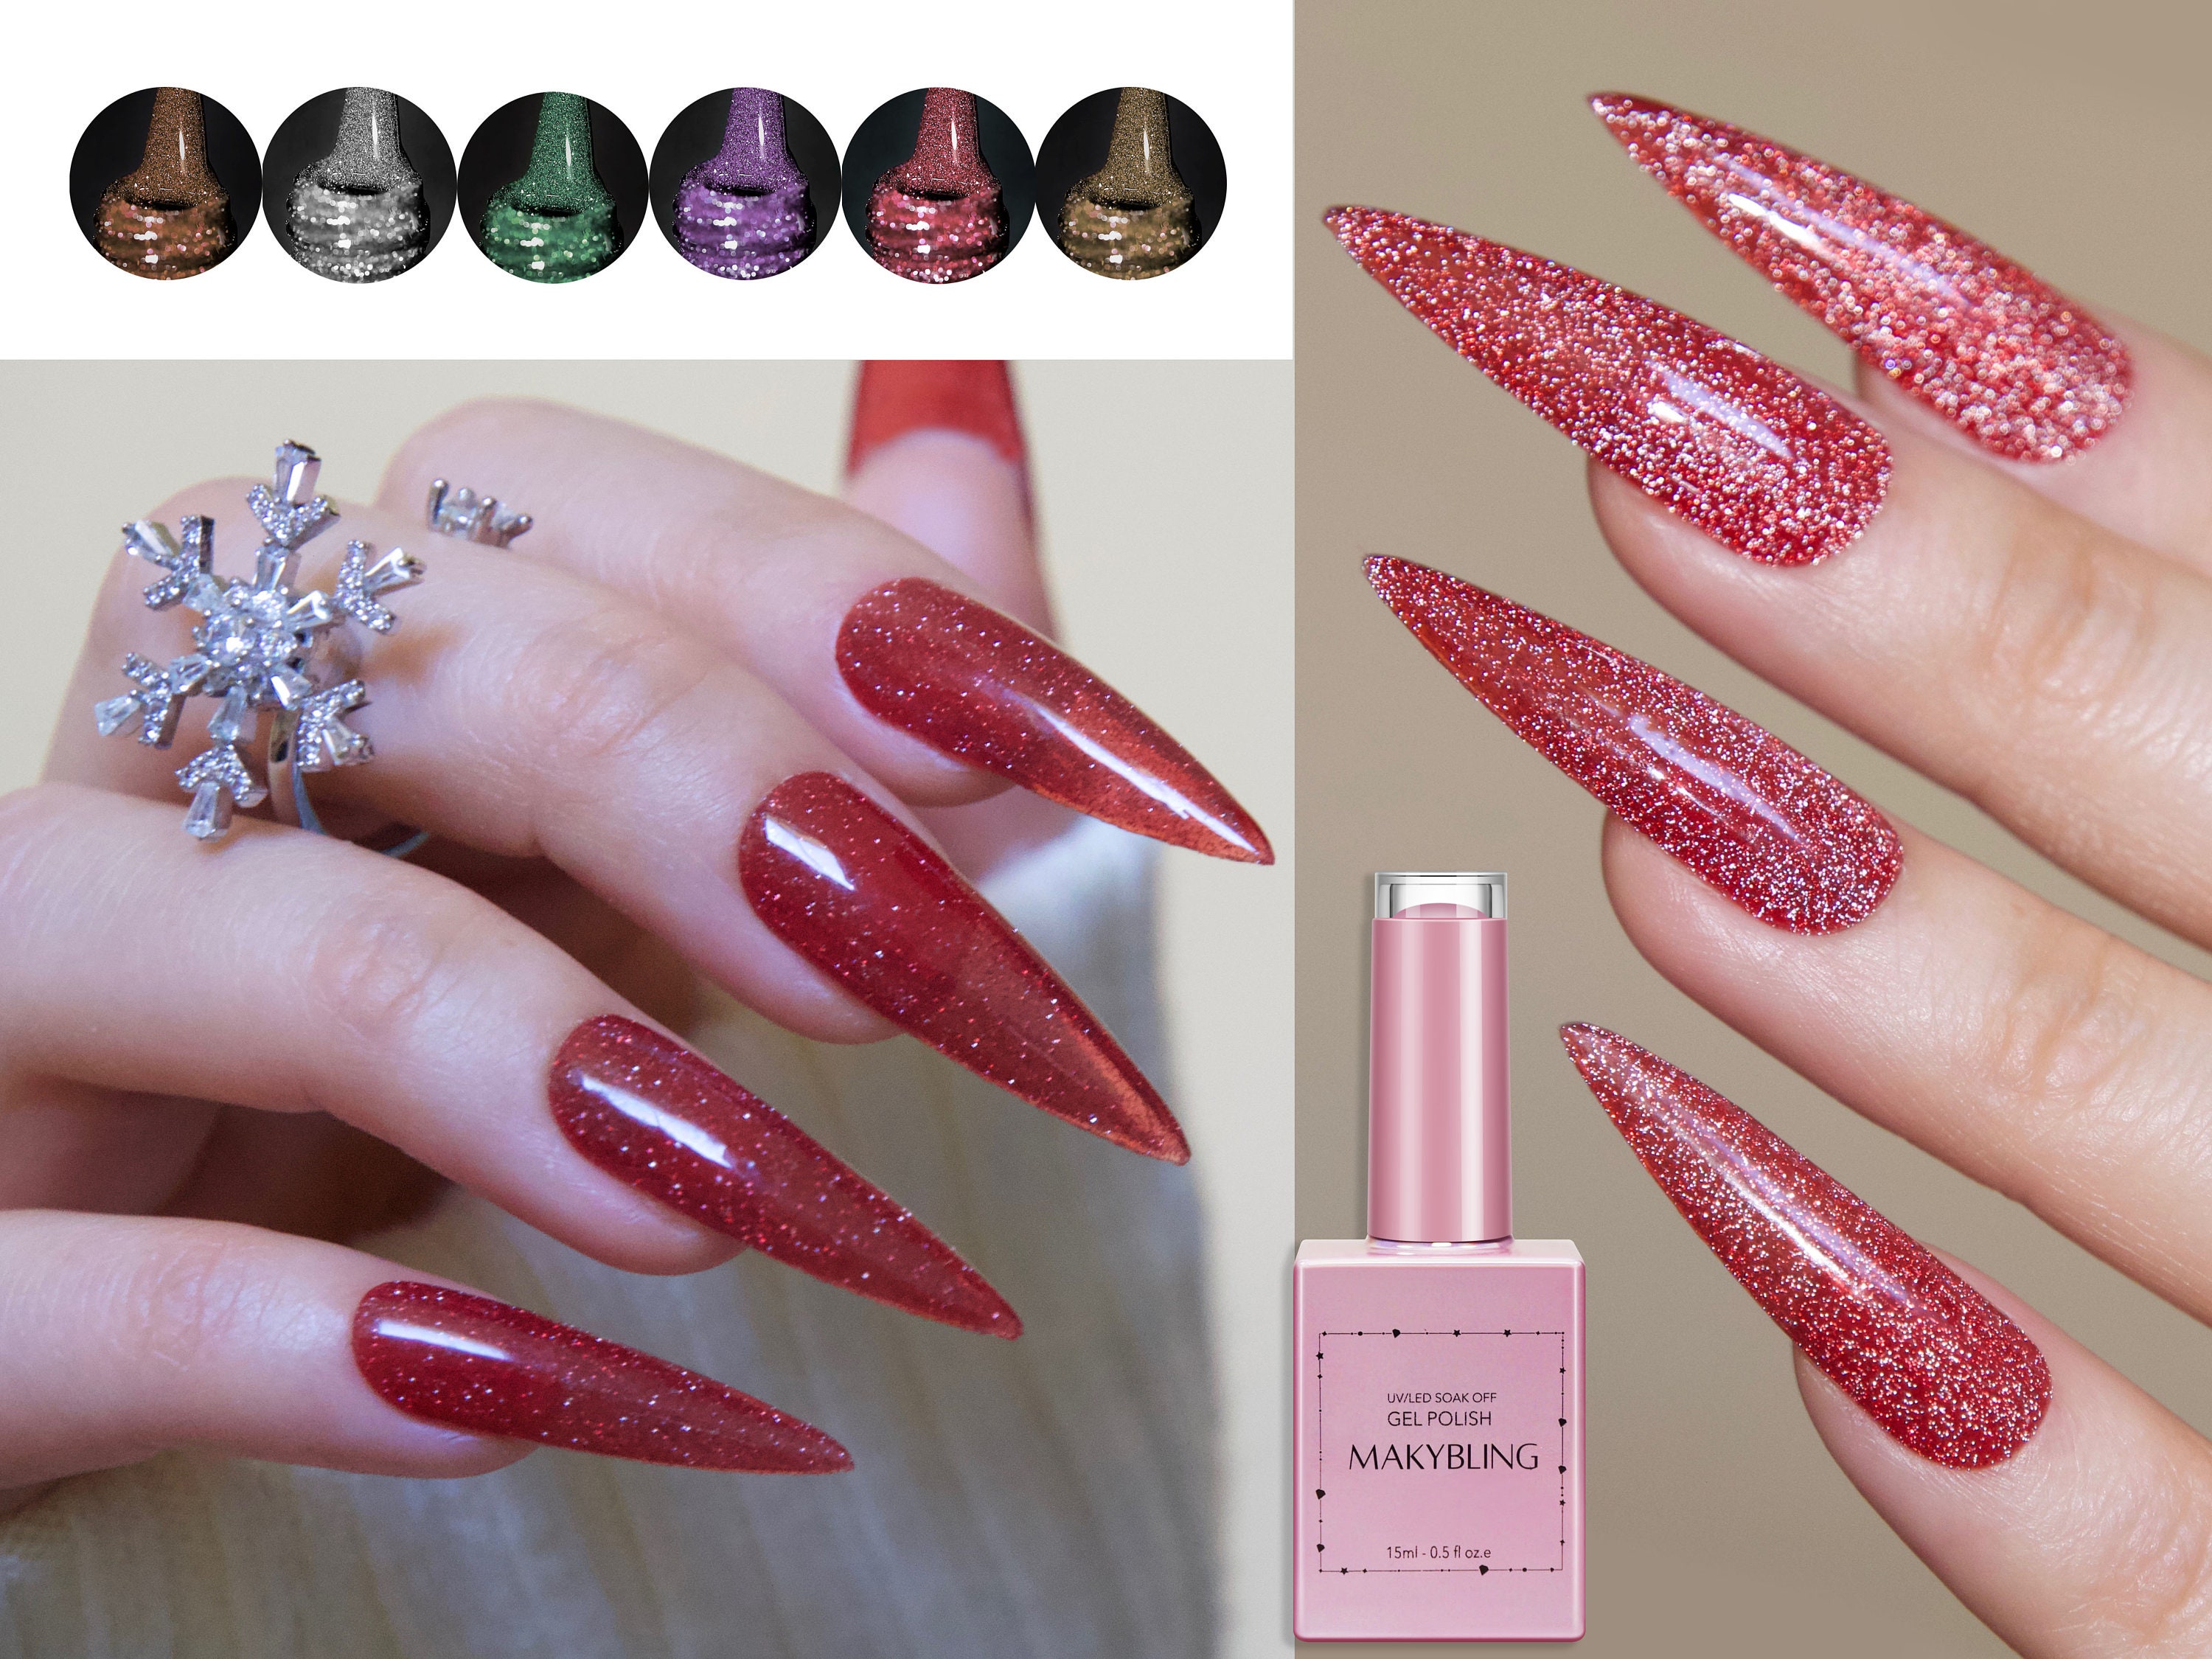
If you love all things sparkly, this glitter diamond nail art tutorial is perfect for you. Start by painting your nails with a dark blue base color. Then, using a thin nail art brush, create a thin diagonal line across your nail with silver nail polish. Next, fill in the diamond shape with clear nail polish and then dip your nail into some silver glitter. Tap off the excess glitter and use a dotting tool to clean up any edges. This will create a textured diamond effect. To add some more sparkle, use a silver glitter nail polish to outline the diamond shape. Finish off with a clear top coat to seal in your design and give it a glossy finish.3. Glitter Diamond Nail Art Tutorial

3. Glitter Diamond Nail Art Tutorial
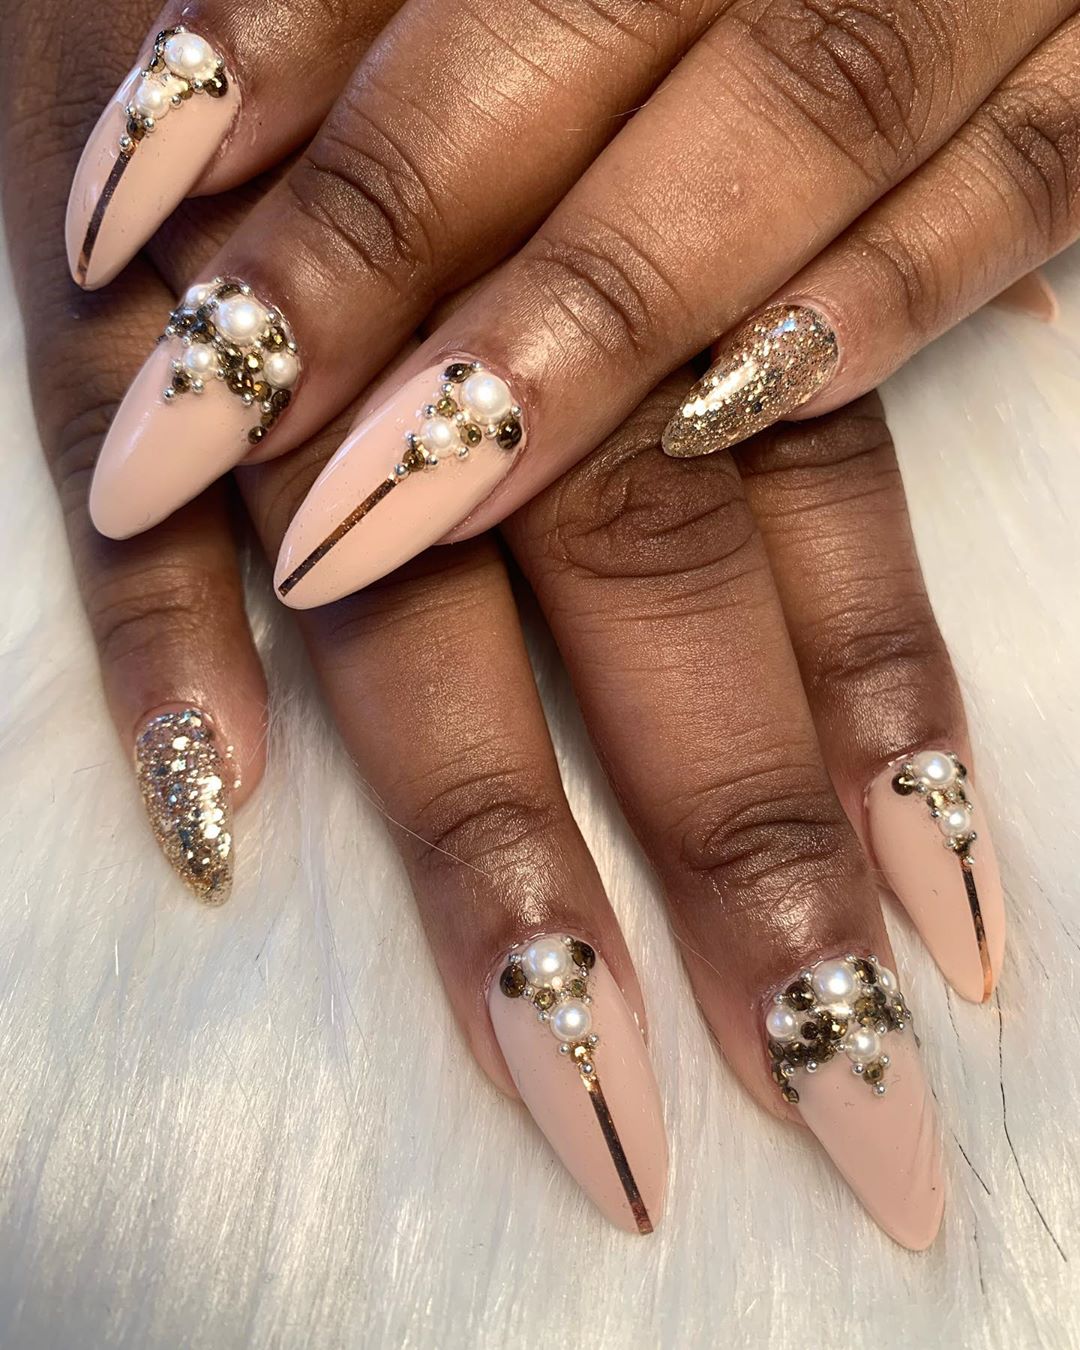
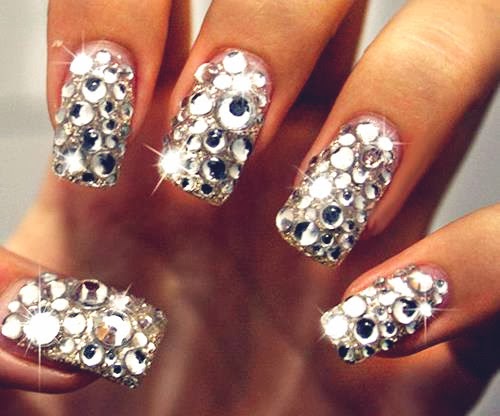
Rhinestones are a popular choice for adding bling to any nail design, and this diamond nail art tutorial is no exception. Start by painting your nails with a black base color. Then, using a thin nail art brush, create a thin diagonal line across your nail with silver nail polish. Next, fill in the diamond shape with clear nail polish and then place small rhinestones along the edges of the diamond. You can use a dotting tool or tweezers to help with placement. Make sure to leave some space between the rhinestones to give the diamond a 3D effect. For an extra touch of glamour, add silver glitter around the rhinestones to make them stand out even more. Finish off with a clear top coat to seal in your design and give it a glossy finish.4. Diamond Nail Art Tutorial with Rhinestones


4. Diamond Nail Art Tutorial with Rhinestones


Short nails can still rock a diamond nail art design, and this tutorial will show you how. Start by painting your nails with a light pink base color. Then, using a thin nail art brush, create a thin diagonal line across your nail with gold nail polish. Next, fill in the diamond shape with clear nail polish and then use a gold glitter nail polish to create small lines along the edges of the diamond. This will give the diamond a textured and sparkly effect. For an added touch, use a pearl nail art stud in the center of the diamond. Finish off with a clear top coat to seal in your design and give it a glossy finish.5. Diamond Nail Art Tutorial for Short Nails


5. Diamond Nail Art Tutorial for Short Nails


Gel polish is known for its long-lasting and shiny finish, making it the perfect choice for a diamond nail art design. Start by painting your nails with a white base color. Then, using a thin nail art brush, create a thin diagonal line across your nail with silver gel polish. Next, fill in the diamond shape with clear gel polish and then use a silver glitter gel polish to create small lines along the edges of the diamond. Cure each layer of gel polish under a UV or LED lamp for the recommended time. For a more 3D effect, use a metallic gold gel polish to create small dots along the edges of the diamond. Finish off with a clear top coat to seal in your design and give it a glossy finish.6. Diamond Nail Art Tutorial with Gel Polish


6. Diamond Nail Art Tutorial with Gel Polish

If you prefer a more classic and sleek look, this black and white diamond nail art tutorial is perfect for you. Start by painting your nails with a black base color. Then, using a thin nail art brush, create a thin diagonal line across your nail with white nail polish. Next, fill in the diamond shape with clear nail polish and then use a white glitter nail polish to create small lines along the edges of the diamond. This will give the diamond a textured effect. To add some more interest to the design, use a black nail polish to create small dots along the edges of the diamond. Finish off with a clear top coat to seal in your design and give it a glossy finish.7. Black and White Diamond Nail Art Tutorial


7. Black and White Diamond Nail Art Tutorial

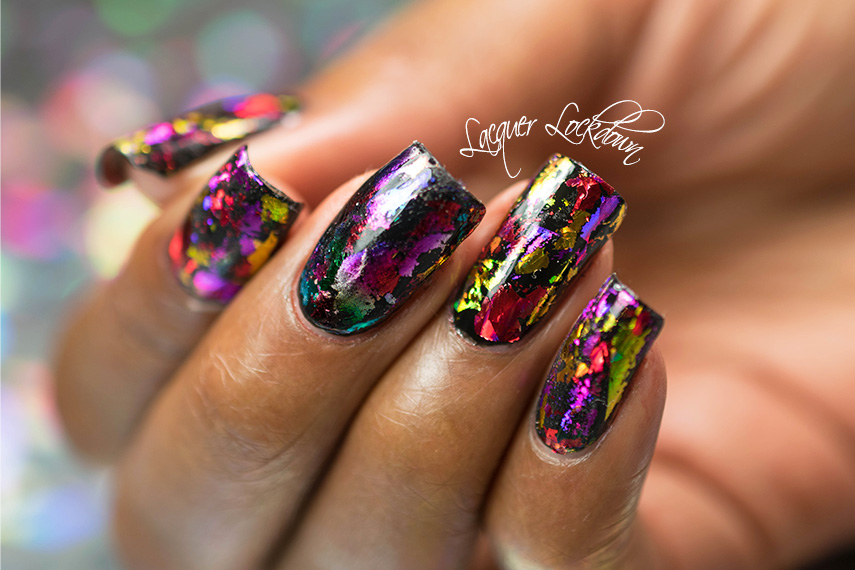
Foil is a fun and unique way to add some metallic shine to your diamond nail art design. Start by painting your nails with a light blue base color. Then, using a thin nail art brush, create a thin diagonal line across your nail with silver nail polish. Next, fill in the diamond shape with clear nail polish and then place a silver foil on top of the diamond. Use your finger or a soft brush to press down and transfer the foil onto your nail. This will create a shattered glass effect. For a more dramatic look, use a black nail polish to create small lines along the edges of the diamond. Finish off with a clear top coat to seal in your design and give it a glossy finish.8. Diamond Nail Art Tutorial with Foil


8. Diamond Nail Art Tutorial with Foil

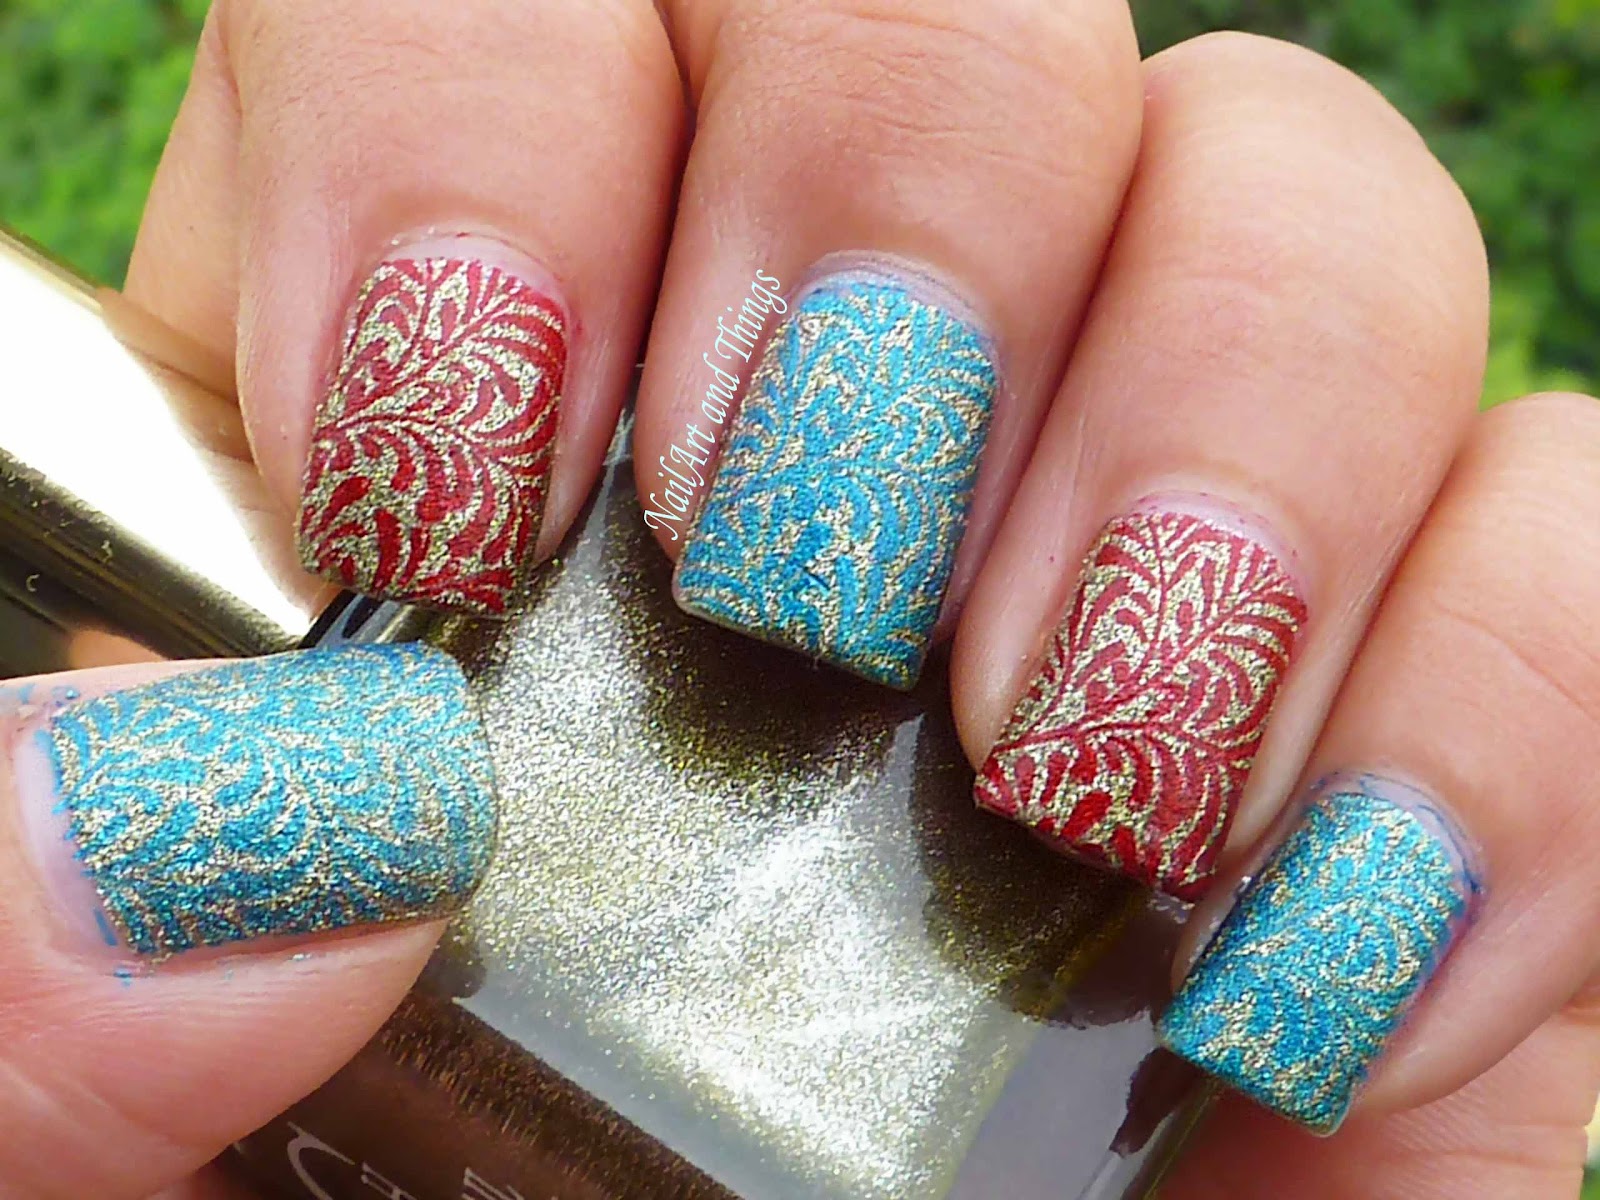
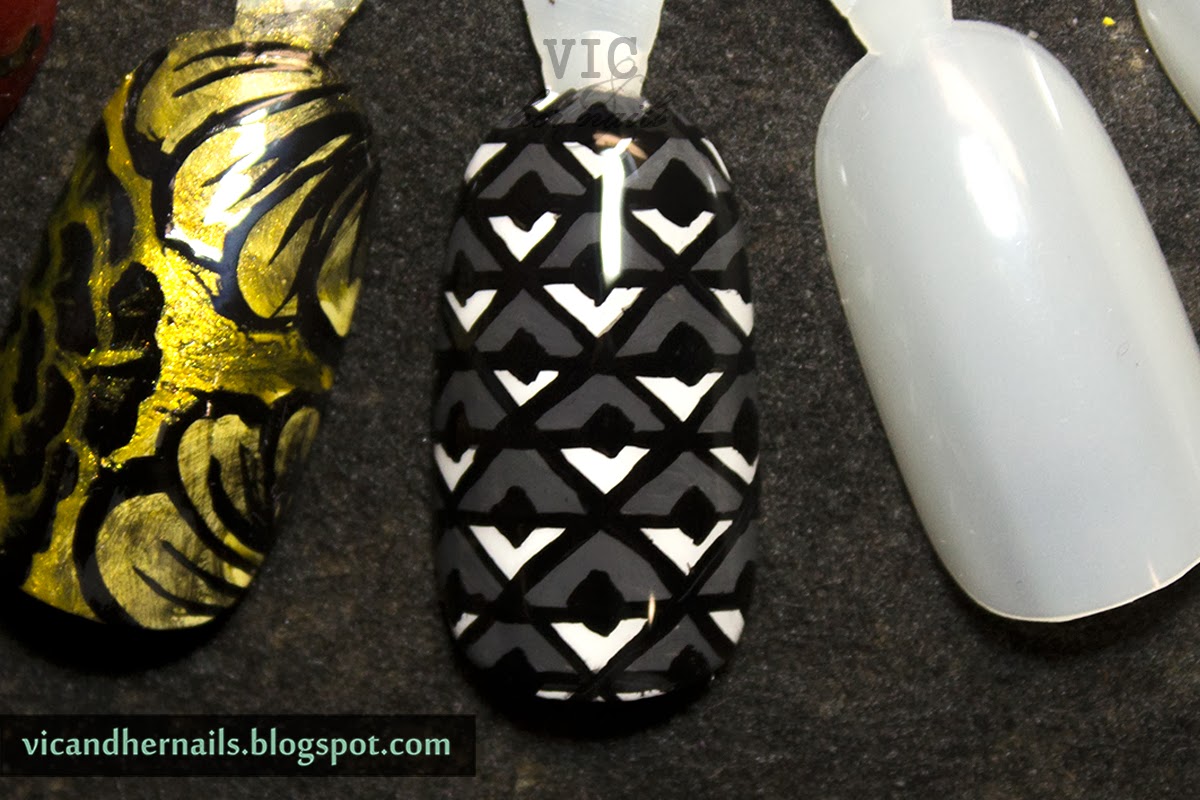
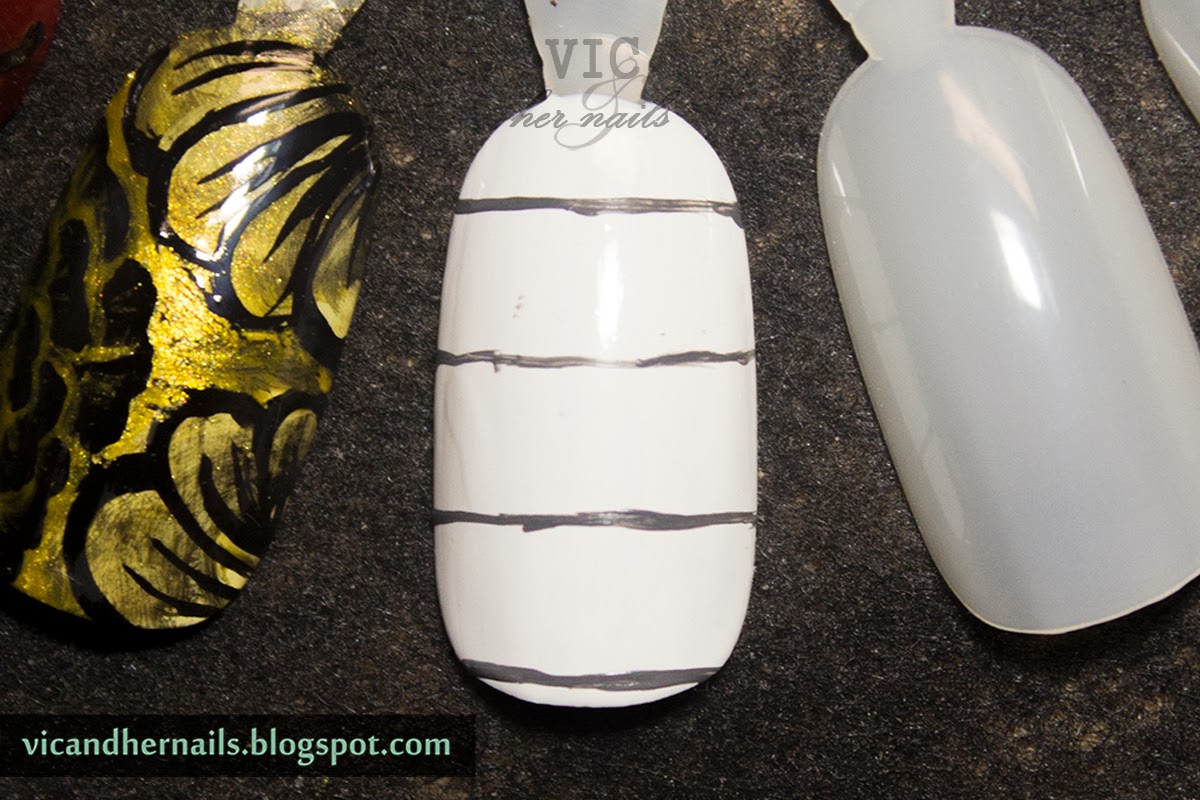
Stamping is a quick and easy way to create intricate designs on your nails, including diamonds. Start by painting your nails with a light purple base color. Then, use a stamping plate with a diamond design and stamp it onto your nails using a black stamping polish. Next, use a dotting tool or nail art brush to fill in the diamond shape with silver nail polish. This will give the diamond some dimension and make it stand out more. Finish off with a clear top coat to seal in your design and give it a glossy finish.9. Diamond Nail Art Tutorial with Stamping

9. Diamond Nail Art Tutorial with Stamping

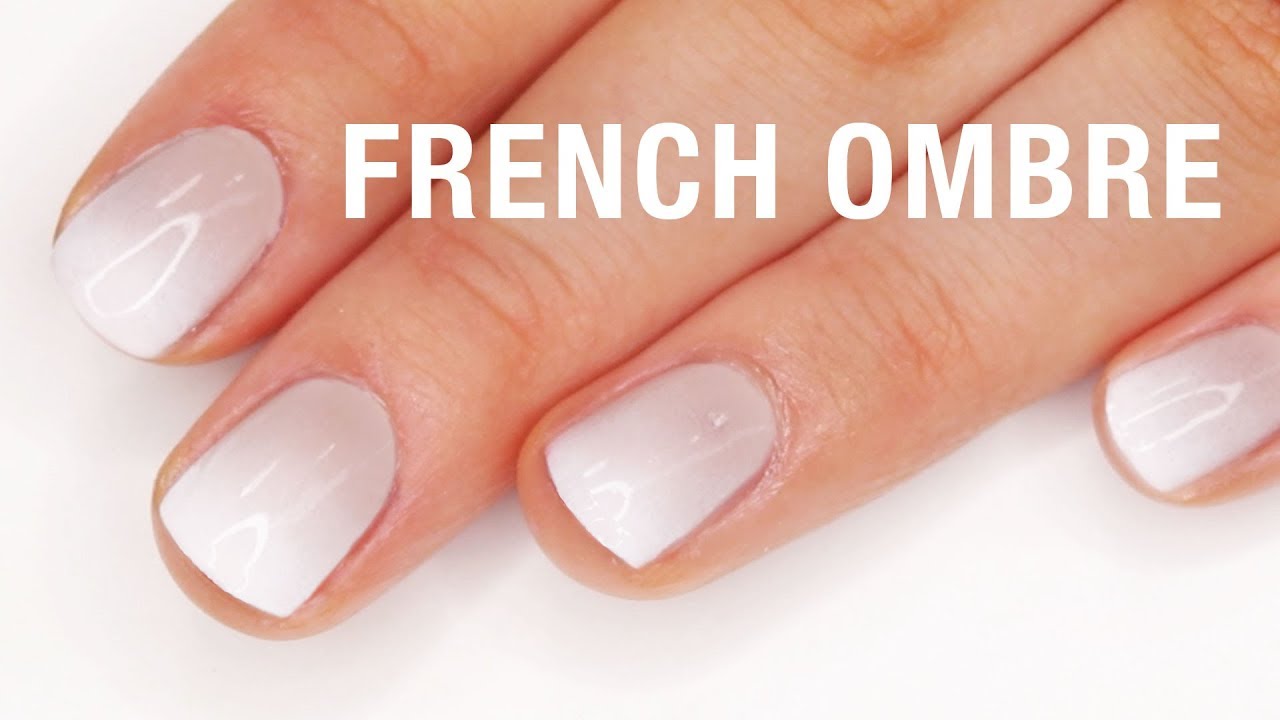
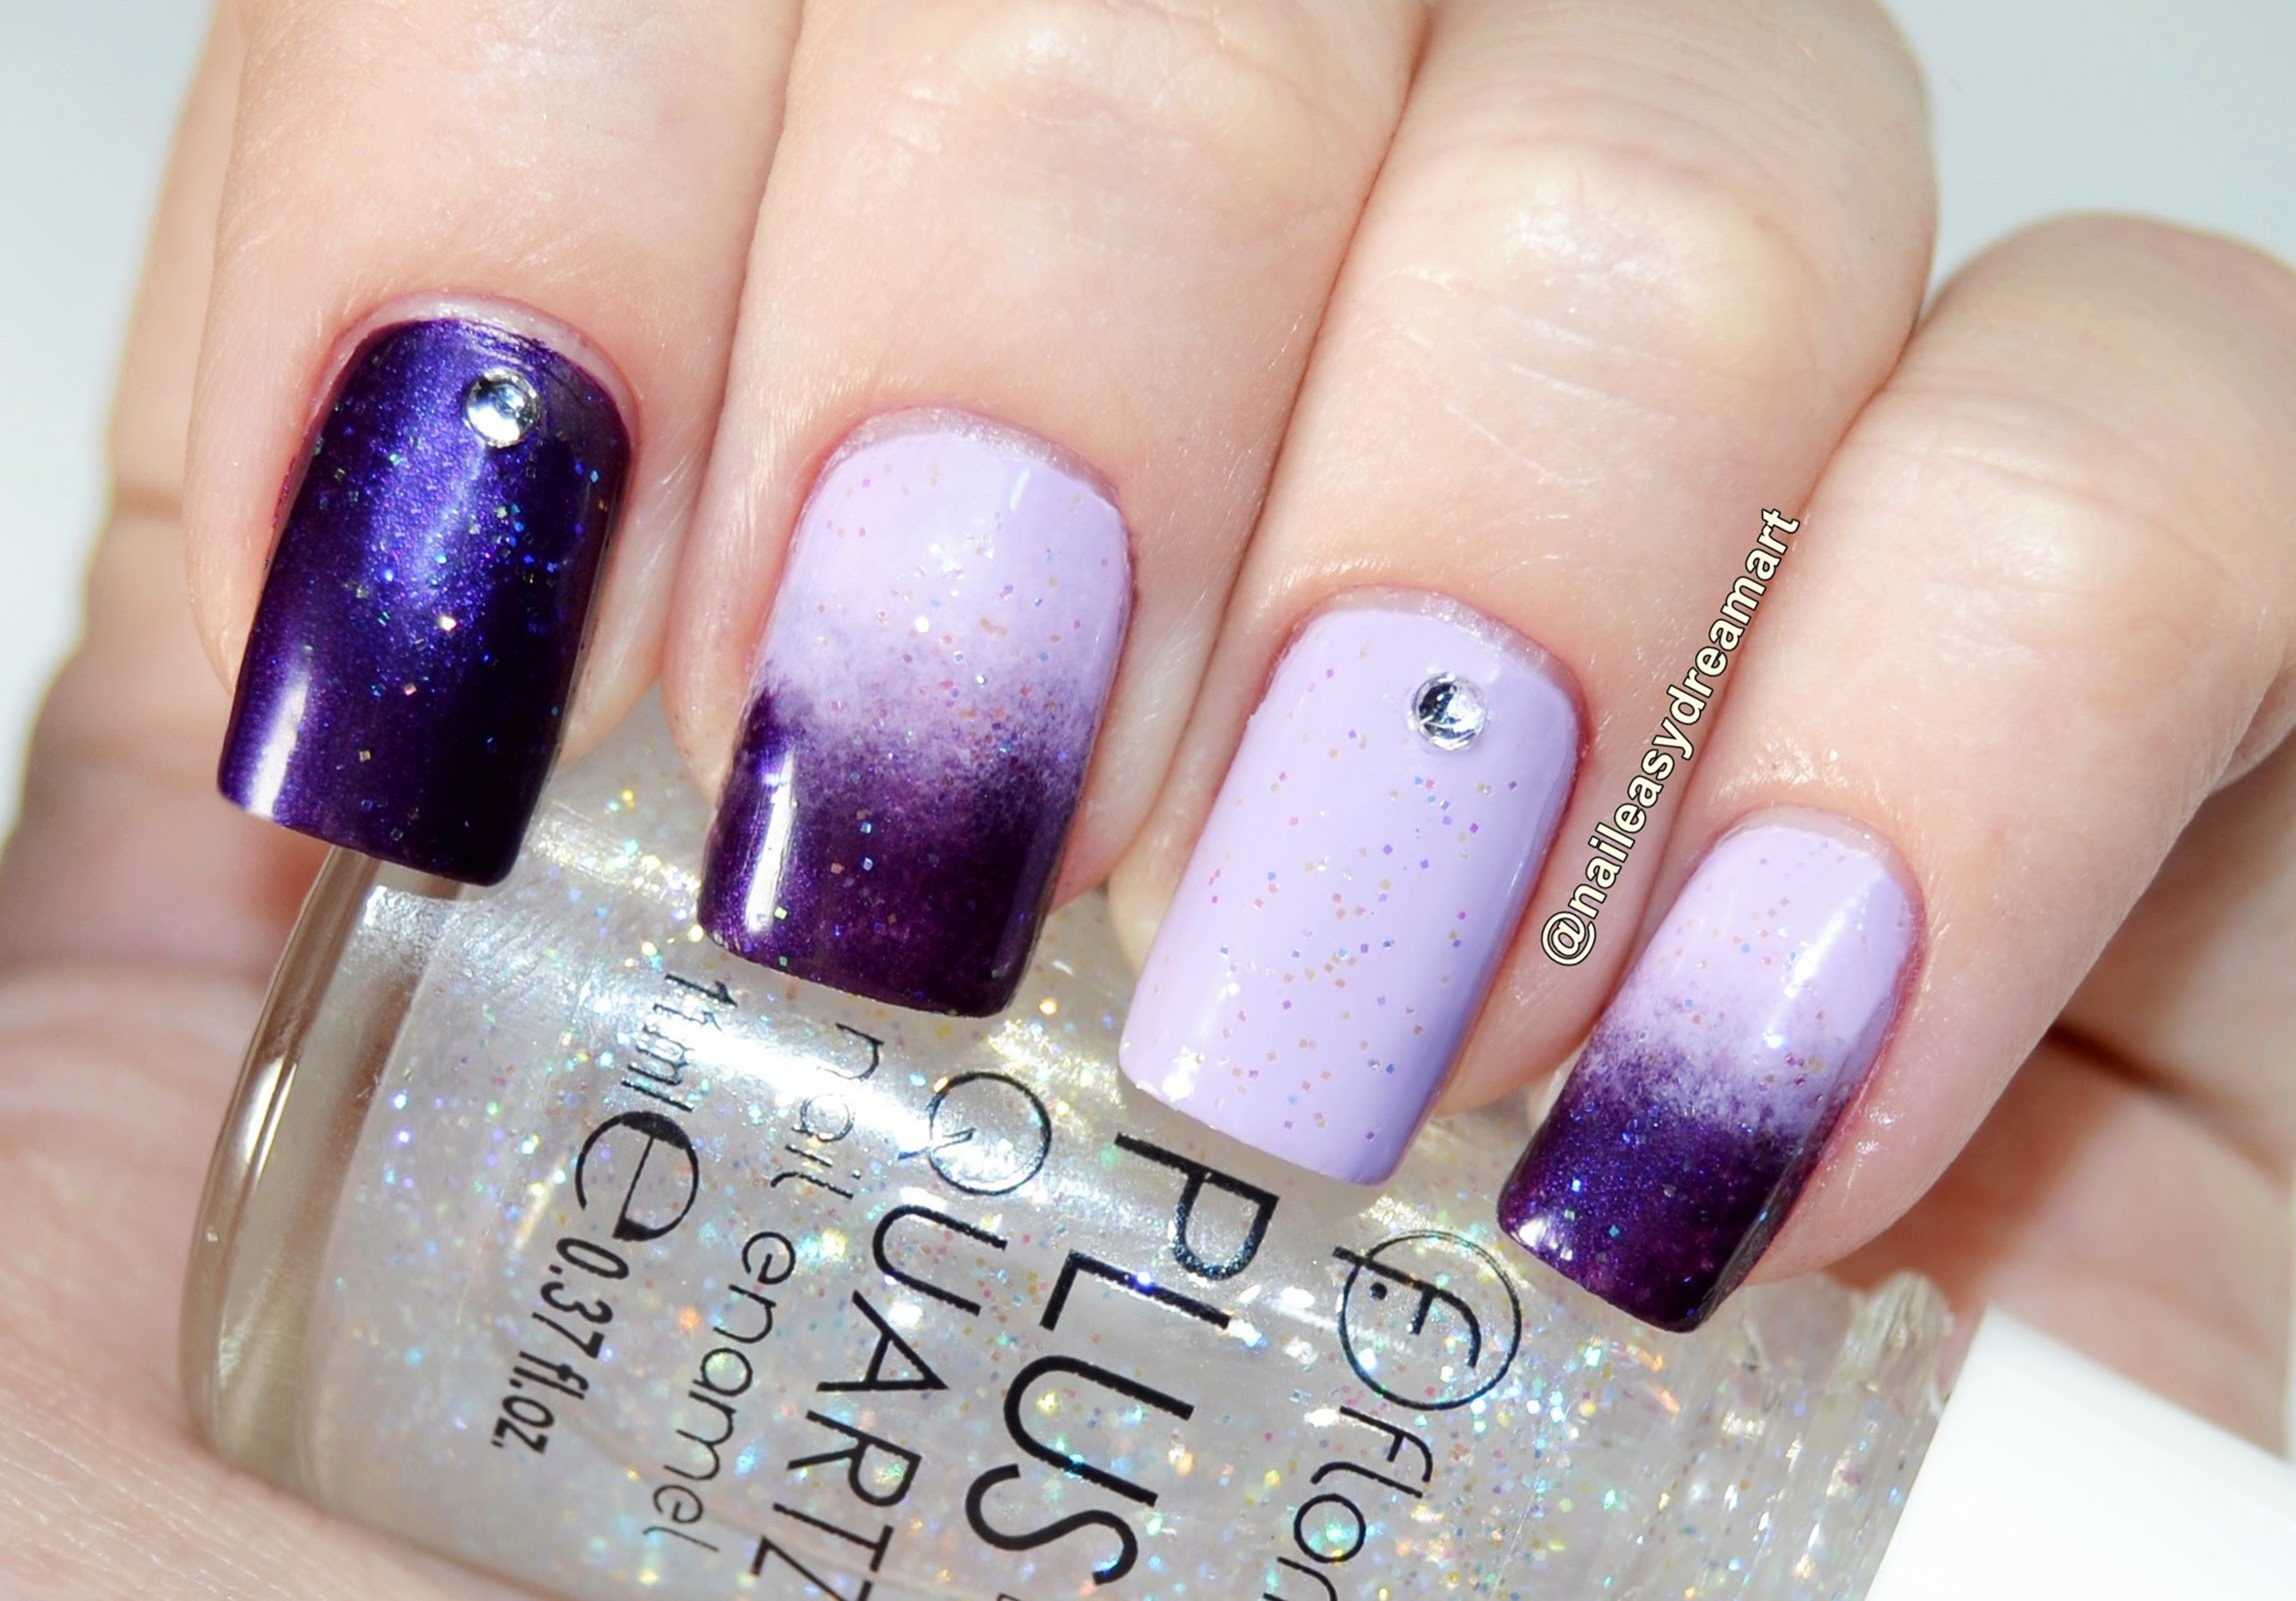
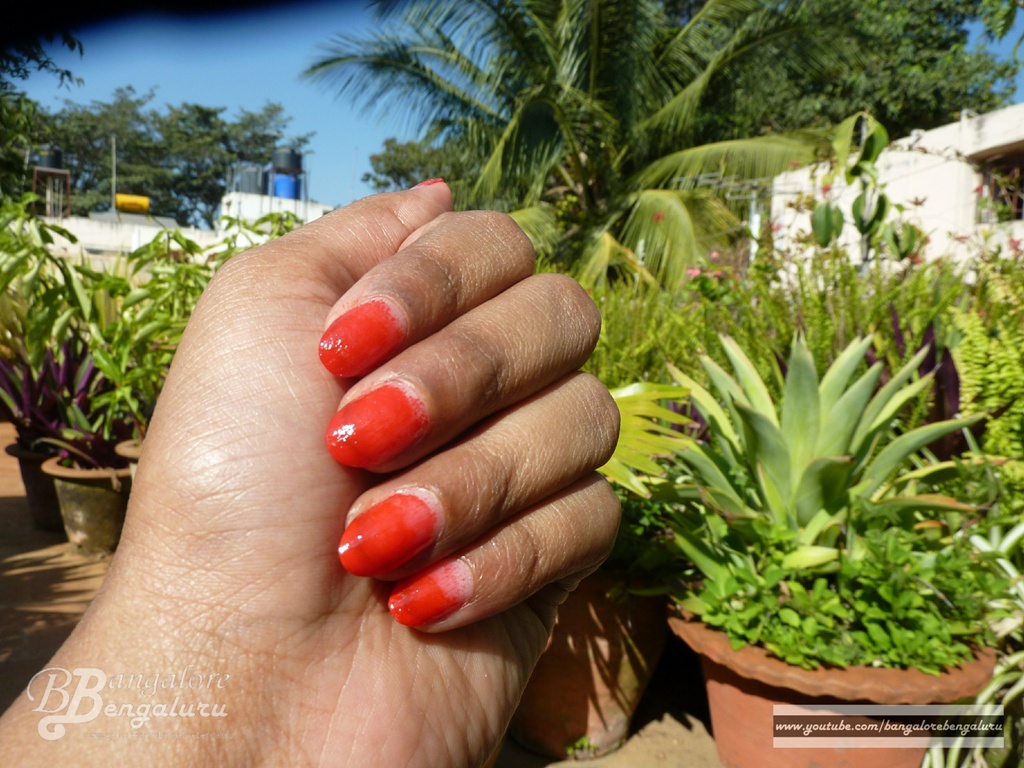
The ombre effect is perfect for creating a gradient look to your diamond nail art design. Start by painting your nails with a white base color. Then, using a makeup sponge, dab on light pink, pink, and purple nail polish in a diagonal motion. Next, using a thin nail art brush, create a thin diagonal line across your nail with silver nail polish. Then, use a dotting tool to create small dots along the edges of the diamond with silver glitter nail polish. To complete the ombre effect, use a white nail polish to create small lines along the edges of the diamond. Finish off with a clear top coat to seal in your design and give it a glossy finish.10. Diamond Nail Art Tutorial with Ombre Effect


10. Diamond Nail Art Tutorial with Ombre Effect


How to Create Stunning Diamond Nail Art: A Step-by-Step Tutorial

What is Diamond Nail Art?
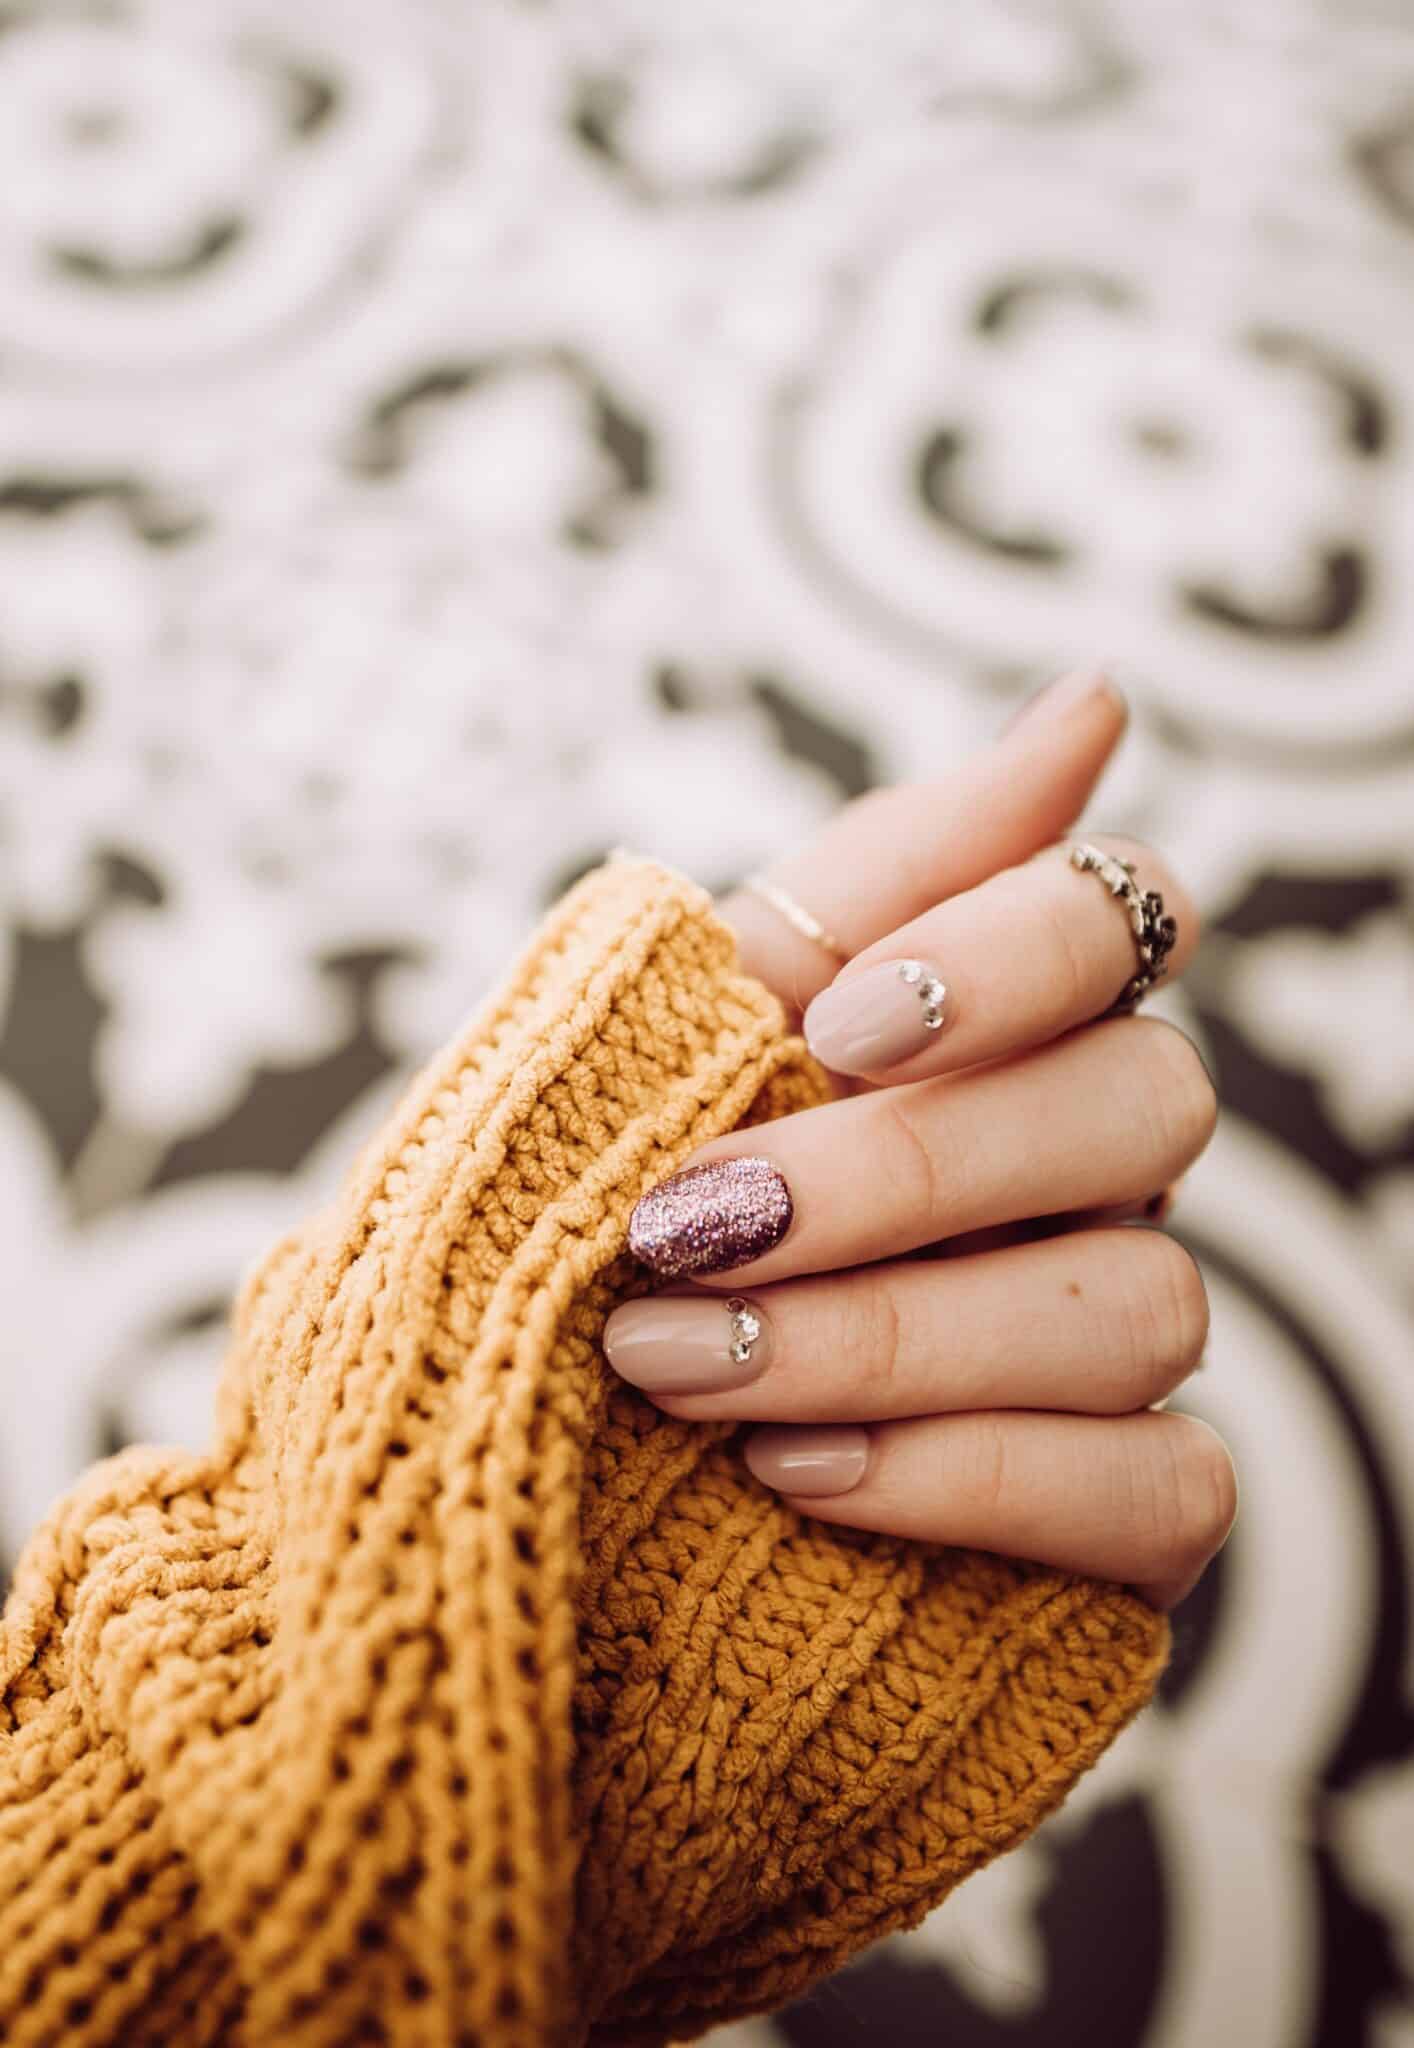
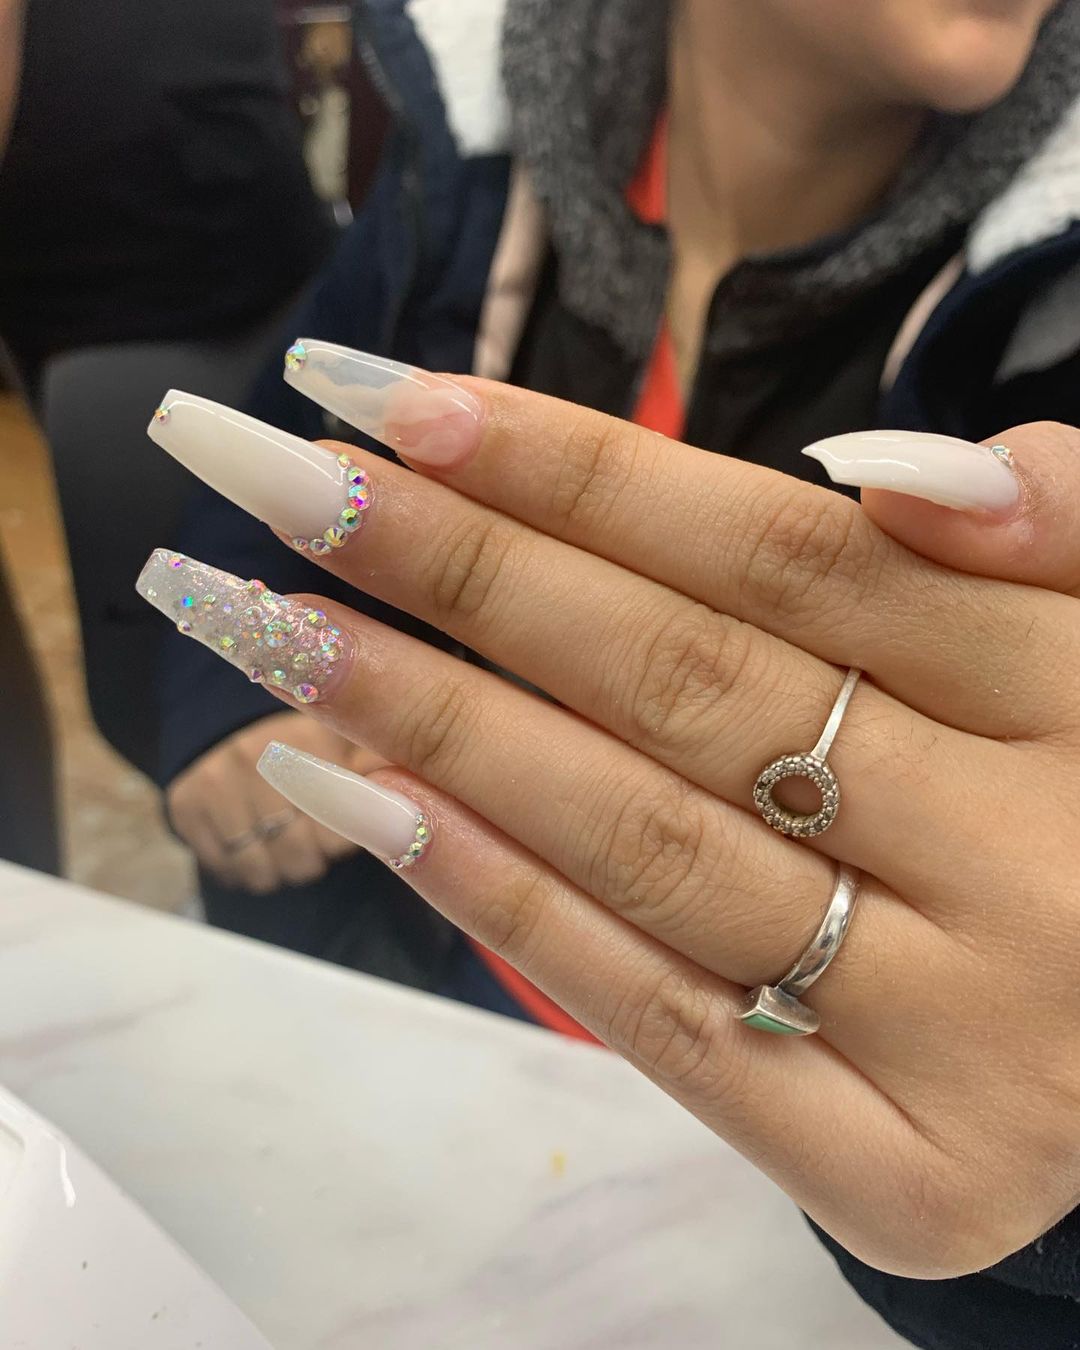
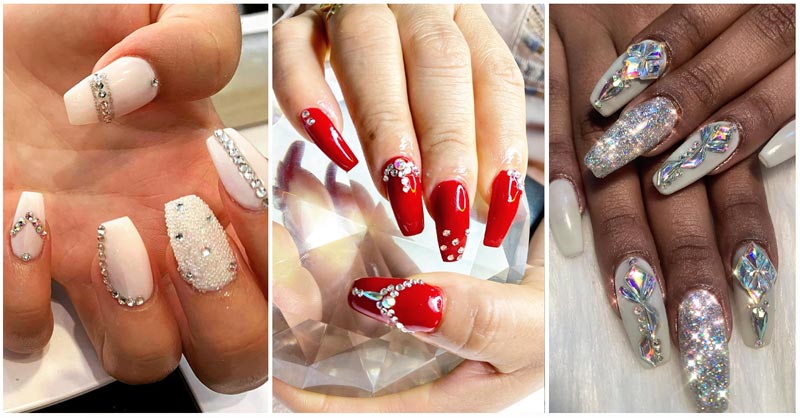
 Diamond nail art is a popular and glamorous nail design that involves adding tiny rhinestones or crystals onto your nails to create a diamond-like effect. This type of nail art adds a touch of sophistication and sparkle to any manicure, making it perfect for special occasions or everyday wear. With the right tools and techniques, you can easily create your own diamond nail art at home.
Step 1: Gather Your Materials
 Before starting your diamond nail art, make sure you have all the necessary materials. You will need a base coat, your desired nail polish color, top coat, tweezers, and
rhinestones or crystals
in various sizes and colors. You can find these materials at your local drugstore or beauty supply store.
Before starting your diamond nail art, make sure you have all the necessary materials. You will need a base coat, your desired nail polish color, top coat, tweezers, and
rhinestones or crystals
in various sizes and colors. You can find these materials at your local drugstore or beauty supply store.
Step 2: Prep Your Nails
 Start by
trimming and shaping your nails
to your desired length and shape. Next, apply a base coat to protect your nails and help the polish adhere better. Let it dry completely before moving on to the next step.
Start by
trimming and shaping your nails
to your desired length and shape. Next, apply a base coat to protect your nails and help the polish adhere better. Let it dry completely before moving on to the next step.
Step 3: Apply Your Base Color
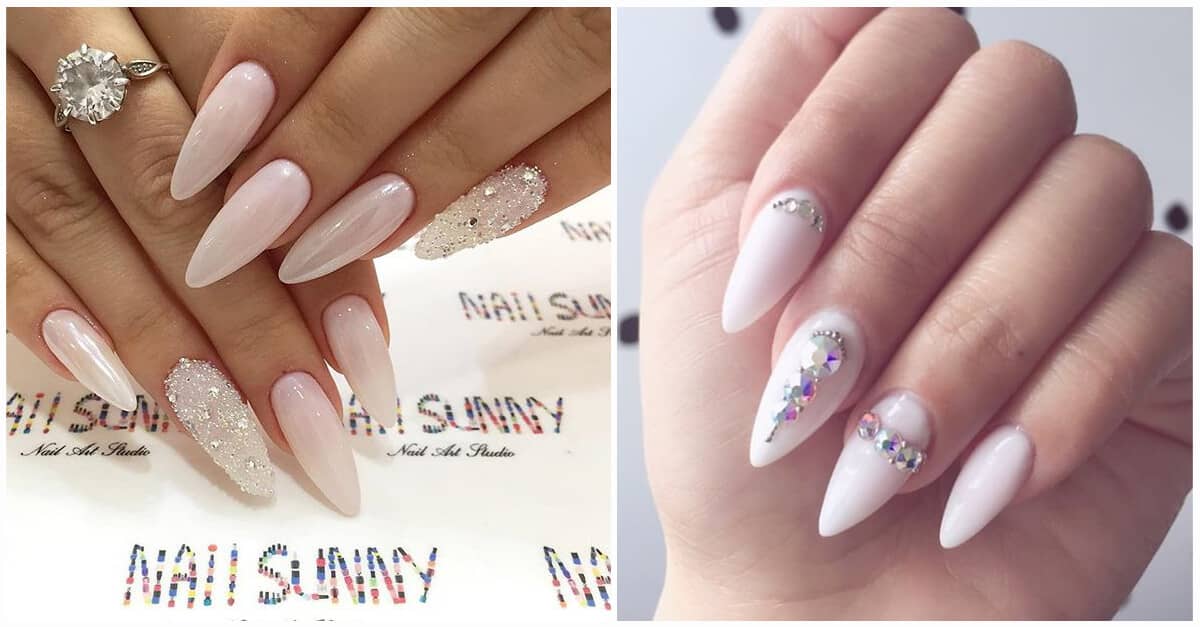
 Choose your base color and apply two coats for an opaque finish. Make sure to let each coat dry completely before applying the next one. You can use any color you like for your base, but
lighter shades
tend to work better for diamond nail art as they allow the rhinestones to stand out more.
Choose your base color and apply two coats for an opaque finish. Make sure to let each coat dry completely before applying the next one. You can use any color you like for your base, but
lighter shades
tend to work better for diamond nail art as they allow the rhinestones to stand out more.
Step 4: Place the Rhinestones
 Once your nails are completely dry, it's time to add the rhinestones. Using tweezers, carefully pick up the rhinestones and place them onto your nails in your desired pattern. You can create a single diamond or multiple diamonds, depending on your preference.
Play around with different sizes and colors
to create a unique and eye-catching design.
Once your nails are completely dry, it's time to add the rhinestones. Using tweezers, carefully pick up the rhinestones and place them onto your nails in your desired pattern. You can create a single diamond or multiple diamonds, depending on your preference.
Play around with different sizes and colors
to create a unique and eye-catching design.
Step 5: Seal with Top Coat
 Once you have placed all the rhinestones, let them dry for a few minutes before applying a top coat. This will help secure the rhinestones in place and add shine to your nails. Make sure to cover the entire nail, including the edges, with top coat for long-lasting results.
Final Thoughts
 Diamond nail art is a fun and elegant way to elevate your manicure. With these simple steps, you can create your own stunning diamond nail art at home.
Experiment with different colors and shapes
to create your own unique designs and let your creativity shine. So, gather your materials and give this tutorial a try for a beautiful and glamorous manicure that will make you feel like a diamond in the rough.
Diamond nail art is a fun and elegant way to elevate your manicure. With these simple steps, you can create your own stunning diamond nail art at home.
Experiment with different colors and shapes
to create your own unique designs and let your creativity shine. So, gather your materials and give this tutorial a try for a beautiful and glamorous manicure that will make you feel like a diamond in the rough.


