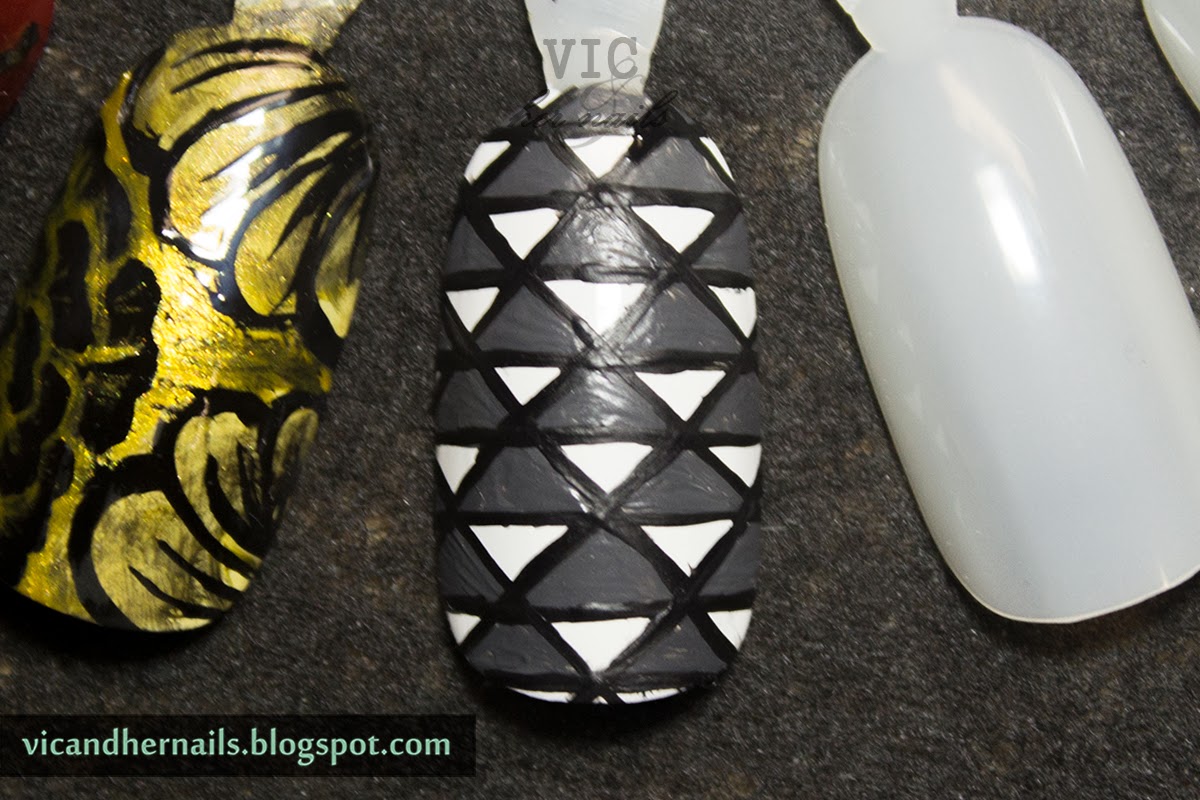
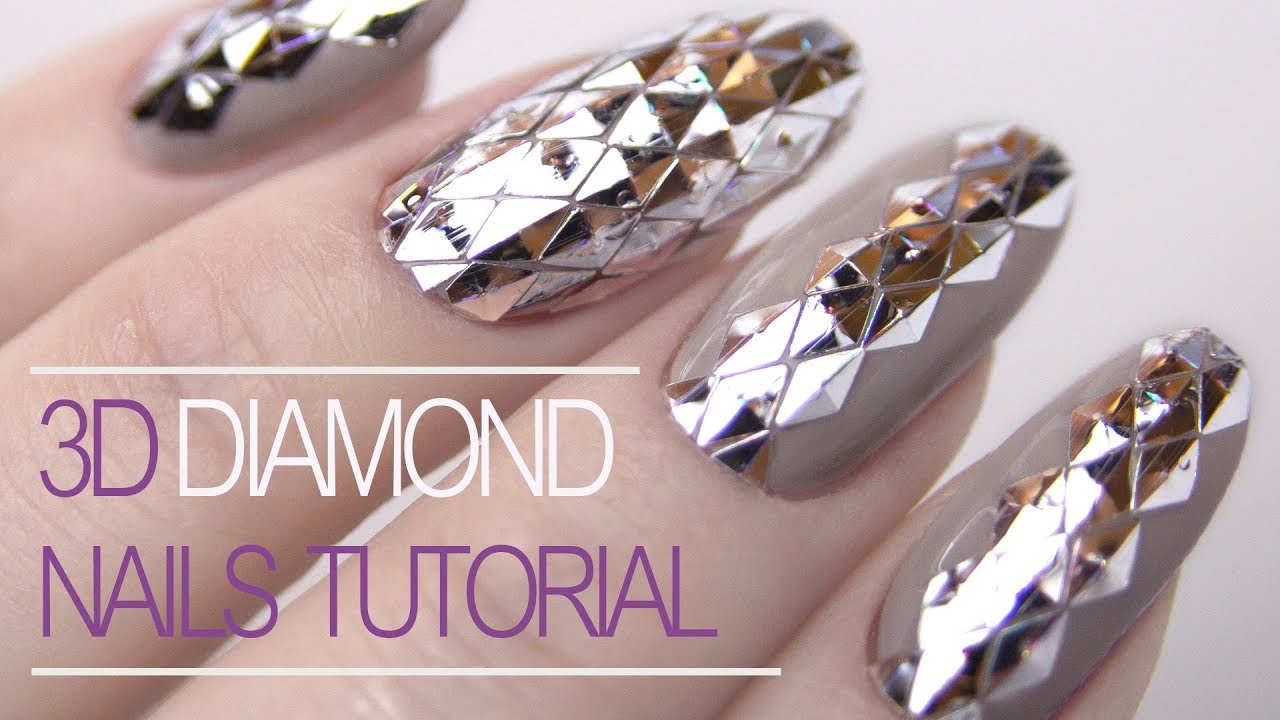
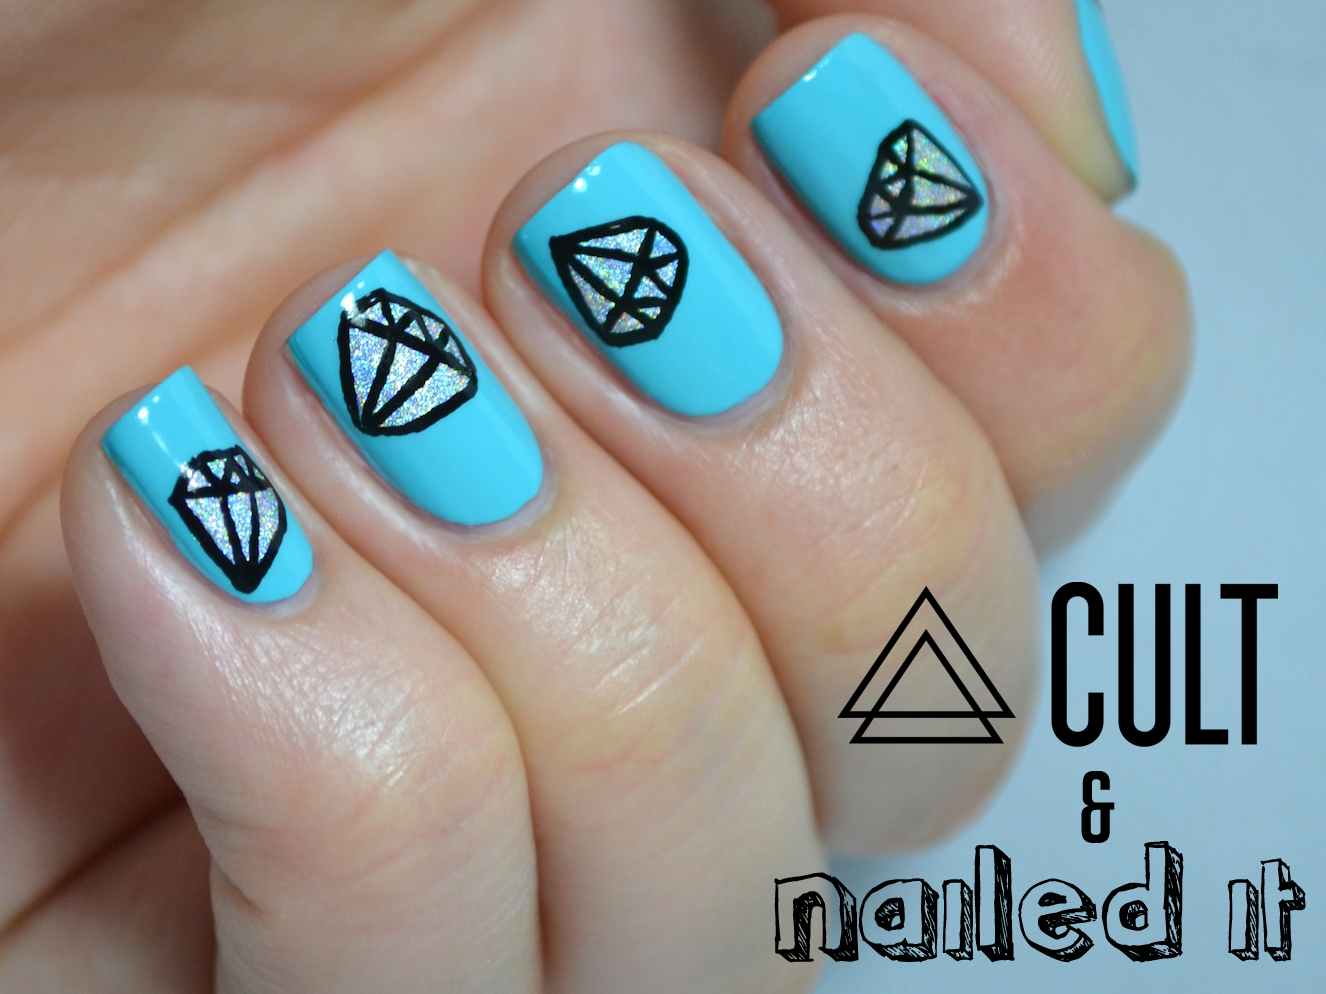
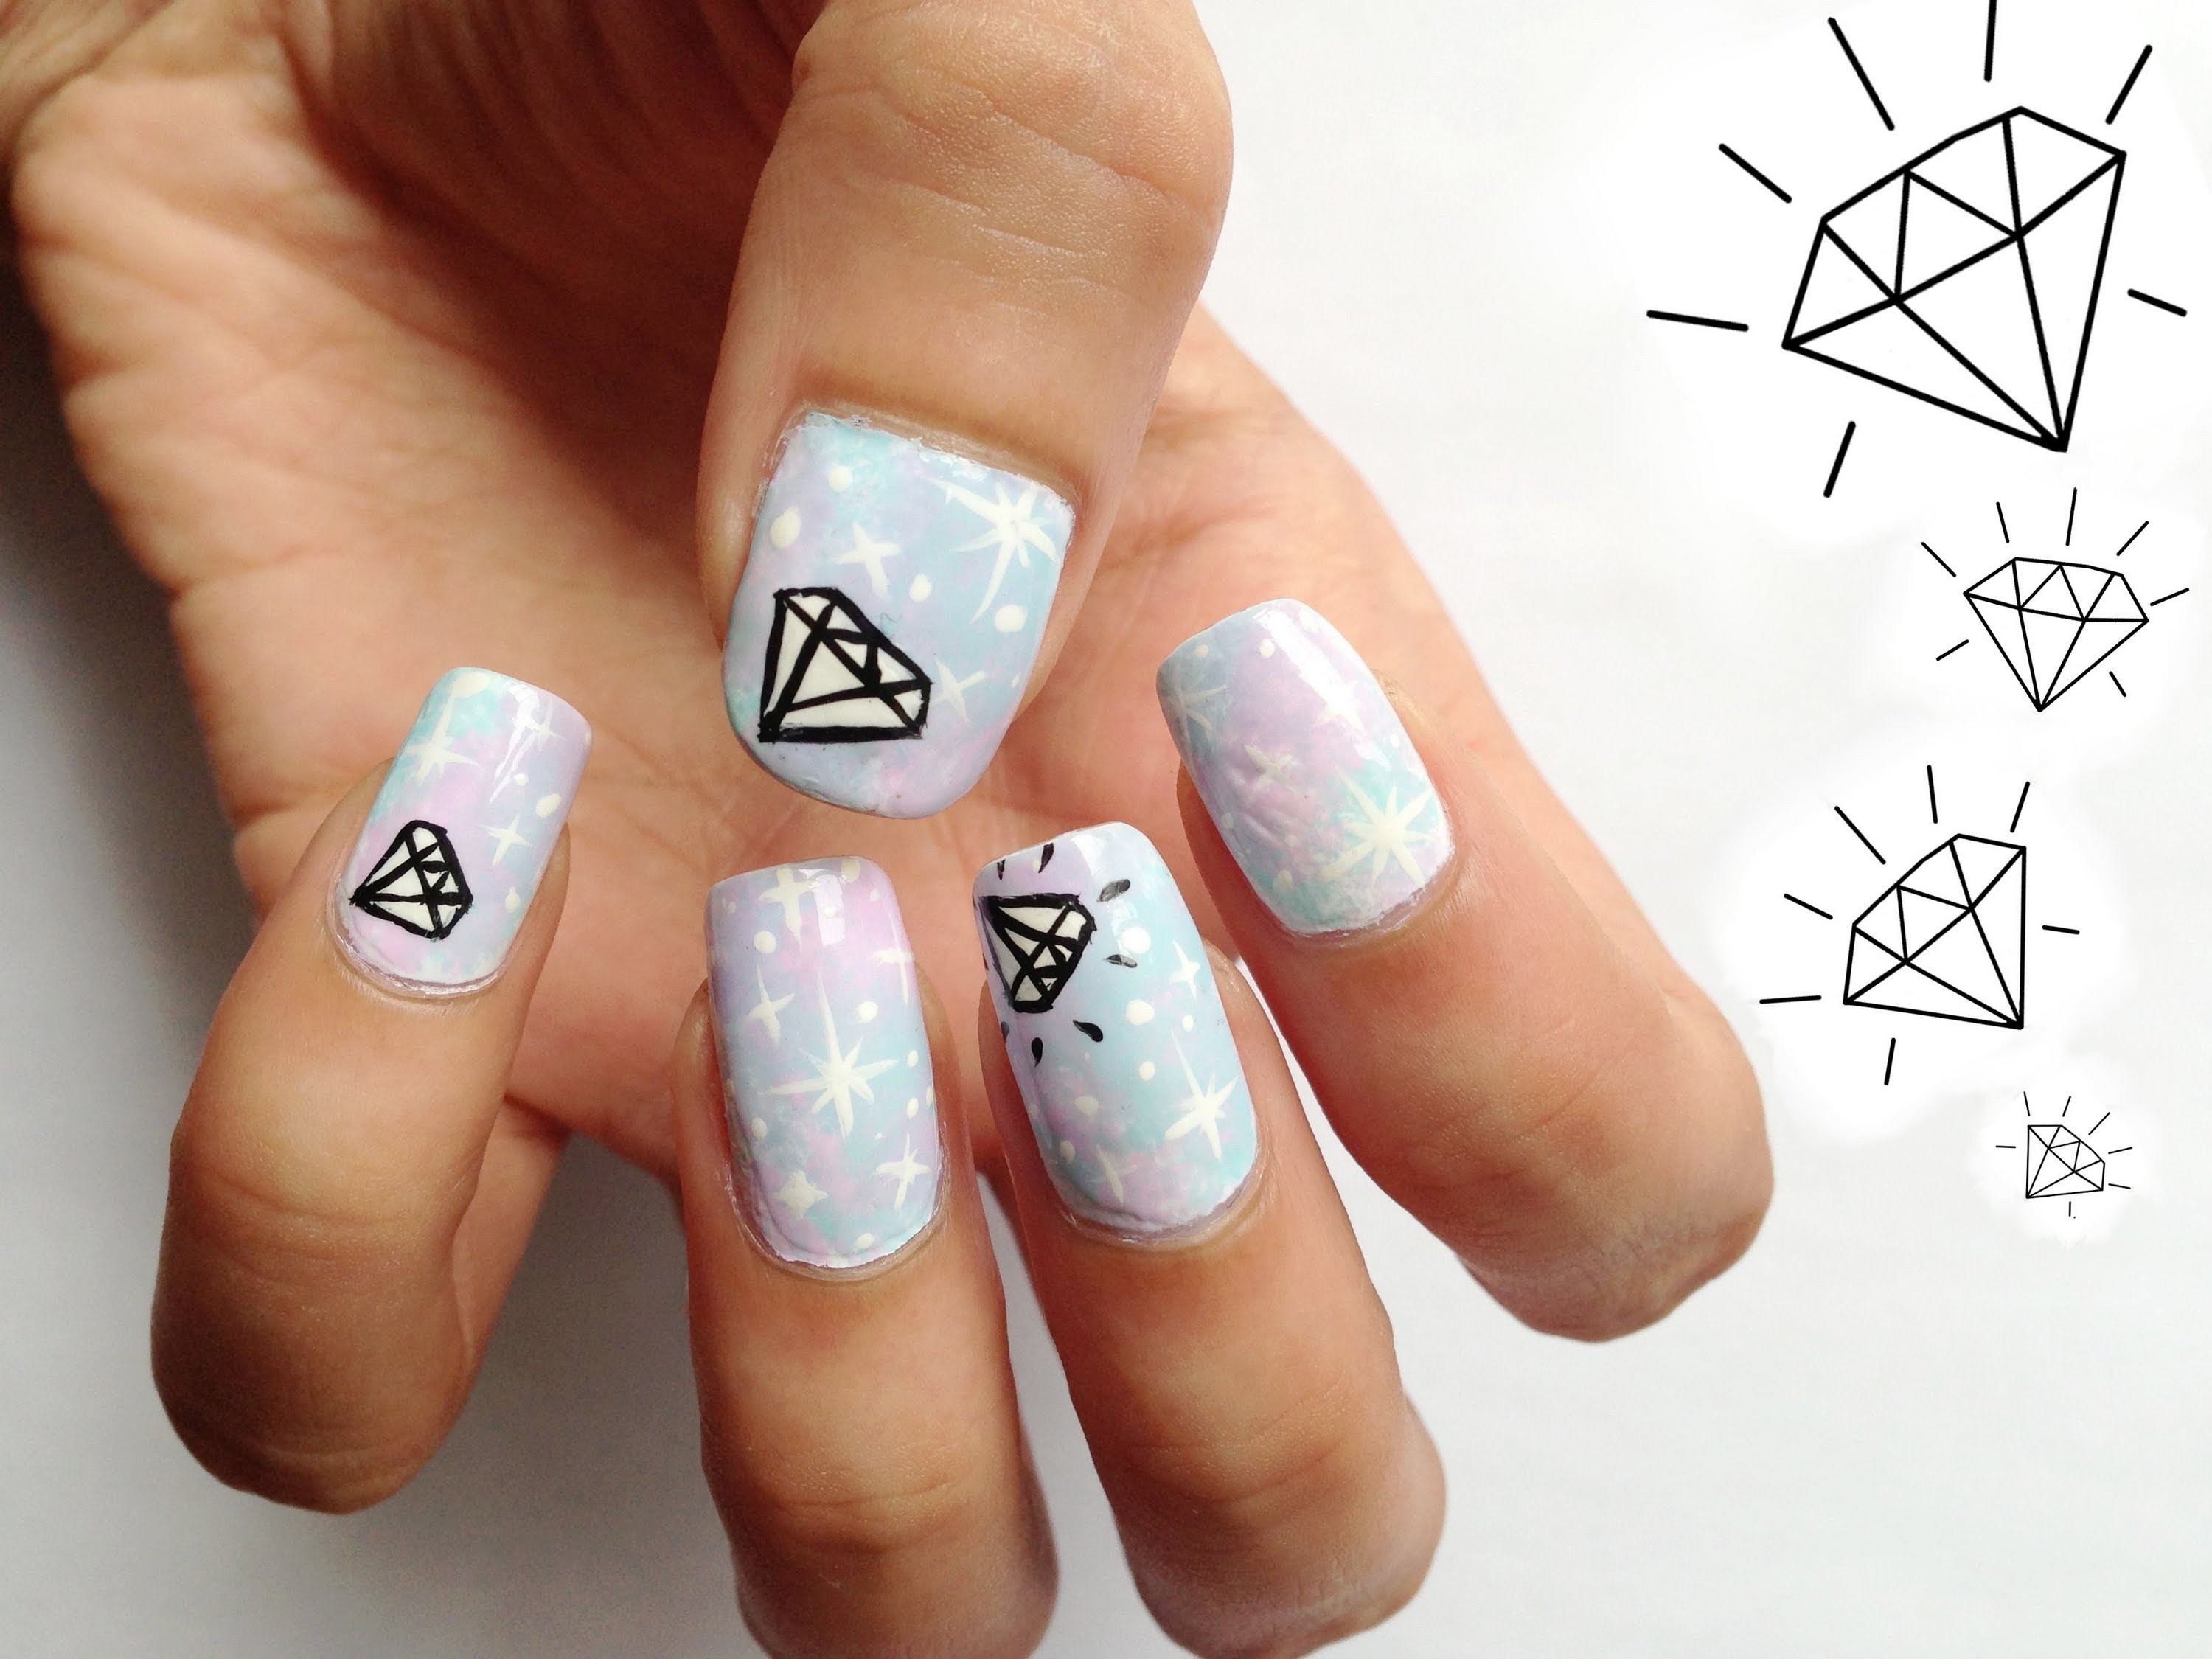
Looking to add some sparkle to your next manicure? Why not try out a diamond pattern nail art design? This eye-catching pattern is perfect for any occasion and can be customized to fit your personal style. In this tutorial, we will show you how to create a stunning diamond pattern nail art look in just a few easy steps. To start, you will need a base color, a metallic or glitter polish, and a striping brush. You can use any colors you like, but we recommend using bold or metallic shades for a true diamond effect. Black and gold or silver and navy are classic color combinations that never fail to impress. Start by applying your base color and allowing it to dry completely. Then, using your striping brush, create a diagonal line across your nail. This will be the first line of your diamond pattern. Next, create a line parallel to the first line, leaving a small gap in between. Repeat this process until you have created a criss-cross pattern on your nail. Next, fill in the gaps with your metallic or glitter polish. You can use a thin brush for a more precise look or a thicker brush for a more dramatic effect. Once your polish has dried, you can add some extra sparkle by layering on some rhinestones or using a top coat with glitter.1. Diamond Pattern Nail Art Tutorial


1. Diamond Pattern Nail Art Tutorial


Want to create a diamond pattern nail art look but don't have a lot of time? Don't worry, there are plenty of easy designs that you can try out. One simple and chic option is to create a single diamond on each nail. Start by applying a base color and allowing it to dry. Then, using a striping brush, create a small triangle on the tip of your nail. Fill in the triangle with your metallic or glitter polish and add a small rhinestone at the point of the triangle for extra sparkle. Repeat this process on all of your nails for a quick and elegant diamond pattern nail art look. If you want to take it a step further, you can also add some negative space to your design. Simply create a vertical line down the center of your nail and leave the sides blank. This will create a peek-a-boo effect that is sure to turn heads.2. Easy Diamond Nail Art Designs


2. Easy Diamond Nail Art Designs


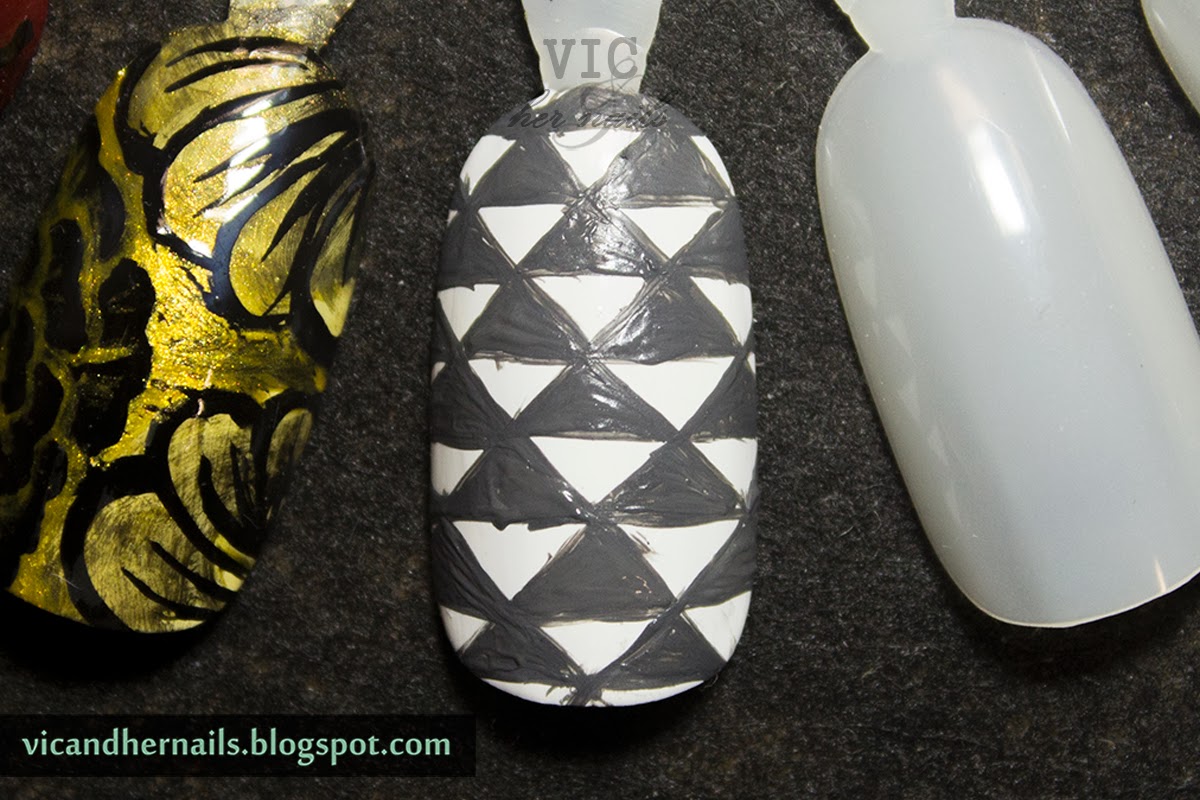
For a classic and sophisticated diamond pattern nail art look, you can never go wrong with black and white. This timeless color combination is perfect for any occasion and can be dressed up or down depending on your outfit. To achieve this look, start by painting your nails with a white base color. Once it has dried, use a striping brush to create thin and straight lines in a diagonal pattern. Then, fill in the gaps with a black polish. You can make the lines thicker or thinner depending on your preference. For a twist on this design, you can also try using a white base and creating the diamond pattern with a black polish. This will create a negative space effect and add some interest to your nails.3. Black and White Diamond Nail Art


3. Black and White Diamond Nail Art


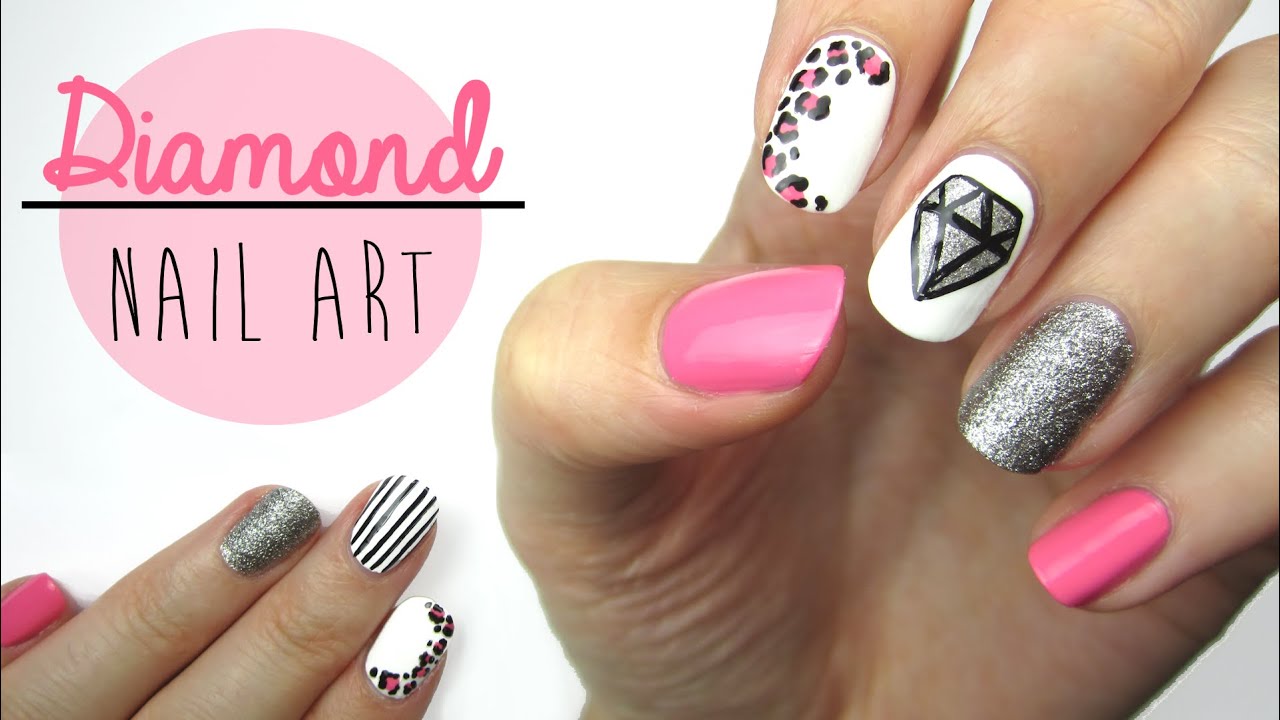
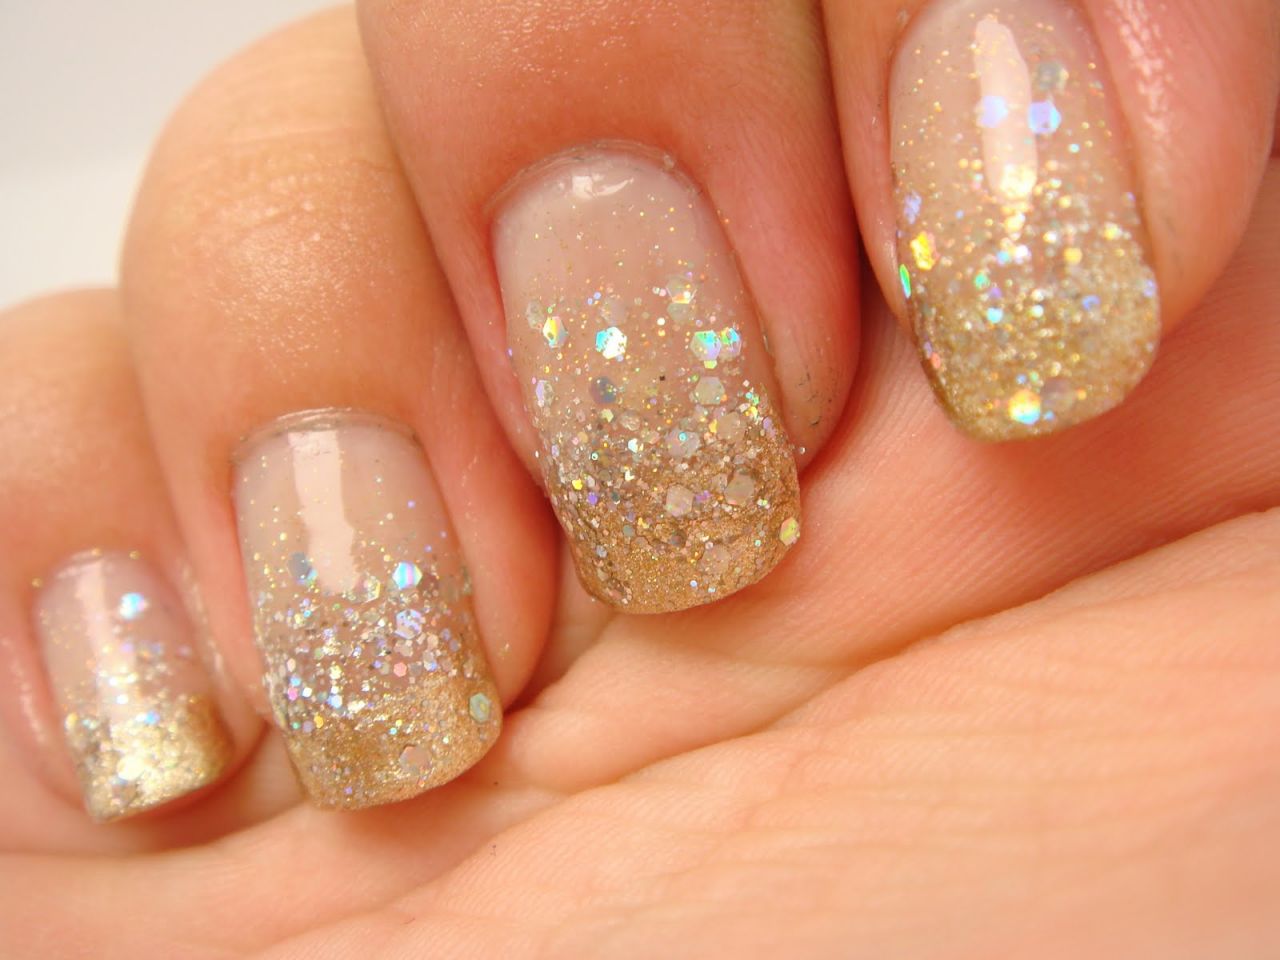
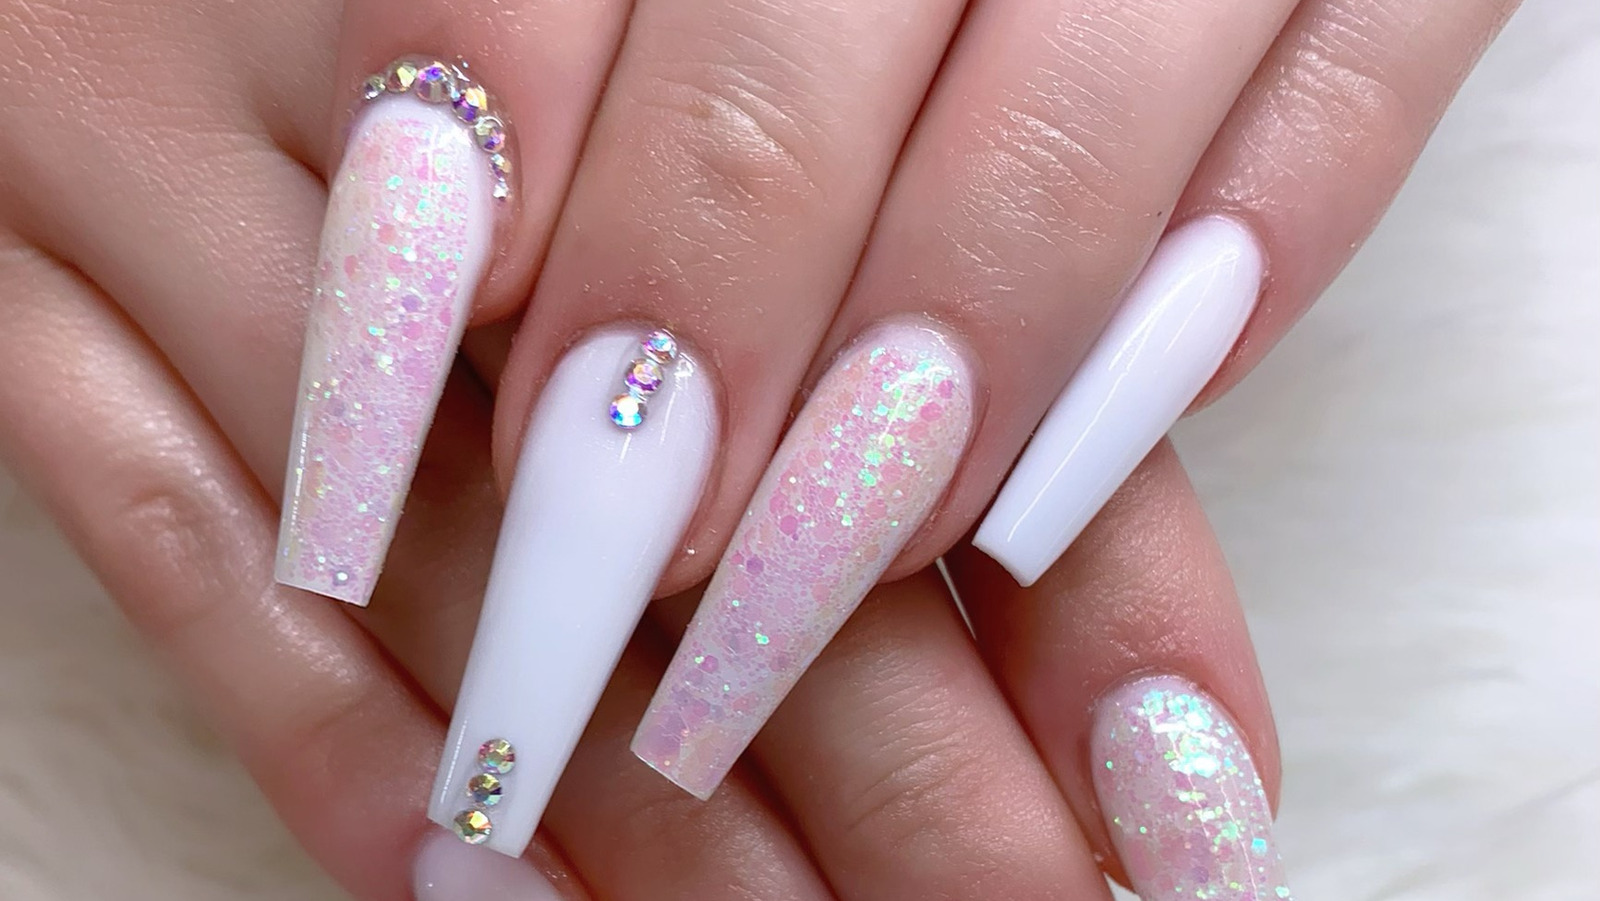
If you love all things sparkly, then a glitter diamond nail art design is perfect for you. This look is easy to achieve and can be customized with different glitter colors and shapes. Start by applying a base color and allowing it to dry. Then, use a striping brush to create a diamond shape on your nail. You can make the diamond as big or as small as you like. Next, fill in the diamond shape with a glitter polish. You can use a solid glitter polish or mix different sizes and shapes for a more textured look. For an extra touch of sparkle, you can also add some rhinestones or glitter pieces on the edges of the diamond. This will create a 3D effect and make your nails stand out even more.4. Glitter Diamond Nail Art


4. Glitter Diamond Nail Art


If you're not a fan of using striping brushes or creating intricate designs, then diamond nail art stickers are the perfect solution. These stickers come in a variety of sizes and colors, making it easy to achieve a flawless diamond pattern look. Start by applying a base color and allowing it to dry. Then, simply place the nail art sticker on your nail in the desired location. You can use one sticker for a simple look or layer multiple stickers for a more dramatic effect. To ensure that your stickers stay in place, apply a top coat over them. This will also add some shine and protect your design from chipping.5. Diamond Nail Art Stickers

5. Diamond Nail Art Stickers


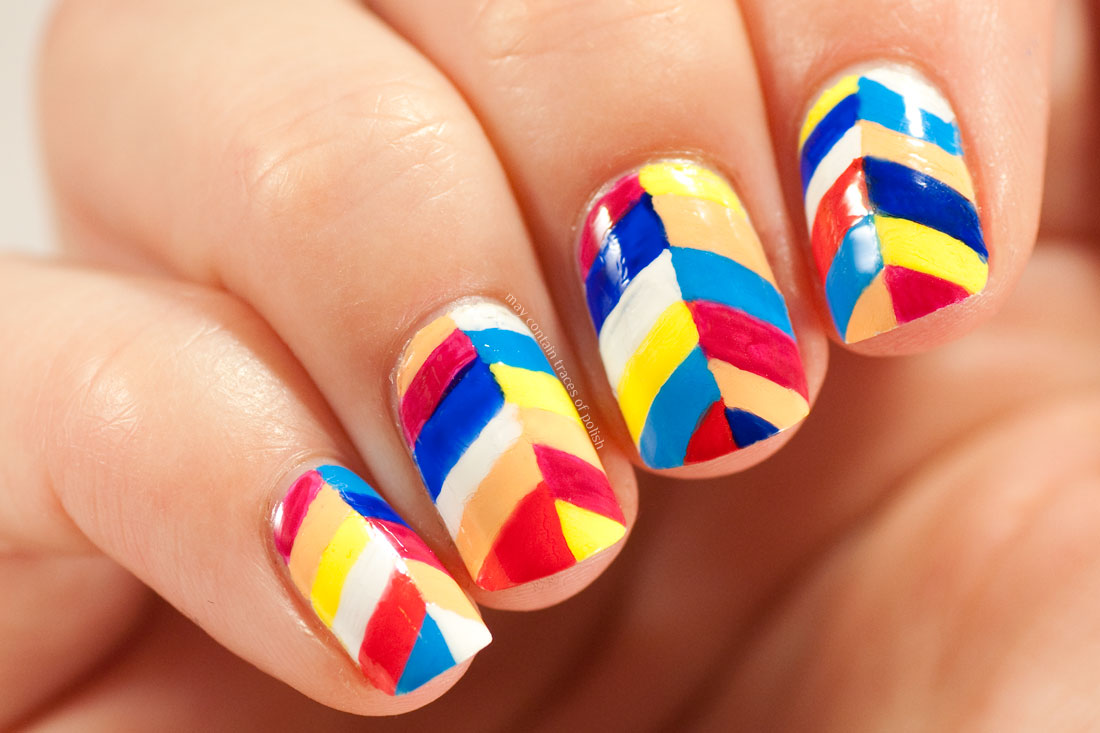
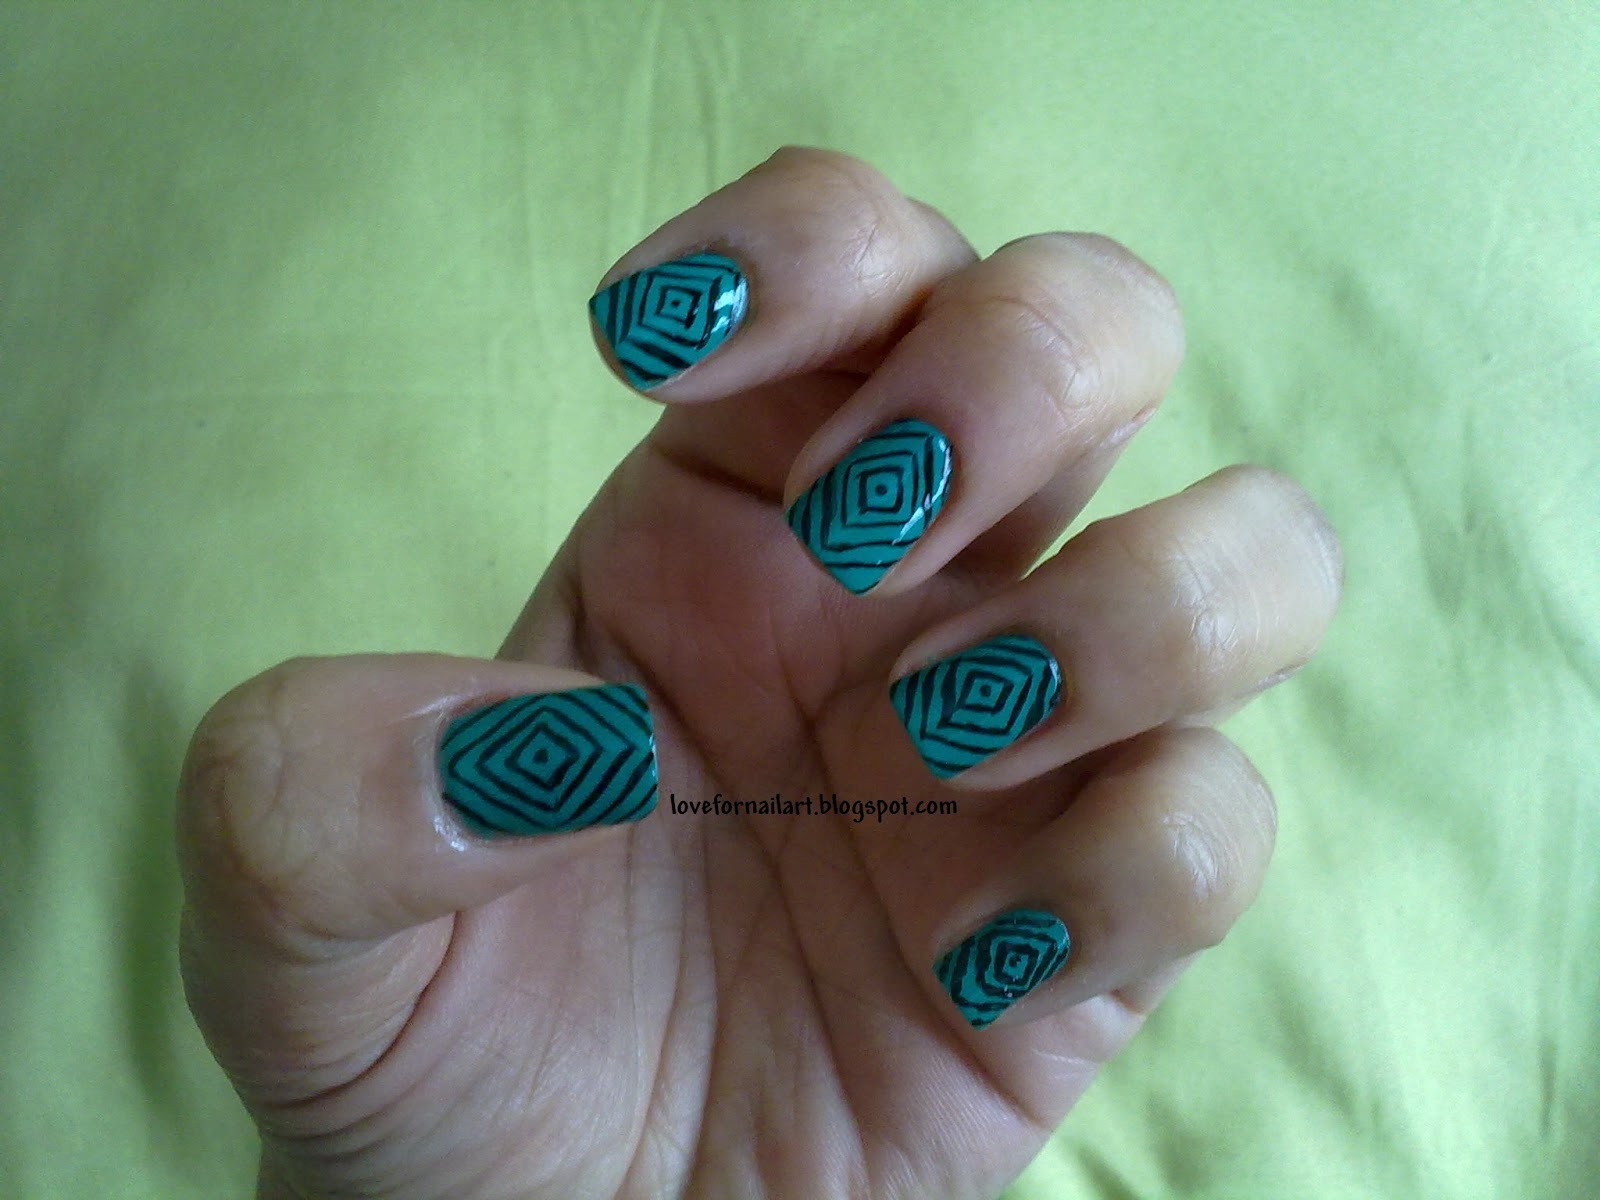
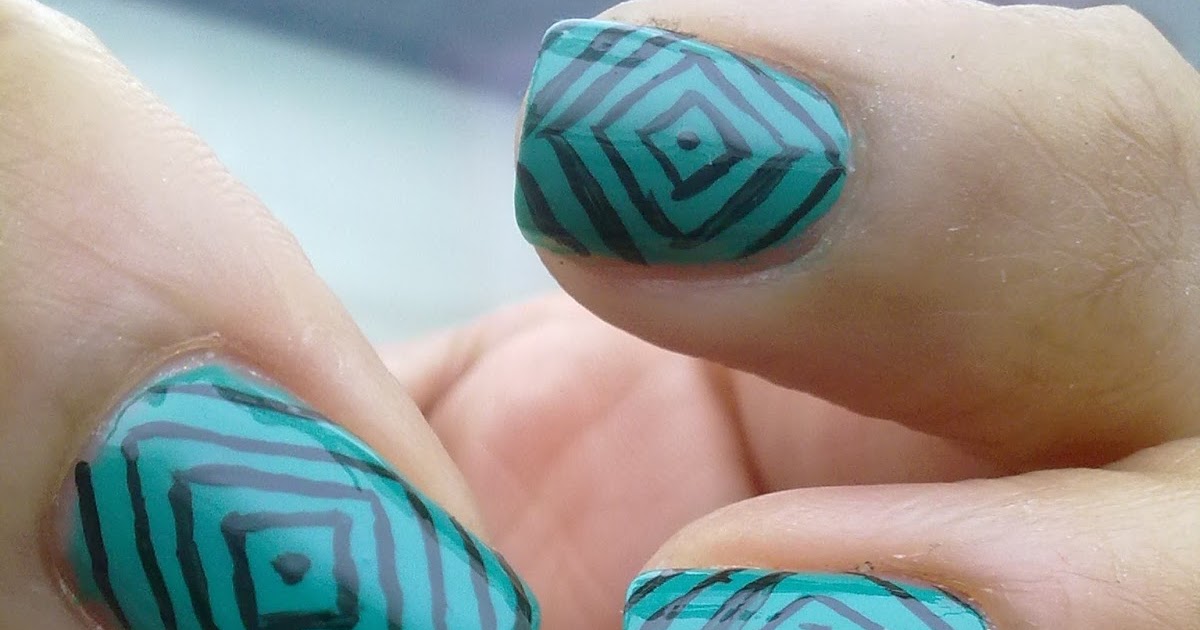
If you want to take your diamond pattern nail art to the next level, why not incorporate some other geometric shapes into the design? This will create a modern and unique look that is sure to make your nails stand out. Start by painting your nails with a base color and allowing it to dry. Then, using a striping brush, create a diamond shape on your nail. Next, use the same brush to create a triangle inside the diamond. Fill in this triangle with a different color or a metallic polish. You can also add some smaller triangles or squares inside the diamond for a more intricate look. This design allows for a lot of creativity and experimentation, so have fun with it and see what unique designs you can come up with.6. Geometric Diamond Nail Art

6. Geometric Diamond Nail Art


Who says you can't rock a diamond pattern nail art design on short nails? With a few simple adjustments, you can easily create a stunning look that is perfect for shorter nails. Start by applying a base color and allowing it to dry. Then, instead of creating a full diamond pattern, focus on just one or two nails. Use a striping brush to create a small diamond shape on the corner of your nail. Fill it in with a metallic or glitter polish and add some rhinestones for extra glam. You can also try creating a diamond on just the tip of your nail for a subtle and elegant look. This will elongate the appearance of your nails and make them look longer.7. Diamond Nail Art for Short Nails


7. Diamond Nail Art for Short Nails


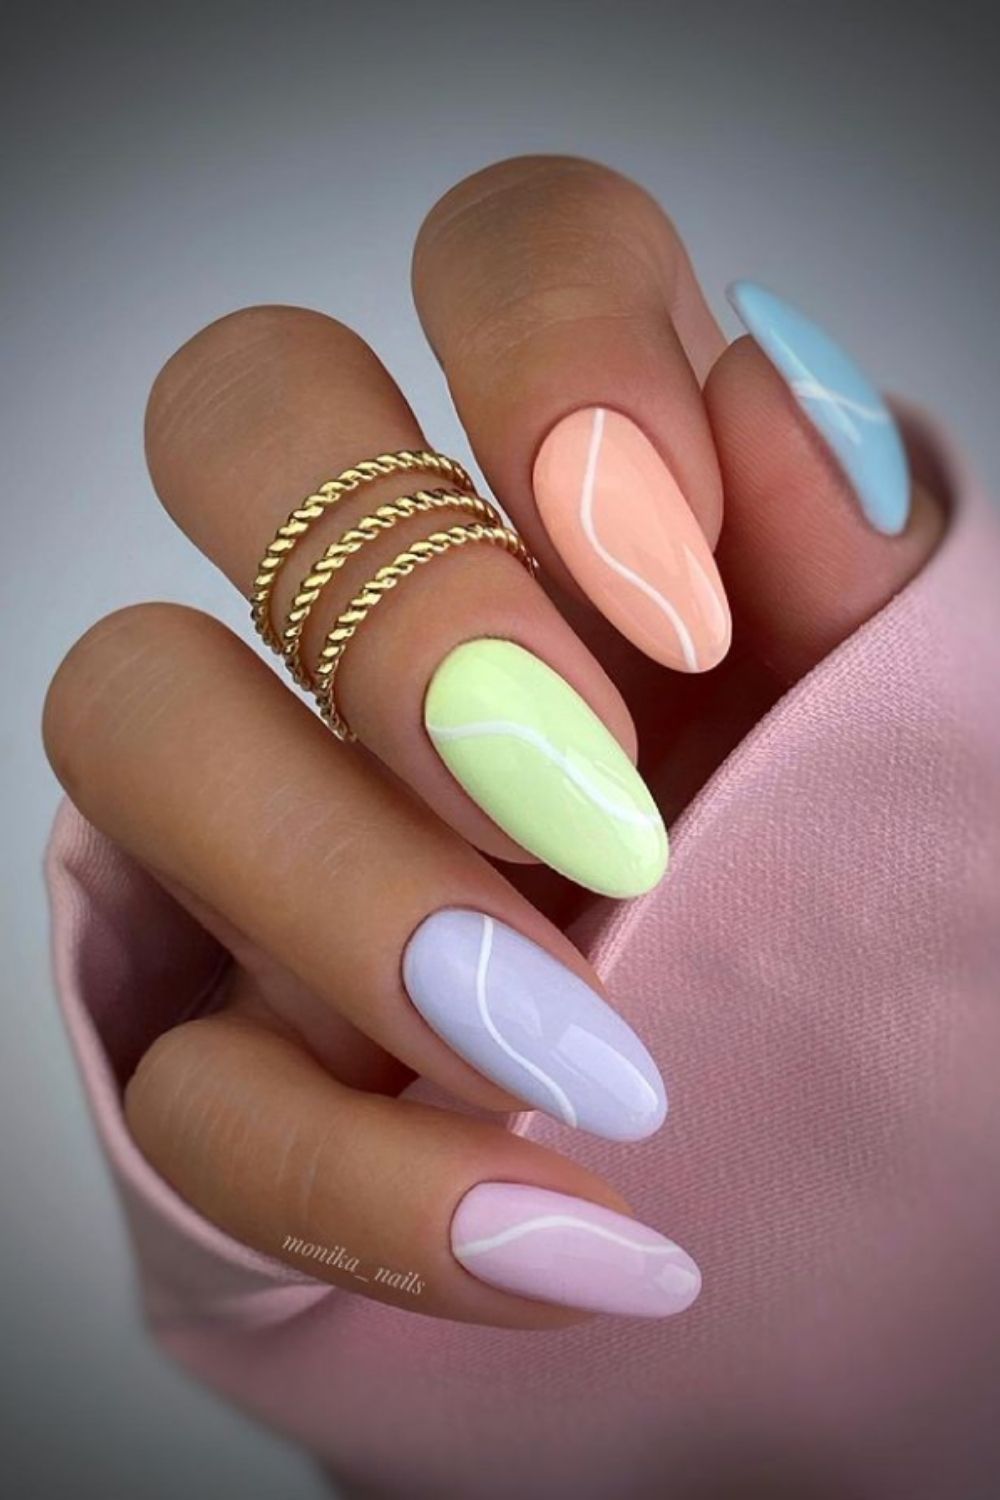
If you love a feminine and girly look, then a pink diamond nail art design is perfect for you. This pretty color is versatile and can be paired with other shades for a unique look. Start by painting your nails with a light pink base color and allowing it to dry. Then, using a striping brush, create a diamond shape on your nail with a darker pink polish. Fill in the diamond and add some rhinestones for an extra touch of sparkle. You can also try using different shades of pink for a gradient effect or add some white or gold accents for a more romantic look.8. Pink Diamond Nail Art

8. Pink Diamond Nail Art

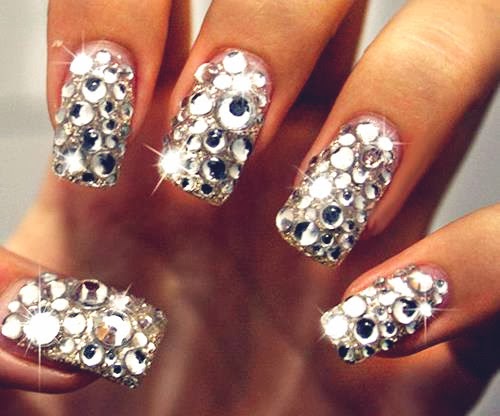
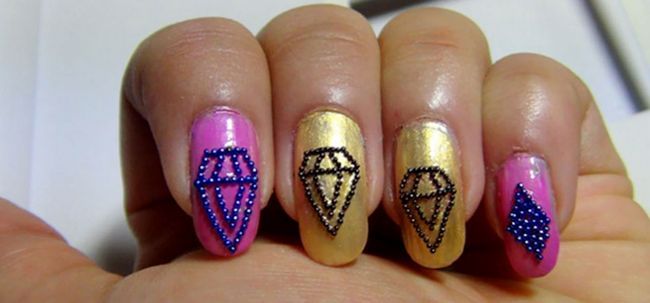
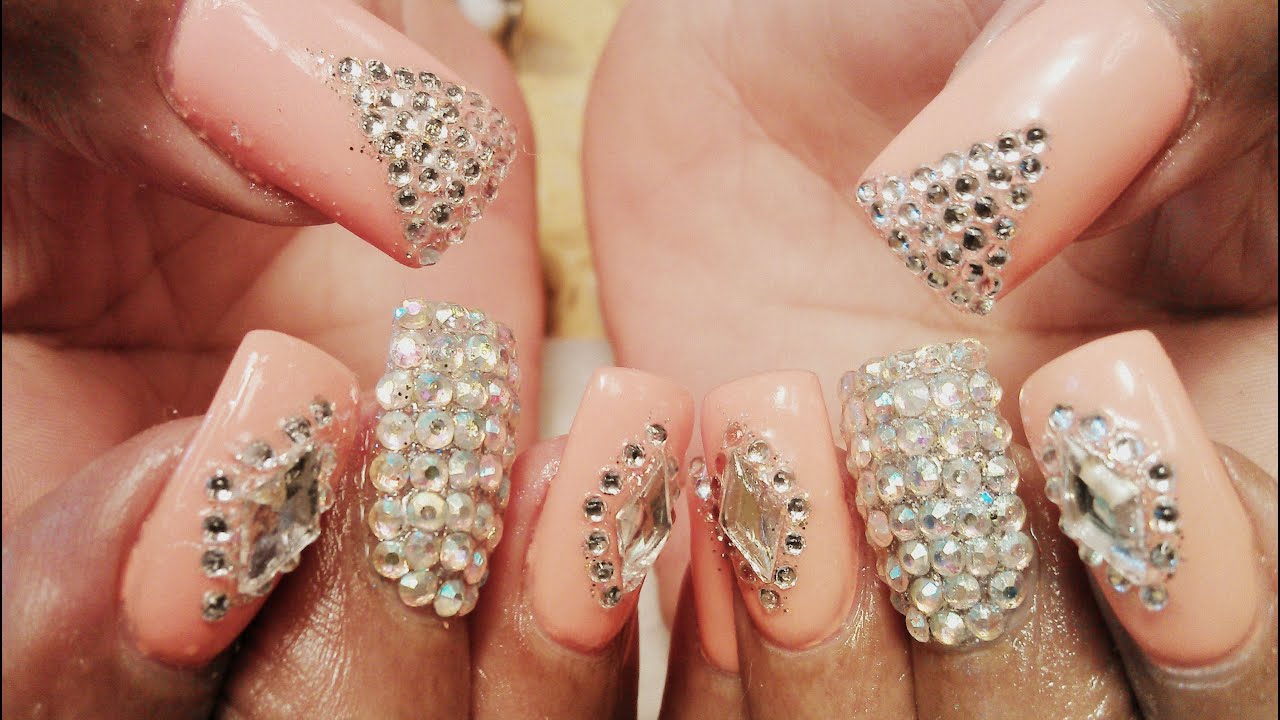
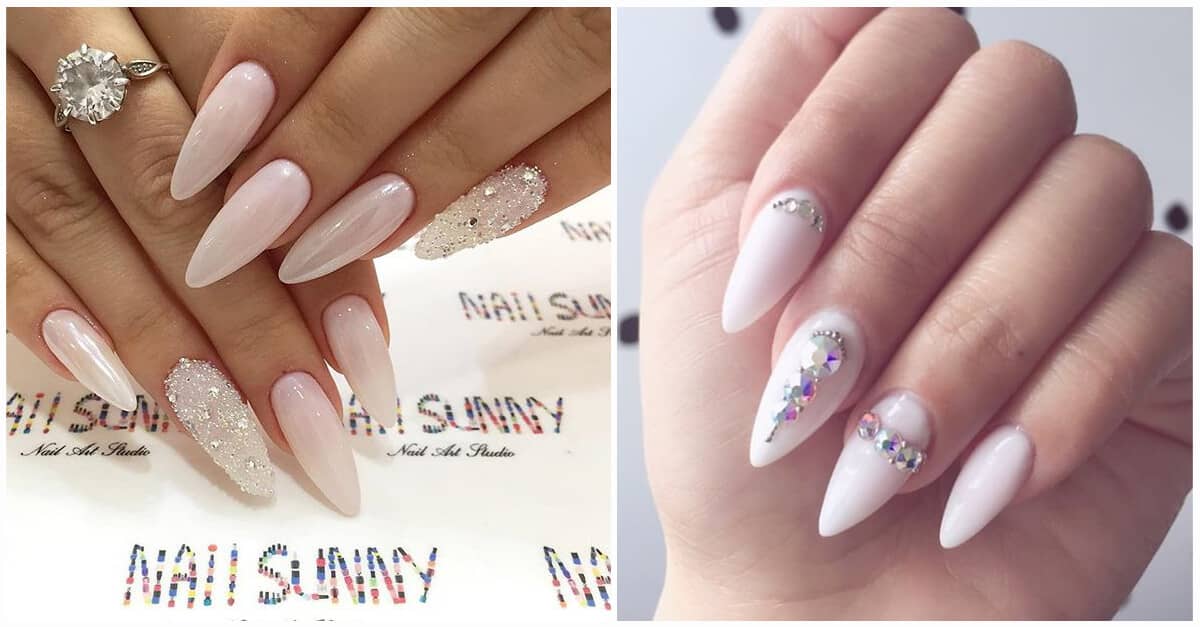
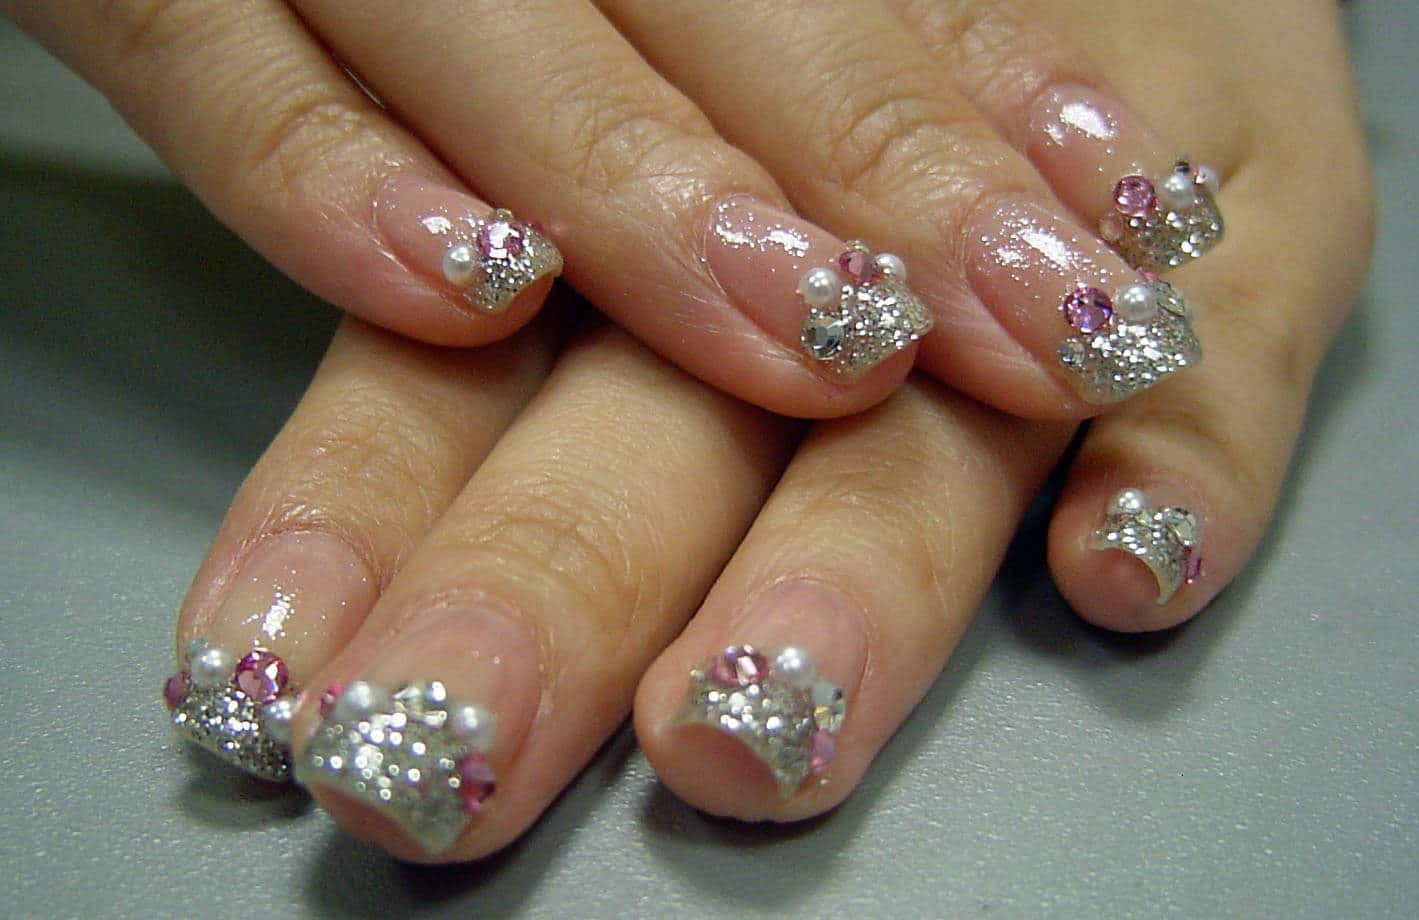
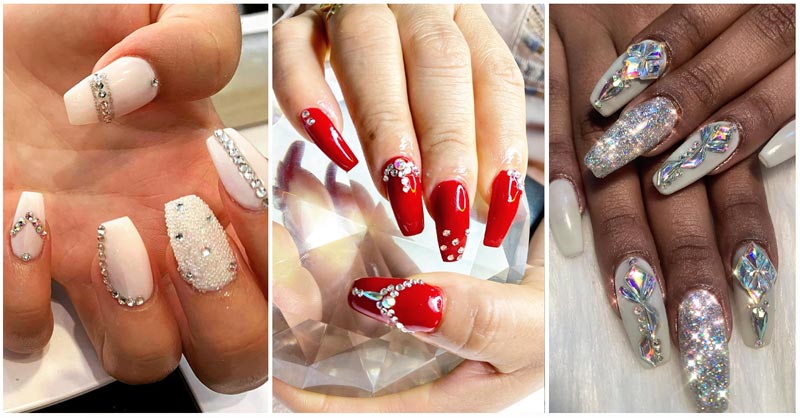
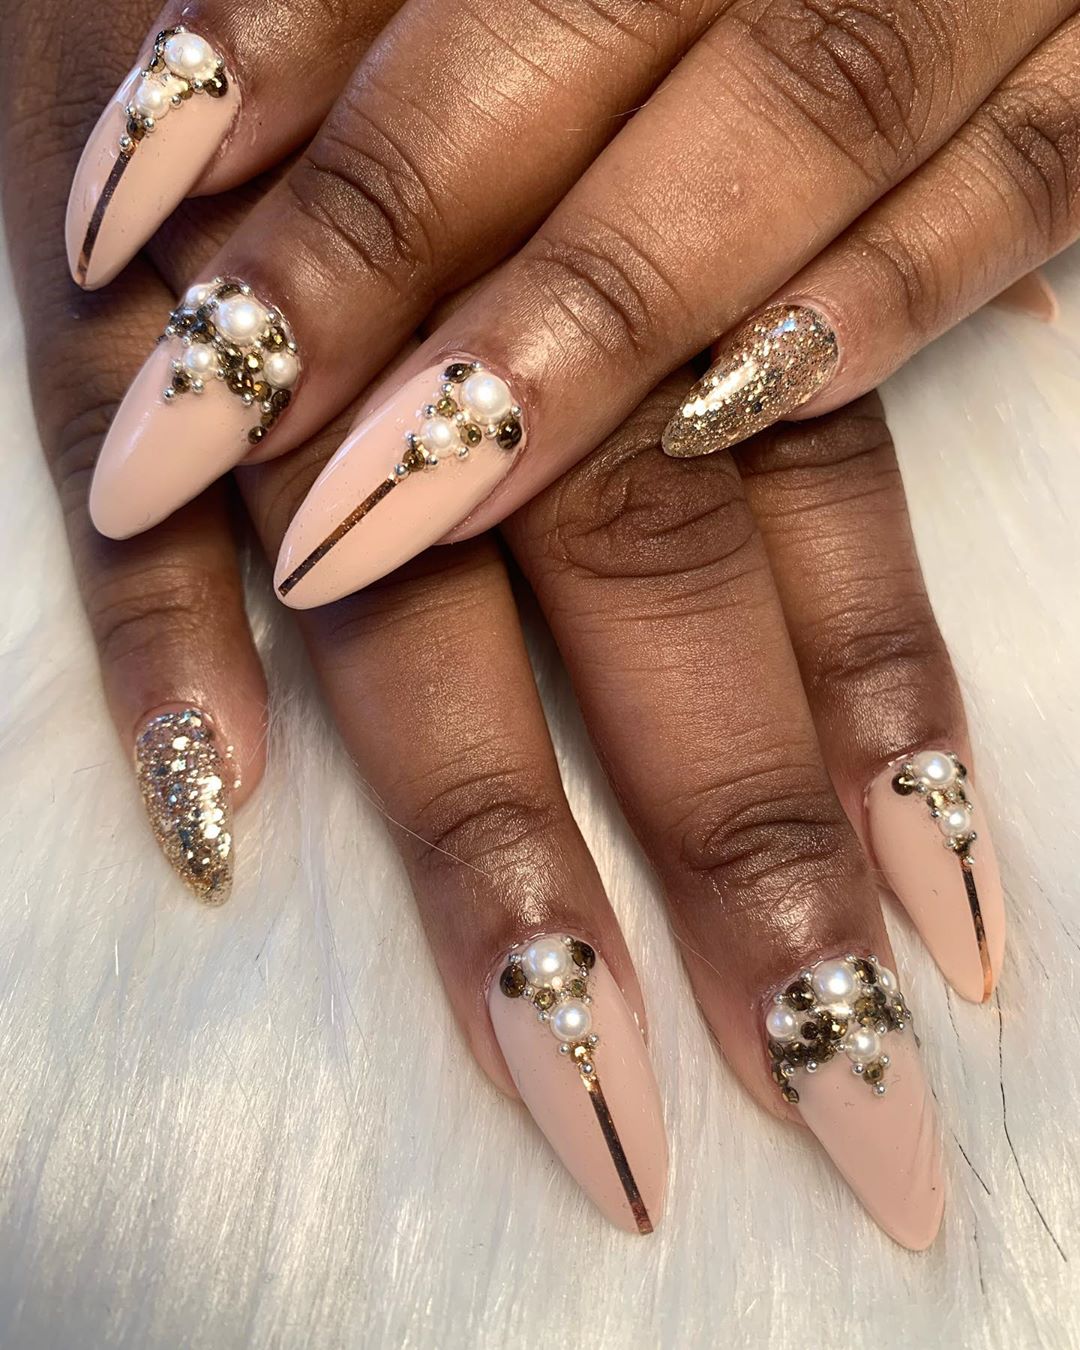
Rhinestones are a popular accessory for nail art and can add some serious bling to your diamond pattern design. Whether you use them to outline your diamonds or as a centerpiece, they are sure to make your nails look glamorous. Start by applying a base color and allowing it to dry. Then, using a striping brush, create a diamond shape on your nail. Next, apply a layer of clear polish over the diamond and carefully place rhinestones on the edges. You can also add a rhinestone in the center of the diamond for a more dazzling effect. For a simpler look, you can also just add a few rhinestones on top of your base color, creating a subtle and elegant design.9. Diamond Nail Art with Rhinestones


9. Diamond Nail Art with Rhinestones
Just starting out with nail art? Don't worry, there are plenty of diamond pattern designs that are perfect for beginners. One easy option is to create a diamond on just one nail and leave the rest of your nails a solid color. Start by painting your nails with a base color and allowing it to dry. Then, using a striping brush, create a diamond shape on one nail. Fill it in with a metallic or glitter polish and add some rhinestones for an extra touch of sparkle. This simple design is easy to achieve and looks great on any nail length. You can also try using nail art stickers or stencils to create a diamond pattern without the need for freehand painting. In conclusion, diamond pattern nail art is a versatile and eye-catching design that is perfect for any occasion. With these 10 different designs, you can easily switch up your nail game and add some sparkle to your next manicure. So go ahead and give one of these designs a try, and get ready to shine bright like a diamond!10. Diamond Nail Art Designs for Beginners


10. Diamond Nail Art Designs for Beginners


The Trendy and Chic Look of Diamond Pattern Nail Art
A Timeless Design
 When it comes to nail art, there are endless possibilities for creative and unique designs. One such design that has stood the test of time is the diamond pattern nail art. This classic and elegant look has been a favorite among fashion-forward individuals for decades. Not only does it add a touch of sophistication to your overall appearance, but it also complements any outfit and occasion.
Perfect for Any Nail Length and Shape
 One of the best things about diamond pattern nail art is that it can be done on any nail length and shape. Whether you have short, long, square, or almond-shaped nails, this design will look stunning on your hands. The geometric pattern of the diamond adds a touch of symmetry and balance to your nails, making them look longer and more polished.
Unleash Your Creativity
.jpg) Aside from its versatility, diamond pattern nail art also allows you to get creative and experiment with different colors and designs. You can choose to create a classic black and white look for a more sophisticated look, or go for vibrant and bold colors for a fun and playful vibe. You can even add some glitter or rhinestones to make your nails sparkle and stand out.
Aside from its versatility, diamond pattern nail art also allows you to get creative and experiment with different colors and designs. You can choose to create a classic black and white look for a more sophisticated look, or go for vibrant and bold colors for a fun and playful vibe. You can even add some glitter or rhinestones to make your nails sparkle and stand out.
Easy to Achieve
 Contrary to popular belief, diamond pattern nail art is not as complicated as it looks. With some practice and the right tools, you can easily achieve this chic and trendy look at home. You can use striping tape or nail stencils to create the perfect diamond pattern, or if you're feeling adventurous, you can freehand the design using a thin brush.
So why not give diamond pattern nail art a try?
It's a timeless and versatile design that adds a touch of elegance and creativity to your nails. With endless color and design options, you can never go wrong with this classic look. So go ahead and unleash your inner artist with this trendy and chic nail art design.
Contrary to popular belief, diamond pattern nail art is not as complicated as it looks. With some practice and the right tools, you can easily achieve this chic and trendy look at home. You can use striping tape or nail stencils to create the perfect diamond pattern, or if you're feeling adventurous, you can freehand the design using a thin brush.
So why not give diamond pattern nail art a try?
It's a timeless and versatile design that adds a touch of elegance and creativity to your nails. With endless color and design options, you can never go wrong with this classic look. So go ahead and unleash your inner artist with this trendy and chic nail art design.


