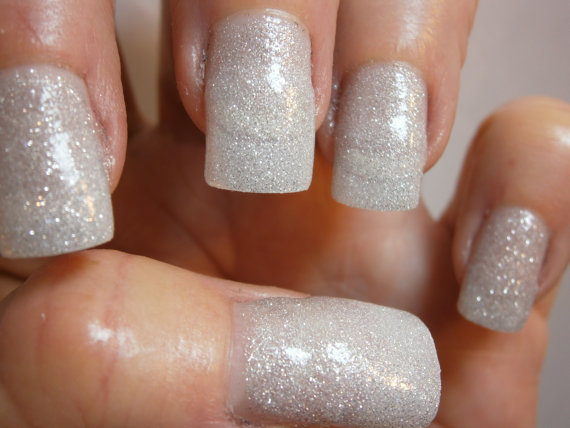
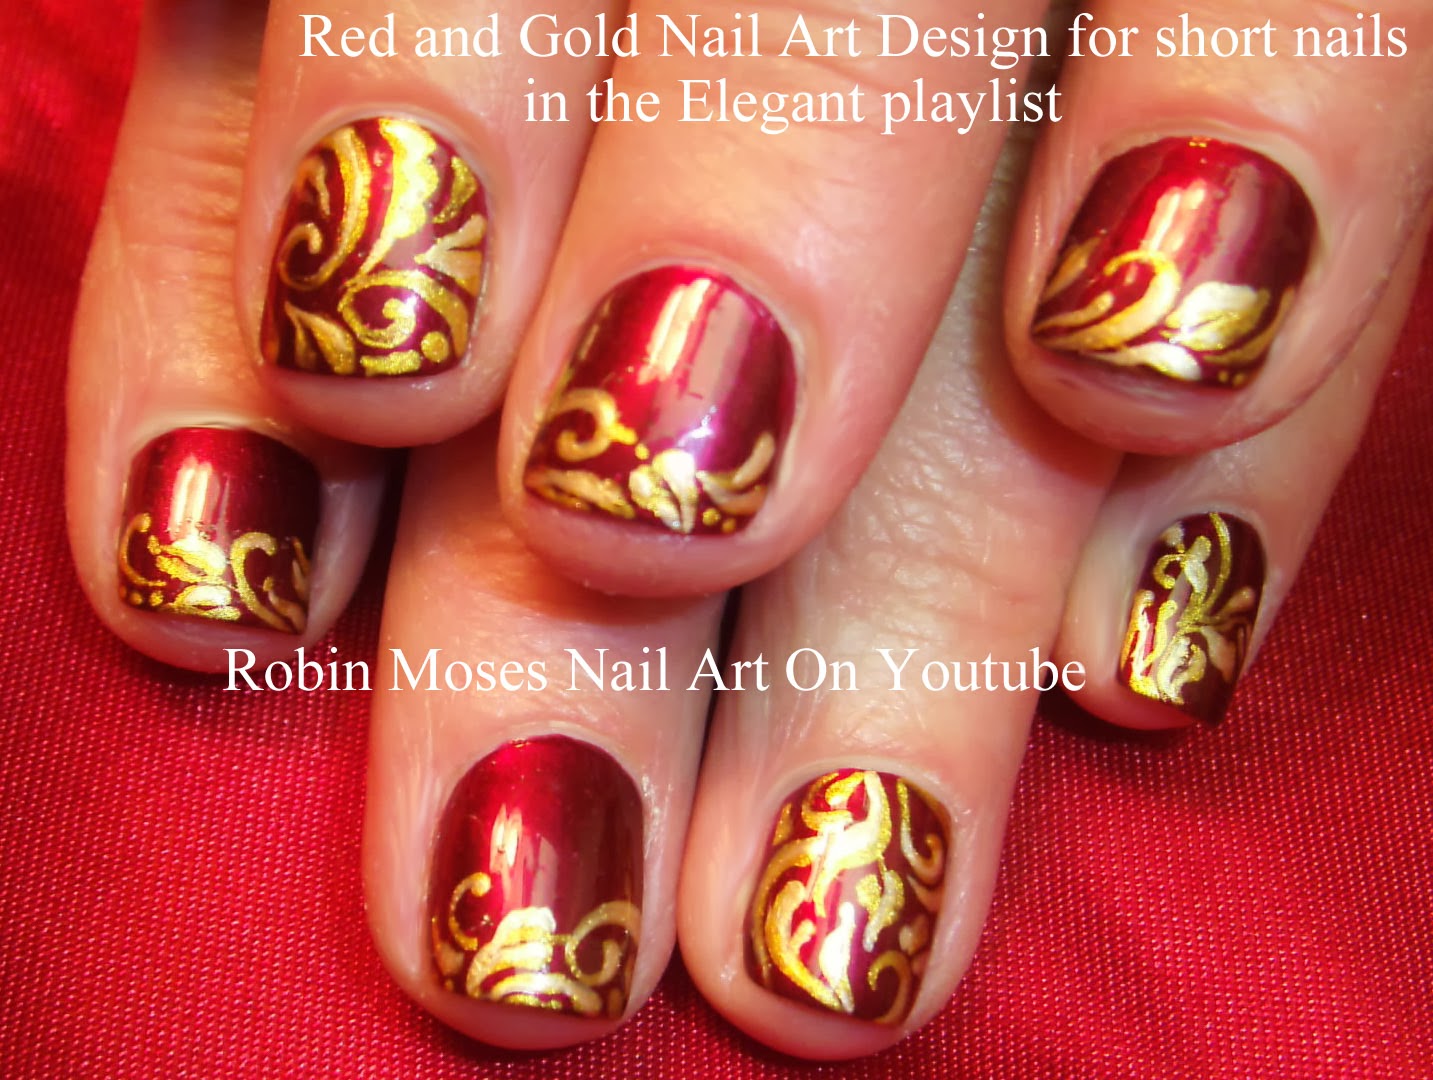
Creating a stunning diamond dust nail art may seem like a daunting task, but with the right tools and techniques, you can achieve a professional-looking manicure in no time. In this tutorial, we will guide you through the steps to create a gorgeous diamond dust nail art design that will make your nails shine like diamonds. The first step in this tutorial is to prepare your nails. Make sure they are clean, trimmed, and free of any old polish. Next, apply a base coat to protect your natural nails and allow it to dry completely. Once your base coat is dry, it's time to apply your chosen nail polish color. We recommend using a light or neutral shade as the base for your diamond dust nail art. This will allow the diamond dust to stand out and create a beautiful contrast. After applying your base color, it's time to add the diamond dust. Using a small brush, apply a thin layer of clear nail polish to one nail at a time. Then, take a pinch of diamond dust and sprinkle it over the wet polish, making sure to cover the entire nail. Make sure to use high-quality diamond dust for the best results. Once you have covered the entire nail with diamond dust, gently press it down with your finger to ensure it sticks to the polish. Repeat this process on all your nails, one at a time. After all your nails are covered in diamond dust, it's time to seal in the design. Apply a top coat over each nail, making sure to cover the diamond dust completely. This will not only protect your design but also give it a smooth and glossy finish. Allow your nails to dry completely before adding another layer of top coat for extra durability. And there you have it, a stunning diamond dust nail art design that will make your nails the envy of everyone.1. Diamond Dust Nail Art Tutorial


1. Diamond Dust Nail Art Tutorial


Adding diamond dust to your nails is a great way to add some sparkle and glamour to your manicure. But if you want to take your diamond dust nail art to the next level, here are some tips to help you create a truly stunning design. Choose a high-quality diamond dust: The key to achieving a beautiful diamond dust nail art is to use high-quality diamond dust. Invest in a reputable brand to ensure that the diamond dust is finely milled and will adhere to your nails properly. Experiment with different base colors: While a light or neutral base color is recommended, don't be afraid to experiment with different shades. Darker colors like black or navy can create a dramatic effect, while pastel shades can give a softer look. Try different application techniques: Instead of sprinkling the diamond dust over wet polish, you can also mix it with clear polish to create a glittery polish or use a makeup sponge to dab the diamond dust onto your nails for a gradient effect. Add some rhinestones: For an extra touch of bling, you can add some rhinestones to your diamond dust nail art. Apply them to your nails using tweezers and seal them in with a layer of top coat. Experiment with different shapes: Instead of just sprinkling the diamond dust over your entire nail, you can also create different shapes or patterns with it. Use tape or stencils to create a clean line or use a toothpick to draw intricate designs with the diamond dust. With these tips, you can elevate your diamond dust nail art and make it truly unique and eye-catching.2. How to Create a Stunning Diamond Dust Nail Art Design


2. How to Create a Stunning Diamond Dust Nail Art Design


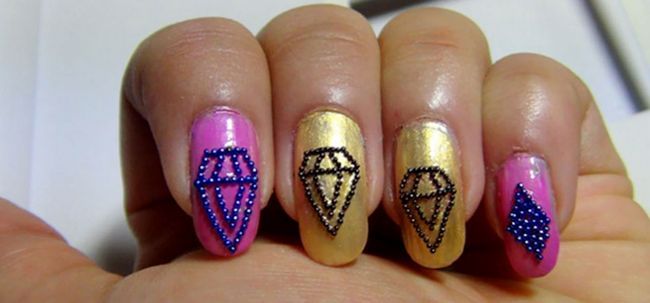
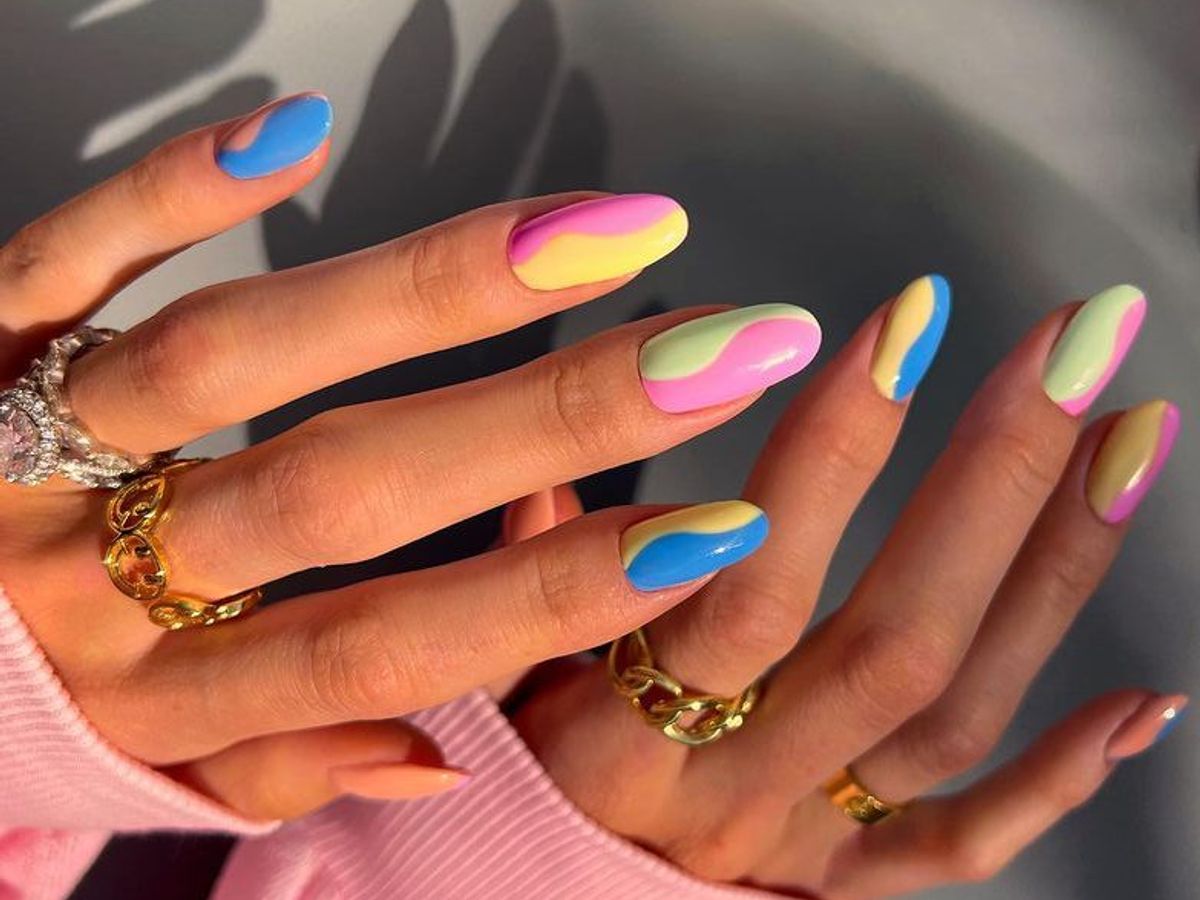
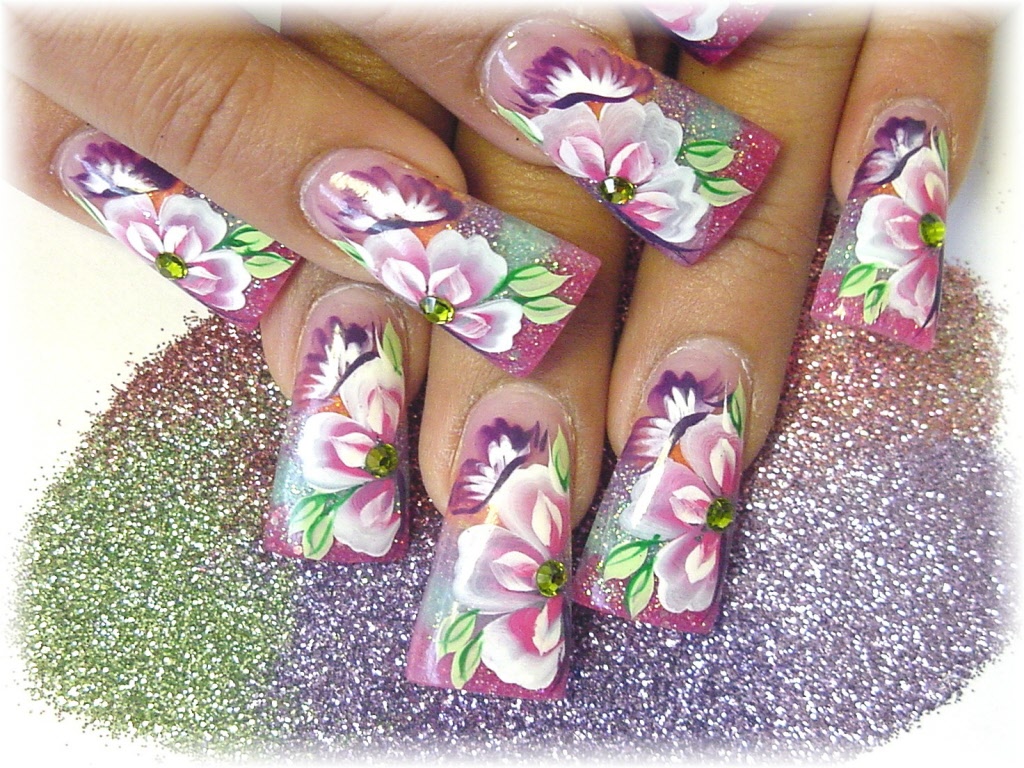
Looking for some inspiration for your next diamond dust nail art design? Here are some of the best ideas to get you started: Glittery Ombre: Create an ombre effect by blending a light and dark shade of the same color on your nails, then sprinkle diamond dust over the lightest shade for a sparkly finish. Marble Effect: Use a toothpick or small brush to swirl different nail polish colors on your nails, then add a layer of diamond dust for a mesmerizing marble effect. French Tips: Add a twist to the classic French tip by using diamond dust instead of white polish. This will give your nails a subtle yet elegant sparkle. Negative Space: Use tape or stencils to create a negative space design on your nails, then sprinkle diamond dust over the exposed area for a modern and edgy look. Floral Accents: Apply a light base color and use a toothpick to draw delicate flowers on your nails. Add a touch of diamond dust to the center of each flower for a beautiful and feminine look. These are just a few ideas, but the possibilities are endless when it comes to diamond dust nail art. Let your creativity run wild and create a design that reflects your personal style.3. Best Diamond Dust Nail Art Ideas
3. Best Diamond Dust Nail Art Ideas

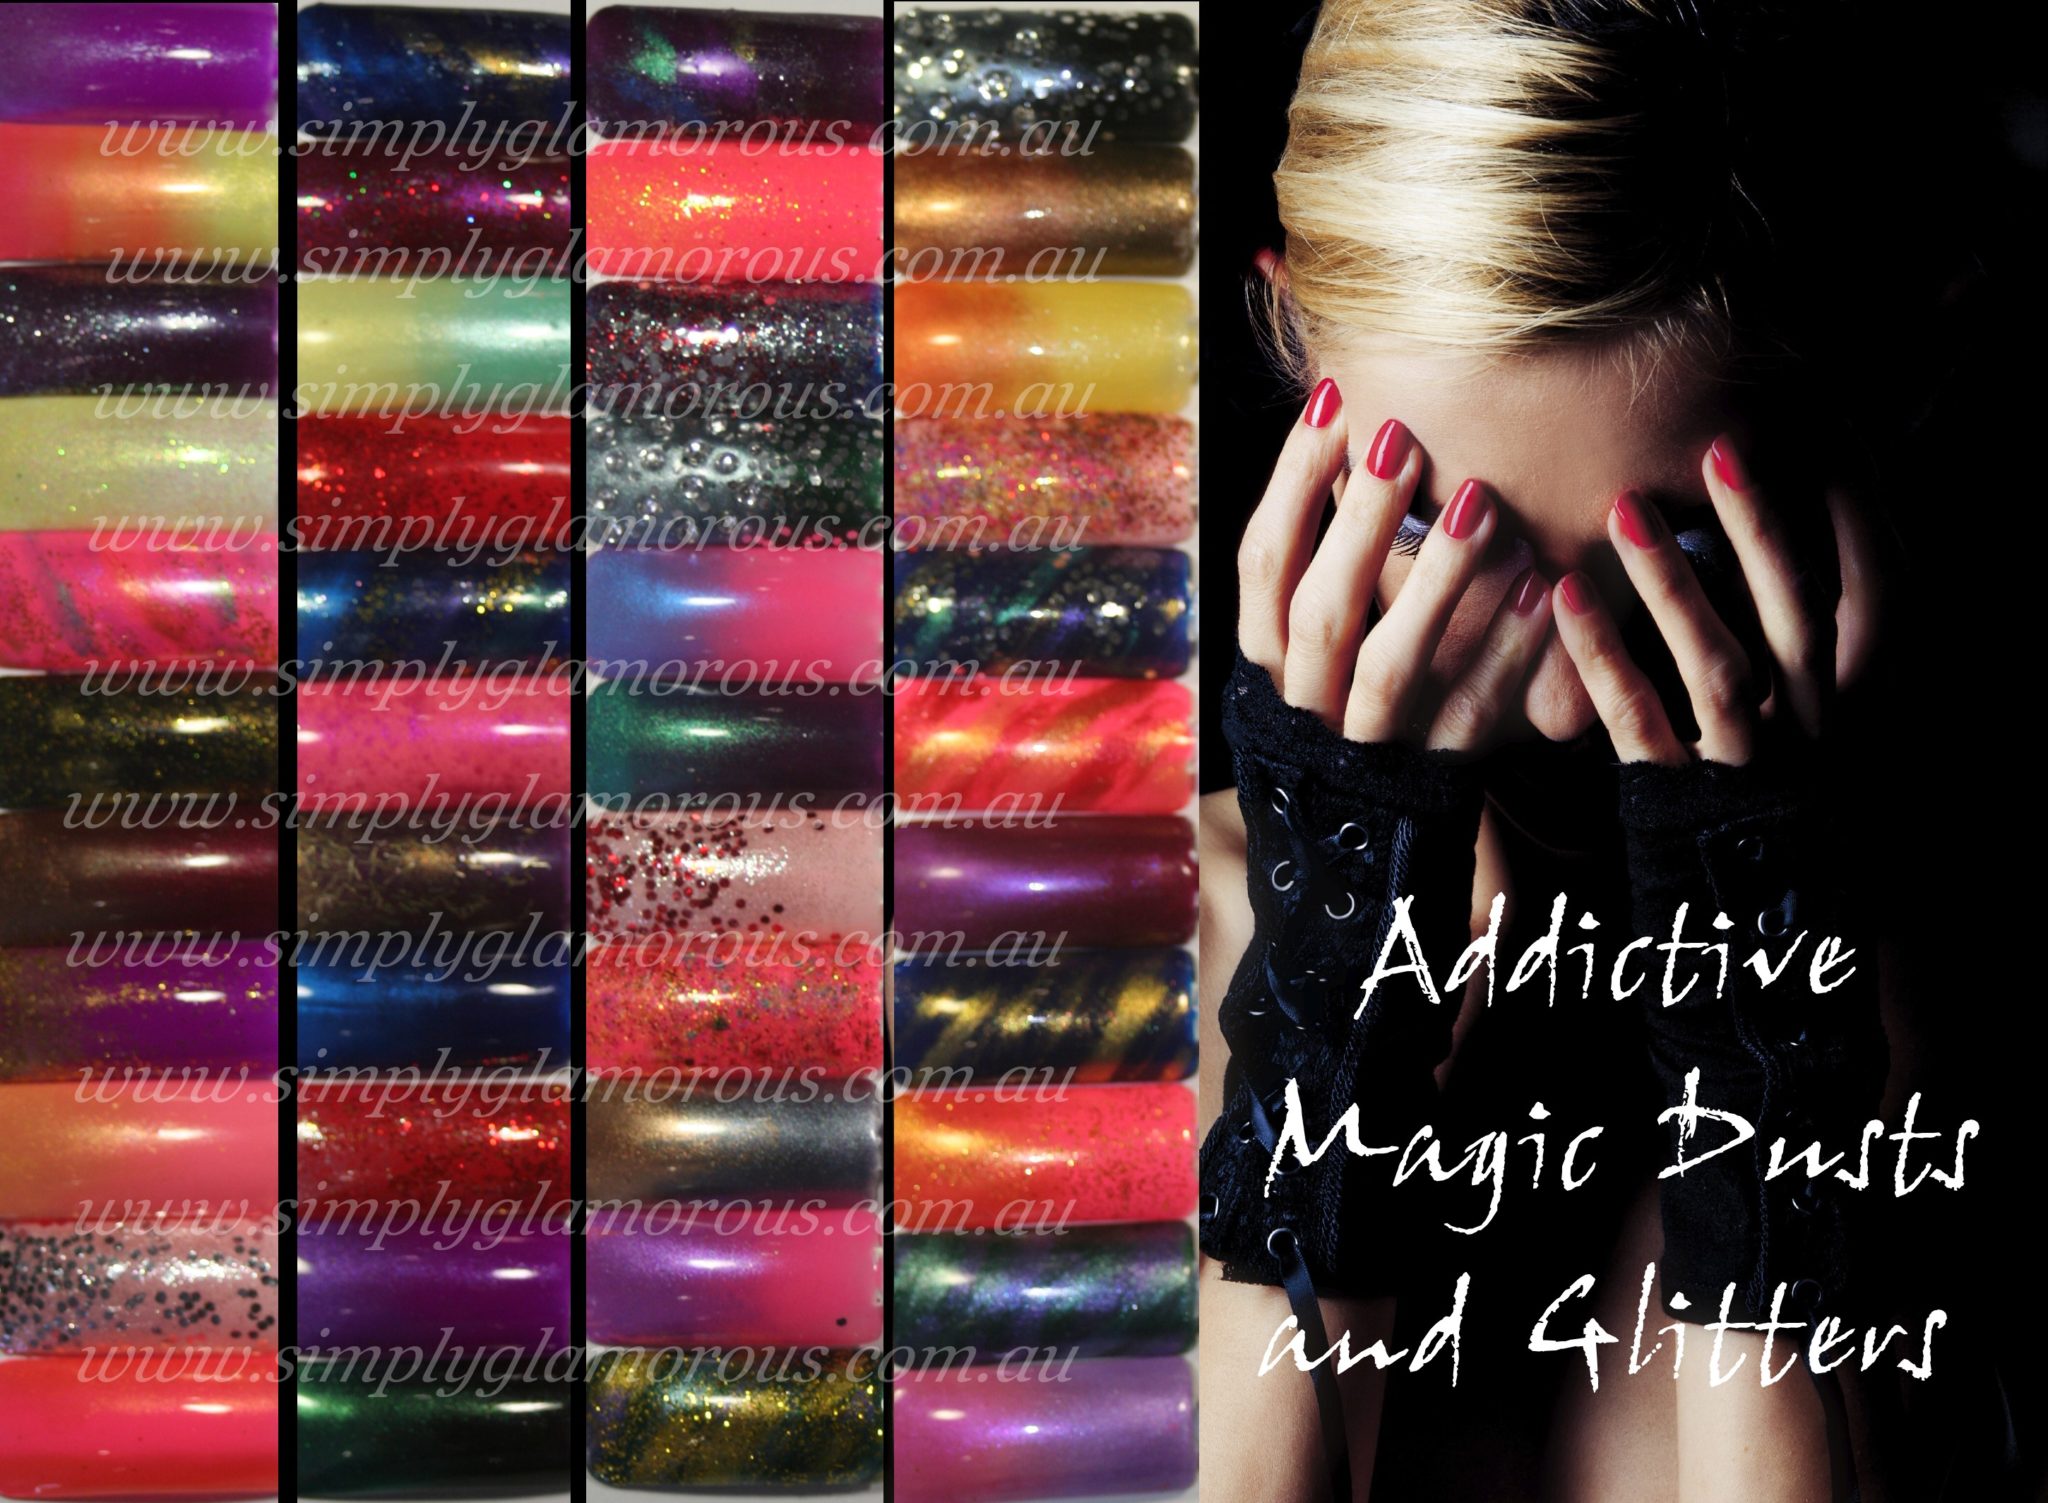
Before you start creating your diamond dust nail art, it's important to have all the necessary supplies on hand. Here's a list of the essential items you'll need: Base coat: This will protect your natural nails and help your polish adhere better. Nail polish: Choose your base color and any other colors you want to use for your design. Clear nail polish: This will be used to apply the diamond dust. Diamond dust: The star of the show, make sure to invest in a high-quality diamond dust for the best results. Top coat: This will seal in your design and give it a smooth and glossy finish. Small brush: This will be used to apply the clear polish and diamond dust to your nails. Optional items: Tweezers, rhinestones, tape, stencils, toothpick. Having these supplies on hand will make the process of creating your diamond dust nail art much easier and more enjoyable.4. Diamond Dust Nail Art Supplies


4. Diamond Dust Nail Art Supplies


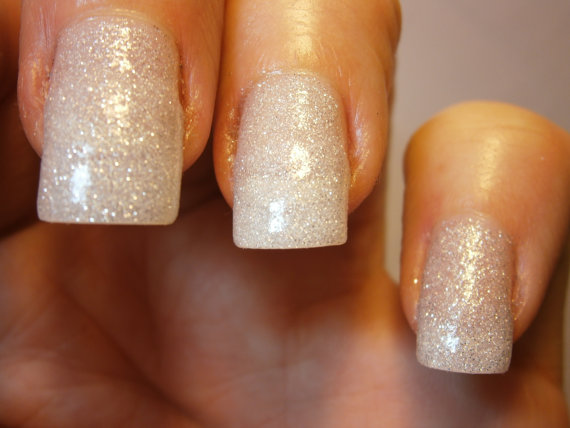
If you're new to diamond dust nail art, here's a step-by-step guide to help you create a beautiful design: Step 1: Prepare your nails by cleaning them and applying a base coat. Step 2: Apply your chosen base color and let it dry completely. Step 3: Apply a layer of clear nail polish to one nail at a time. Step 4: Sprinkle diamond dust over the wet polish, making sure to cover the entire nail. Step 5: Gently press the diamond dust onto the nail with your finger to ensure it sticks. Step 6: Repeat steps 3-5 on all your nails. Step 7: Apply a top coat over each nail, making sure to cover the diamond dust completely. Step 8: Allow your nails to dry completely before adding another layer of top coat for extra durability. Following these steps will help you achieve a flawless diamond dust nail art design.5. Step-by-Step Guide to Diamond Dust Nail Art


5. Step-by-Step Guide to Diamond Dust Nail Art
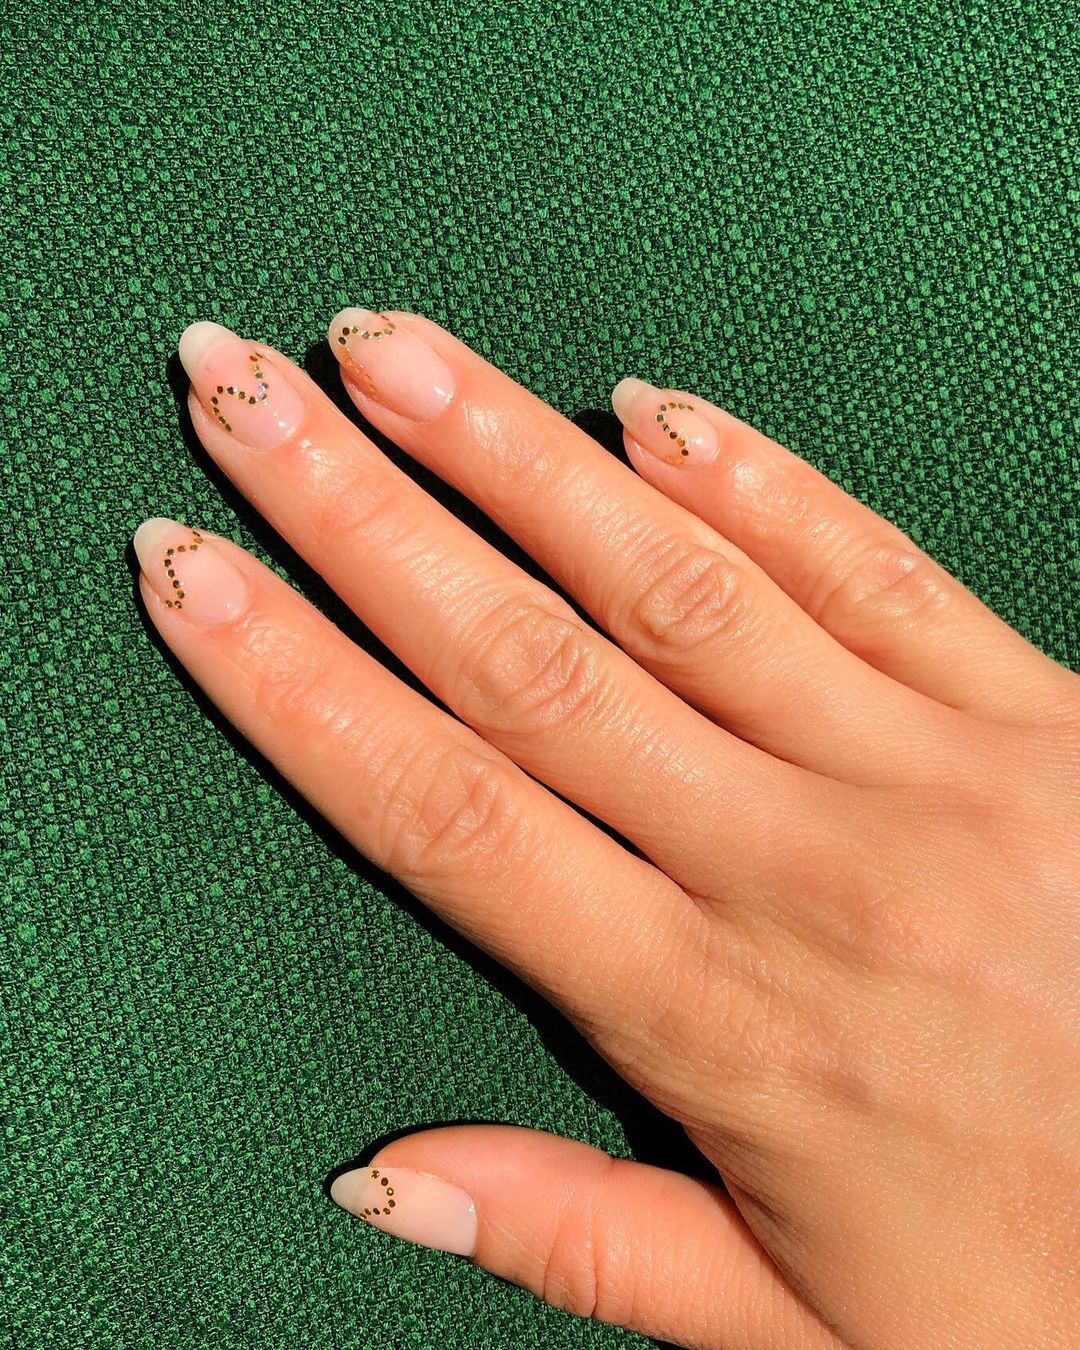
If you're still unsure about what design to create, here are some Instagram-worthy diamond dust nail art designs to inspire you: Geometric: Create a geometric design using different shapes and colors, then add diamond dust to some of the shapes for a unique and modern look. Galaxy: Use different shades of blue, purple, and black to create a galaxy-inspired design, then add diamond dust to mimic stars in the night sky. Animal Print: Use a toothpick to draw animal prints like leopard or zebra on your nails, then add diamond dust to make them stand out. Rainbow: Use a sponge to create a rainbow effect on your nails, then add diamond dust over the colors for a fun and colorful design. Sequins: Apply clear polish in the shape of a sequin on your nails, then fill it in with diamond dust for a glamorous and textured look. These are just a few ideas, but the possibilities are endless when it comes to diamond dust nail art. Let your creativity run wild and create a design that reflects your personal style.6. Diamond Dust Nail Art Inspiration


6. Diamond Dust Nail Art Inspiration


Creating a stunning diamond dust nail art doesn't have to break the bank. With a few simple tools and techniques, you can achieve a professional-looking design at home. Here are some tips for a successful DIY diamond dust nail art: Invest in good quality products: As mentioned before, using high-quality products is key to achieving a beautiful diamond dust nail art. This includes the base and top coat, nail polish, and of course, the diamond dust. Practice makes perfect: Don't get discouraged if your first attempt doesn't turn out perfect. Keep practicing and experimenting with different techniques until you find what works for you. Take care of your nails: Properly preparing your nails and taking care of them after your diamond dust nail art is essential for long-lasting results. Make sure to moisturize your hands and cuticles regularly to keep your nails healthy. Be patient: Let each layer of polish dry completely before adding the next one. Rushing the process can lead to smudging and ruining your design. With these tips in mind, you can achieve a stunning diamond dust nail art at home without breaking the bank.7. DIY Diamond Dust Nail Art at Home

7. DIY Diamond Dust Nail Art at Home
Here are some additional tips to help you perfect your diamond dust nail art: Use a fan: If you're in a hurry, you can use a small fan to speed up the drying process between layers of polish. Apply the diamond dust in a well-lit area: This will help you see if you've covered your entire nail with diamond dust and prevent any missed spots. Seal the edges: Make sure to apply top coat to the edges of your nails to prevent chipping. Use a peel-off base coat: If you're worried about removing the diamond dust, you can use a peel-off base coat. This will make the removal process much easier and less damaging to your nails. Apply top coat every few days: To keep your diamond dust nail art looking fresh and shiny, reapply top coat every few days to protect it from wear and tear. With these tips, you can achieve a professional-looking diamond dust nail art that will last for days.8. Tips for Perfecting Your Diamond Dust Nail Art


8. Tips for Perfecting Your Diamond Dust Nail Art

One of the best things about diamond dust nail art is that it can be customized for any occasion. Here are some ideas for different events: Wedding: For a bride-to-be, a classic French tip with diamond dust will add a touch of elegance to her wedding day look. Valentine's Day: Create a heart design on your nails using red polish, then sprinkle diamond dust over it for a romantic and festive touch. Holiday Parties: Add some sparkle to your holiday look with a glittery ombre design using diamond dust. Girls' Night Out: Get creative and add rhinestones and different shapes to your diamond dust nail art for a fun and glamorous look. Everyday Wear: For a more subtle look, sprinkle diamond dust over a nude or pastel base color for a touch of sparkle in your everyday life. With a little bit of imagination and the right color choices, you can create a diamond dust nail art for any occasion.9. Diamond Dust Nail Art Designs for Every Occasion


9. Diamond Dust Nail Art Designs for Every Occasion


Now that you're ready to create your own diamond dust nail art, you may be wondering where you can purchase diamond dust. Here are some places to start: Online: There are many online retailers that sell high-quality diamond dust specifically for nail art. Do your research and read reviews to find a reputable seller. Beauty Supply Stores: Some beauty supply stores carry diamond dust in their nail art section. You can also ask an employee for recommendations on the best brands they carry. Craft Stores: Some craft stores also carry diamond dust in their glitter section. Make sure to check the label to ensure it is safe to use on nails. Nail Salons: If you're in a pinch, you can also ask your nail technician if they have diamond dust available for use in your manicure. With these options, you can easily find diamond dust for your next nail art project.10. Where to Buy Diamond Dust for Nail Art
10. Where to Buy Diamond Dust for Nail Art
The Sparkling Trend of Diamond Dust Nail Art

What is Diamond Dust Nail Art?
 If you're a fan of the latest nail trends, you've probably heard of diamond dust nail art. This glamorous and eye-catching manicure involves adding tiny flecks of real diamonds or diamond dust to your nail polish, creating a glittering and luxurious effect. It's the perfect way to add some bling to your nails and make a statement.
Why is it Gaining Popularity?
 Diamond dust nail art has been gaining popularity in recent years, and it's not hard to see why. With the rise of social media and the influence of influencers and celebrities, people are constantly looking for unique and attention-grabbing ways to express themselves. Diamond dust nail art offers just that, with its dazzling and high-end look.
The Process
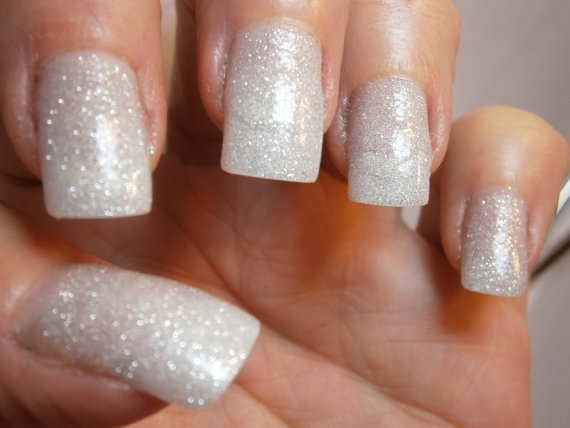
 The process of creating diamond dust nail art is similar to a regular manicure, with the addition of the diamond dust at the end. The manicurist will start by shaping and cleaning your nails, then applying a base coat. Next, they will add a layer of your chosen nail polish color, followed by a layer of clear topcoat. This is where the magic happens – the diamond dust is sprinkled onto the wet topcoat, and then sealed in with another layer of topcoat. The result is a sparkling and textured finish that looks like real diamonds on your nails.
Who Can Wear Diamond Dust Nail Art?
 The great thing about diamond dust nail art is that anyone can wear it. It's not limited to a specific age group or style. Whether you want to add some glamour to your everyday look or make a statement at a special event, diamond dust nail art is versatile and can be customized to your liking. You can opt for a full coverage look or just add a few accent nails for a subtle touch of sparkle.
Caring for Diamond Dust Nails
 Since real diamonds are used in this manicure, it's essential to take proper care of your diamond dust nails to maintain their shine and longevity. Avoid using harsh chemicals, such as acetone, and opt for gentle nail polish removers. It's also recommended to wear gloves when doing household chores to protect your nails. With proper care, your diamond dust nails can last up to two weeks.
In Conclusion
 Diamond dust nail art is a luxurious and dazzling trend that is here to stay. It's a perfect way to add some sparkle and glamour to your everyday look or make a statement at a special event. So why not treat yourself and try out this sparkling trend? Your nails will thank you!


