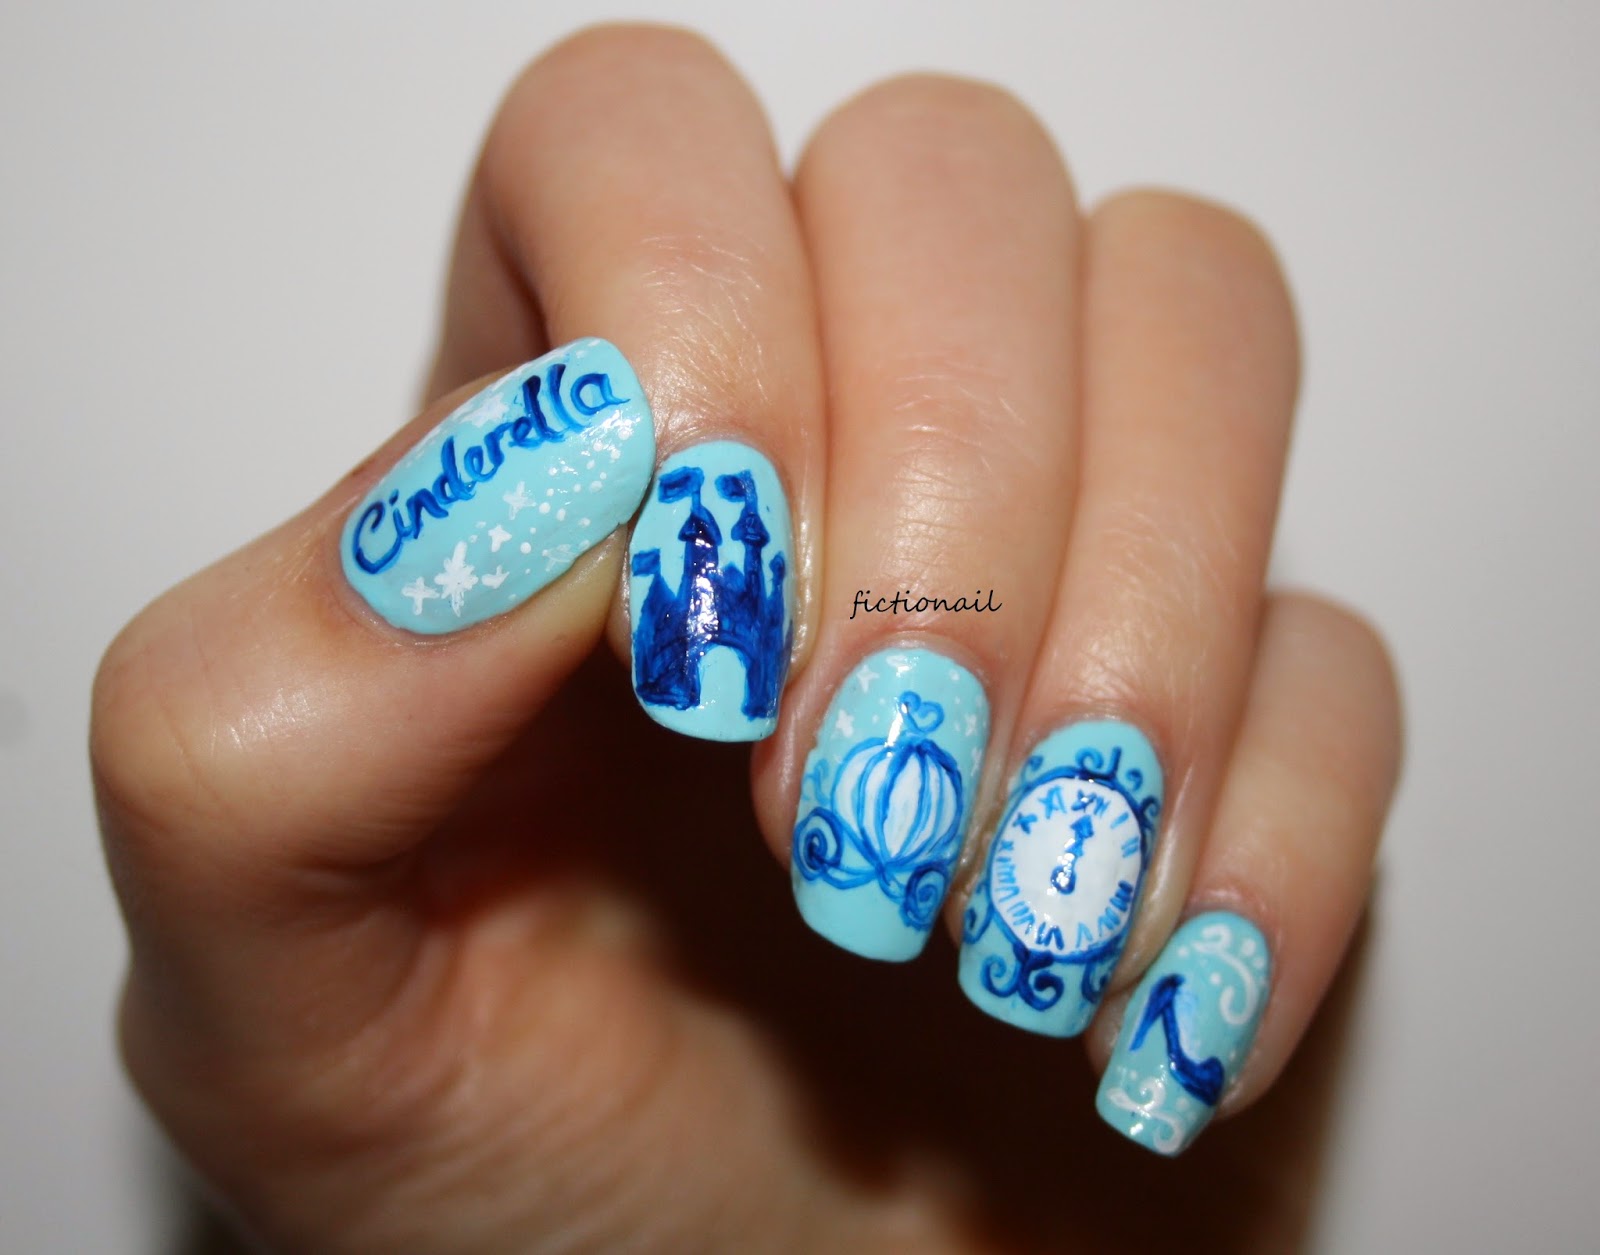
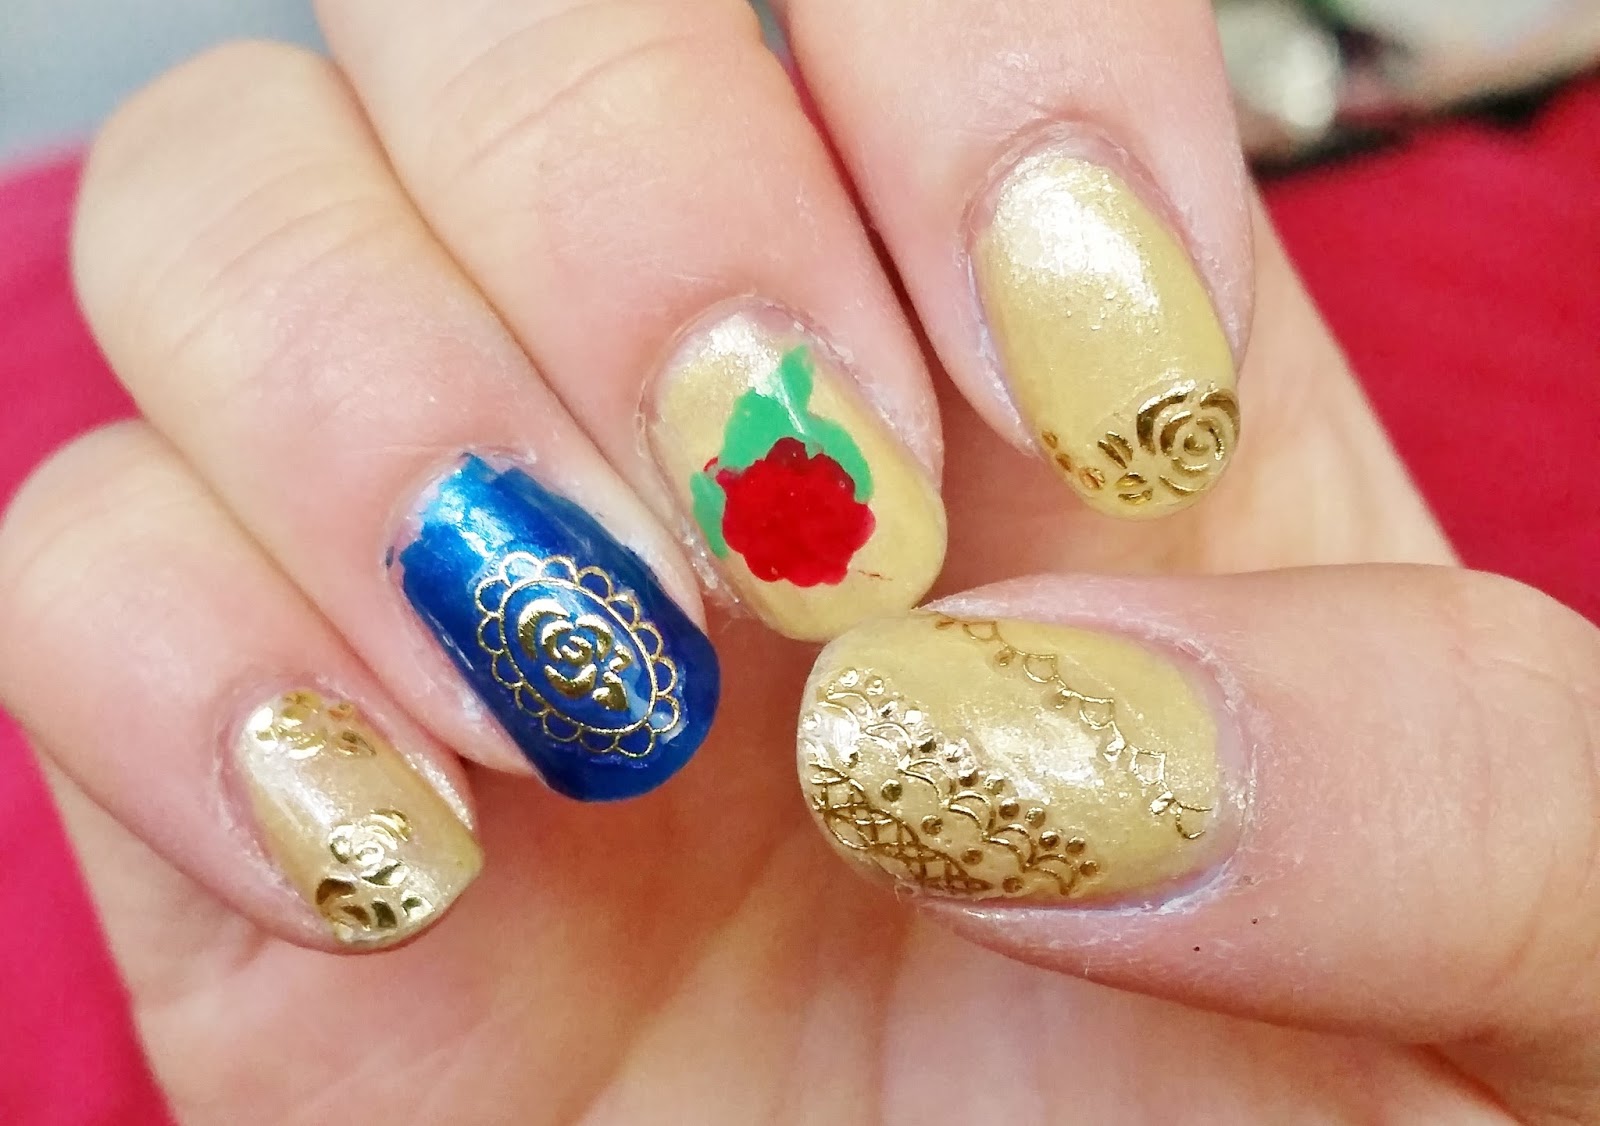
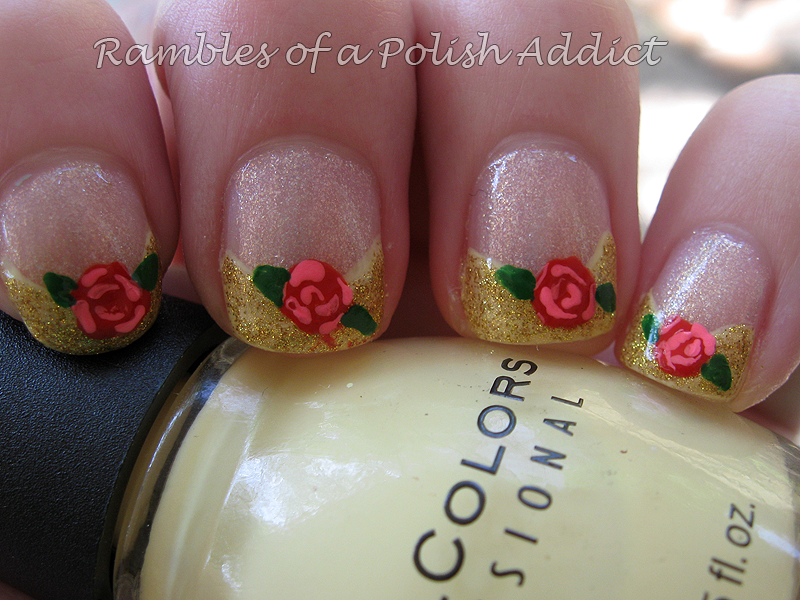
If you're a fan of Disney's classic Beauty and the Beast, then you'll love this Disney Princess Belle nail art tutorial. With yellow as the main color and red accents to represent Belle's iconic ballgown, this design is a must-try for any Disney lover. To achieve this look, start with a light yellow base coat on all your nails. Once it's dry, use a thin brush and red nail polish to create the outline of Belle's dress on your ring finger. Fill it in with the same color and add a red rhinestone at the top for a touch of sparkle. For the rest of your nails, use a light pink polish to create small roses as an ode to Belle's love for gardening. Finish off the design with a clear top coat to seal everything in and add shine. This tutorial is perfect for anyone looking for a subtle and elegant way to show off their love for Belle and her story.1. Disney Princess Belle Nail Art Tutorial
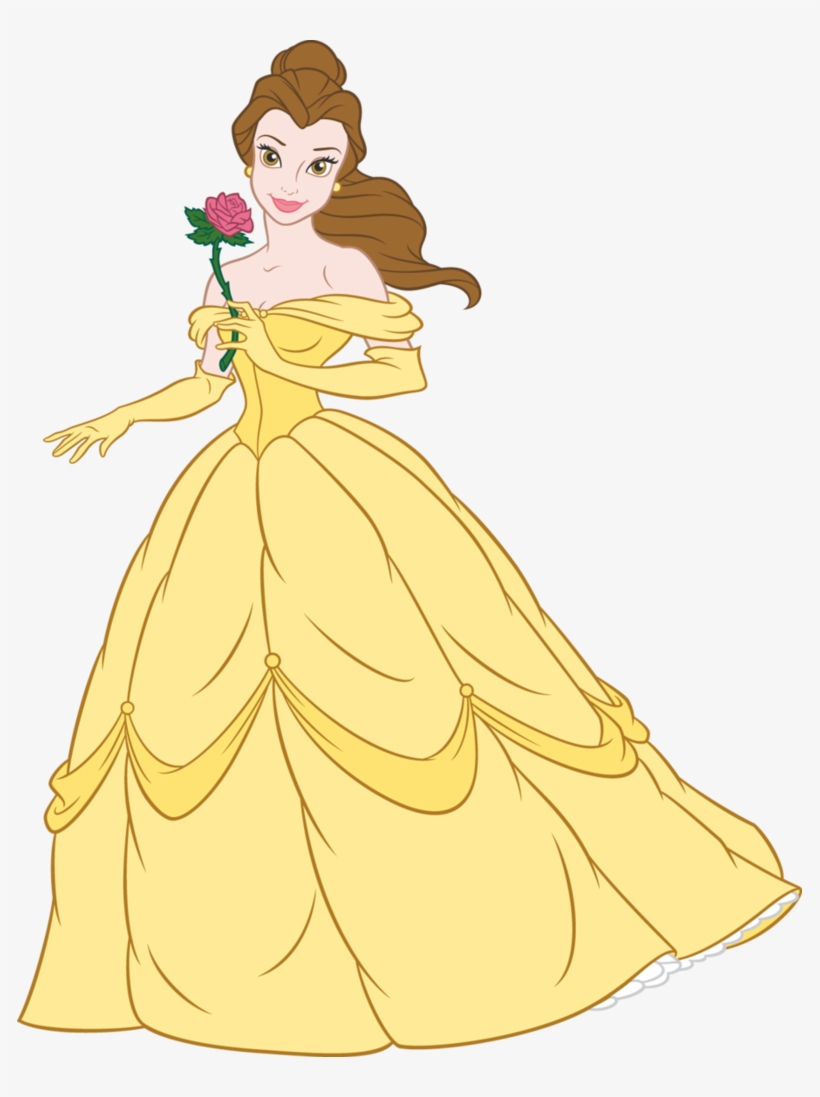

Disney Princess Belle Nail Art Tutorial


If you want a more abstract and creative way to incorporate Belle into your nail art, try this Disney Belle inspired design. Instead of using the traditional yellow and red colors, this look features a purple base with gold accents. Start by painting your nails with a light purple polish and let it dry completely. Then, using a gold nail polish and a thin brush, create swirls and curly lines on your nails to represent Belle's iconic dress. Add some gold glitter to add some extra sparkle to the design. To finish off the look, use a light purple polish to create a rose on your accent nail. This design is perfect for those who want to add a subtle touch of Disney to their nails without being too obvious.2. Disney Belle Inspired Nail Art


Disney Belle Inspired Nail Art


If you're short on time but still want to rock some Disney Belle nail art, this easy design is perfect for you. All you need is a light yellow and red nail polish, a dotting tool, and a clear top coat. Start by painting your nails with the light yellow polish and let it dry completely. Then, using the dotting tool, create red polka dots on your nails. You can do this randomly or in a specific pattern, whichever you prefer. This design is simple yet effective and will have people asking where you got your nails done.3. Easy Disney Belle Nail Art Design


Easy Disney Belle Nail Art Design
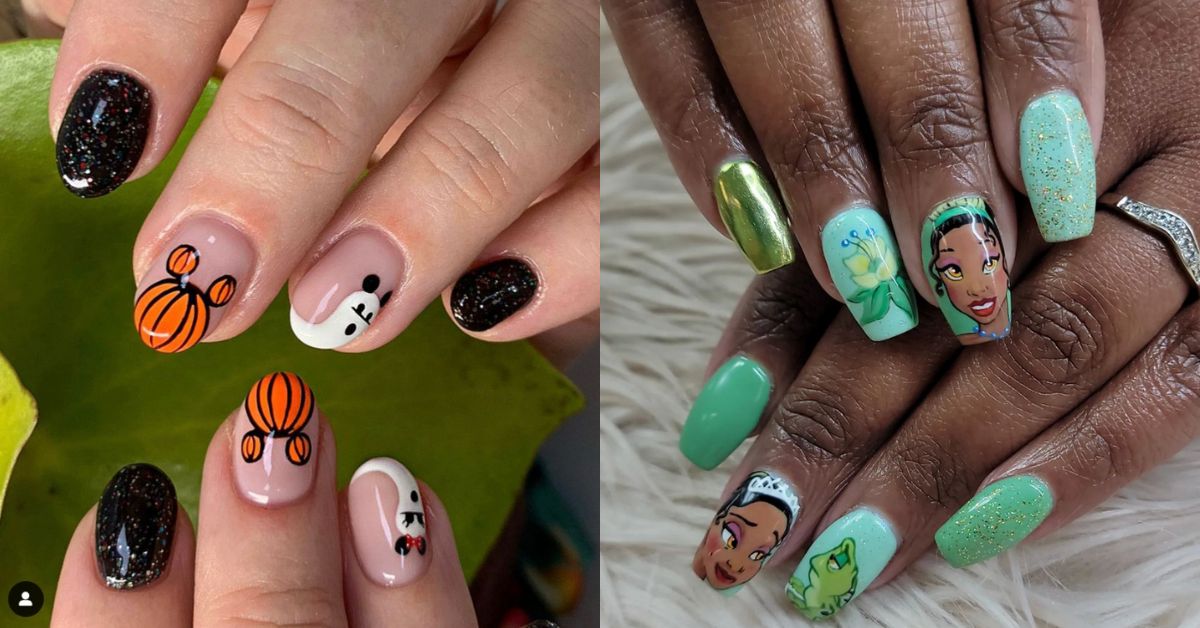

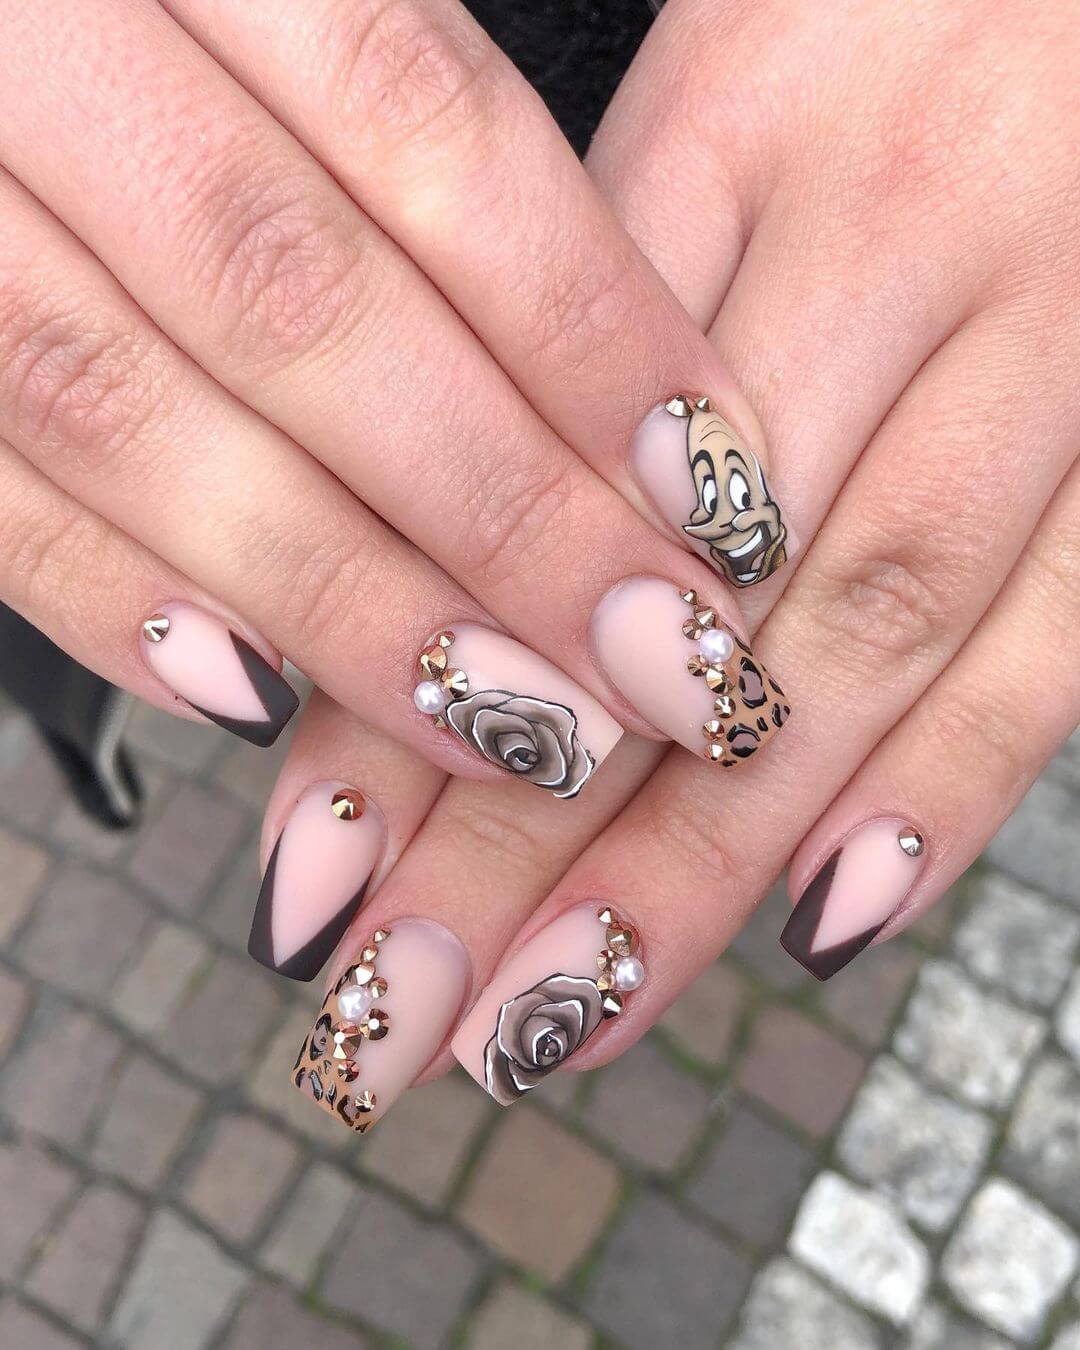
There are so many different ways to incorporate Belle into your nail art, so here are a few more ideas to inspire you: - Use pink and white nail polish to create a rose on your accent nail, inspired by Belle's love for gardening. - Create a stained glass effect on your nails, similar to the iconic Beauty and the Beast scene, using different colors and thin brushes. - Use black nail polish to create the silhouette of Belle in her yellow ballgown on your accent nail, inspired by the movie's poster. - Add some sparkle to your nails by using a metallic or glitter polish for your base color.4. Disney Belle Nail Art Ideas
Disney Belle Nail Art Ideas

For those who are new to nail art, here's a step-by-step guide to creating a simple yet stunning Disney Belle nail art design: - Start by painting your nails with a light yellow polish and let it dry completely. - Using a thin brush and red nail polish, create the outline of Belle's dress on your ring finger. - Fill in the outline with the same red polish and add a red rhinestone at the top for a touch of sparkle. - Using a light pink polish and a dotting tool, create small roses on the rest of your nails. - Finish off the look with a clear top coat to seal everything in and add shine.5. Disney Belle Nail Art Step by Step

Disney Belle Nail Art Step by Step


Short nails? No problem! You can still rock some Disney Belle nail art with this design. Start by painting your nails with a light yellow polish and let it dry completely. Using a thin brush and red nail polish, create vertical stripes on your nails. Then, using a dotting tool, create small dots on the stripes to represent the buttons on Belle's dress. Finish off with a clear top coat and you'll have a cute and simple Disney Belle design on your nails.6. Disney Belle Nail Art for Short Nails


Disney Belle Nail Art for Short Nails

If you have longer nails, you have more space to play with when it comes to nail art. For this Disney Belle design, start by painting your nails with a light yellow and red polish, alternating between the two colors on each nail. Then, using a thin brush and black nail polish, create curly lines on the yellow nails to represent Belle's hair. On the red nails, use a white polish to create a rose design. Finish off with a clear top coat and you'll have a unique and stunning Disney Belle nail art design.7. Disney Belle Nail Art for Long Nails


Disney Belle Nail Art for Long Nails


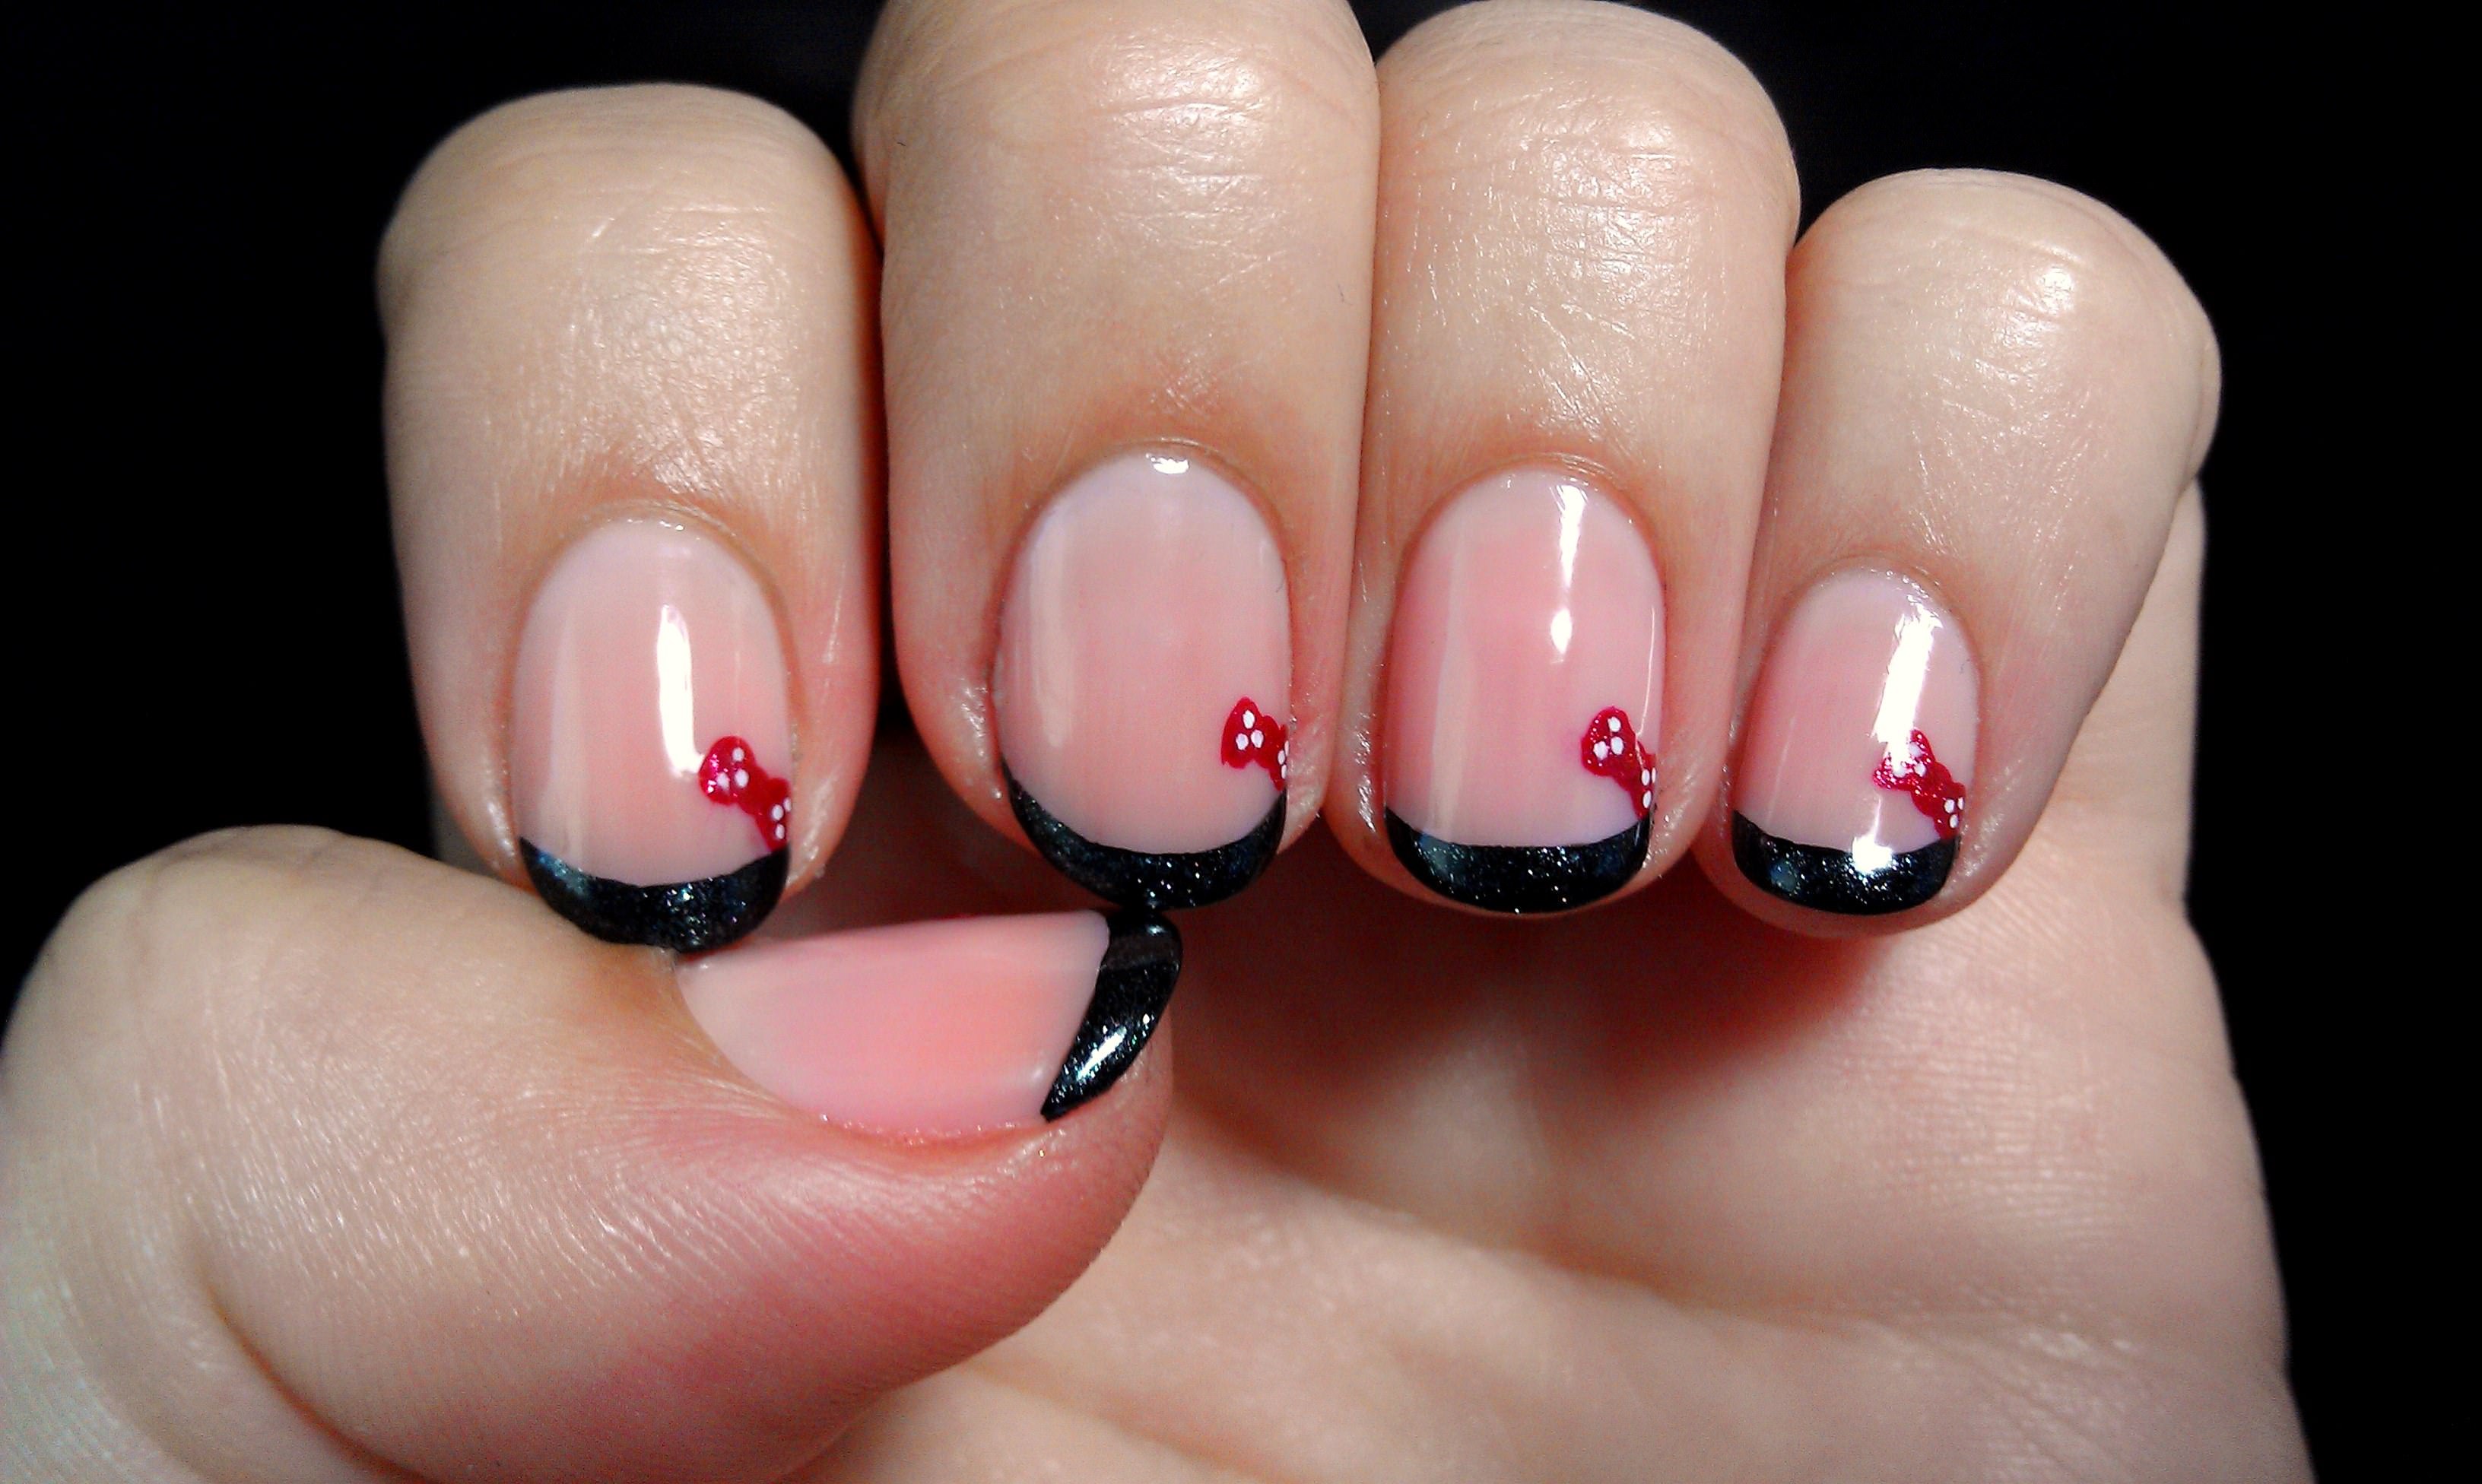
Add some extra sparkle and glamour to your Disney Belle nail art by incorporating rhinestones. Start by painting your nails with a light yellow polish and let it dry completely. Using a thin brush and red nail polish, create vertical stripes on your nails. Then, using a dotting tool, add rhinestones on top of the stripes to represent the buttons on Belle's dress. Finish off with a clear top coat and your nails will be fit for a princess.8. Disney Belle Nail Art with Rhinestones

Disney Belle Nail Art with Rhinestones
If you love a bit of glitter on your nails, try this Disney Belle nail art design. Start by painting your nails with a light yellow polish and let it dry completely. Then, using a thin brush and a glitter polish, create curly lines on your nails, inspired by Belle's hair. You can also add some glitter to your accent nail to represent the sparkle of Belle's dress. Finish off with a clear top coat and you'll have a glamorous and eye-catching Disney Belle nail art design.9. Disney Belle Nail Art with Glitter


Disney Belle Nail Art with Glitter


For an easy and quick way to achieve Disney Belle nail art, try using stickers. Start by painting your nails with a light yellow polish and let it dry completely. Then, using nail stickers in the shape of roses, add them to your nails for a simple and elegant design. You can also use stickers of Belle's silhouette or the Beauty and the Beast logo for a more obvious Disney reference. Finish off with a clear top coat and your Disney Belle nail art is complete.10. Disney Belle Nail Art with Stickers
Disney Belle Nail Art with Stickers

Transform Your Nails into a Fairytale with Disney Belle Nail Art

Elevate Your Nail Game
 Are you ready to take your nail game to the next level? Look no further than Disney Belle nail art! Inspired by the beloved princess from Beauty and the Beast, this nail art trend is sure to make you feel like royalty. With intricate designs and vibrant colors, you can transform your nails into a fairytale fit for a princess.
Unleash Your Inner Belle
 Belle is known for her love of books and her fearless spirit. And now, you can channel her confidence and elegance through your nails. Show off your love for literature with
book-inspired nail designs
that feature iconic titles like Beauty and the Beast and The Little Mermaid. Or, opt for
floral designs
to mimic Belle's iconic yellow ballgown and her love for nature.
Belle is known for her love of books and her fearless spirit. And now, you can channel her confidence and elegance through your nails. Show off your love for literature with
book-inspired nail designs
that feature iconic titles like Beauty and the Beast and The Little Mermaid. Or, opt for
floral designs
to mimic Belle's iconic yellow ballgown and her love for nature.
Perfect for Any Occasion
 Whether you're attending a fancy event or just want to add a touch of magic to your everyday look, Disney Belle nail art is perfect for any occasion. From
subtle and delicate designs
to
bold and statement-making patterns
, there's a design for every mood and style. You can even mix and match different designs to create a unique look that truly represents your love for Belle.
Whether you're attending a fancy event or just want to add a touch of magic to your everyday look, Disney Belle nail art is perfect for any occasion. From
subtle and delicate designs
to
bold and statement-making patterns
, there's a design for every mood and style. You can even mix and match different designs to create a unique look that truly represents your love for Belle.
A Professional Touch
 While Disney Belle nail art may seem challenging to achieve, fear not! You don't have to be a professional nail artist to rock this trend. With the help of a
nail stamping kit
or
nail stickers
, you can easily create intricate designs without having to spend hours at a salon. Plus, you can experiment with different colors and designs until you find the perfect one for you.
While Disney Belle nail art may seem challenging to achieve, fear not! You don't have to be a professional nail artist to rock this trend. With the help of a
nail stamping kit
or
nail stickers
, you can easily create intricate designs without having to spend hours at a salon. Plus, you can experiment with different colors and designs until you find the perfect one for you.
Final Thoughts
 So, if you're looking to add a touch of magic and fairytales to your style, look no further than Disney Belle nail art. With its versatility and stunning designs, it's a trend that's here to stay. So, unleash your inner princess and transform your nails into a fairytale fit for a Belle.


