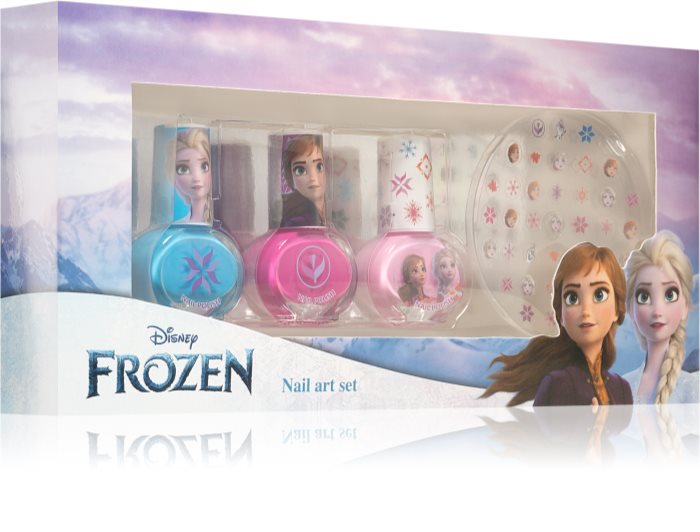
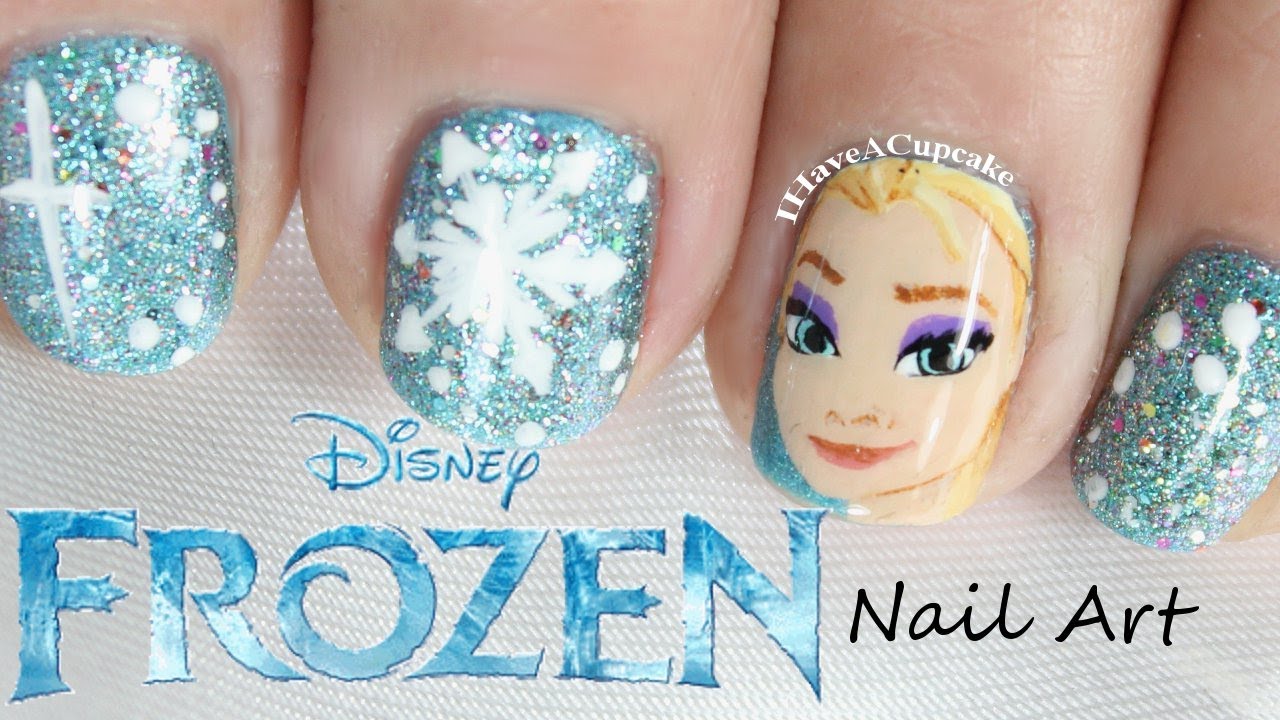
Are you a fan of Disney's Frozen and looking for a way to show your love for the beloved movie? Look no further, as we have compiled a list of the top 10 Disney inspired Frozen nail art tutorials that will have you feeling like a true ice queen. From Elsa to Olaf, these tutorials will help you recreate your favorite characters on your nails with ease.Disney Frozen Nail Art Tutorial


Disney Frozen Nail Art Tutorial


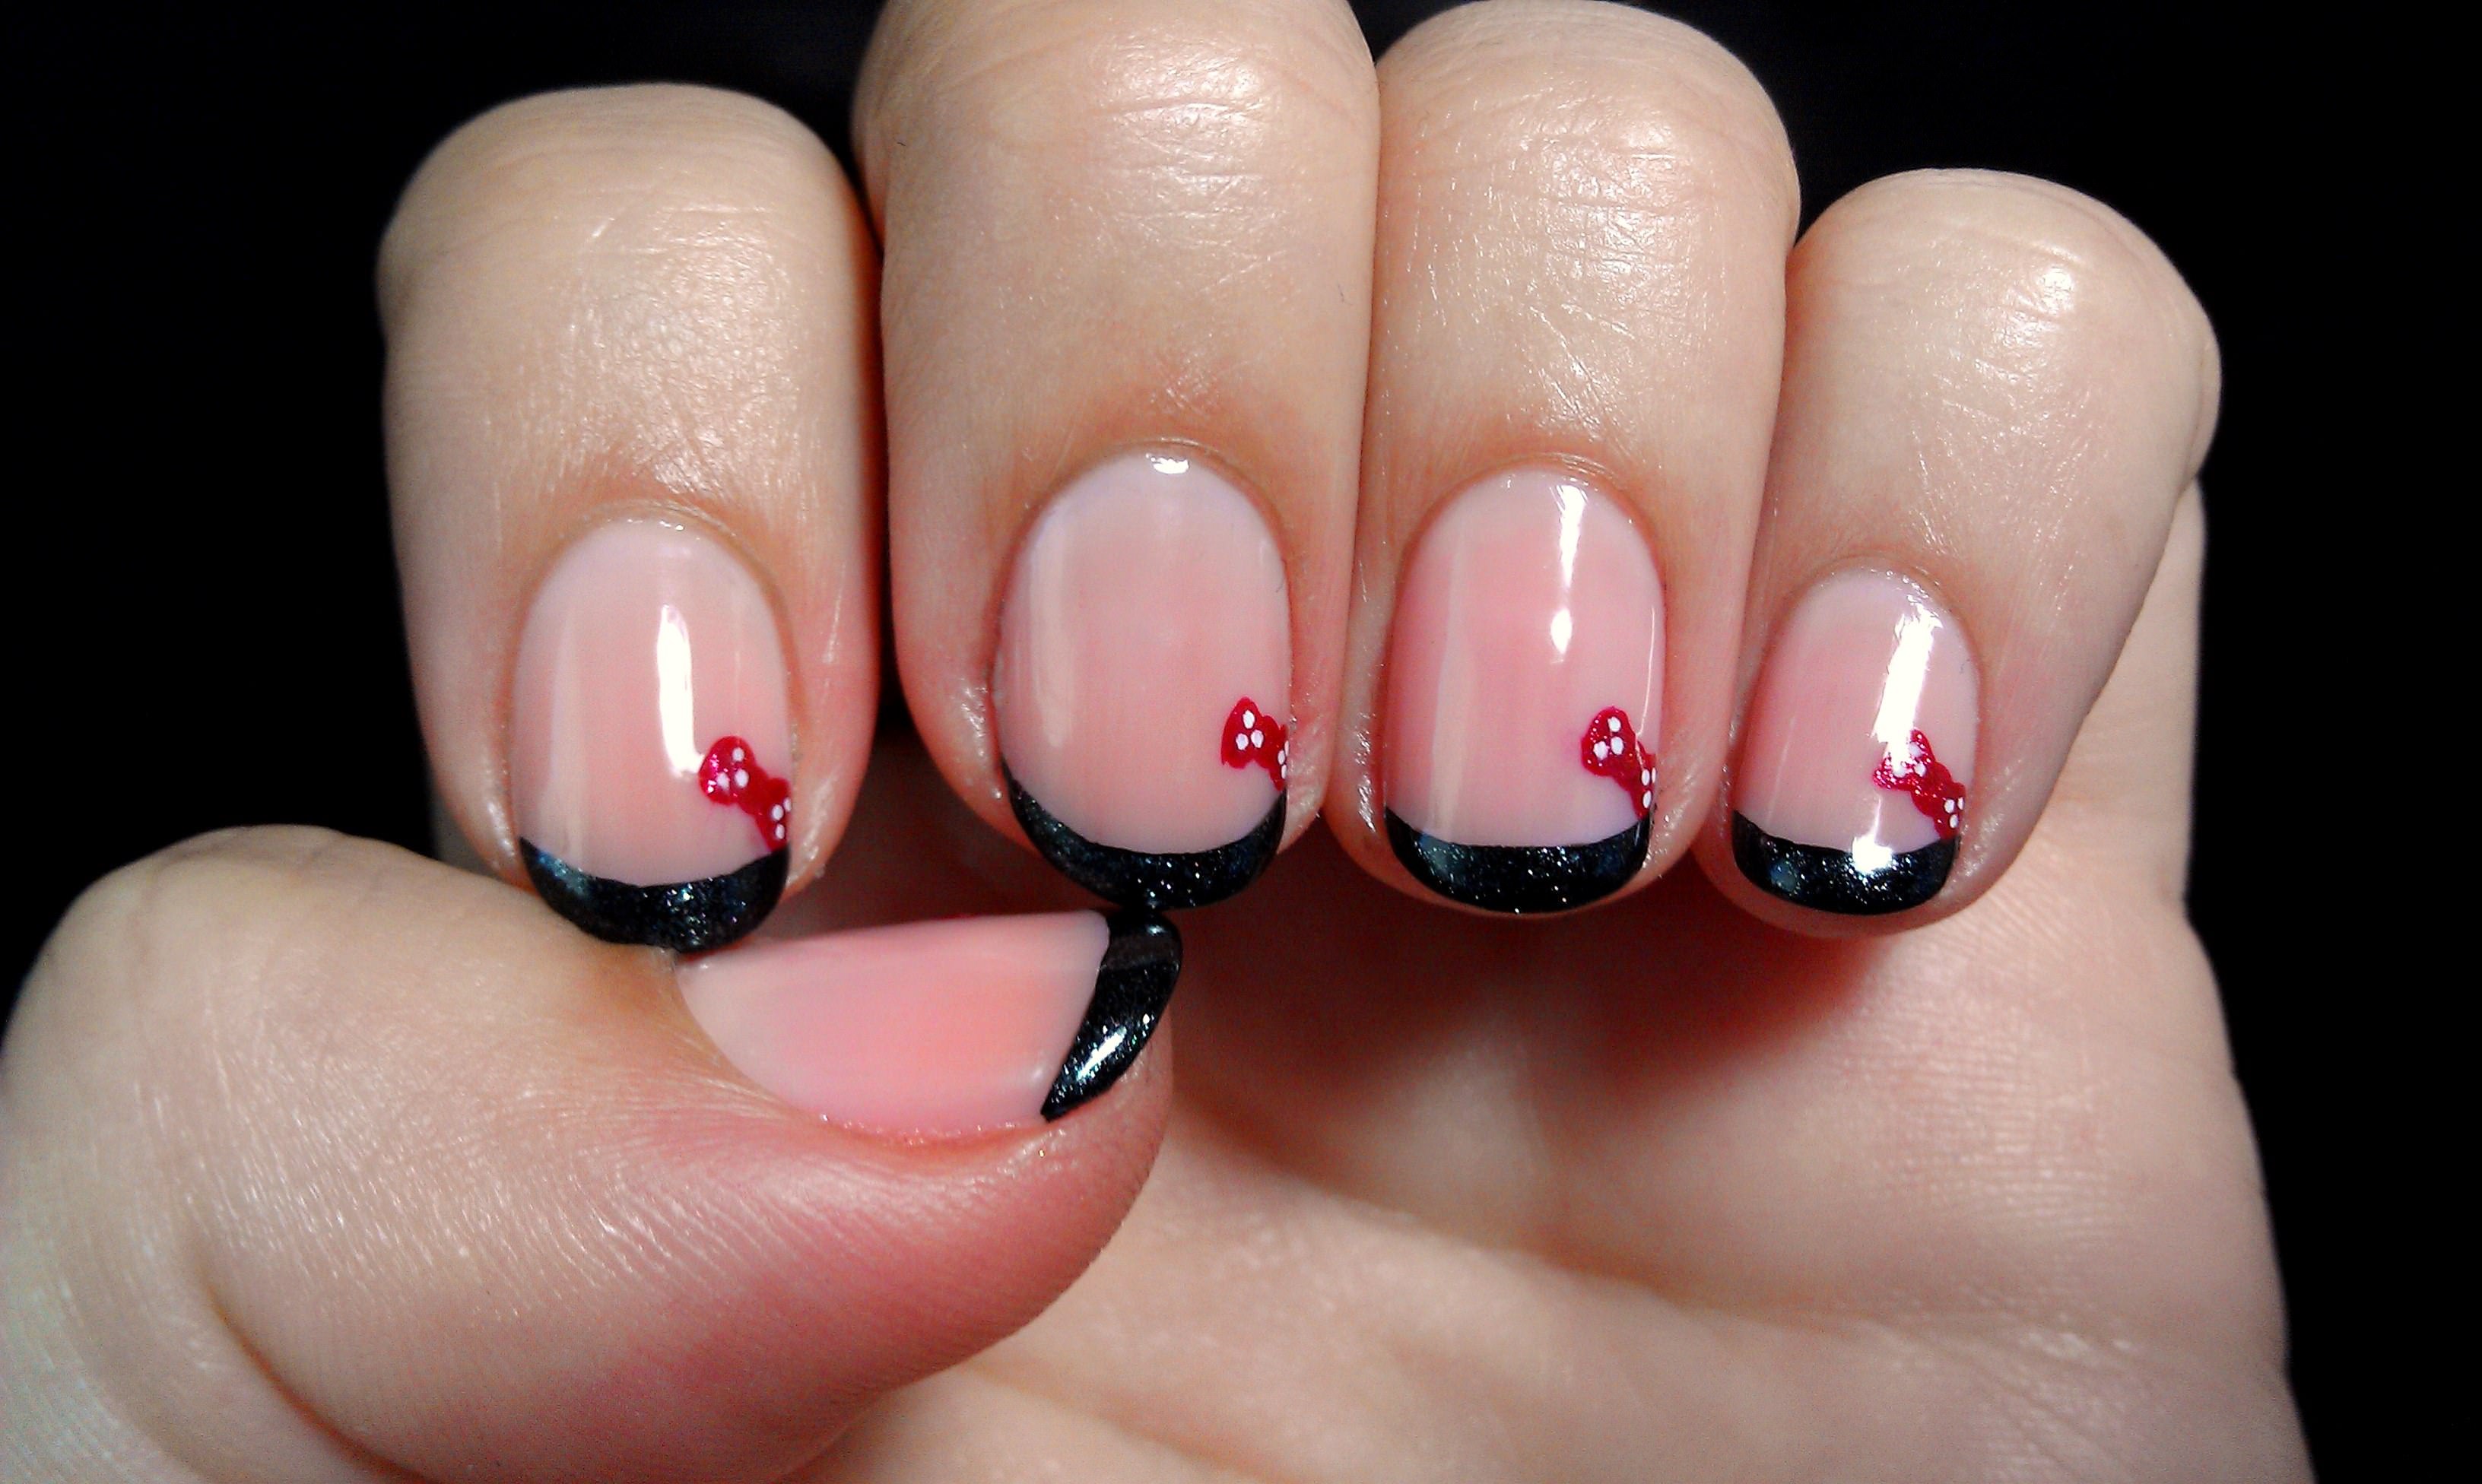
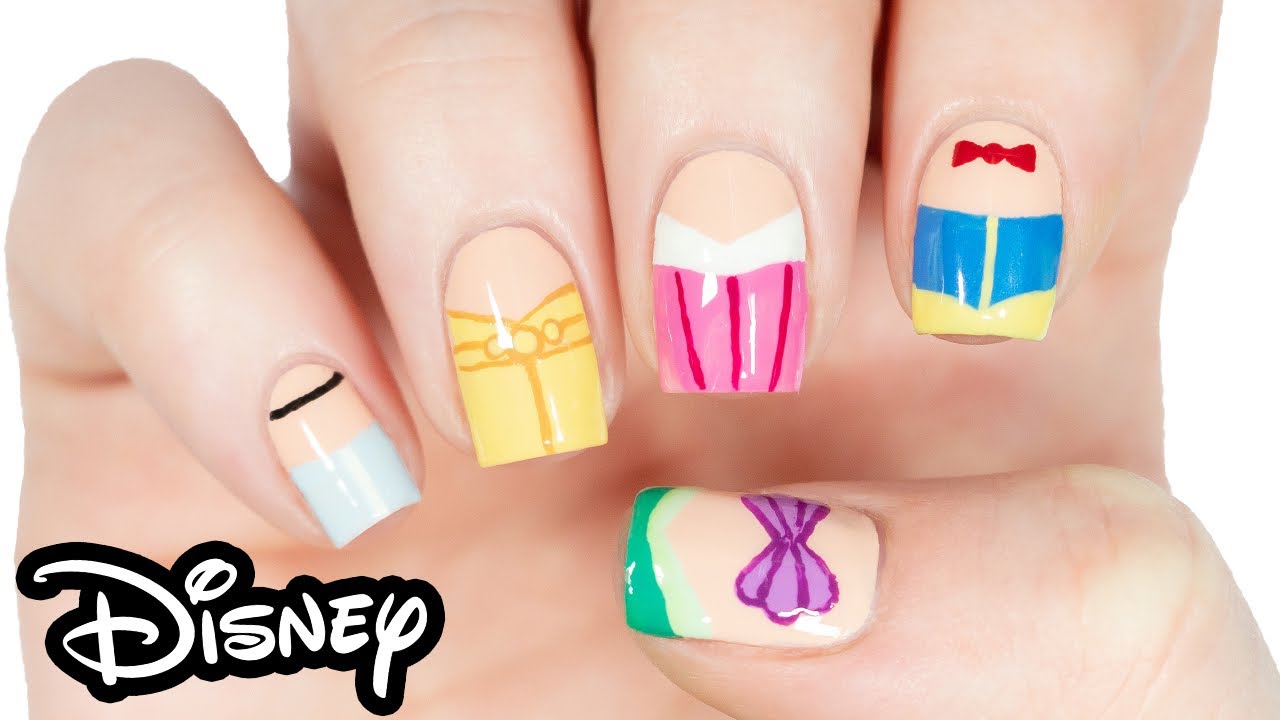
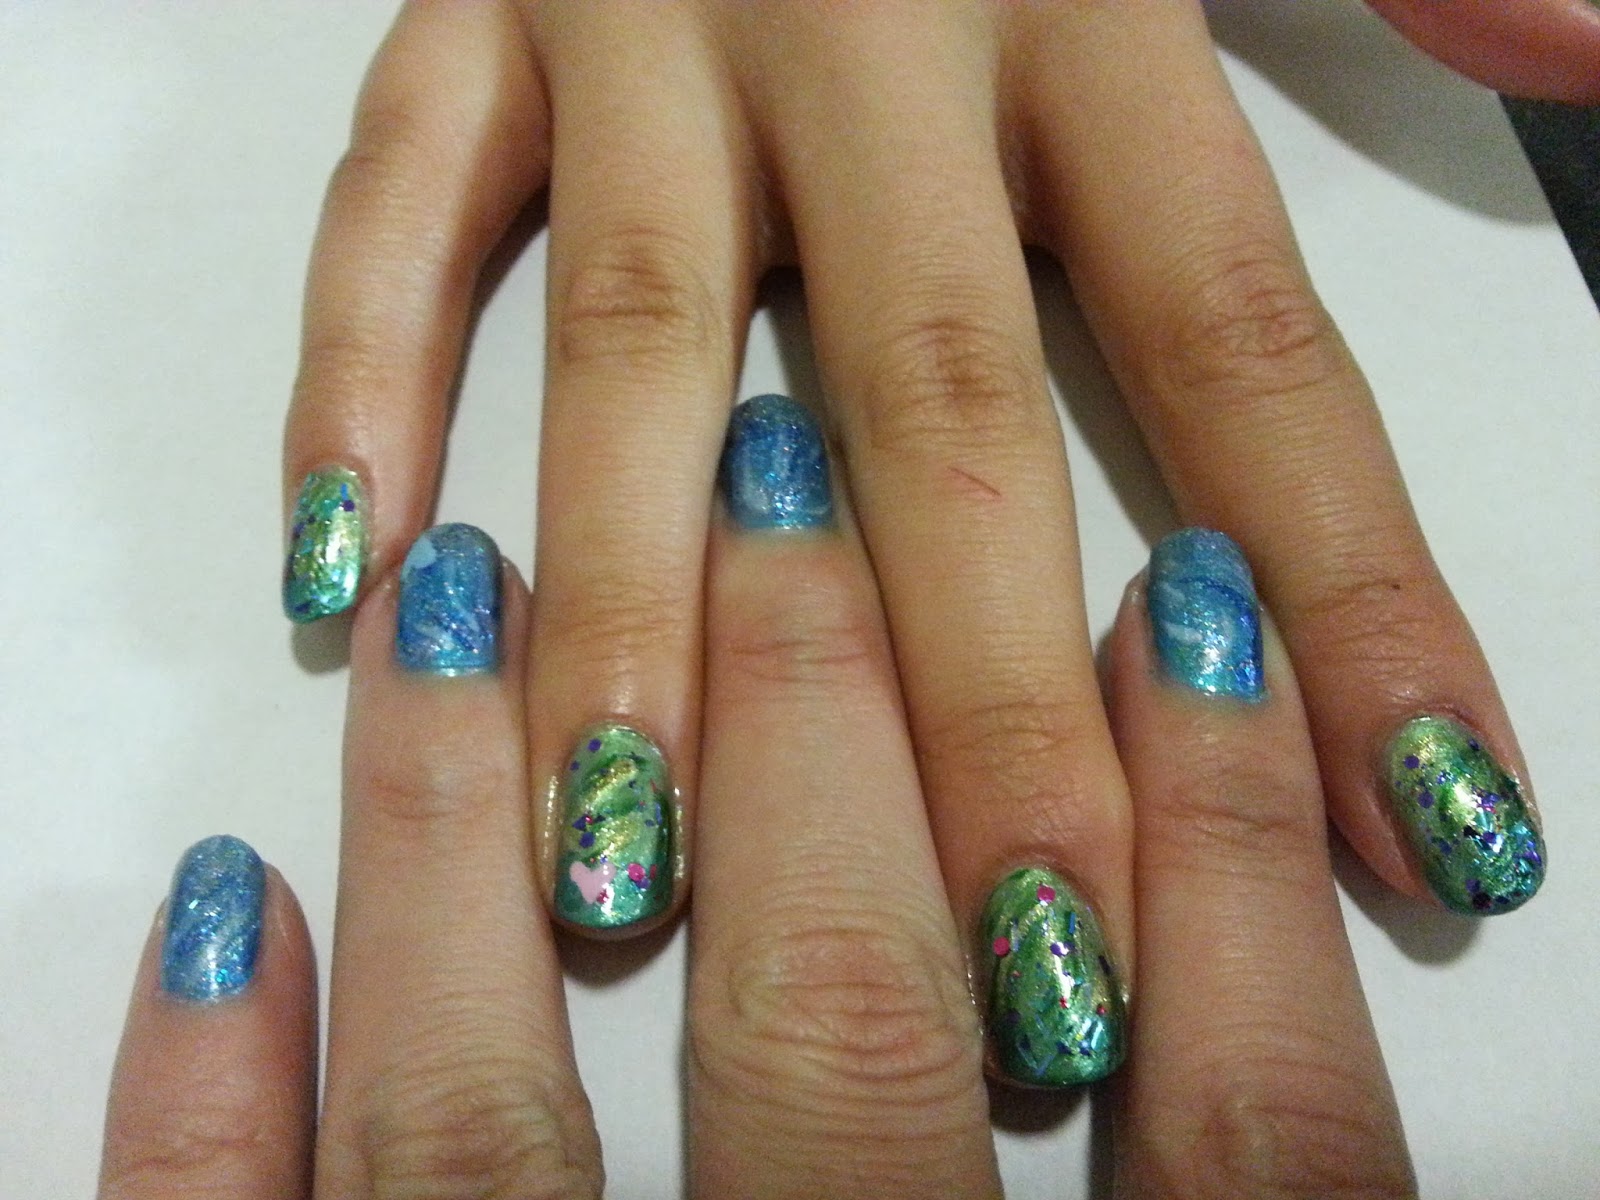
Why settle for just one Disney princess when you can have them all on your nails? This tutorial will guide you through creating a magical Disney princess inspired nail art featuring Elsa, Anna, and even Cinderella. With sparkles and glitter, you'll feel like a true princess with every stroke of the brush.Disney Princess Inspired Nail Art Tutorial


Disney Princess Inspired Nail Art Tutorial


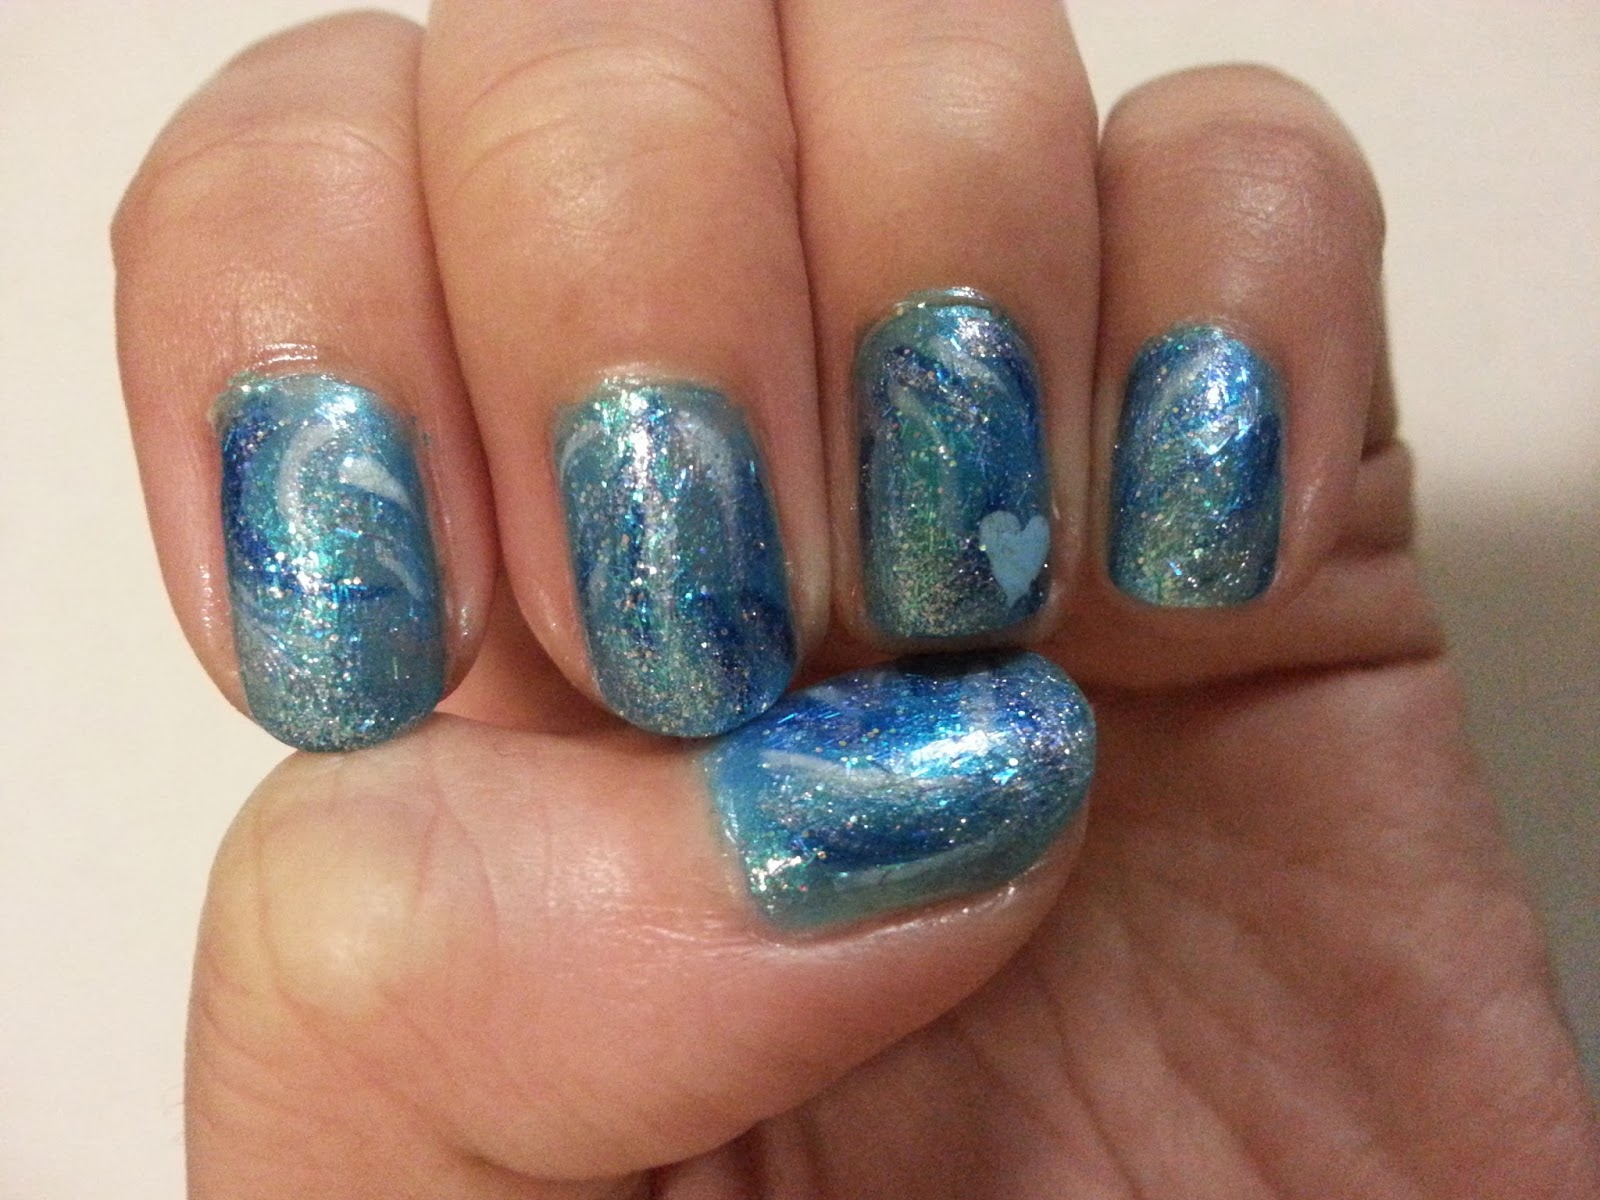
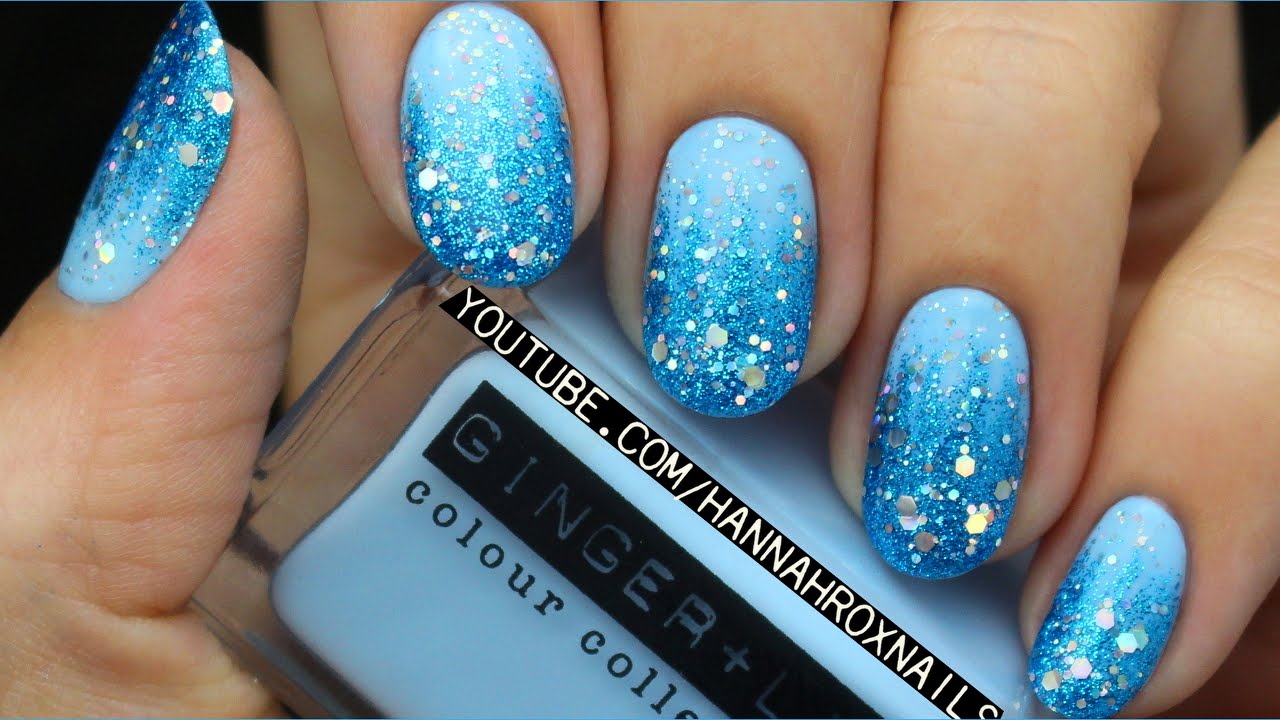
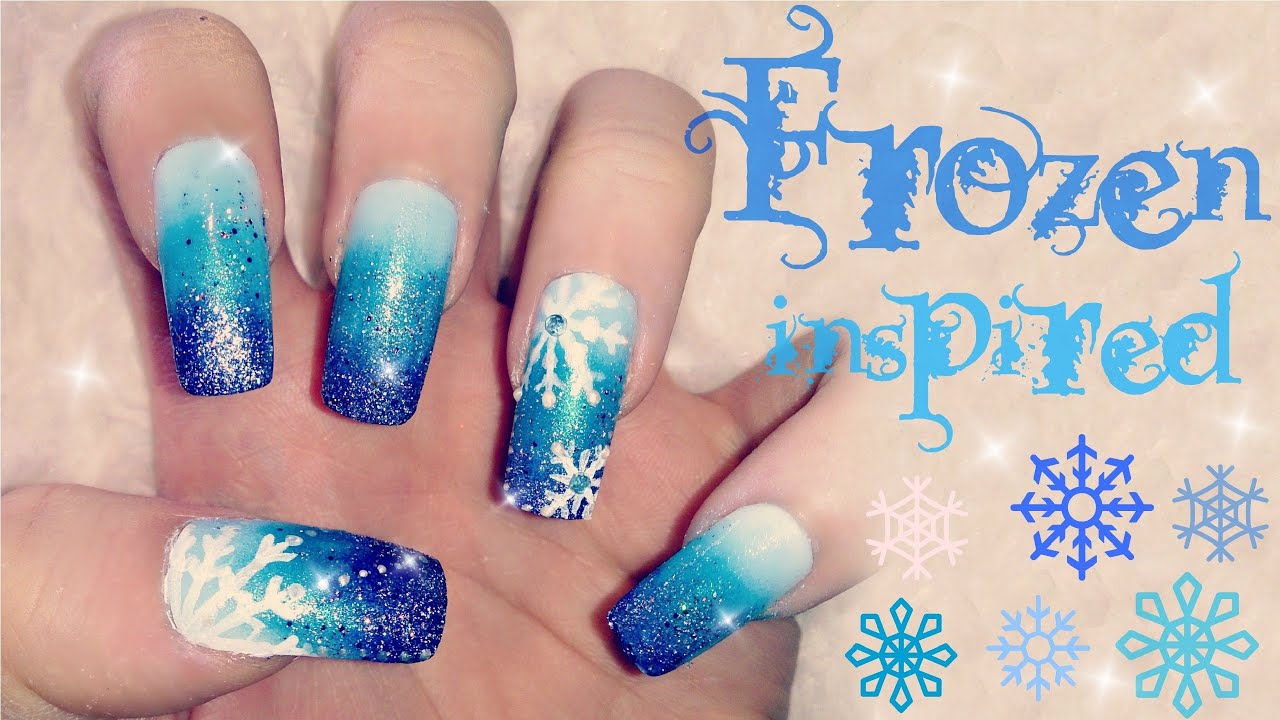
If you're looking for a more subtle way to show your love for Frozen, this tutorial is perfect for you. With soft blue and white tones, this Frozen themed nail art will remind you of the beautiful ice castle and Elsa's magical powers. Add a touch of snowflakes and you'll have a winter wonderland on your nails.Frozen Themed Nail Art Tutorial


Frozen Themed Nail Art Tutorial

Don't have much experience with nail art? Fear not, this tutorial is beginner-friendly and will have you creating a stunning Frozen inspired nail art in no time. With simple steps and minimal tools required, you'll be surprised at how easy it is to recreate Elsa's iconic snowflake design on your nails.Easy Disney Frozen Nail Art Tutorial


Easy Disney Frozen Nail Art Tutorial


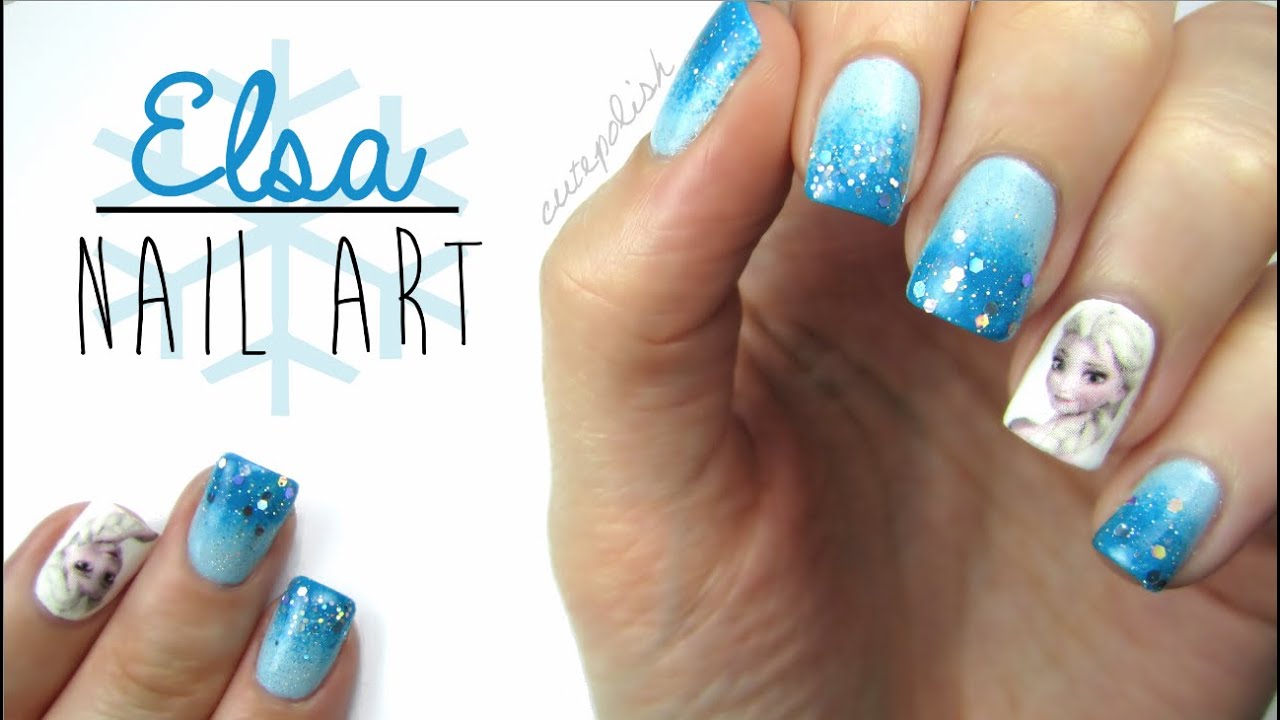
Elsa, the Snow Queen, is one of the most beloved characters from Frozen, and her icy blue dress and magical snowflakes make for the perfect nail art design. This tutorial will guide you through creating a stunning Elsa-inspired nail art that will have everyone asking for your secret to creating such intricate designs.Frozen Elsa Nail Art Tutorial


Frozen Elsa Nail Art Tutorial

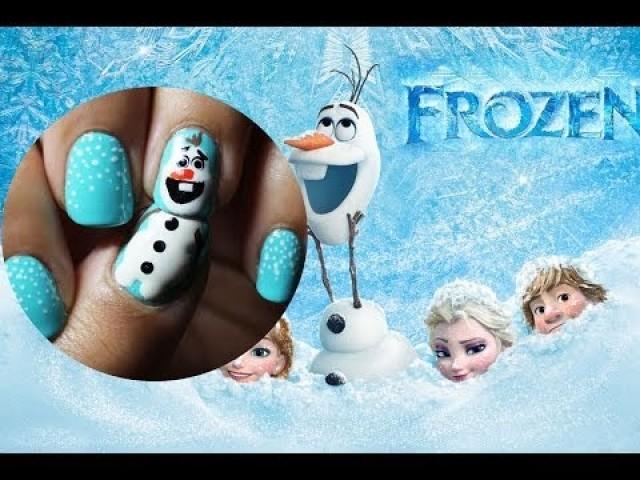
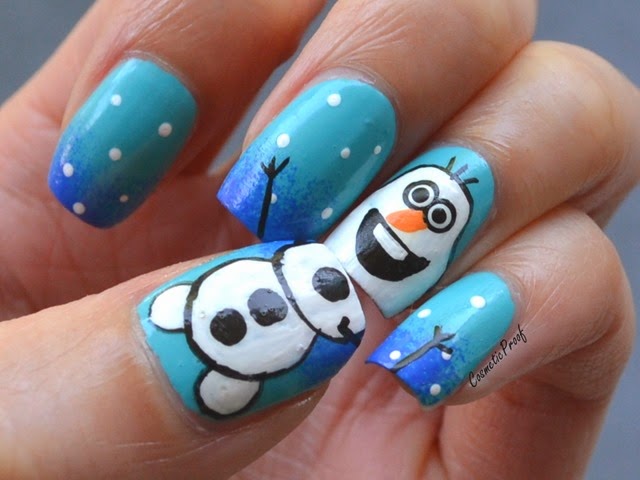
Everyone's favorite snowman, Olaf, is here to add some fun to your nails. This tutorial will teach you how to create adorable Olaf nail art with his signature carrot nose and big, happy smile. It's the perfect design for any Frozen fan, young or old.Disney Frozen Olaf Nail Art Tutorial

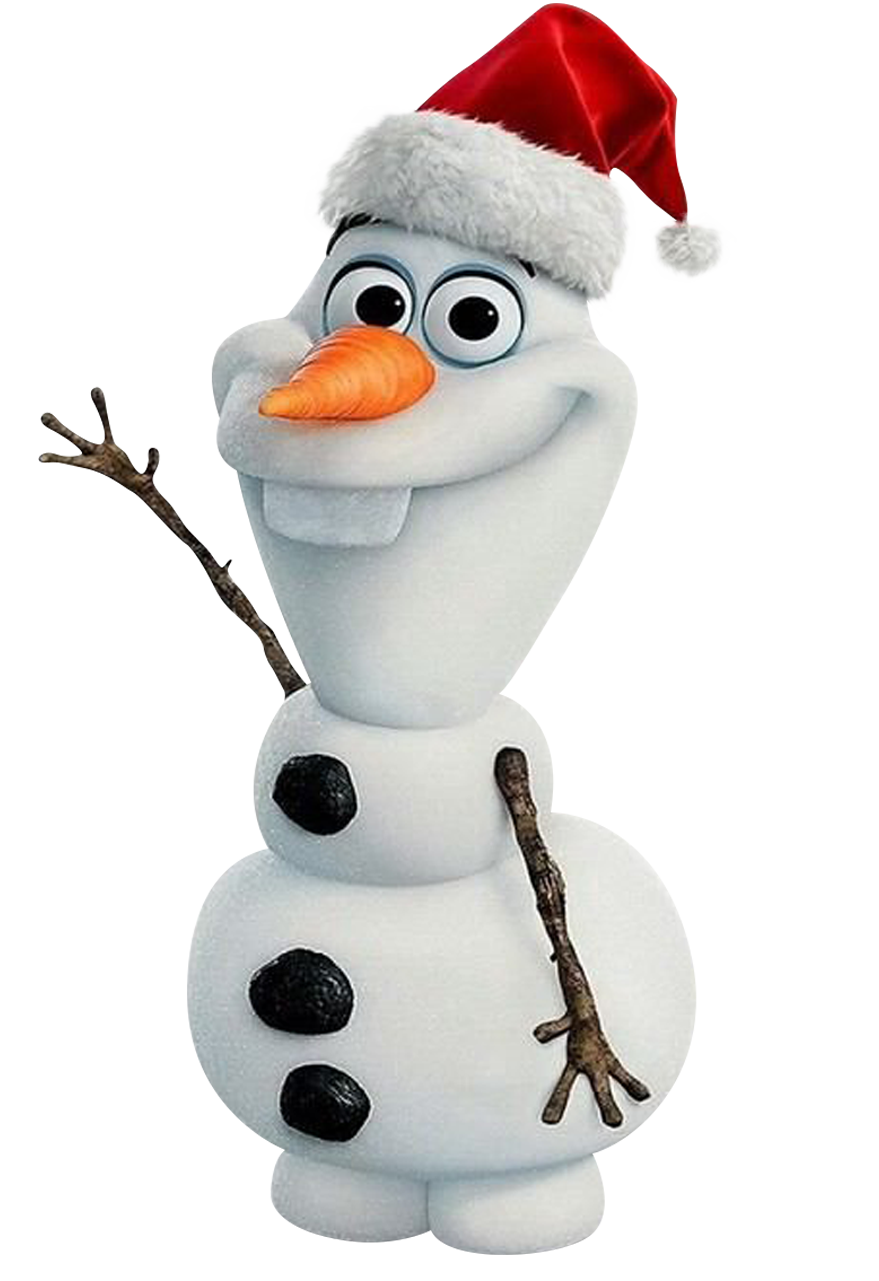

Disney Frozen Olaf Nail Art Tutorial
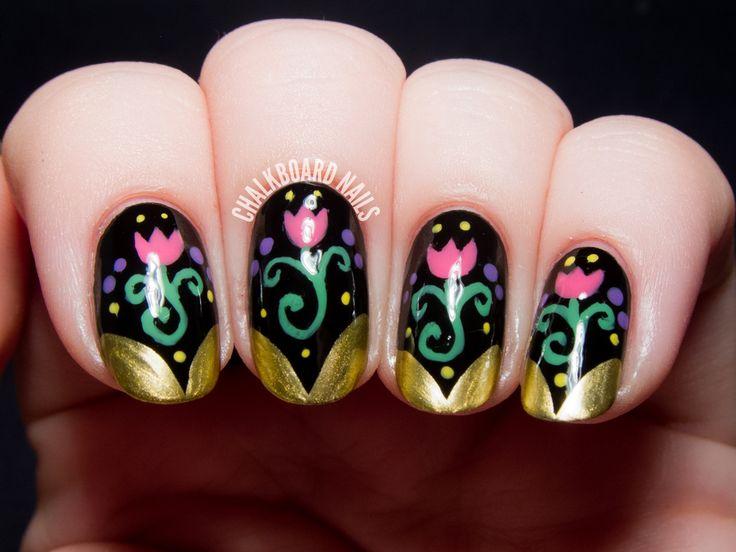
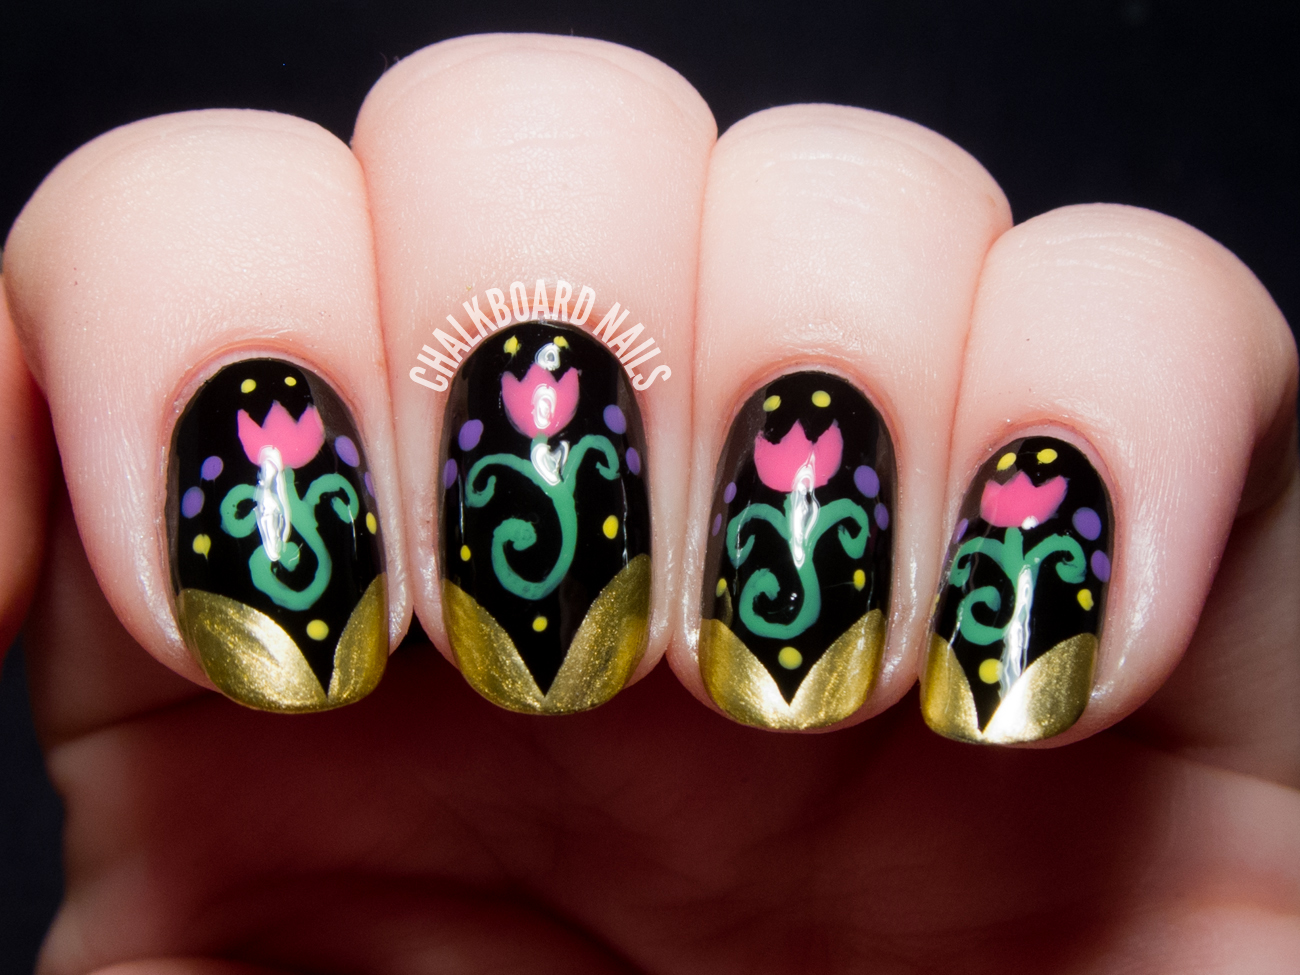
Anna, the fearless and determined princess, is the perfect inspiration for a stunning nail art design. With her vibrant pink and purple dress and gorgeous braided hair, this tutorial will guide you through creating a beautiful Anna-inspired nail art that will make you feel like a true Disney princess.Frozen Anna Nail Art Tutorial


Frozen Anna Nail Art Tutorial
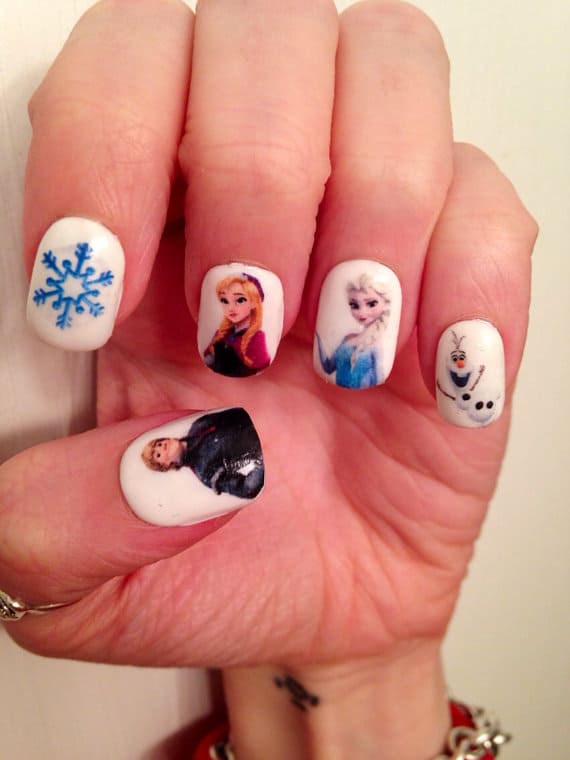
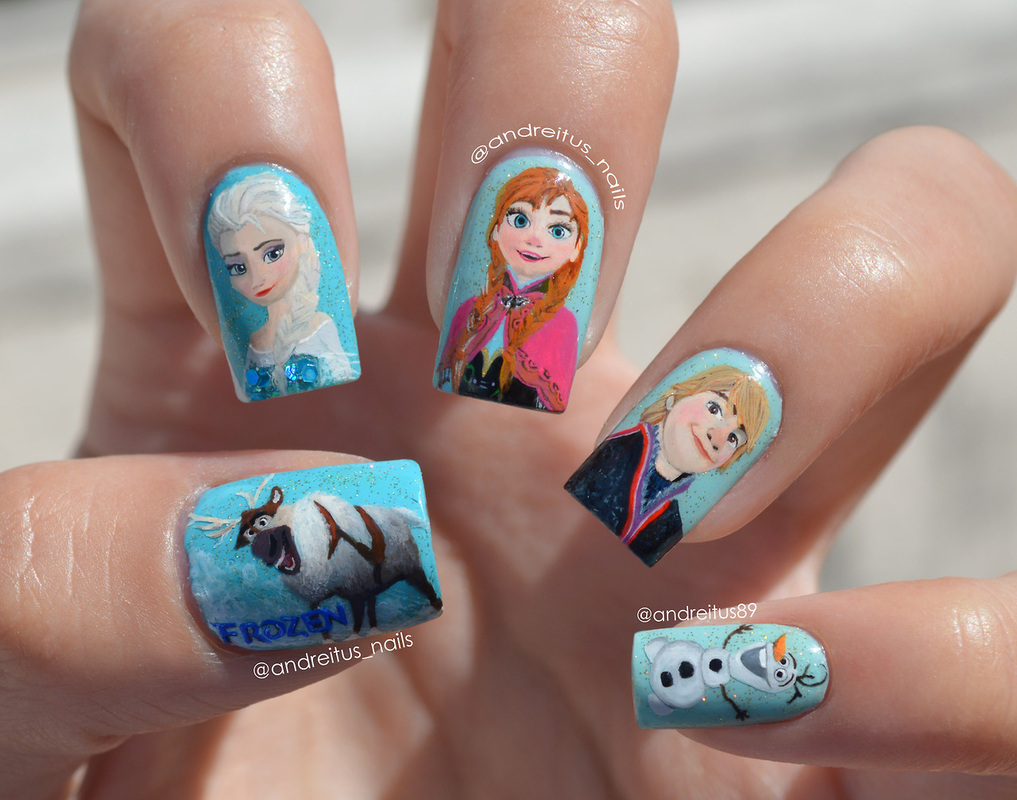
Looking for a more intricate and detailed Frozen nail art design? Look no further than this tutorial, which will guide you through creating a stunning nail art featuring all your favorite characters from the movie. From Elsa and Anna to Olaf and Sven, you'll have a little piece of Arendelle on your nails.Disney Frozen Nail Art Design Tutorial

Disney Frozen Nail Art Design Tutorial

If you're just starting out with nail art and want to create a Frozen inspired design, this tutorial is perfect for you. With step-by-step instructions and helpful tips, you'll have a beautiful and simple Frozen nail art that will have everyone asking for your nail artist's contact information.Frozen Nail Art Tutorial for Beginners

Frozen Nail Art Tutorial for Beginners
Can't decide which Frozen character or design to choose for your nails? Why not try out a few of them with this tutorial compilation. From Elsa and Anna to Olaf and snowflakes, this tutorial will show you how to create a variety of Frozen nail art designs that will make your nails stand out in any crowd.Disney Frozen Nail Art Tutorial Compilation


Disney Frozen Nail Art Tutorial Compilation
Get Ready to Add Some Magic to Your Nails with this Disney Inspired Frozen Nail Art Tutorial

Introduction
 If you're a fan of the beloved Disney movie Frozen, then get ready to add some magic to your nails with this Disney inspired nail art tutorial. This tutorial will guide you step by step on how to create a fun and whimsical nail design that will transport you into the enchanting world of Arendelle. So gather your nail polish and get ready to let your inner Elsa or Anna shine through your nails.
Materials You Will Need
 Before we dive into the tutorial, let's make sure you have all the necessary materials to create this Disney inspired nail art. You will need:
- A base coat
- Blue, white, and silver nail polish
- Clear top coat
- Nail art tools such as a dotting tool or toothpick
- Rhinestones or glitter (optional)
Before we dive into the tutorial, let's make sure you have all the necessary materials to create this Disney inspired nail art. You will need:
- A base coat
- Blue, white, and silver nail polish
- Clear top coat
- Nail art tools such as a dotting tool or toothpick
- Rhinestones or glitter (optional)
Step 1: Apply a Base Coat
 Start by applying a base coat to protect your nails and create a smooth base for the nail polish. This will also help your manicure last longer.
Step 2: Paint Your Nails Blue
 Using your blue nail polish, paint all your nails except for your ring finger. This will be our accent nail, so leave it blank for now.
Step 3: Create a Gradient Effect
 Now, we want to create a gradient effect on our blue nails to represent the snowy mountains of Arendelle. Take your white nail polish and apply it to a makeup sponge. Dab the sponge onto your nails to create a white gradient effect. You can add more white polish to the sponge and dab again for a more intense look.
Step 4: Add Some Sparkle
 To add some magic to our snowy mountains, we're going to add some silver glitter or rhinestones. Simply apply a clear top coat on top of the gradient and sprinkle some glitter or rhinestones onto your nails. You can also use a toothpick to place the rhinestones in a specific pattern.
Step 5: Create a Snowflake
 Now, let's move on to our accent nail. Take your white nail polish and use a dotting tool or toothpick to create a snowflake design. Start by making a small "x" in the center of your nail, then add two more lines on each side to form a snowflake shape. You can also add some silver glitter or rhinestones to the snowflake for some extra sparkle.
Step 6: Finishing Touches
 To finish off our Frozen inspired nail art, take your silver nail polish and add some dots around the snowflake on your accent nail. This will represent falling snow. Once everything is dry, apply a clear top coat to seal in your design and add some shine.
Now, sit back and admire your beautiful Disney inspired Frozen nail art. You can also get creative and add other Frozen elements such as Olaf or Elsa's snowflakes to your design. Have fun and let your imagination run wild with this magical nail art tutorial.
Remember to always use a base and top coat to protect your nails and make your manicure last longer. And don't forget to show off your beautiful nails to all your fellow Frozen fans. Stay tuned for more Disney inspired nail art tutorials in the future.
To finish off our Frozen inspired nail art, take your silver nail polish and add some dots around the snowflake on your accent nail. This will represent falling snow. Once everything is dry, apply a clear top coat to seal in your design and add some shine.
Now, sit back and admire your beautiful Disney inspired Frozen nail art. You can also get creative and add other Frozen elements such as Olaf or Elsa's snowflakes to your design. Have fun and let your imagination run wild with this magical nail art tutorial.
Remember to always use a base and top coat to protect your nails and make your manicure last longer. And don't forget to show off your beautiful nails to all your fellow Frozen fans. Stay tuned for more Disney inspired nail art tutorials in the future.


