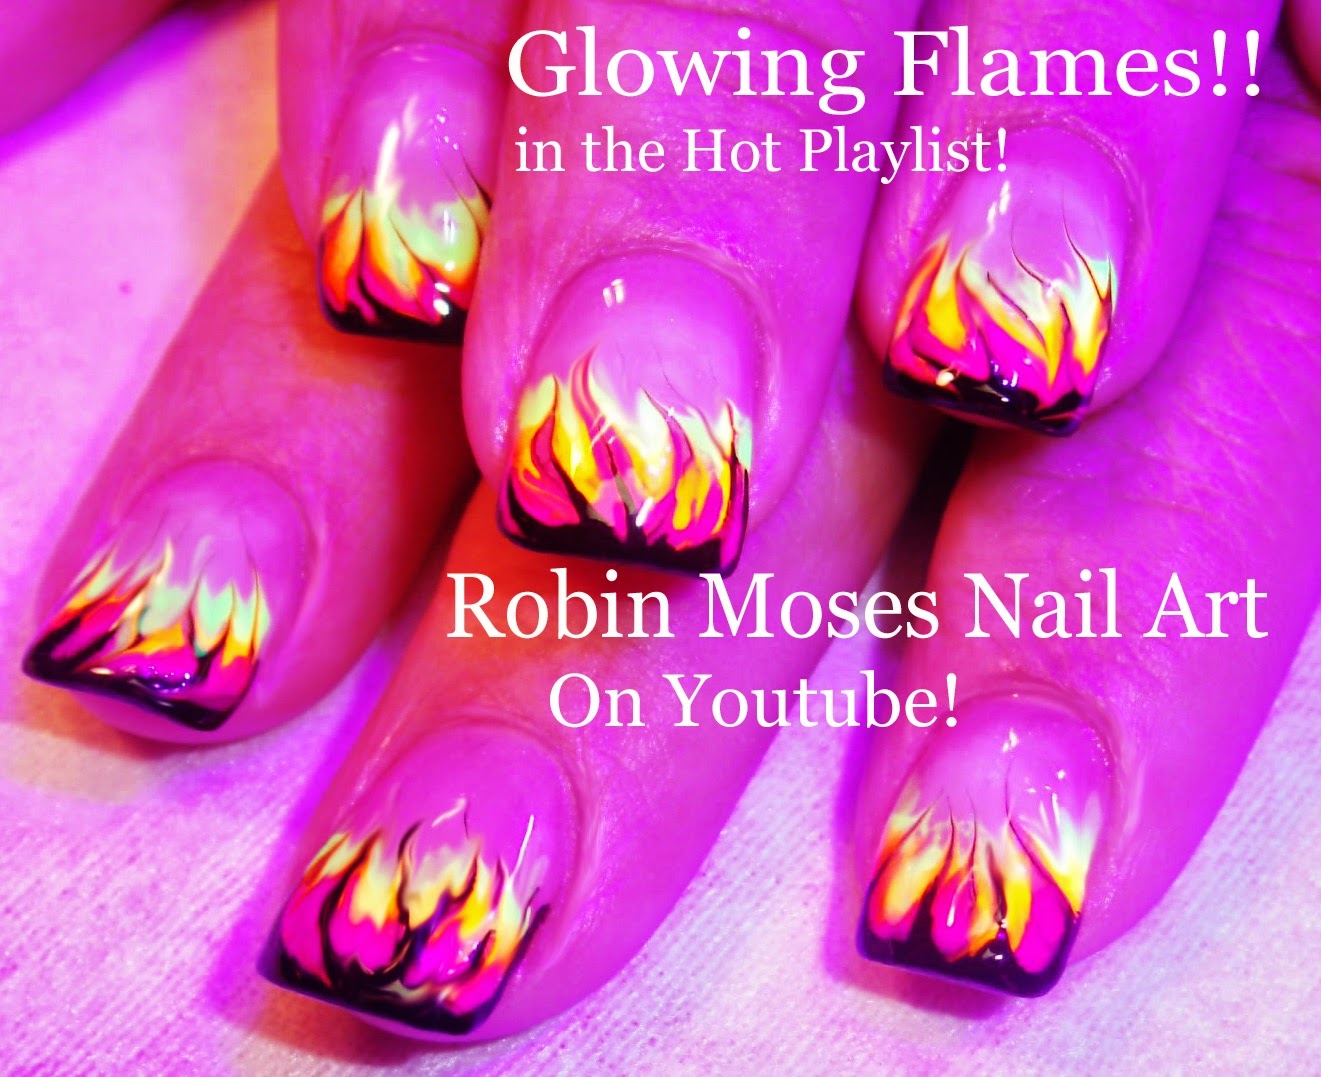
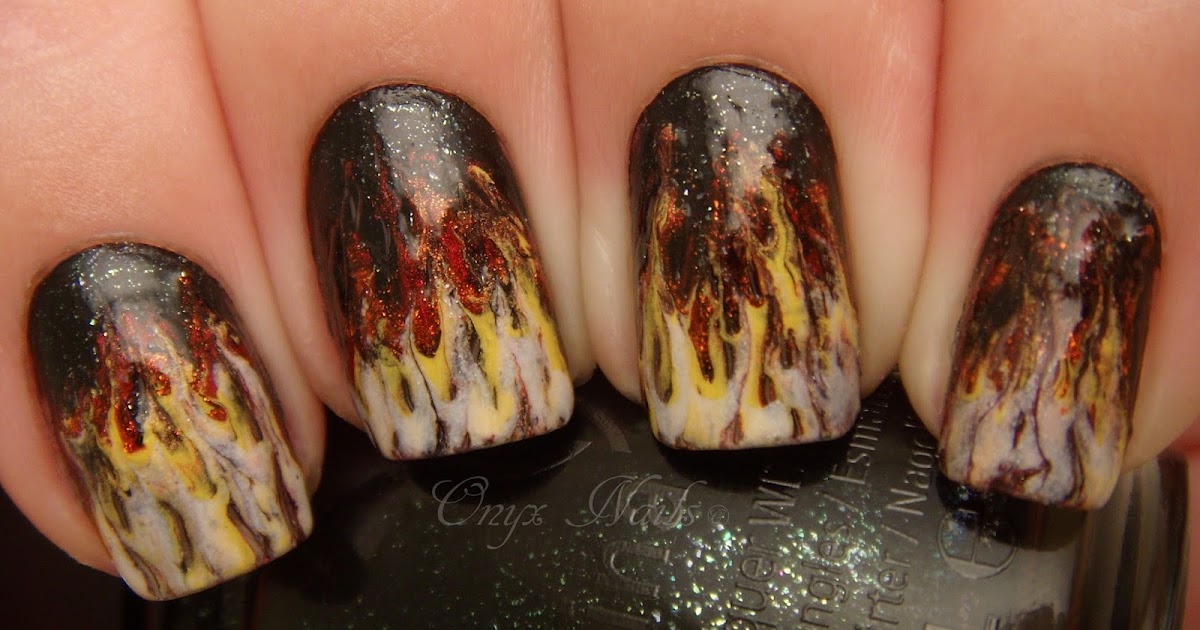
Are you tired of the same old plain nail art designs? Looking for something bold and edgy to spice up your nails? Look no further than the DIY Flame Nail Art! This fiery design is perfect for beginners and will have your nails looking hot and on-trend. To achieve this look, you'll need a few simple tools and some patience. But don't worry, we've got you covered with an easy step-by-step tutorial on how to create this hot nail art design.Flame Nail Art Tutorial | DIY Nail Art | Nail Art for Beginners


Flame Nail Art Tutorial


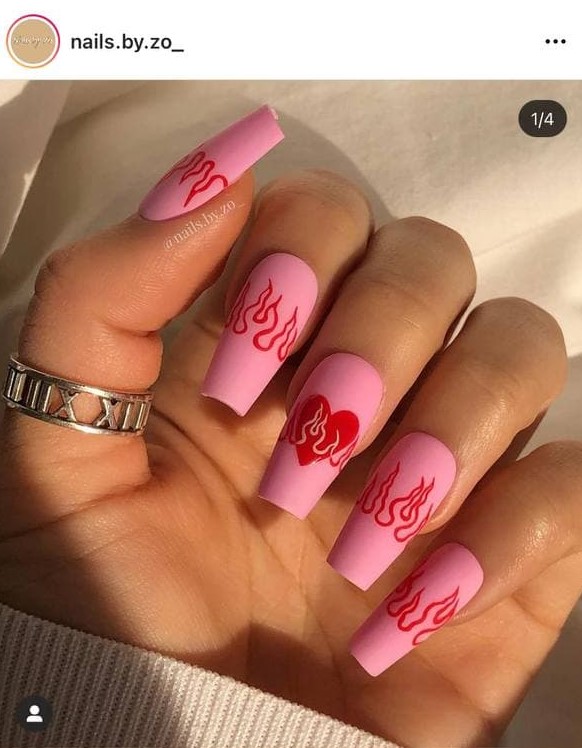
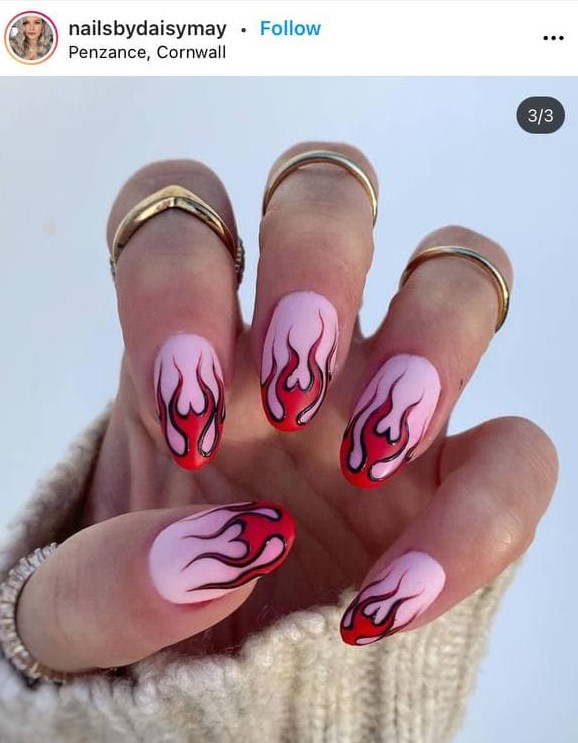
If you're new to nail art, it can be intimidating to try out complicated designs. That's why we've come up with an easy and simple tutorial for our DIY Flame Nail Art. All you need is a steady hand and some basic nail art tools to create this bold and eye-catching look. Don't be afraid to experiment with different colors and designs to make this flame nail art truly unique to your style. And if you need some inspiration, check out our Instagram page @nailsbyannabel for more nail art ideas.DIY Flame Nail Art - Easy Nail Art Tutorial | Nails by Annabel


DIY Nail Art


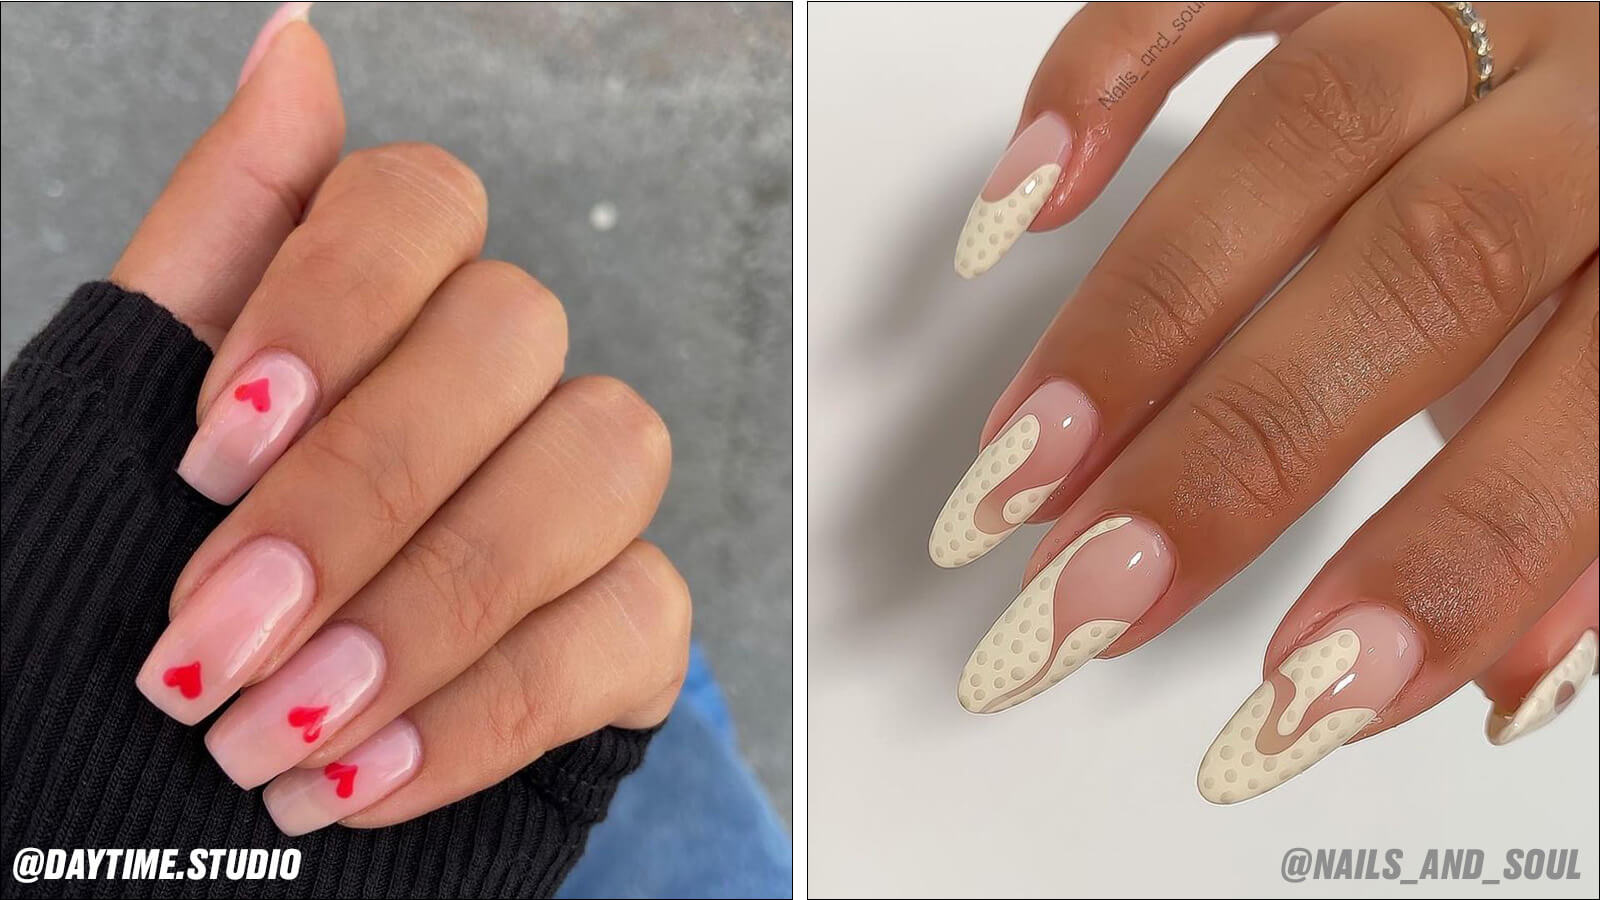
Who says you need long nails to rock this flame nail art? This design can work on any nail length, including short nails. You can adjust the size and placement of the flames to fit your nails perfectly. Short nails, don't care? We've got you covered! Follow our DIY Flame Nail Art Tutorial for short nails and show off your fiery side.DIY Flame Nail Art Tutorial | Nail Art for Short Nails | Nails by Annabel


Nail Art for Beginners


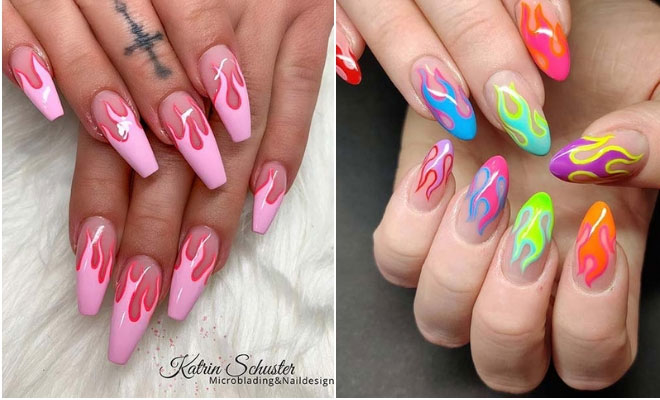

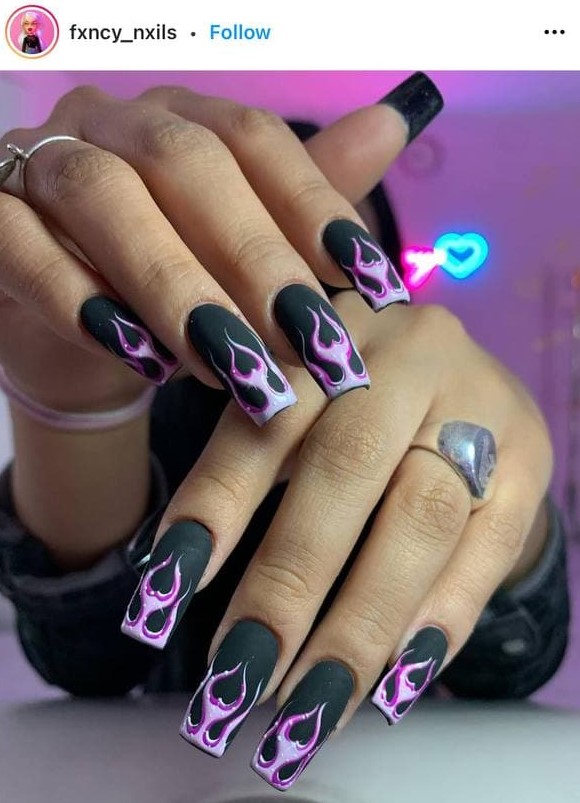
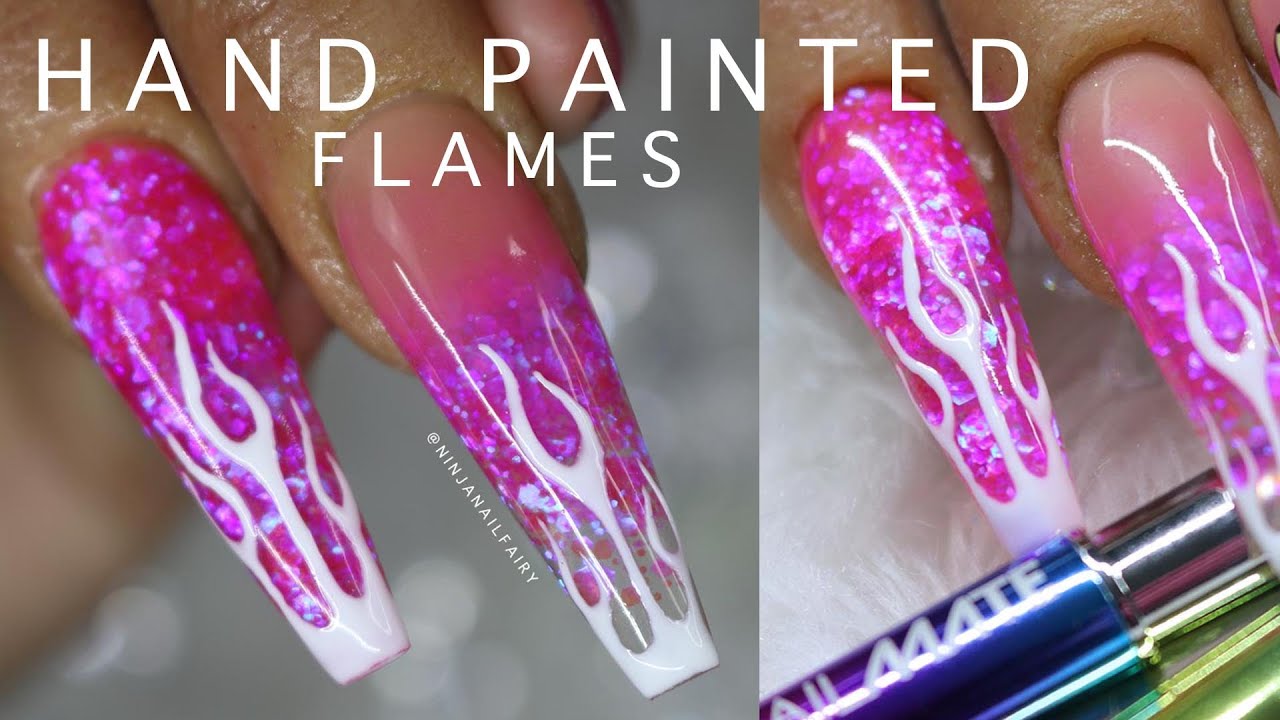
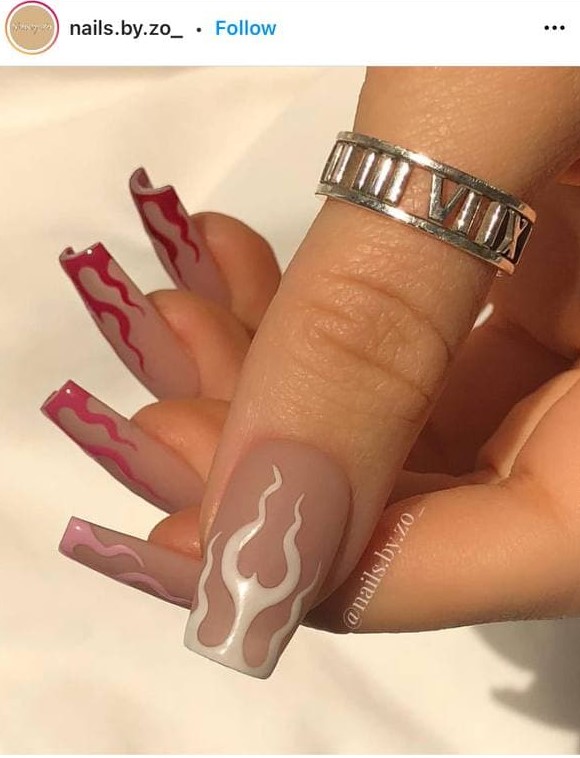
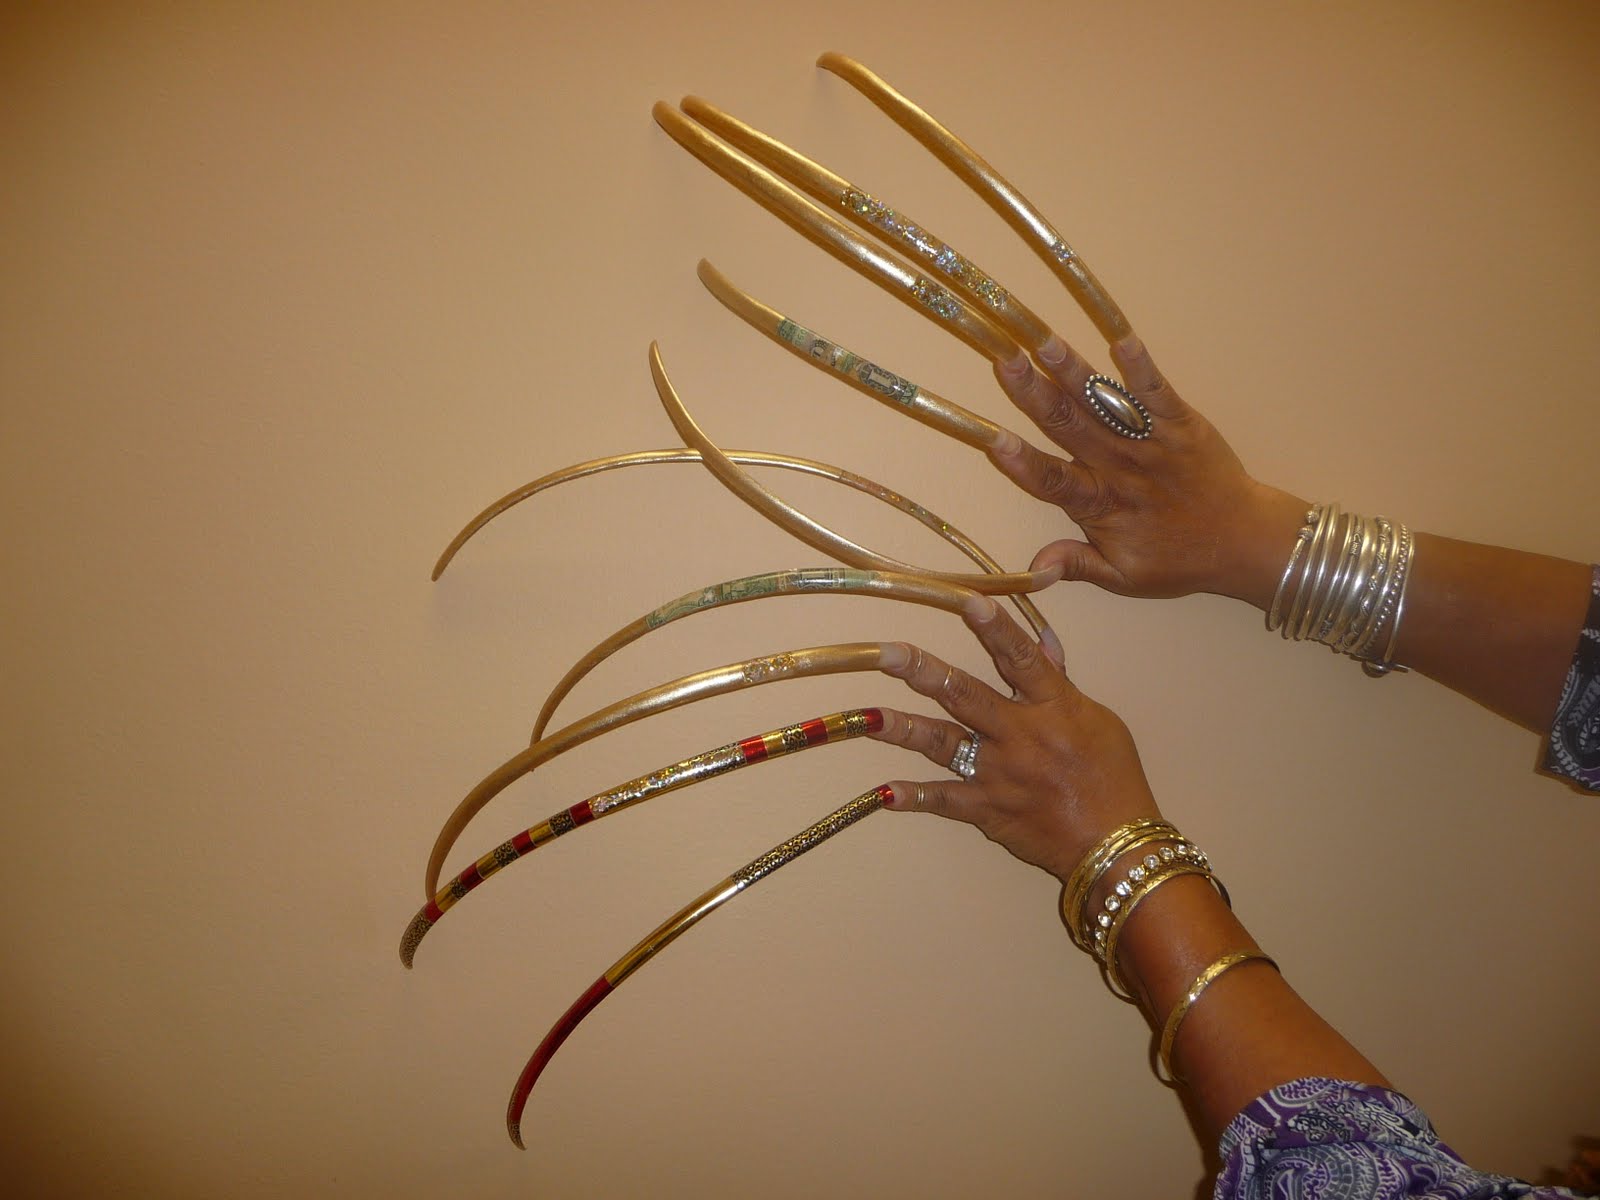
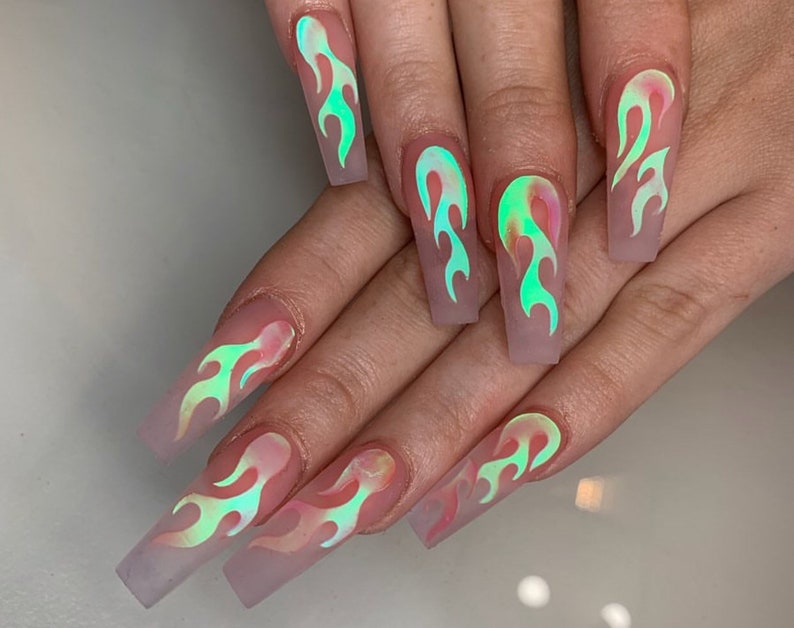
Got long nails? Lucky you! This flame nail art looks stunning on longer nails. You can really play around with the size and placement of the flames to make a statement. Plus, with longer nails, you can add more intricate details to make this nail art even more flame-tastic! So don't be afraid to let your nails grow out and try out this fiery design. Follow our tutorial for DIY Flame Nail Art on long nails and watch your nails turn into flames of beauty.DIY Flame Nail Art Tutorial | Nail Art for Long Nails | Nails by Annabel


DIY Flame Nail Art - Easy Nail Art Tutorial


Do you love getting acrylic nails? Why not add some fire to your next nail appointment with our DIY Flame Nail Art tutorial for acrylic nails. Acrylics provide a smooth and even canvas for this design, making it easier to achieve a flawless look. Don't forget to tag us in your acrylic nail art creations using the hashtag #nailsbyannabel for a chance to be featured on our page!DIY Flame Nail Art Tutorial | Nail Art for Acrylic Nails | Nails by Annabel

Nails by Annabel

If you're a fan of gel nails, you'll be happy to know that our flame nail art design works perfectly with gel polish. The glossy finish of gel nails will make the flames pop even more, giving your nails a lit look. Make sure to follow our tutorial for DIY Flame Nail Art on gel nails for a long-lasting and eye-catching nail art design.DIY Flame Nail Art Tutorial | Nail Art for Gel Nails | Nails by Annabel

DIY Flame Nail Art Tutorial


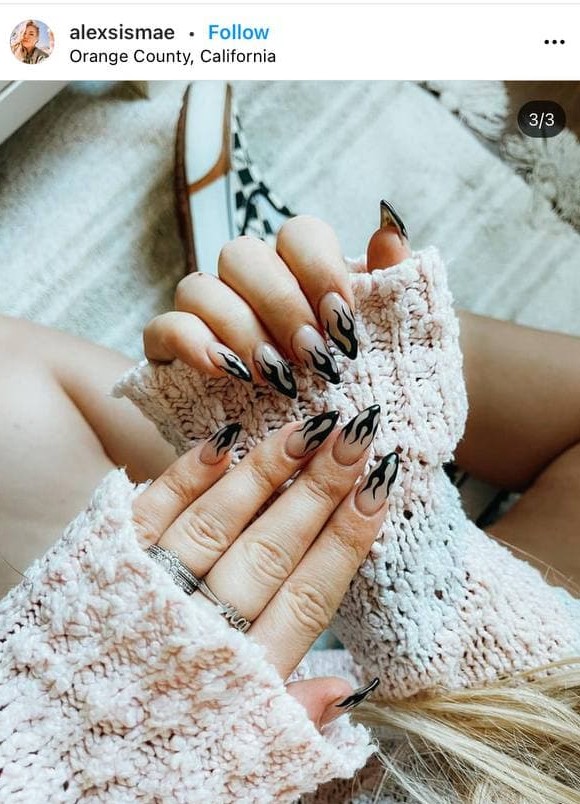
Not a fan of artificial nails? No problem! Our DIY Flame Nail Art can also be done on natural nails. You can still achieve a bold and fiery look with your own natural nails. Just make sure to use a good quality base coat to protect your natural nails and follow our tutorial for DIY Flame Nail Art to keep your nails looking fierce.DIY Flame Nail Art Tutorial | Nail Art for Natural Nails | Nails by Annabel

Nail Art for Short Nails


Summer is the perfect time to experiment with bold and bright nail art designs. And our flame nail art is no exception. This design is perfect for those hot summer days and will make your nails stand out at any pool party or BBQ. Add some heat to your summer look with our DIY Flame Nail Art tutorial and get ready to turn heads.DIY Flame Nail Art Tutorial | Nail Art for Summer | Nails by Annabel
Nails by Annabel


As the leaves start to change and the weather gets cooler, it's time to switch up your nail art. Our flame nail art is the perfect design for fall. You can use warm and fiery colors to match the season and add some spice to your nails. Follow our DIY Flame Nail Art tutorial for fall and get ready to embrace the flames of autumn.DIY Flame Nail Art Tutorial | Nail Art for Fall | Nails by Annabel


DIY Flame Nail Art Tutorial
Winter doesn't have to be all about dark and muted colors. With our flame nail art tutorial for winter, you can add some warmth and brightness to your nails during the cold months. Use cool toned colors to create a cool and icy version of our flame nail art or go for warm and festive colors to add some fire to your winter look. The choice is yours! So there you have it, our top 10 DIY Flame Nail Art tutorials for every style and season. Which one will you try first?DIY Flame Nail Art Tutorial | Nail Art for Winter | Nails by Annabel

Nail Art for Long Nails
Creating a Unique Look with DIY Flame Nail Art
Unleash Your Creativity
 If you're tired of the same old nail designs and want to make a statement, then
diy flame nail art
is the perfect solution. This trendy and eye-catching design will have everyone asking where you got your nails done. The best part? You can do it yourself in the comfort of your own home.
If you're tired of the same old nail designs and want to make a statement, then
diy flame nail art
is the perfect solution. This trendy and eye-catching design will have everyone asking where you got your nails done. The best part? You can do it yourself in the comfort of your own home.
Gather Your Supplies
 Before getting started, it's important to gather all the necessary supplies. You will need a base coat, top coat,
flame nail stickers
, a small brush, and
nail polish
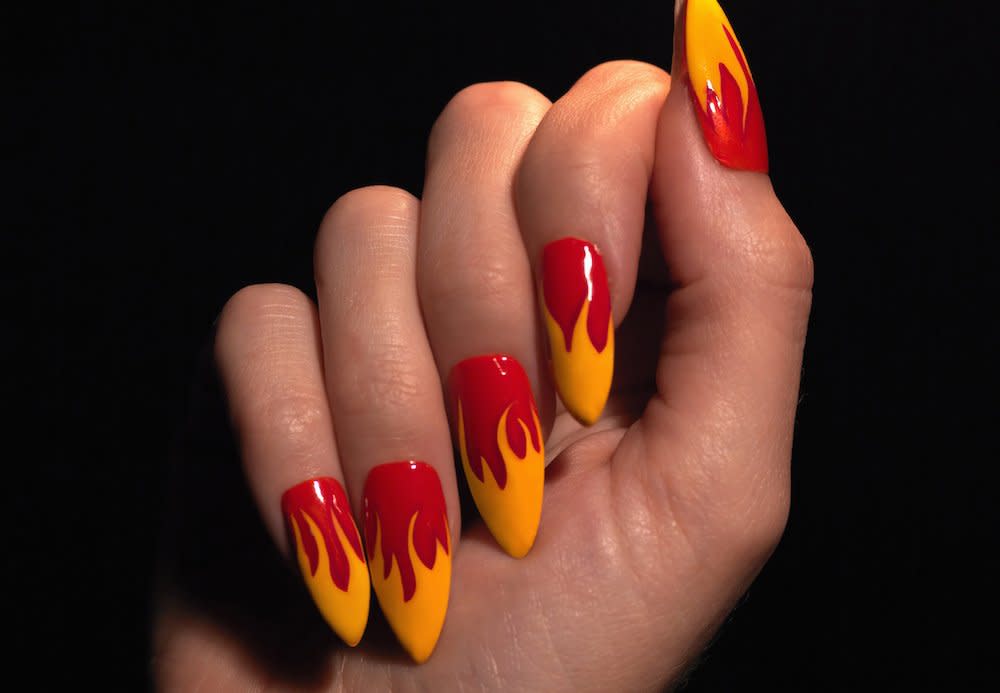
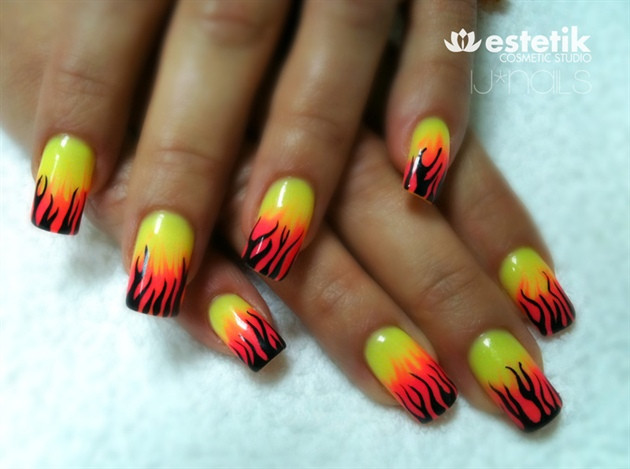
in your desired colors. It's recommended to choose bright shades such as red, orange, and yellow for a bold and fiery look.
Before getting started, it's important to gather all the necessary supplies. You will need a base coat, top coat,
flame nail stickers
, a small brush, and
nail polish
in your desired colors. It's recommended to choose bright shades such as red, orange, and yellow for a bold and fiery look.
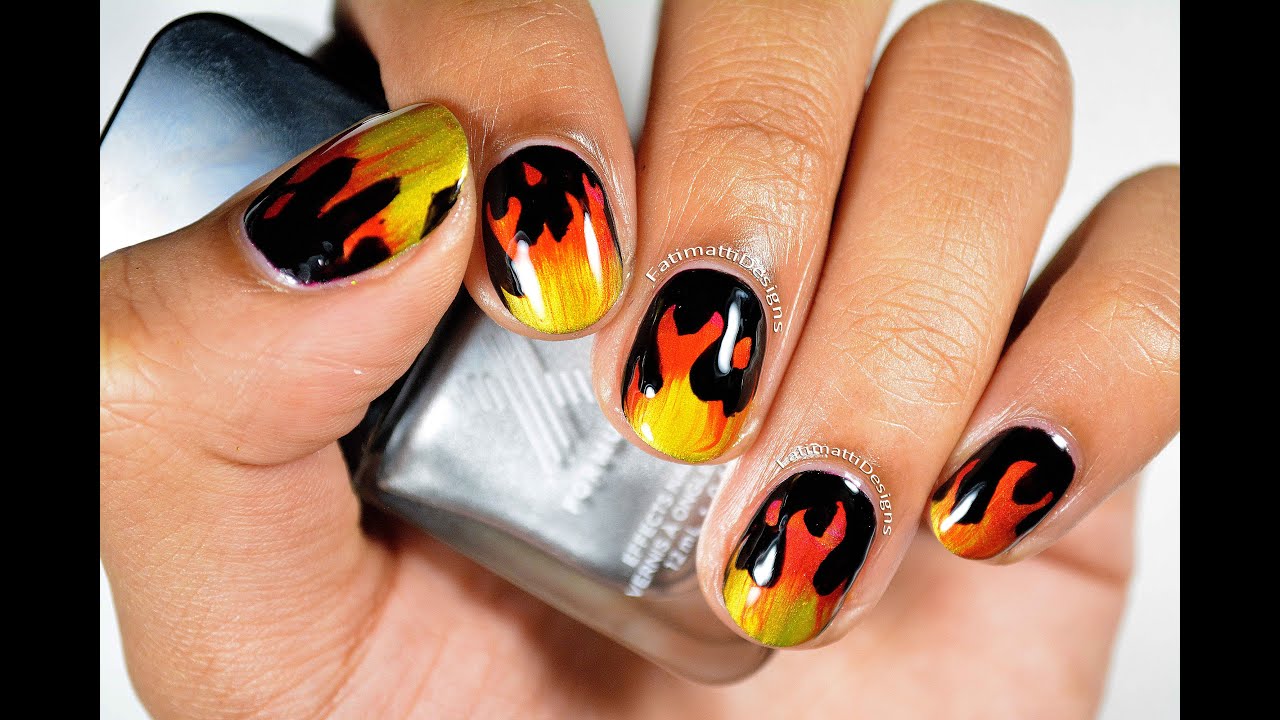
Step-by-Step Guide
 Now that you have all your supplies, it's time to get creative! Follow these simple steps to achieve the perfect
diy flame nail art
:
Step 1:
Start by applying a base coat to your nails and let it dry completely.
Step 2:
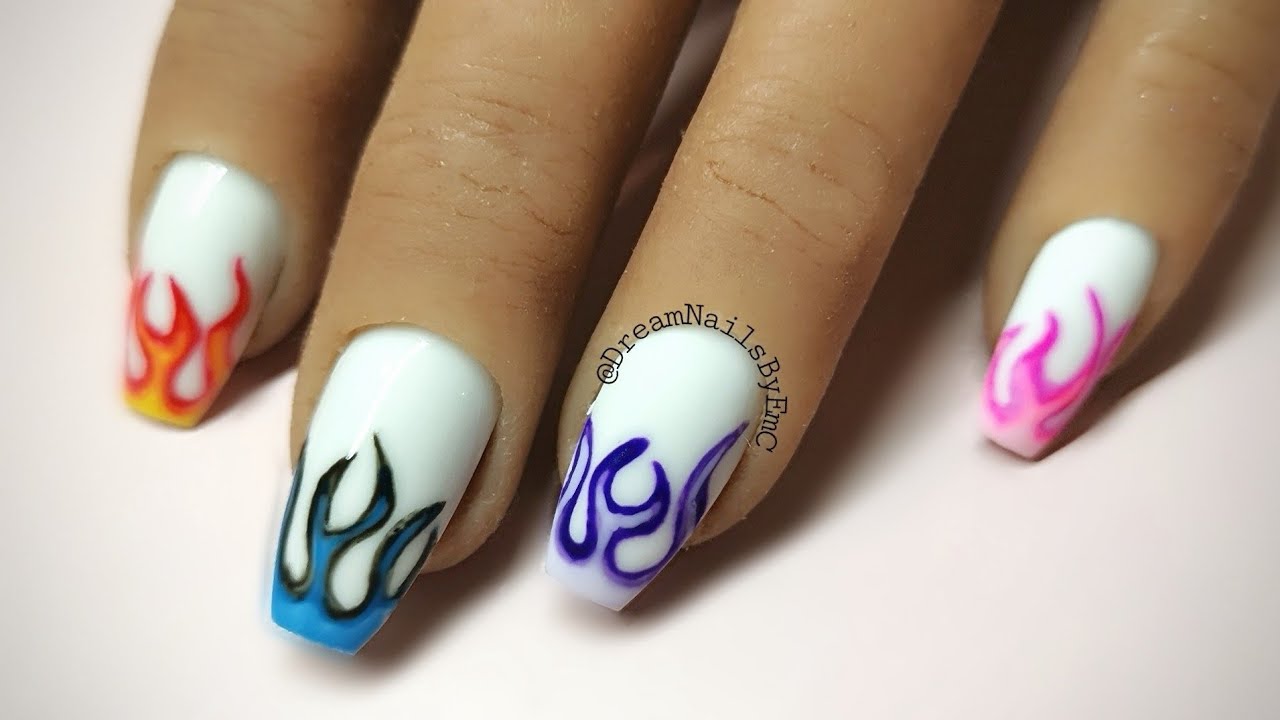
Next, choose your first color and paint a diagonal line across your nail using the small brush. This will act as the base for your flames.
Step 3:
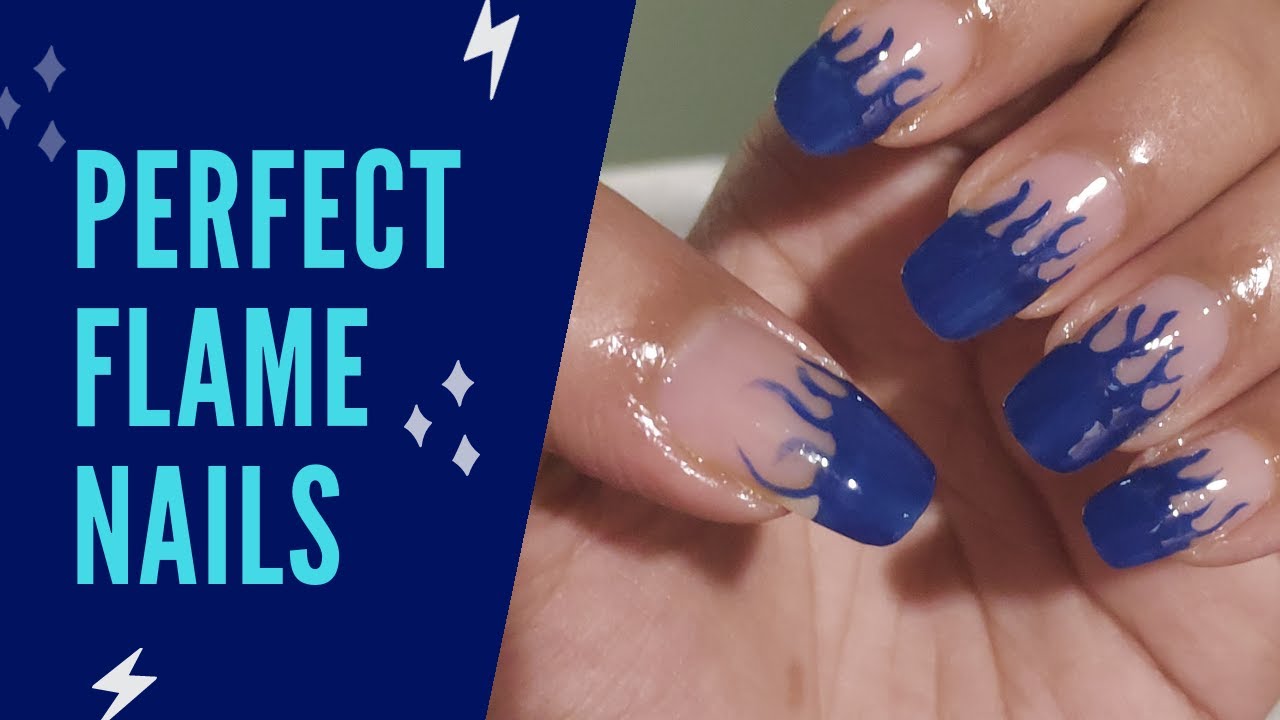
Using the same color, create a flame shape on the tip of your nail by painting a curved line. This can be done freehand, or you can use a
flame nail sticker
for more precise lines.
Step 4:
Repeat step 3 with your other colors, layering the flames on top of each other to create a dynamic look.
Step 5:
Once you're happy with the design, seal it with a top coat to ensure it lasts.
Now that you have all your supplies, it's time to get creative! Follow these simple steps to achieve the perfect
diy flame nail art
:
Step 1:
Start by applying a base coat to your nails and let it dry completely.
Step 2:
Next, choose your first color and paint a diagonal line across your nail using the small brush. This will act as the base for your flames.
Step 3:
Using the same color, create a flame shape on the tip of your nail by painting a curved line. This can be done freehand, or you can use a
flame nail sticker
for more precise lines.
Step 4:
Repeat step 3 with your other colors, layering the flames on top of each other to create a dynamic look.
Step 5:
Once you're happy with the design, seal it with a top coat to ensure it lasts.
Unleash Your Inner Artist
 The beauty of
diy flame nail art
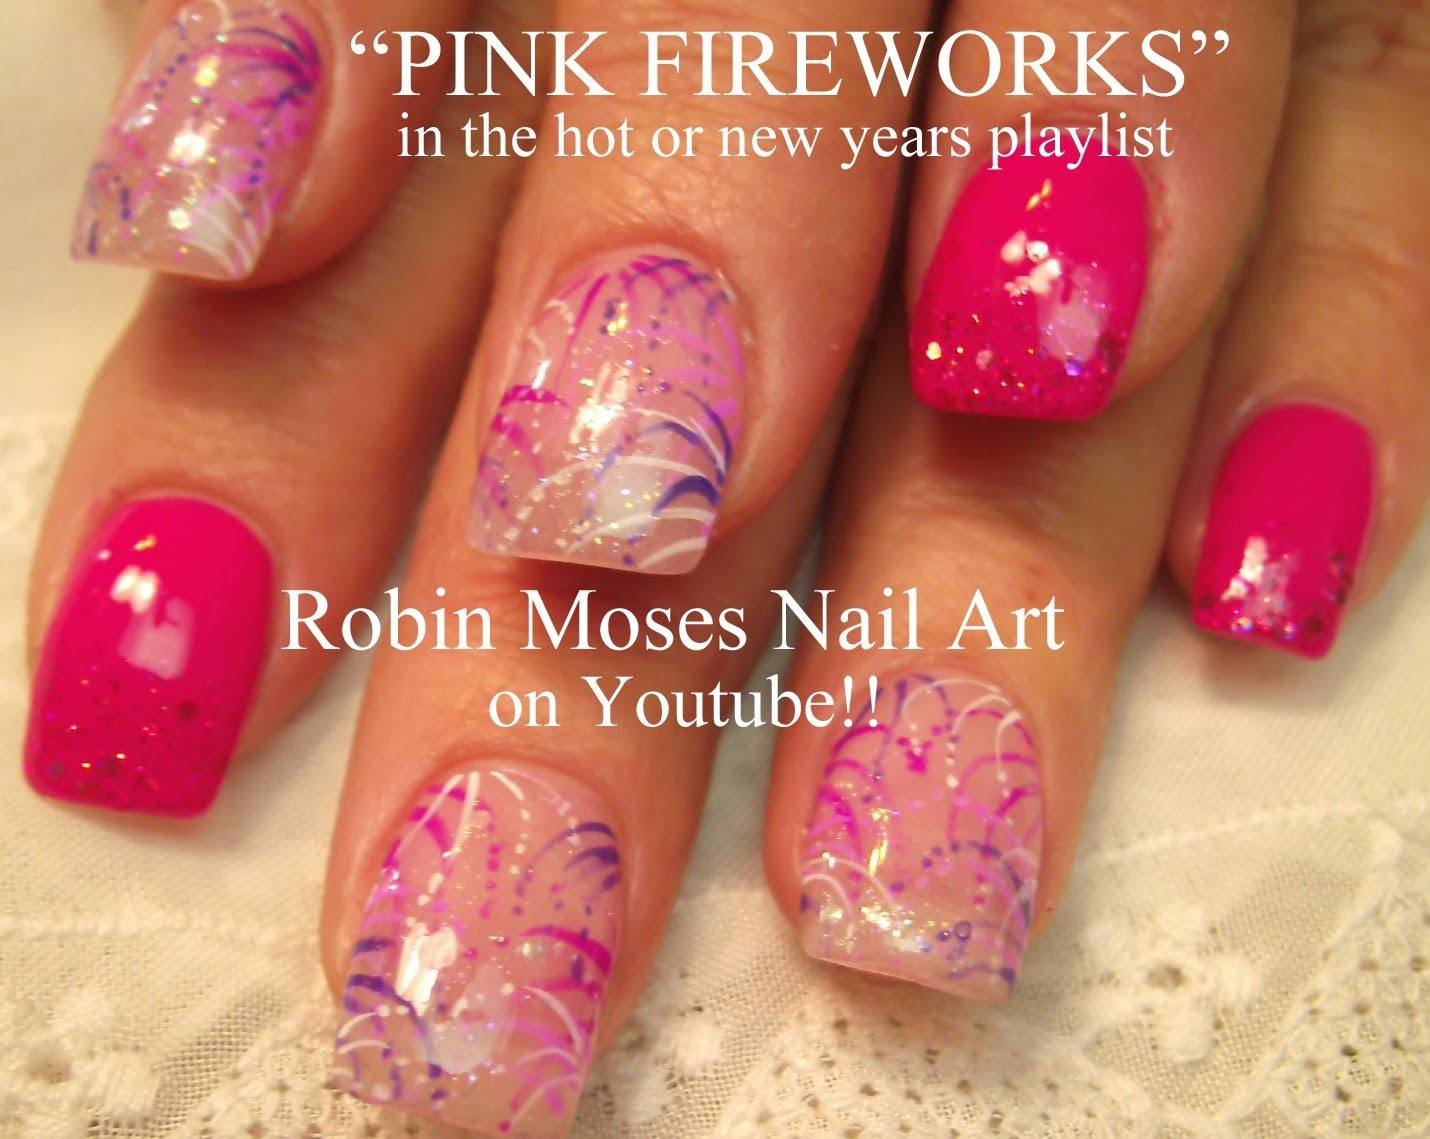
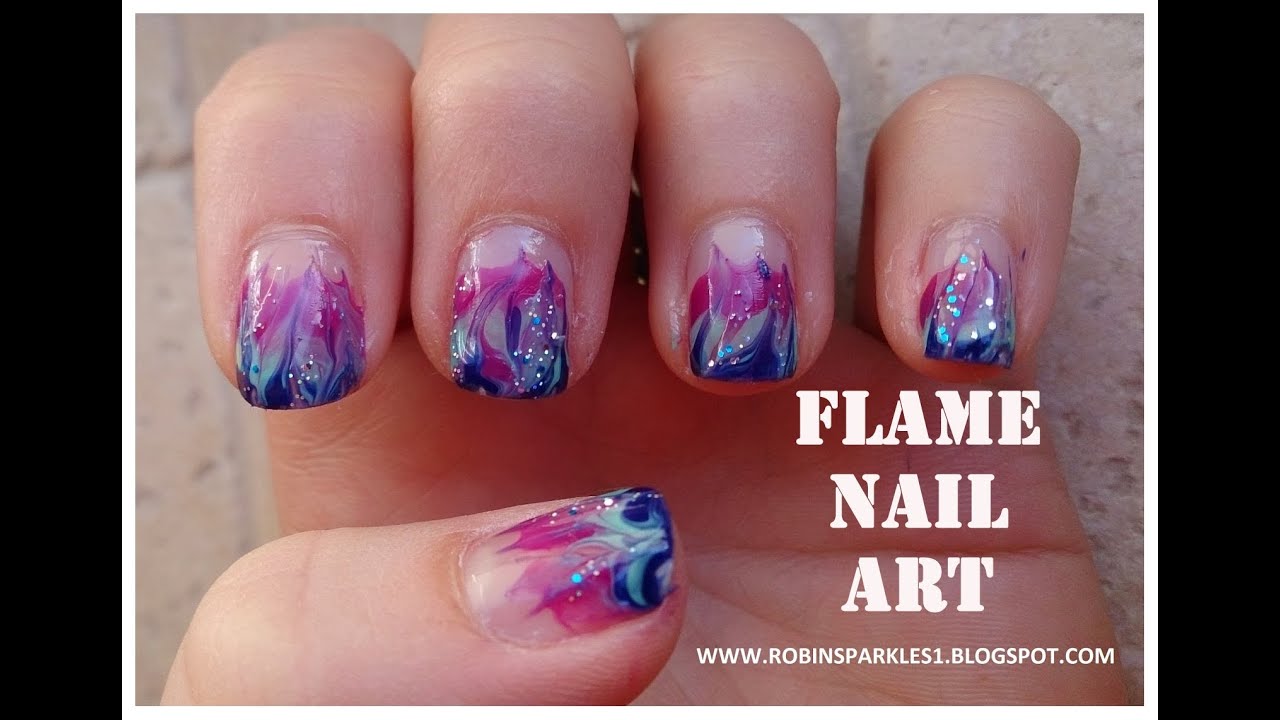
is that you can make it your own. Get creative with different color combinations and experiment with different flame shapes. You can even add glitter or rhinestones for an extra touch of glam.
The beauty of
diy flame nail art
is that you can make it your own. Get creative with different color combinations and experiment with different flame shapes. You can even add glitter or rhinestones for an extra touch of glam.
Take Your Manicure to the Next Level
 With
diy flame nail art
, you can elevate your manicure game and stand out from the crowd. This bold and edgy design is perfect for any occasion, whether it's a night out with friends or a special event. So grab your supplies and unleash your inner artist with this fun and trendy nail art.
With
diy flame nail art
, you can elevate your manicure game and stand out from the crowd. This bold and edgy design is perfect for any occasion, whether it's a night out with friends or a special event. So grab your supplies and unleash your inner artist with this fun and trendy nail art.


