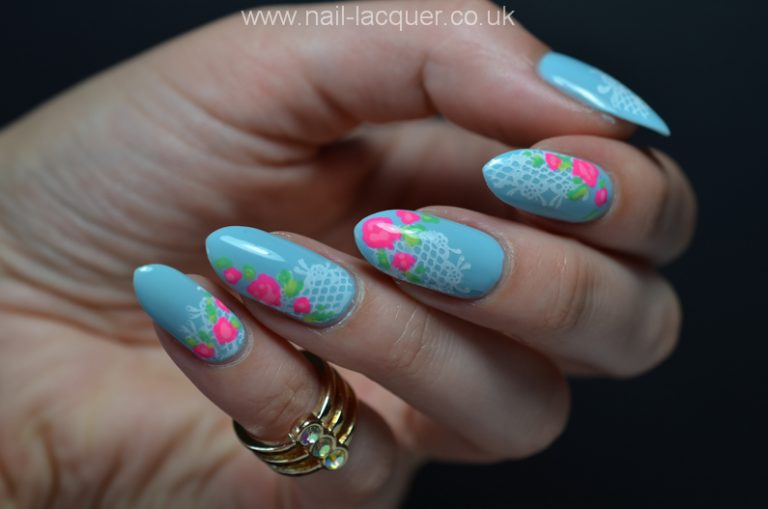
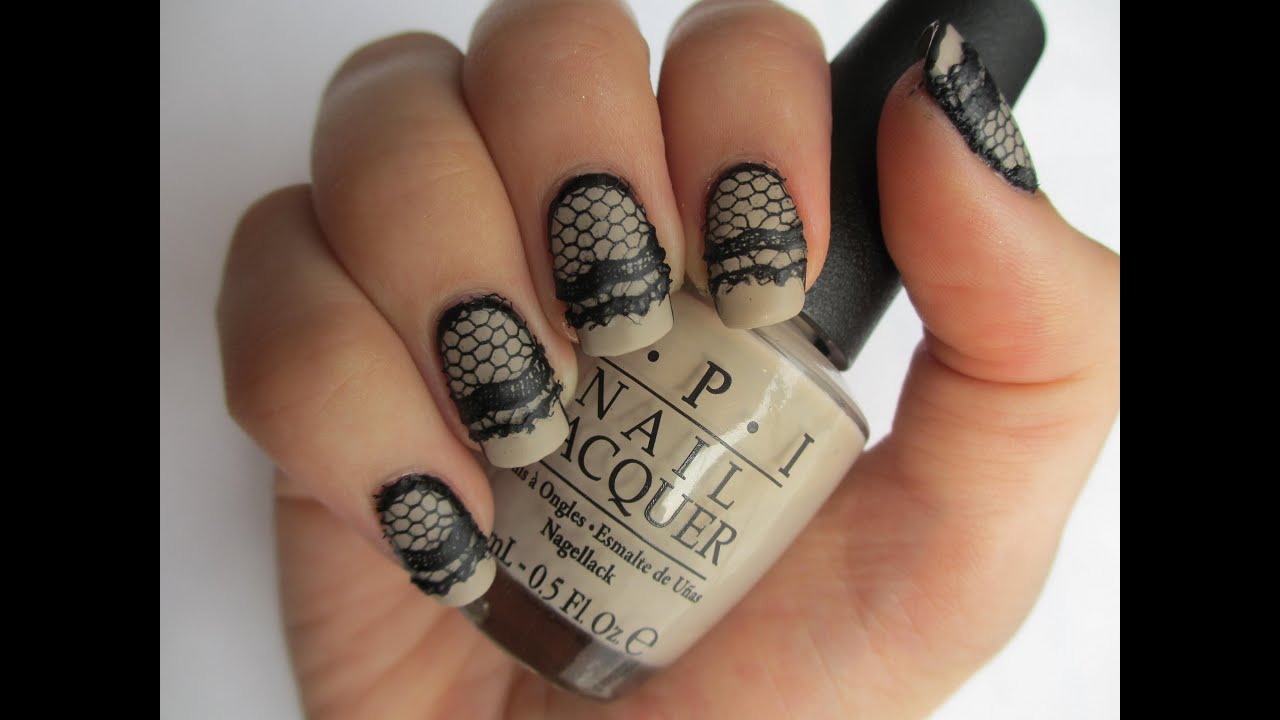
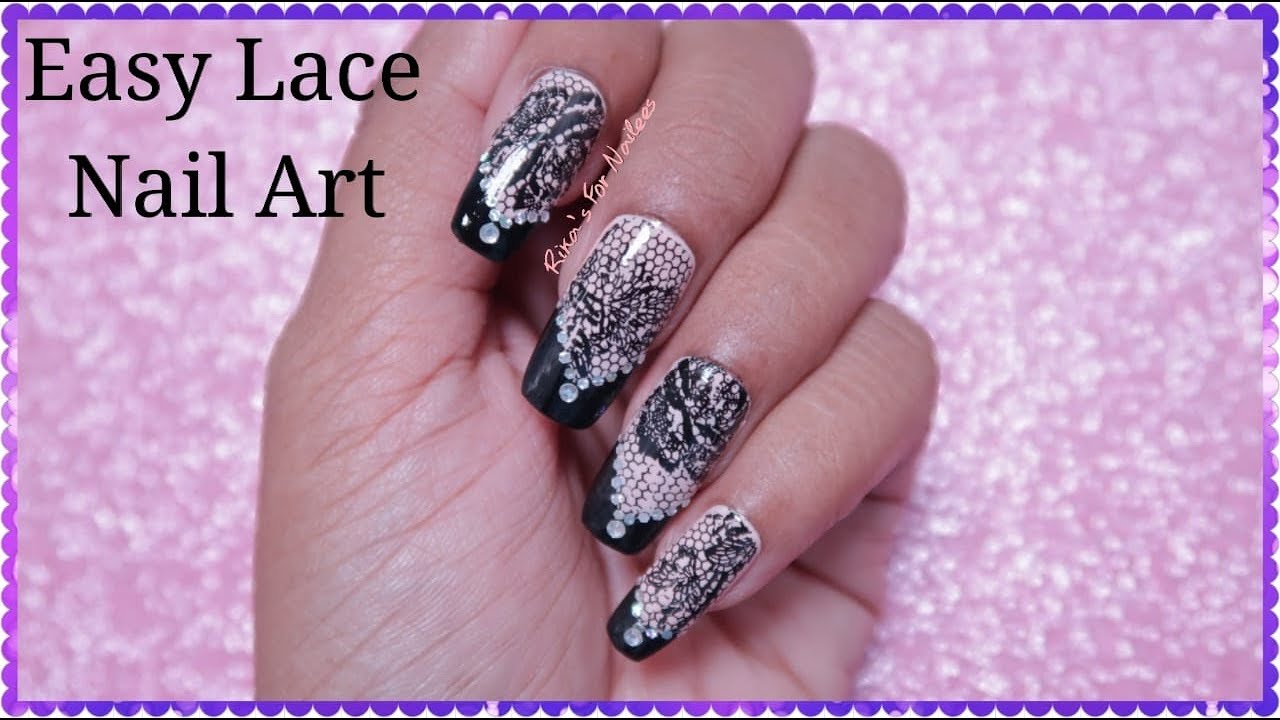
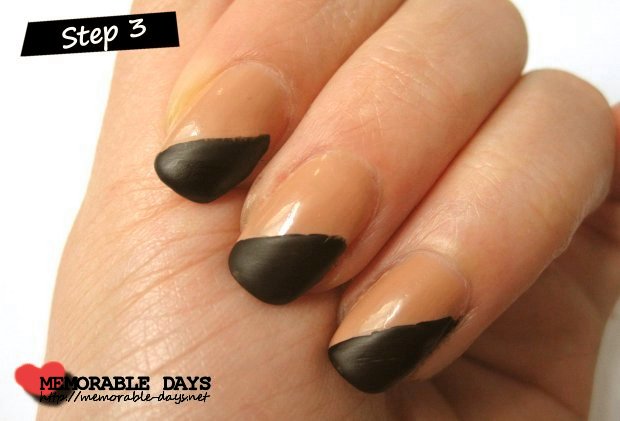
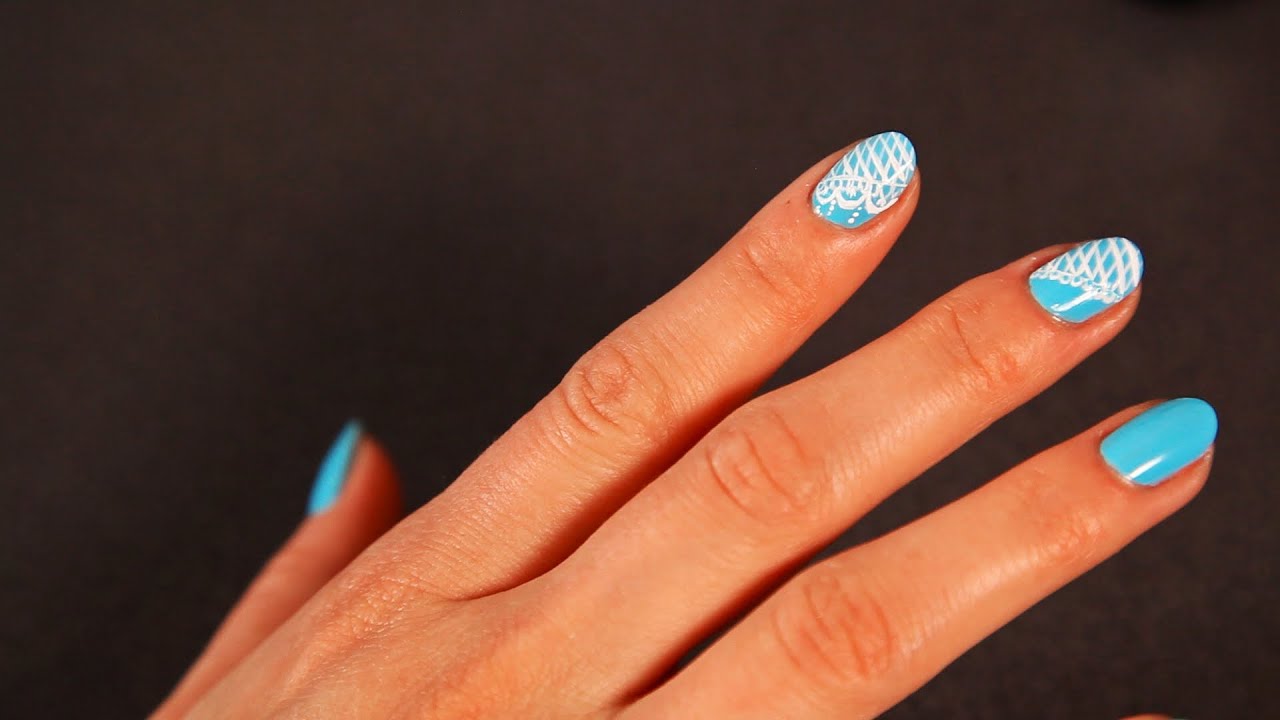
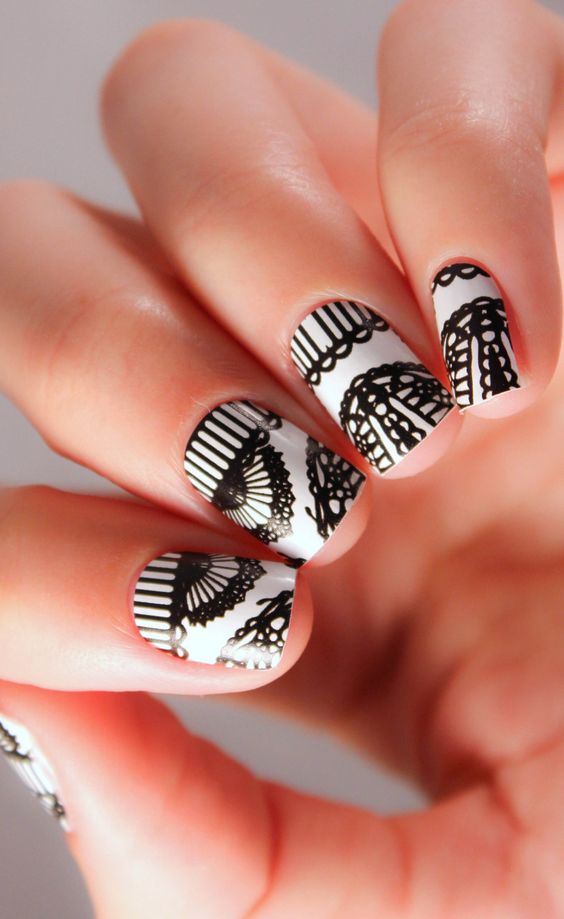
DIY lace nail art is a fun and creative way to dress up your nails. It's a simple and affordable way to add a touch of elegance and femininity to your manicure. And the best part? You can easily do it yourself at home! In this tutorial, we'll show you a simple and easy way to create beautiful lace nail art using just a few basic materials. First, gather your materials. You'll need a base coat, a light-colored nail polish, a lace fabric or lace nail stickers, a pair of scissors, and a top coat. You can use any color nail polish you prefer, but lighter shades work best for this design. Step 1: Apply a base coat to protect your nails and help the polish adhere better. Step 2: Apply two coats of your chosen light-colored nail polish. Let it dry completely before moving on to the next step. Step 3: Cut a small piece of lace fabric, making sure it's big enough to cover your nail. If you're using lace nail stickers, skip this step. Step 4: Place the lace fabric over your nail, making sure it's centered and covers the entire nail. If you're using lace nail stickers, carefully place them on your nail, pressing down gently to ensure they stick well. Step 5: Using a pair of scissors, carefully trim the excess fabric or stickers around the edges of your nail. Step 6: Apply a top coat to seal the lace in place and give your nails a glossy finish. And voila! You now have a beautiful and elegant lace nail art design. This DIY lace nail art is not only easy but also allows you to be creative. You can experiment with different lace patterns, colors, and designs to create unique and personalized looks.1. Easy DIY Lace Nail Art Tutorial


1. Easy DIY Lace Nail Art Tutorial


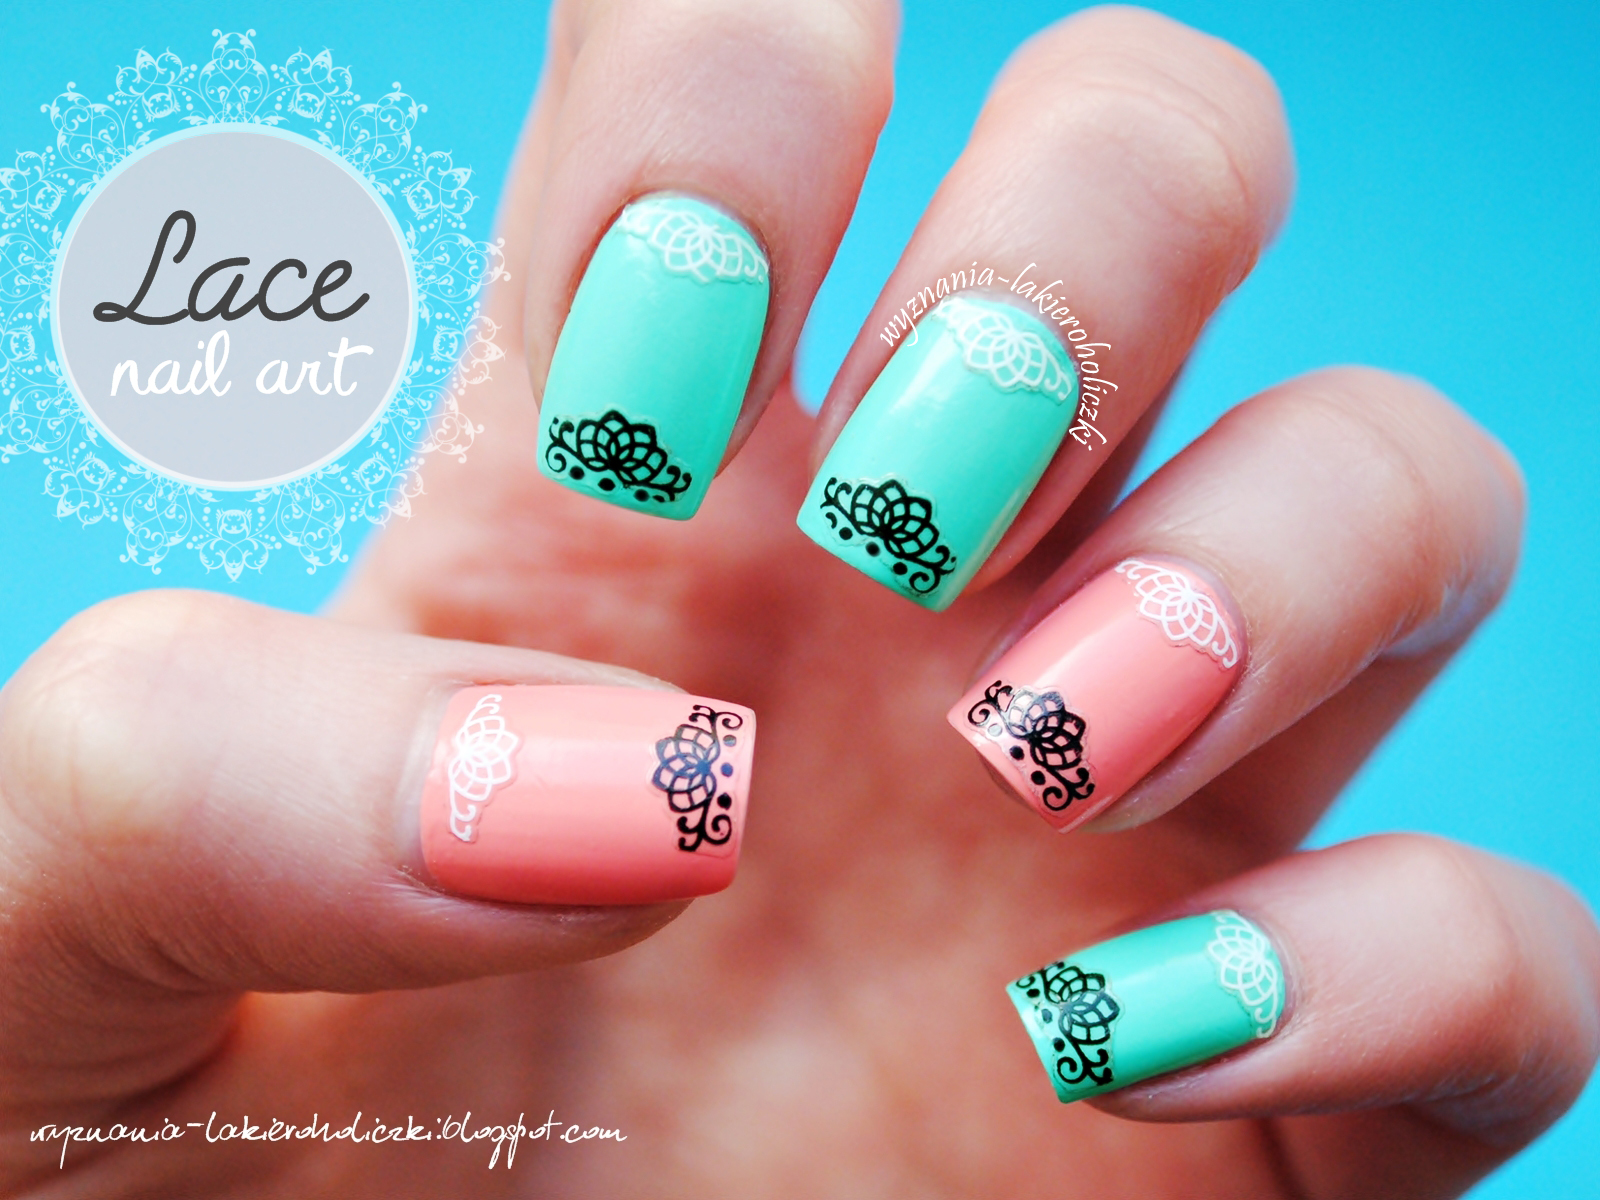


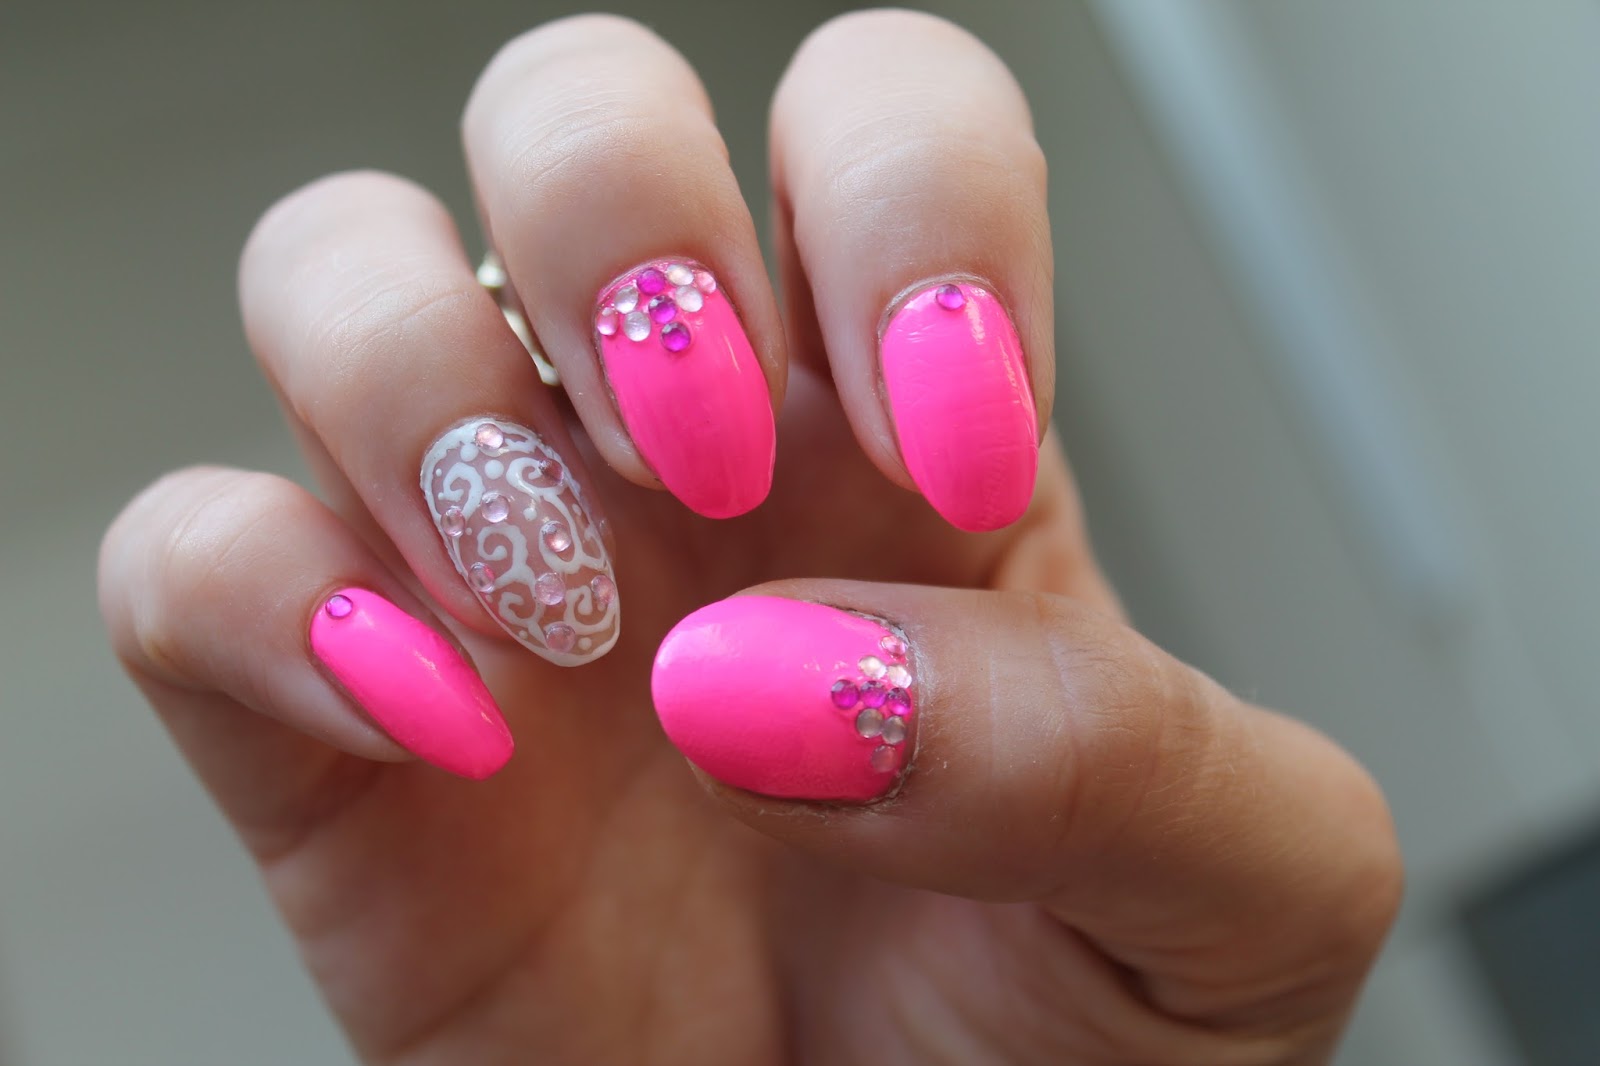
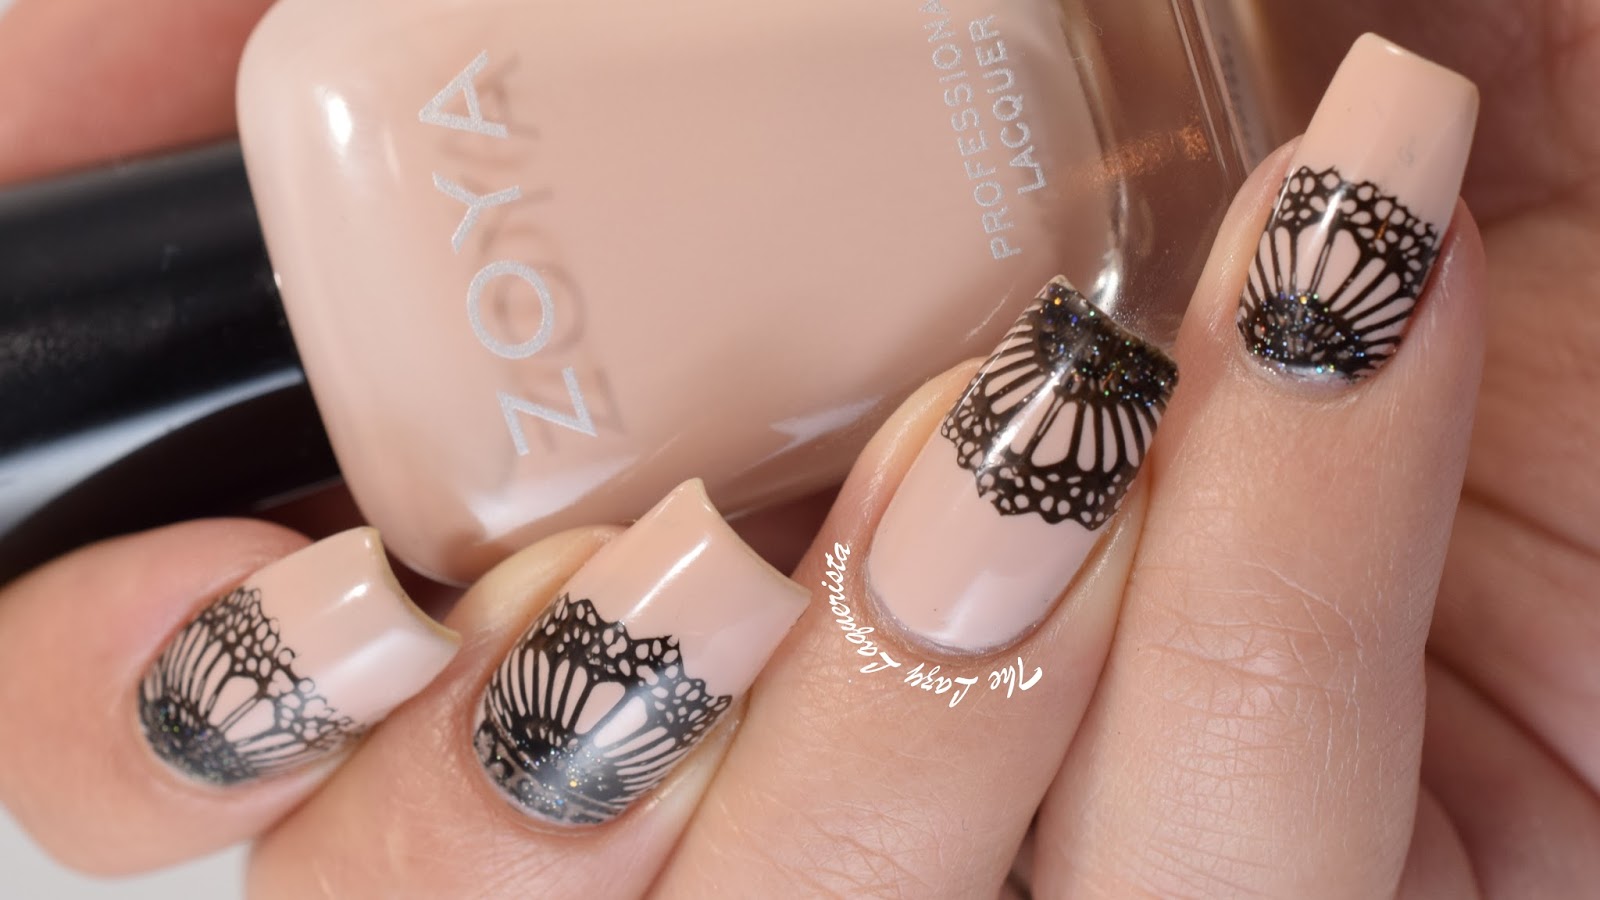
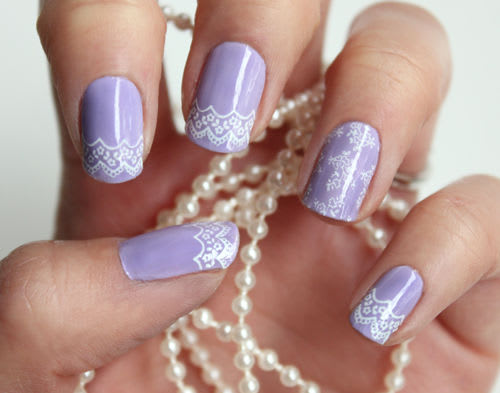
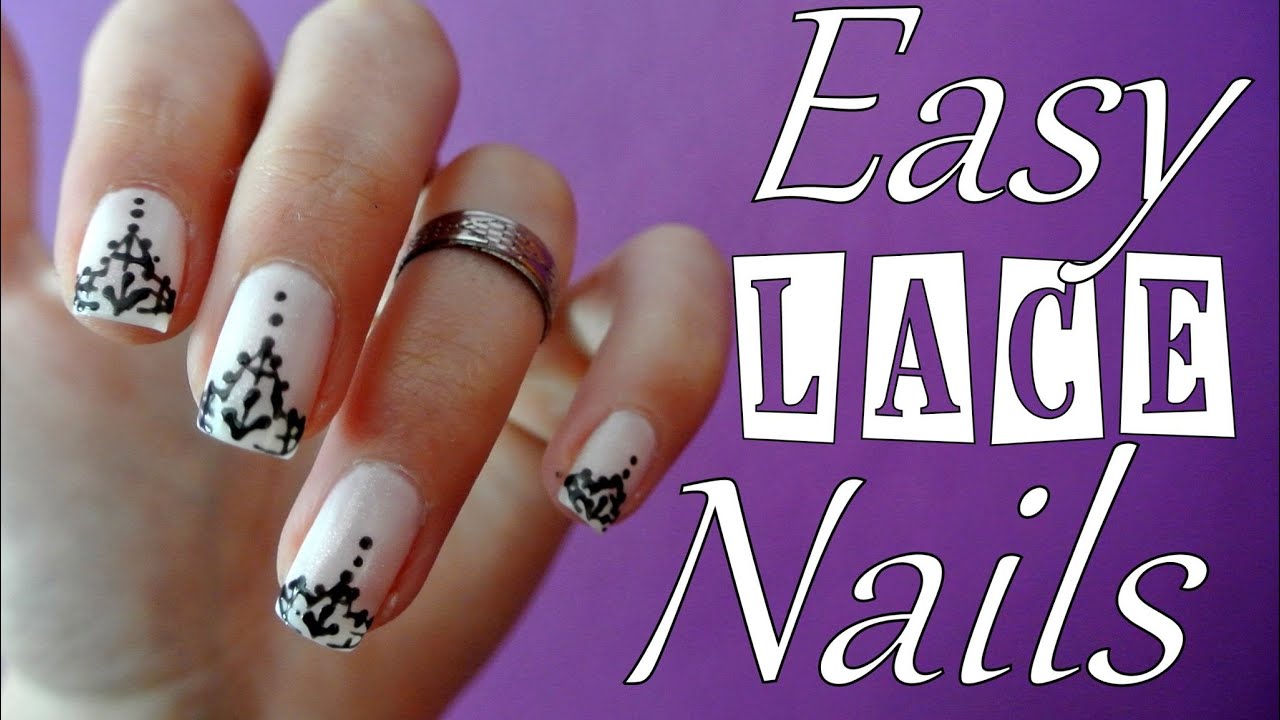
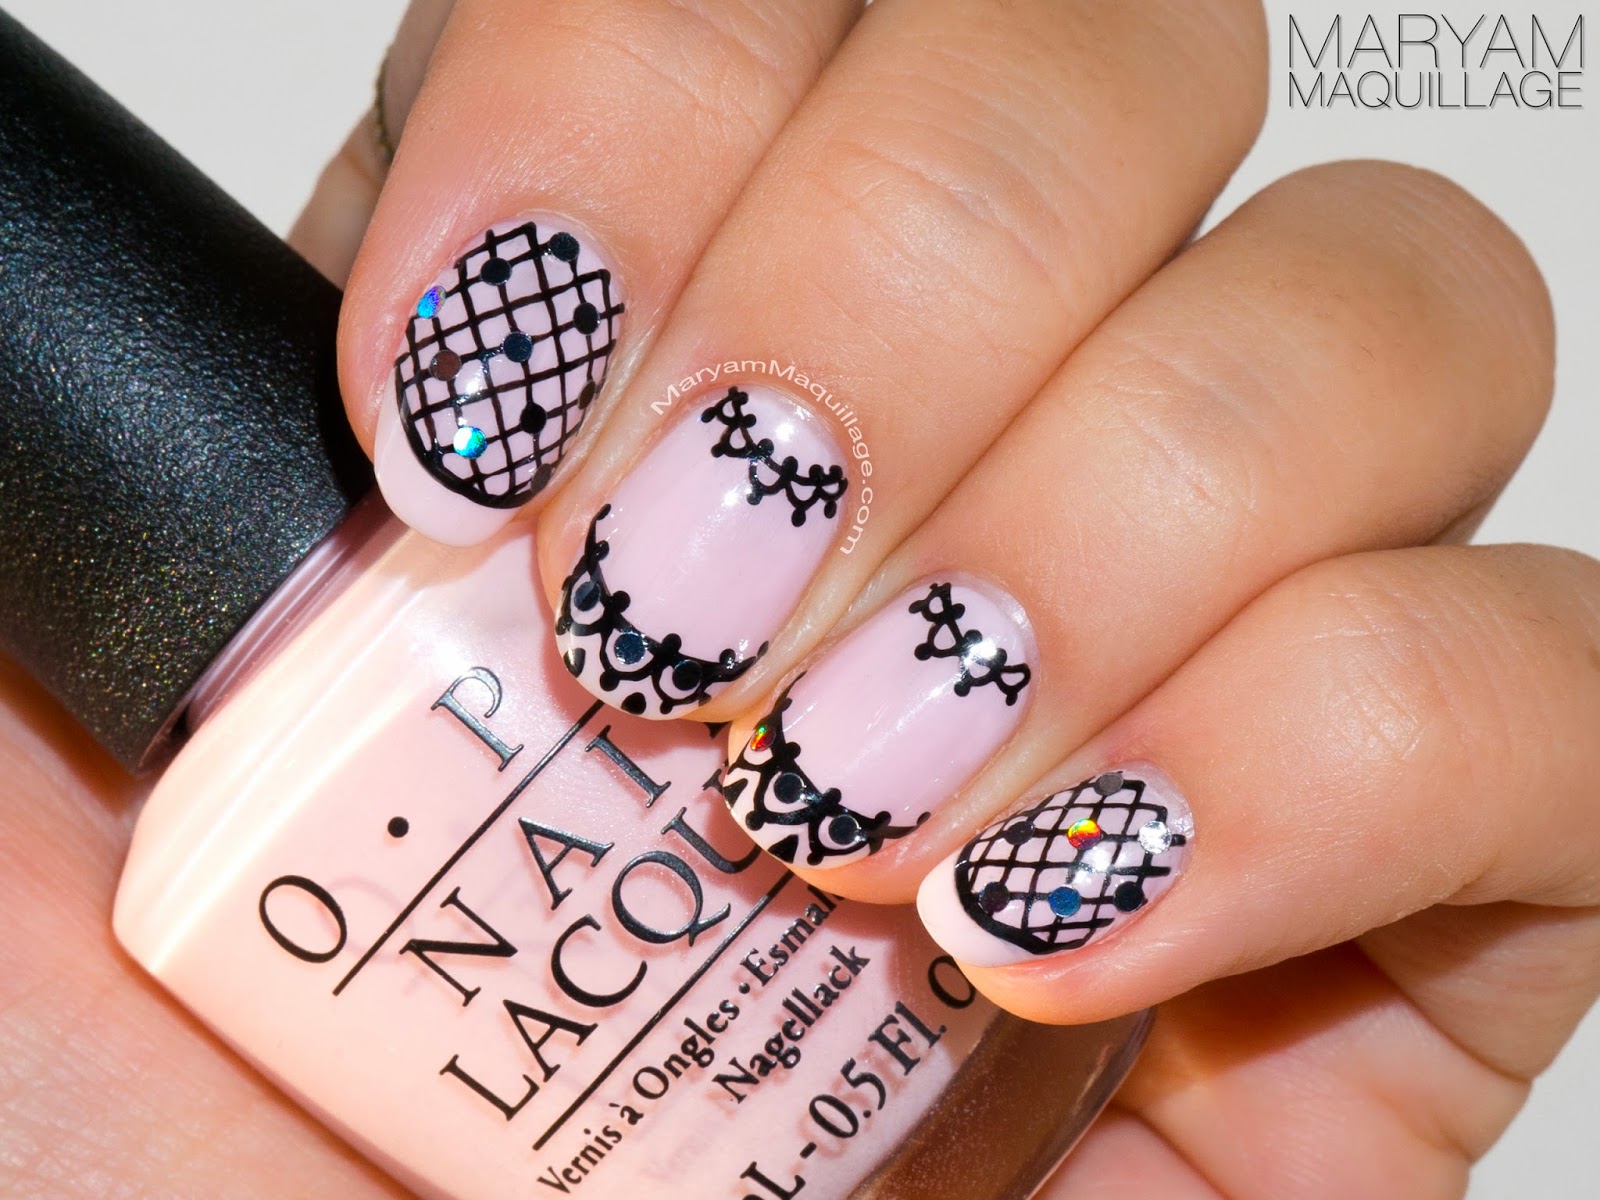
Are you new to DIY nail art? Don't worry, we've got you covered. Here are some simple and easy lace nail art designs perfect for beginners. Lace Accent Nail: If you're not ready to commit to a full lace design, you can start with an accent nail. Paint all of your nails with a light-colored polish and use lace fabric or stickers to create a lace design on one nail. It's simple yet chic. Lace French Tips: The classic French manicure gets a lace upgrade with this design. Paint your nails with a light-colored polish and use a lace fabric or stickers to create a delicate lace pattern at the tips of your nails. You can also use a contrasting color for the tips to make the lace design pop. Lace Cutouts: This design involves cutting out pieces of lace fabric and applying them to your nails to create a cutout effect. It may require a bit more precision, but the end result is worth it. Lace Ombre: Ombre nails are all the rage, and you can give them a lace twist by using a lace fabric or stickers to create a gradient effect on your nails. Choose two or more colors that blend well together and create a stunning ombre look. Lace Nail Tips: Another simple yet elegant design is to use lace fabric or stickers to create a lace pattern on the tips of your nails. You can use a light-colored polish for the base and a darker shade for the tips to create a contrast. These are just a few ideas to get you started. The key is to have fun and be creative. With some practice, you'll be creating beautiful lace nail art designs in no time.2. Simple Lace Nail Art Designs for Beginners


2. Simple Lace Nail Art Designs for Beginners

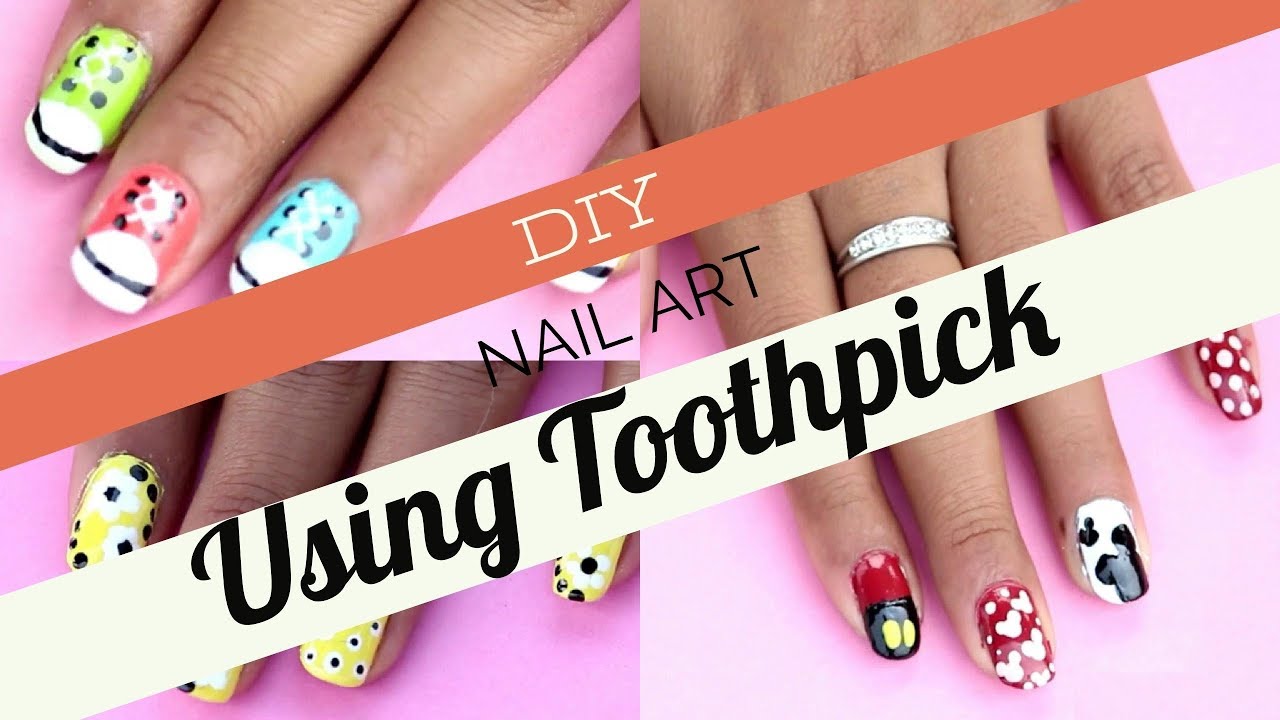
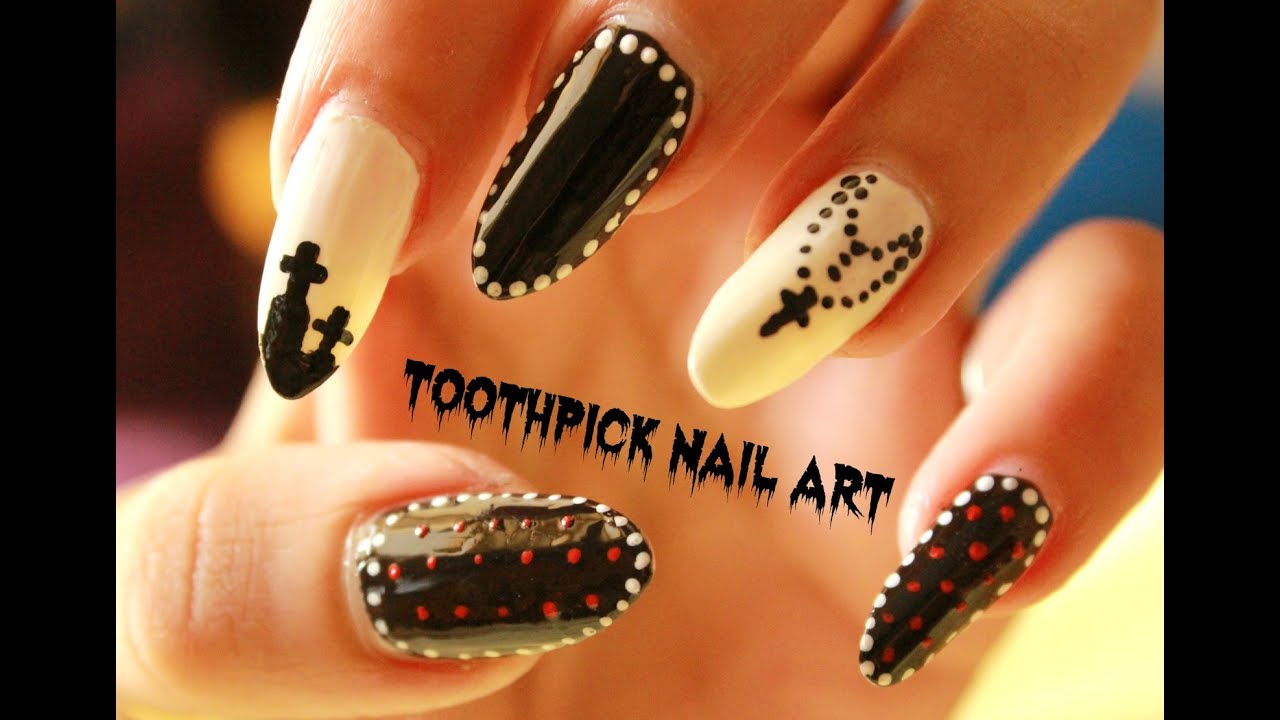
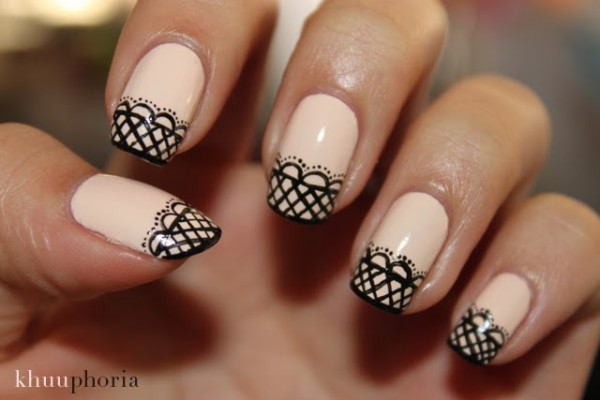
You don't need fancy nail art tools to create beautiful lace designs. A simple toothpick can work just as well. Here's how to use a toothpick to create DIY lace nail art. First, follow the first two steps of the original tutorial (applying a base coat and two coats of light-colored polish). Step 3: Dip the tip of the toothpick in a darker shade of nail polish. You can also use a nail art pen or a thin brush. Step 4: Use the toothpick to draw a lace pattern on your nails. You can create a full lace design or just add some lace accents. Step 5: Use a toothpick to fill in any gaps or imperfections in your design. Step 6: Apply a top coat to seal the design and give your nails a glossy finish. This method allows you to have more control over your design and is perfect for creating intricate lace patterns.3. DIY Lace Nail Art with Toothpick


3. DIY Lace Nail Art with Toothpick


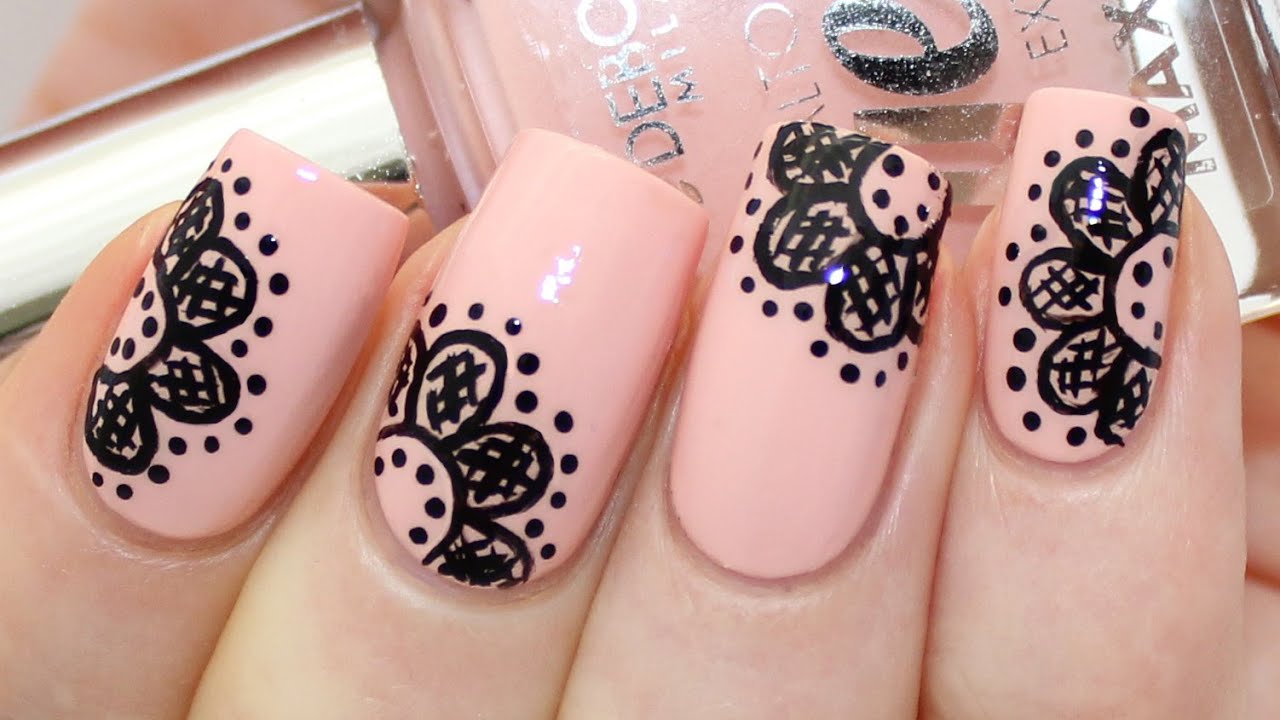
Short on time but still want to rock a gorgeous lace nail art design? This quick and easy tutorial is for you. Step 1: Apply a base coat to protect your nails. Step 2: Cut a small piece of lace fabric or use lace nail stickers. Step 3: Apply a light-colored polish to your nails. Step 4: While the polish is still wet, place the lace fabric or stickers on your nails, making sure it's centered and covers the entire nail. Step 5: Use a toothpick or a small brush to gently press the lace into the polish, creating a raised lace effect. Step 6: Apply a top coat to seal the lace in place and give your nails a glossy finish. This method is perfect for when you're short on time but still want to add a touch of elegance to your nails.4. Quick and Easy Lace Nail Art at Home

4. Quick and Easy Lace Nail Art at Home


If you're not confident in your freehand nail art skills, lace nail stickers are a great alternative. Here's how to use them to create a simple and elegant lace design. Start by following the first two steps of the original tutorial (applying a base coat and two coats of light-colored polish). Step 3: Carefully peel off the lace nail stickers from the sheet using tweezers. Step 4: Place the stickers on your nails, making sure they're centered and cover the entire nail. Step 5: Use a toothpick or a small brush to gently press the stickers onto your nails, ensuring they stick well. Step 6: Apply a top coat to seal the stickers in place and give your nails a glossy finish. This method is quick, easy, and perfect for creating a delicate and intricate lace design.5. Simple Lace Nail Art Using Stickers


5. Simple Lace Nail Art Using Stickers


Another easy way to create a lace nail art design is by using nail polish and tape. Here's how to do it. Step 1: Apply a base coat to protect your nails. Step 2: Cut small pieces of tape and place them on your nails to create a lace pattern. You can use different widths of tape to create different lace effects. Step 3: Apply a light-colored polish over the tape. Step 4: While the polish is still wet, carefully peel off the tape to reveal the lace pattern. Step 5: Use a toothpick or a small brush to fill in any gaps or imperfections in the design. Step 6: Apply a top coat to seal the design and give your nails a glossy finish. This method is perfect for creating intricate lace designs and allows you to use different colors for a more unique look.6. DIY Lace Nail Art with Nail Polish and Tape


6. DIY Lace Nail Art with Nail Polish and Tape


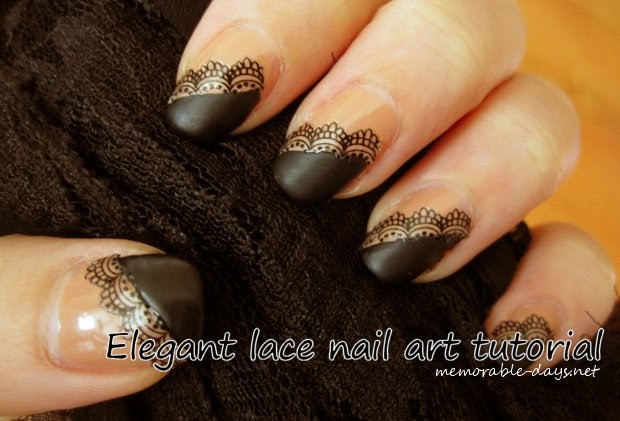
Think you can't rock lace nail art on short nails? Think again. This tutorial will show you how to create an elegant lace design on short nails. Step 1: Apply a base coat to protect your nails. Step 2: Apply a light-colored polish to your nails. Step 3: Cut a small piece of lace fabric or use lace nail stickers. Step 4: Place the lace on your nails, making sure it's centered and covers the entire nail. Step 5: Use a toothpick or a small brush to gently push the lace into the polish to create a raised lace effect. Step 6: Apply a top coat to seal the lace in place and give your nails a glossy finish. This method is perfect for those with short nails and still allows you to achieve a beautiful and elegant lace design.7. Elegant Lace Nail Art Tutorial for Short Nails

7. Elegant Lace Nail Art Tutorial for Short Nails


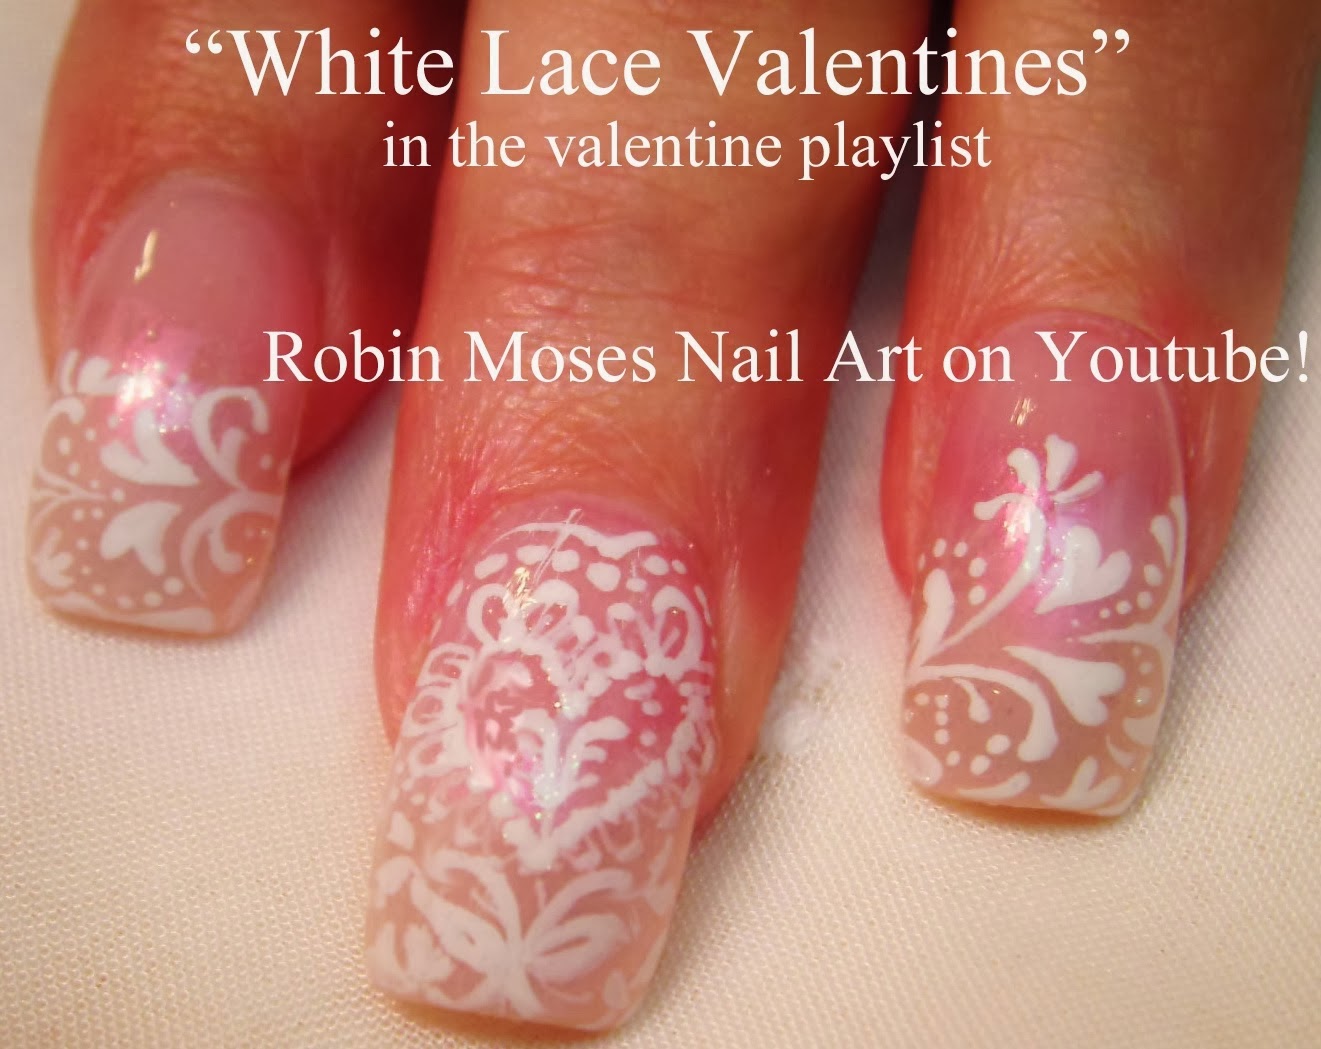
Take your lace nail art to the next level by adding a touch of glitter. Here's how to create a beautiful lace design with a glitter accent. Step 1: Apply a base coat to protect your nails. Step 2: Apply a light-colored polish to your nails. Step 3: Cut a small piece of lace fabric or use lace nail stickers. Step 4: Place the lace on your nails, making sure it's centered and covers the entire nail. Step 5: Use a toothpick or a small brush to gently push the lace into the polish to create a raised lace effect. Step 6: Apply a top coat to seal the lace in place and give your nails a glossy finish. Step 7: While the top coat is still wet, sprinkle some glitter over the lace design. Step 8: Gently press the glitter into the top coat using a toothpick or a small brush. Step 9: Apply another layer of top coat to seal the glitter in place. This method is perfect for those who love a little sparkle and adds a glamorous touch to your lace nail art design.8. DIY Lace Nail Art with Glitter Accent

8. DIY Lace Nail Art with Glitter Accent

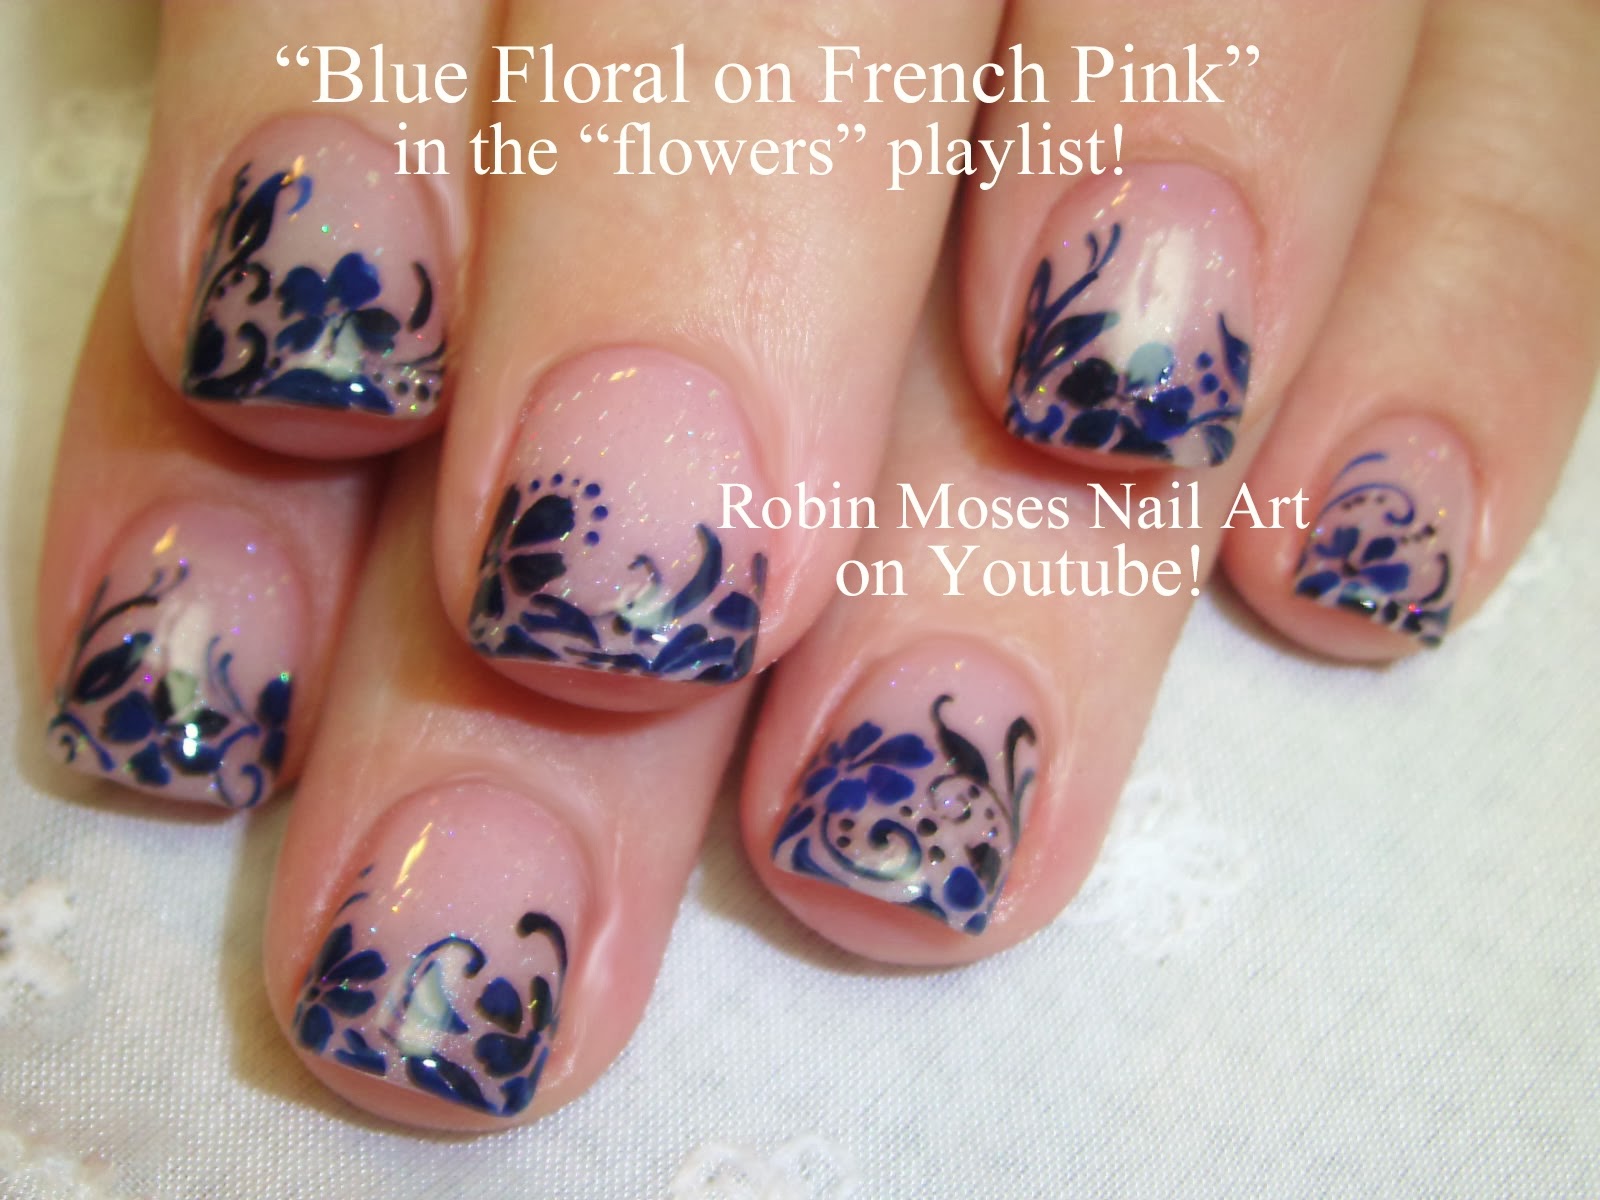
French tips are a classic and timeless nail design, and you can give them a lace twist with this tutorial. Step 1: Apply a base coat to protect your nails. Step 2: Apply a light-colored polish to your nails. Step 3: Cut a small piece of lace fabric or use lace nail stickers. Step 4: Place the lace on your nails, making sure it's centered and covers the tips of your nails. Step 5: Use a toothpick or a small brush to gently push the lace into the polish to create a raised lace effect. Step 6: Apply a top coat to seal the lace in place and give your nails a glossy finish. This method is perfect for a subtle and delicate lace design and is a great way to elevate your French tip manicure.9. Simple Lace Nail Art with French Tips

9. Simple Lace Nail Art with French Tips


Water decals are another great alternative for those who struggle with freehand nail art. Here's how to use them to create a beautiful lace design. Step 1: Apply a base coat to protect your nails. Step 2: Apply a light-colored polish to your nails. Step 3: Cut out the water decals you want to use and soak them in water for a few seconds. Step 4: Place the decals on your nails, making sure they're centered and cover the entire nail. Step 5: Use a toothpick or a small brush to gently press the decals onto your nails, ensuring they stick well. Step 6: Apply a top coat to seal the decals in place and give your nails a glossy finish. This method is perfect for creating intricate and detailed lace designs without having to do any freehand work. Now that you have 10 different ways to create DIY lace nail art, it's time to get creative and experiment with different designs. Whether you prefer a simple and elegant look or a more intricate lace pattern, there's a tutorial here for everyone. So go ahead and give your nails a touch of lace, and watch them transform into beautiful works of art.10. DIY Lace Nail Art with Water Decals

10. DIY Lace Nail Art with Water Decals


Adding a Personal Touch to Your DIY Lace Nail Art

Creating a Unique and Stylish Look
 If you're tired of the same old plain nails, why not spice things up with some
DIY lace nail art
? Not only is it a fun and creative way to express yourself, but it also adds a touch of elegance to your overall look. Plus, you don't have to be a professional nail artist to achieve this beautiful design. With a few simple steps, you can create your own unique and stylish look that will have all your friends asking for your secret.
If you're tired of the same old plain nails, why not spice things up with some
DIY lace nail art
? Not only is it a fun and creative way to express yourself, but it also adds a touch of elegance to your overall look. Plus, you don't have to be a professional nail artist to achieve this beautiful design. With a few simple steps, you can create your own unique and stylish look that will have all your friends asking for your secret.
Gather Your Materials
 The first step to creating your DIY lace nail art is gathering all the necessary materials. You will need a base coat, your choice of
nail polish
, lace fabric, and a top coat. You can find lace fabric in any craft store, and it comes in a variety of designs and colors, so you can choose the one that best suits your style. You can also opt for lace nail stickers if you're short on time or don't want to deal with cutting and shaping the fabric.
The first step to creating your DIY lace nail art is gathering all the necessary materials. You will need a base coat, your choice of
nail polish
, lace fabric, and a top coat. You can find lace fabric in any craft store, and it comes in a variety of designs and colors, so you can choose the one that best suits your style. You can also opt for lace nail stickers if you're short on time or don't want to deal with cutting and shaping the fabric.
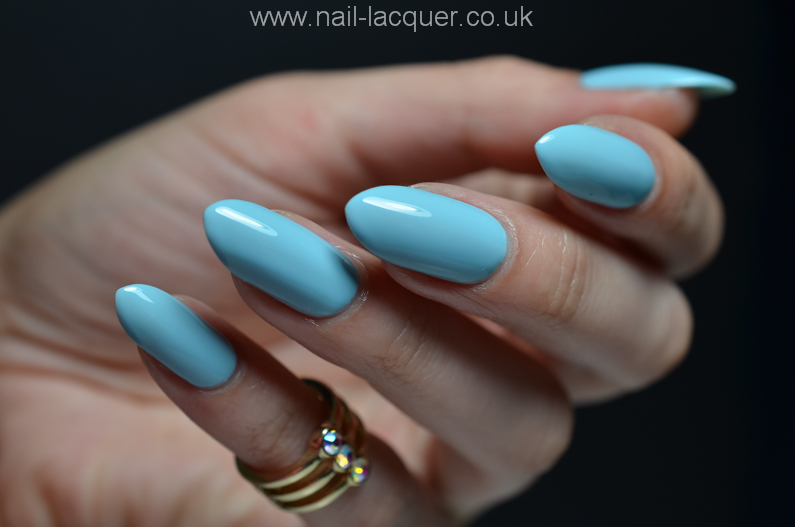
Prep and Paint
 Before starting, make sure your nails are clean and free of any old polish. Apply a base coat to protect your nails and help the polish adhere better. Once the base coat is dry, it's time to paint your nails with your desired color. You can choose a
bold and vibrant color
to make the lace design stand out or go for a more subtle look with a
nude or pastel shade
.
Before starting, make sure your nails are clean and free of any old polish. Apply a base coat to protect your nails and help the polish adhere better. Once the base coat is dry, it's time to paint your nails with your desired color. You can choose a
bold and vibrant color
to make the lace design stand out or go for a more subtle look with a
nude or pastel shade
.
Adding the Lace
 Now comes the fun part - adding the lace to your nails. Cut the lace fabric into small pieces that fit the size of your nails. You can also use lace trimmings for a more intricate design. Using a pair of tweezers, gently lay the lace on your nail while the polish is still wet. Once it's in place, press down lightly to secure it. Repeat this step for all your nails.
Finishing Touches
 Once the lace is in place, let it dry for a few minutes. Then, apply a top coat to seal the lace and protect your design. This will also help the lace to stay in place for a longer period. You can also add some
glitter or rhinestones
for some extra sparkle and glam.
Once the lace is in place, let it dry for a few minutes. Then, apply a top coat to seal the lace and protect your design. This will also help the lace to stay in place for a longer period. You can also add some
glitter or rhinestones
for some extra sparkle and glam.
Express Yourself
 The best part about DIY lace nail art is that you can create endless designs and express your unique style. You can use different colors, patterns, and even combine lace with other nail art techniques for a more intricate look. The possibilities are endless, and you can have fun experimenting with different designs.
Now that you know the steps to create your own DIY lace nail art, it's time to get creative and add a personal touch to your nails. With just a few materials and some simple steps, you can achieve a professional-looking design that will make you stand out from the crowd. So go ahead and try out this trendy and elegant nail art - your nails will thank you.
The best part about DIY lace nail art is that you can create endless designs and express your unique style. You can use different colors, patterns, and even combine lace with other nail art techniques for a more intricate look. The possibilities are endless, and you can have fun experimenting with different designs.
Now that you know the steps to create your own DIY lace nail art, it's time to get creative and add a personal touch to your nails. With just a few materials and some simple steps, you can achieve a professional-looking design that will make you stand out from the crowd. So go ahead and try out this trendy and elegant nail art - your nails will thank you.


