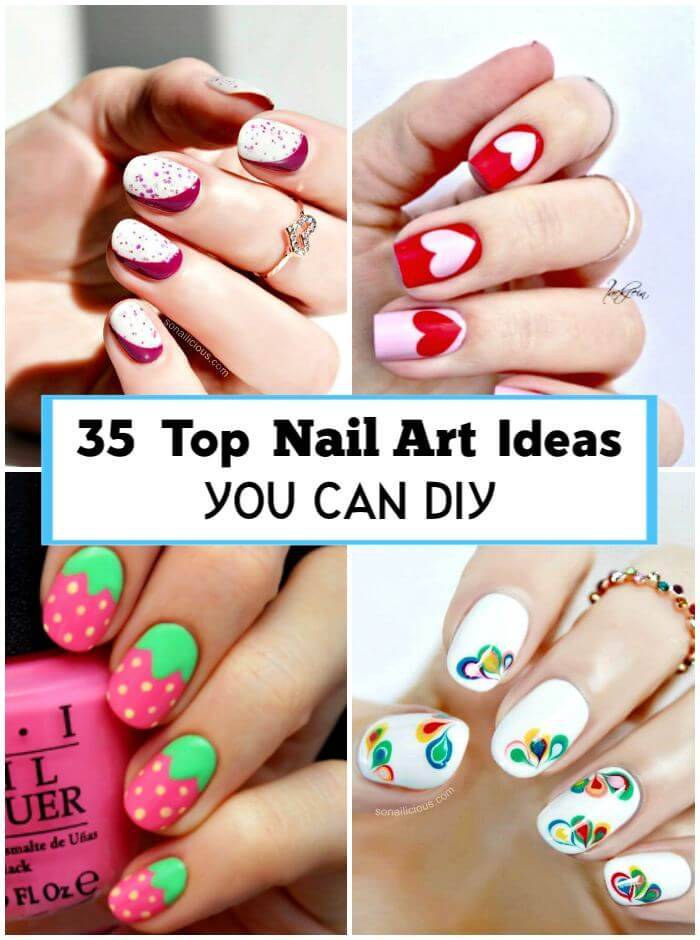
If you're a travel lover or just looking for a unique and creative nail art design, then look no further than DIY map nail art. This fun and easy nail art design allows you to showcase your love for traveling and exploring the world right on your fingertips. In this tutorial, we'll walk you through the steps to create your own DIY map nails at home.DIY Map Nail Art Tutorial


DIY Map Nail Art Tutorial


To create your own map nail art, you'll need a few supplies that are easily available at any craft or beauty store. These include:How to Create Map Nail Art at Home


How to Create Map Nail Art at Home


Now that you have all the necessary supplies, let's get started on creating your own map nail art:Step-by-Step Guide for DIY Map Nails


Step-by-Step Guide for DIY Map Nails


If you're new to nail art, don't worry! There are plenty of simple and easy map nail art designs that you can try. Some ideas include:Map Nail Art Ideas for Beginners

Map Nail Art Ideas for Beginners


If you're short on time or want a more effortless look, here are a few easy DIY map nail designs that you can try:Easy DIY Map Nail Designs

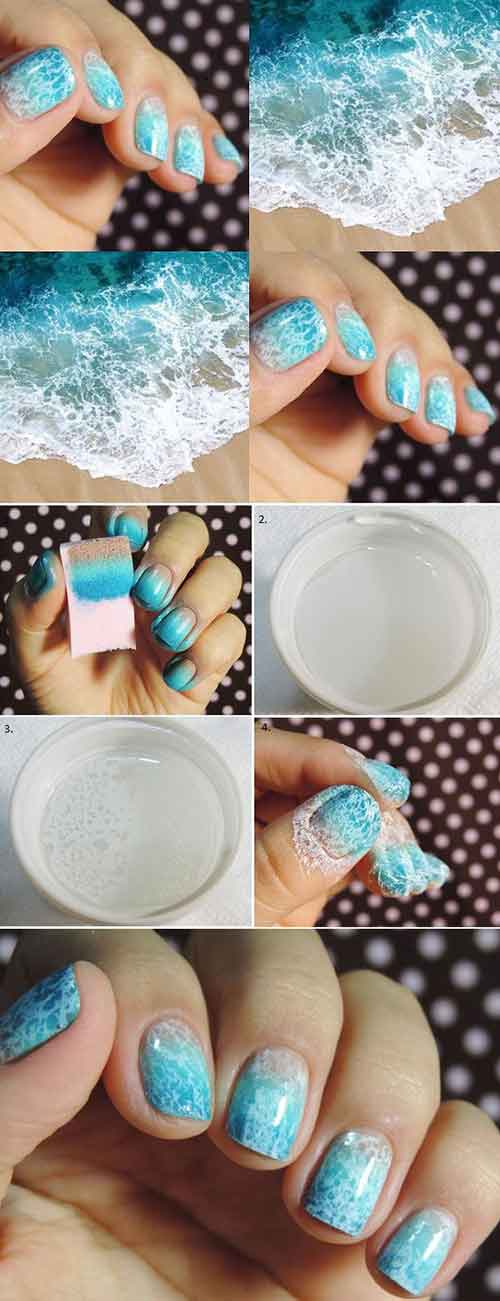
Easy DIY Map Nail Designs


To make your DIY map nail art experience easier, here is a list of all the supplies you'll need:Map Nail Art Supplies You'll Need

Map Nail Art Supplies You'll Need


To achieve the best results for your DIY map nails, here are a few tips and tricks to keep in mind:Tips and Tricks for Perfect Map Nails


Tips and Tricks for Perfect Map Nails


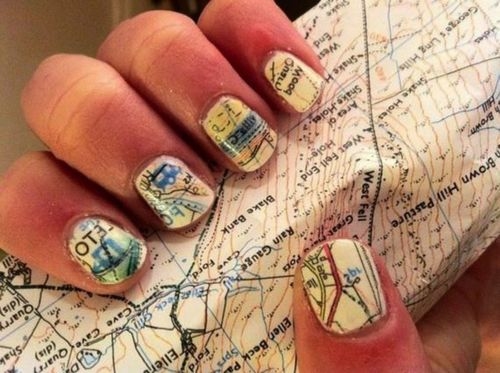
Still looking for some inspiration? Here are some beautiful and creative map nail art designs to get your creative juices flowing:Inspiring Map Nail Art Designs


Inspiring Map Nail Art Designs

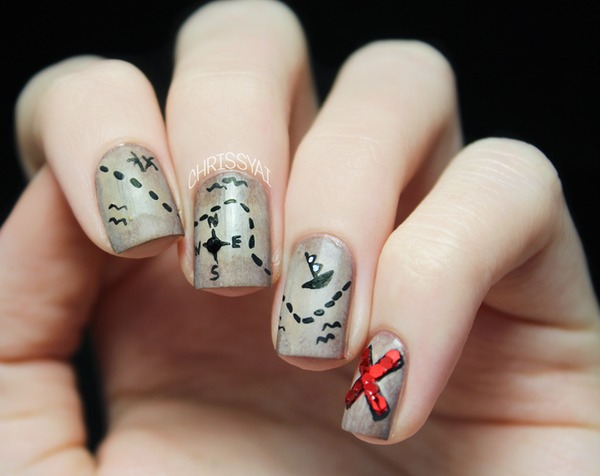
If you're someone who loves to travel and explore new places, then map nail art is the perfect way to show off your wanderlust. You can use maps of your favorite destinations, your dream travel locations, or even a map of the entire world to represent your love for travel.Map Nail Art for Travel Lovers

Map Nail Art for Travel Lovers

With DIY map nail art, the possibilities are endless. Here are some unique and creative designs that you can try:Unique Map Nail Art Designs to Try
Unique Map Nail Art Designs to Try
Take Your Nail Art to the Next Level with DIY Map Nail Art

Introduction to DIY Map Nail Art
 Are you tired of the same old nail art designs and looking for a unique and creative way to adorn your nails? Look no further than DIY map nail art! This trend has taken the nail art world by storm with its intricate and personalized designs. It not only adds a touch of whimsy to your nails but also allows you to showcase your love for travel and adventure. And the best part? You can easily achieve this look at home with just a few simple tools and some creativity.
Why Choose Map Nail Art?
 Map nail art is a fun and innovative way to express your individuality and showcase your love for travel and exploration. It adds a touch of personality to your nails and is a great conversation starter. Plus, it's a budget-friendly option compared to expensive salon visits. With map nail art, you have the freedom to choose any location or map design that holds special meaning to you, making it a truly unique and personalized look.
What You'll Need
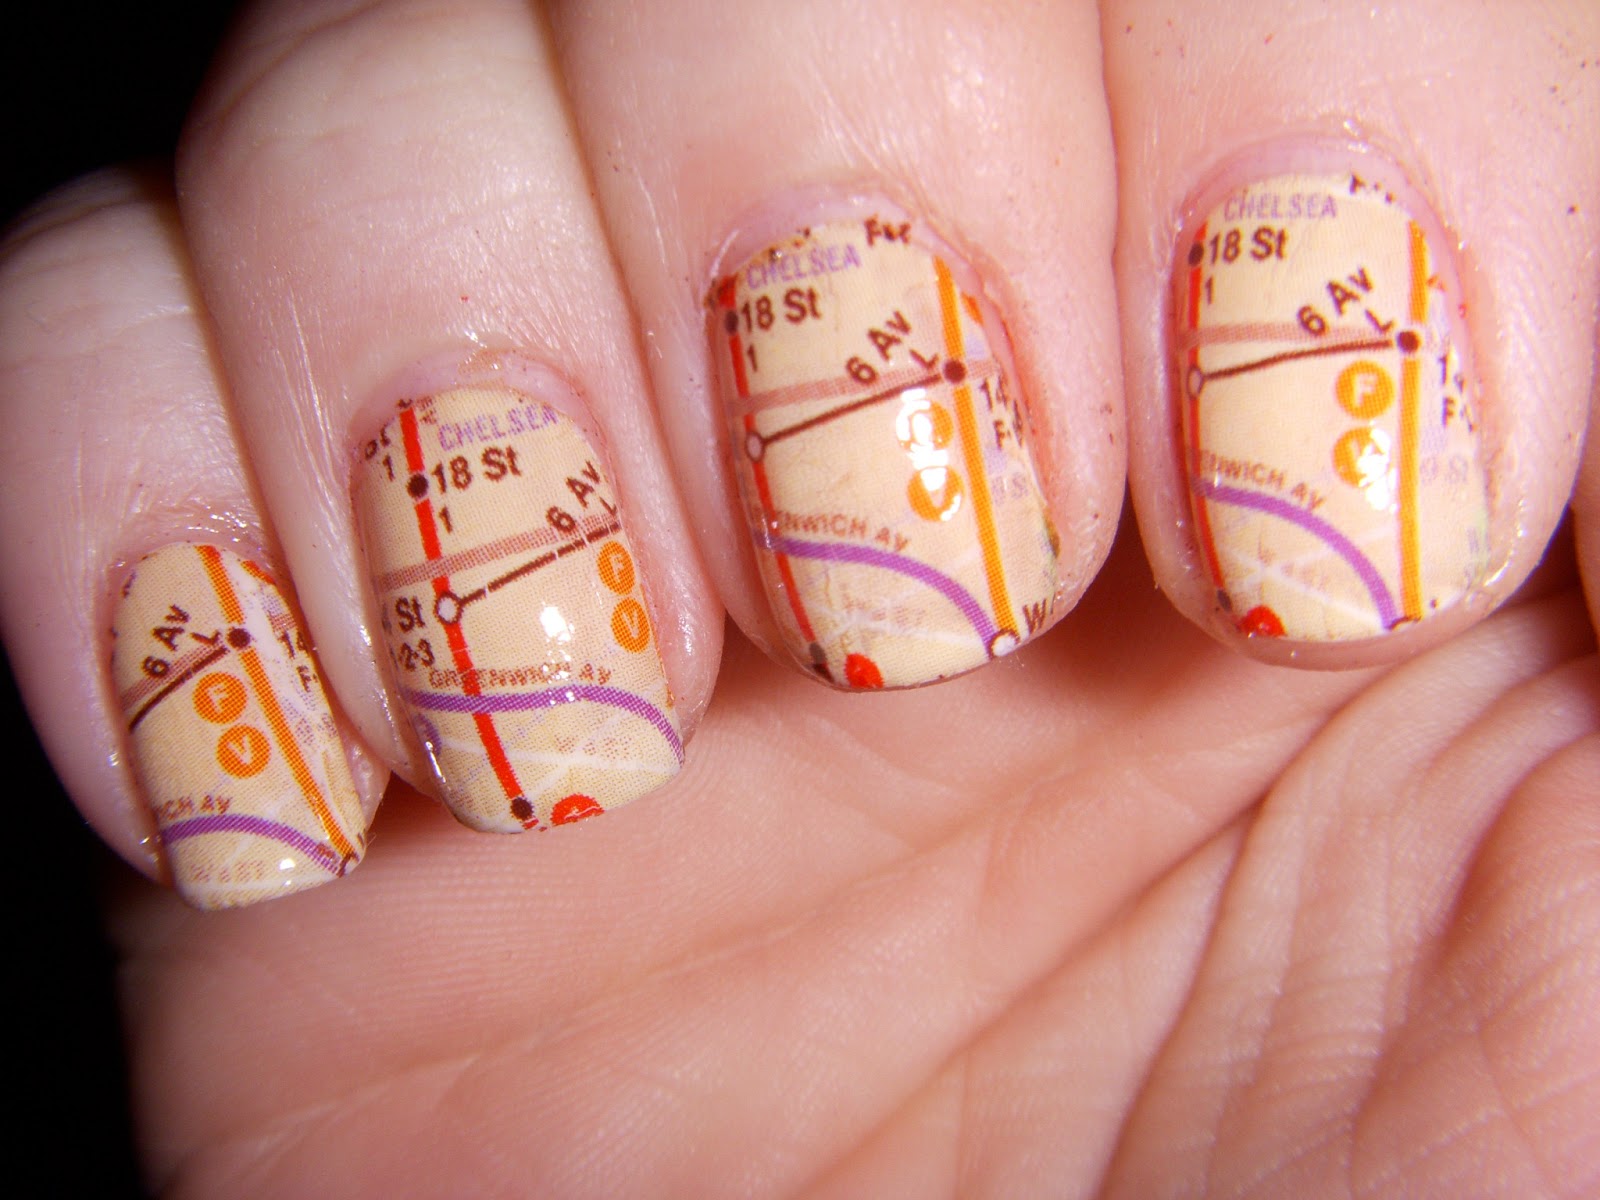
 To achieve DIY map nail art, you'll need a few basic supplies such as a base coat, top coat, nail polish in your desired colors, a map of your choice, tweezers, and a small pair of scissors. You can also add some additional tools like a dotting tool or toothpick for more intricate designs. The best part about this nail art is that you can use any map, whether it's a world map, city map, or even a subway map to create your design.
Step-by-Step Guide
 Now that you have your supplies ready, here's a step-by-step guide to achieving your own DIY map nail art:
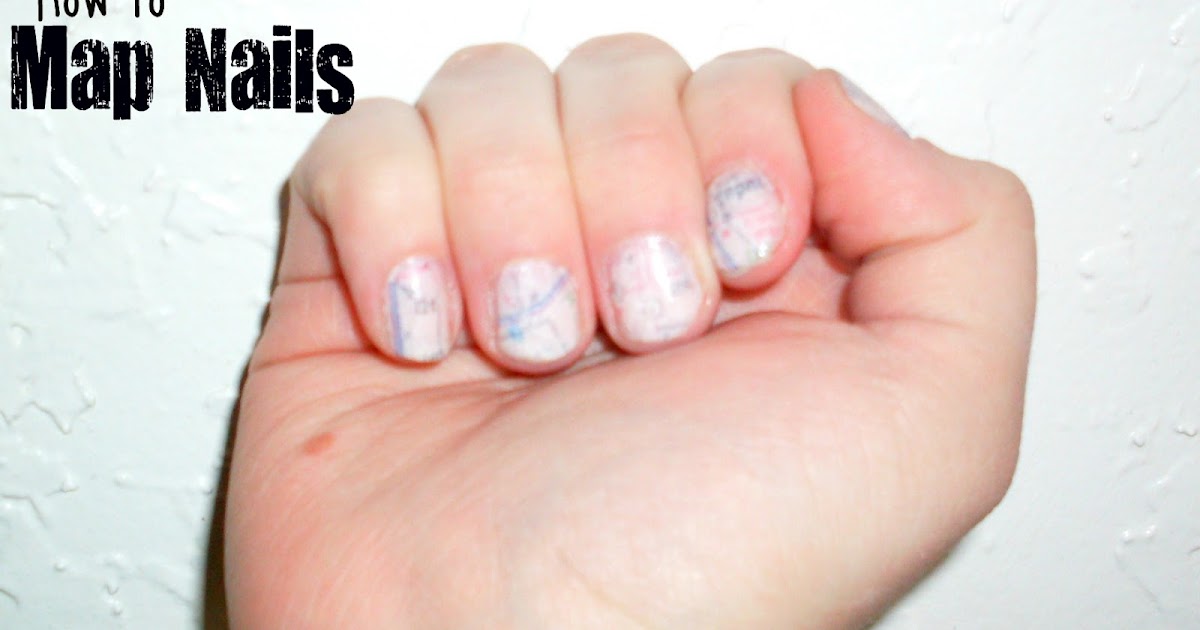
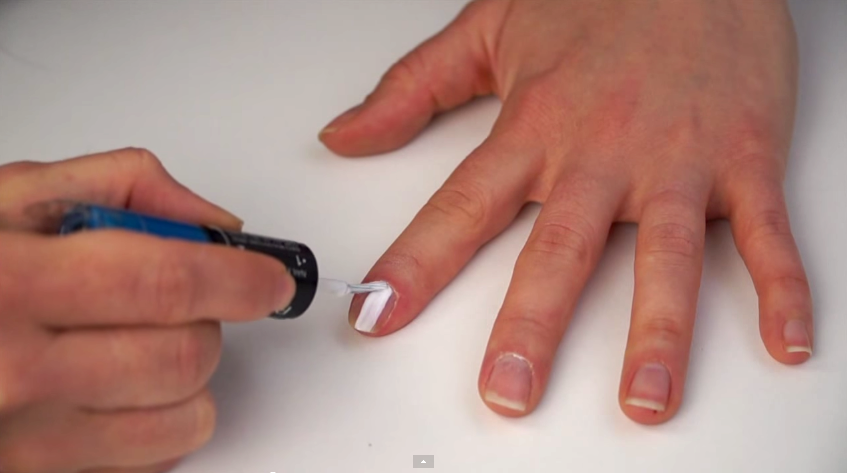
Step 1: Prepare Your Nails
Start by prepping your nails by removing any old nail polish and shaping them according to your preference. Apply a base coat to protect your nails and allow it to dry completely.
Step 2: Choose Your Map
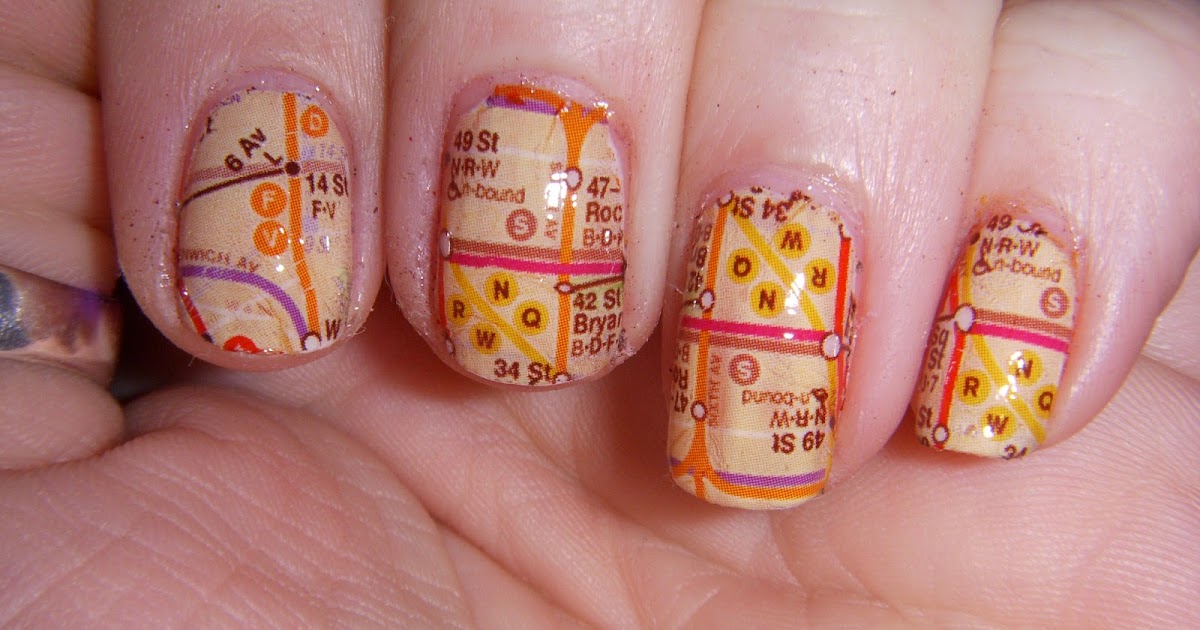
Select a map of your choice and cut out small pieces of the map that you want to use for your design. You can use different parts of the map for each nail or create a cohesive look by using the same piece on all nails.
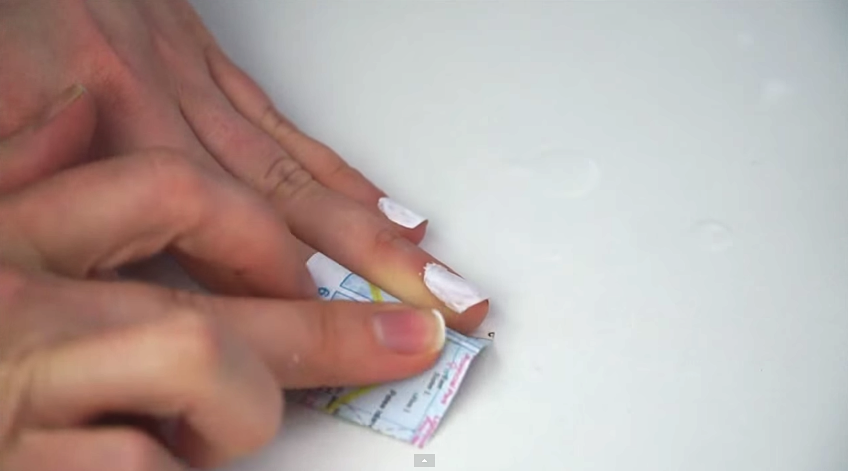
Step 3: Apply the Map
Using your tweezers, carefully place the cut-out map pieces onto your nails. You can use a dotting tool or toothpick to press down the edges and ensure they are securely placed.
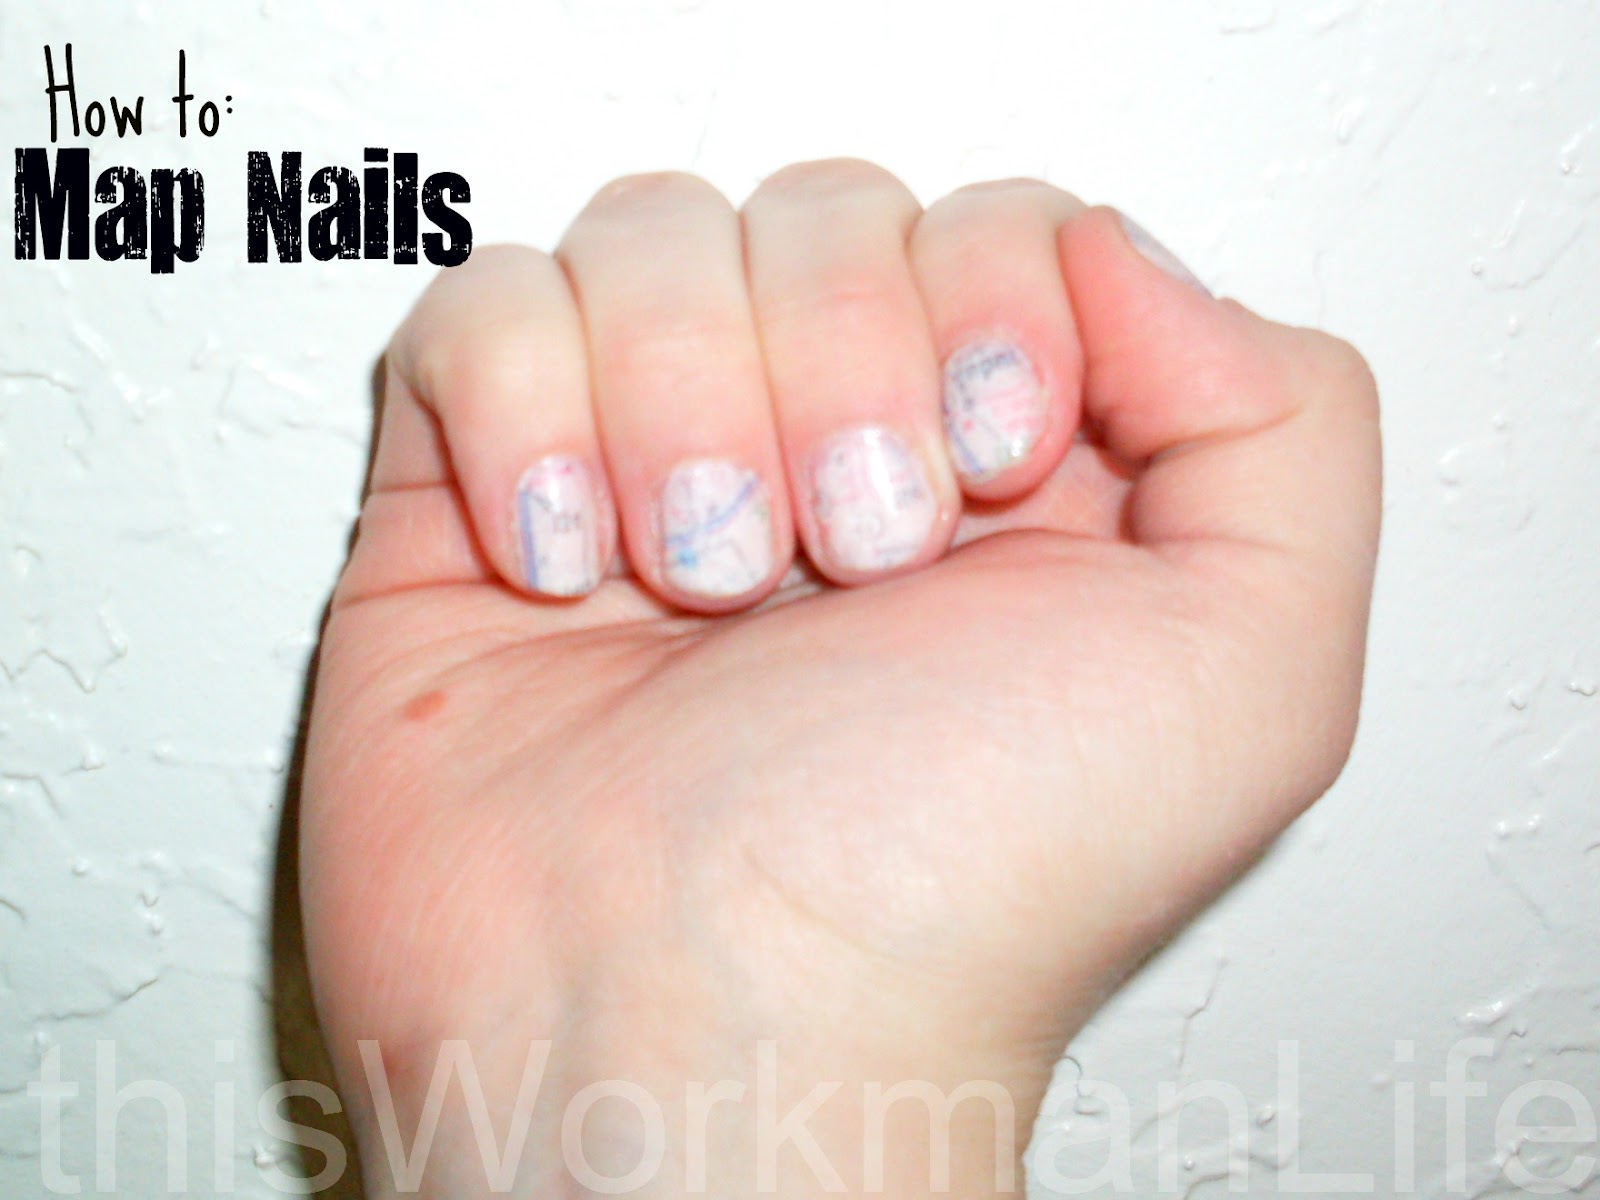
Step 4: Final Touches
Once the map pieces are in place, you can use different nail polish colors to add more details or designs on top of the map. You can also use a top coat to seal the design and give your nails a glossy finish.
Now that you have your supplies ready, here's a step-by-step guide to achieving your own DIY map nail art:
Step 1: Prepare Your Nails
Start by prepping your nails by removing any old nail polish and shaping them according to your preference. Apply a base coat to protect your nails and allow it to dry completely.
Step 2: Choose Your Map
Select a map of your choice and cut out small pieces of the map that you want to use for your design. You can use different parts of the map for each nail or create a cohesive look by using the same piece on all nails.
Step 3: Apply the Map
Using your tweezers, carefully place the cut-out map pieces onto your nails. You can use a dotting tool or toothpick to press down the edges and ensure they are securely placed.
Step 4: Final Touches
Once the map pieces are in place, you can use different nail polish colors to add more details or designs on top of the map. You can also use a top coat to seal the design and give your nails a glossy finish.
In Conclusion
 DIY map nail art is a fun and unique way to add a personal touch to your nails. It's a great way to express your love for travel and adventure while also showcasing your creativity. With just a few simple tools and some imagination, you can achieve this trend at home and rock a one-of-a-kind look on your nails. So why not give it a try and take your nail art game to the next level?


