Are you looking for a fun and unique way to express your creativity through nail art? Look no further than nail yarn art! This popular trend involves using colorful yarn to create intricate designs on your nails. Not only is it a great way to show off your DIY skills, but it's also a budget-friendly alternative to expensive nail salons. Here are the top 10 DIY nail yarn art ideas to get you started on your own nail art journey.DIY Nail Yarn Art Ideas


DIY Nail Yarn Art Ideas


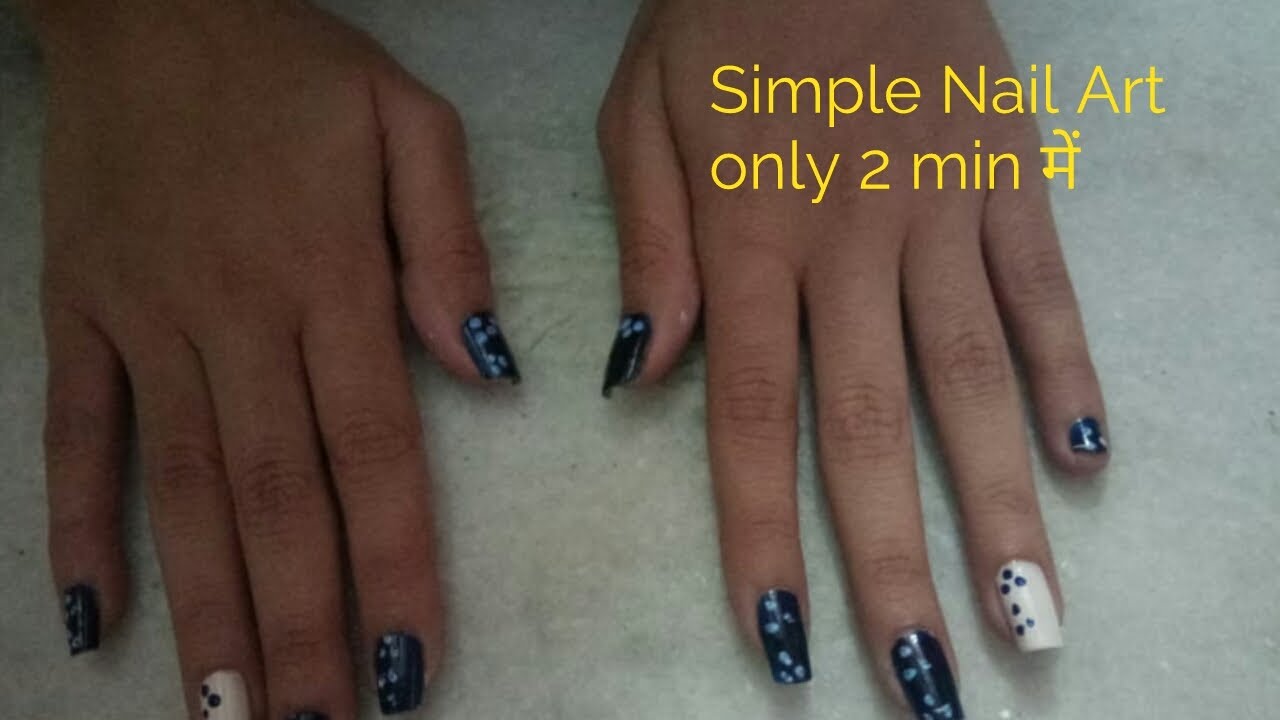
If you're new to nail yarn art, don't worry! It's a simple and easy process that anyone can do. All you need is some yarn, a base coat and top coat of your choice, and a pair of tweezers. Start by painting your nails with your desired base color and allowing it to dry completely. Then, using tweezers, carefully place small pieces of yarn onto your nails in any design you desire. Finally, seal in your design with a top coat and voila! You have your very own nail yarn art.How to Create Nail Yarn Art


How to Create Nail Yarn Art


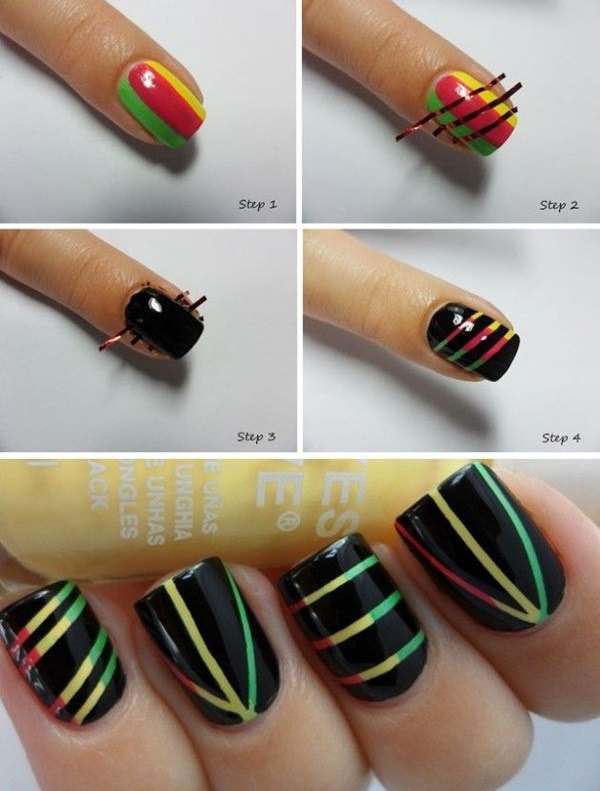
To help you get started on your nail yarn art journey, here is a step-by-step tutorial: Step 1: Gather your materials - yarn, base coat, top coat, and tweezers. Step 2: Apply a base coat to your nails and allow it to dry. Step 3: Cut small pieces of yarn in various colors and designs. Step 4: Using tweezers, carefully place the yarn pieces onto your nails in your desired design. Step 5: Once your design is complete, seal it in with a top coat and allow it to dry. Step 6: Clean up any excess yarn around your nails with a small brush or cotton swab. Step 7: Admire your beautiful nail yarn art!Step-by-Step Nail Yarn Art Tutorial
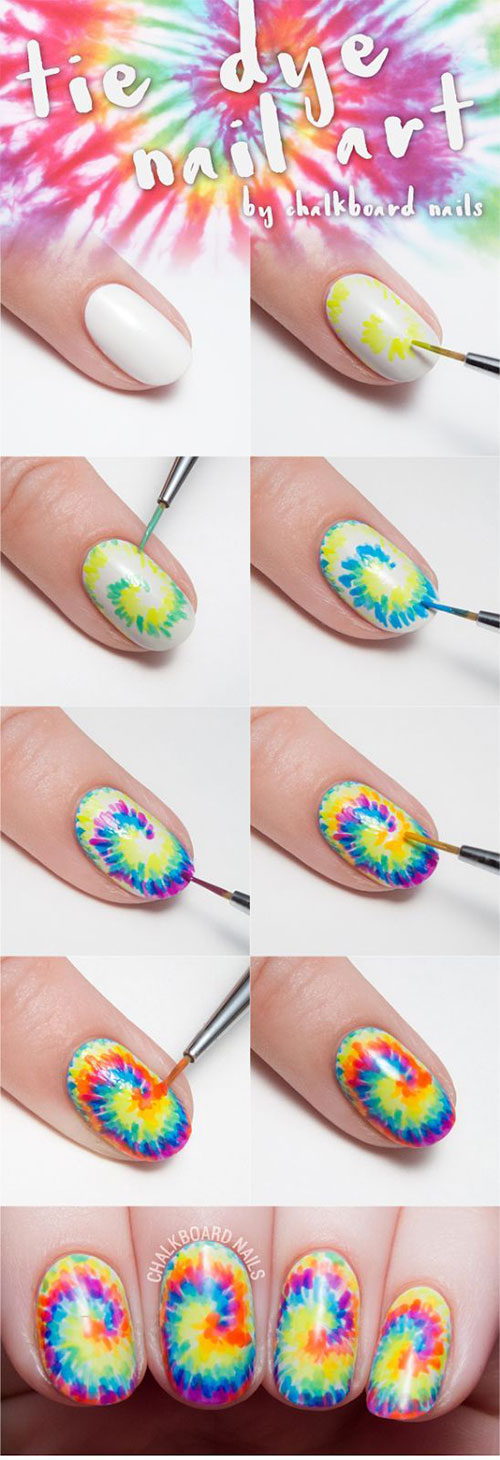


Step-by-Step Nail Yarn Art Tutorial


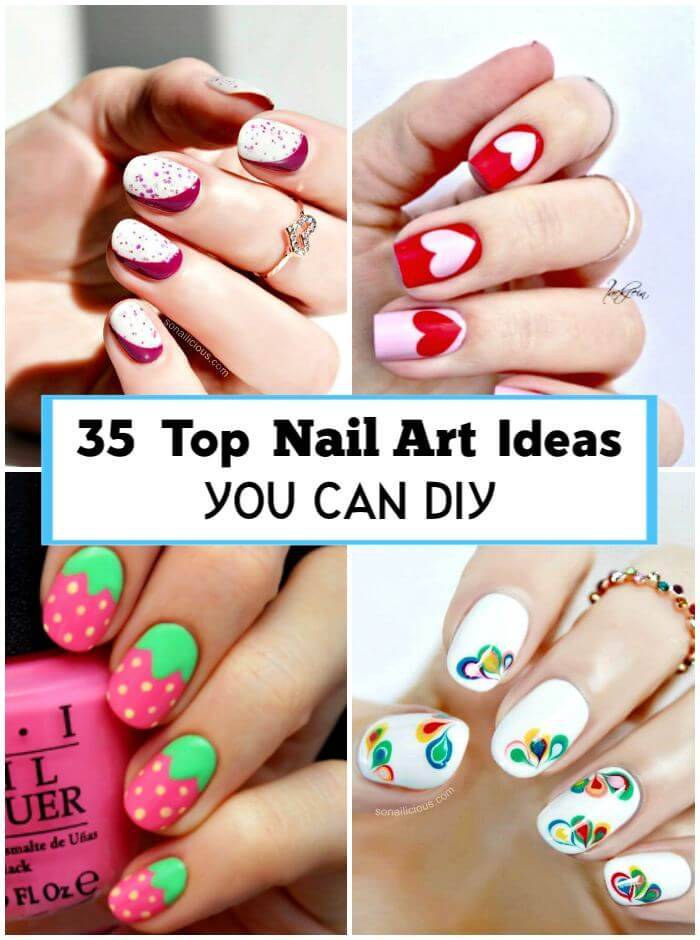
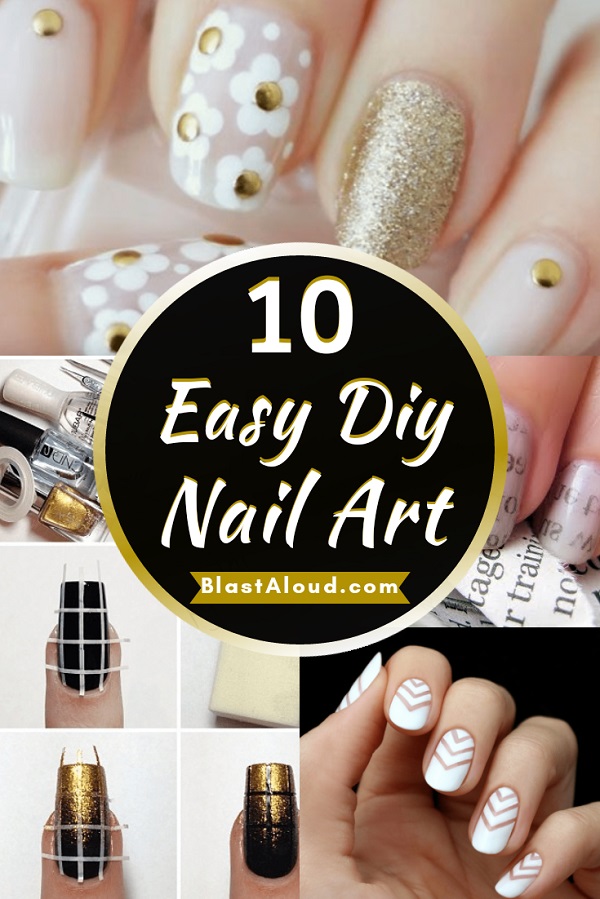
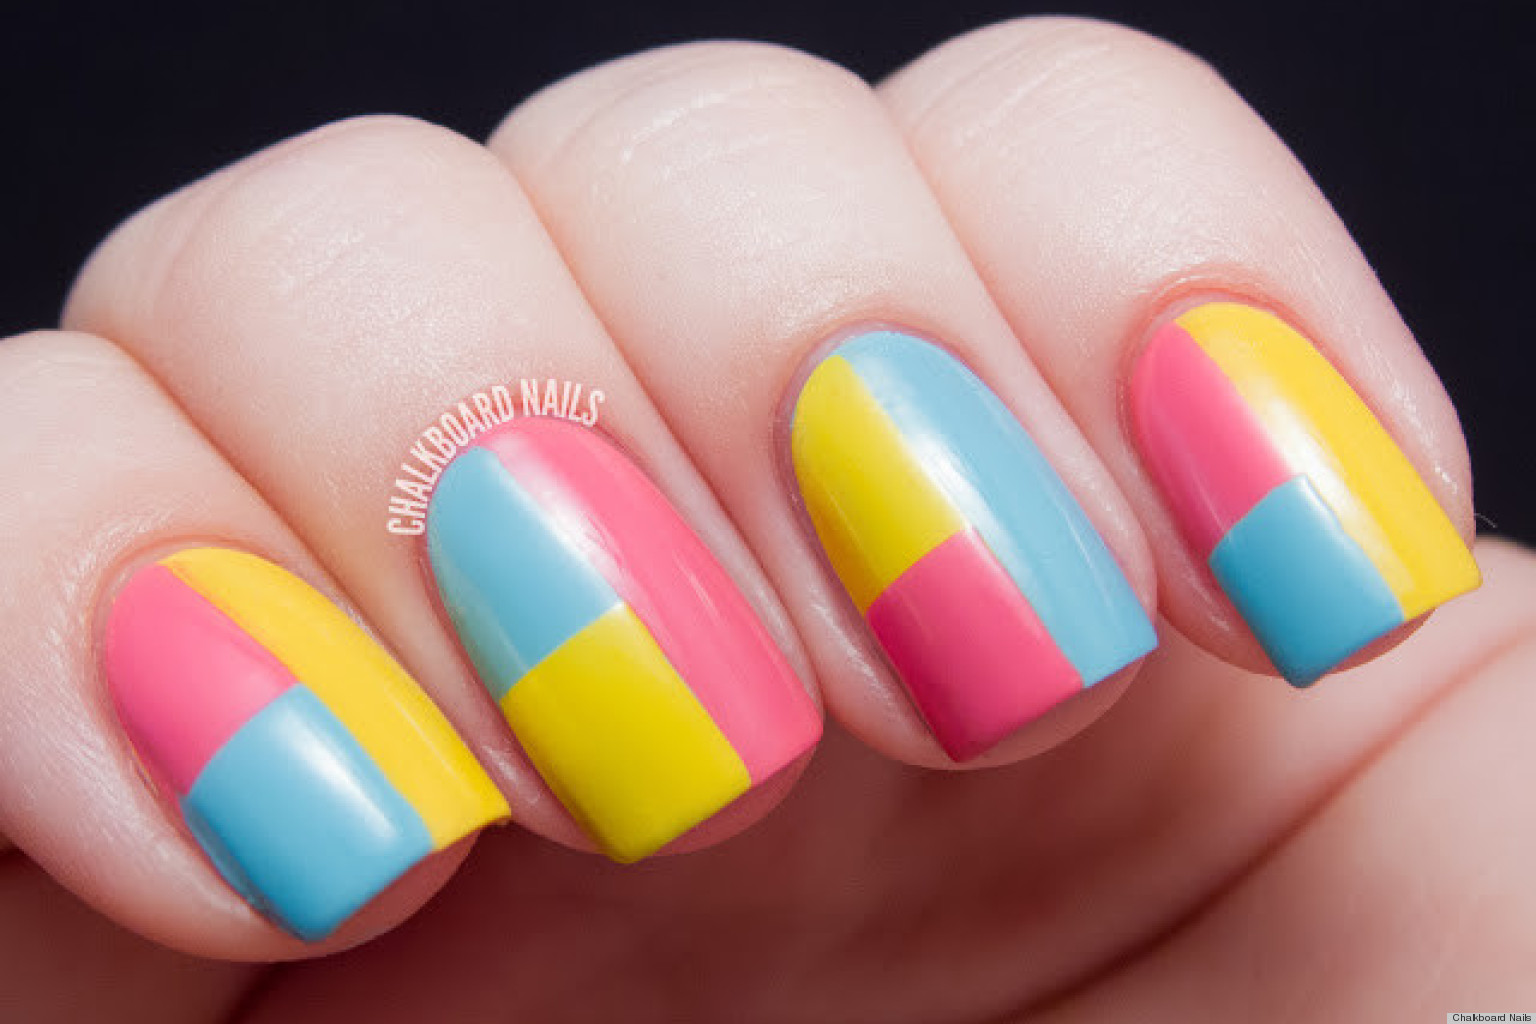
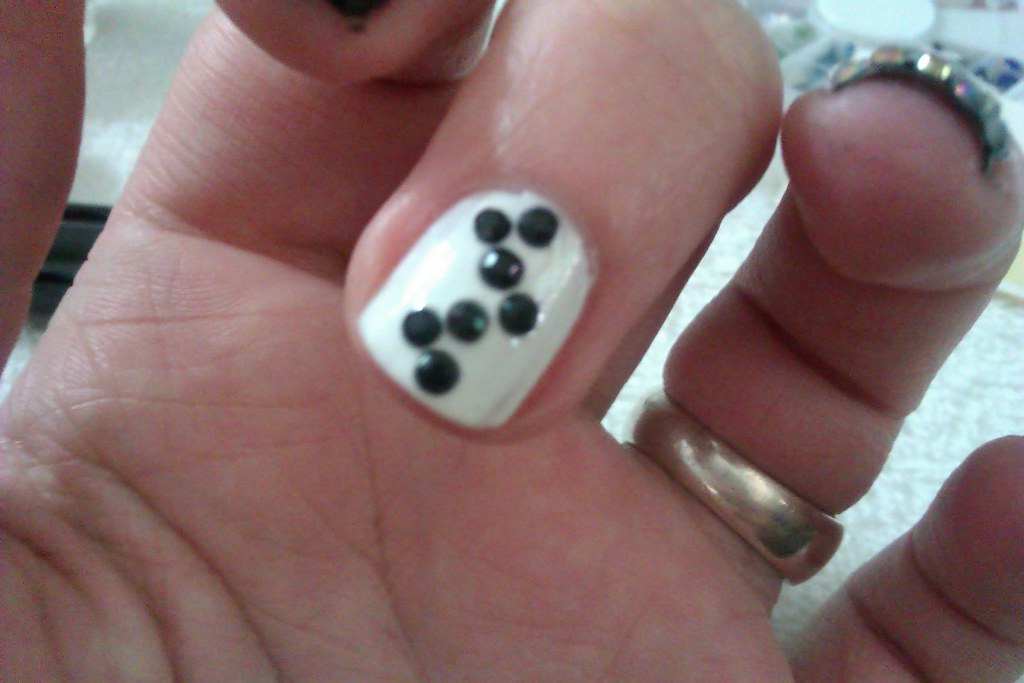
If you're not sure where to start with your nail yarn art, here are a few easy and beginner-friendly designs to try: Colorful Stripes: Create a colorful and eye-catching design by placing small strips of yarn in different colors across your nails. Floral Accent Nail: Add a pop of color to your nails with a small floral design using yarn. Simply place small pieces of yarn in the shape of a flower on one accent nail. Glitter Accents: Take your nail yarn art to the next level by adding a touch of glitter. Use a glittery yarn to create small accents or use glitter polish over your yarn design.Easy DIY Nail Yarn Art Designs
Easy DIY Nail Yarn Art Designs


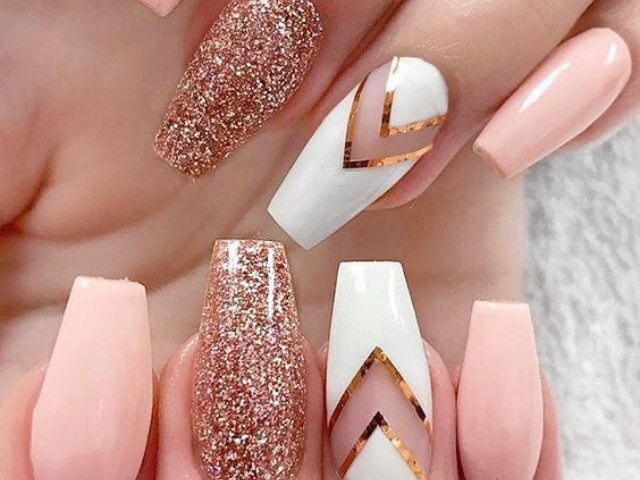

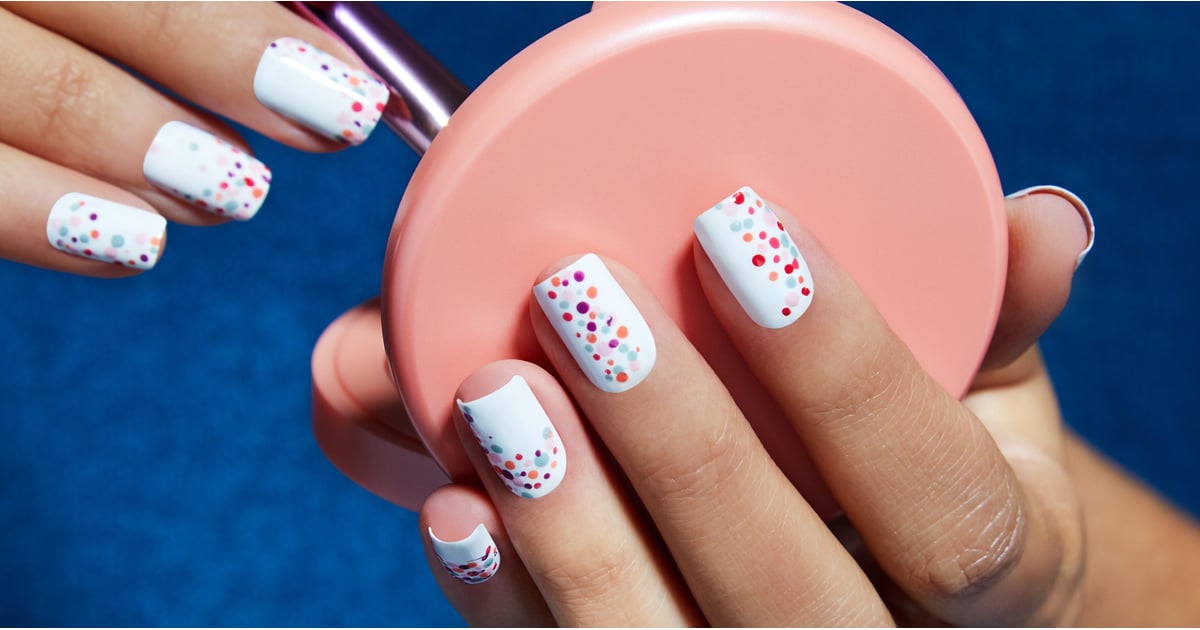


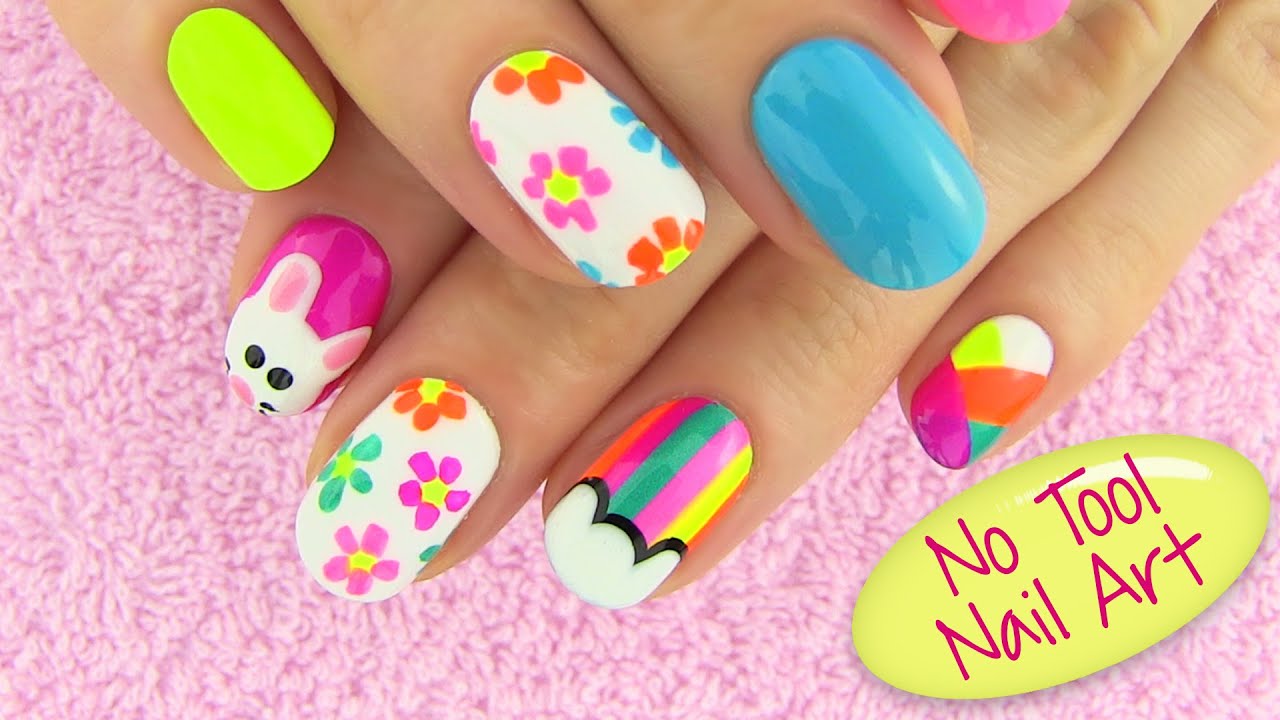

Need some inspiration to get your creative juices flowing? Look no further than these creative nail yarn art designs: Geometric Patterns: Create geometric shapes and patterns using different colors of yarn for a modern and unique look. Animal Print: Use yarn to create fun and playful animal print designs on your nails, such as leopard or zebra print. Ombre Effect: Use yarn in different shades of the same color to create a beautiful ombre effect on your nails.Creative Nail Yarn Art Inspiration

Creative Nail Yarn Art Inspiration

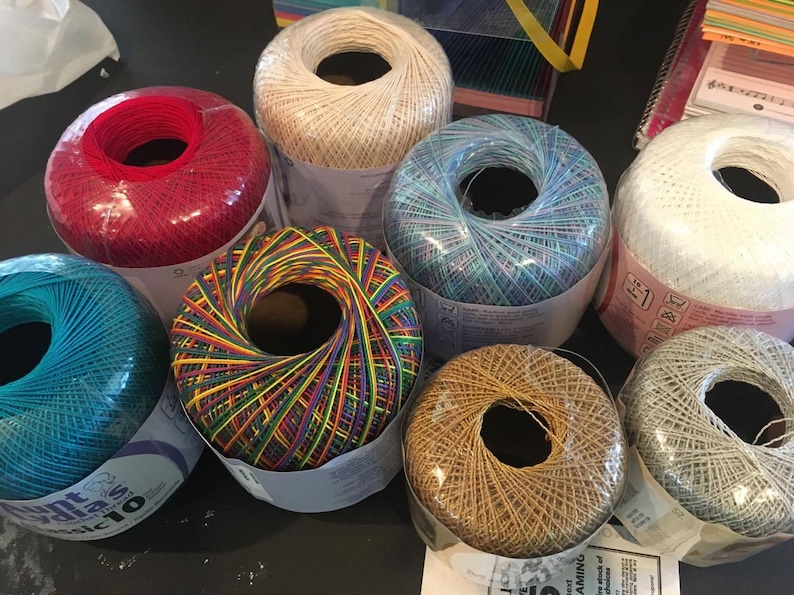
To create your own nail yarn art, you will need a few essential supplies: Yarn: Choose yarn in various colors and textures to add dimension to your designs. Base Coat and Top Coat: These will help your design last longer and protect your nails. Tweezers: These are essential for placing the yarn onto your nails with precision. Small Brush or Cotton Swab: Use these to clean up any excess yarn around your nails.DIY Nail Yarn Art Supplies
DIY Nail Yarn Art Supplies
If you're new to nail yarn art, here are a few techniques to help you get started: Placement: Use tweezers to carefully place small pieces of yarn onto your nails in your desired design. Layering: Create dimension by layering different colors and textures of yarn on your nails. Braiding: Braid small pieces of yarn together to create a unique and intricate design on your nails.Nail Yarn Art Techniques for Beginners


Nail Yarn Art Techniques for Beginners

Here are a few tips and tricks to keep in mind when creating your own nail yarn art: Use Thin Yarn: Thinner yarn is easier to work with and will allow you to create more intricate designs. Secure with Top Coat: After placing the yarn onto your nails, seal it in with a top coat to ensure it stays in place. Experiment with Colors and Textures: Don't be afraid to mix and match different colors and textures of yarn to create unique designs.DIY Nail Yarn Art Tips and Tricks


DIY Nail Yarn Art Tips and Tricks
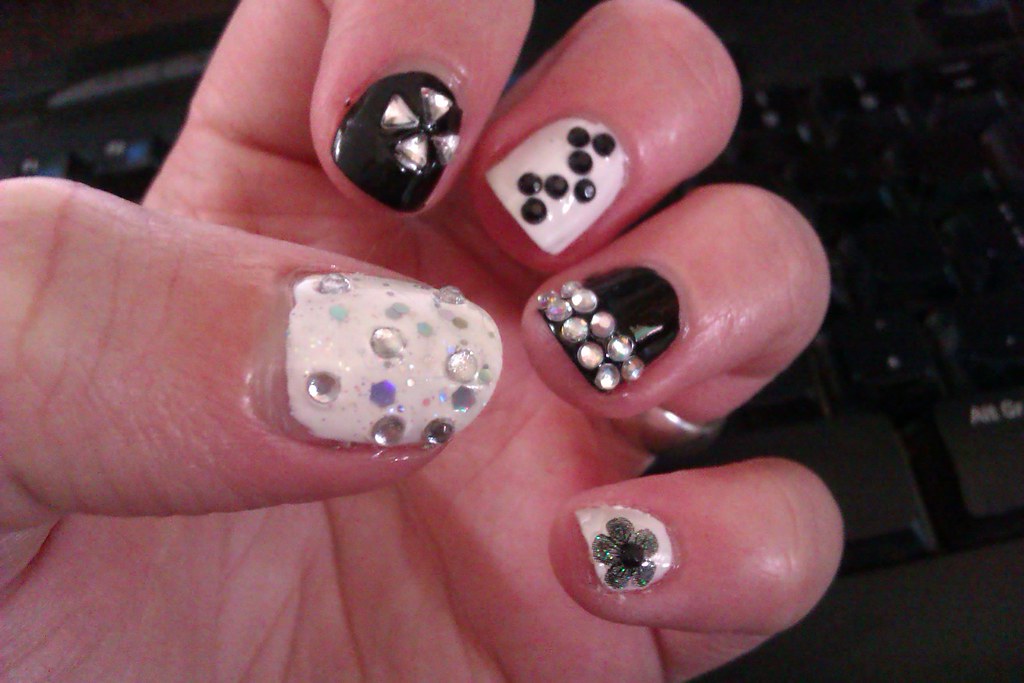
If you're looking for something a little different, here are some unique nail yarn art ideas to try: Abstract Designs: Get creative and create abstract designs using yarn for a one-of-a-kind nail art look. Lettering: Use yarn to spell out words or create letters on your nails for a personalized touch. Mixed Media: Combine yarn with other materials, such as beads or rhinestones, to create a mixed media nail art design.Unique Nail Yarn Art Ideas

Unique Nail Yarn Art Ideas
If you prefer visual instructions, there are many helpful nail yarn art tutorials available on YouTube. Simply search for "nail yarn art tutorial" and you'll find a variety of videos to guide you through the process. Now that you have all the information and inspiration you need, it's time to get started on your own DIY nail yarn art! Have fun experimenting with different designs and techniques, and don't forget to share your creations with others. Happy crafting!DIY Nail Yarn Art Videos
DIY Nail Yarn Art Videos


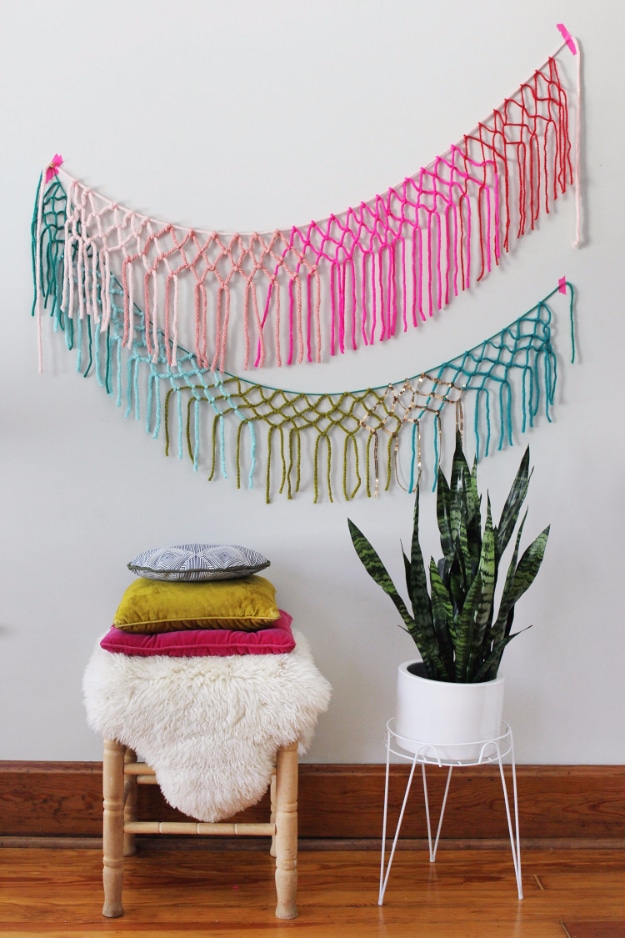
Add a Touch of Color to Your Home with DIY Nail Yarn Art
Transform Your Home with DIY Nail Yarn Art
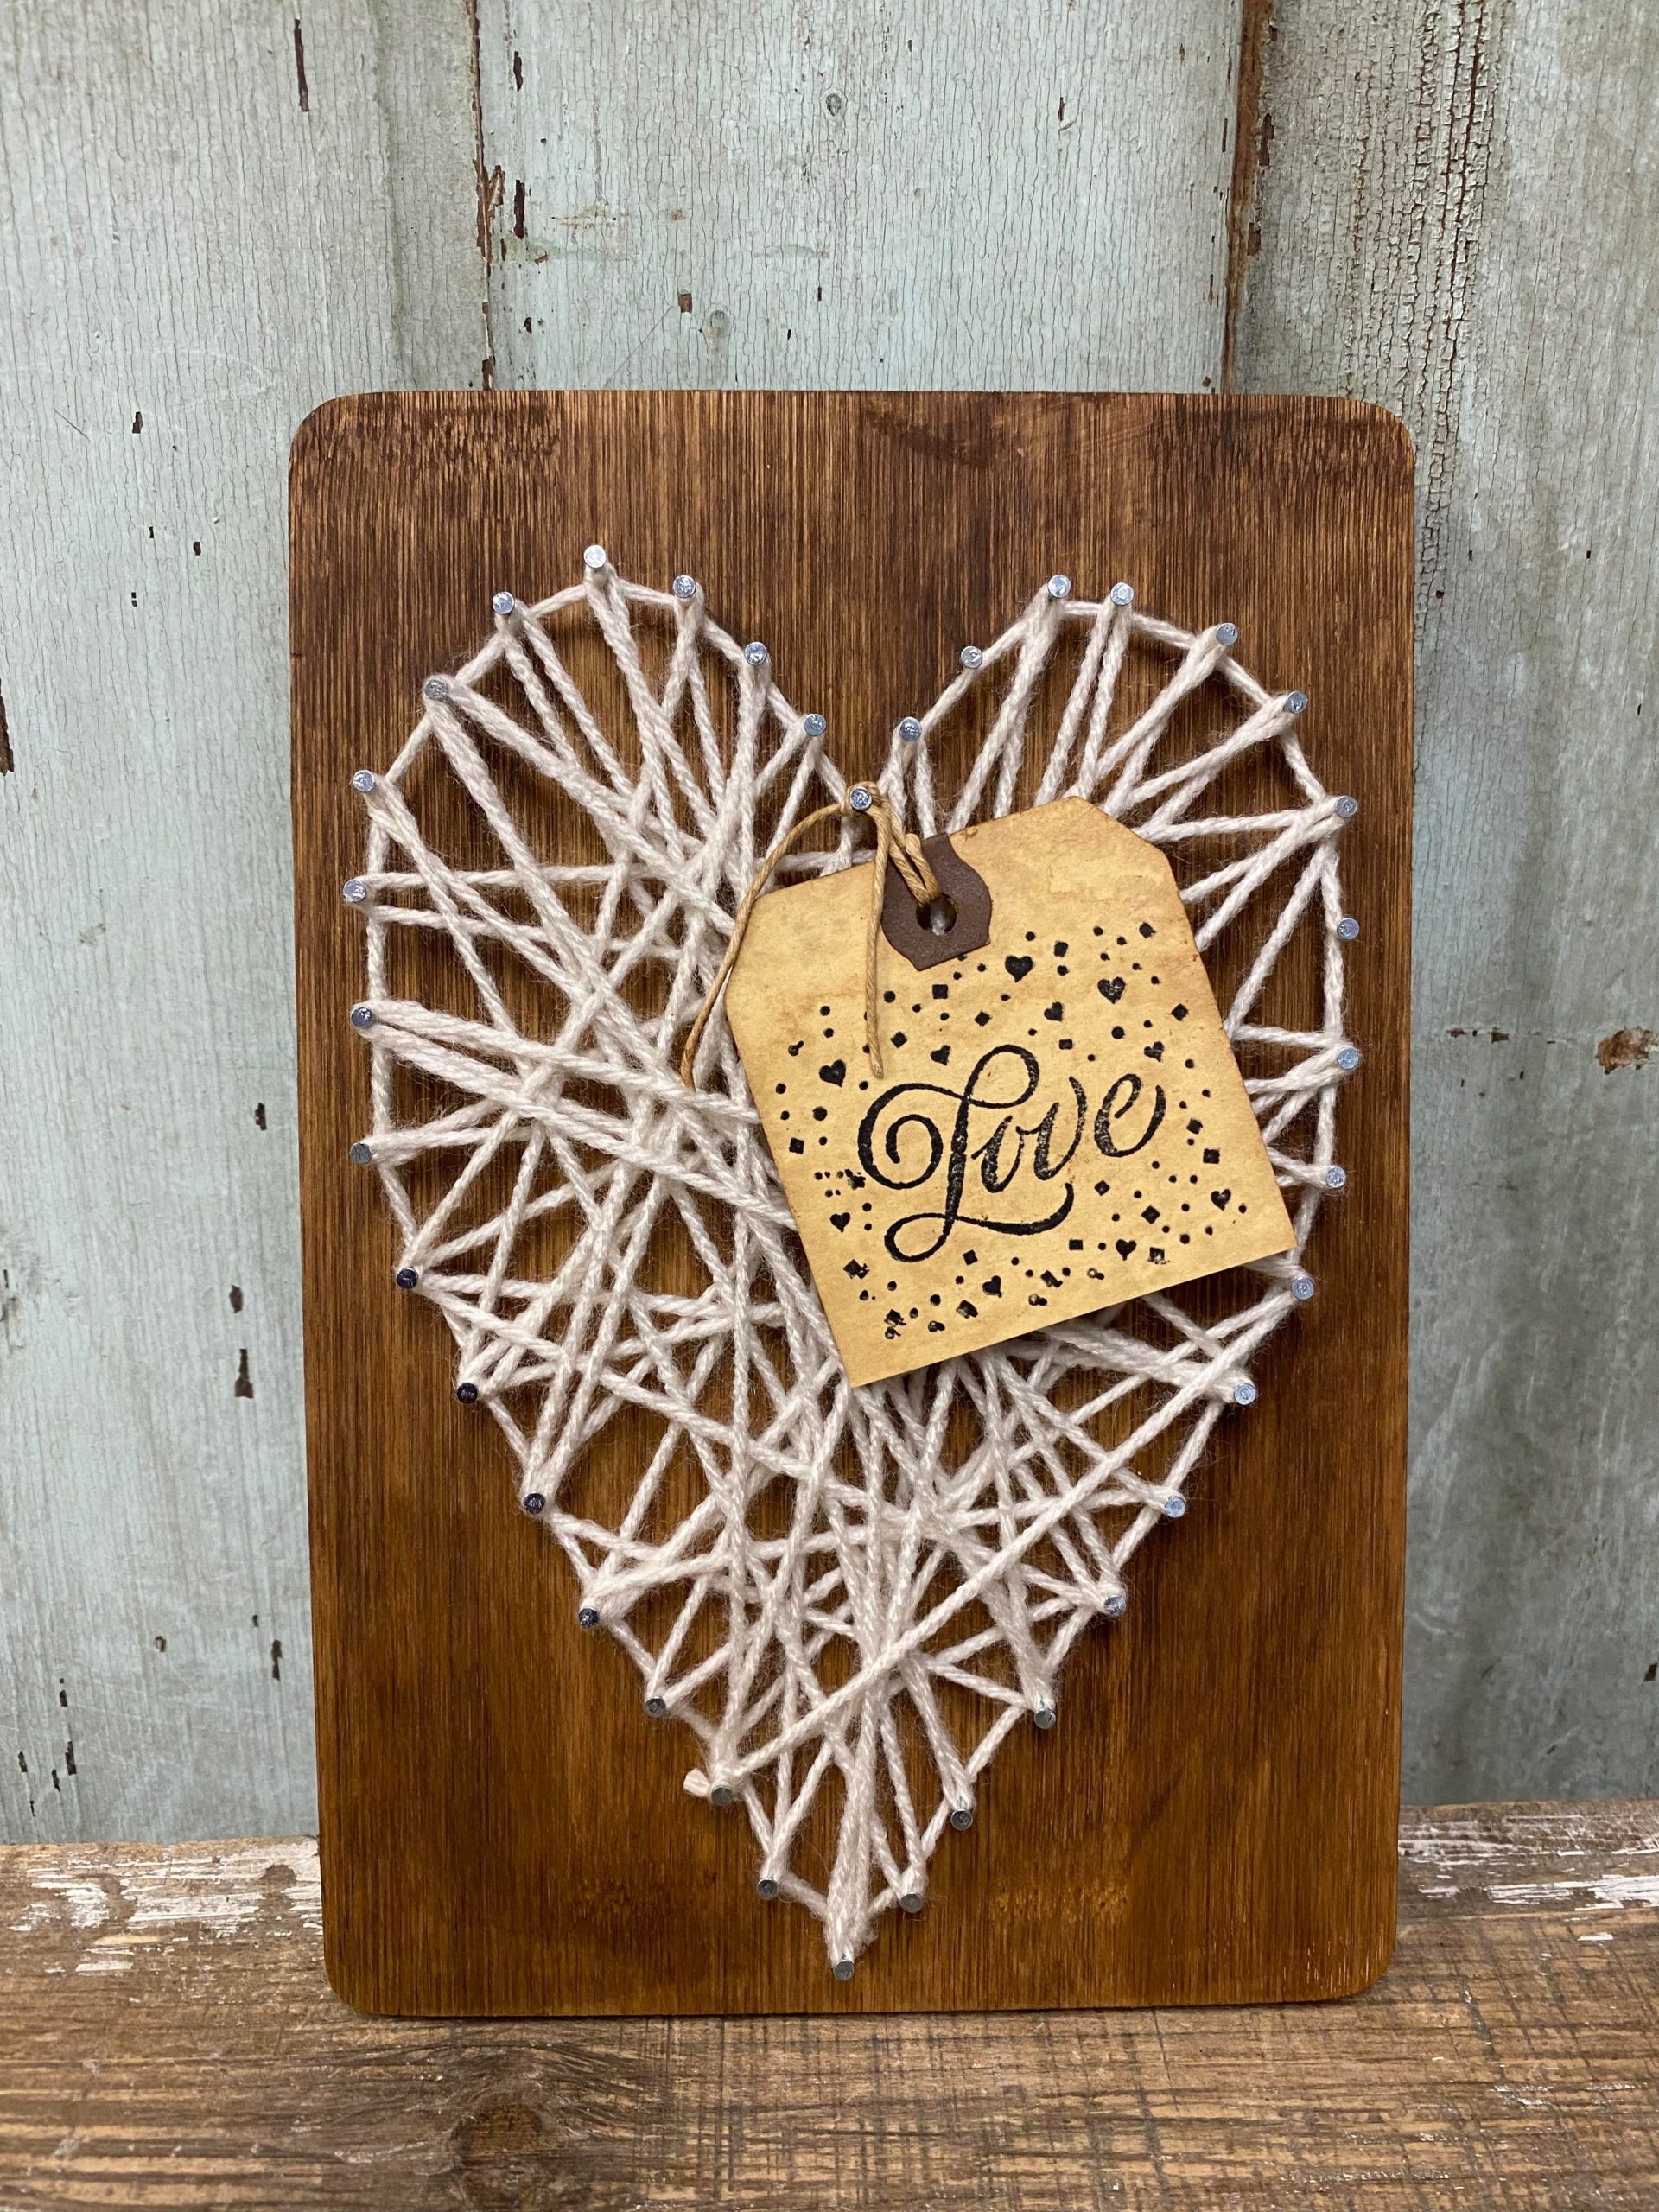
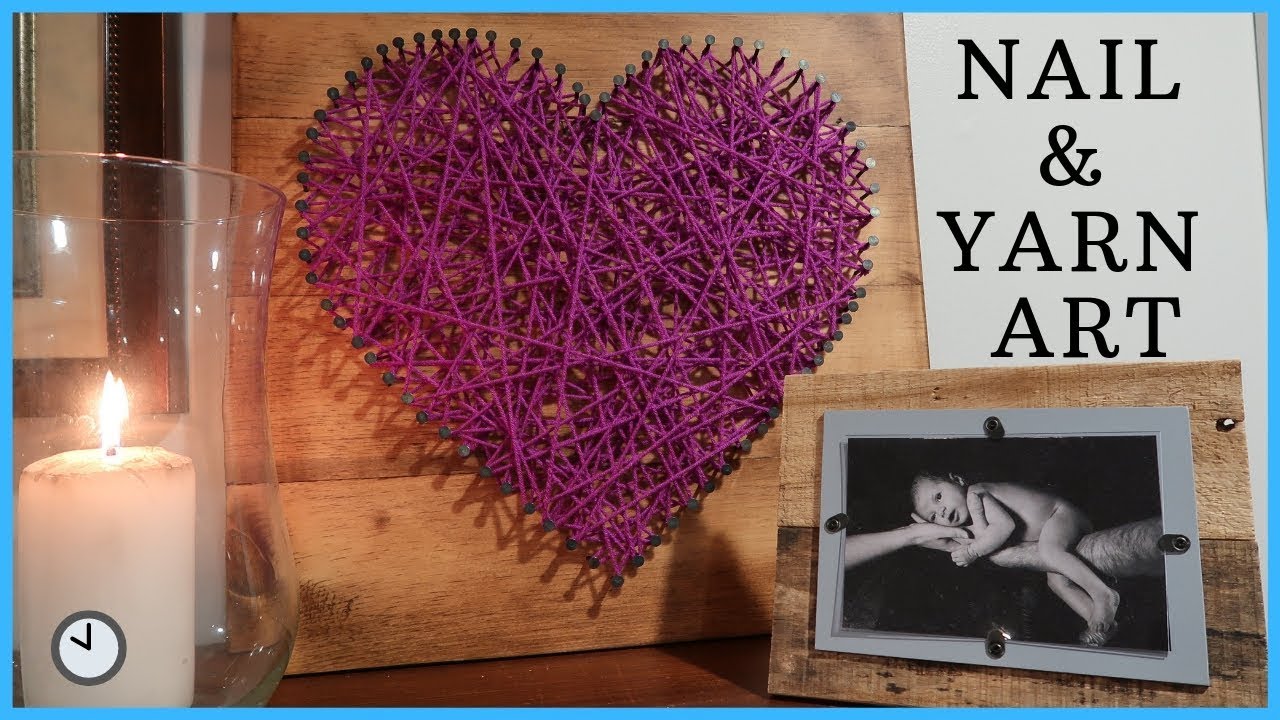
 If you're looking to add a unique and eye-catching touch to your home decor, look no further than DIY nail yarn art. This fun and creative craft involves using
nails
,
yarn
, and a
wooden board
to create stunning designs that can be hung on your walls or used as coasters. Not only is it a great way to add a pop of color to your home, but it's also a budget-friendly alternative to expensive wall art. Plus, it's a fun activity that can be enjoyed by all ages.
If you're looking to add a unique and eye-catching touch to your home decor, look no further than DIY nail yarn art. This fun and creative craft involves using
nails
,
yarn
, and a
wooden board
to create stunning designs that can be hung on your walls or used as coasters. Not only is it a great way to add a pop of color to your home, but it's also a budget-friendly alternative to expensive wall art. Plus, it's a fun activity that can be enjoyed by all ages.
Get Creative with Your Design
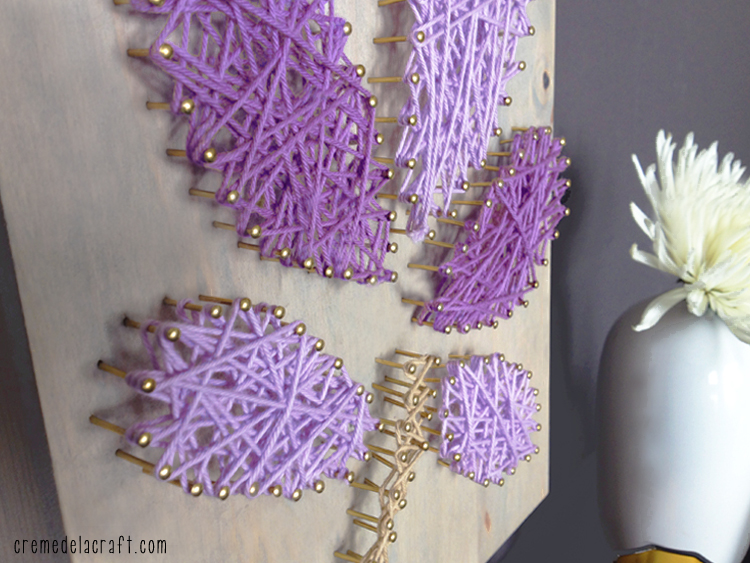
 The great thing about DIY nail yarn art is that the possibilities are endless. You can let your creativity run wild and come up with your own unique designs or follow tutorials online for inspiration. You can create simple geometric patterns or more intricate designs using multiple colors of yarn. You can even incorporate different textures and materials, such as ribbons or beads, to add even more dimension to your art.
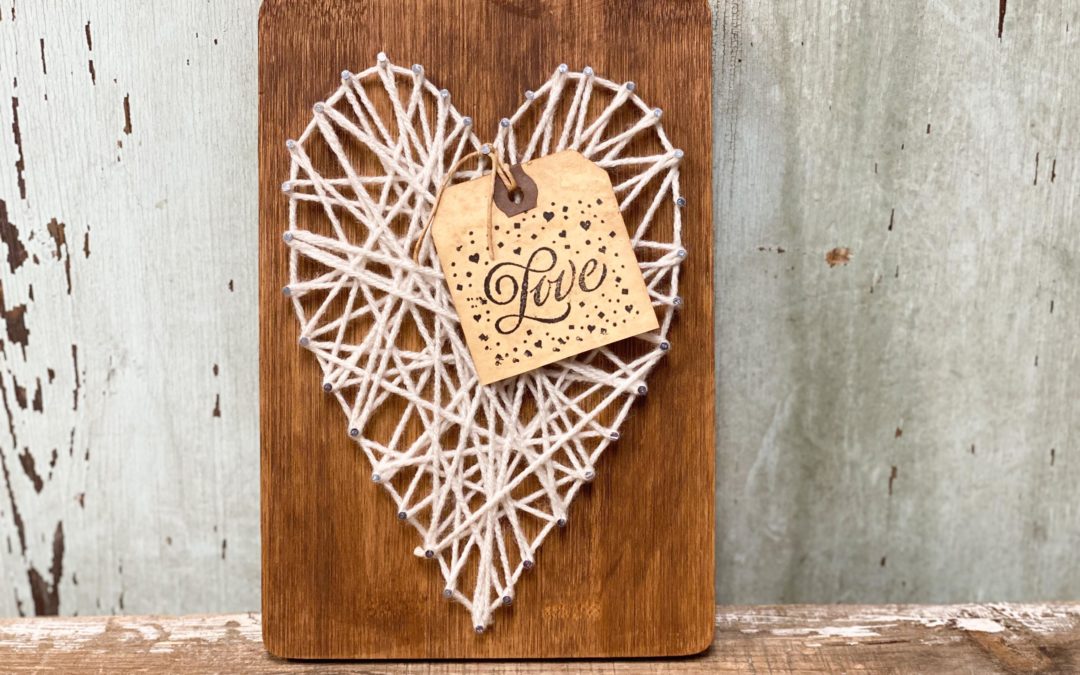
Easy and Budget-Friendly Materials
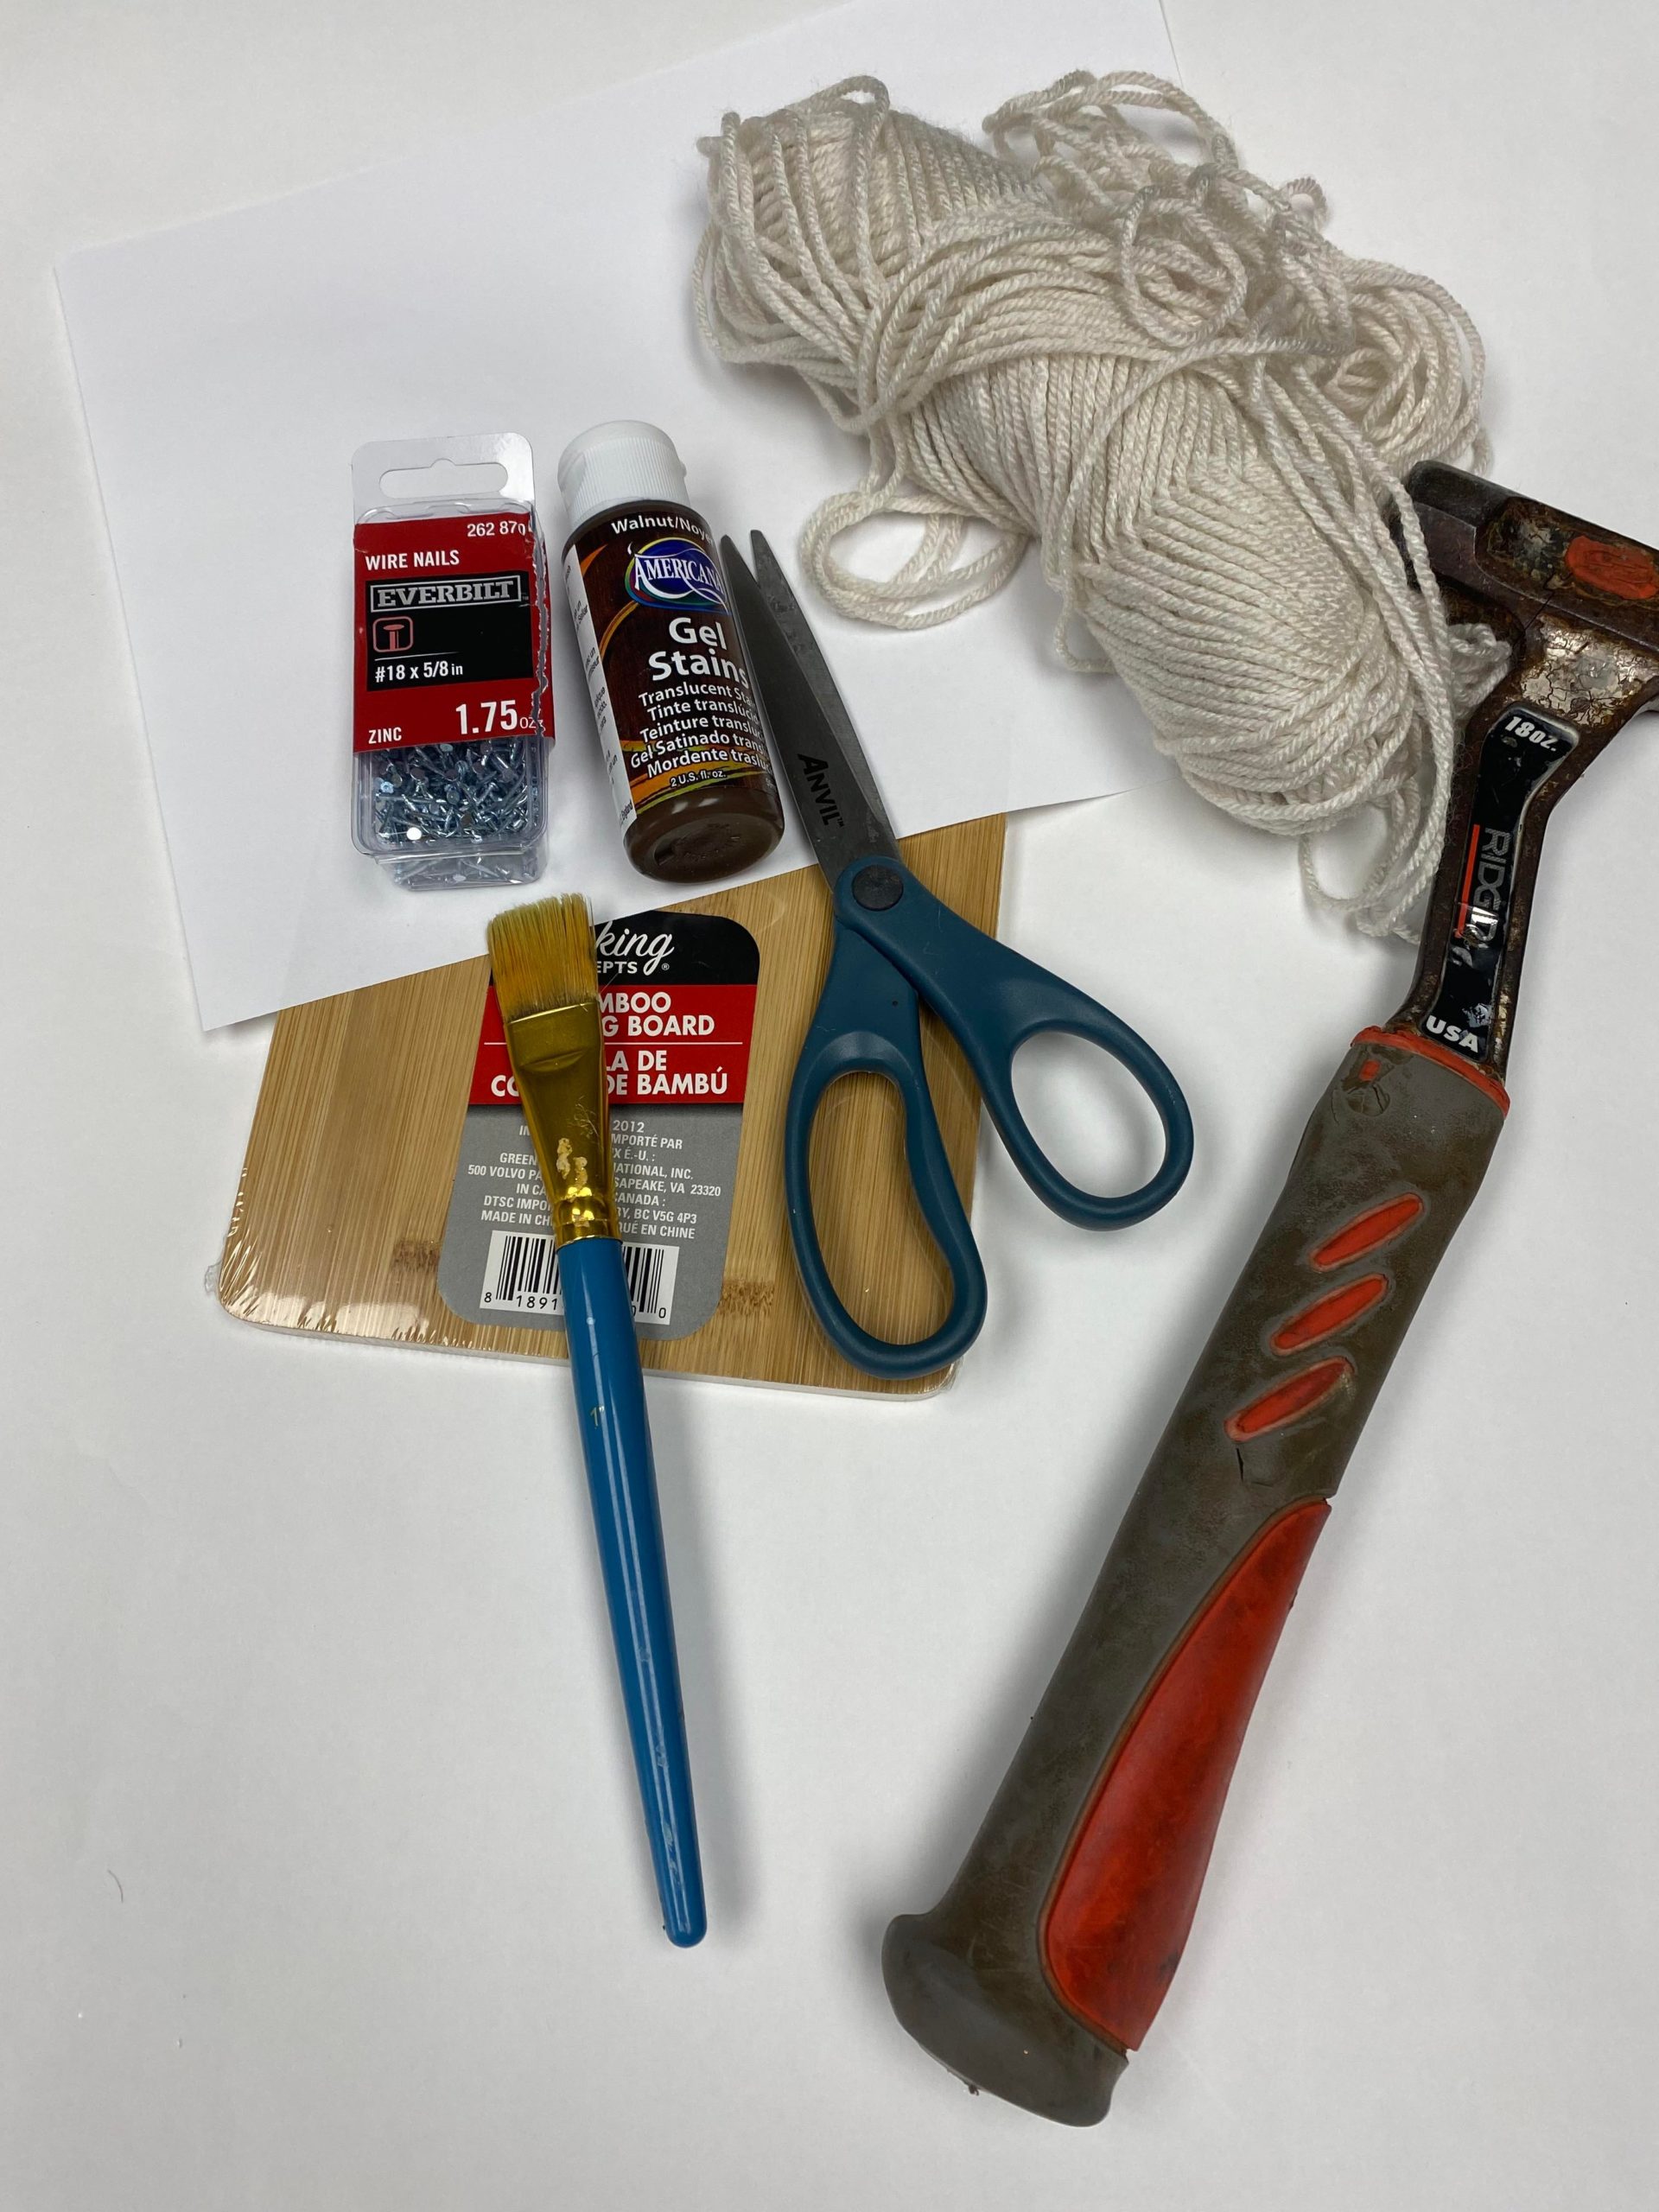
 One of the best things about this craft is that you don't need to break the bank to get started. All you need are some
nails
,
yarn
, a
wooden board
, and some basic tools like a
hammer
and
scissors
. You can easily find all of these materials at your local craft store or online. And the best part? You can use them over and over again to create multiple pieces of art for your home.
One of the best things about this craft is that you don't need to break the bank to get started. All you need are some
nails
,
yarn
, a
wooden board
, and some basic tools like a
hammer
and
scissors
. You can easily find all of these materials at your local craft store or online. And the best part? You can use them over and over again to create multiple pieces of art for your home.
A Fun Activity for All Ages
 DIY nail yarn art is a great activity for the whole family to enjoy. Kids will love hammering in the nails and weaving the yarn, while adults can use their creativity to come up with unique designs. It's also a great way to spend quality time together and create something beautiful for your home. You can even host a craft night with friends and make it a fun and social activity.
In conclusion, DIY nail yarn art is a great way to add a splash of color and personality to your home decor. With easy and budget-friendly materials and endless design possibilities, it's the perfect activity for all ages. So why not give it a try and see how this unique craft can transform your home?
DIY nail yarn art is a great activity for the whole family to enjoy. Kids will love hammering in the nails and weaving the yarn, while adults can use their creativity to come up with unique designs. It's also a great way to spend quality time together and create something beautiful for your home. You can even host a craft night with friends and make it a fun and social activity.
In conclusion, DIY nail yarn art is a great way to add a splash of color and personality to your home decor. With easy and budget-friendly materials and endless design possibilities, it's the perfect activity for all ages. So why not give it a try and see how this unique craft can transform your home?


