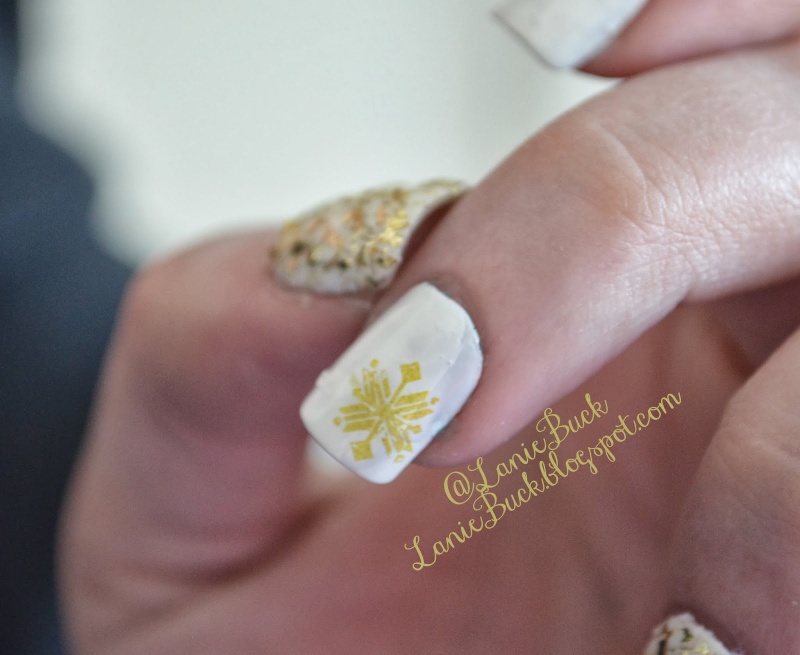
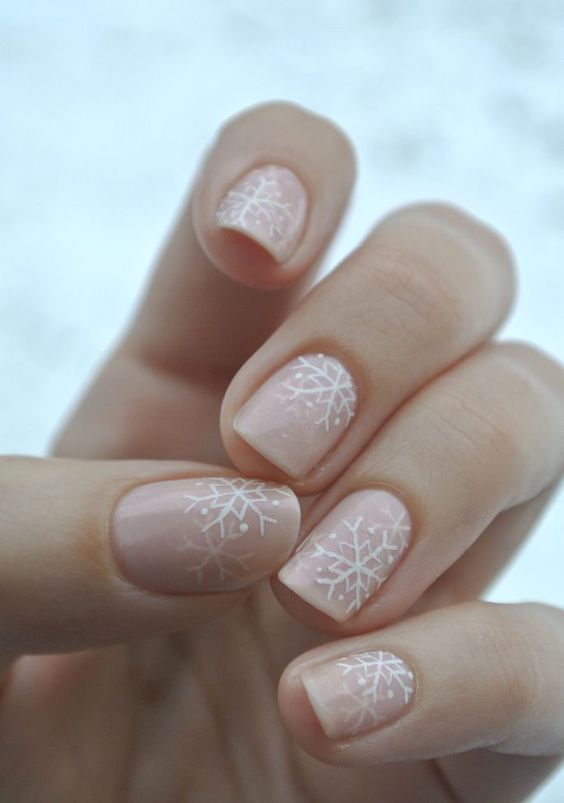
Get ready to add some winter magic to your nails with this easy DIY snowflake nail art tutorial. With just a few simple steps, you can create a beautiful snowflake design that will make your nails stand out in any winter wonderland. Featured Keywords: DIY snowflake nail art, winter magic, simple steps, beautiful design, winter wonderland First, start off by painting your nails with a white base color. This will serve as the snowy backdrop for your snowflake design. Next, using a thin nail art brush, create a small blue dot near the bottom of your nail. This will be the center of your snowflake. Then, using the same nail art brush, create six blue lines radiating from the dot to the edge of your nail. These will serve as the main branches of the snowflake. Using the same technique, add smaller blue lines branching off of the main ones to create a more intricate snowflake design. Once your snowflake is complete, add a sprinkle of silver glitter on top to give it a sparkling, icy effect. Seal in your design with a clear top coat and admire your beautiful DIY snowflake nails.1. "Easy DIY Snowflake Nail Art Tutorial"


1. "Easy DIY Snowflake Nail Art Tutorial"


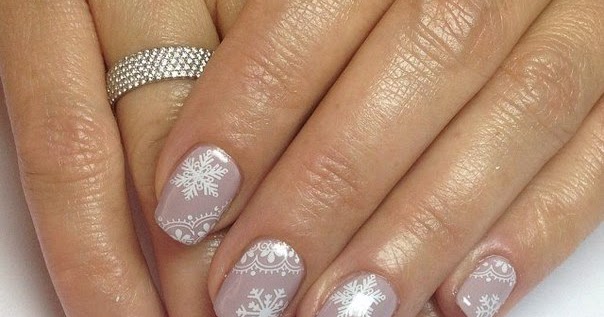
If you're dreaming of a white Christmas, then this winter wonderland nail art tutorial is perfect for you. This design will transport you to a snowy paradise and add some festive cheer to your nails. Featured Keywords: winter wonderland nail art, white Christmas, snowy paradise, festive cheer To start, paint your nails with a light blue base color to represent the chilly winter sky. Next, using a medium-sized nail art brush, create a white snow drift at the tip of your nail. This will be the base for your winter landscape. Then, using the same nail art brush, add a small white cabin on top of the snow drift. This will be the focal point of your design. Using a small nail art brush, add some green trees in the background to add some color to your winter wonderland. Finally, add some silver glitter on the tips of your nails to represent the glistening snow and seal in your design with a clear top coat. Now you have a beautiful winter wonderland on your nails that will make you feel like you're in a snowy paradise.2. "Winter Wonderland Nail Art Tutorial"


2. "Winter Wonderland Nail Art Tutorial"


Take your nail art to new heights with this DIY snowy mountain nail design. This design is perfect for those who love a more minimalist and modern look. Featured Keywords: DIY snowy mountain nail design, minimalist, modern Start by painting your nails with a light gray base color to represent the rocky mountain terrain. Next, using a small nail art brush, create a white mountain peak at the tip of your nail. Don't worry about making it perfect as the jagged edges will add to the overall design. Using a medium-sized nail art brush, add some white clouds at the base of the mountain to give the illusion of height. Finally, add some silver glitter on the tips of your nails to represent the glistening snow and seal in your design with a clear top coat. You now have a chic and modern snowy mountain design on your nails that will make you feel like you're on top of the world.3. "DIY Snowy Mountain Nail Design"


3. "DIY Snowy Mountain Nail Design"


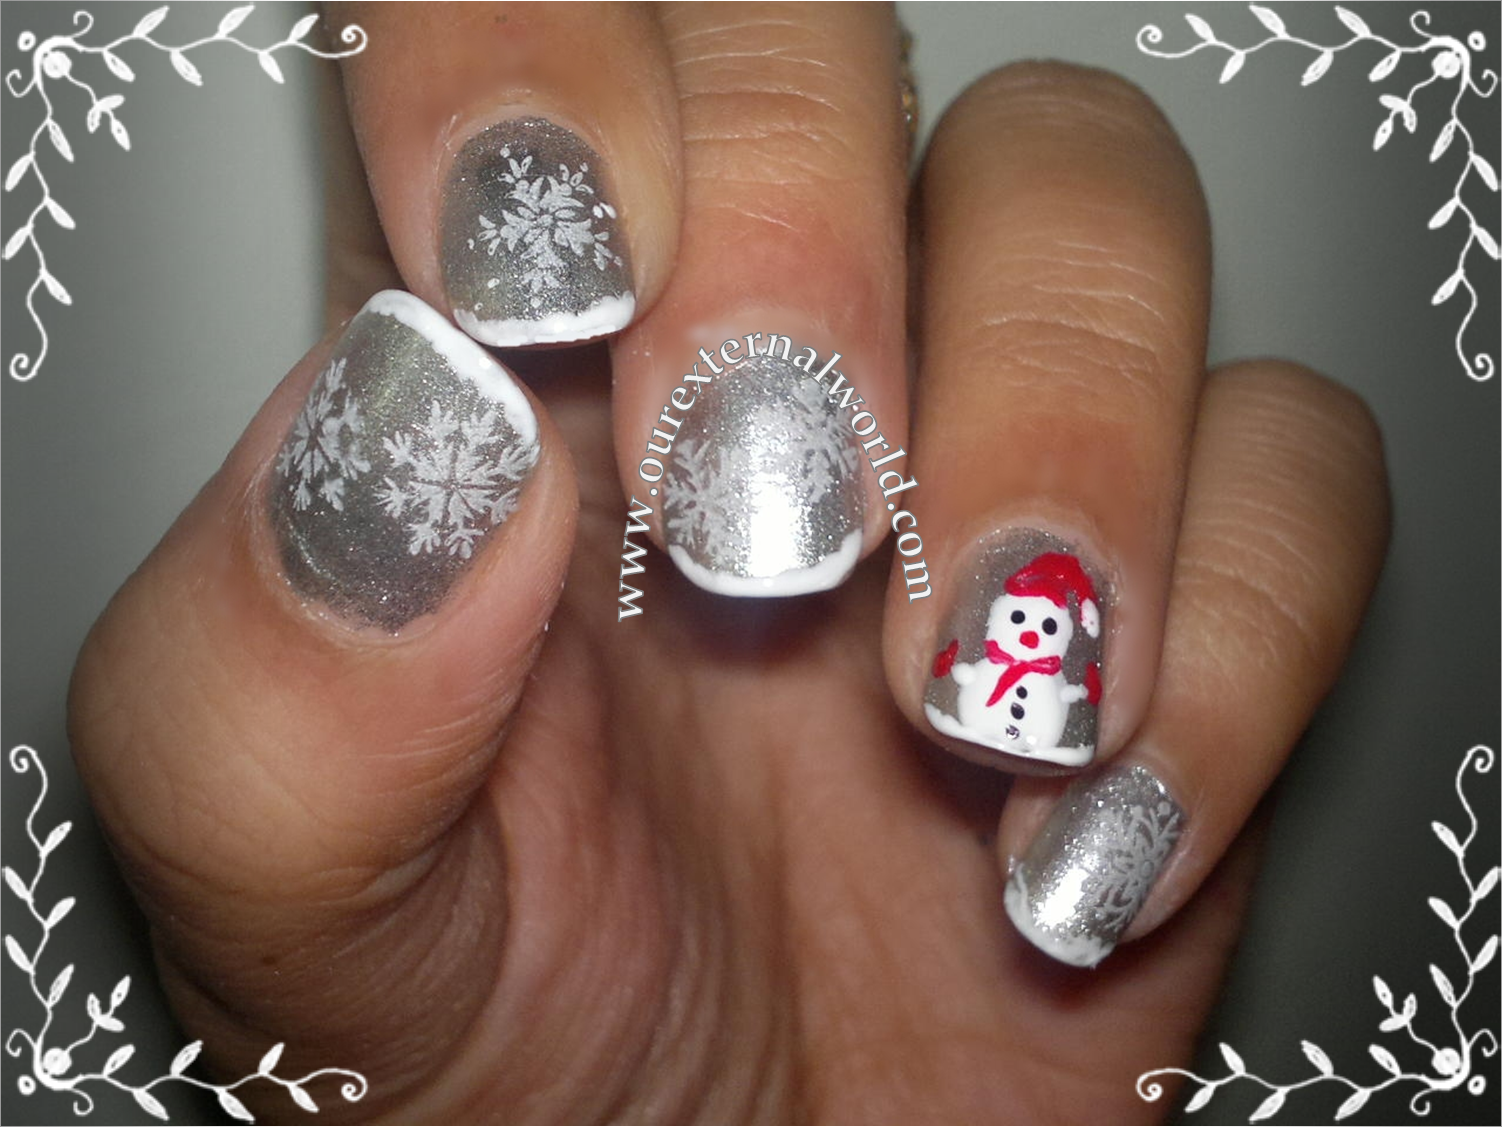
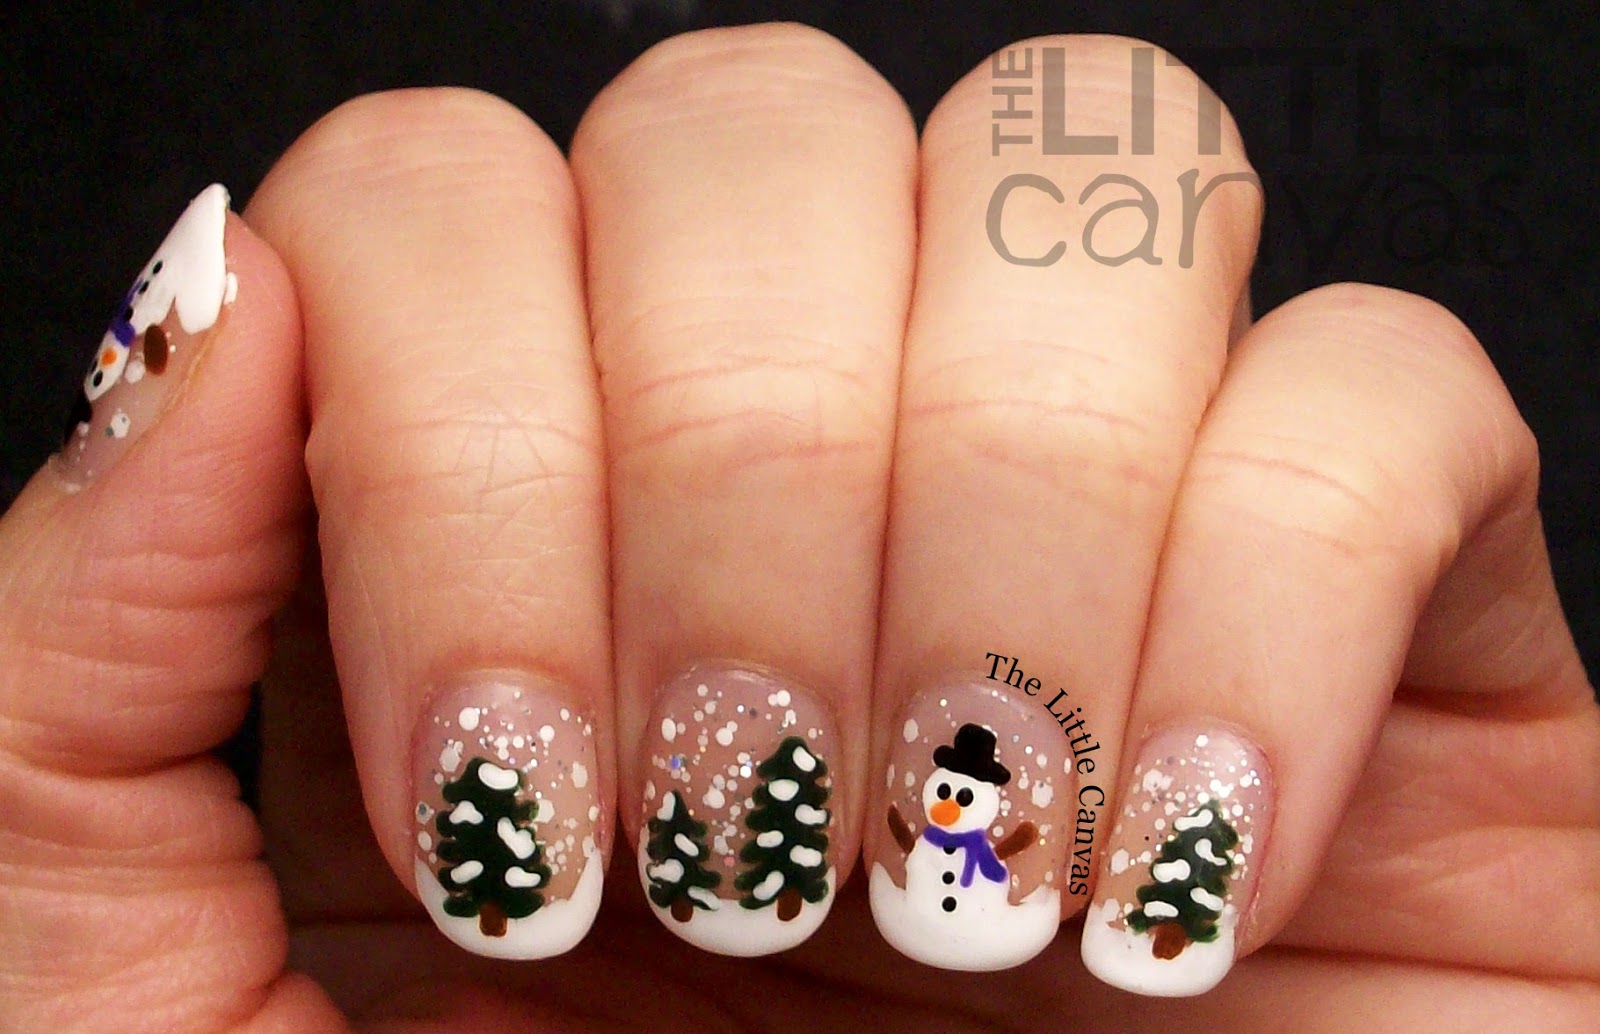
Get in the holiday spirit with this festive snowman nail art tutorial. This design is perfect for spreading some cheer and adding a cute touch to your winter look. Featured Keywords: festive snowman nail art, holiday spirit, spreading cheer, cute touch, winter look Start by painting your nails with a light blue base color to represent the chilly winter sky. Next, using a medium-sized nail art brush, create a white snowman at the tip of your nail. Add a small orange carrot nose and black coal eyes and buttons using a small nail art brush. Using a small nail art brush, add a red scarf around the snowman's neck to add a pop of color. Finally, add some silver glitter on the tips of your nails to represent the glistening snow and seal in your design with a clear top coat. You now have a cute and festive snowman on your nails that will keep you in the holiday spirit all winter long.4. "Festive Snowman Nail Art Tutorial"


4. "Festive Snowman Nail Art Tutorial"


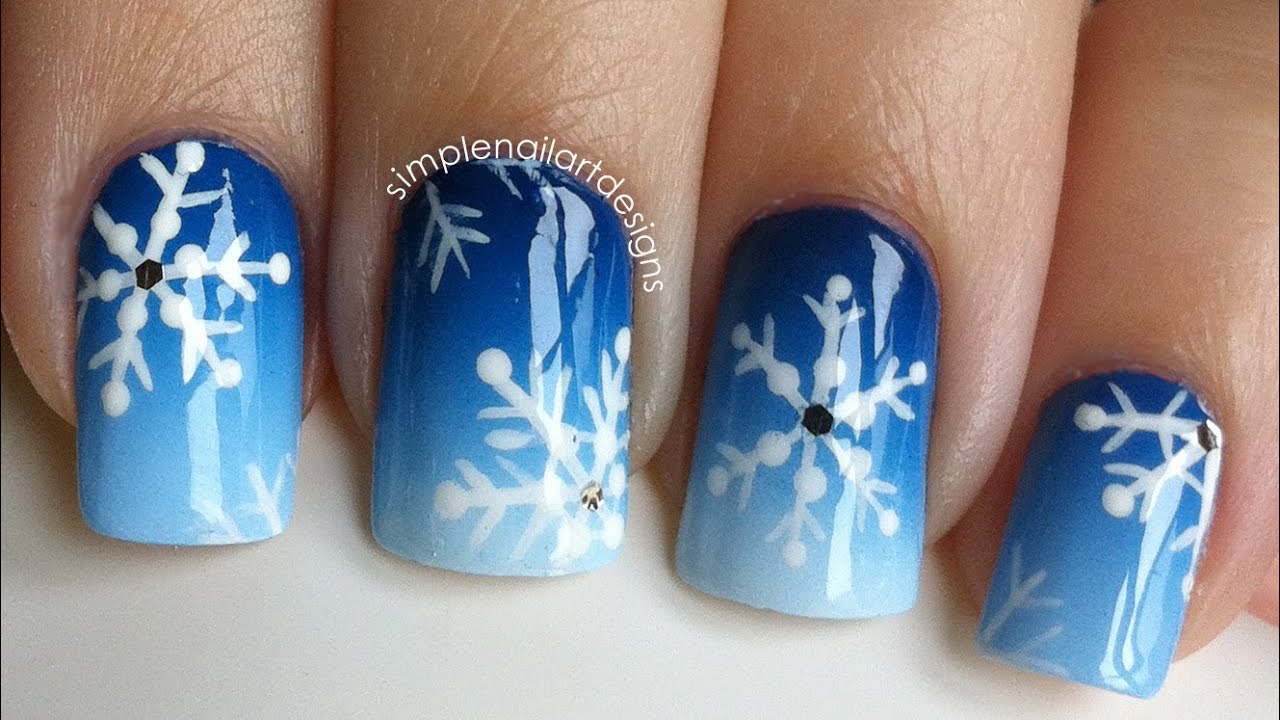
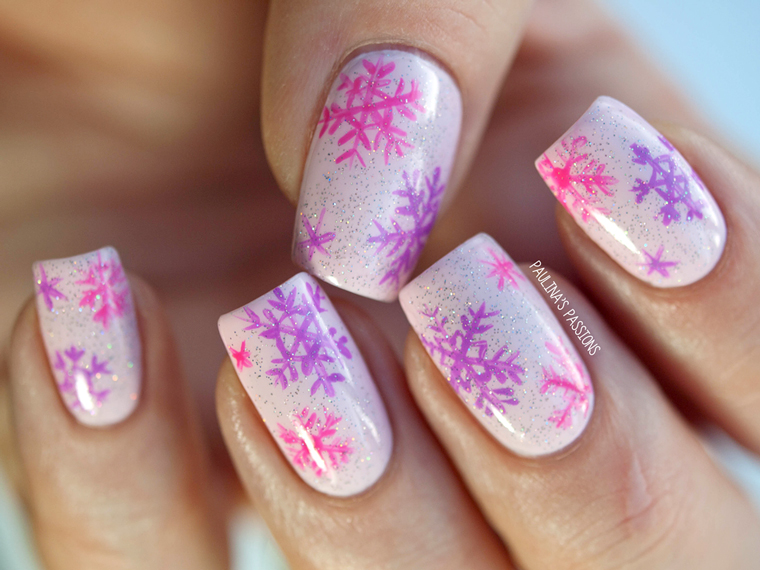
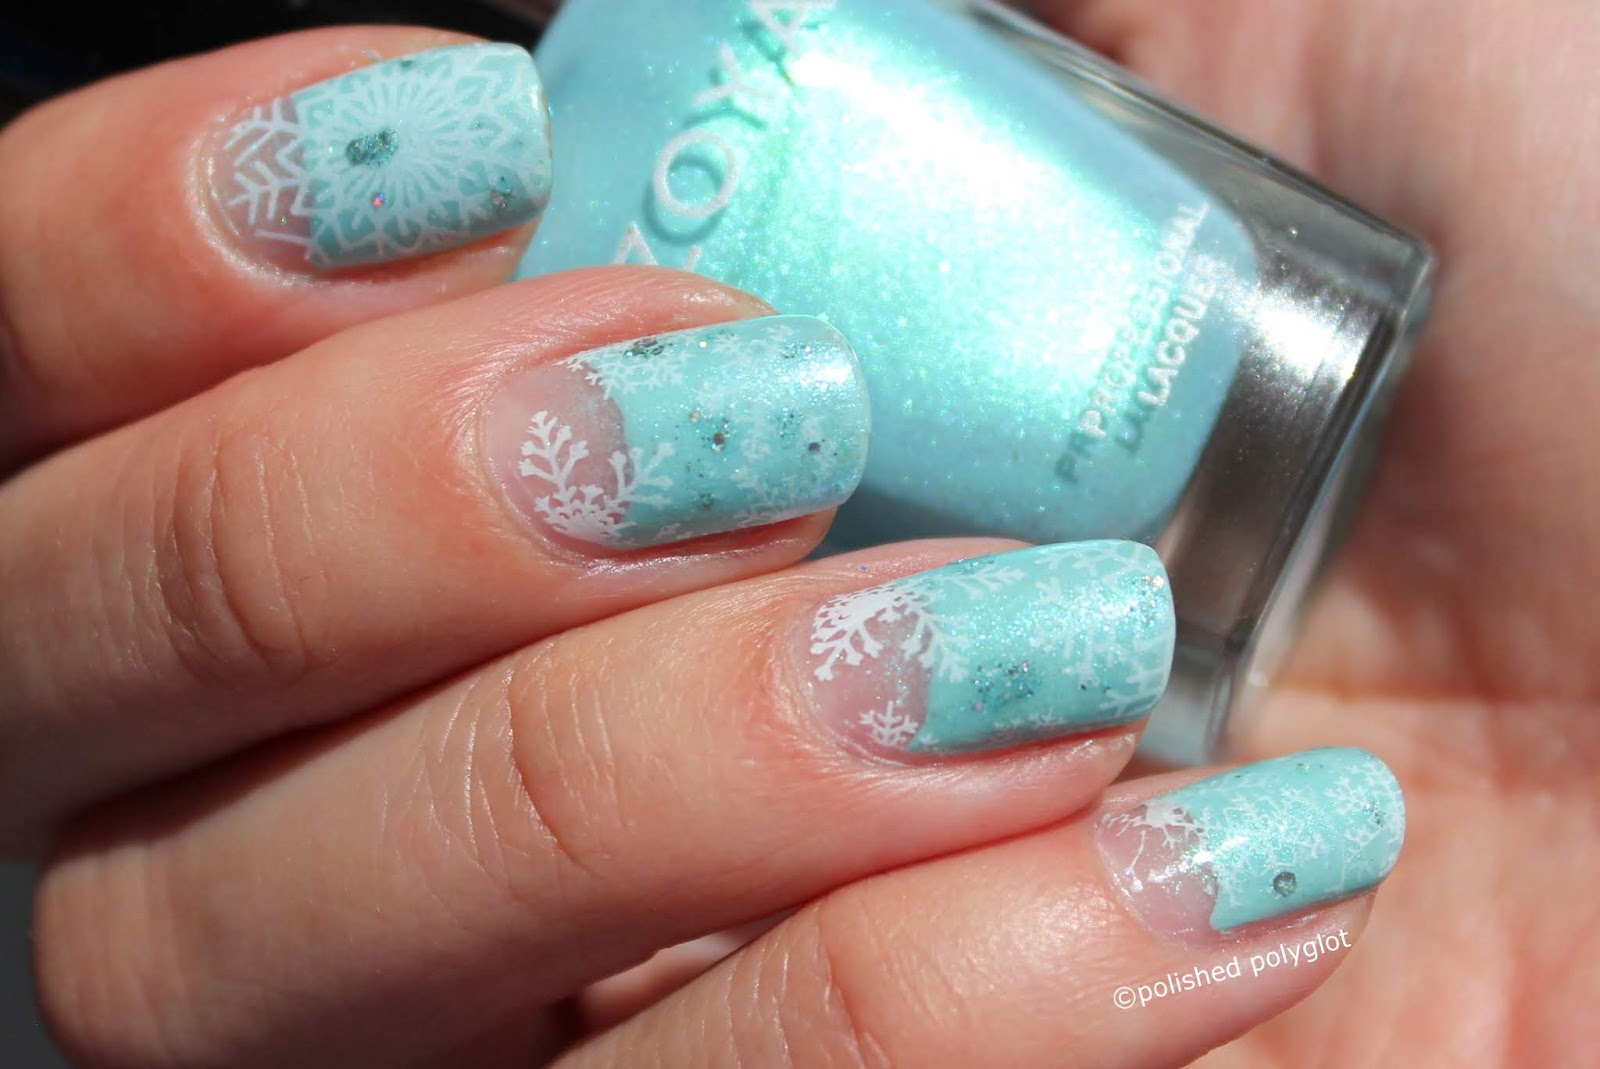
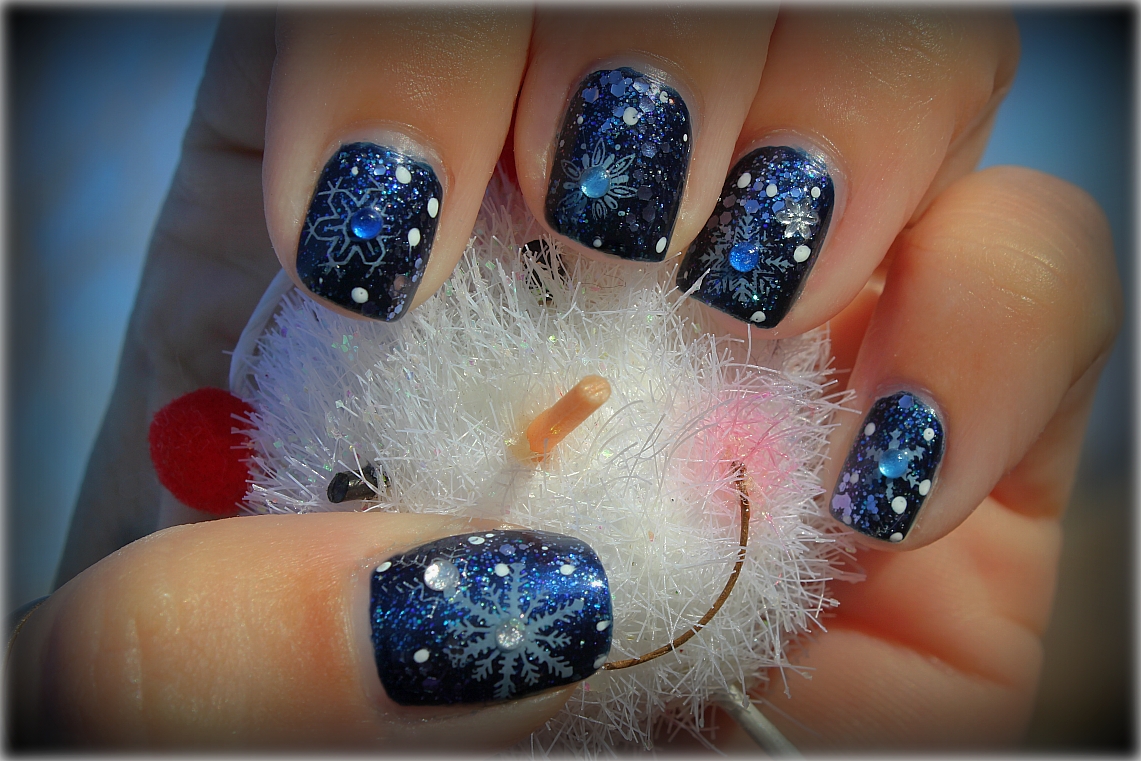
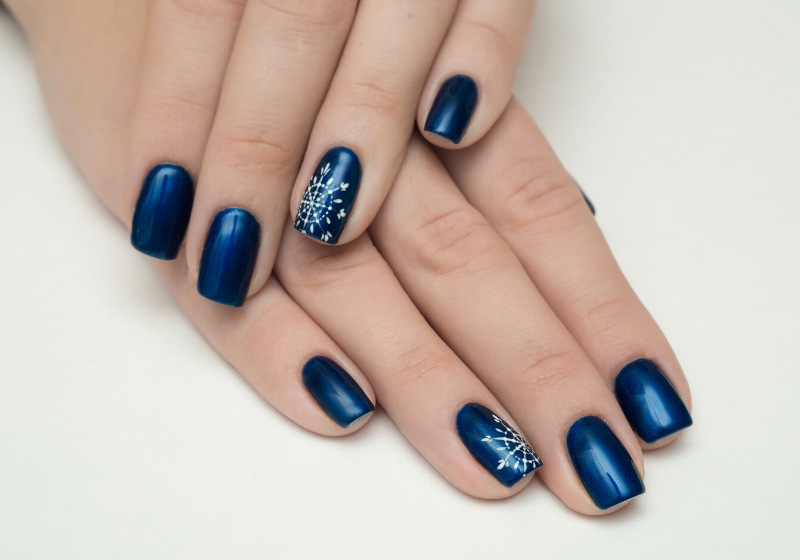
Add some glitz and glamour to your winter nails with this sparkly snowflake nail design. This design is perfect for those who love a little extra sparkle. Featured Keywords: sparkly snowflake nail design, glitz and glamour, extra sparkle Start by painting your nails with a light blue base color to represent the chilly winter sky. Next, using a small nail art brush, create a white snowflake at the tip of your nail. Add some silver glitter on top for a sparkling effect. Using the same nail art brush, add smaller silver glitter snowflakes around the main one to create a snowstorm effect. Finally, seal in your design with a clear top coat to make sure your sparkly snowflakes stay in place all winter long. This design is perfect for a night out or any special occasion during the winter season.5. "Sparkly Snowflake Nail Design"


5. "Sparkly Snowflake Nail Design"


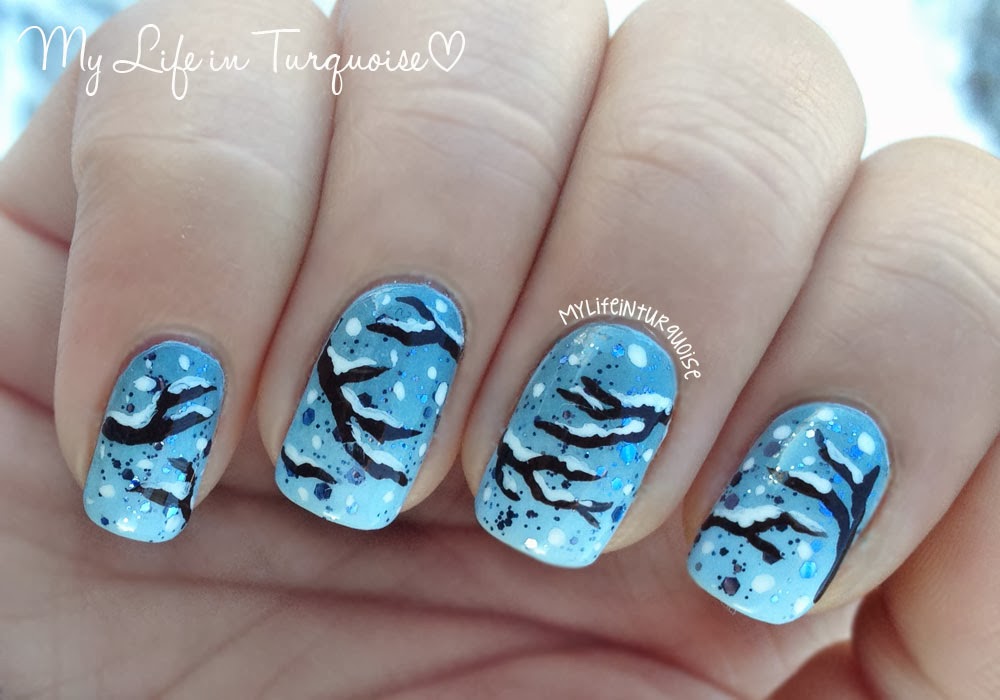
Add some natural beauty to your nails with this DIY snowy tree nail art tutorial. This design is perfect for those who love a more rustic and earthy look. Featured Keywords: DIY snowy tree nail art, natural beauty, rustic, earthy look Start by painting your nails with a dark green base color to represent the evergreen trees. Next, using a small nail art brush, create a white snowy tree at the tip of your nail. Add some silver glitter on top for a glistening snow effect. Using the same nail art brush, add smaller white trees around the main one to create a forest scene. Finally, seal in your design with a clear top coat to make sure your snowy trees stay in place. This design is perfect for those who want to add a touch of nature to their winter look.6. "DIY Snowy Tree Nail Art Tutorial"

6. "DIY Snowy Tree Nail Art Tutorial"


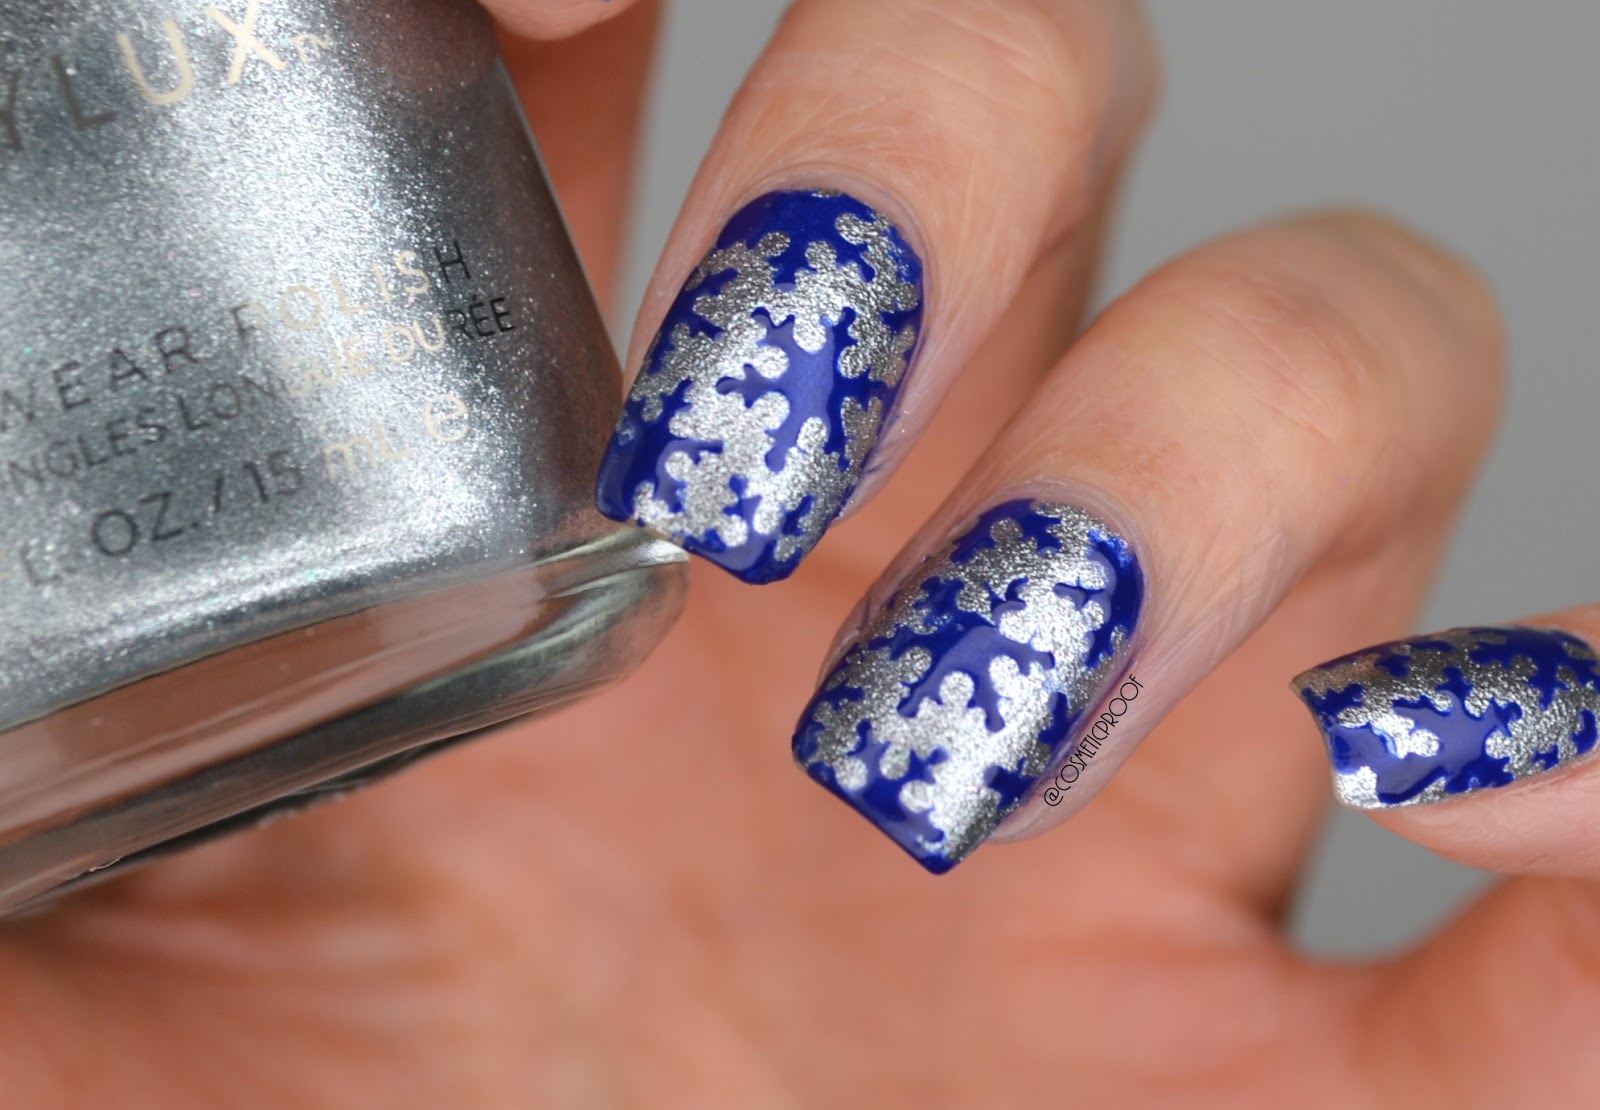
Add some glamour to your winter nails with this glittery snow nail design. This design is perfect for those who love a little extra sparkle. Featured Keywords: glittery snow nail design, glamour, extra sparkle Start by painting your nails with a light blue base color to represent the chilly winter sky. Next, using a small nail art brush, create a white snowflake at the tip of your nail. Add some silver glitter on top for a sparkling effect. Using the same nail art brush, add smaller silver glitter snowflakes around the main one to create a snowstorm effect. Finally, seal in your design with a clear top coat to make sure your glittery snowflakes stay in place all winter long. This design is perfect for those who want to add some glamour to their winter nails.7. "Glittery Snow Nail Design"


7. "Glittery Snow Nail Design"

Create a dreamy winter look with this snowy gradient nail art tutorial. This design is perfect for those who love a soft and subtle look. Featured Keywords: snowy gradient nail art, dreamy, soft and subtle Start by painting your nails with a light blue base color to represent the chilly winter sky. Next, using a makeup sponge, dab on a white nail polish onto the top half of your nail to create a gradient effect. Using a small nail art brush, create a white snowflake at the tip of your nail. Add some silver glitter on top for a sparkling effect. Seal in your design with a clear top coat and admire your dreamy winter nails.8. "Snowy Gradient Nail Art Tutorial"

8. "Snowy Gradient Nail Art Tutorial"
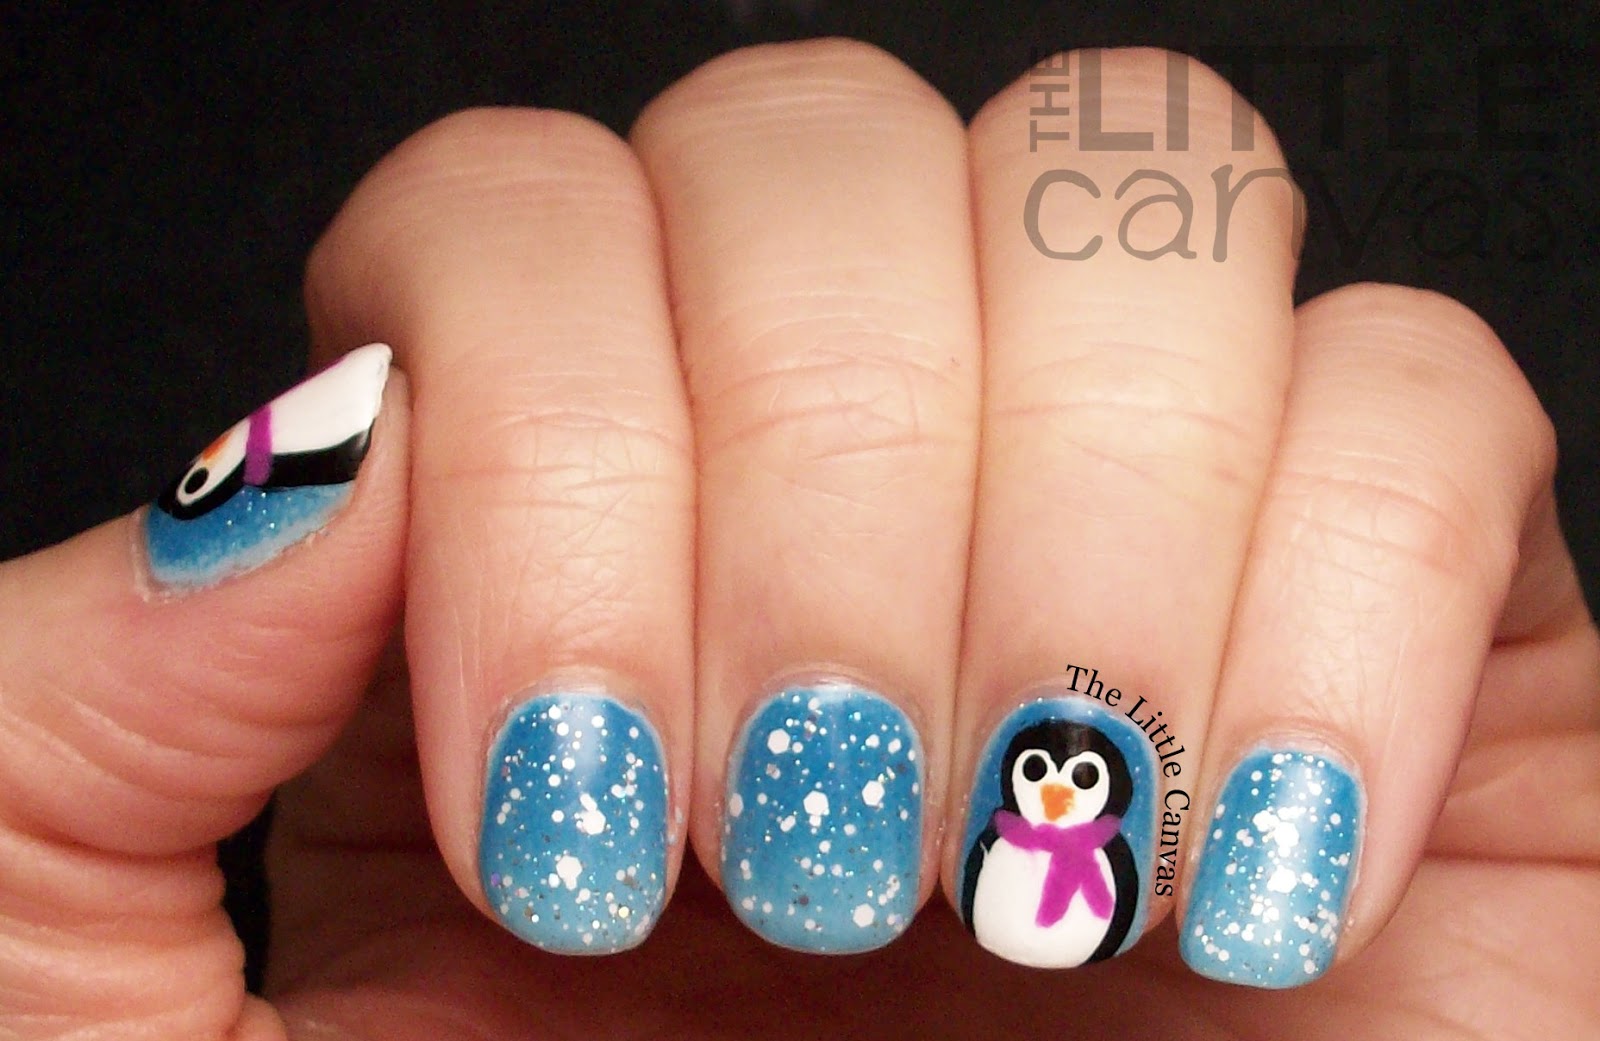
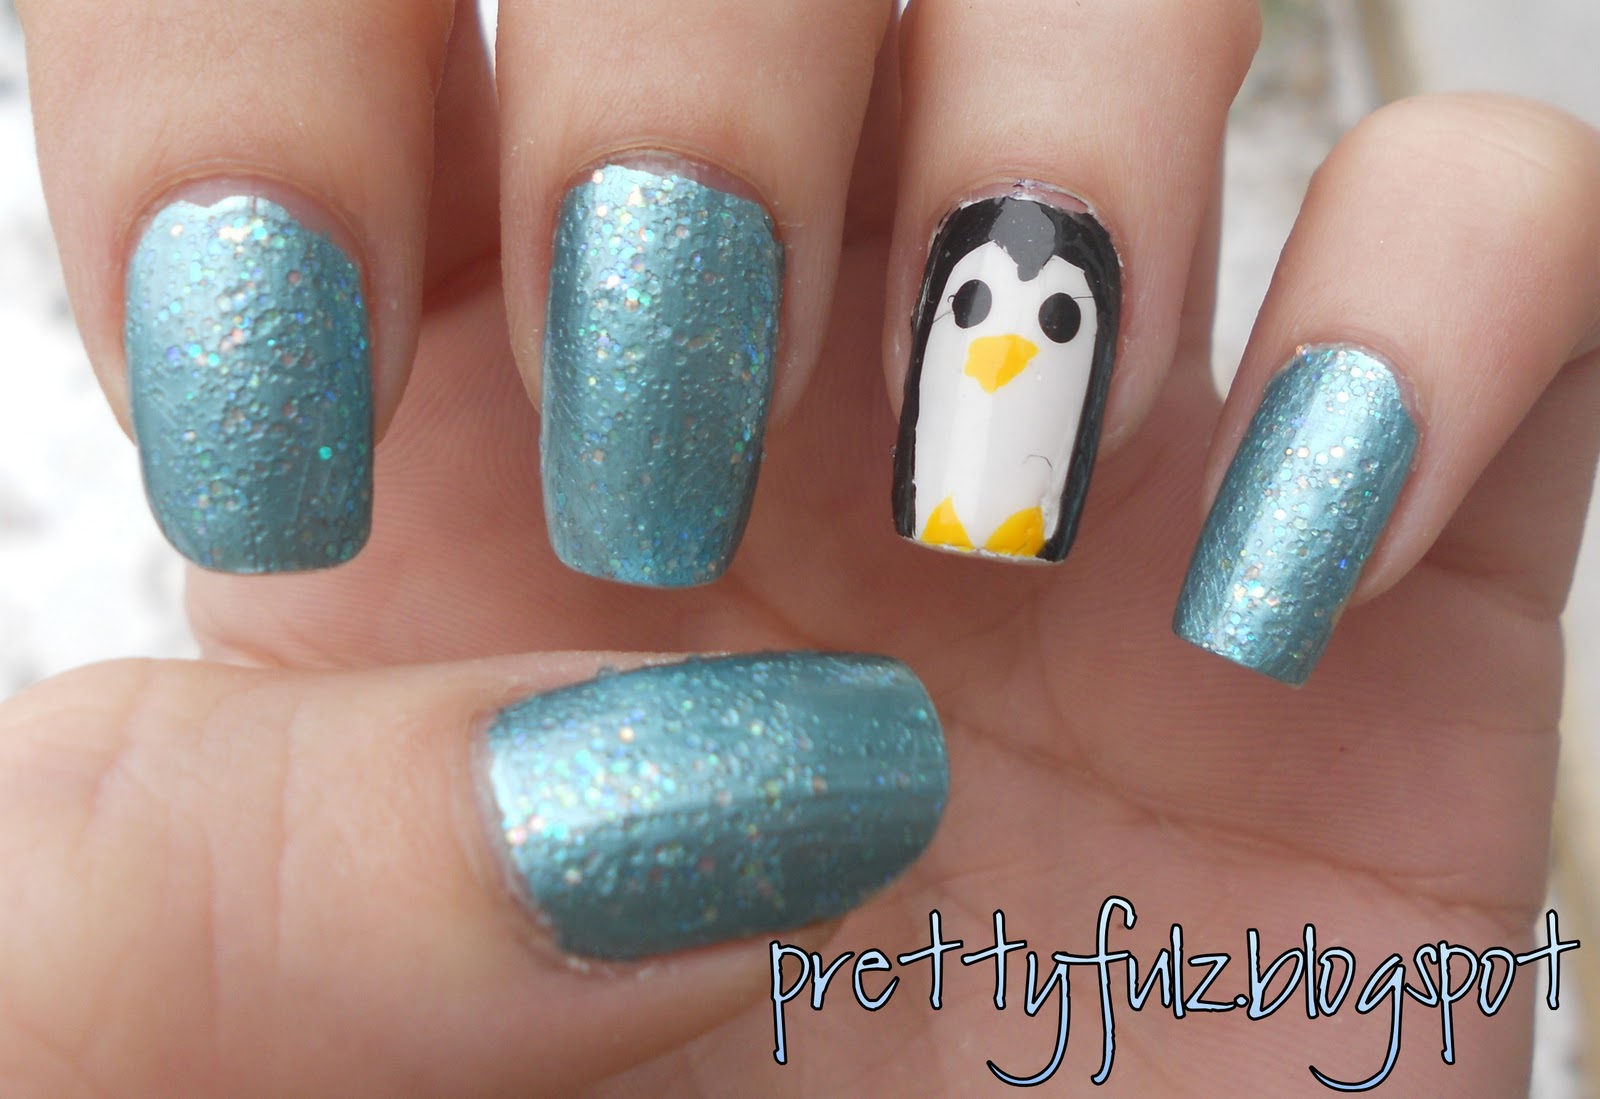
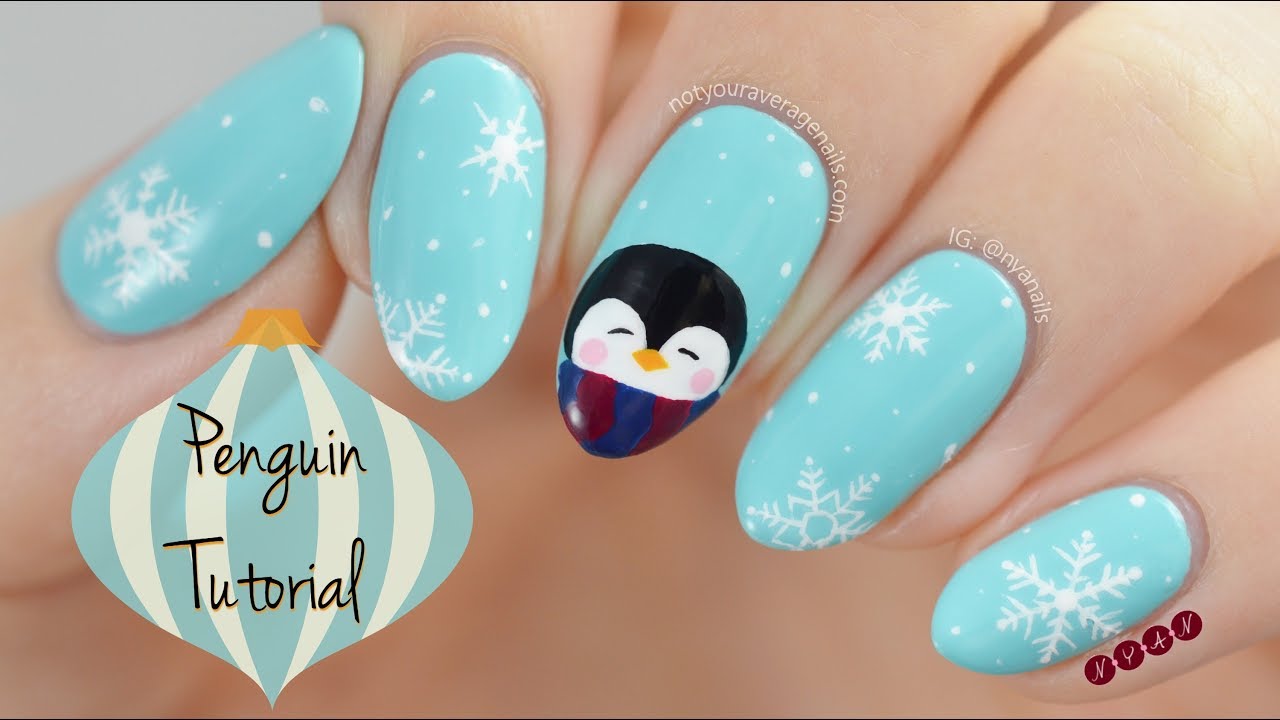
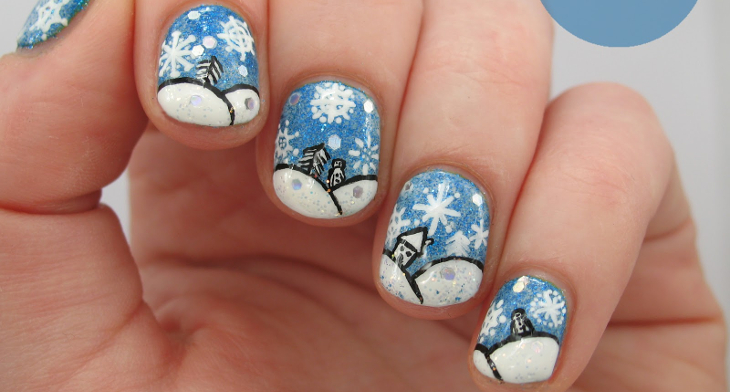
Add some cuteness to your winter nails with this cute penguin nail design. This design is perfect for those who love a playful and fun look. Featured Keywords: cute penguin nail design, cuteness, playful, fun Start by painting your nails with a light blue base color to represent the chilly winter sky. Next, using a medium-sized nail art brush, create a white penguin at the tip of your nail. Add a small orange beak and black eyes using a small nail art brush. Using a small nail art brush, add a red scarf around the penguin's neck to add a pop of color. Finally, add some silver glitter on the tips of your nails to represent the glistening snow and seal in your design with a clear top coat. This design is perfect for those who want to add a cute and playful touch to their winter nails.9. "Cute Penguin Nail Design"

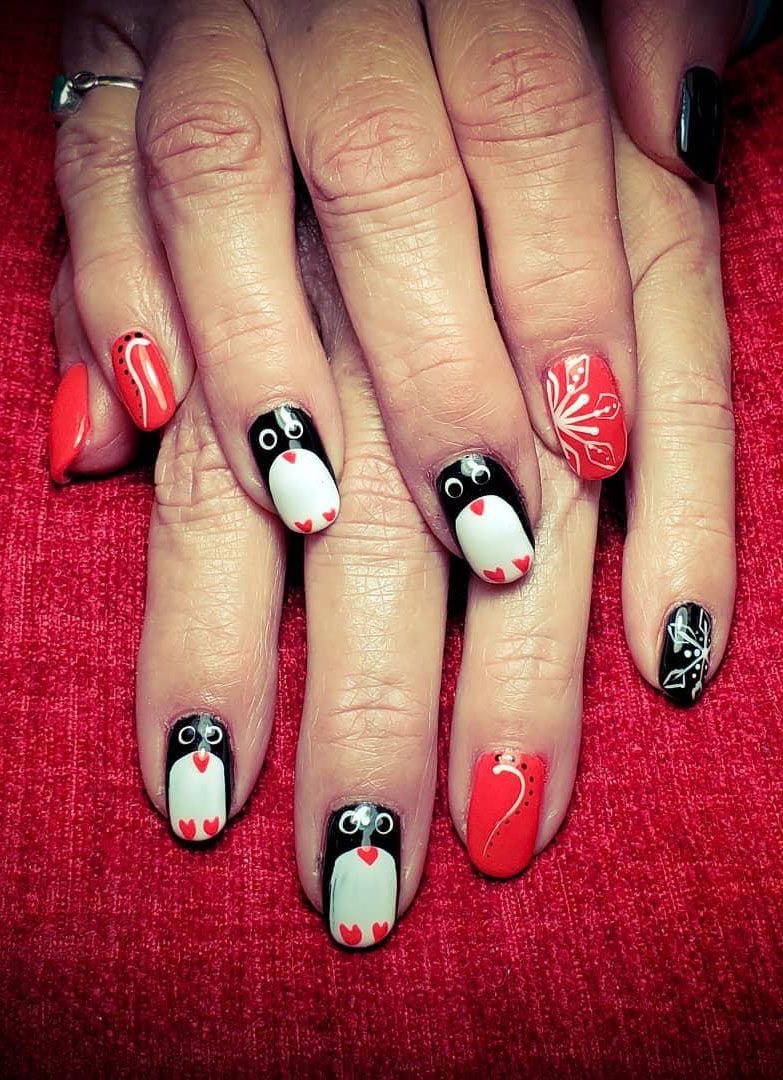
9. "Cute Penguin Nail Design"


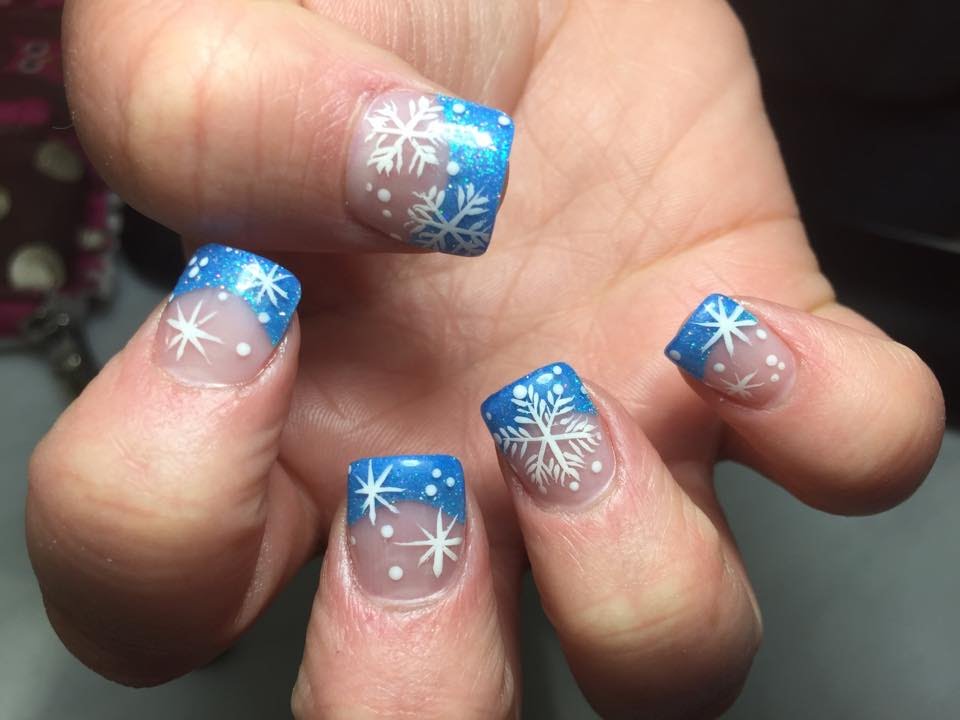
Elevate your classic French tip nails with this DIY snowy French tip nail tutorial. This design is perfect for those who love a subtle and sophisticated look. Featured Keywords: DIY snowy French tip nail, classic, subtle, sophisticated Start by painting your nails with a light blue base color to represent the chilly winter sky. Using a thin nail art brush, create a white snowy French tip at the edge of your nails. Add some silver glitter on top for a sparkling effect. Seal in your design with a clear top coat and admire your chic and sophisticated winter nails.10. "DIY Snowy French Tip Nail Tutorial"


10. "DIY Snowy French Tip Nail Tutorial"


Create a Winter Wonderland with DIY Snow Nail Art
Transform Your Nails into a Winter Wonderland
 Winter is the perfect time to get creative with your nails and what better way to do so than with
DIY snow nail art
. This fun and festive nail trend will have you feeling like you're walking in a winter wonderland every time you look at your hands. Not only is it a great way to show off your artistic skills, but it's also a budget-friendly option for those who want to switch up their nail game without breaking the bank.
Winter is the perfect time to get creative with your nails and what better way to do so than with
DIY snow nail art
. This fun and festive nail trend will have you feeling like you're walking in a winter wonderland every time you look at your hands. Not only is it a great way to show off your artistic skills, but it's also a budget-friendly option for those who want to switch up their nail game without breaking the bank.
Gather Your Supplies
 Before you dive into creating your own snow nail art, make sure you have all the necessary supplies. You'll need a base coat, white nail polish, a dotting tool or toothpick, and a clear topcoat. You can also add some extra sparkle with glitter or rhinestones for a more festive look. Make sure to have a clean workspace and some cotton swabs and nail polish remover on hand for any mistakes.
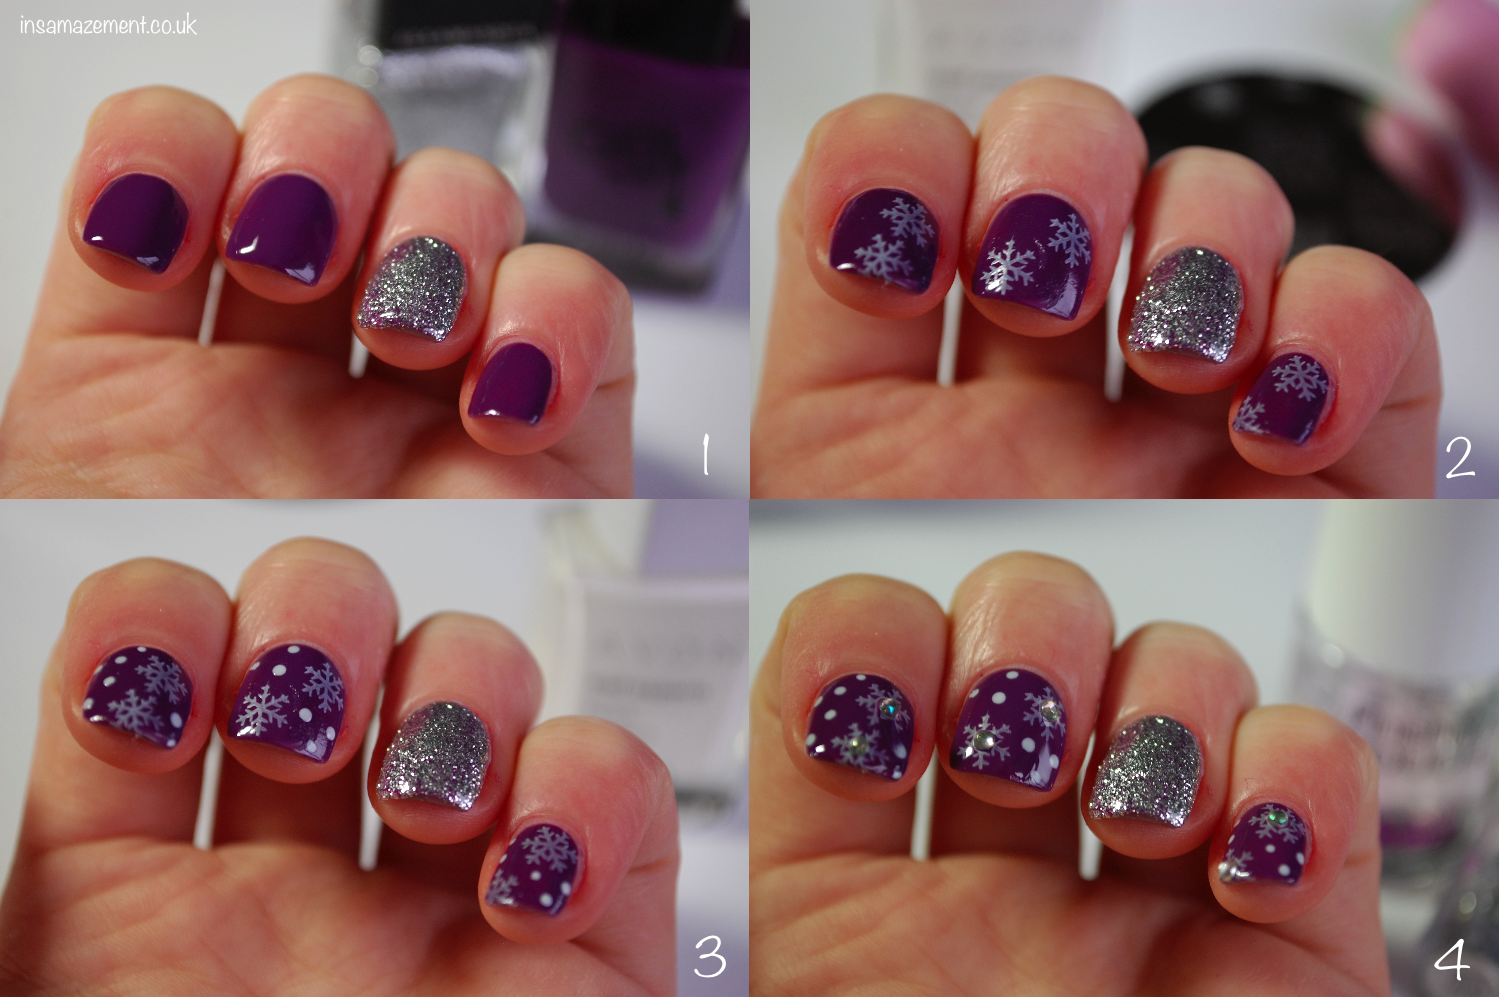
Step-by-Step Guide
 Now that you have all your supplies, it's time to get started. Start by applying a clear base coat to protect your nails and let it dry completely. Next, paint your nails with two coats of white nail polish and let it dry. This will serve as the base for your snow design.
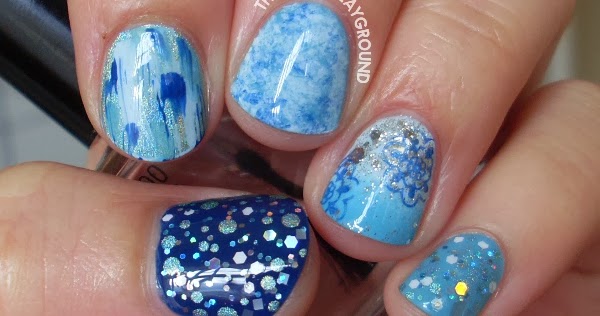
Next, take your dotting tool or toothpick and dip it in white nail polish. Create small dots randomly on your nails to mimic falling snow. You can also create different sized dots for a more realistic effect. Once you're happy with the amount of snow on your nails, add some glitter or rhinestones for an extra touch of sparkle.
Finally, seal your design with a clear topcoat to protect your masterpiece and let it dry completely. And just like that, you have your very own winter wonderland on your nails!
Now that you have all your supplies, it's time to get started. Start by applying a clear base coat to protect your nails and let it dry completely. Next, paint your nails with two coats of white nail polish and let it dry. This will serve as the base for your snow design.
Next, take your dotting tool or toothpick and dip it in white nail polish. Create small dots randomly on your nails to mimic falling snow. You can also create different sized dots for a more realistic effect. Once you're happy with the amount of snow on your nails, add some glitter or rhinestones for an extra touch of sparkle.
Finally, seal your design with a clear topcoat to protect your masterpiece and let it dry completely. And just like that, you have your very own winter wonderland on your nails!
Get Creative
 One of the best things about
DIY snow nail art
is that it's completely customizable. You can mix and match different colors to create a unique snow design, or even add some hand-painted snowflakes for a more intricate look. The possibilities are endless, so don't be afraid to get creative and make it your own.
In conclusion,
DIY snow nail art
is a fun and easy way to add some winter magic to your nails. With just a few simple steps and some basic supplies, you can achieve a professional-looking design that will have everyone asking where you got your nails done. So grab your supplies, get creative, and let the winter wonderland on your nails shine.
One of the best things about
DIY snow nail art
is that it's completely customizable. You can mix and match different colors to create a unique snow design, or even add some hand-painted snowflakes for a more intricate look. The possibilities are endless, so don't be afraid to get creative and make it your own.
In conclusion,
DIY snow nail art
is a fun and easy way to add some winter magic to your nails. With just a few simple steps and some basic supplies, you can achieve a professional-looking design that will have everyone asking where you got your nails done. So grab your supplies, get creative, and let the winter wonderland on your nails shine.


