If you're looking for a unique and eye-catching nail art design, look no further than syrup nail art. This trend has been gaining popularity recently for its fun and playful look. Not only is it a fun and creative way to express yourself, but it's also a budget-friendly way to switch up your nail game. In this DIY syrup nail art tutorial, we'll show you how to create your own syrup nail art at home without breaking the bank.DIY Syrup Nail Art Tutorial


DIY Syrup Nail Art Tutorial

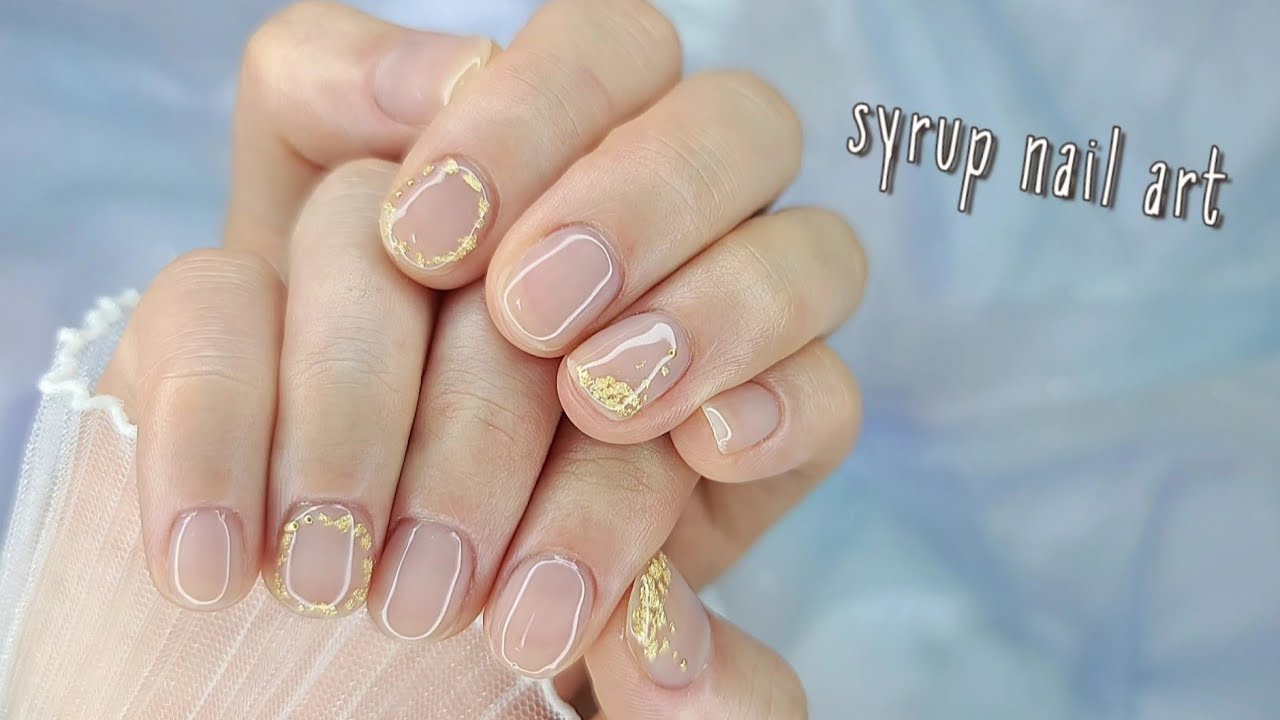


Creating your own syrup nail art design at home is easier than you may think. The key is to have the right supplies and follow a few simple steps. First, gather your materials. You'll need nail polish in your desired color, clear top coat, a plastic bag or cling wrap, and a toothpick or small brush. Start by painting your nails with your chosen color and letting them dry completely. Then, take your plastic bag or cling wrap and crumple it up. Dip it into your clear top coat and dab it onto your nails, creating a marbled effect. Use a toothpick or small brush to add your syrup lines in a contrasting color. Let it dry and seal with another layer of top coat. Ta-da! You now have your very own syrup nail art design.How to Create a Syrup Nail Art Design at Home


How to Create a Syrup Nail Art Design at Home


If you're new to the world of syrup nail art, don't worry. There are plenty of easy and beginner-friendly ideas to try. For a simple yet chic look, try a single syrup line in a metallic color over a nude or pastel base. If you want to add a pop of color, try creating a rainbow syrup design using different shades of nail polish. You can also get creative with your syrup lines by creating geometric patterns or even spelling out words. The possibilities are endless!Easy DIY Syrup Nail Art Ideas


Easy DIY Syrup Nail Art Ideas


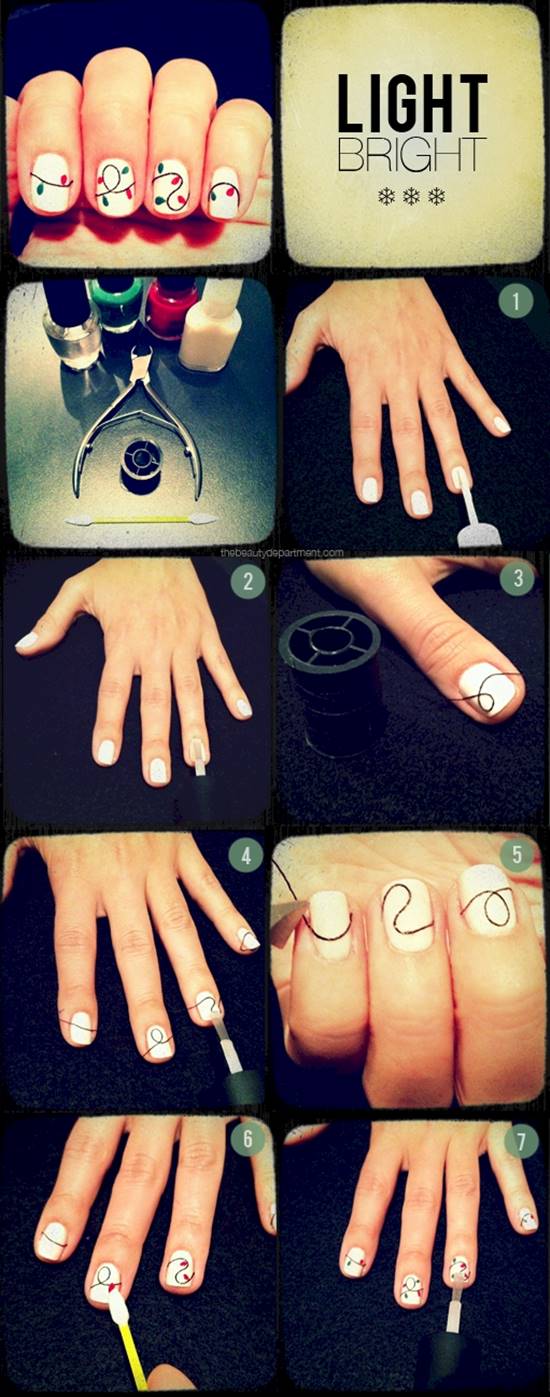
To help you create the perfect syrup nail art design, we've broken down the steps into an easy-to-follow guide. First, start with a clean and dry nail. Apply your base coat and let it dry. Then, apply your chosen nail polish color and let it dry completely. Next, follow the steps in our DIY syrup nail art tutorial to create your syrup lines. Once your design is complete, seal it with a top coat and let it dry. And there you have it, your very own syrup nail art!Step-by-Step Guide to Making Syrup Nail Art


Step-by-Step Guide to Making Syrup Nail Art
While the basic technique for creating syrup nail art involves using a plastic bag or cling wrap, there are other techniques you can try. For a more precise and defined look, you can use a small brush to create your syrup lines. You can also try using a dotting tool to create different sizes of syrup drops. Experiment with different techniques to find the one that works best for you.DIY Syrup Nail Art Techniques


DIY Syrup Nail Art Techniques

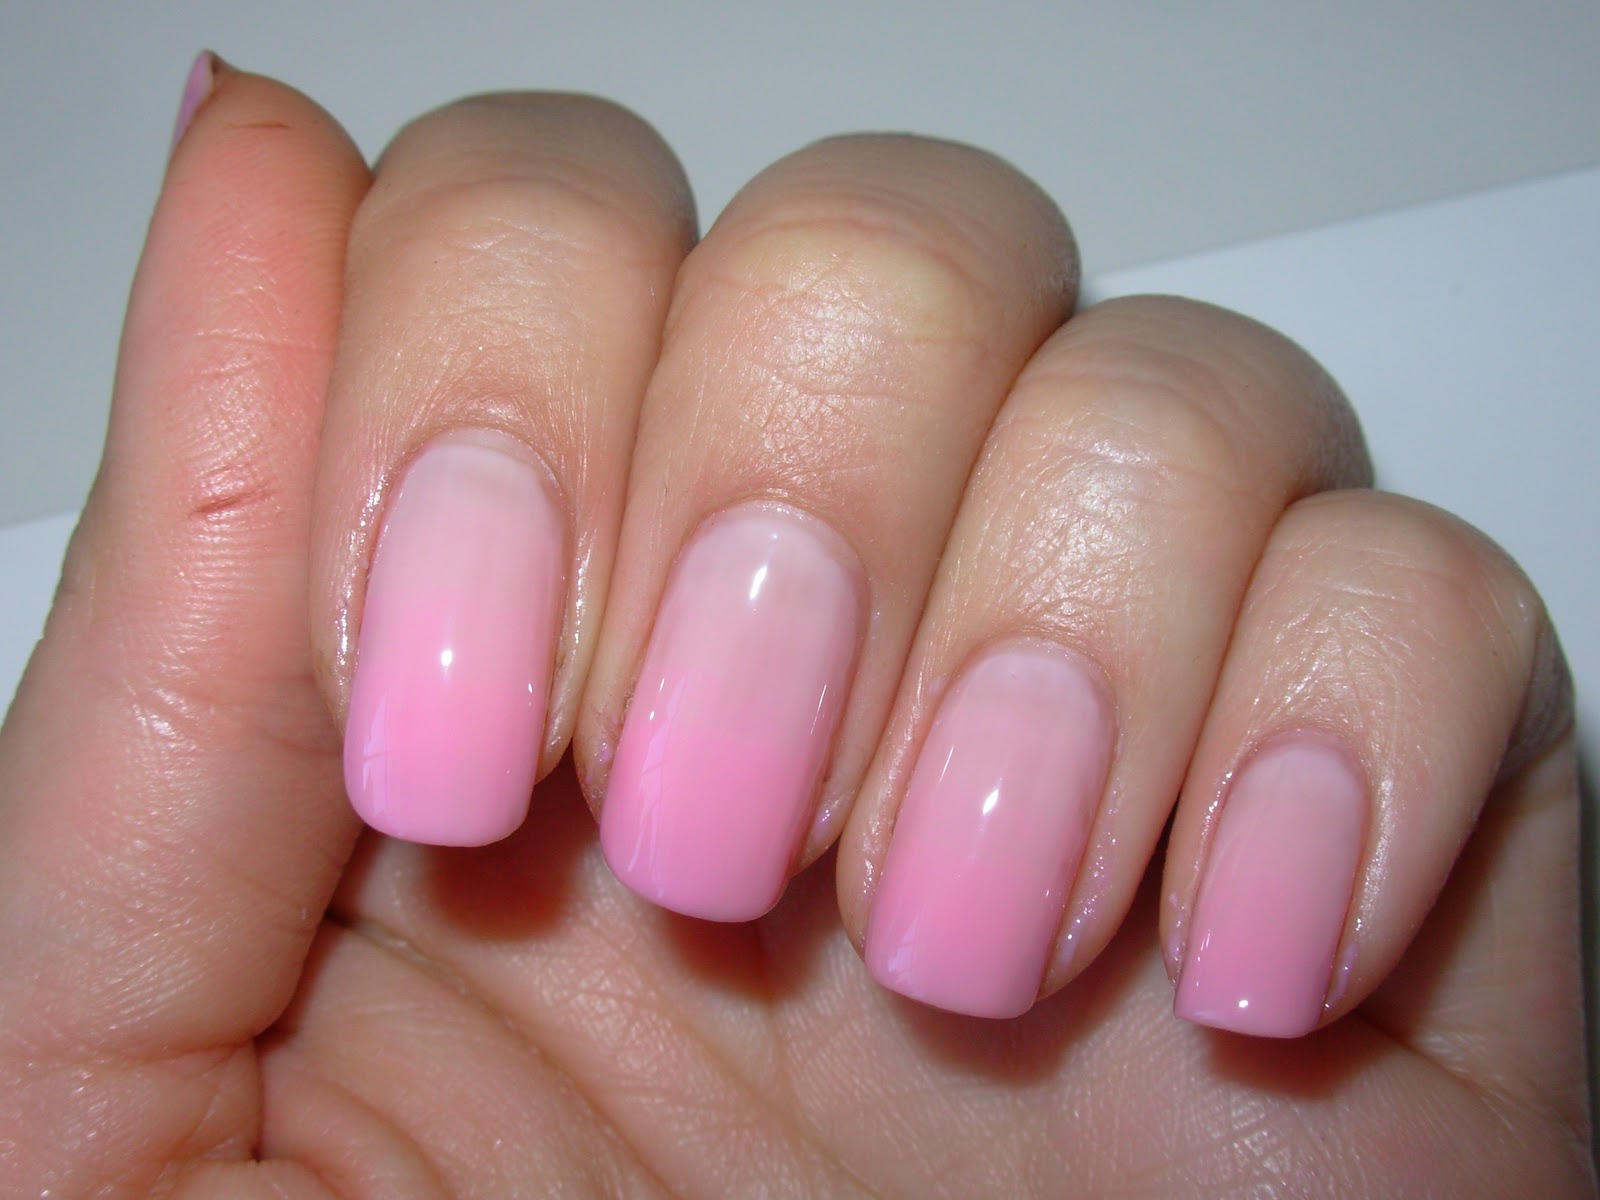
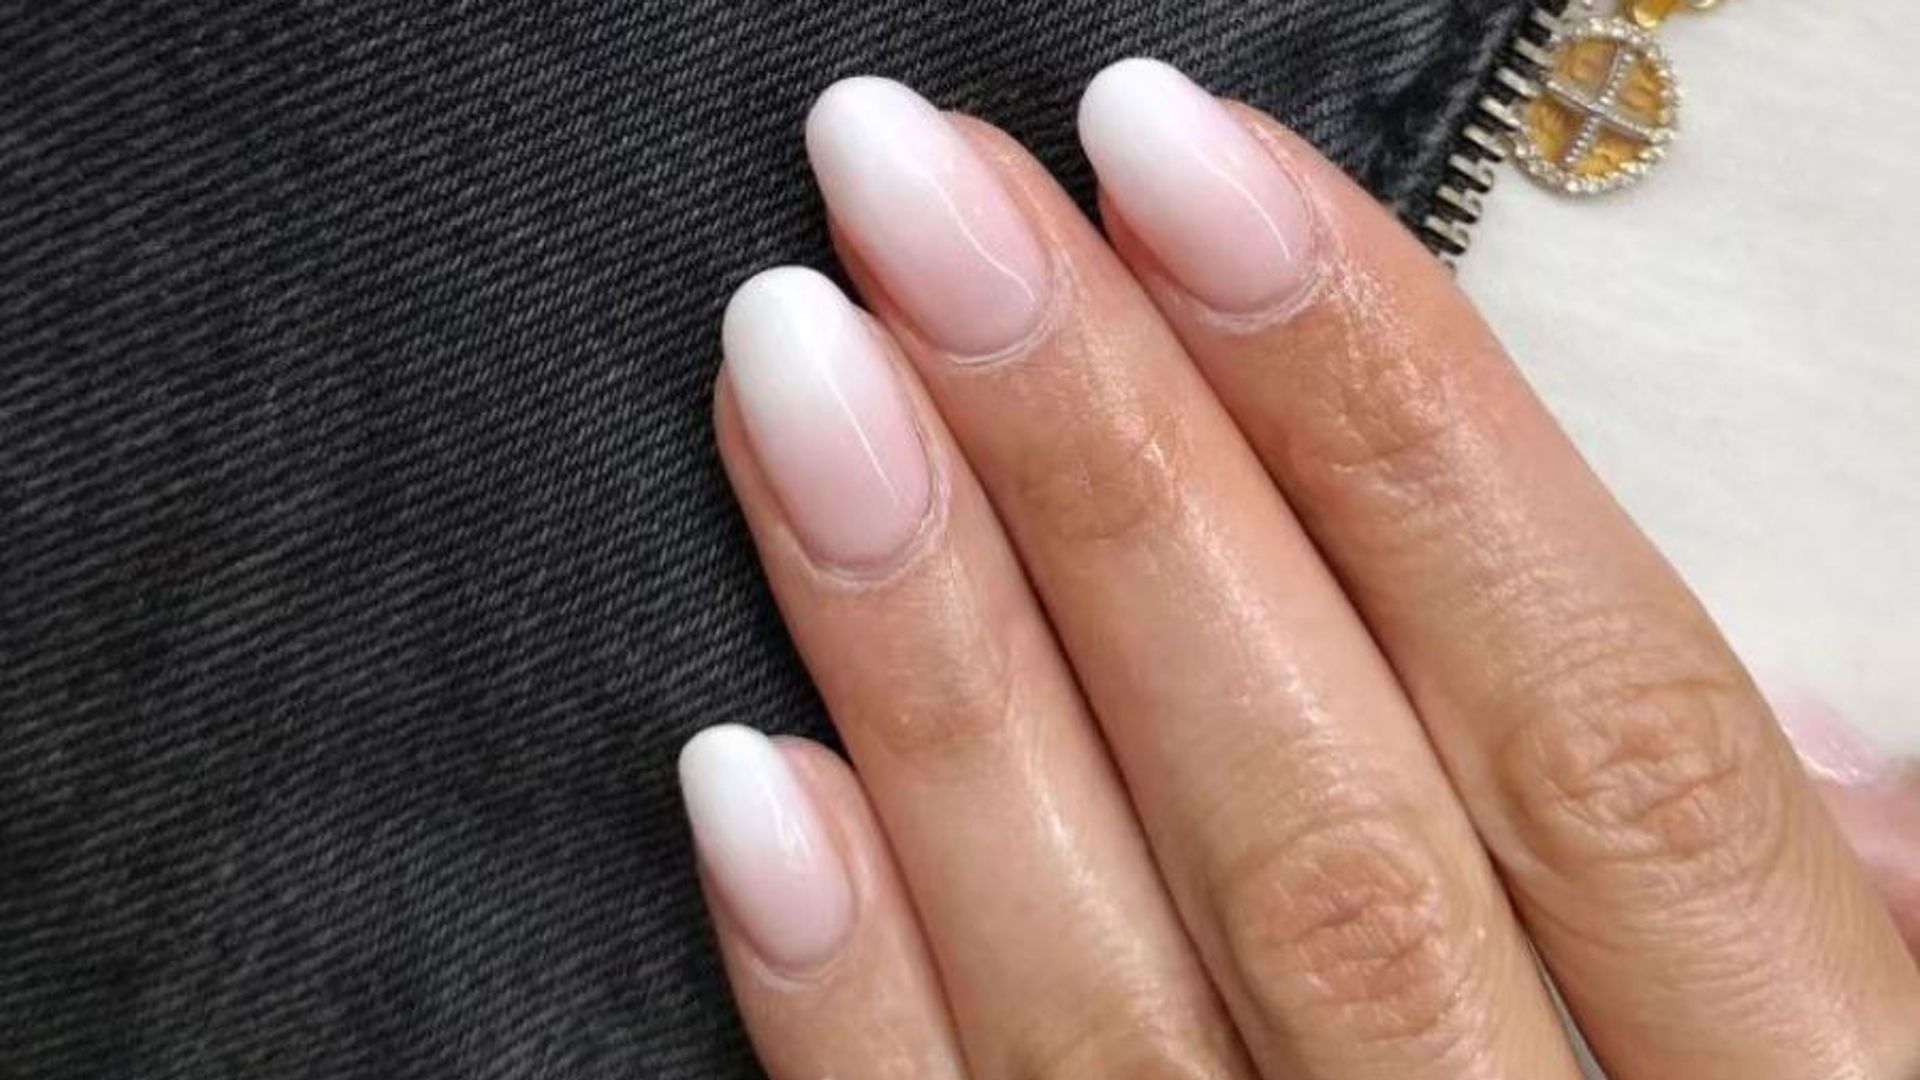
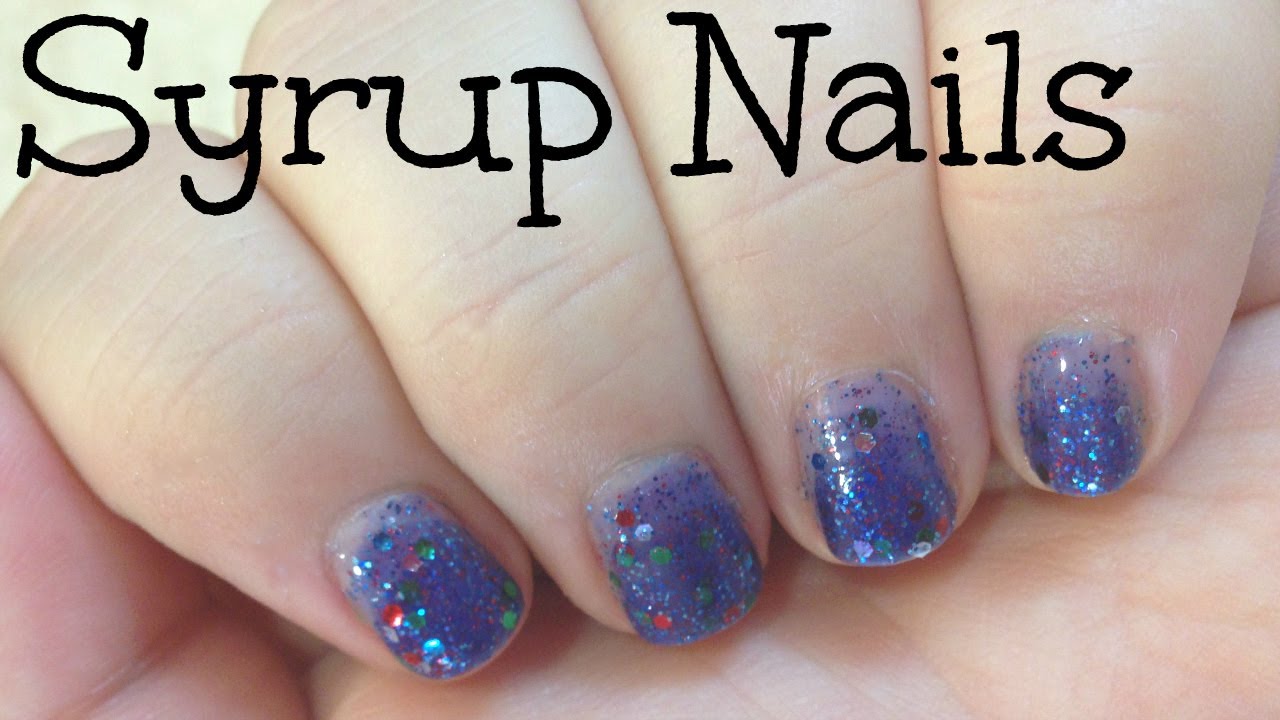
There are so many amazing syrup nail art designs out there, it can be hard to choose just one. But some designs stand out from the rest. One popular design is the dripping syrup look, where the syrup lines start at the cuticle and drip down the nail. Another popular design is the ombre syrup, where the syrup lines gradually change color from the cuticle to the tip of the nail. Whichever design you choose, make it your own by adding your own personal touch.Best DIY Syrup Nail Art Designs


Best DIY Syrup Nail Art Designs

In order to create your own syrup nail art, you'll need a few key supplies. First and foremost, you'll need nail polish in your desired color(s). You'll also need a clear top coat to seal your design. For creating the syrup lines, you can use a plastic bag, cling wrap, a small brush, or a dotting tool. You can also use a toothpick or a small pointed brush for more detailed designs. Make sure to have all your supplies ready before starting your nail art.DIY Syrup Nail Art Supplies You'll Need


DIY Syrup Nail Art Supplies You'll Need
As with any DIY project, practice makes perfect. Don't be discouraged if your first few attempts at syrup nail art don't turn out exactly how you want them to. Keep trying and experimenting with different techniques until you find what works best for you. It's also important to let each layer of nail polish dry completely before moving on to the next step. And don't forget to seal your design with a top coat for long-lasting wear.Tips and Tricks for Perfecting Your Syrup Nail Art


Tips and Tricks for Perfecting Your Syrup Nail Art


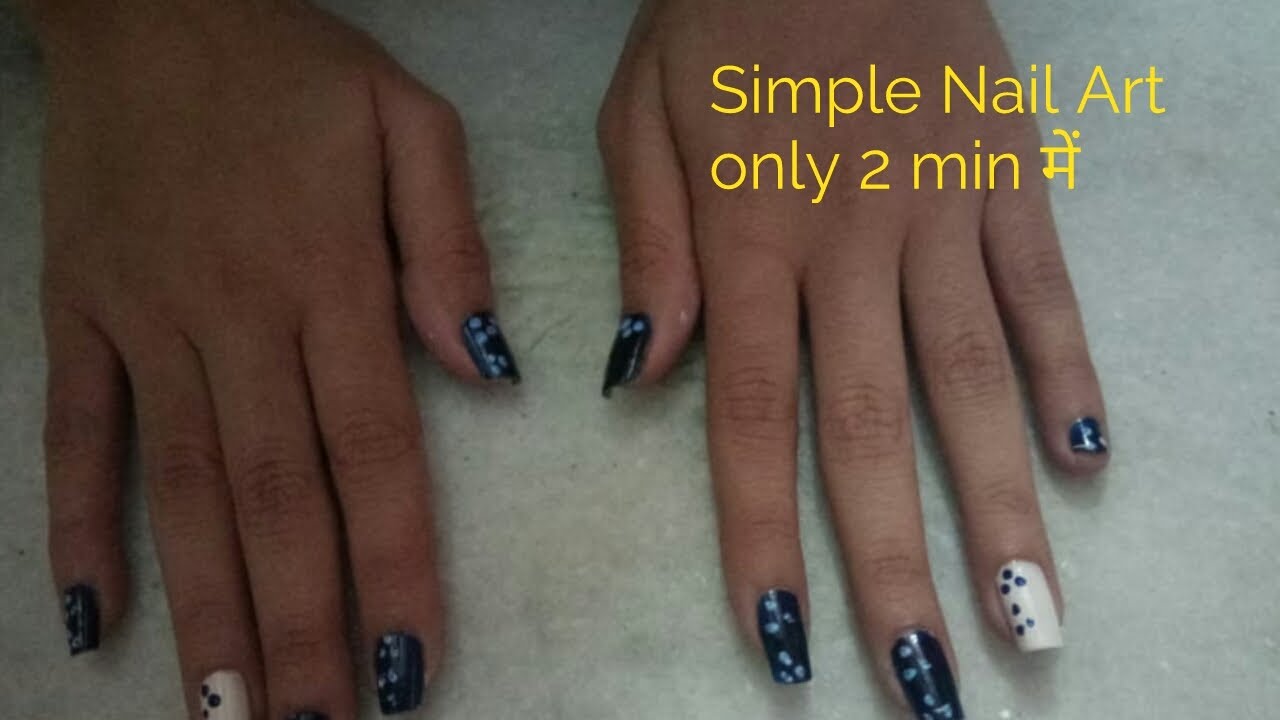
If you're in need of some inspiration for your next syrup nail art design, look no further than social media. Instagram and Pinterest are great sources for finding unique and creative ideas. You can also search for specific hashtags such as #syrupnailart or #diynailart for even more inspiration. Don't be afraid to put your own spin on a design and make it your own.DIY Syrup Nail Art Inspiration and Ideas

DIY Syrup Nail Art Inspiration and Ideas
If you're feeling extra crafty, you can even make your own syrup nail art polish at home. All you need is clear top coat and eyeshadow in your desired color. Crush the eyeshadow into a fine powder and mix it with the top coat. You can adjust the amount of eyeshadow to get your desired level of opacity. Use a toothpick or small brush to create your syrup lines and let it dry completely. Now you have your own custom syrup nail art polish to add to your collection!How to Make Your Own Syrup Nail Art Polish


How to Make Your Own Syrup Nail Art Polish

The Beauty of DIY Syrup Nail Art for Your Home

Transforming Your Nails into a Work of Art
 Are you tired of the same old boring nail designs? Want to add a touch of creativity and fun to your everyday look? Look no further than DIY syrup nail art. This trend has taken the beauty world by storm and for good reason. Not only is it easy to do, but it also allows you to let your imagination run wild and create unique designs that reflect your personality.
What is DIY Syrup Nail Art?
 DIY syrup nail art involves creating designs on your nails using a combination of nail polish and
syrup
. Yes, you read that right – syrup! Simply put, it involves mixing nail polish with syrup to create a thick, glossy and textured mixture that can be used to create intricate designs on your nails.
DIY syrup nail art involves creating designs on your nails using a combination of nail polish and
syrup
. Yes, you read that right – syrup! Simply put, it involves mixing nail polish with syrup to create a thick, glossy and textured mixture that can be used to create intricate designs on your nails.
Why Choose DIY Syrup Nail Art?
 One of the main reasons why DIY syrup nail art has gained so much popularity is because it is a cost-effective alternative to expensive nail art treatments at professional salons. With just a few simple ingredients that you probably already have at home, you can create stunning designs that will make your nails the talk of the town.
Moreover, DIY syrup nail art offers endless possibilities for creativity. From
marbled
designs to ombre effects to intricate patterns, the options are truly limitless. You can let your imagination run wild and experiment with different techniques and colors to create a look that is uniquely yours.
One of the main reasons why DIY syrup nail art has gained so much popularity is because it is a cost-effective alternative to expensive nail art treatments at professional salons. With just a few simple ingredients that you probably already have at home, you can create stunning designs that will make your nails the talk of the town.
Moreover, DIY syrup nail art offers endless possibilities for creativity. From
marbled
designs to ombre effects to intricate patterns, the options are truly limitless. You can let your imagination run wild and experiment with different techniques and colors to create a look that is uniquely yours.
How to DIY Syrup Nail Art?
 Creating DIY syrup nail art is easy and requires no special skills. All you need is your choice of nail polish, syrup, and some toothpicks or
nail art brushes
. Start by mixing a small amount of syrup with your chosen nail polish on a plastic surface. Use a toothpick or nail art brush to create your desired design on your nails and let it dry. Once dry, seal it with a top coat for a long-lasting and glossy finish.
Creating DIY syrup nail art is easy and requires no special skills. All you need is your choice of nail polish, syrup, and some toothpicks or
nail art brushes
. Start by mixing a small amount of syrup with your chosen nail polish on a plastic surface. Use a toothpick or nail art brush to create your desired design on your nails and let it dry. Once dry, seal it with a top coat for a long-lasting and glossy finish.
Final Thoughts
 In conclusion, DIY syrup nail art is a fun and creative way to add a unique touch to your nails. It is an affordable and easy alternative to professional nail art treatments, and allows you to let your creativity shine. So why not give it a try and see your nails transform into a work of art?


