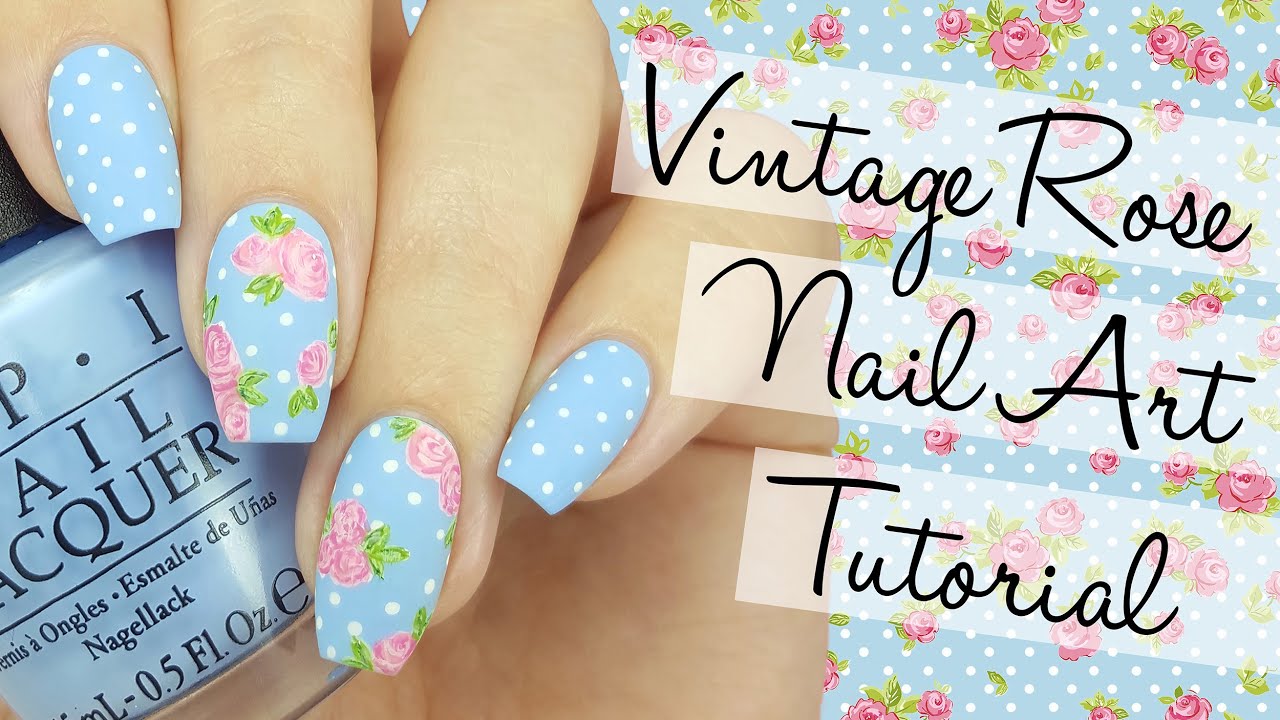
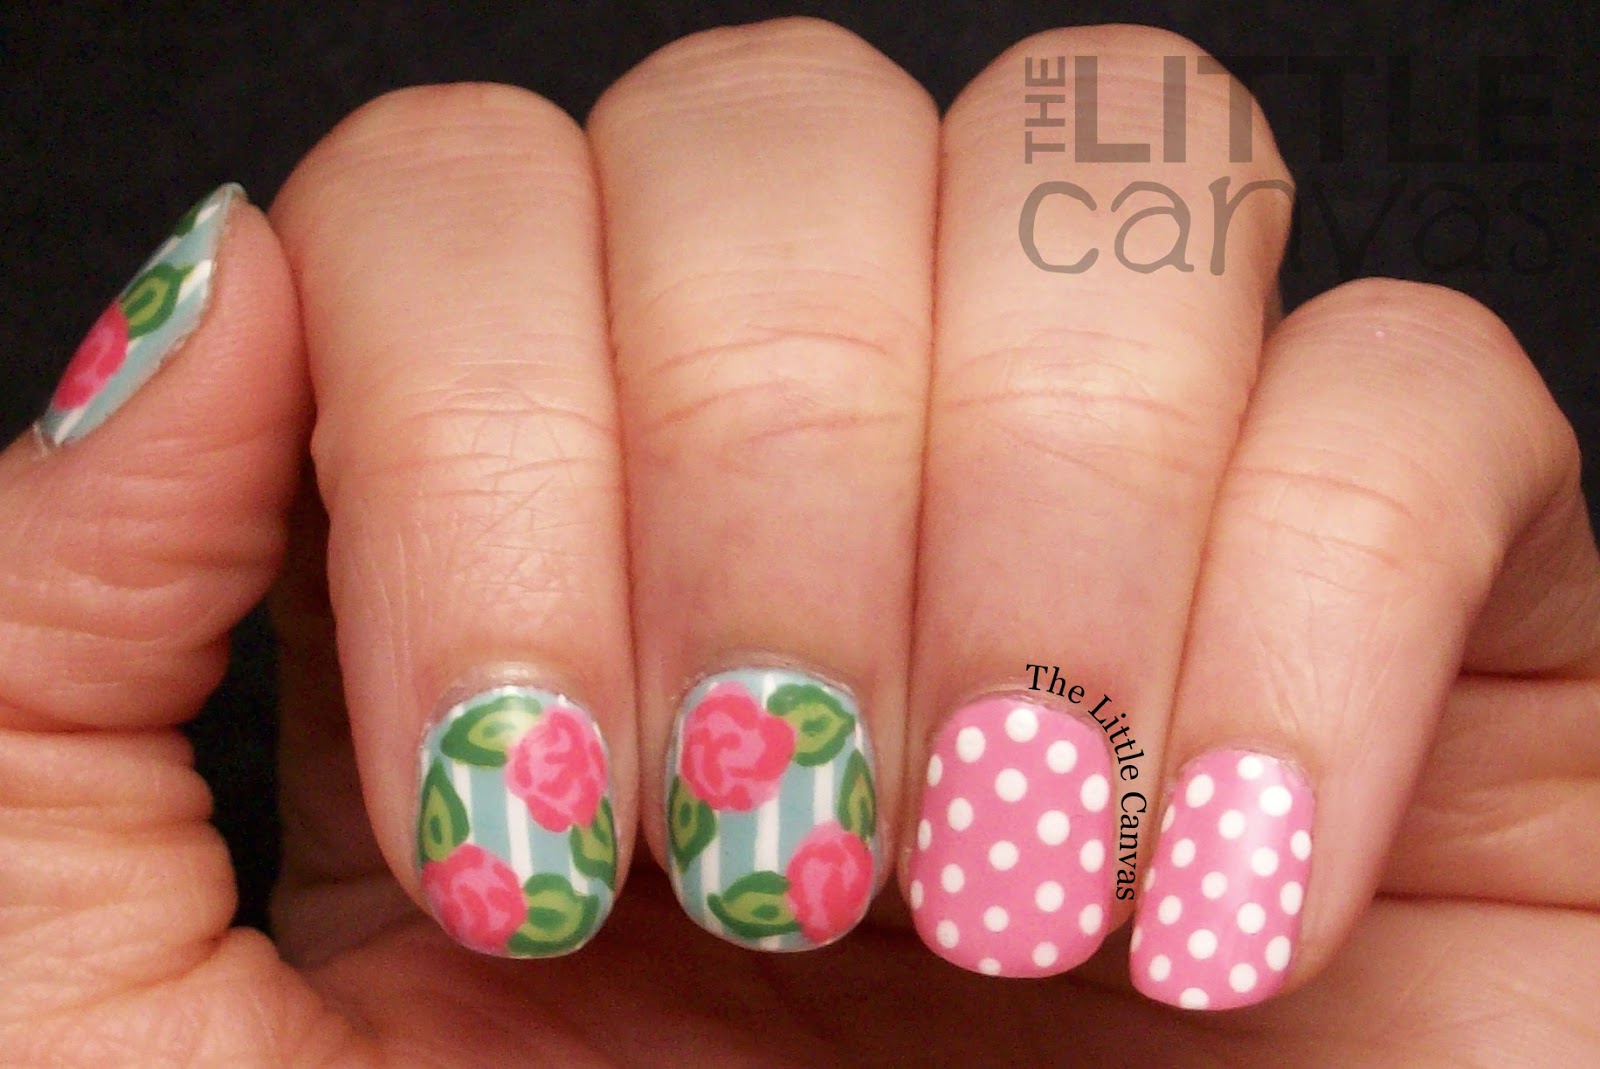
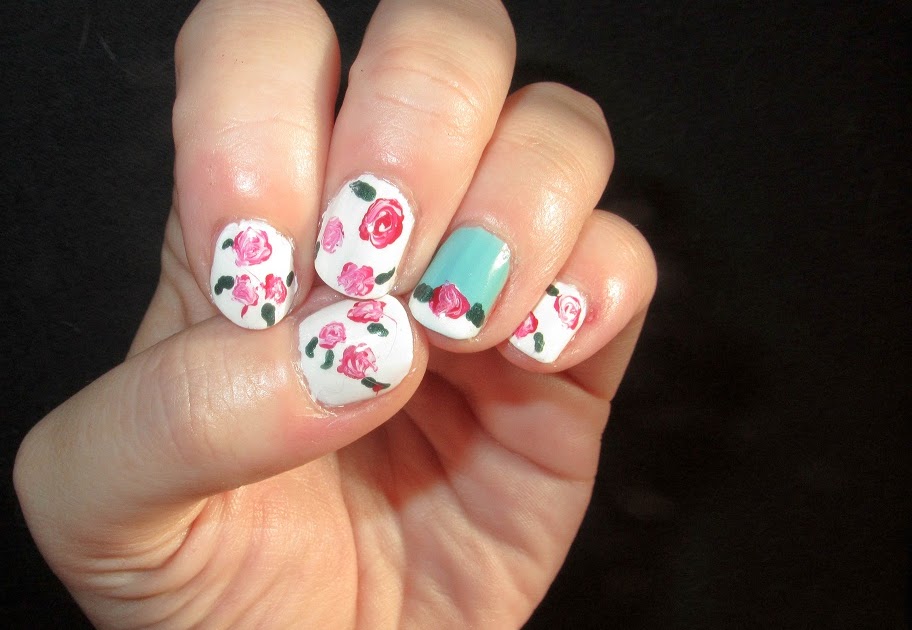
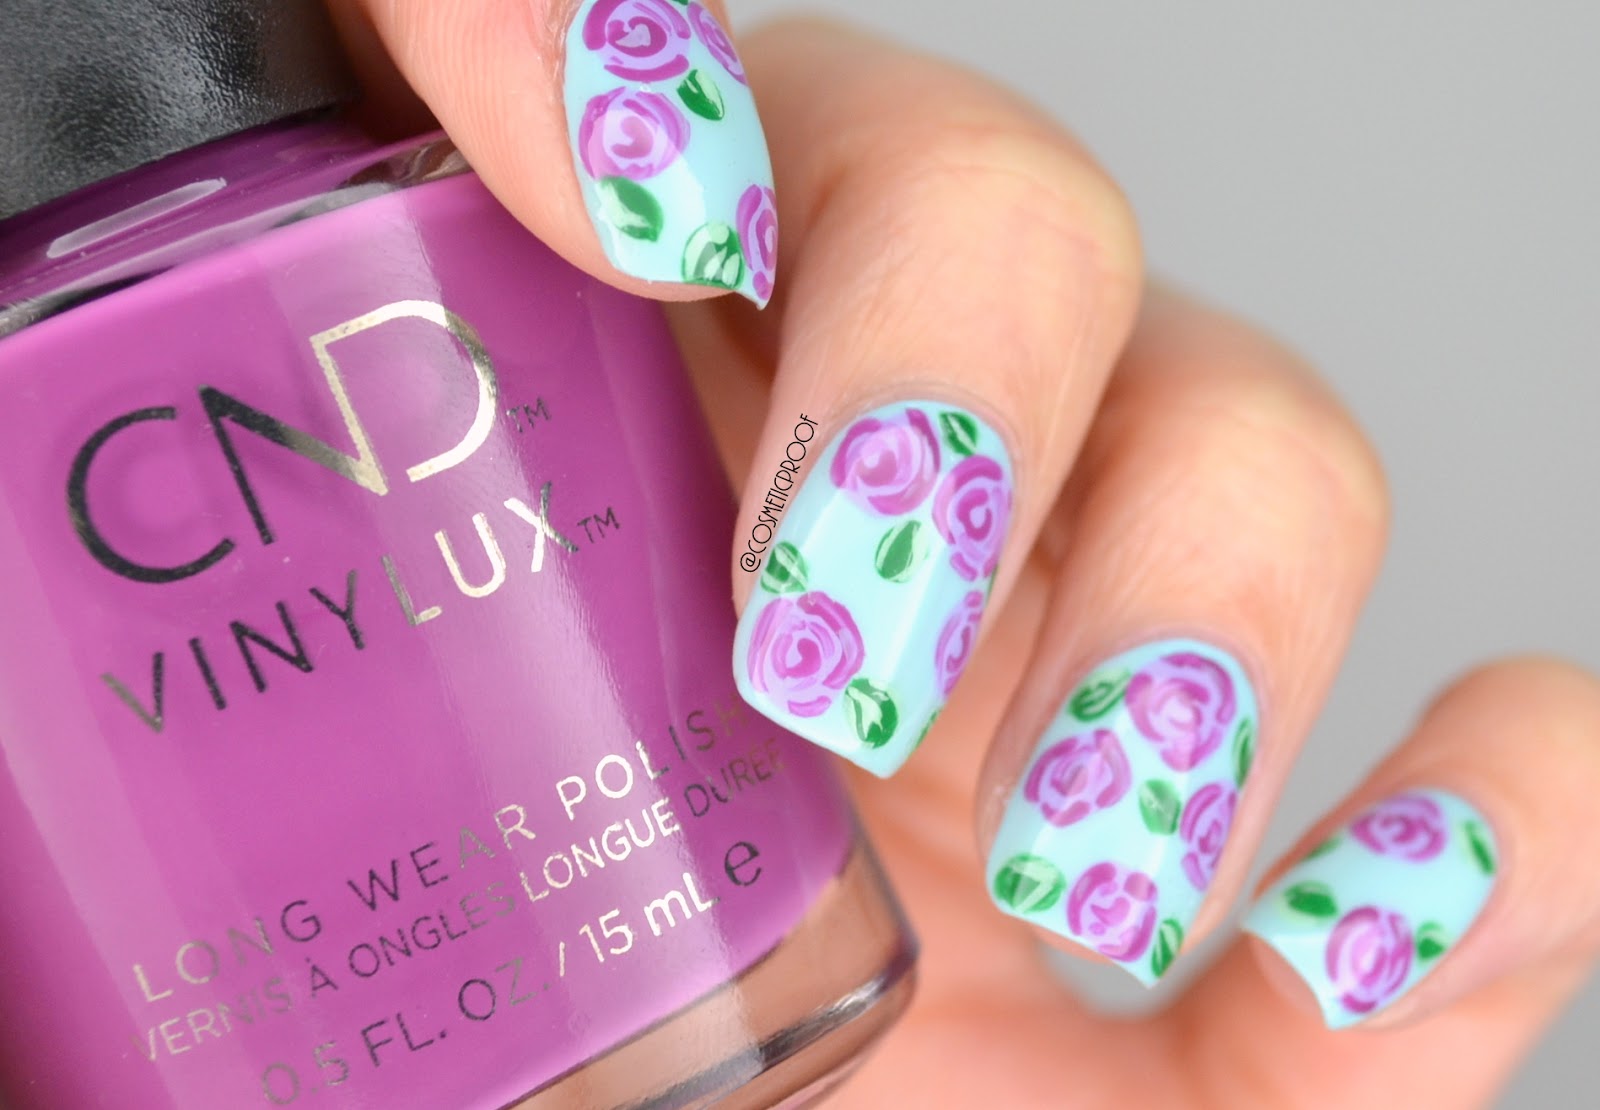
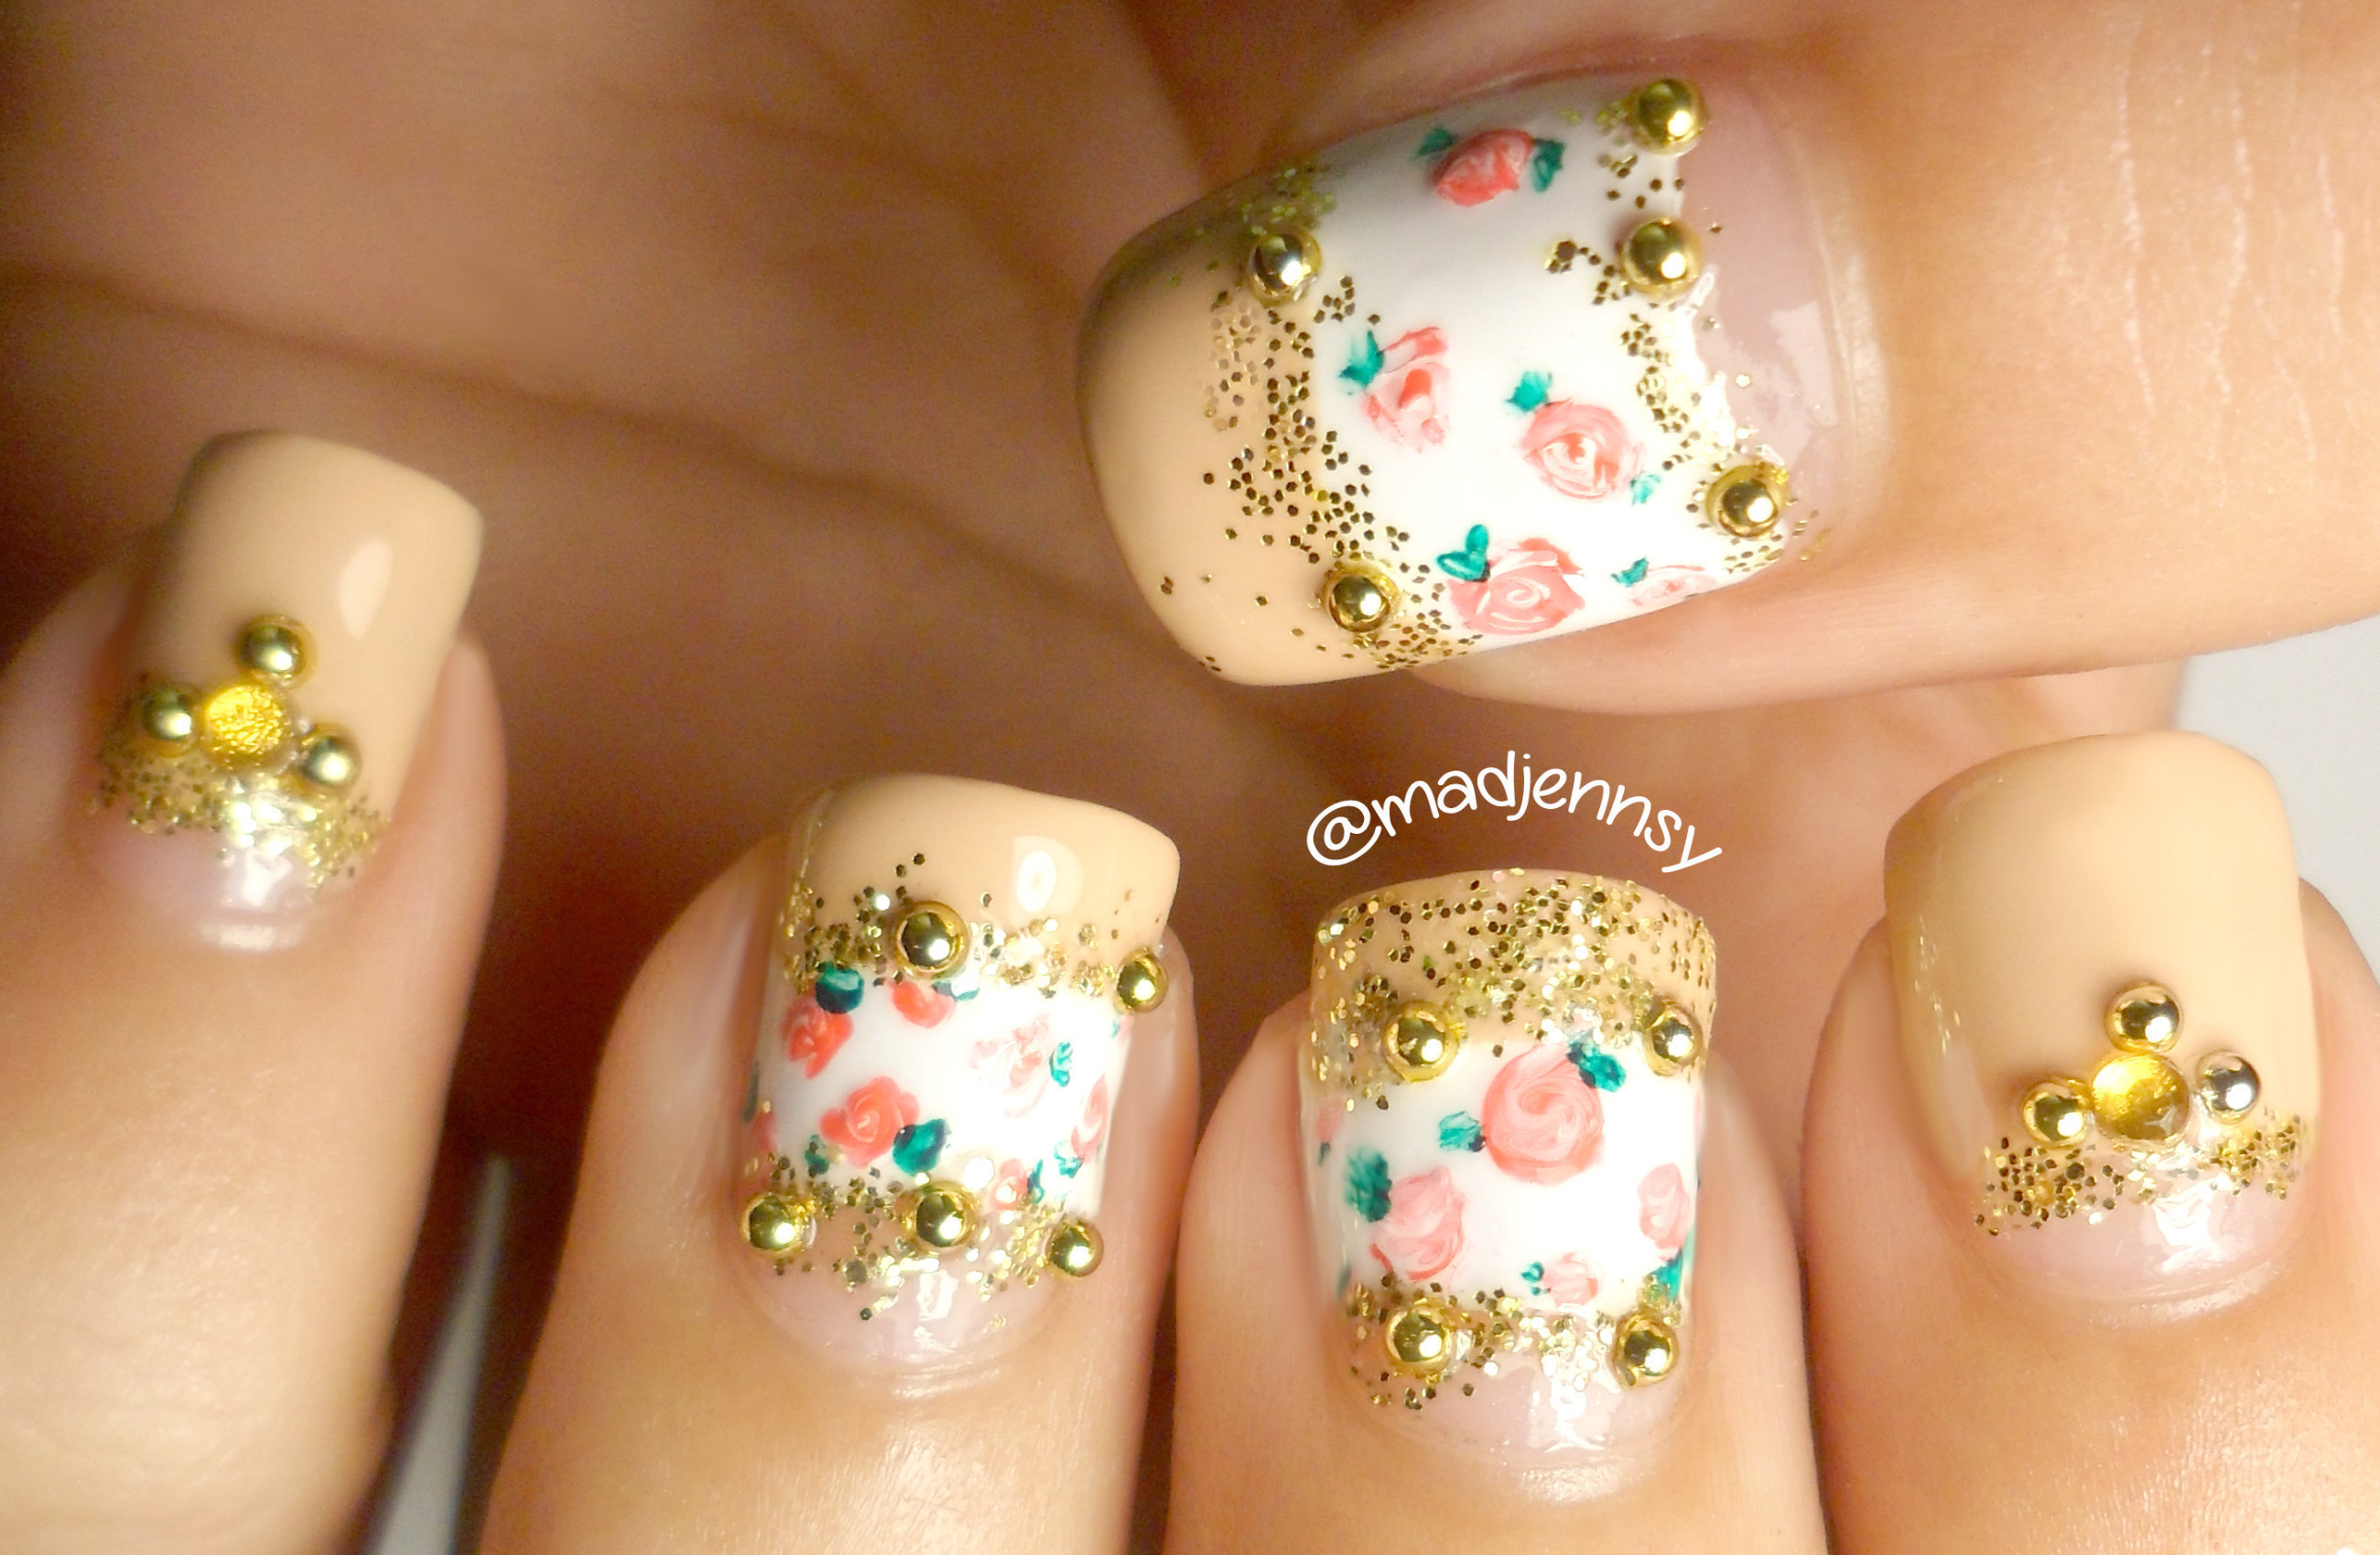
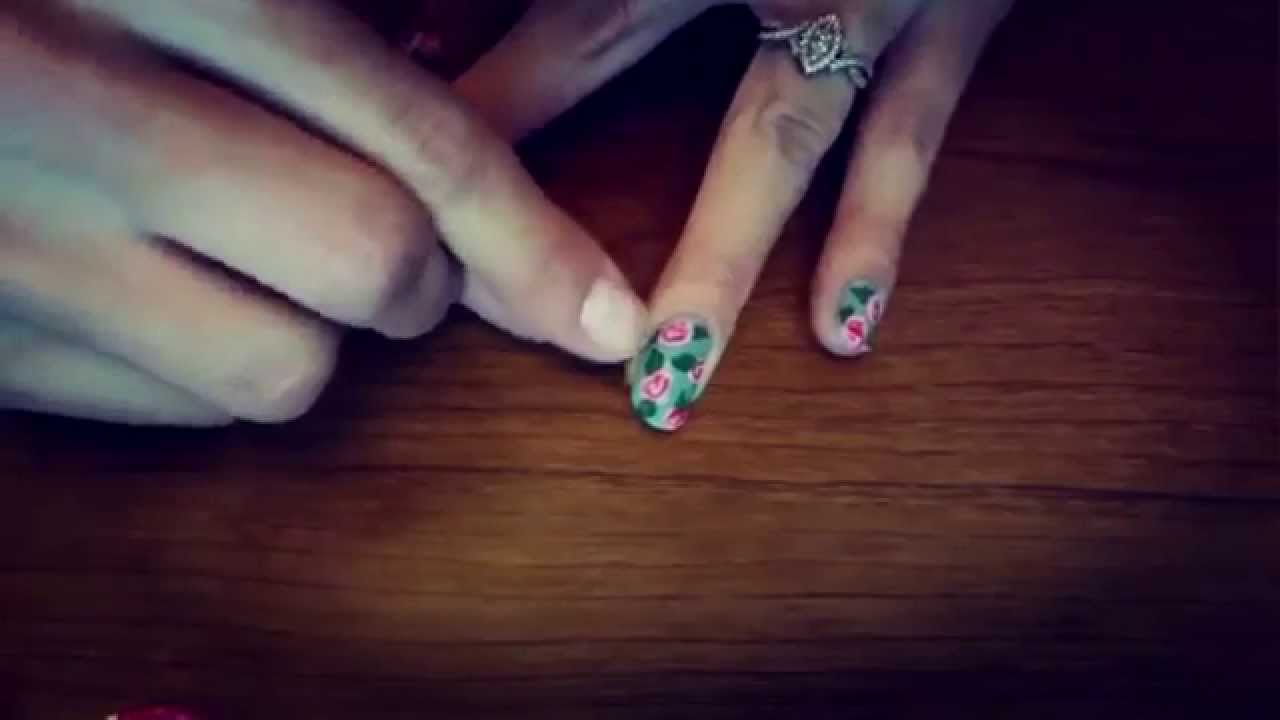
Looking for a way to add a touch of vintage charm to your nails? Look no further than this easy DIY vintage rose nail art tutorial! With just a few simple steps, you can create a stunning manicure that will have everyone asking, "Where did you get your nails done?" Vintage rose nail art has become increasingly popular in recent years, and for good reason. It's a timeless and elegant design that adds a touch of femininity and sophistication to any look. Plus, with the rise of at-home manicures, it's the perfect way to elevate your DIY nail game. So grab your favorite nail polish colors and let's get started!1. Vintage Rose Nail Art Tutorial


1. Vintage Rose Nail Art Tutorial

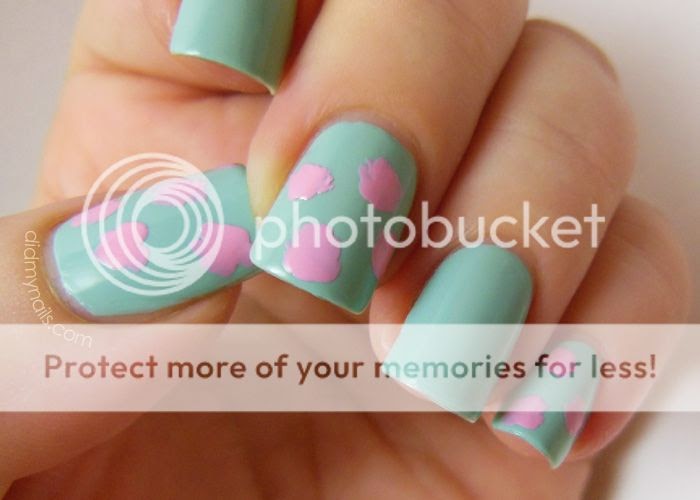

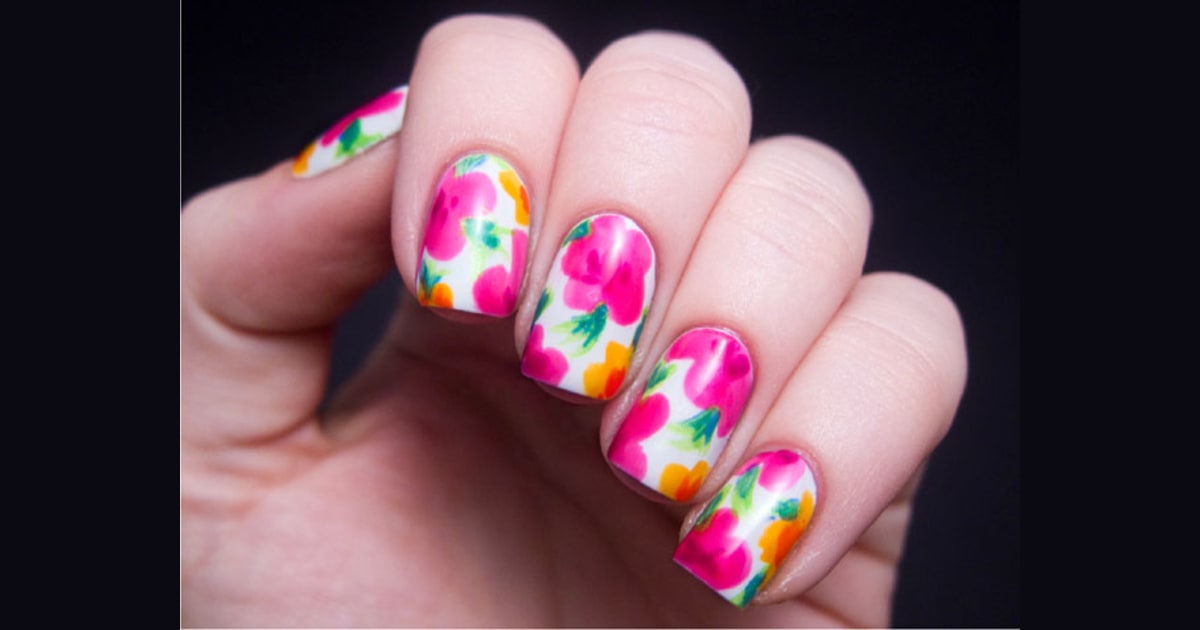
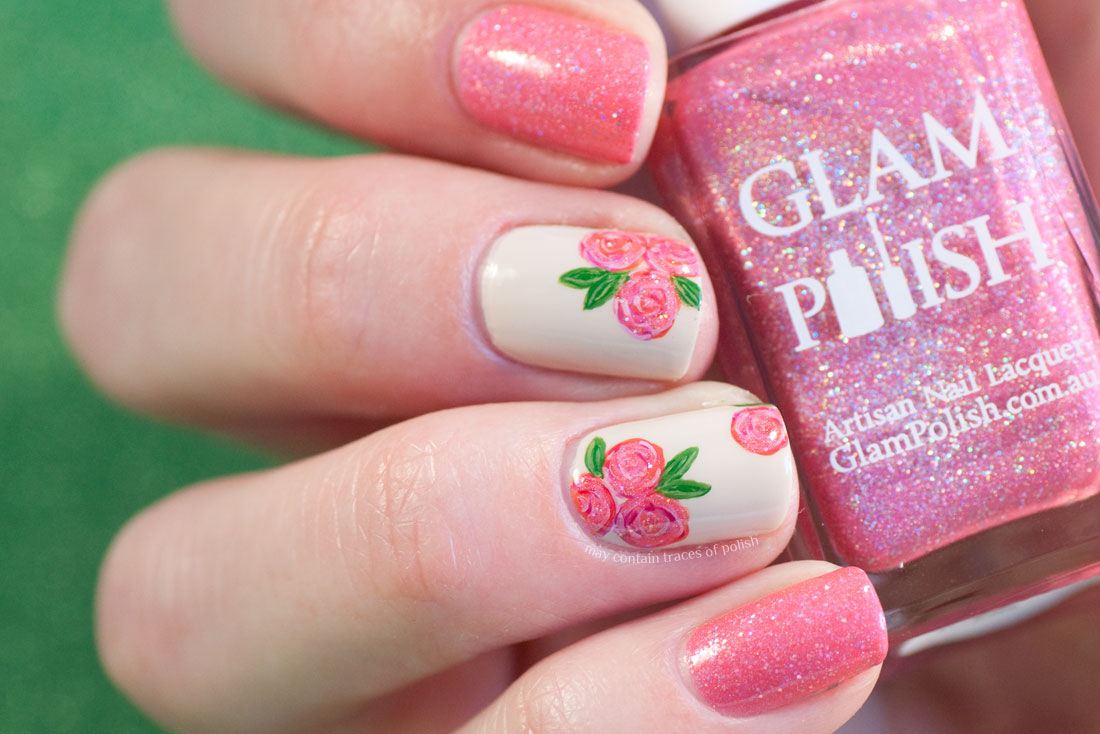
If you're a fan of floral designs, then you'll love this DIY floral nail art tutorial. By combining delicate rose patterns with your favorite nail polish shades, you'll have a gorgeous manicure that will last for days. This is a great option for those who want to add a touch of nature and beauty to their nails without having to worry about keeping real flowers alive. Plus, you can mix and match different colors and patterns to create a unique and personalized look.2. DIY Floral Nail Art


2. DIY Floral Nail Art


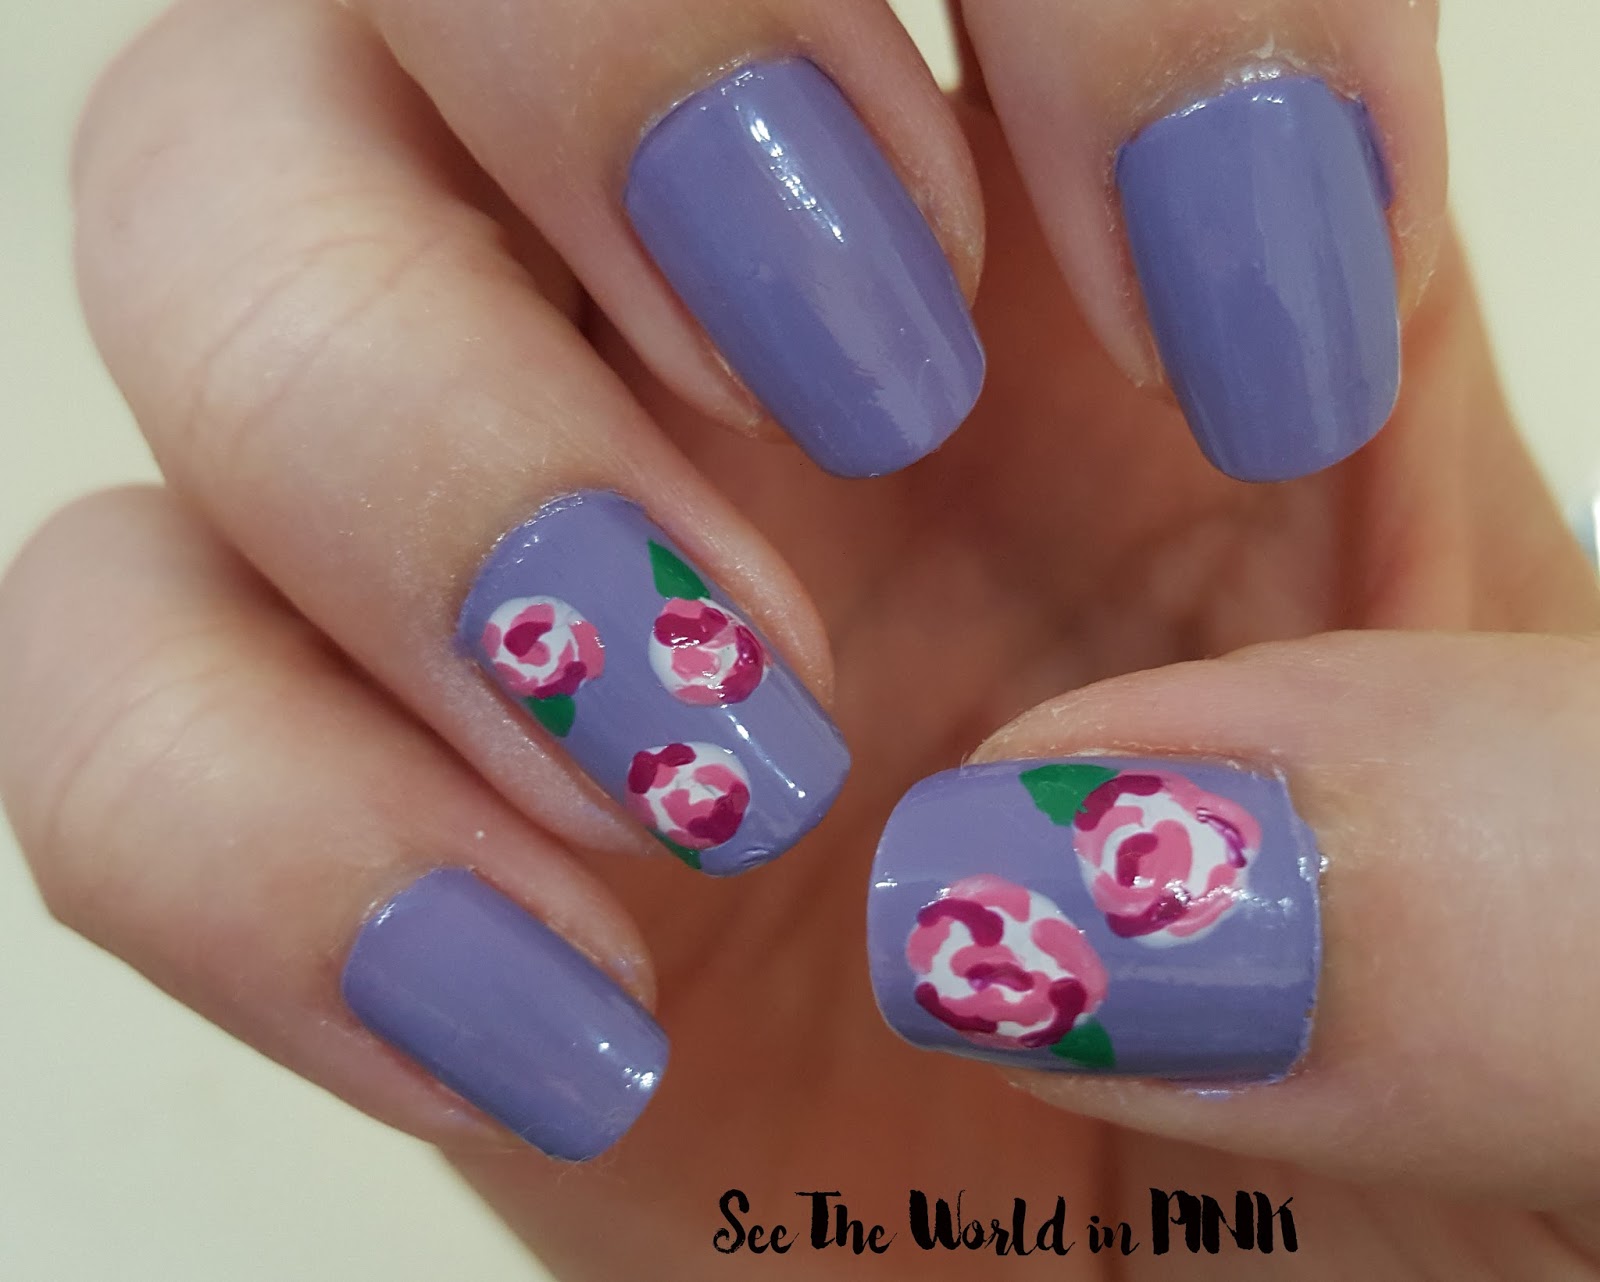
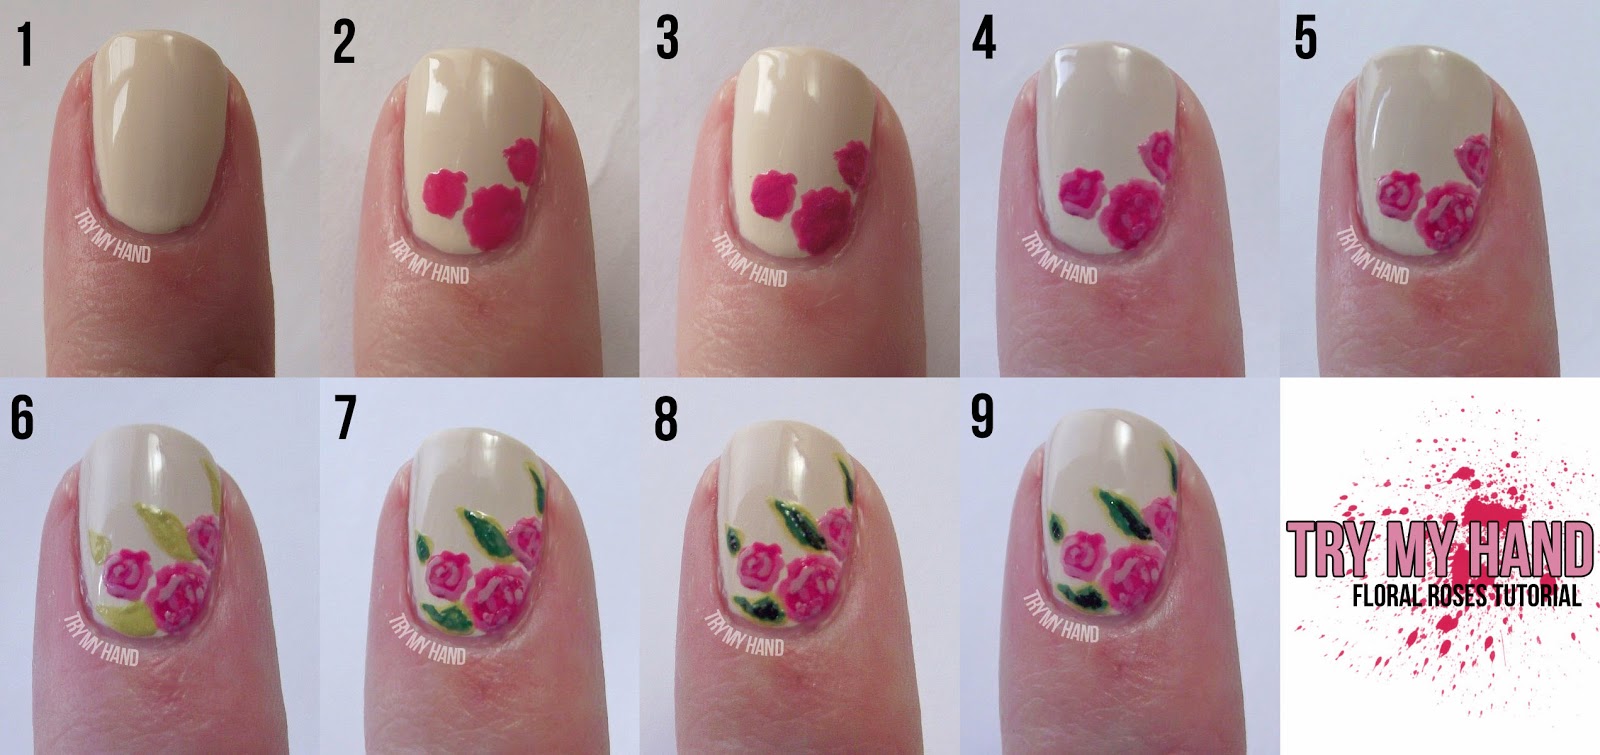
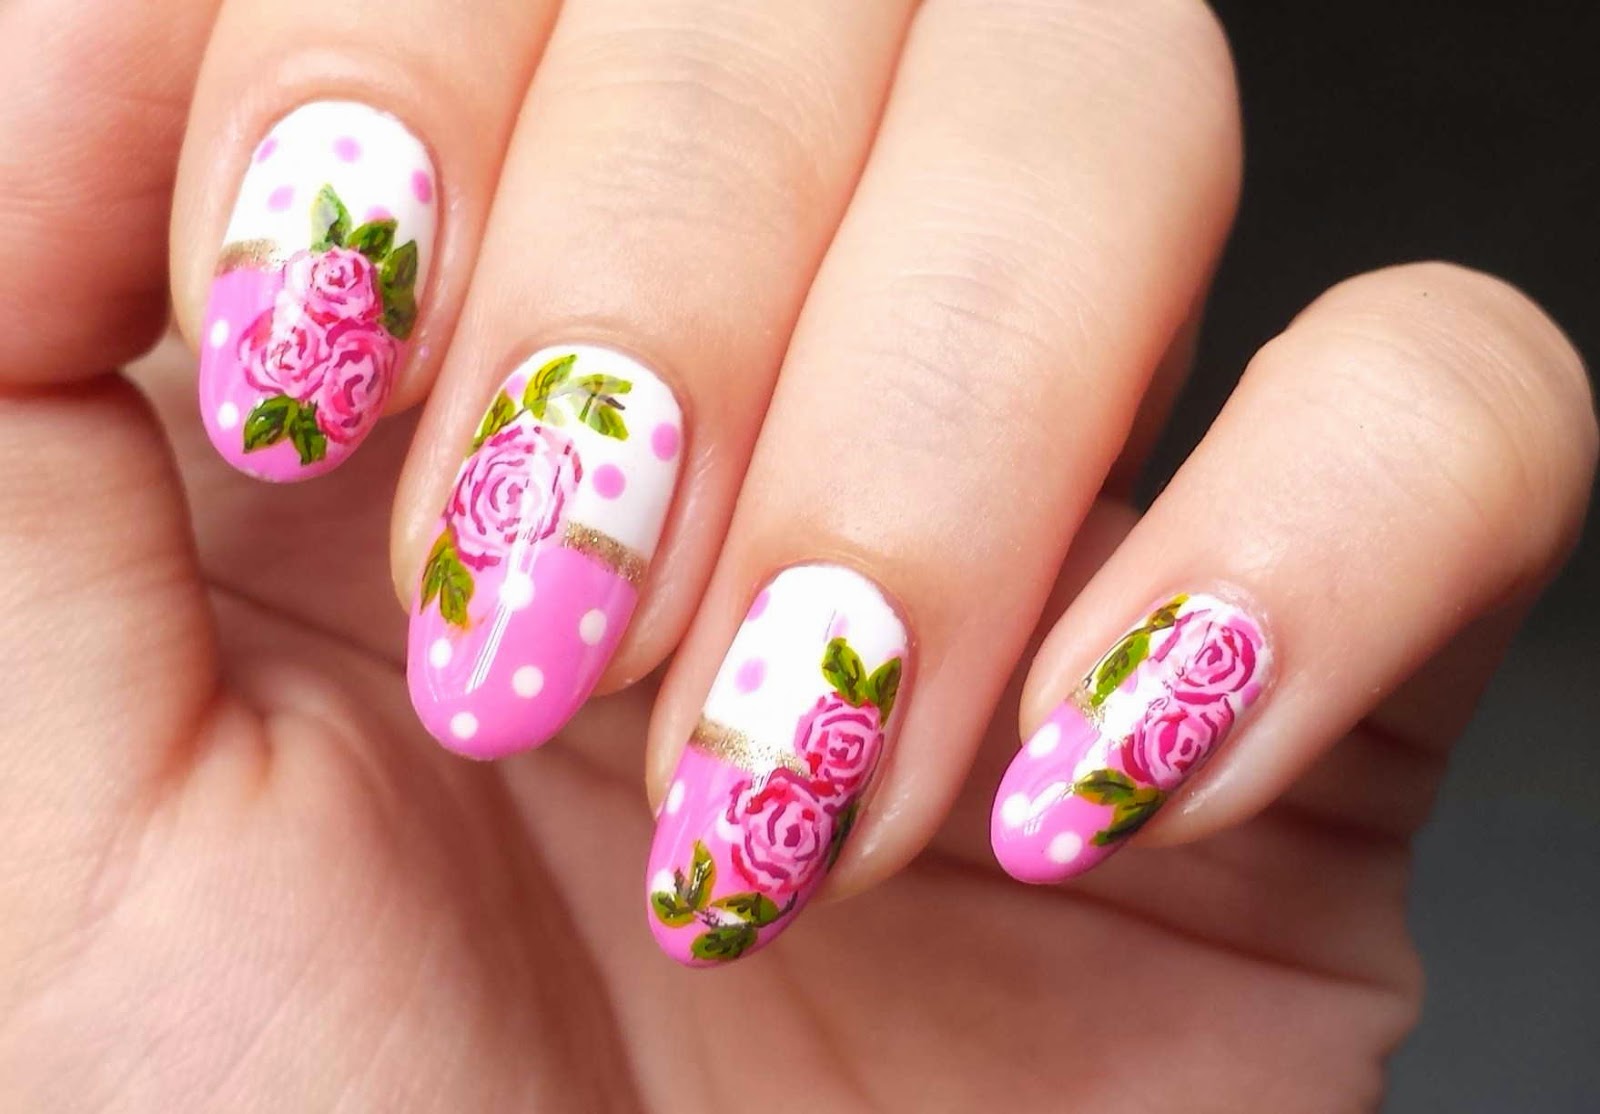
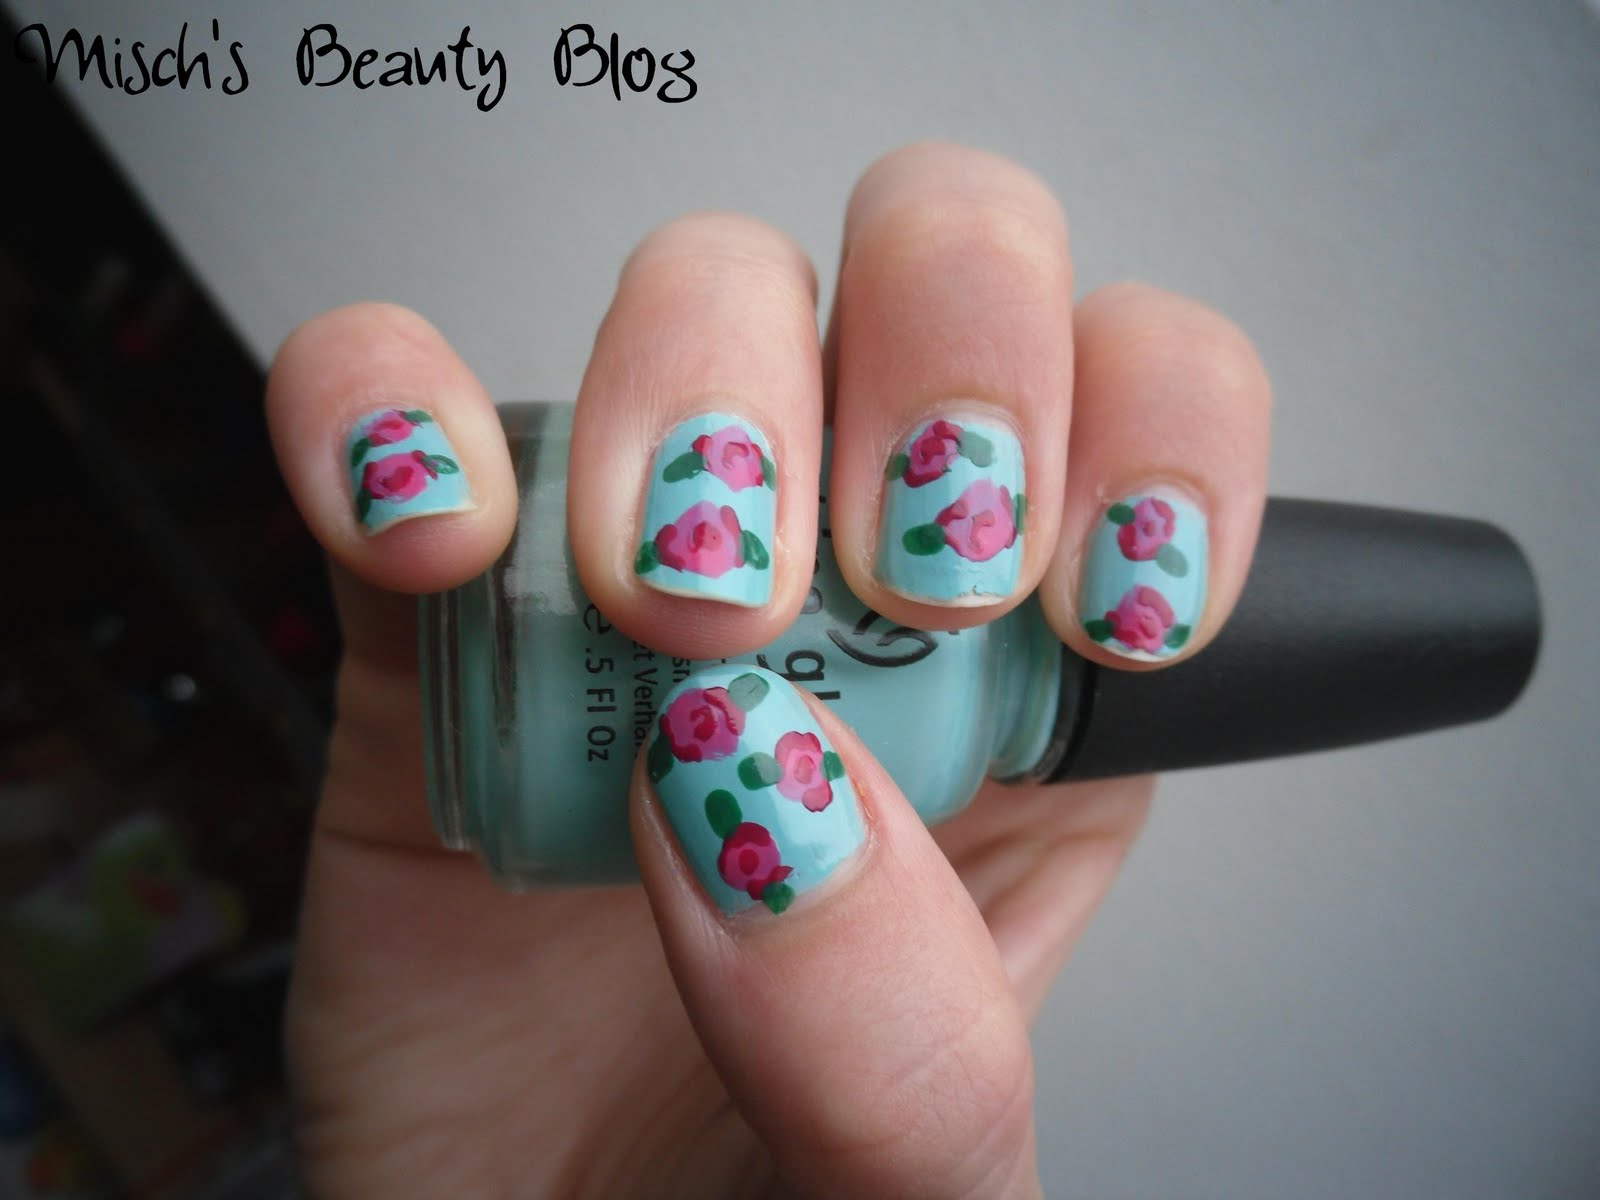
Creating a vintage rose manicure may seem intimidating, but with this step-by-step guide, you'll be able to achieve a professional-looking result in no time. First, start by painting your nails with a base coat to protect them from staining and to help your nail polish last longer. Next, choose your base color. Pastel shades, such as pink or lavender, work well for a vintage look. Then, using a thin brush or a toothpick, create small rose shapes on each nail, starting from the bottom and working your way up. Once you have your roses in place, add some leaves by painting small green strokes around the roses. Finally, finish off with a top coat to seal in your design and add shine.3. How to Create a Vintage Rose Manicure

3. How to Create a Vintage Rose Manicure

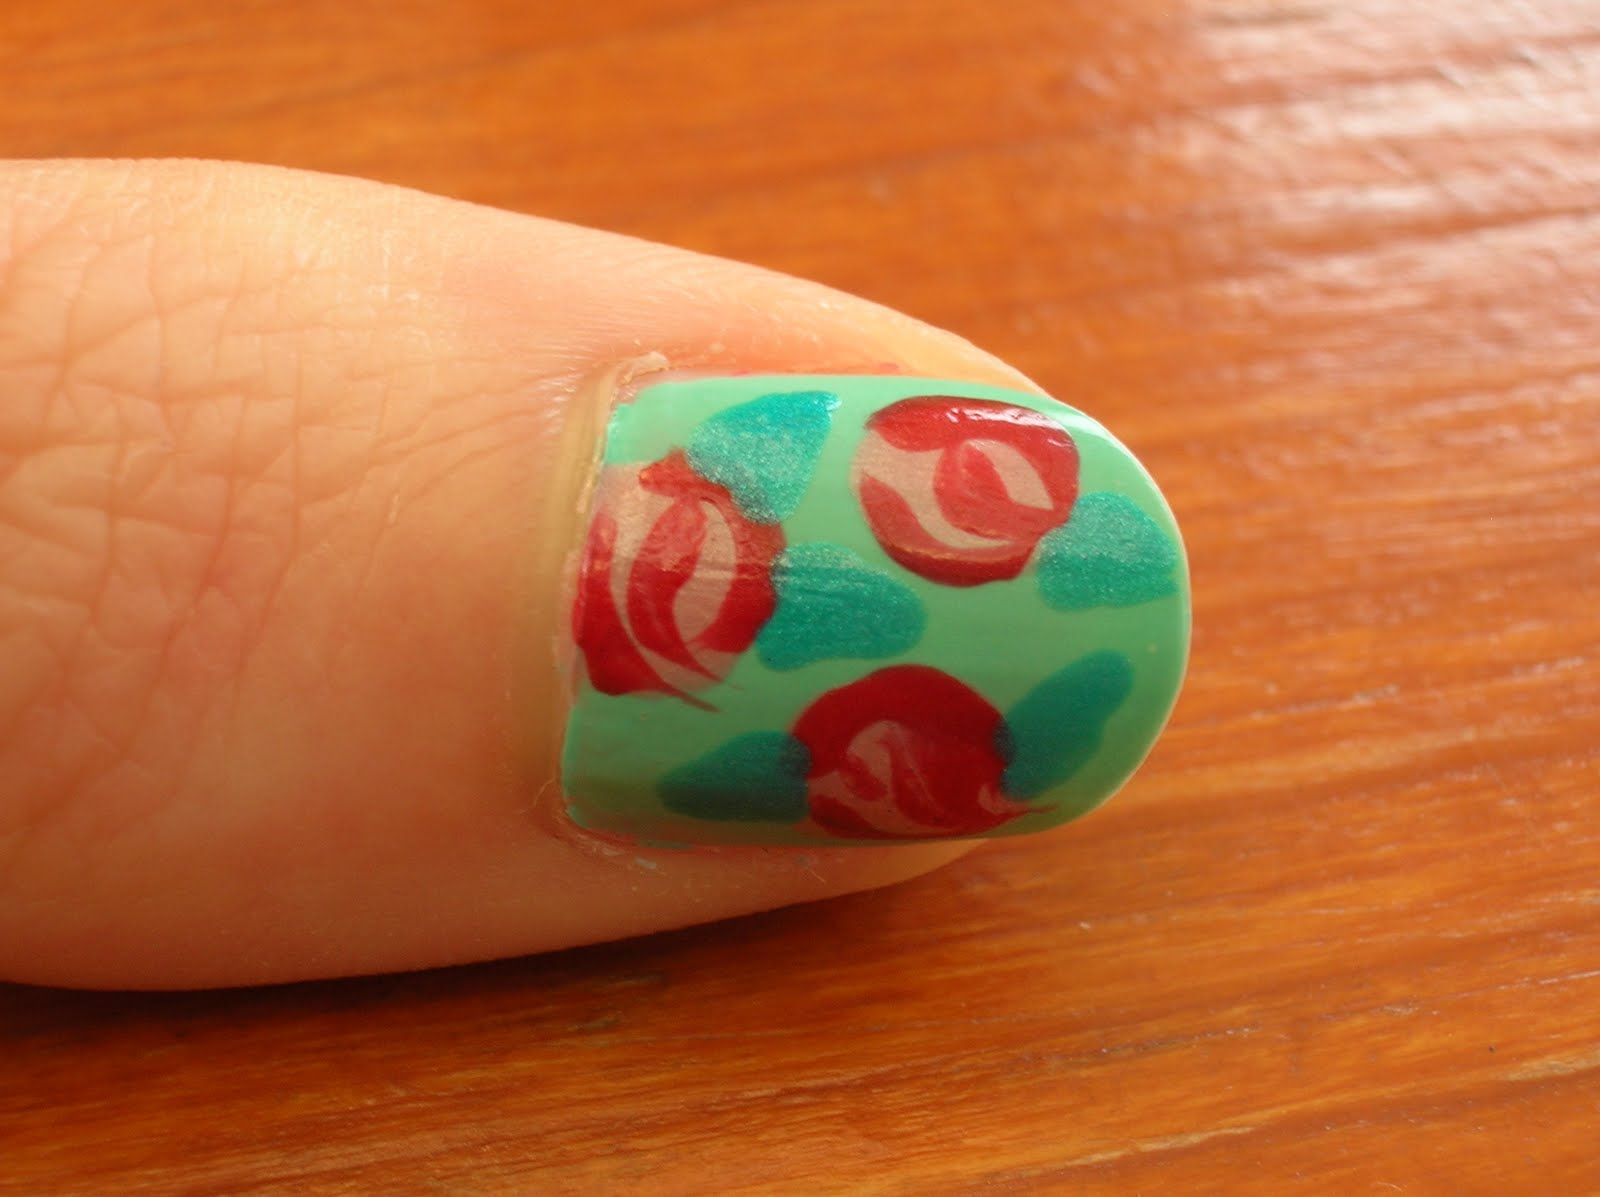
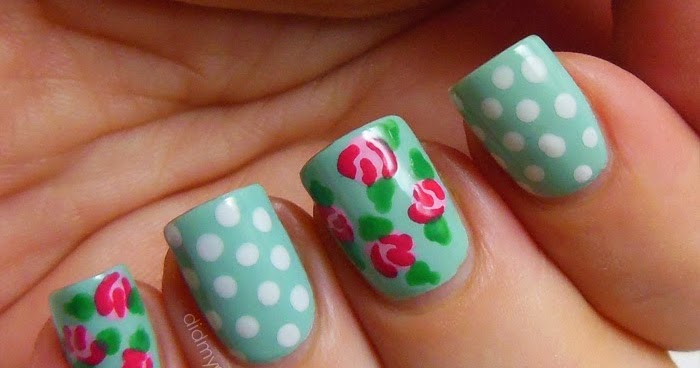
If you're new to DIY nail art, this easy rose nail design is the perfect place to start. It requires minimal tools and is simple enough for anyone to achieve. Start by painting your nails with a light base color. Then, using a toothpick or a dotting tool, create small petals in a circular shape on the tip of your nail. You can use a rose nail stamping plate for this step if you have one. Next, use a darker shade of polish to add dimension to your rose by painting small lines in between the petals. Finish off with a top coat for a glossy and long-lasting finish.4. Easy DIY Rose Nail Design

4. Easy DIY Rose Nail Design


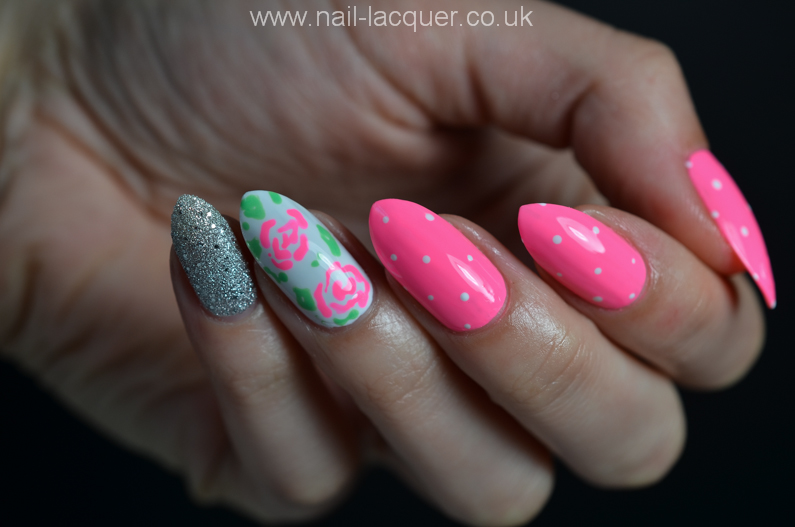
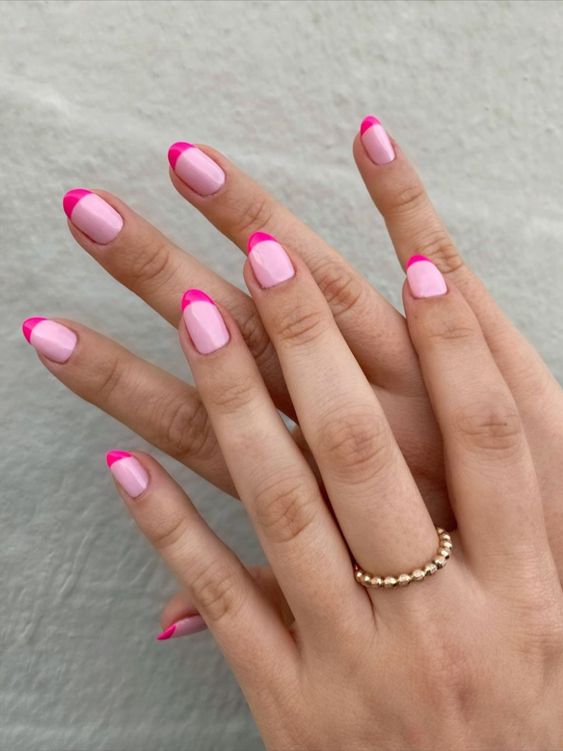
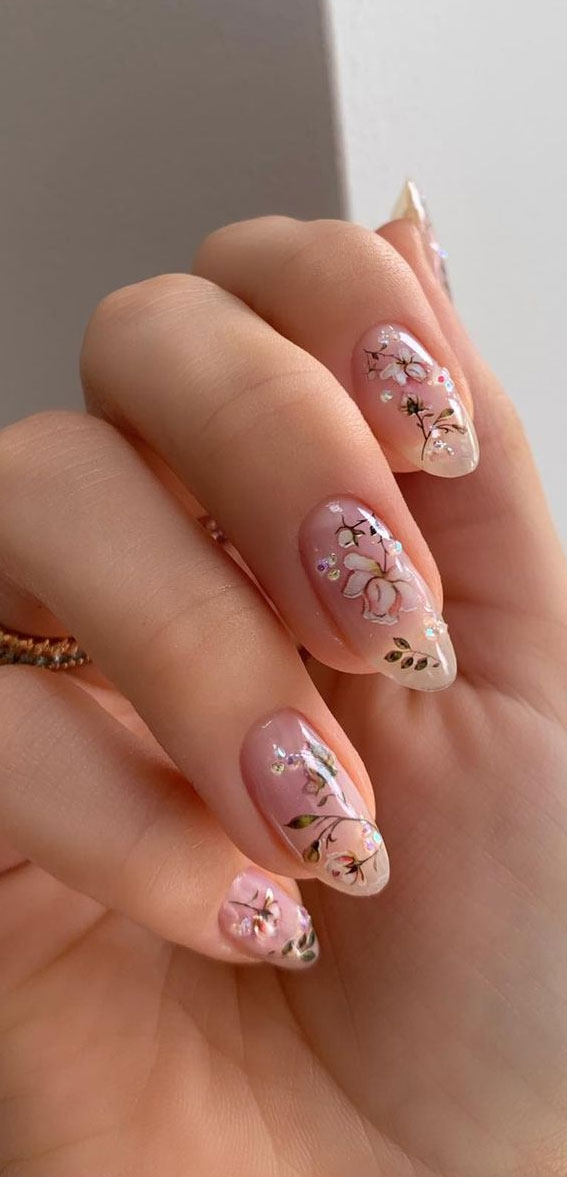
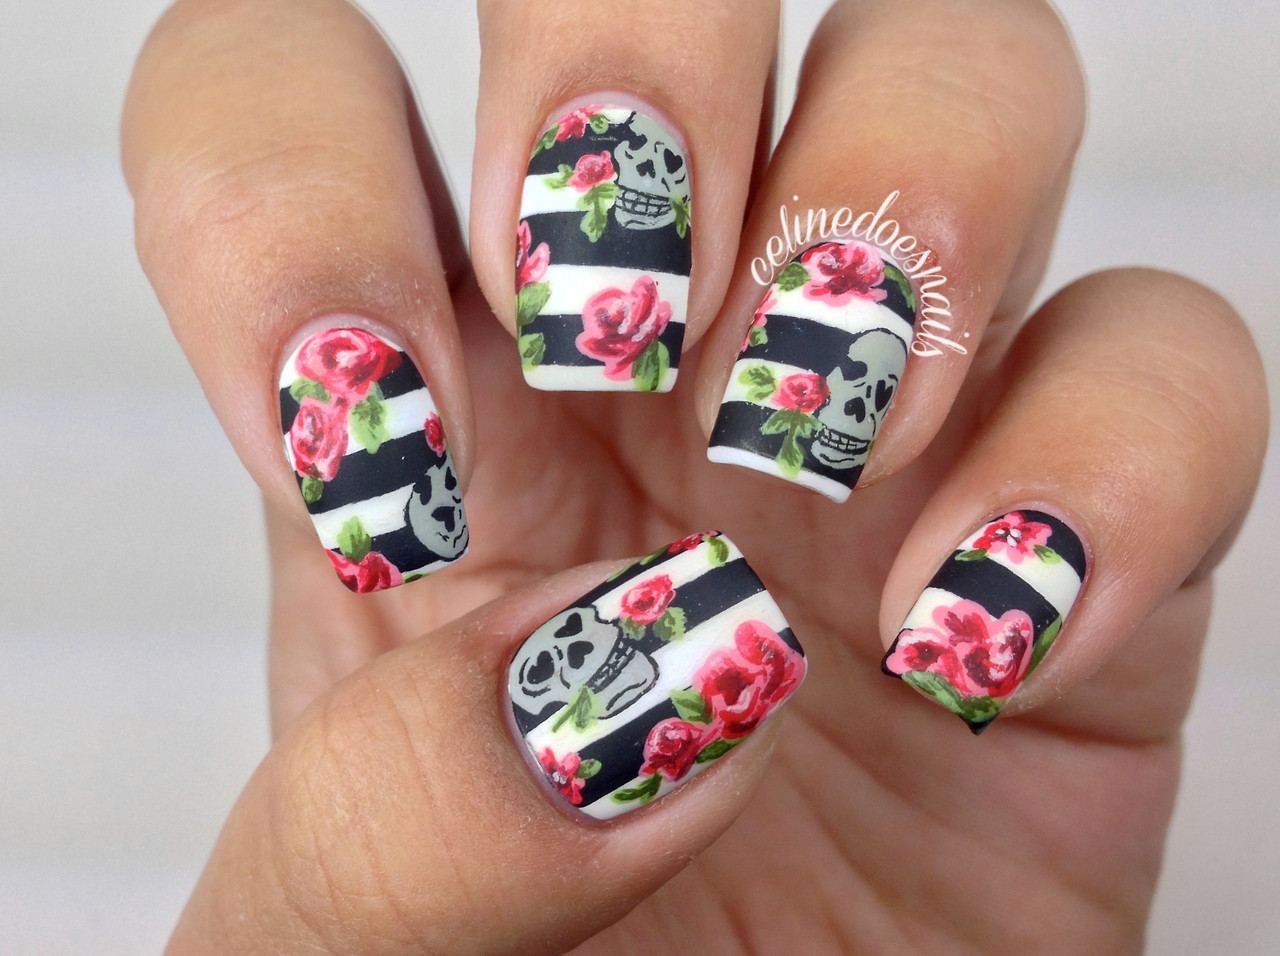
The possibilities for vintage rose nail art are endless. You can mix and match different colors, designs, and patterns to create a unique and personalized look. Here are a few ideas to get you started: - Create a french tip design with rose accents - Use metallic gold or silver for a glamorous vintage look - Add pearls or rhinestones for a touch of elegance - Use a matte top coat for a modern twist on a classic design Get creative and have fun with it!5. Vintage Rose Nail Art Ideas


5. Vintage Rose Nail Art Ideas


If you're a visual learner, this step-by-step guide will help you create a stunning vintage rose nail art design: Step 1: Apply a base coat to protect your nails Step 2: Paint your nails with a light base color Step 3: Create roses using a thin brush or a toothpick Step 4: Add leaves using green polish Step 5: Use a darker shade of polish to add dimension to your roses Step 6: Finish off with a top coat for shine and longevity With a little practice, you'll be able to recreate this gorgeous vintage rose nail art look in no time.6. Step-by-Step Guide to DIY Vintage Rose Nails


6. Step-by-Step Guide to DIY Vintage Rose Nails


If you're new to DIY nail art, don't be intimidated by this intricate vintage rose design. With a few tips and tricks, even beginners can achieve a professional-looking result. Start with a simple design, such as a single rose on each nail, and gradually build your skills from there. Don't be afraid to make mistakes – that's how you learn and improve. And remember, practice makes perfect!7. DIY Vintage Rose Nail Art for Beginners

7. DIY Vintage Rose Nail Art for Beginners


If you're in need of some inspiration for your next vintage rose nail art design, look no further than social media. Instagram and Pinterest are great platforms to browse for ideas and see what other nail art enthusiasts are creating. You can also try searching for specific hashtags, such as #vintagerosenails or #diyfloralnails, to find even more inspiration. With so many creative and talented individuals sharing their nail art designs online, you're sure to find something that will inspire your next manicure.8. Vintage Rose Nail Art Inspiration

8. Vintage Rose Nail Art Inspiration

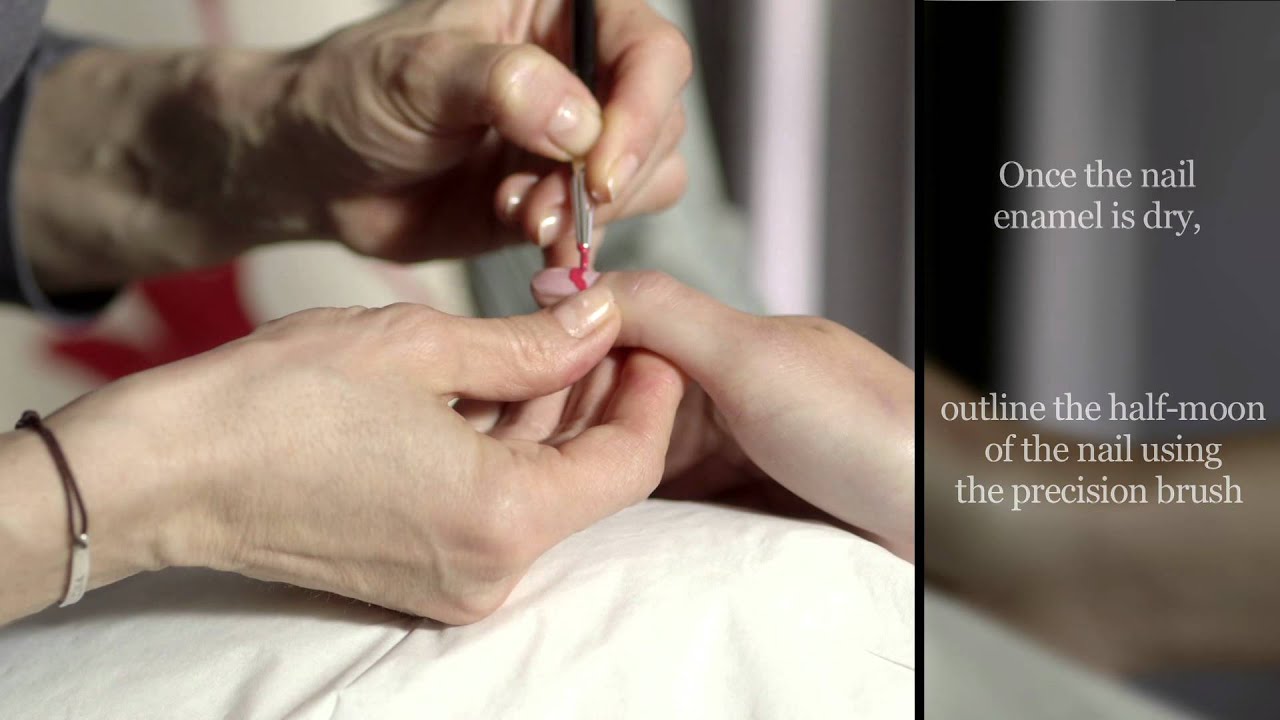
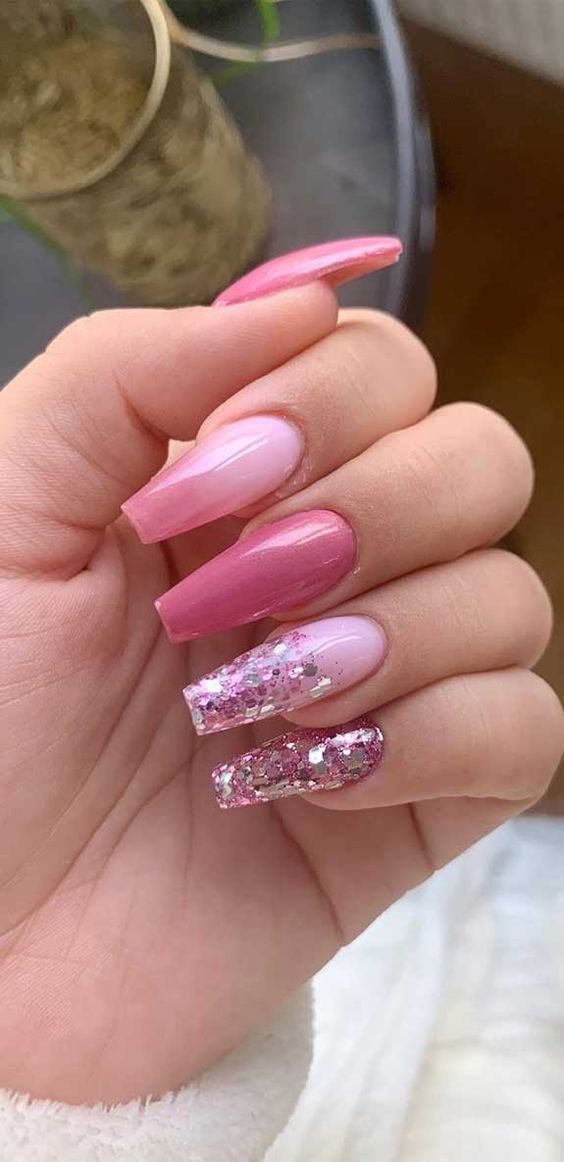
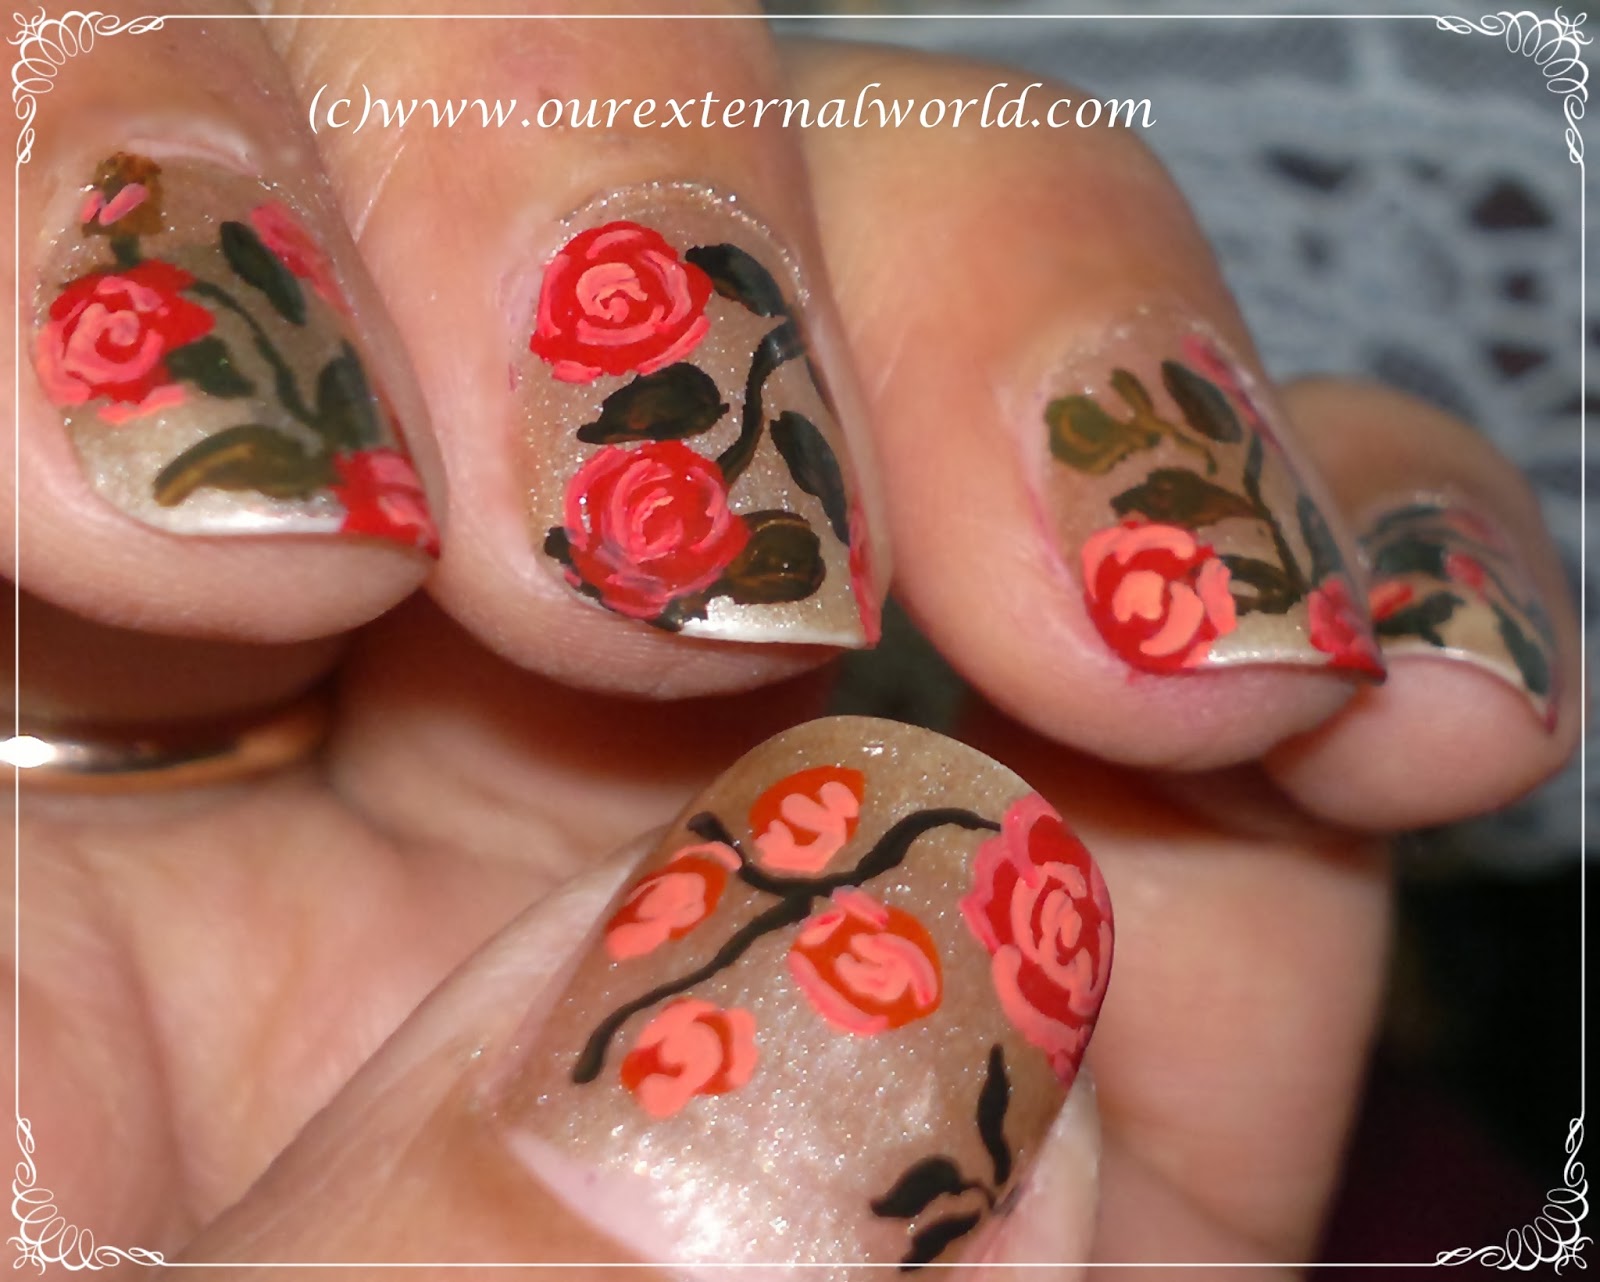
Ready to put your skills to the test and create your own vintage rose nail art design? Here are a few ideas to get you started: - A rose garden on your nails, with different colored roses on each finger - A half-moon design with roses on the tips of your nails - A gradient design, fading from light to dark, with roses on the darkest nails Get creative and experiment with different patterns and colors to create a design that is unique and eye-catching.9. DIY Vintage Rose Nail Art Designs


9. DIY Vintage Rose Nail Art Designs

As with any DIY project, practice makes perfect. Here are a few additional tips to help you perfect your vintage rose nail art: - Use a dotting tool or a toothpick to create small details, such as the center of the roses - Don't be afraid to make mistakes – you can always clean up any smudges with a small brush dipped in acetone - Add a top coat in between each layer of polish to help your design last longer - Have fun and get creative!10. Tips for Perfecting Your DIY Vintage Rose Nails


10. Tips for Perfecting Your DIY Vintage Rose Nails


Transform Your Nails with DIY Vintage Rose Nail Art
The Power of Nail Art in House Design
 When it comes to designing and decorating our homes, we often overlook the potential of incorporating
nail art
. We tend to think of
nail art
as something that is limited to our fingertips, but in reality, it can be used as a unique and creative way to add a touch of elegance and charm to our living spaces. With
vintage rose nail art
, you can transform plain and boring walls into a stunning work of art that will leave your guests in awe.
When it comes to designing and decorating our homes, we often overlook the potential of incorporating
nail art
. We tend to think of
nail art
as something that is limited to our fingertips, but in reality, it can be used as a unique and creative way to add a touch of elegance and charm to our living spaces. With
vintage rose nail art
, you can transform plain and boring walls into a stunning work of art that will leave your guests in awe.
Why Choose Vintage Rose Nail Art?
 The beauty of
vintage rose nail art
lies in its versatility. It can be customized to suit any theme or color scheme, making it a perfect addition to any house design. Whether you have a modern or traditional home,
vintage rose nail art
can bring a touch of nostalgia and sophistication to your space. Plus, with the rise of DIY projects, you can easily create your own
vintage rose nail art
without breaking the bank.
The beauty of
vintage rose nail art
lies in its versatility. It can be customized to suit any theme or color scheme, making it a perfect addition to any house design. Whether you have a modern or traditional home,
vintage rose nail art
can bring a touch of nostalgia and sophistication to your space. Plus, with the rise of DIY projects, you can easily create your own
vintage rose nail art
without breaking the bank.
How to Create Your Own DIY Vintage Rose Nail Art
 Creating your own
vintage rose nail art
is easier than you may think. All you need is some
nail polish
, a few basic nail art tools, and some creativity. Start by choosing a base color for your nails, such as a soft pink or a pastel blue. Then, using a thin brush, create small rose designs on your nails. You can also add some leaves and vines to give your nails a more realistic look. For a more vintage feel, consider adding some glitter or a matte topcoat to your design.
Creating your own
vintage rose nail art
is easier than you may think. All you need is some
nail polish
, a few basic nail art tools, and some creativity. Start by choosing a base color for your nails, such as a soft pink or a pastel blue. Then, using a thin brush, create small rose designs on your nails. You can also add some leaves and vines to give your nails a more realistic look. For a more vintage feel, consider adding some glitter or a matte topcoat to your design.
Take It to the Next Level with Wall Art
 Once you've mastered creating
vintage rose nail art
on your nails, why not take it to the next level by incorporating it into your house design? Using the same techniques, you can create a larger
vintage rose
design on a blank canvas or even directly on your wall. This will add a unique and eye-catching element to your home that is sure to impress.
In conclusion,
DIY vintage rose nail art
is a budget-friendly and fun way to add a touch of elegance and charm to your house design. With just a few simple tools and some creativity, you can transform your nails and your living space into a stunning work of art. So why not give it a try and see the beauty and power of
vintage rose
in your home?
Once you've mastered creating
vintage rose nail art
on your nails, why not take it to the next level by incorporating it into your house design? Using the same techniques, you can create a larger
vintage rose
design on a blank canvas or even directly on your wall. This will add a unique and eye-catching element to your home that is sure to impress.
In conclusion,
DIY vintage rose nail art
is a budget-friendly and fun way to add a touch of elegance and charm to your house design. With just a few simple tools and some creativity, you can transform your nails and your living space into a stunning work of art. So why not give it a try and see the beauty and power of
vintage rose
in your home?


