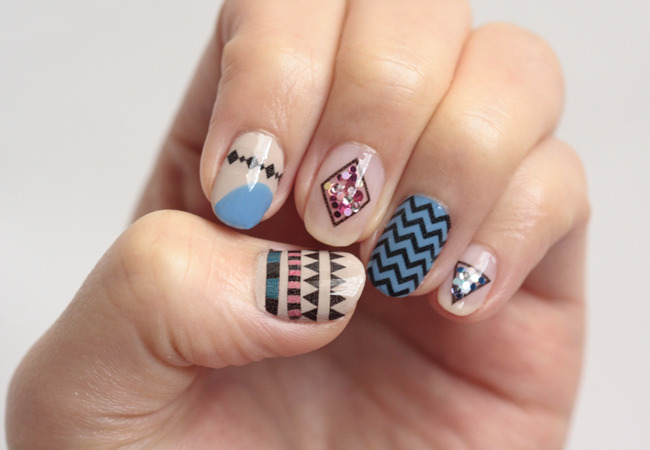
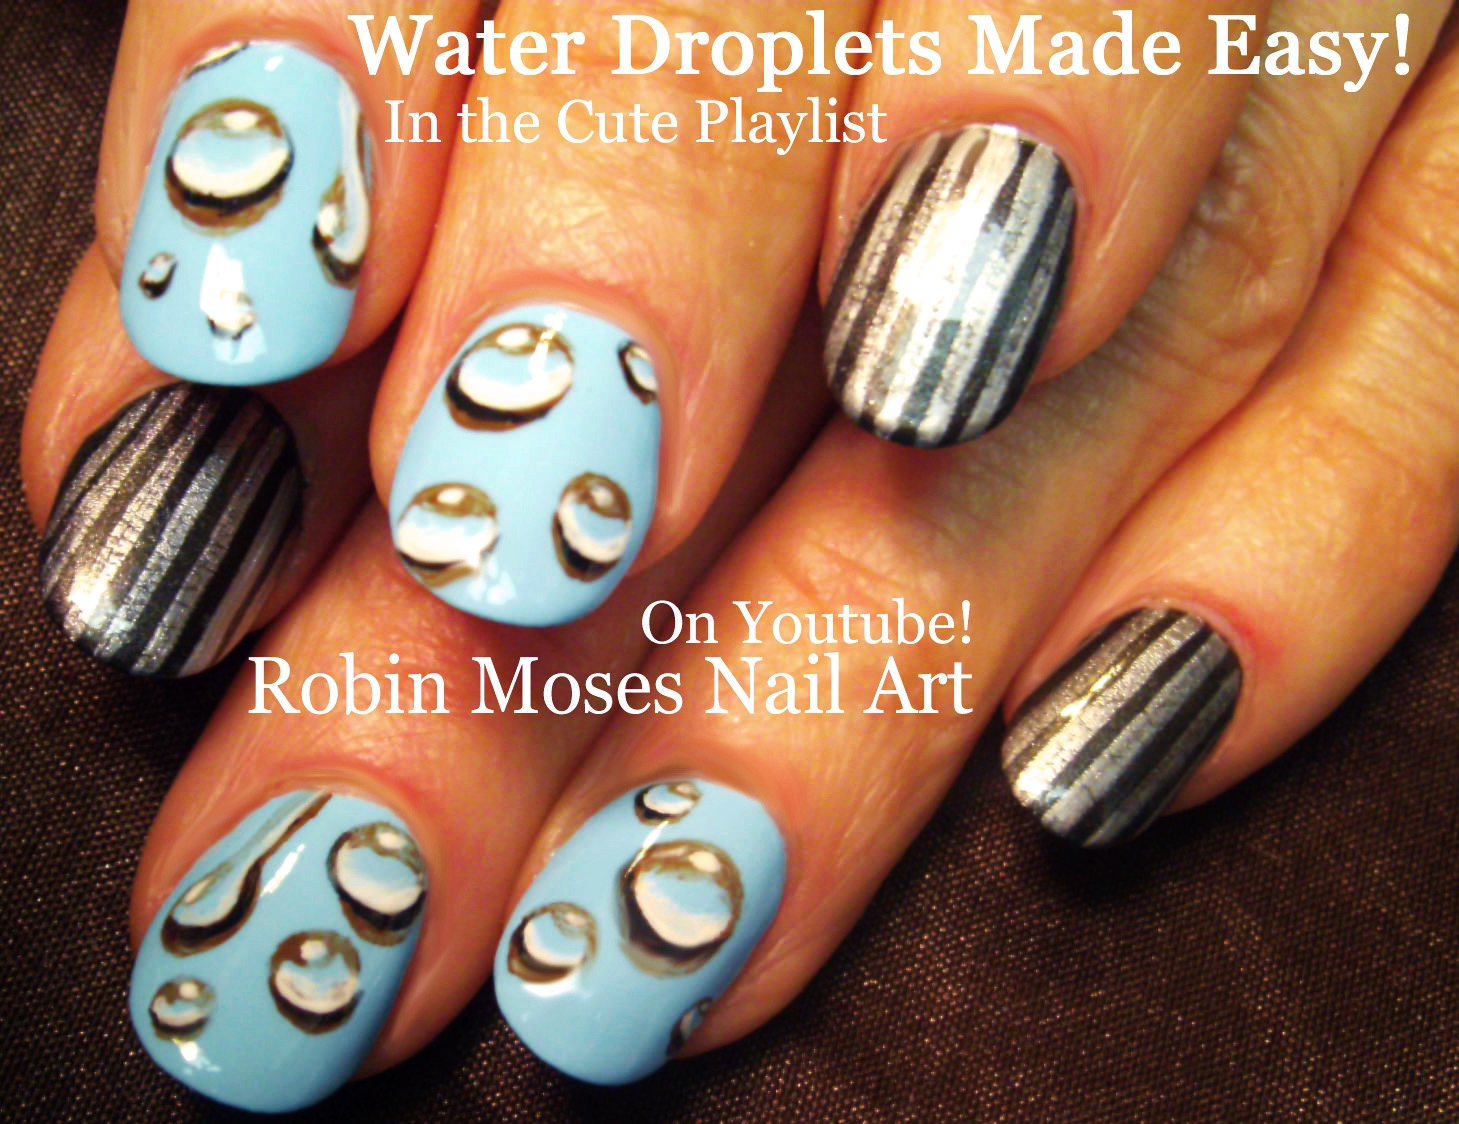
Looking for a new way to spice up your nail game? Look no further than DIY water decal nail art. These easy-to-use decals allow you to create intricate and professional-looking designs on your nails without breaking the bank. Plus, the possibilities are endless when it comes to designs and colors. So, gather your supplies and let's dive into the world of DIY water decal nail art.DIY Water Decal Nail Art: Get Creative with Your Nail Designs


DIY Water Decal Nail Art


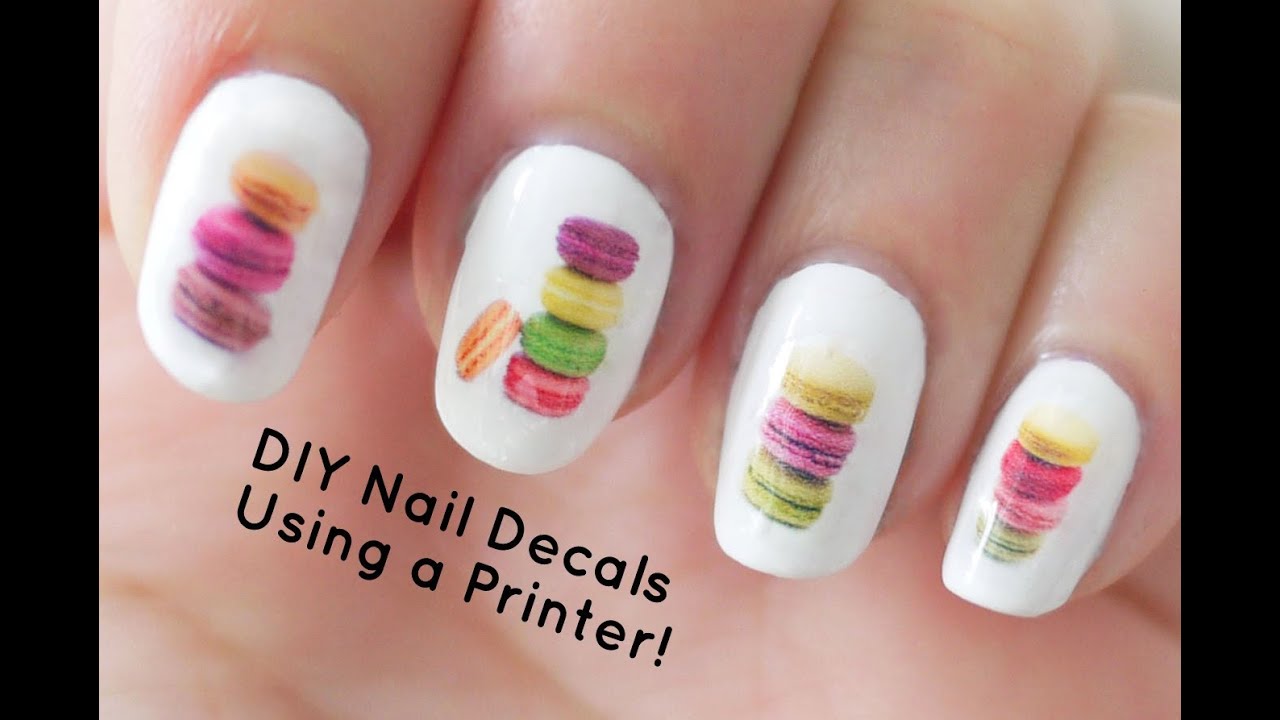
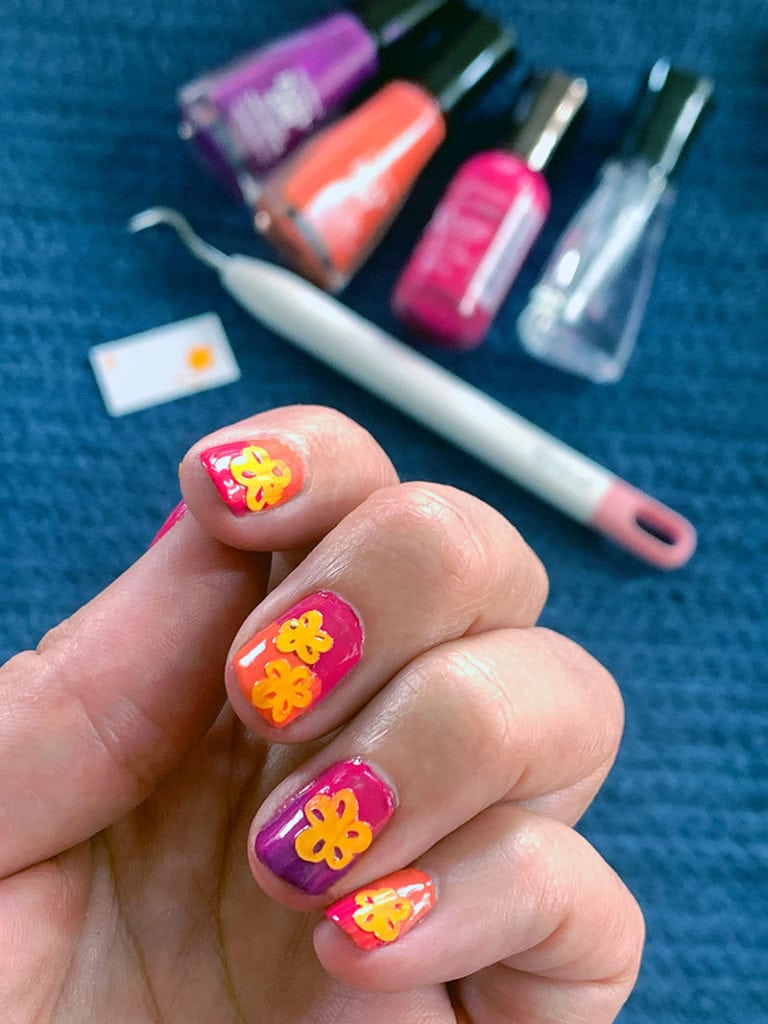
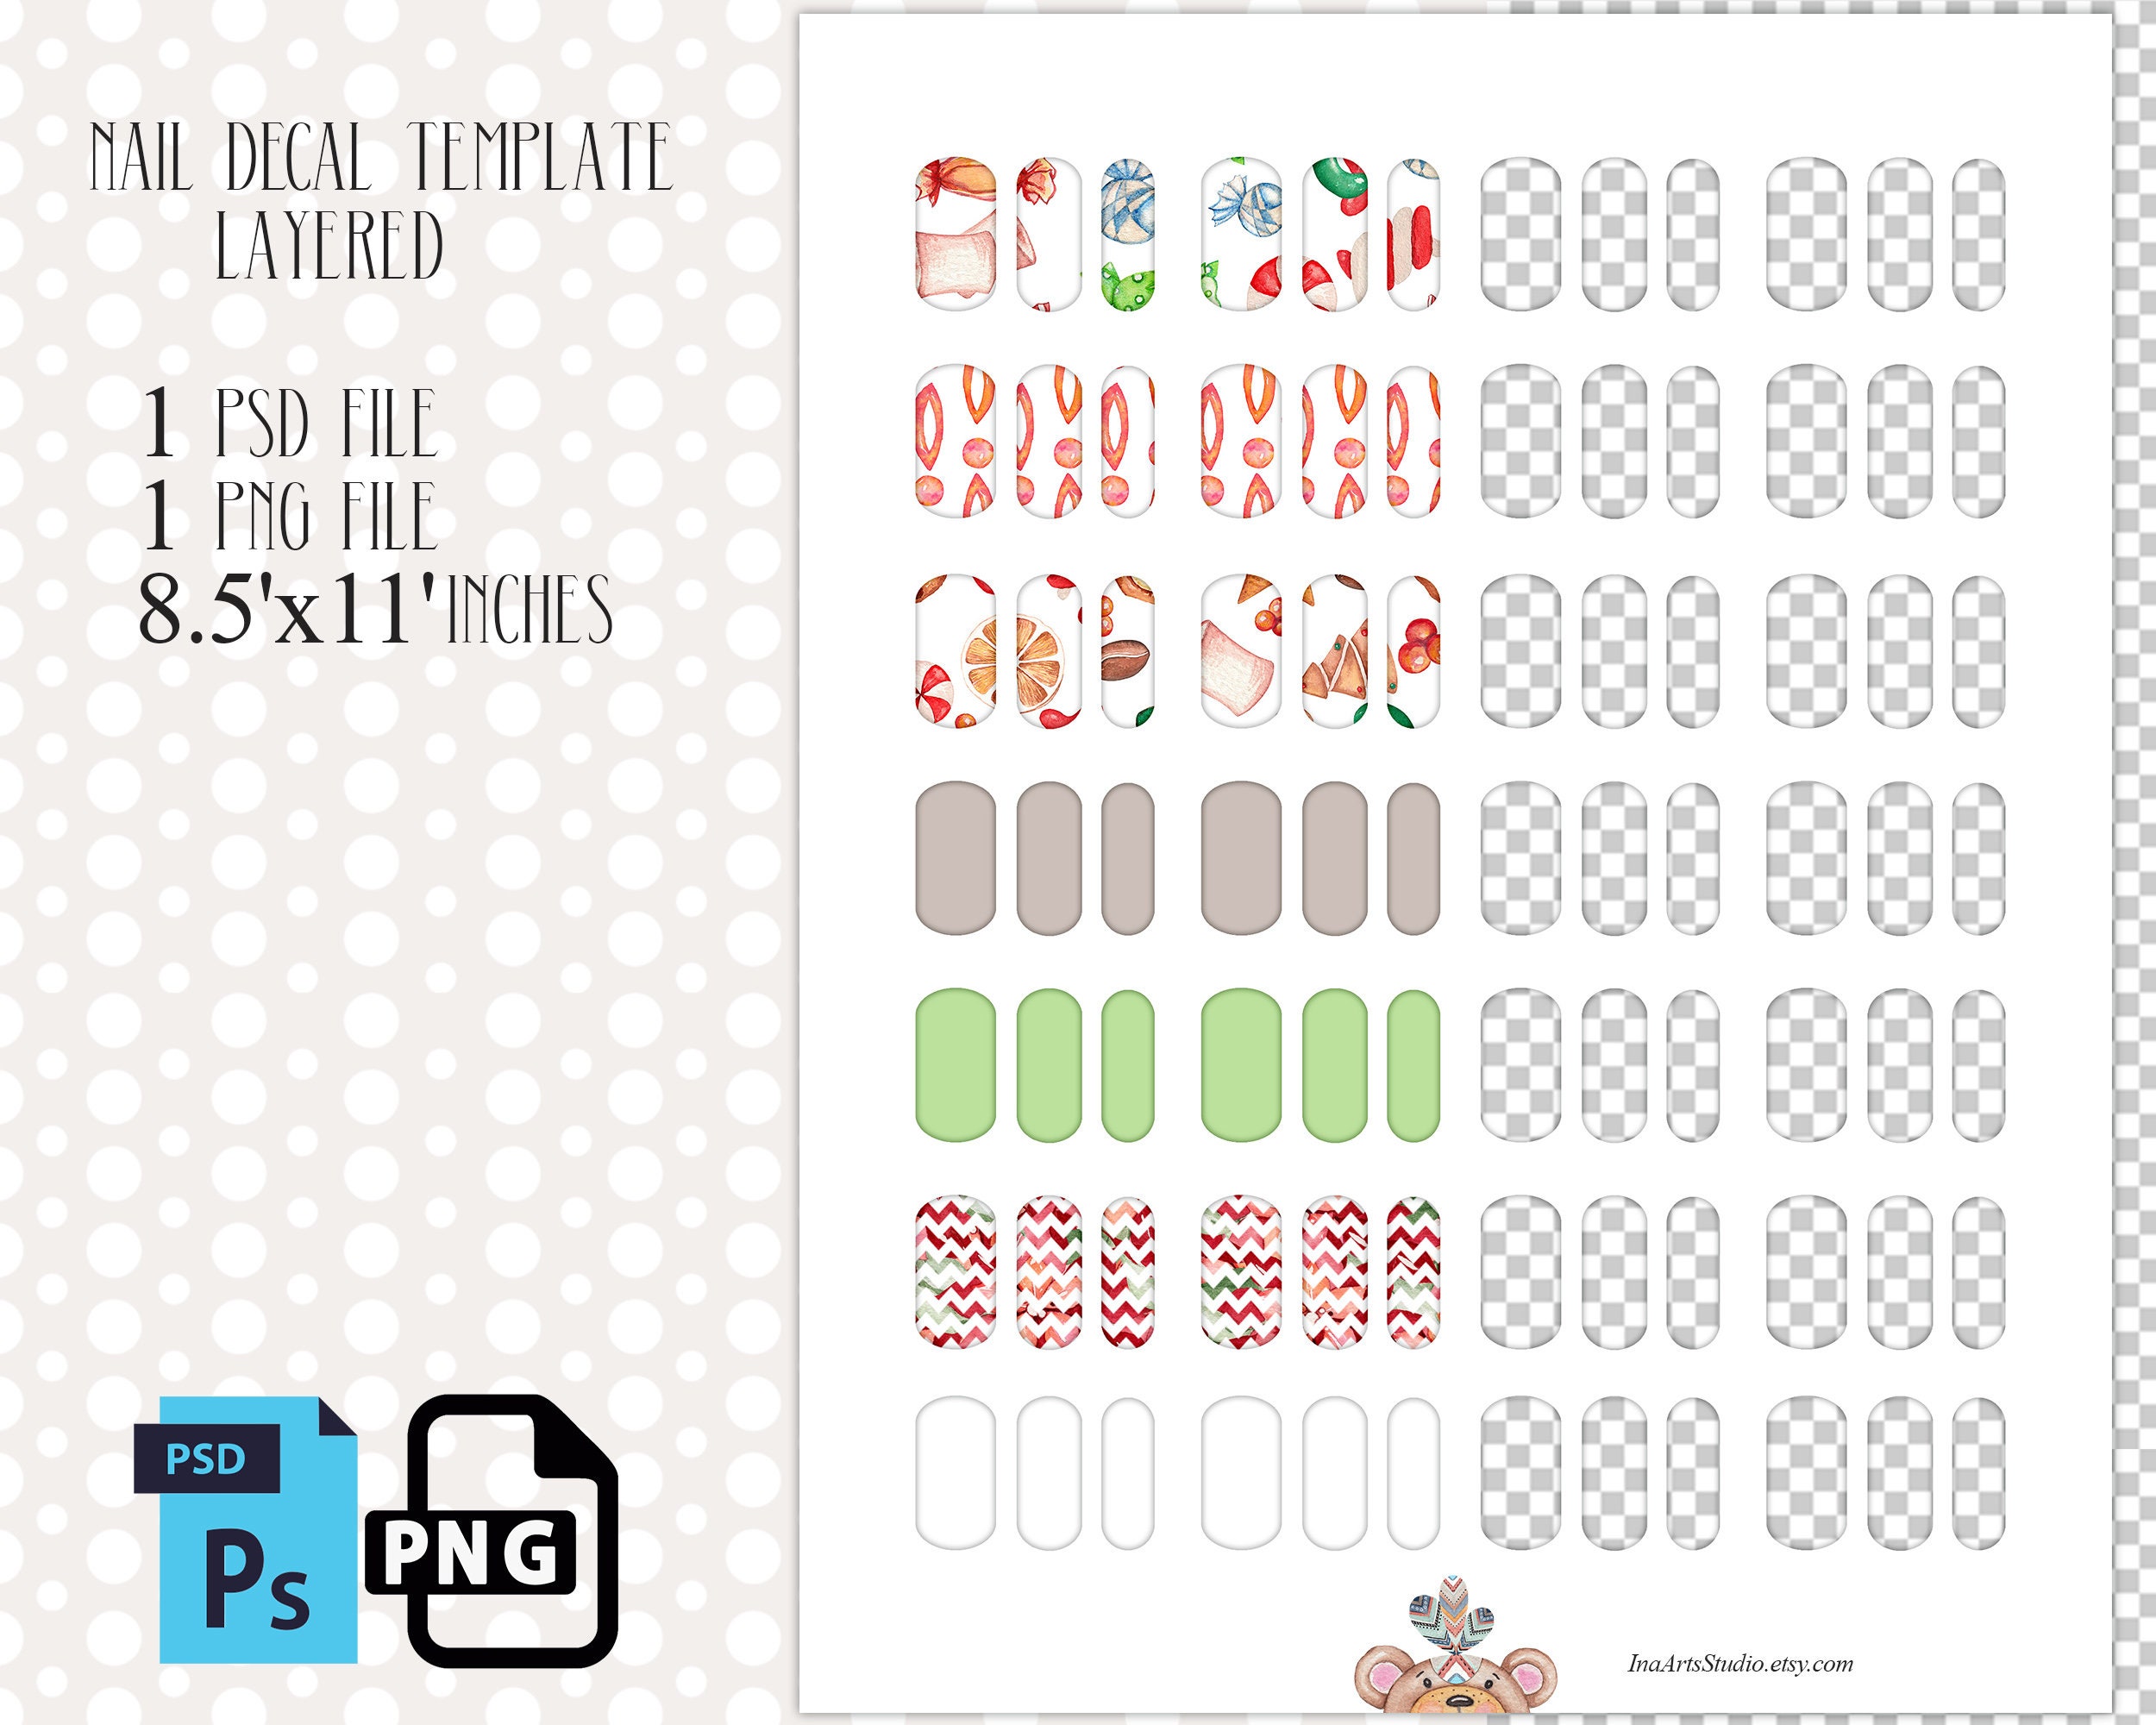
If you're feeling extra crafty, why not try making your own water decals for nail art? It's easier than you think. All you need is a few basic supplies such as nail polish, clear nail polish, printer paper, and scissors. Start by printing out your desired design onto the printer paper. Then, apply a layer of clear nail polish onto the design and let it dry completely. Once dry, use your scissors to cut out the design and place it in a bowl of water for 10 seconds. Apply the decal onto your nails and seal it with a layer of clear nail polish. Voila! Your very own DIY water decal nail art.How to Make Your Own Water Decals for Nail Art


How to Make Your Own Water Decals for Nail Art

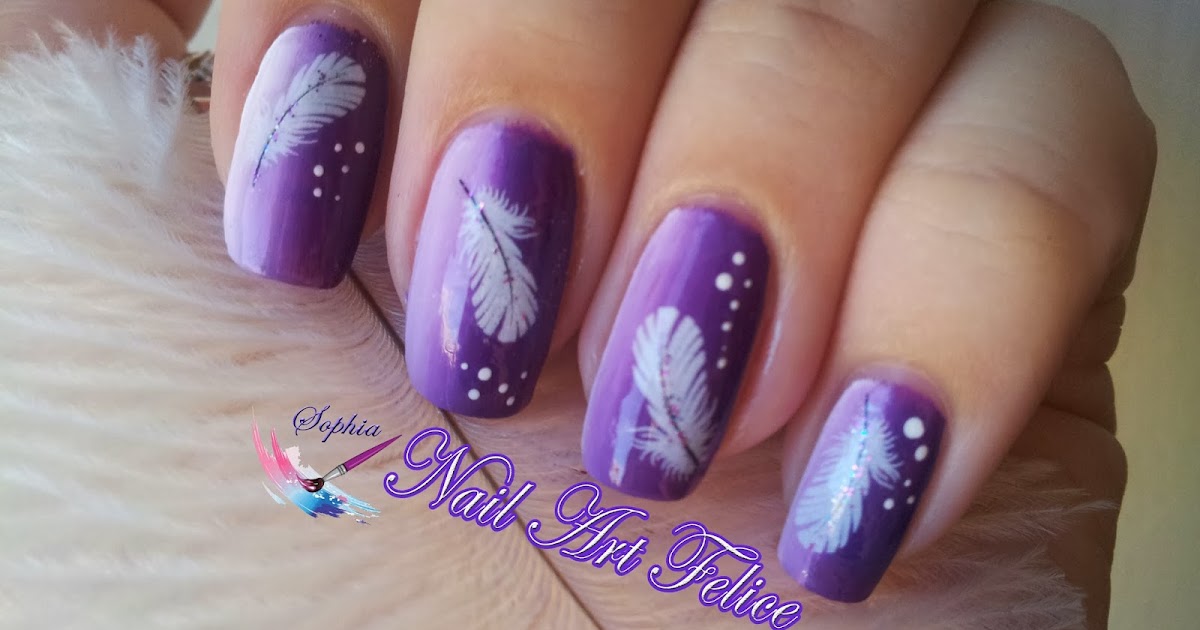


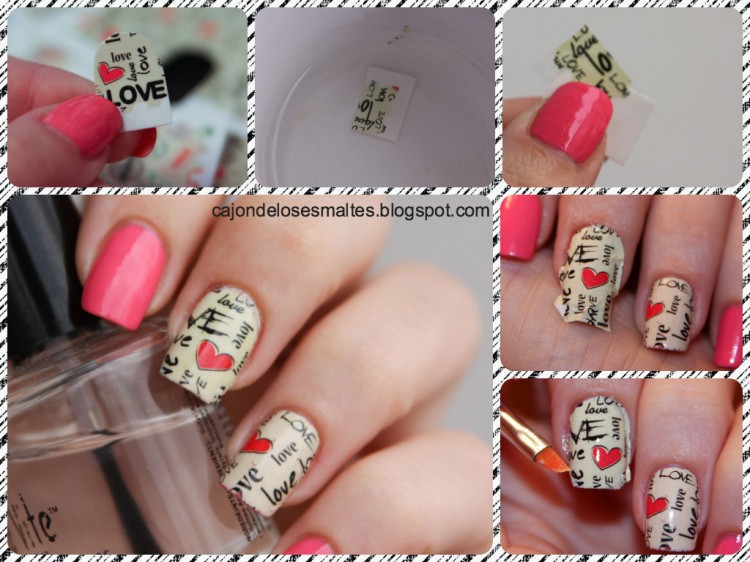
If you're new to the world of nail art, don't worry, we've got you covered. Here's an easy DIY water decal nail art tutorial to get you started. First, apply a base coat and let it dry. Then, cut out your desired design from the water decal sheet and place it in a bowl of water for 10 seconds. Use tweezers to carefully transfer the decal onto your nail and smooth out any air bubbles. Once the decal is in place, seal it with a layer of clear nail polish. Repeat these steps for each nail and finish off with a top coat for a long-lasting design.Easy DIY Water Decal Nail Art Tutorial


Easy DIY Water Decal Nail Art Tutorial


As mentioned earlier, printer paper can be used to create your own water decals for nail art. But did you know you can also use it to transfer designs directly onto your nails? This method is perfect for those who struggle with freehand designs. Simply print out your desired design onto the printer paper, cut it out, and apply a layer of clear nail polish onto your nail. While the polish is still wet, place the design onto your nail and press down gently. Once the paper is fully saturated, carefully peel it off to reveal your design.DIY Water Decal Nail Art Using Printer Paper


DIY Water Decal Nail Art Using Printer Paper


Clear nail polish is a staple in any nail art kit, and it can also be used to create DIY water decals. Simply paint your desired design onto a plastic sheet using clear nail polish and let it dry completely. Once dry, carefully peel off the design and place it onto your nail. This method is perfect for creating intricate designs or writing small words on your nails.DIY Water Decal Nail Art with Clear Nail Polish


DIY Water Decal Nail Art with Clear Nail Polish


If you're feeling extra artistic, try using acrylic paint to create your own DIY water decals for nail art. This method allows for more control and precision when it comes to creating designs. Simply paint your desired design onto a plastic sheet using acrylic paint and let it dry completely. Once dry, carefully peel off the design and place it onto your nail. Seal it with a layer of clear nail polish for a long-lasting design.DIY Water Decal Nail Art with Acrylic Paint


DIY Water Decal Nail Art with Acrylic Paint


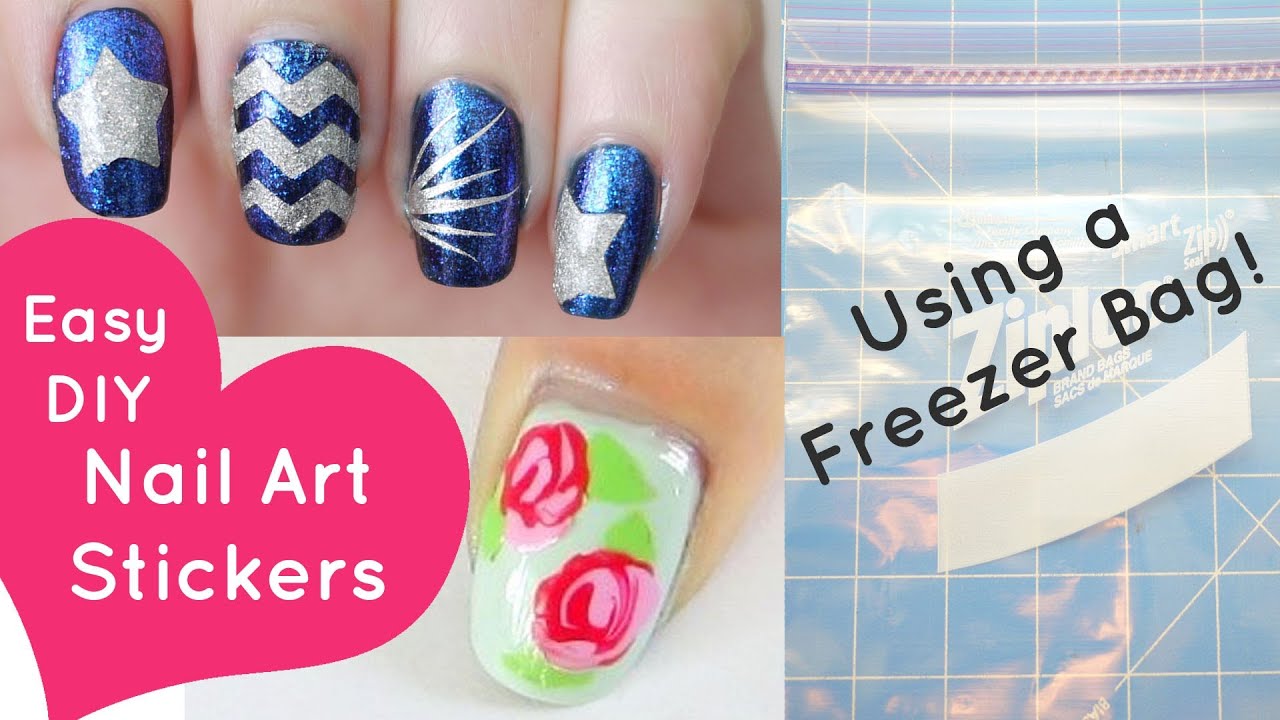
Don't have any water decals on hand? No problem. You can still achieve the look by using nail polish. Simply paint your desired design onto a plastic sheet or a sandwich bag and let it dry completely. Once dry, carefully peel off the design and place it onto your nail. Seal it with a layer of clear nail polish and you'll have a beautiful DIY water decal nail art design in no time.DIY Water Decal Nail Art with Nail Polish


DIY Water Decal Nail Art with Nail Polish

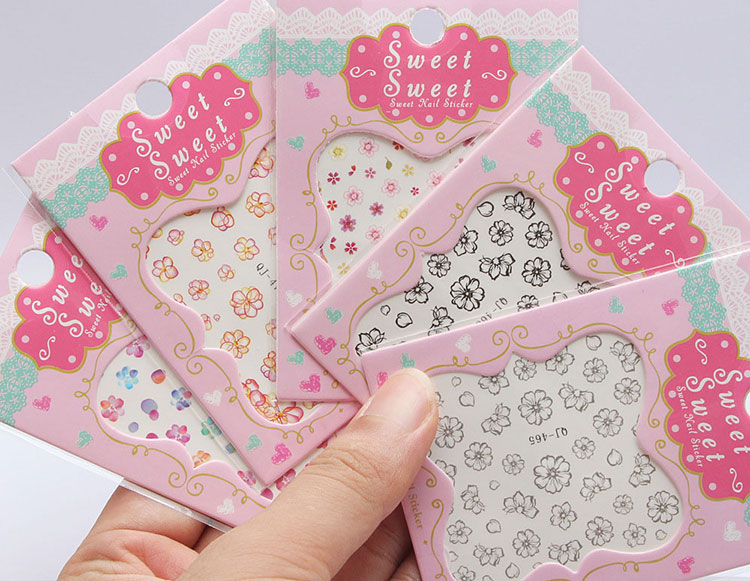
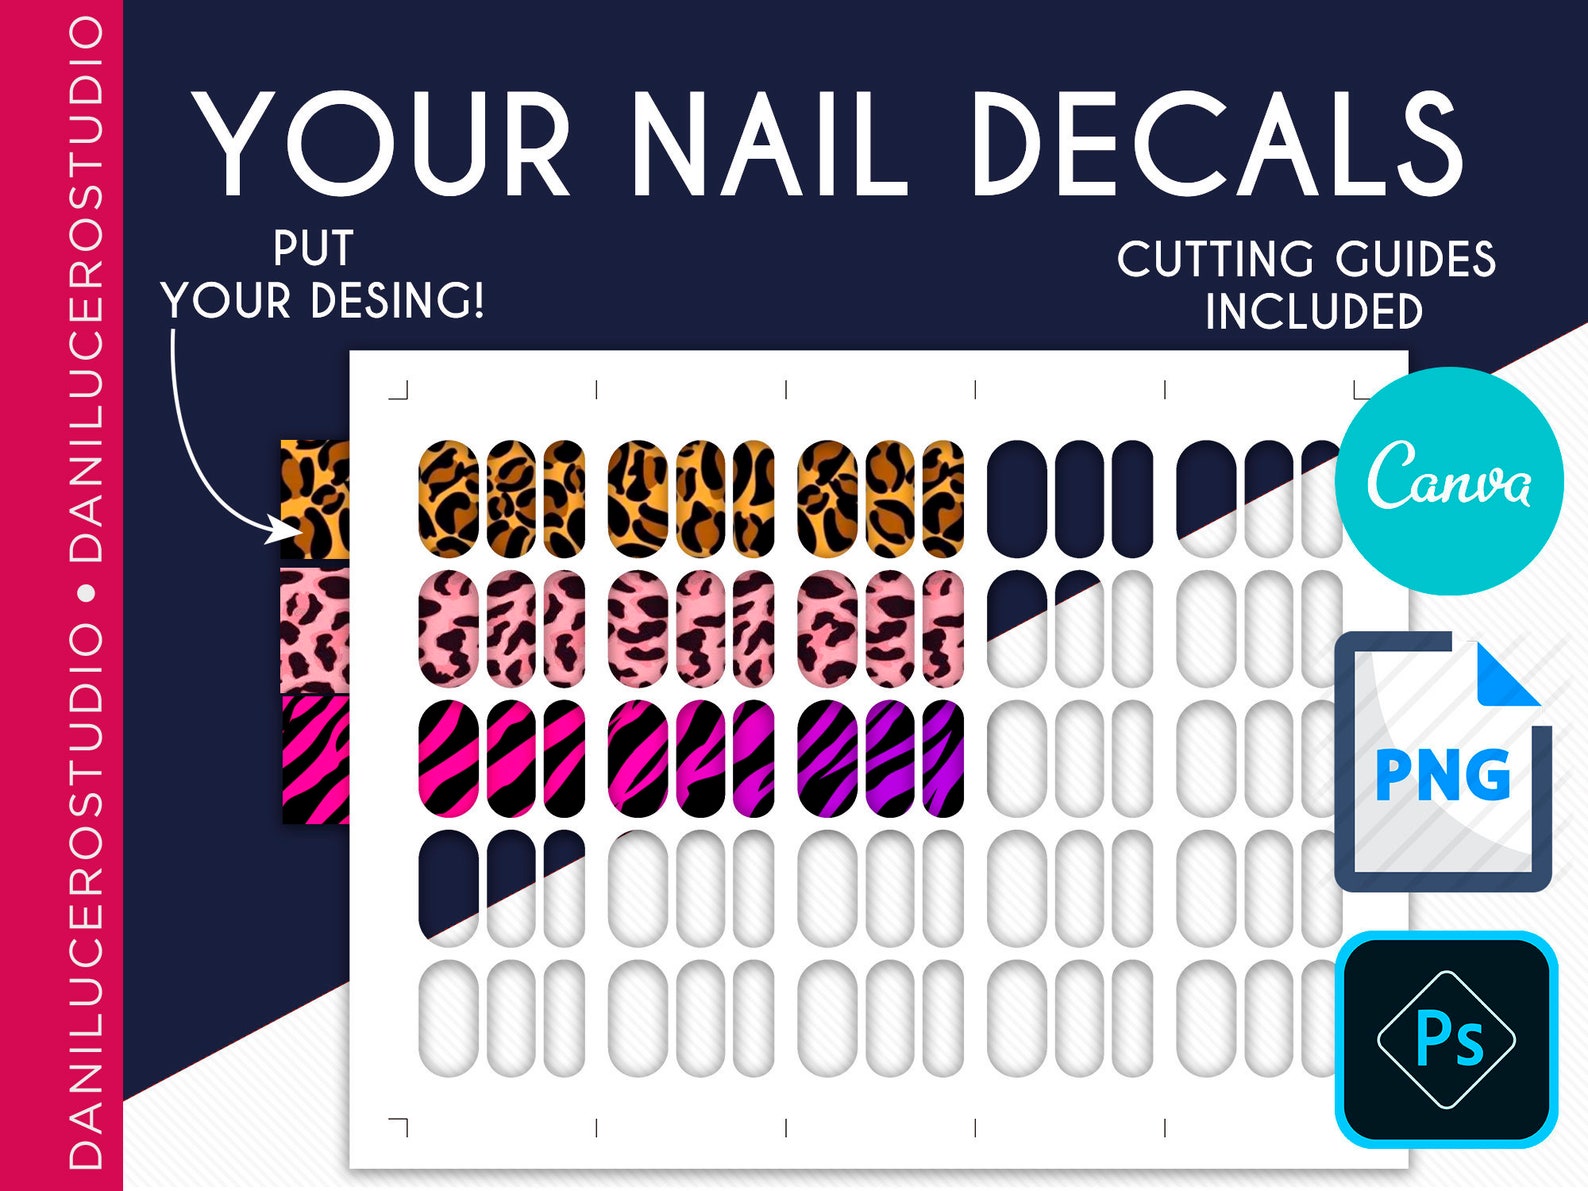
If you're short on time and supplies, why not try using stickers for your DIY water decal nail art? You can find a variety of nail art stickers in stores or online. Simply place the sticker onto your nail and seal it with a layer of clear nail polish. You can also mix and match different stickers to create unique designs.DIY Water Decal Nail Art with Stickers

DIY Water Decal Nail Art with Stickers

For a more glamorous and eye-catching design, try using transfer foil for your DIY water decal nail art. First, paint your nails with a base color and let it dry completely. Then, apply a layer of clear nail polish onto the areas where you want the foil to stick. Once the polish is tacky, press the foil onto your nail and peel it off to reveal the design. Seal it with a top coat for a shiny and metallic finish.DIY Water Decal Nail Art with Transfer Foil


DIY Water Decal Nail Art with Transfer Foil


Nail stamping is a popular technique in the nail art world, and it can also be used to create DIY water decals. Simply apply a base color to your nails and let it dry completely. Then, use a nail stamping kit to transfer your desired design onto a clear stamper. Once the design is on the stamper, carefully place it onto your nail and seal it with a layer of clear nail polish. This method allows for precise and intricate designs without the hassle of freehand painting.DIY Water Decal Nail Art with Nail Stamping


DIY Water Decal Nail Art with Nail Stamping


Taking Nail Art to the Next Level with DIY Water Decals

Unleash Your Creativity with Easy-to-Use Water Decals
 The world of nail art has seen a major evolution in recent years, with DIY enthusiasts constantly looking for new and innovative ways to create stunning designs on their nails. One of the latest trends to hit the nail art scene is the use of water decals, which offer a quick and easy solution for adding intricate designs to your nails. Whether you are a seasoned nail artist or just getting started,
DIY water decal nail art
is a must-try technique that will take your nail game to the next level.
The world of nail art has seen a major evolution in recent years, with DIY enthusiasts constantly looking for new and innovative ways to create stunning designs on their nails. One of the latest trends to hit the nail art scene is the use of water decals, which offer a quick and easy solution for adding intricate designs to your nails. Whether you are a seasoned nail artist or just getting started,
DIY water decal nail art
is a must-try technique that will take your nail game to the next level.
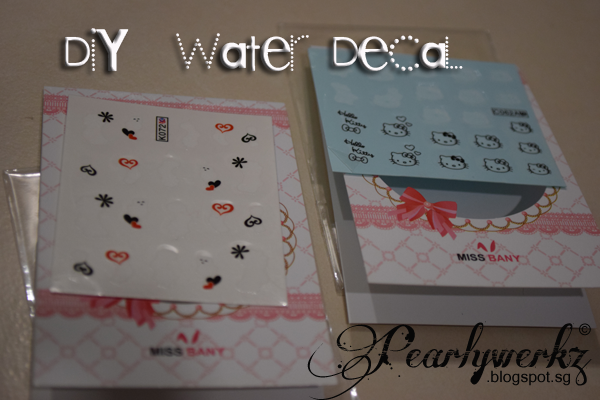
What are Water Decals?
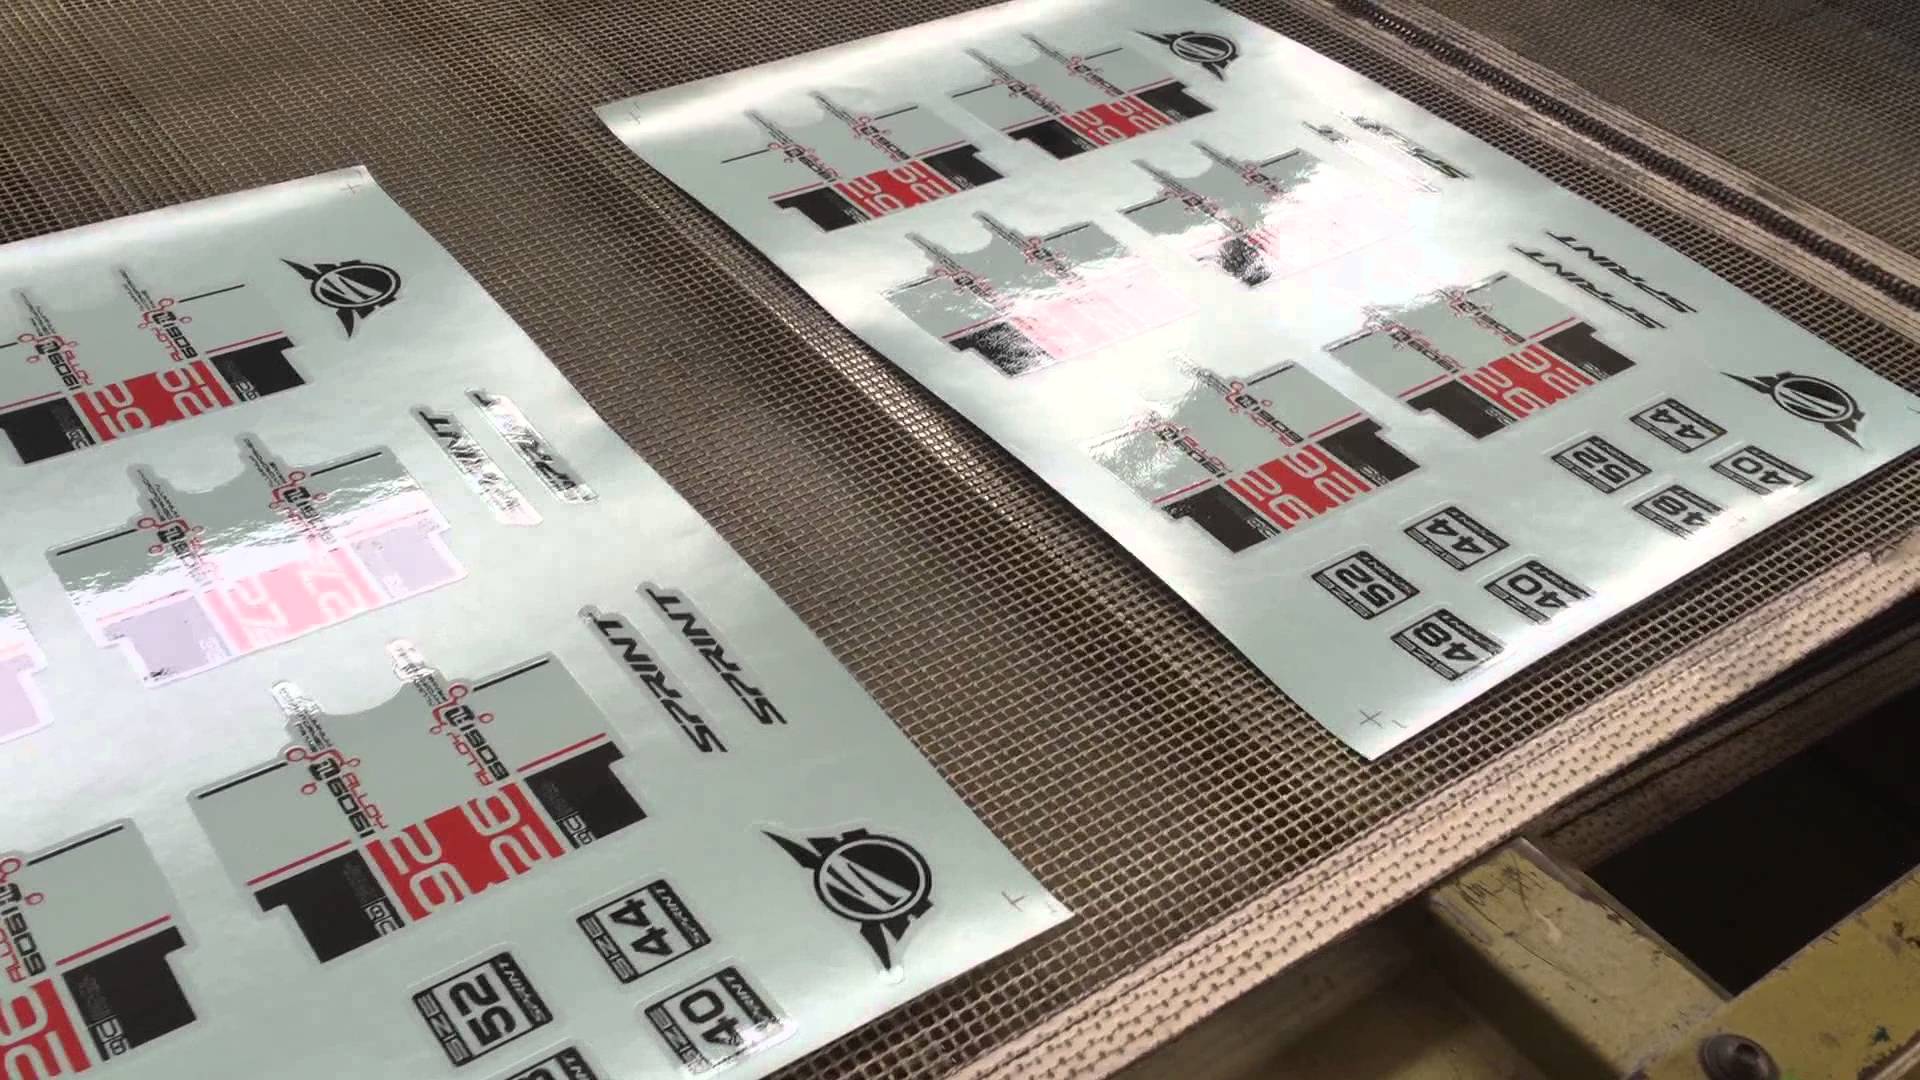
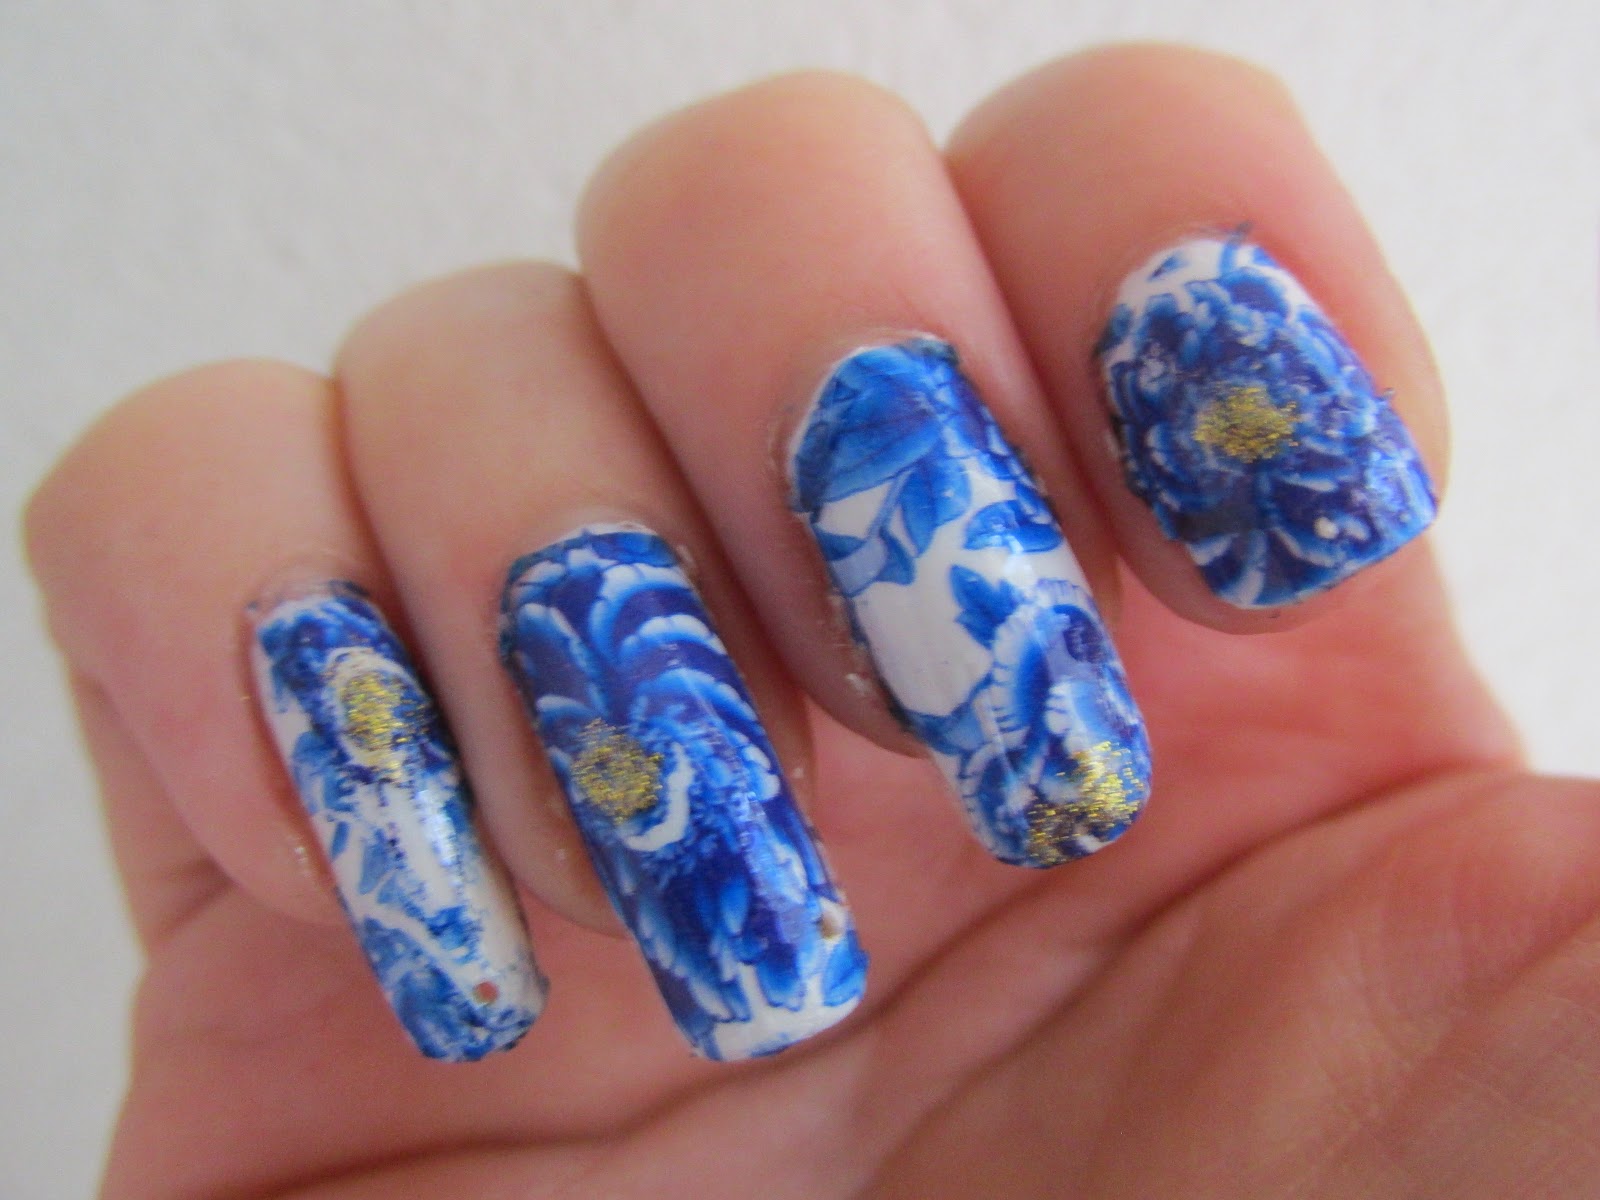
 Water decals are thin, transparent sheets with intricate designs printed on them. These designs can range from simple patterns to elaborate images, making them a versatile tool for nail art. The decals are usually made of a combination of water-soluble polymers, pigments, and a protective layer, and are very easy to use.
DIY water decal nail art
requires no special skills or tools, making it accessible to everyone.
Water decals are thin, transparent sheets with intricate designs printed on them. These designs can range from simple patterns to elaborate images, making them a versatile tool for nail art. The decals are usually made of a combination of water-soluble polymers, pigments, and a protective layer, and are very easy to use.
DIY water decal nail art
requires no special skills or tools, making it accessible to everyone.
How to Use Water Decals for Nail Art?
 Using water decals for nail art is a simple and straightforward process. All you need is a few basic supplies like water, tweezers, and a clear topcoat. Start by painting your nails with a base color of your choice and allowing it to dry completely. Then, cut out the desired design from the decal sheet using scissors or a craft knife. Next, dip the decal into a bowl of water for a few seconds until the design slides off the paper backing easily. Use tweezers to place the decal on your nail and gently press it down. Once the decal is in place, use a tissue or paper towel to remove any excess water and air bubbles. Seal the design with a layer of clear topcoat, and voila, you have a professional-looking nail art design in minutes!
Why Choose DIY Water Decal Nail Art?
 There are many reasons why
DIY water decal nail art
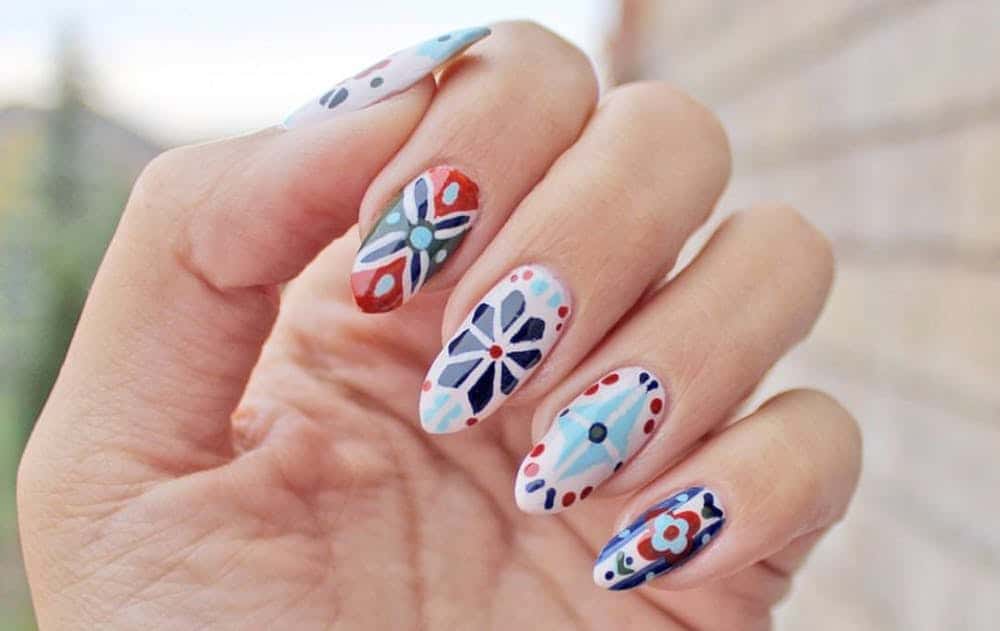
is gaining popularity among nail art enthusiasts. First and foremost, water decals offer a wide variety of designs, from intricate and delicate patterns to bold and colorful images. They are also incredibly easy to use, making them a great option for beginners or those who don't have much time to spend on nail art. Additionally, water decals are a more affordable alternative to other nail art techniques, and they can be easily removed without damaging your nails.
In conclusion,
DIY water decal nail art
is a game-changer in the world of nail art, offering endless possibilities for creative self-expression. With its ease of use, affordability, and versatility, it's no wonder that more and more people are incorporating water decals into their nail art routine. So why not give it a try and see your nails transform into works of art with just a few simple steps?
There are many reasons why
DIY water decal nail art
is gaining popularity among nail art enthusiasts. First and foremost, water decals offer a wide variety of designs, from intricate and delicate patterns to bold and colorful images. They are also incredibly easy to use, making them a great option for beginners or those who don't have much time to spend on nail art. Additionally, water decals are a more affordable alternative to other nail art techniques, and they can be easily removed without damaging your nails.
In conclusion,
DIY water decal nail art
is a game-changer in the world of nail art, offering endless possibilities for creative self-expression. With its ease of use, affordability, and versatility, it's no wonder that more and more people are incorporating water decals into their nail art routine. So why not give it a try and see your nails transform into works of art with just a few simple steps?


