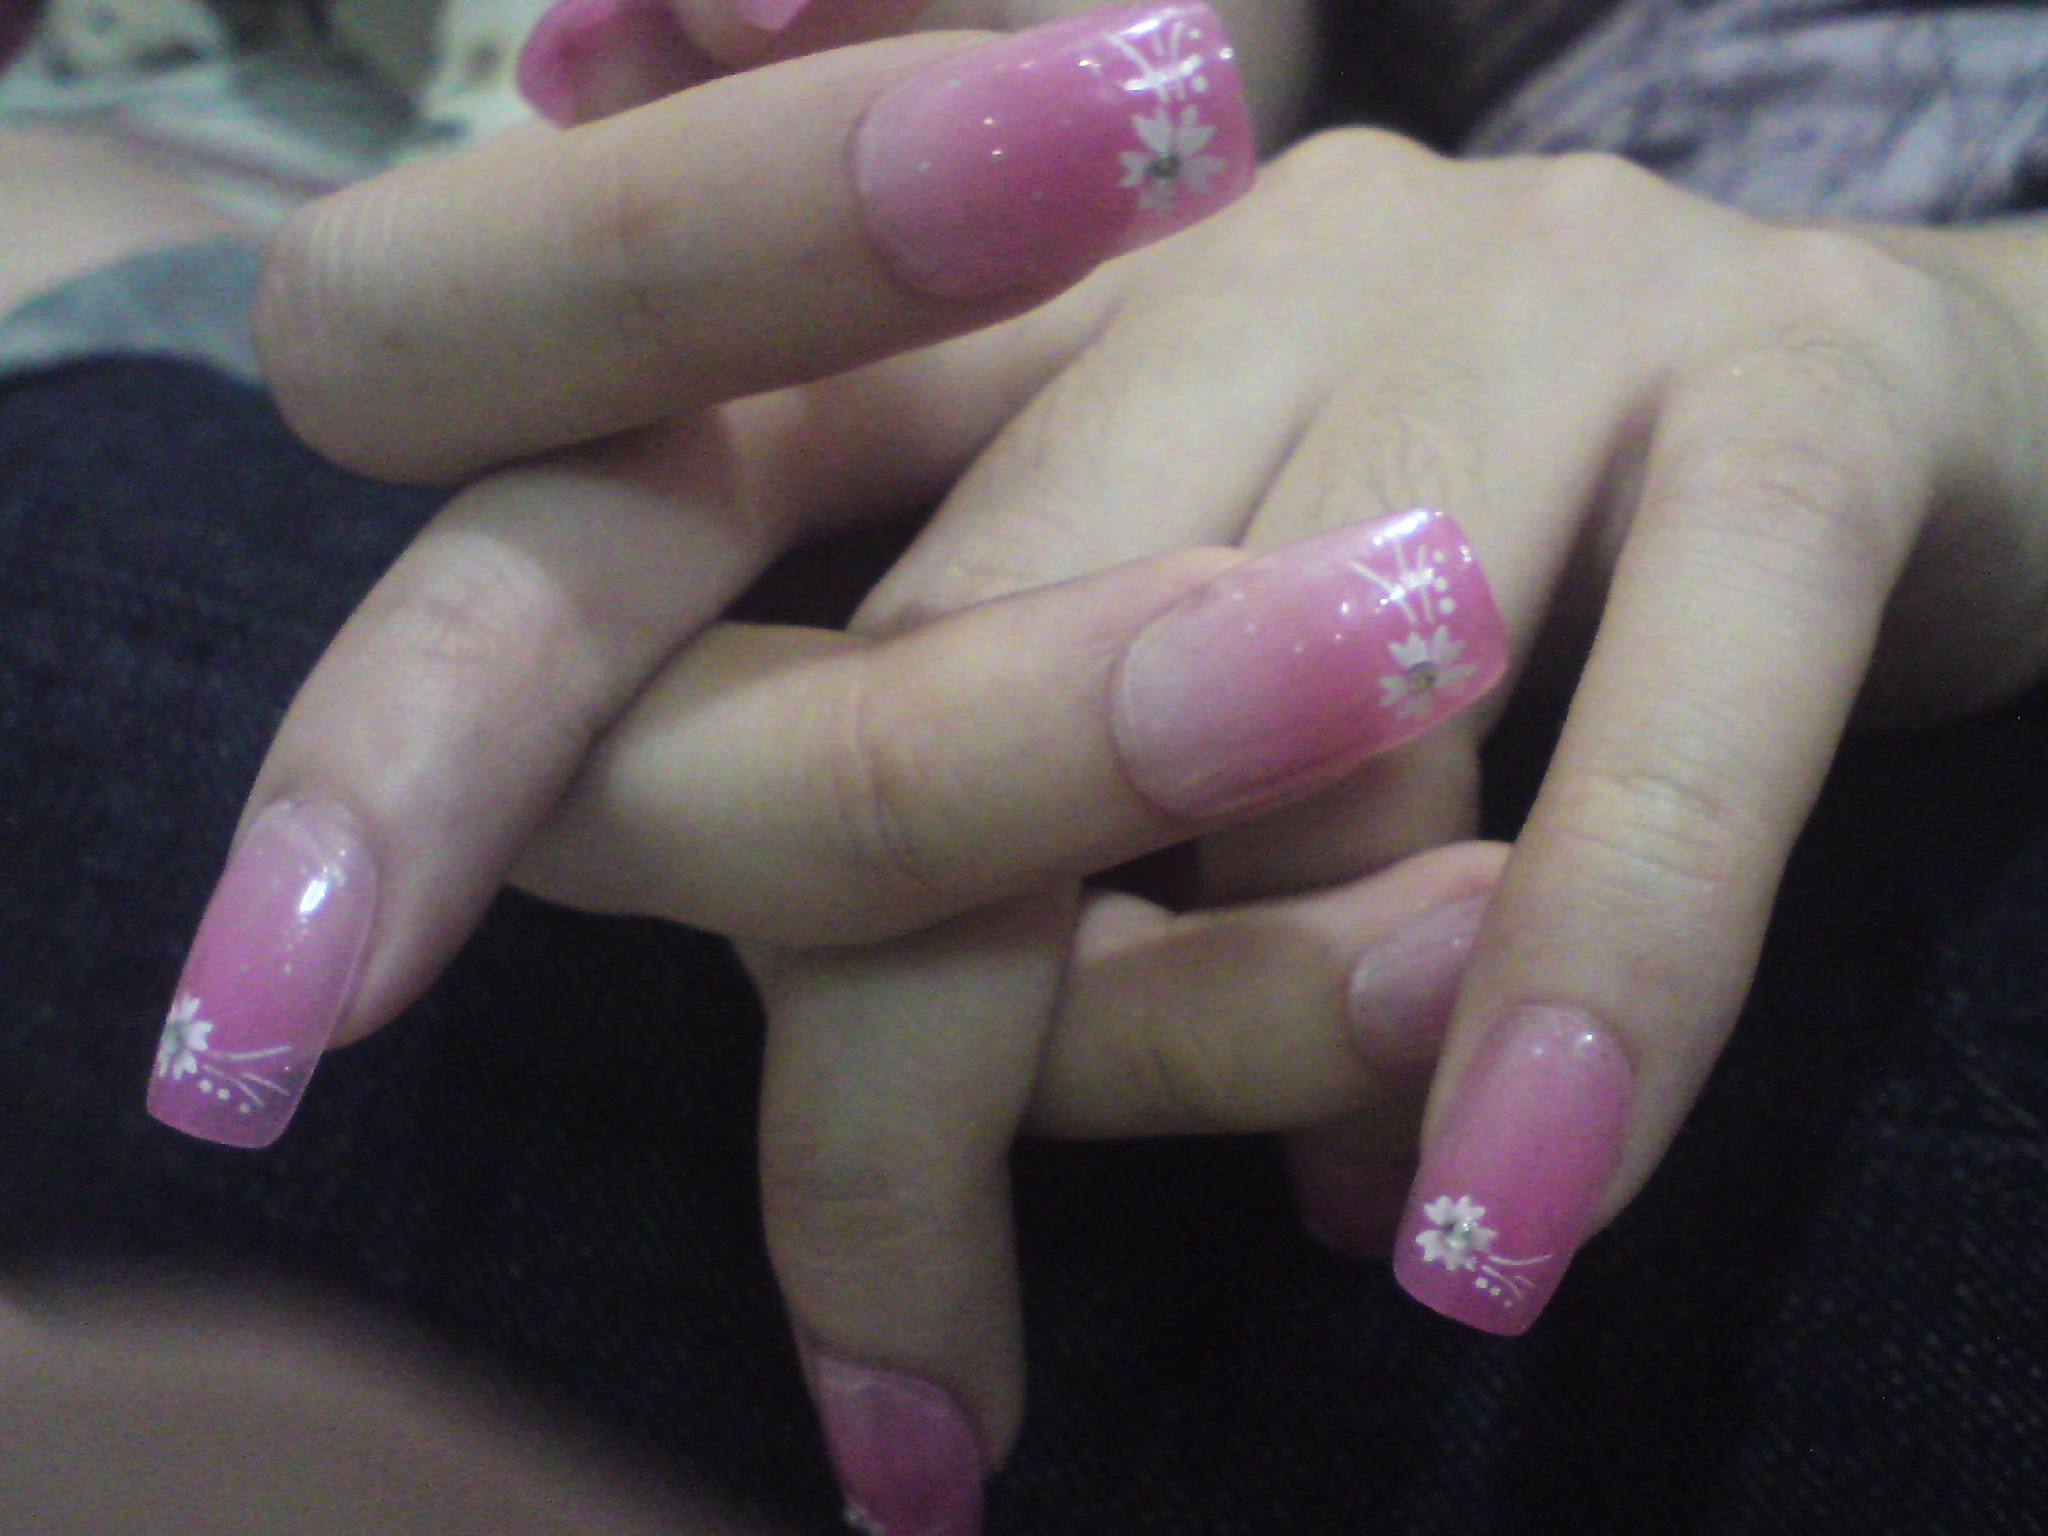
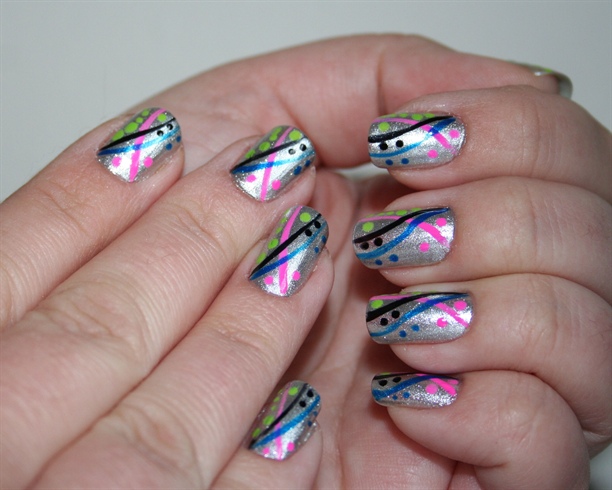
Are you tired of your plain, single-colored nails? Do you want to add a touch of creativity and personality to your nails? Then freehand nail art is the perfect solution for you! With just a few tools and some creativity, you can create beautiful and unique designs on your nails. Here’s a step-by-step guide on how to do freehand nail art: Step 1: Gather your materials. You will need a base coat, a top coat, various nail polish colors, a fine-tipped brush, a dotting tool, and a small container of nail polish remover to clean your tools. Step 2: Prep your nails. Start by removing any old polish and shaping your nails. Apply a base coat to protect your nails from staining and to help your polish last longer. Step 3: Choose your design. You can find inspiration from magazines, social media, or create your own design. Start with simple designs before moving on to more complex ones. Step 4: Paint your base color. Apply a base color of your choice and let it dry completely before moving on to the next step. Step 5: Begin your design. Using a fine-tipped brush, start creating your design using different nail polish colors. You can also use a dotting tool to create dots or other small details. Step 6: Be patient and take your time. Freehand nail art requires precision and patience. If you make a mistake, use a cotton swab dipped in nail polish remover to clean it up. Step 7: Add details and layers. You can add different colors and details to your design to make it more intricate and unique. Step 8: Let it dry. Once you are satisfied with your design, let it dry completely before applying a top coat to seal and protect your design. Step 9: Clean up. Use a small brush dipped in nail polish remover to clean up any excess polish around your nails. And there you have it! Your very own freehand nail art design.1. How to Do Freehand Nail Art: 9 Steps (with Pictures) - wikiHow


1. How to Do Freehand Nail Art: 9 Steps (with Pictures) - wikiHow


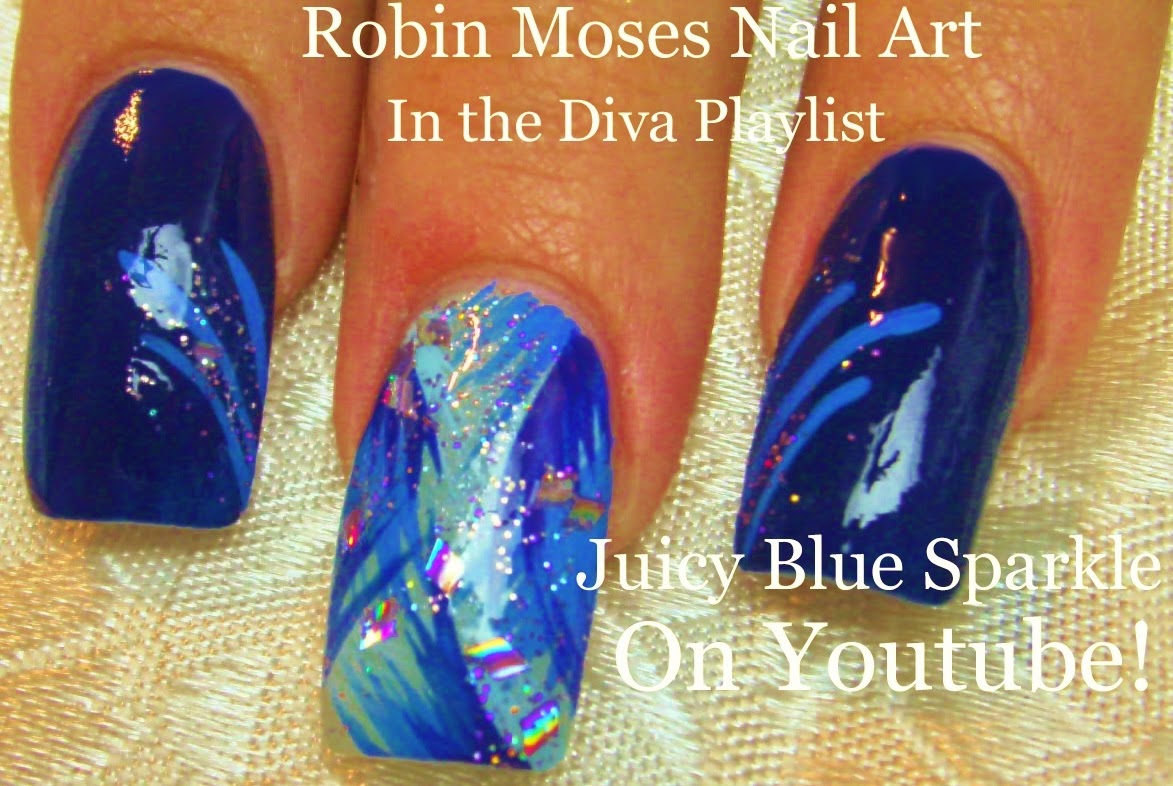
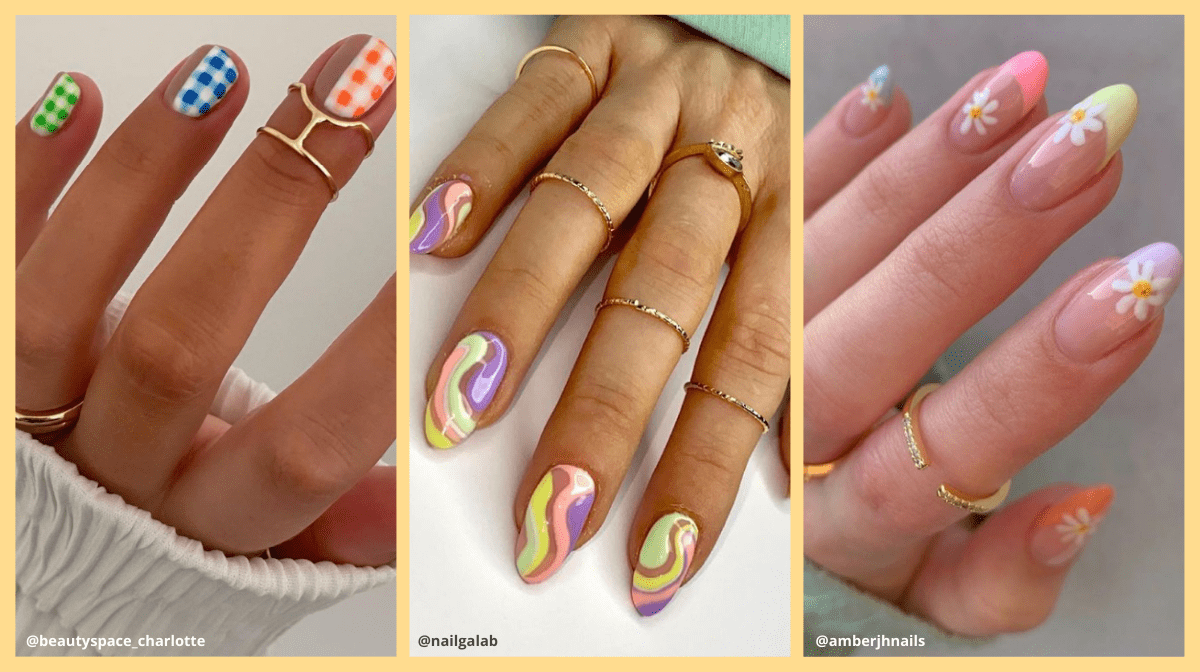
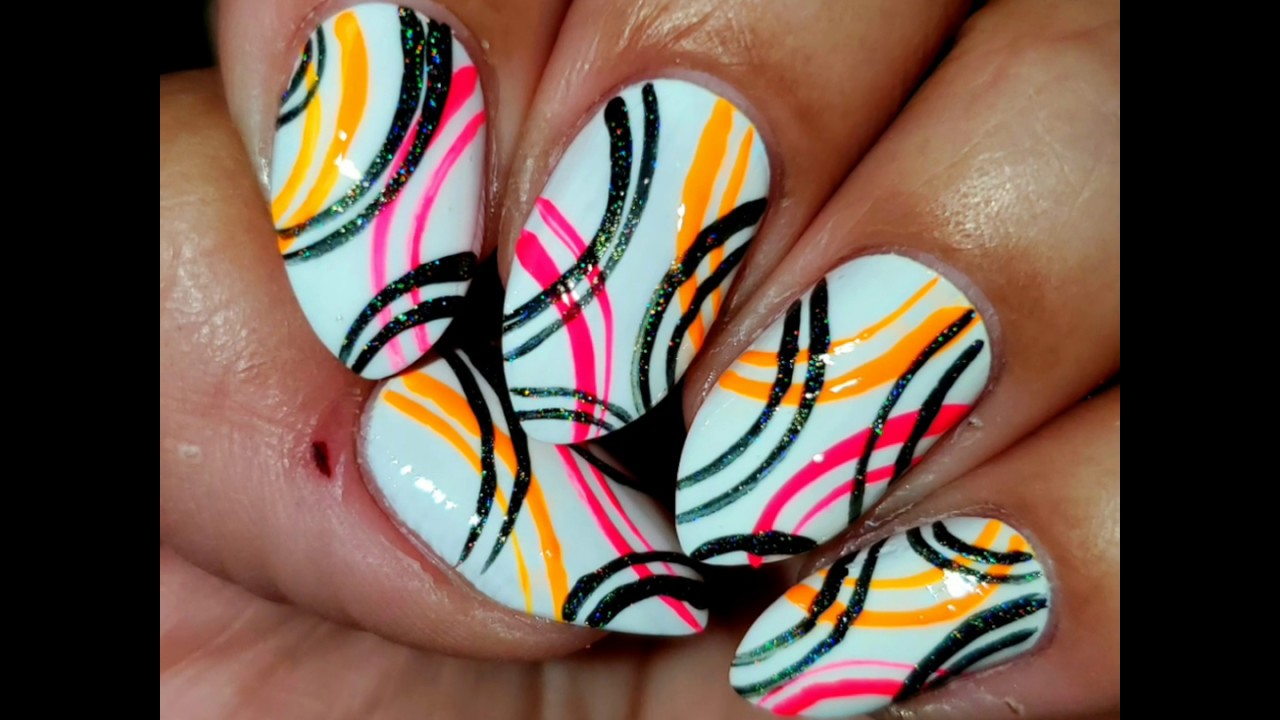
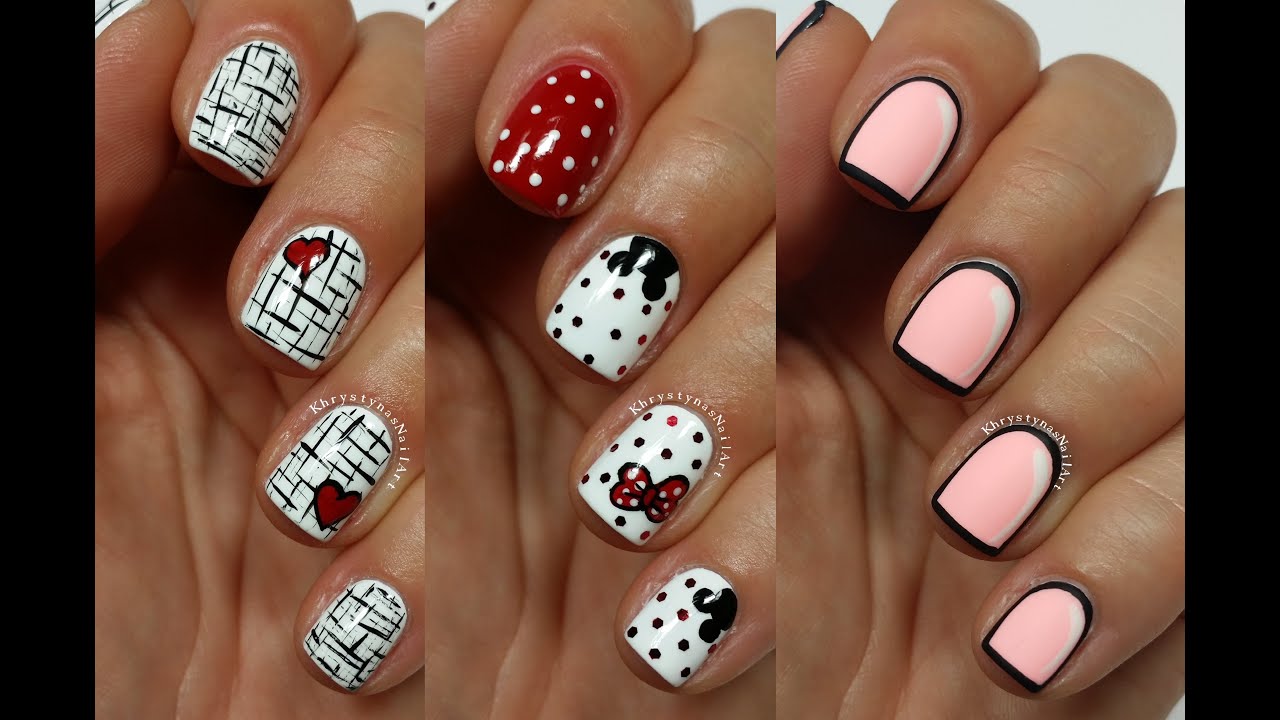
If you’re new to the world of nail art, it can be overwhelming to know where to start. But don’t worry, we’ve got you covered! Here are 10 easy nail art designs for beginners that you can try: 1. Polka dots: Use a dotting tool or the back of a small brush to create cute polka dots on your nails. 2. Stripes: Use striping tape or a thin brush to create stripes on your nails. 3. French tips: Create a classic and elegant look with a French tip design. You can use tape or a guide to help you create a straight line. 4. Glitter accent nail: Add a touch of sparkle to your nails by adding glitter to one accent nail. 5. Floral design: Use a small brush to create cute and simple floral designs on your nails. 6. Ombre nails: Use a makeup sponge to create a gradient effect on your nails with different shades of the same color. 7. Heart design: Use a toothpick or a small brush to create cute hearts on your nails. 8. Marble effect: Use a plastic bag and nail polish to create a marble effect on your nails. 9. Tribal design: Use a small brush and different colors to create a tribal-inspired design on your nails. 10. Geometric design: Use tape or a guide to create geometric shapes and lines on your nails. With these easy designs, you’ll be a nail art pro in no time!2. 10 Easy Nail Art Designs for Beginners: The Ultimate Guide #4! - YouTube


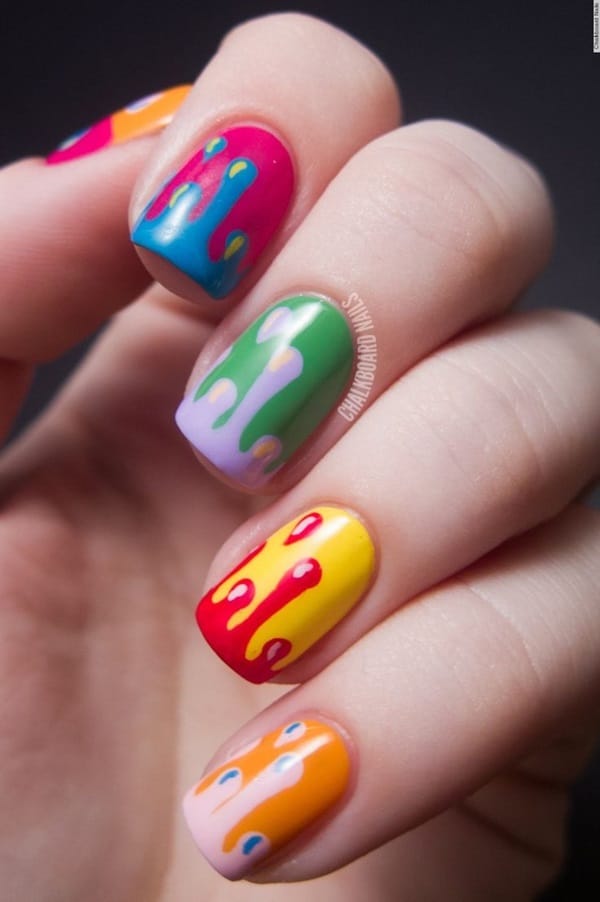
2. 10 Easy Nail Art Designs for Beginners: The Ultimate Guide #4! - YouTube


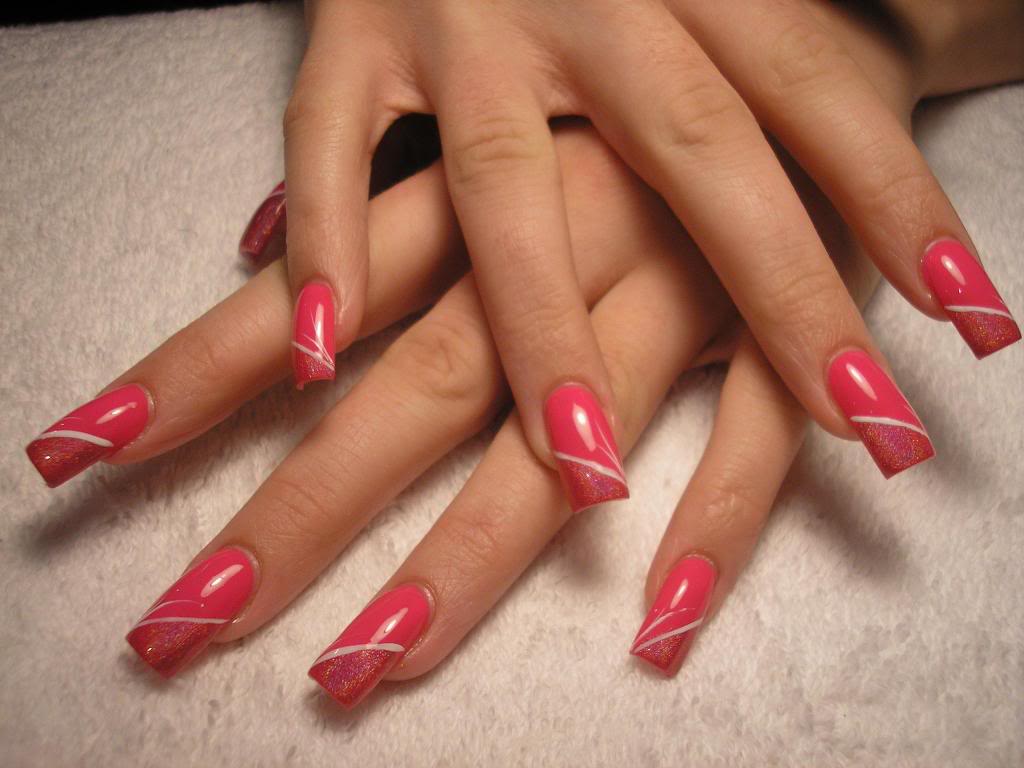

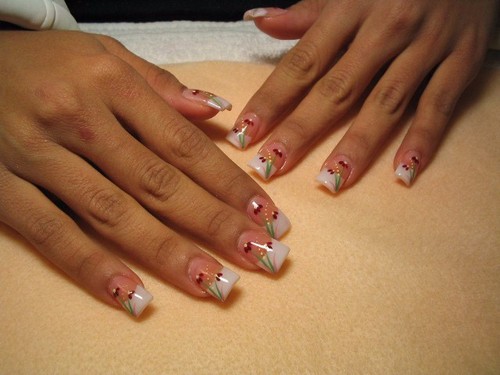
Looking for more inspiration and step-by-step guides for creating beautiful nail art designs? Look no further! Here are 20+ easy and fun nail art tutorials for you to try: 1. Watercolor nails: Use a plastic bag and watered down nail polish to create a watercolor effect on your nails. 2. Newspaper nails: Use rubbing alcohol and a newspaper to transfer print onto your nails. 3. Lace nails: Use lace as a stencil to create a delicate and intricate design on your nails. 4. Splatter nails: Use a straw to create a splatter effect with different nail polish colors. 5. Caviar nails: Use tiny beads to create a textured and fun design on your nails. 6. Tie-dye nails: Use a sponge and different nail polish colors to create a tie-dye effect on your nails. 7. Chevron nails: Create a trendy and chic design with chevron-shaped tape or guides. 8. Dotticure nails: Use various sized dotting tools to create a cute and colorful design on your nails. 9. Color block nails: Use tape or guides to create clean and bold color blocks on your nails. 10. Heart French tips: Add a twist to the classic French tip design by creating hearts instead of straight lines. With these fun and easy tutorials, you’ll never run out of nail art ideas!3. 20+ Easy and Fun Step by Step Nail Art Tutorials - Noted List


3. 20+ Easy and Fun Step by Step Nail Art Tutorials - Noted List


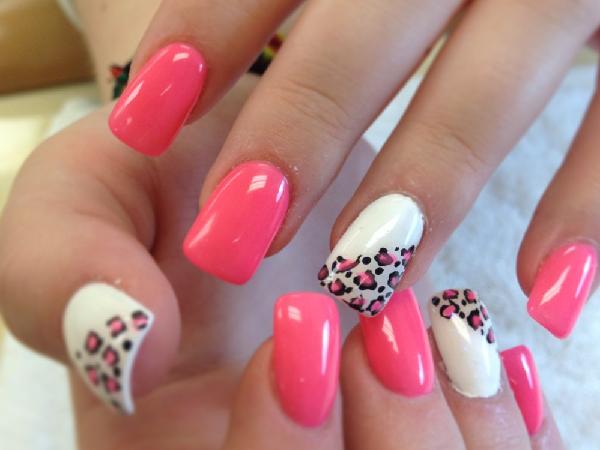
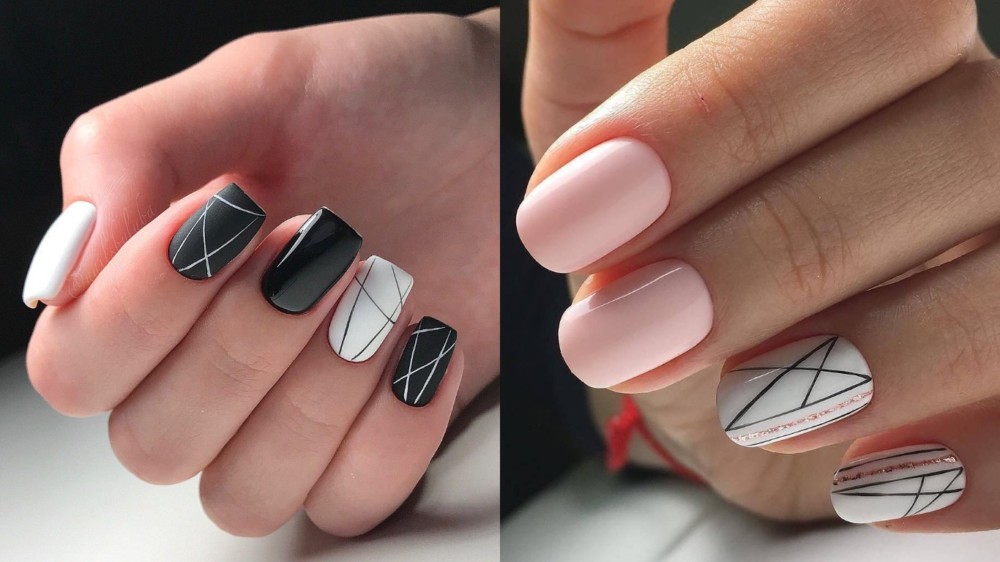
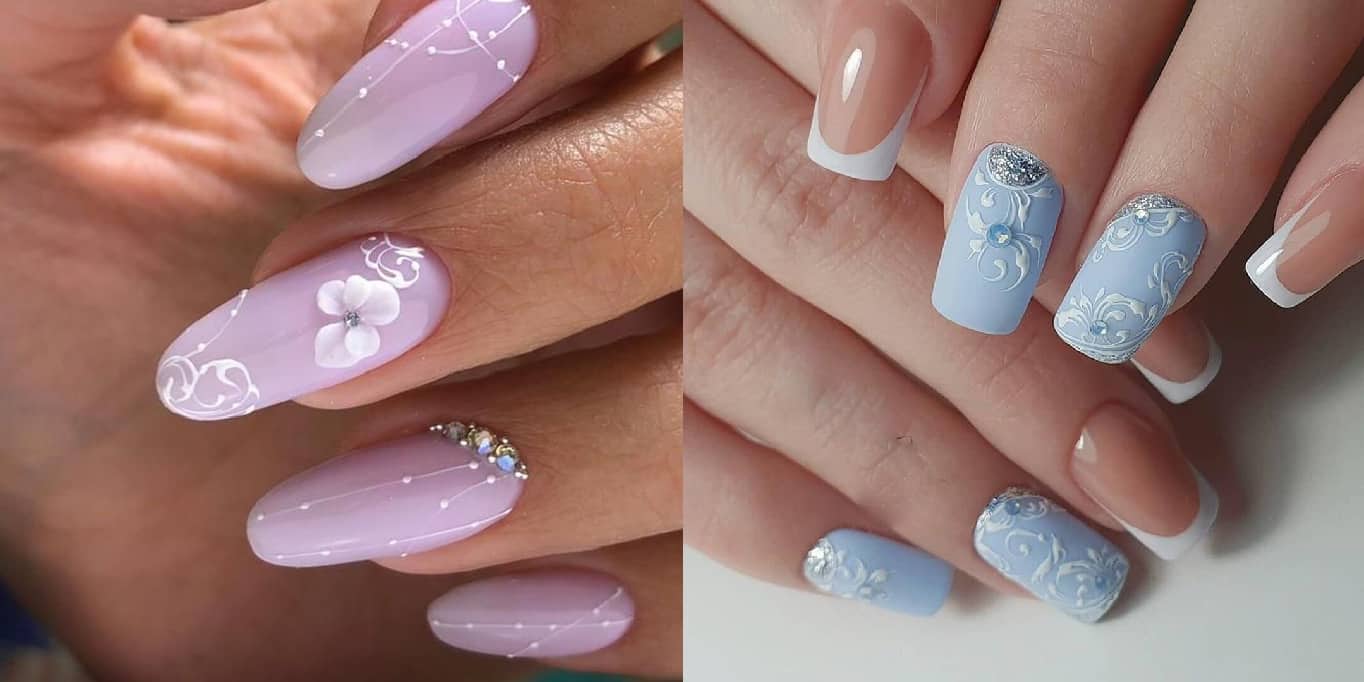
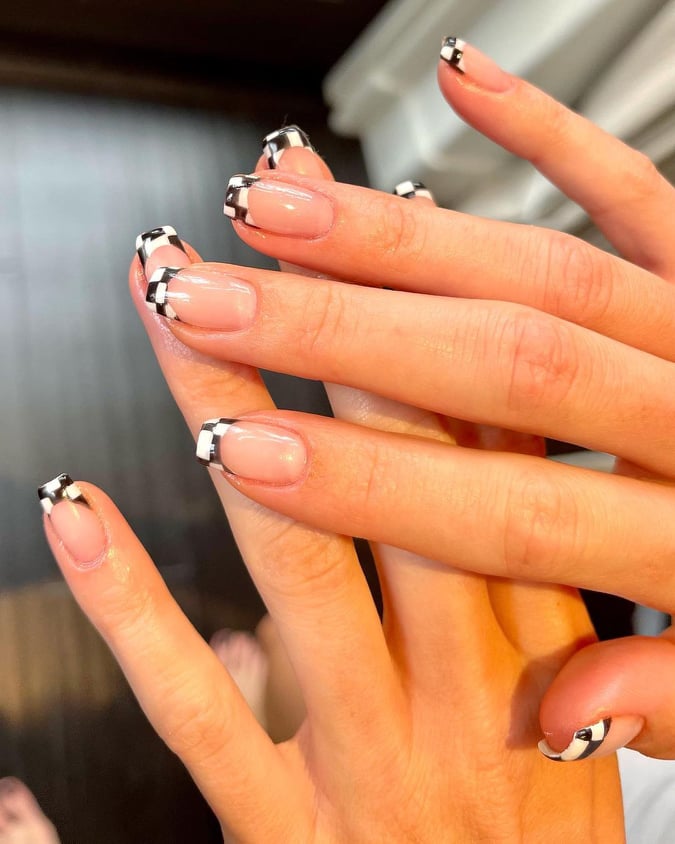
Want to stay on top of the latest nail art trends? Here are the best nail designs of 2019 for you to try: 1. Negative space nails: Leave parts of your nails bare for a unique and modern look. 2. Neon nails: Make a statement with bright and bold neon colors on your nails. 3. Matte nails: Skip the glossy finish and opt for a matte top coat for a trendy and sophisticated look. 4. Animal print nails: Embrace your wild side with different animal prints on your nails. 5. Geometric nails: Use tape or guides to create geometric patterns and shapes on your nails. 6. Metallic nails: Add some shine to your nails with metallic colors or foils. 7. Pastel nails: Soft and delicate pastel colors are perfect for a subtle and feminine nail art design. 8. Glitter ombre nails: Combine two trends – glitter and ombre – for a glamorous look. 9. Marble nails: Create a marbled effect with different shades of the same color on your nails. 10. Flower power nails: Add some floral designs to your nails for a fun and playful look. Stay on-trend with these stylish and eye-catching nail designs.4. 30+ Best Nail Designs of 2019 - Latest Nail Art Trends & Ideas to Try

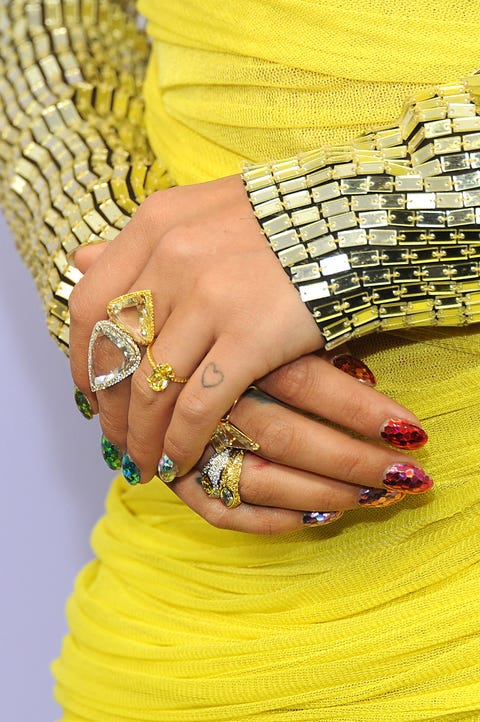
4. 30+ Best Nail Designs of 2019 - Latest Nail Art Trends & Ideas to Try


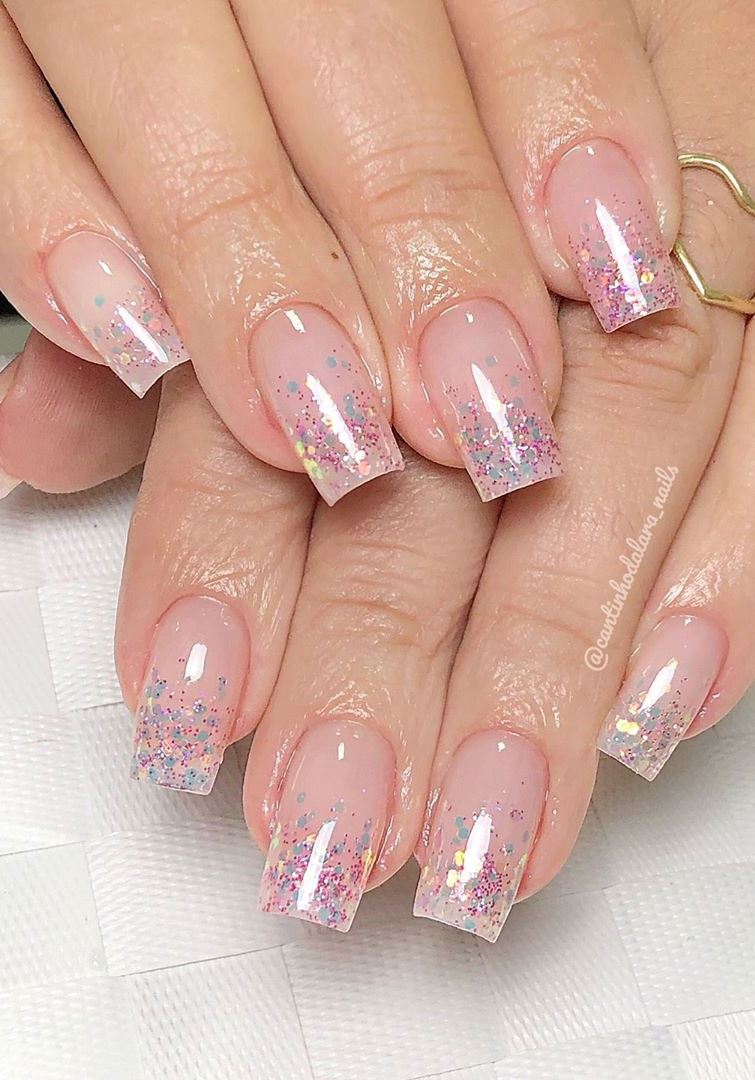
Looking for even more nail art ideas? Here are 50 cute, cool, simple, and easy designs for you to try in 2016: 1. Polka dot ombre nails: Combine two popular nail art trends for a cute and fun design. 2. Negative space French tips: Add a twist to the classic French tip design by leaving parts of your nails bare. 3. Chevron glitter nails: Use glitter and tape to create a sparkly and chic chevron design on your nails. 4. Tribal nails: Use different colors and patterns to create a tribal-inspired design on your nails. 5. Geometric French tips: Use tape or guides to create geometric shapes for a modern twist on the French tip design. 6. Heart accent nail: Add a cute and playful touch to your nails with a heart accent nail. 7. Glitter gradient nails: Combine two trends – glitter and gradient – for a dazzling look. 8. Half-moon nails: Use tape or a guide to create a half-moon design on your nails. 9. Colorful French tips: Instead of using white for the French tip, use different colors for a fun and colorful design. 10. Polka dot flower nails: Combine two designs – polka dots and flowers – for a cute and spring-inspired look. With these 50 ideas, your nails will always be on point and on trend!5. 50 Cute, Cool, Simple and Easy Nail Art Design Ideas for 2016


5. 50 Cute, Cool, Simple and Easy Nail Art Design Ideas for 2016


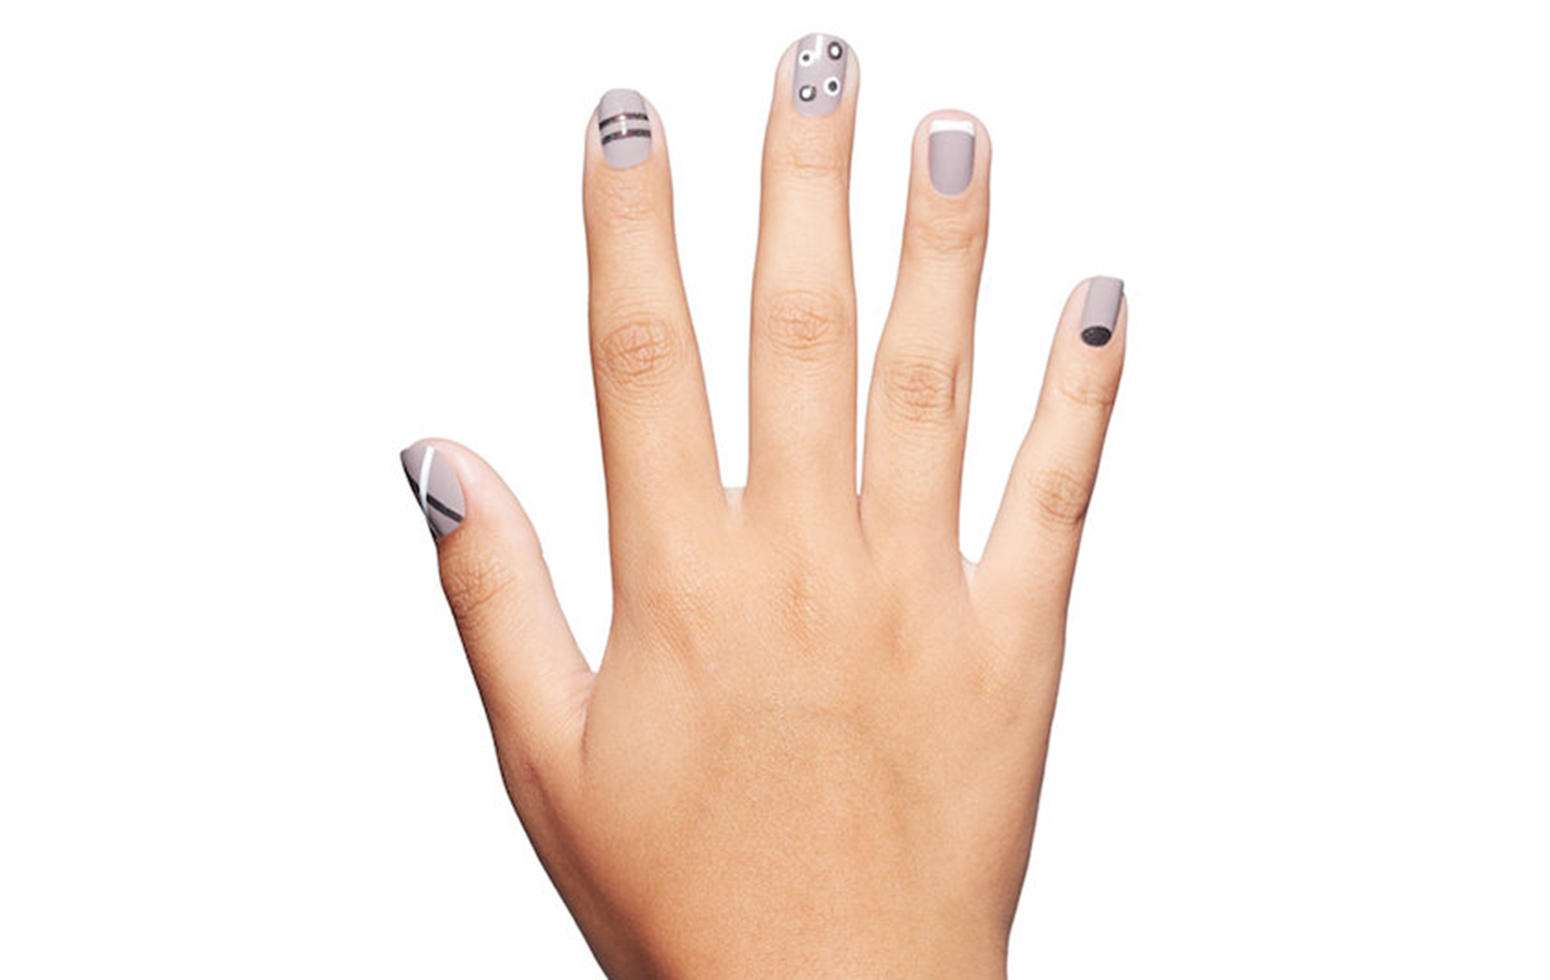
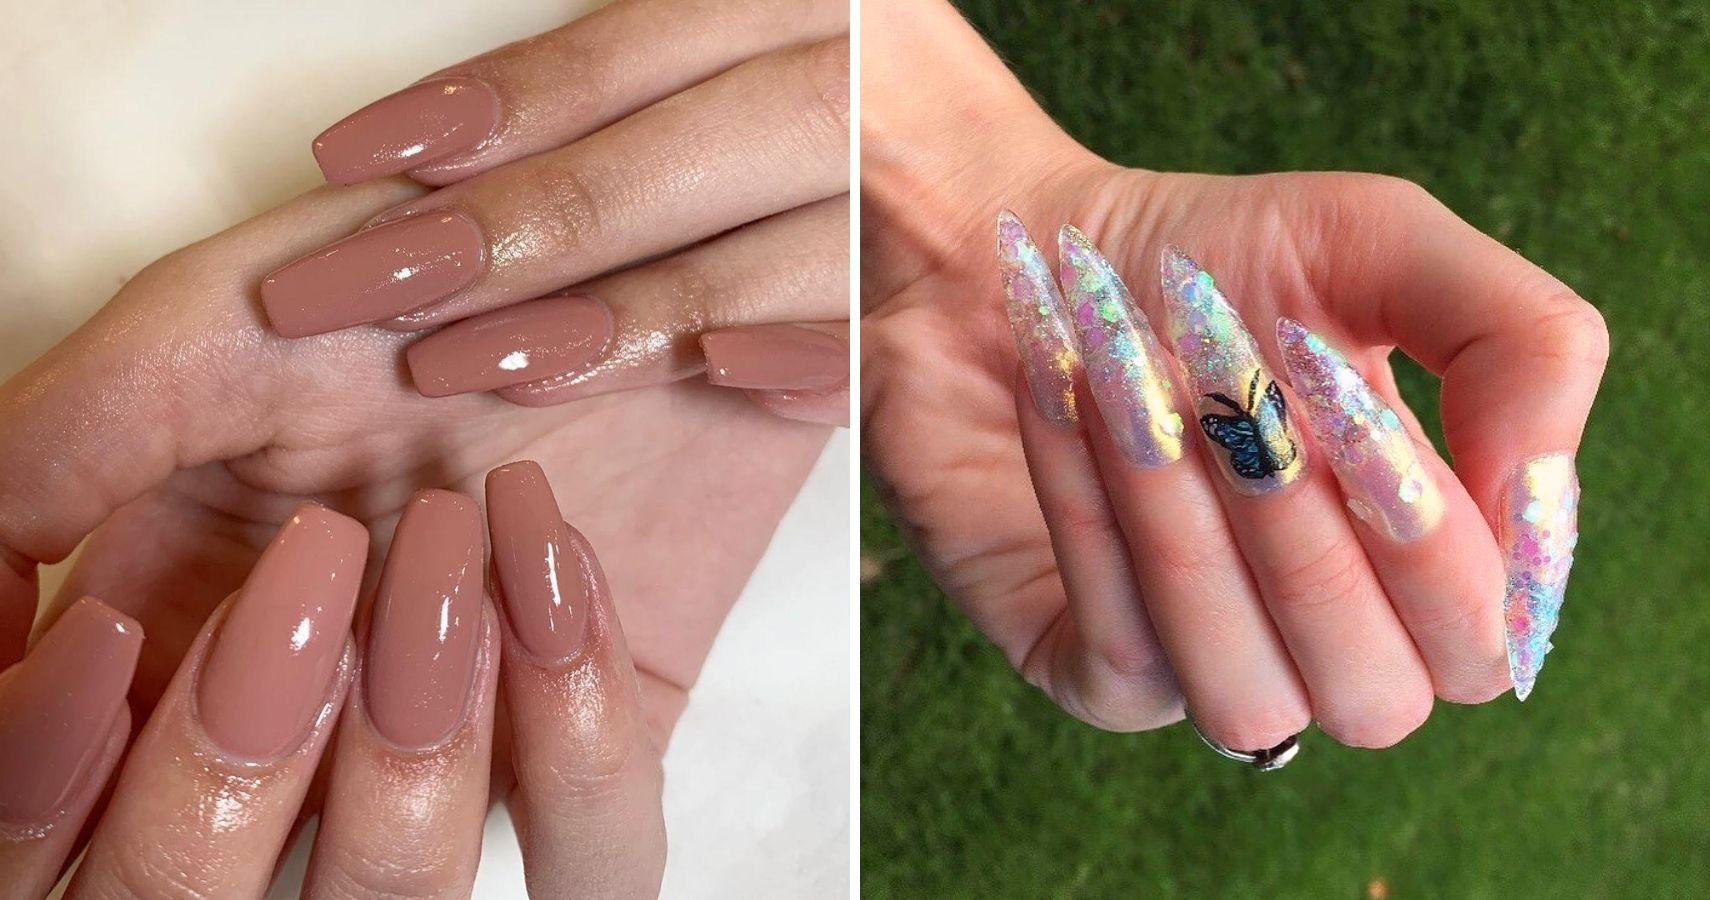
Think you can’t do nail art on short nails? Think again! Here are 80 nail designs for short nails that will make you want to chop off your long nails: 1. Nude and gold nails: Keep it simple and elegant with a nude base and gold accents on your short nails. 2. Classic red nails: You can never go wrong with a classic red nail polish on short nails. 3. Glitter accent nail: Add a touch of sparkle to your short nails with a glitter accent nail. 4. Color block nails: Use different colors and shapes to create a modern and bold design on your short nails. 5. Minimalist nails: Keep it simple and chic with a single line or dot on your short nails. 6. Marble accent nail: Use a marble accent nail to add a touch of sophistication to your short nails. 7. Half-moon nails: Use a guide to create a half-moon design on your short nails for a classic and elegant look. 8. Ombre nails: Use a makeup sponge to create a gradient effect on your short nails with different shades of the same color. 9. Floral nails: Use a small brush to create cute and delicate floral designs on your short nails. 10. Geometric nails: Use tape or guides to create geometric shapes and patterns on your short nails. Who says short nails can’t be stylish? These 80 designs prove otherwise!6. 80 Nail Designs for Short Nails | StayGlam


6. 80 Nail Designs for Short Nails


Still feeling overwhelmed with all the nail art ideas? Don’t worry, we’ve got you covered with 101 easy nail art ideas and designs perfect for beginners: 1. Glitter ombre nails: Use a sponge and different shades of glitter to create a sparkly ombre effect on your nails. 2. Polka dots and stripes: Combine two classic designs – polka dots and stripes – for a fun and playful look. 3. Negative space floral nails: Leave parts of your nails bare and paint delicate floral designs for a unique and modern look. 4. Neon French tips: Use bright and bold neon colors for a twist on the classic French tip design. 5. Galaxy nails: Use a sponge and different shades of blue and purple to create a galaxy-inspired design on your nails. 6. Abstract nails: Use different colors and shapes to create an abstract design on your nails. 7. Matte and shiny nails: Use a matte top coat on some nails and a shiny top coat on others for a textured and interesting look. 8. Glitter gradient nails: Use a sponge and different shades of glitter to create a gradient effect on your nails. 9. Striped accent nail: Add a bold and graphic touch to your nails with a striped accent nail. 10. Floral French tips: Use a small brush to create floral patterns on the tips of your nails for a delicate and feminine look. With 101 ideas, you’ll never run out of nail art designs to try!7. 101 Easy Nail Art Ideas and Designs for Beginners


StayGlam
Need even more nail art inspiration? Here are 130 easy and beautiful nail art designs for you to try in 2018: 1. Geometric nails: Use tape or guides to create geometric shapes and patterns on your nails. 2. Glitter accent nail: Add a touch of sparkle to your nails with a glitter accent nail. 3. Watercolor nails: Use a plastic bag and watered down nail polish to create a watercolor effect on your nails. 4. Tribal nails: Use different colors and patterns to create a tribal-inspired design on your nails. 5. Half-moon nails: Use tape or a guide to create a half-moon design on your nails. 6. Floral nails: Use a small brush to create cute and delicate floral designs on your nails. 7. Ombre nails: Use a makeup sponge to create a gradient effect on your nails with different shades of the same color. 8. French tip ombre nails: Use a sponge and different shades of the same color to create a gradient French tip design. 9. Glitter French tips: Use different shades of glitter to create a sparkly French tip design on your nails.8. 130 Easy And Beautiful Nail Art Designs 2018 Just For You


7. 101 Easy Nail Art Ideas and Designs for Beginners


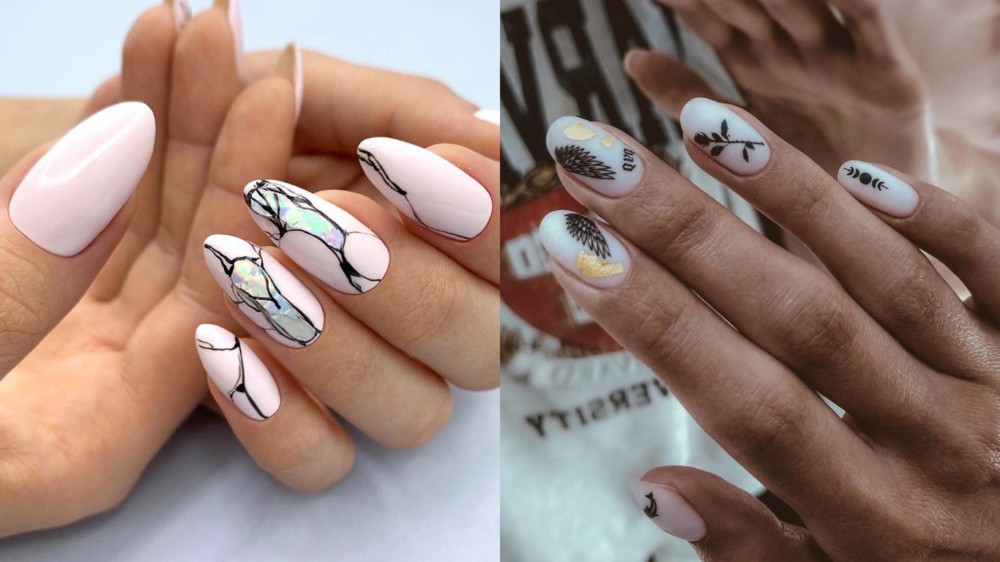
How to Create Stunning Freehand Nail Art at Home

Unleash Your Creativity with Freehand Nail Art
 When it comes to nail art, there are endless designs and techniques to choose from. From intricate patterns to bold colors, the possibilities are endless. While using nail stickers or stamps may seem like the easier option, freehand nail art allows you to unleash your creativity and create unique designs that truly reflect your personal style. Not to mention, it's a fun and relaxing way to express yourself and add some flair to your daily look. If you're ready to take your nail game to the next level, here's how you can create stunning freehand nail art at home.
Gather Your Tools and Supplies
 Before diving into the world of freehand nail art, make sure you have the necessary tools and supplies. You will need a base coat, your choice of nail polish colors, a top coat, nail art brushes, a dotting tool, and a clean-up brush. It's also helpful to have some acetone and cotton swabs on hand for any mistakes or clean-up.
Plan Your Design
 Before you start painting your nails, it's essential to have a design in mind. This will help you stay organized and ensure that you have all the colors and tools you need. You can draw inspiration from social media, fashion magazines, or create your own unique design.
Keywords: nail art, unique designs, personal style
By planning ahead, you can also practice your design on a piece of paper or a fake nail to perfect it before painting your actual nails.
Before you start painting your nails, it's essential to have a design in mind. This will help you stay organized and ensure that you have all the colors and tools you need. You can draw inspiration from social media, fashion magazines, or create your own unique design.
Keywords: nail art, unique designs, personal style
By planning ahead, you can also practice your design on a piece of paper or a fake nail to perfect it before painting your actual nails.
Prep Your Nails
 To ensure your freehand design lasts, it's crucial to prep your nails properly. Start by removing any old polish and gently push back your cuticles. Then, use a base coat to protect your nails from staining and to create a smooth canvas for your design. Let the base coat dry completely before moving onto the next step.
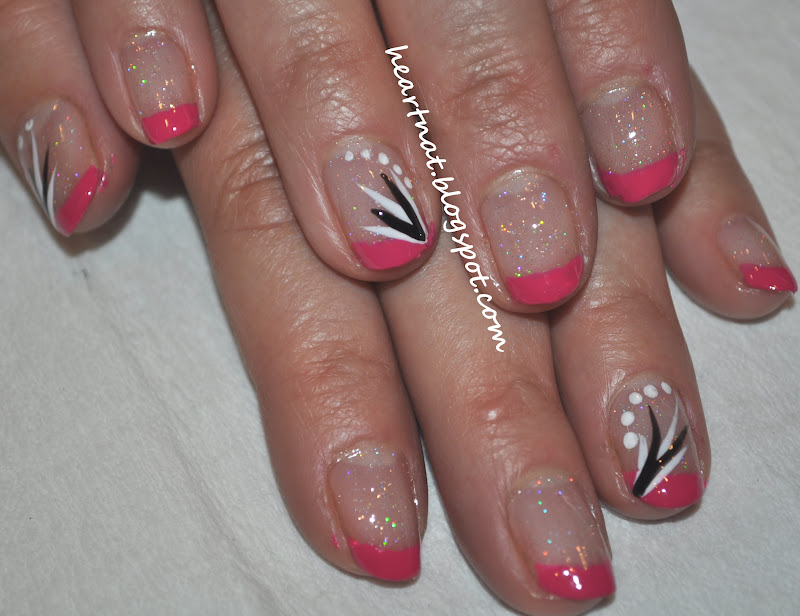
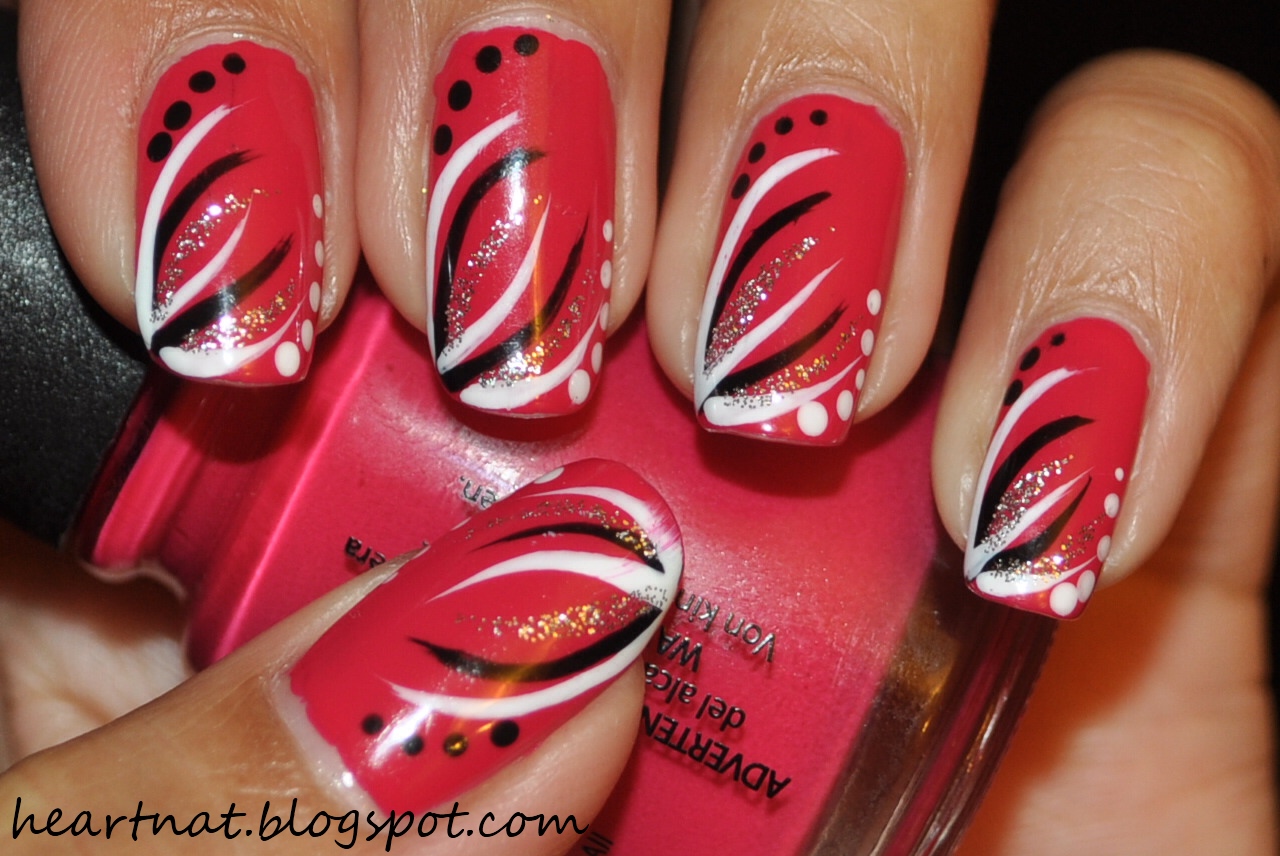
Get Creative and Have Fun
 Now it's time to get creative and have fun with your freehand nail art.
Keywords: creativity, fun
Use your nail art brushes and dotting tool to create intricate designs, patterns, or even tiny illustrations on your nails. Don't be afraid to mix and match colors and experiment with different techniques. Remember, freehand nail art doesn't have to be perfect, and imperfections can add character to your design.
Now it's time to get creative and have fun with your freehand nail art.
Keywords: creativity, fun
Use your nail art brushes and dotting tool to create intricate designs, patterns, or even tiny illustrations on your nails. Don't be afraid to mix and match colors and experiment with different techniques. Remember, freehand nail art doesn't have to be perfect, and imperfections can add character to your design.
Seal the Deal with a Top Coat
 Once you're satisfied with your design, let it dry for a few minutes, and then seal the deal with a top coat. This will not only protect your design but also give your nails a glossy finish. Make sure to let the top coat dry completely before going about your day to prevent any smudging or chipping.
Final Thoughts
 Freehand nail art is a fantastic way to express yourself and add some personality to your nails. With the right tools, planning, and creativity, you can create stunning designs at home. So, gather your supplies, let your imagination run wild, and show off your one-of-a-kind freehand nail art.
Keywords: express yourself, unique designs, stunning
Freehand nail art is a fantastic way to express yourself and add some personality to your nails. With the right tools, planning, and creativity, you can create stunning designs at home. So, gather your supplies, let your imagination run wild, and show off your one-of-a-kind freehand nail art.
Keywords: express yourself, unique designs, stunning


