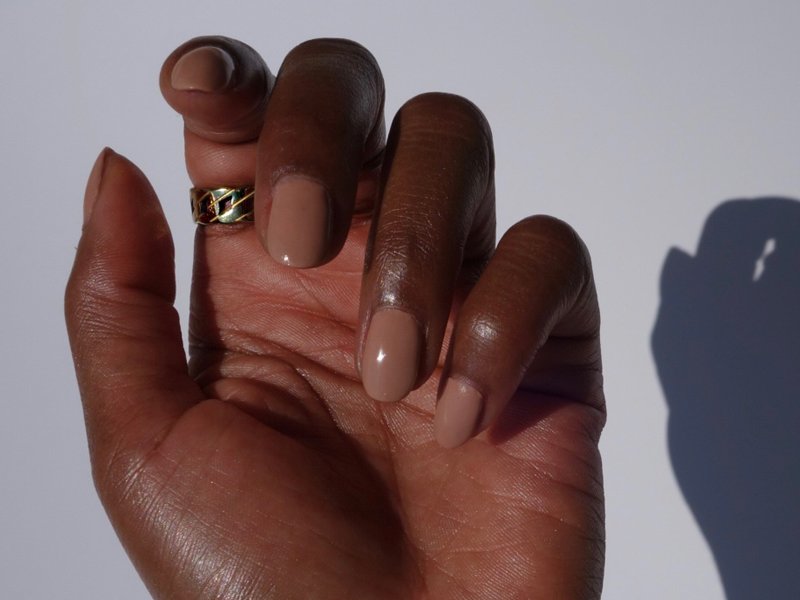
Nail art has become a popular way to express yourself and add a touch of creativity to your look. However, for those of us who are not ambidextrous, doing nail art on our non-dominant hand can be a daunting task. But fear not, with the right techniques and tools, you can create beautiful nail art on both hands. Here are 10 tips to help you master nail art on your non-dominant hand.How to Do Nail Art on Your Non-Dominant Hand


How to Do Nail Art on Your Non-Dominant Hand


Tip 1: Start with a Clean Canvas Tip 2: Use a Good Base Coat Tip 3: Choose the Right Tools Tip 4: Practice Makes Perfect Tip 5: Use Your Non-Dominant Hand as a Guide Tip 6: Take Breaks Tip 7: Start with Simple Designs Tip 8: Use Guides and Stencils Tip 9: Have Patience Tip 10: Practice, Practice, PracticeHow to Do Nail Art on Your Non-Dominant Hand: 10 Tips for Success
Before you begin your nail art, make sure your nails are clean, free of any old polish, and trimmed to the desired length. This will ensure a smooth and even surface to work on.
Applying a base coat is essential for protecting your nails and creating a smooth surface for your nail art. It also helps the polish adhere better, making it last longer.
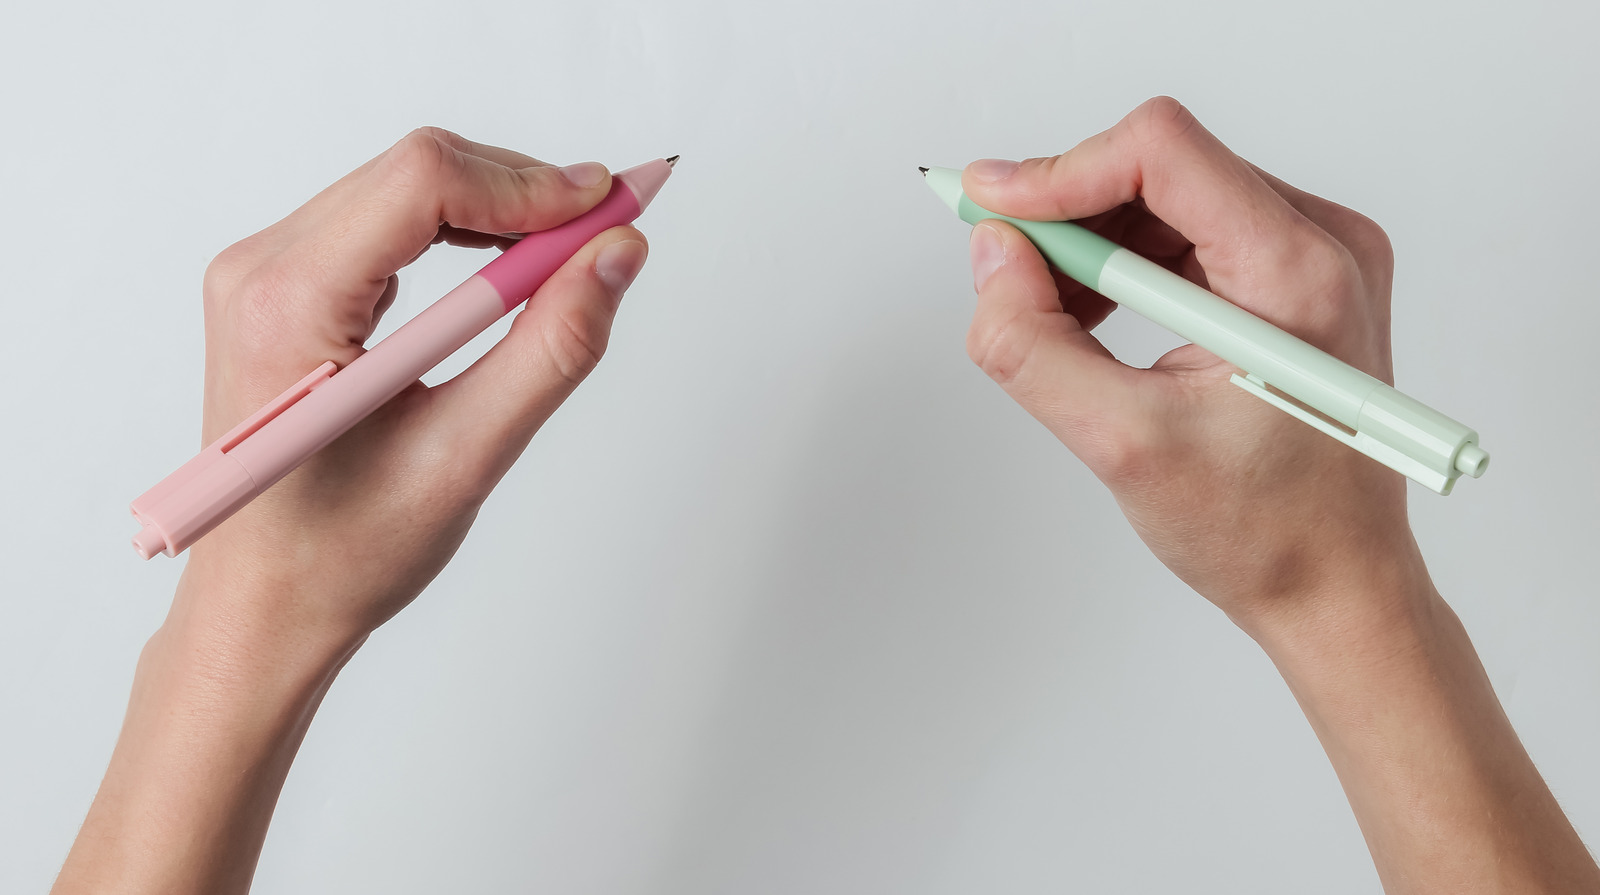
Investing in good quality tools such as a nail art brush, dotting tools, and striping tape can make a huge difference in your nail art. They will help you achieve precise and clean designs on your non-dominant hand.
Don't be discouraged if your first attempt at nail art on your non-dominant hand doesn't turn out as expected. Keep practicing, and you will see improvement with each try.
Use your non-dominant hand as a guide when working on your dominant hand. This will help you achieve symmetry in your designs and make it easier to create similar designs on both hands.
Nail art can be a time-consuming process, so it's essential to take breaks to avoid straining your hand. This will also give you a chance to step back and assess your work before moving on to the next nail.
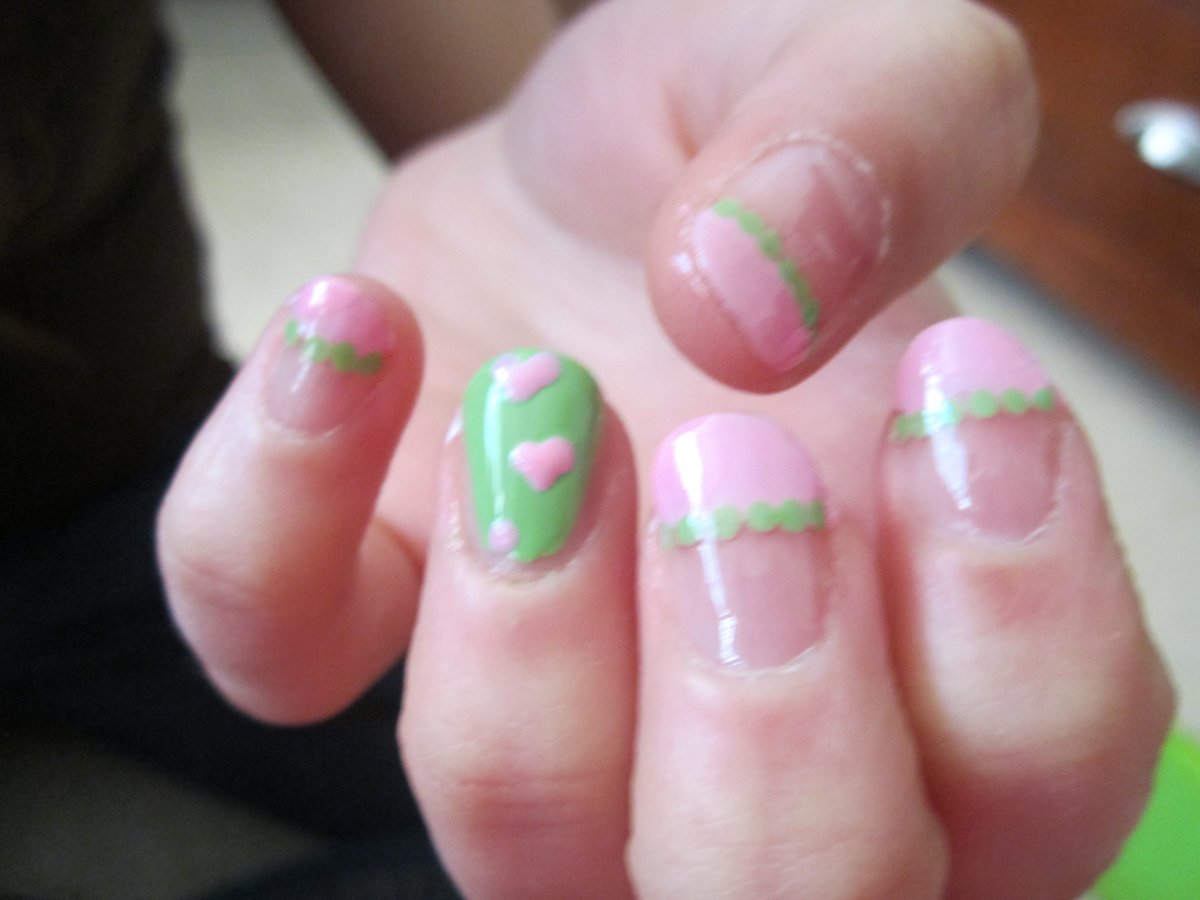
If you're new to nail art, it's best to start with simple designs. Abstract designs, polka dots, or simple lines are great options for beginners on their non-dominant hand.
Guides and stencils can be a lifesaver when it comes to creating intricate and detailed designs on your non-dominant hand. You can find them in various shapes and sizes to suit your desired design.
Nail art requires patience, especially when working on your non-dominant hand. Take your time with each nail and don't rush the process. The end result will be worth it.
As with anything, practice makes perfect. The more you do nail art on your non-dominant hand, the more comfortable and skilled you will become. So keep at it and have fun with it!


How to Do Nail Art on Your Non-Dominant Hand: 10 Tips for Success

Now that you have some tips in mind, here is a step-by-step guide to help you do nail art on your non-dominant hand: Step 1: Prep Your Nails Step 2: Choose Your Design Step 3: Gather Your Tools Step 4: Begin with Your Non-Dominant Hand Step 5: Repeat on Your Dominant Hand Step 6: Clean Up Step 7: Apply Top Coat Voila! You now have beautiful nail art on both hands.How to Do Nail Art on Your Non-Dominant Hand: A Step-by-Step Guide
Start by cleaning and shaping your nails. Then, apply a base coat to protect your nails and make your nail art last longer.
Select a design that you want to recreate on your nails. Keep in mind that simpler designs are easier to do on your non-dominant hand.
Make sure you have all the necessary tools for your chosen design, such as nail polish, nail art brushes, dotting tools, etc.
Start by applying the base color on your non-dominant hand. Then, use your dominant hand as a guide to create the design on each nail.
Once you have completed your non-dominant hand, use the same techniques to recreate the design on your dominant hand. Take your time and use your non-dominant hand as a guide.
Clean up any excess polish or mistakes with a brush dipped in nail polish remover.
Finish off your nail art with a layer of top coat to seal in your design and add shine.


How to Do Nail Art on Your Non-Dominant Hand: A Step-by-Step Guide

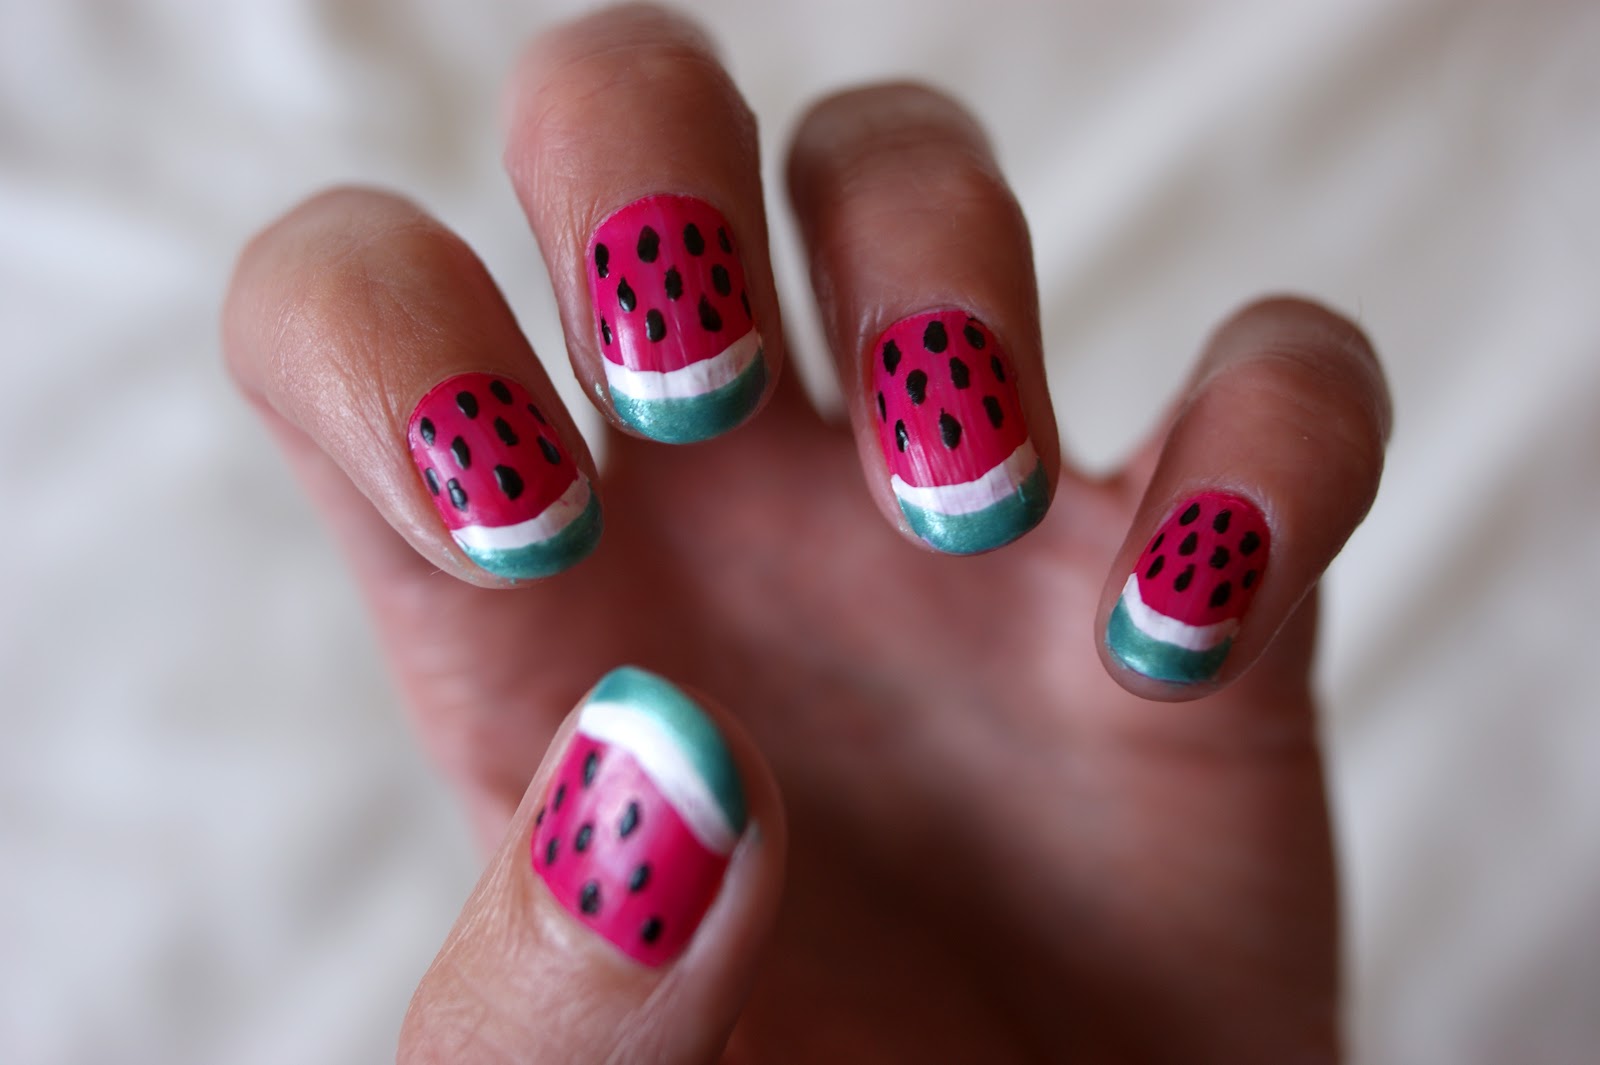
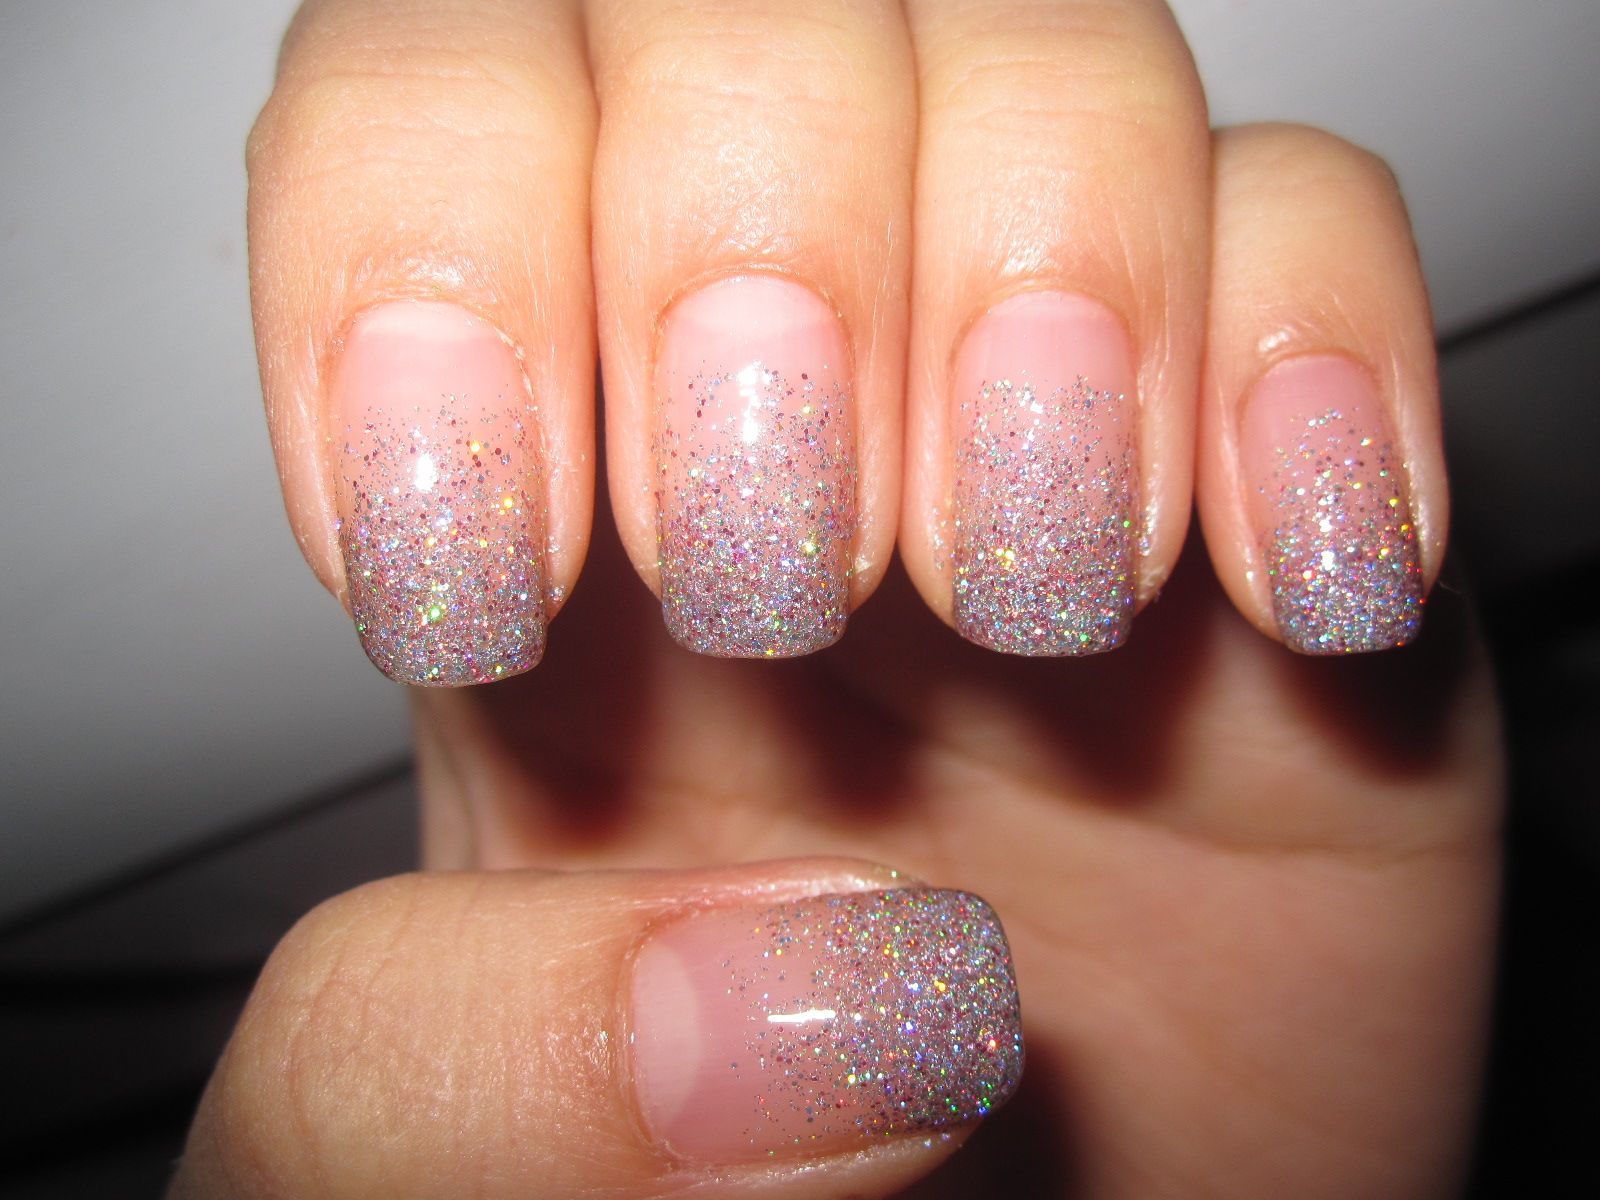
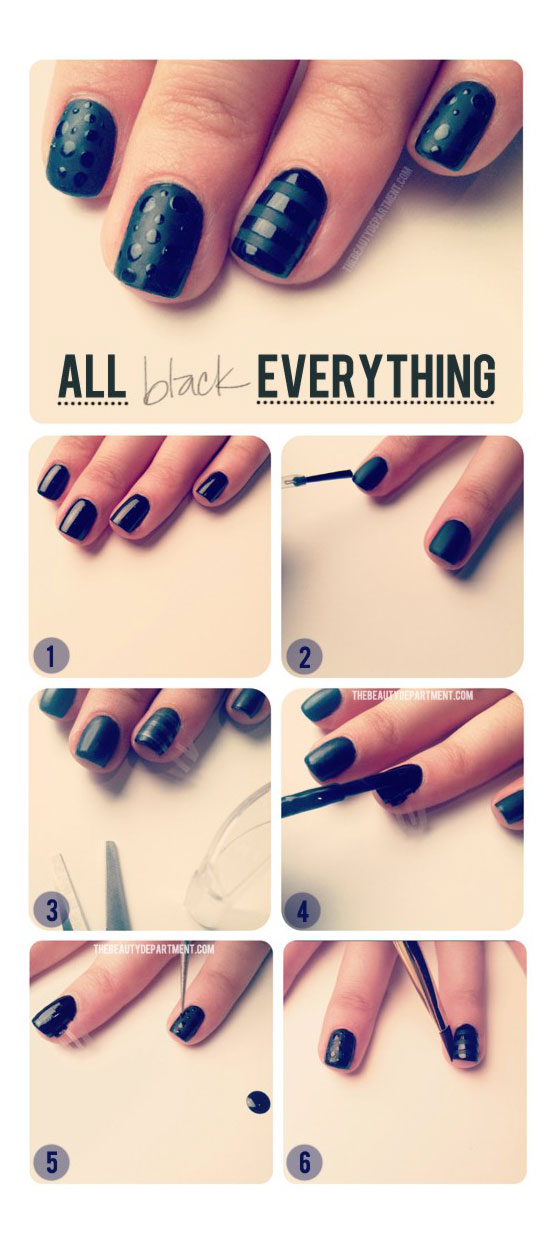
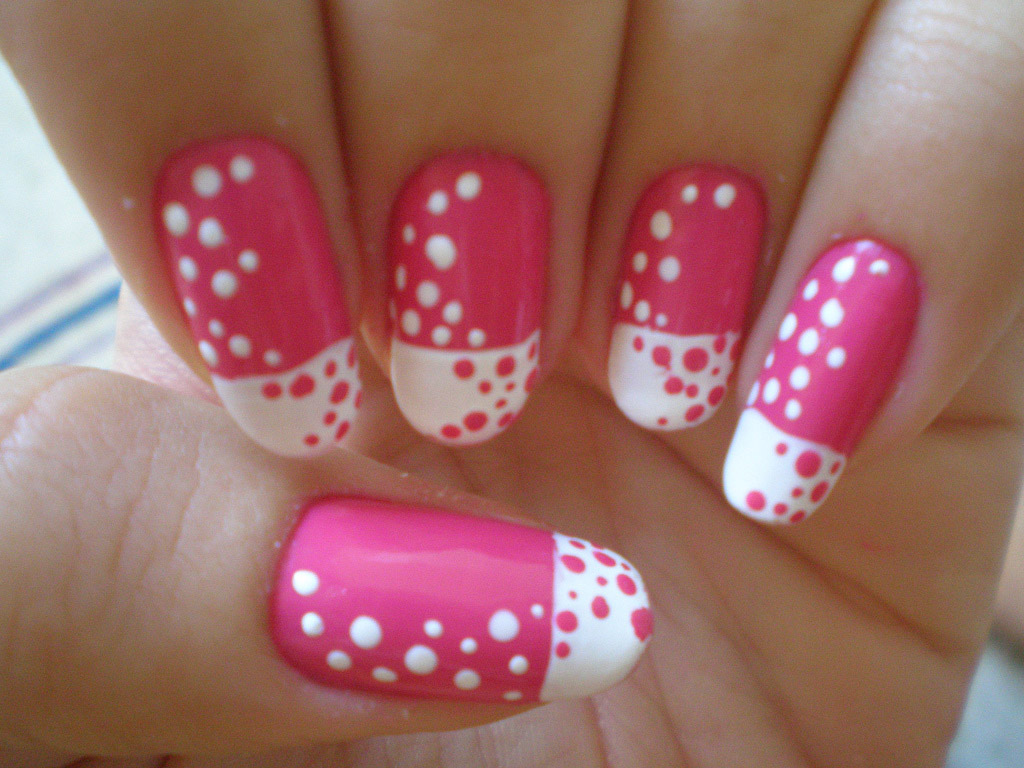
If you're looking for some simple and easy designs to try on your non-dominant hand, here are five ideas to get you started: 1. Polka Dots 2. Stripes 3. Abstract Design 4. Glitter Accent 5. French Tips5 Easy Nail Art Designs for Your Non-Dominant Hand
Using a dotting tool or the end of a bobby pin, create polka dots in various sizes on your nails. You can use different colors for a fun and playful look.
Using striping tape or a thin nail art brush, create stripes on your nails. You can experiment with different colors and thickness for a unique look.
Using a nail art brush, create random strokes and shapes on your nails for an abstract design. This design is forgiving and looks great even if it's not perfect.
Add a touch of glam to your nails by using a glitter nail polish or loose glitter on one or two nails on each hand. This is a simple way to add some sparkle to your nail art.
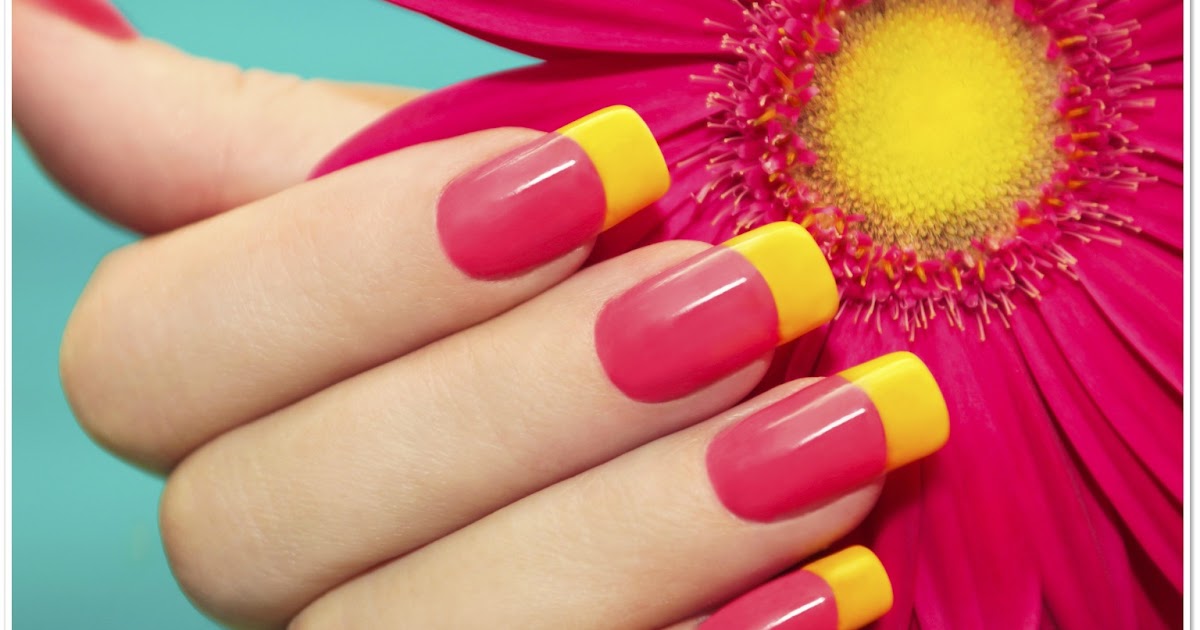
For a classic look, try a French tip design on your non-dominant hand. You can use striping tape or a guide to create a clean and precise line.


5 Easy Nail Art Designs for Your Non-Dominant Hand


If you're new to nail art, don't be intimidated by doing it on your non-dominant hand. With a little practice and patience, you can achieve beautiful nail art on both hands. Start with simple designs and work your way up to more intricate ones. Don't forget to have fun and experiment with different tools and techniques.Nail Art for Beginners: How to Do Your Non-Dominant Hand
Nail Art for Beginners: How to Do Your Non-Dominant Hand

Here are 10 quick tips and tricks to make doing nail art on your non-dominant hand a breeze: 1. Use a Rubber Grip 2. Start with Your Weakest Hand 3. Use a Small Brush 4. Thin Out Your Polish 5. Use a White Base 6. Use Tweezers 7. Work on a Flat Surface 8. Take Your Time 9. Use the Right Lighting 10. Practice, Practice, Practice10 Nail Art Hacks for Your Non-Dominant Hand
Place a rubber band or elastic around the handle of your nail polish brush to get a better grip and more control when applying polish.
If you're right-handed, start with your left hand and vice versa. Your weaker hand will require more attention, so it's best to tackle it first.
A smaller nail art brush will give you more control and precision when creating designs on your non-dominant hand.
Add a drop of nail polish thinner to thick or old nail polishes to make them easier to work with.
Applying a white base coat before your colored polish will make the color pop and cover up any mistakes.
Tweezers can come in handy when applying small rhinestones or decals to your nails. They provide a better grip and more control.
Place a piece of paper or a magazine on your work surface to create a flat and stable surface to work on.
Don't rush the process. Take your time and work on one nail at a time to avoid smudging or making mistakes.
Make sure you have good lighting when doing your nail art. Natural light is best, but if that's not possible, use a bright lamp to ensure you can see what you're doing.
As mentioned before, practice is key to perfecting nail art on your non-dominant hand. So keep at it, and you'll see improvement with each try.


10 Nail Art Hacks for Your Non-Dominant Hand
Having the right tools and techniques can make all the difference when doing nail art on your non-dominant hand. Here are some essential tools and techniques to help you achieve flawless nail art on both hands: Tools: Techniques:How to Do Nail Art on Your Non-Dominant Hand: Tools and Techniques
- Nail polish
- Base coat
- Top coat
- Nail art brushes
- Dotting tools
- Striping tape
- Guides and stencils
- Tweezers
- Nail polish thinner
- Using your non-dominant hand as a guide
- Applying a white base coat
- Working on a flat surface
- Taking breaks
- Starting with simple designs
- Using guides and stencils
- Having patience
- Practicing regularly


How to Do Nail Art on Your Non-Dominant Hand: Tools and Techniques
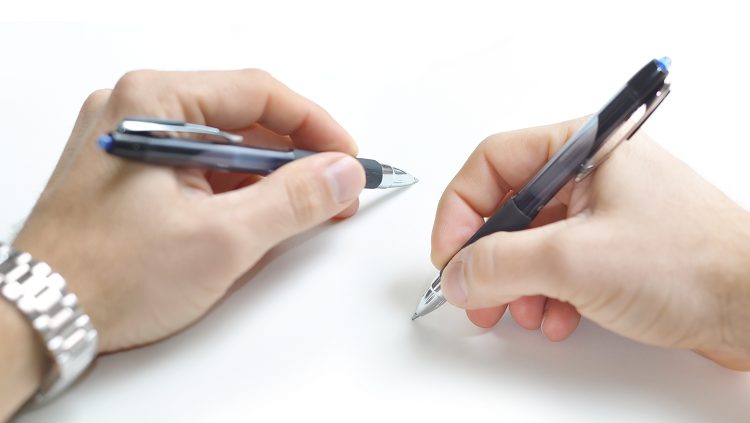
If you're left-handed, doing nail art on your non-dominant hand can be just as challenging. Here are some tips and tricks specifically for lefties: 1. Use Your Right Hand as a Guide 2. Work in Reverse 3. Use Your Pinky Finger 4. Use Your Left Hand to Hold the Brush 5. Practice with Your Non-Dominant HandNail Art for Lefties: Tips and Tricks for Your Non-Dominant Hand
Since your right hand is your dominant hand, use it as a guide when working on your left hand. This will help you achieve symmetry and similar designs on both hands.
If a design is easier for you to do with your dominant hand, try doing it in reverse when working on your non-dominant hand. This means starting with the last step and working backward.
Your pinky finger can act as a support for your non-dominant hand while you paint with your dominant hand. This will help steady your hand and give you more control.
For those who use their left hand to hold the brush, hold the brush in your left hand when creating designs on your right hand. This will give you more control and precision.
As a leftie, you may have more experience using your non-dominant hand for tasks. Use this to your advantage and practice doing nail art with your non-dominant hand to improve your skills.


Nail Art for Lefties: Tips and Tricks for Your Non-Dominant Hand
For right-handed individuals, doing nail art on your non-dominant hand can seem like an impossible task. But with these tips and tricks, you can master the art on both hands: 1. Use Your Left Hand as a Guide 2. Hold the Brush in Your Right Hand 3. Use Your Right Hand for Support 4. Practice with Your Non-Dominant Hand 5. Be PatientMastering Nail Art on Your Non-Dominant Hand: A Guide for Righties
Your left hand is your non-dominant hand, so use it as a guide when working on your right hand. This will help you achieve similar designs and symmetry on both hands.
Hold the brush in your right hand when creating designs on your left hand. This will give you more control and precision with your dominant hand.
Your right hand can act as support for your non-dominant hand while you paint with your left hand. This will help steady your hand and give you more control.
As a rightie, you may have more experience using your non-dominant hand for tasks. Use this to your advantage and practice doing nail art with your non-dominant hand to improve your skills.
Mastering nail art on your non-dominant hand takes time and patience. Don't get discouraged if your first few attempts don't turn out as expected. Keep practicing, and you will see improvement with each try.

Mastering Nail Art on Your Non-Dominant Hand: A Guide for Righties

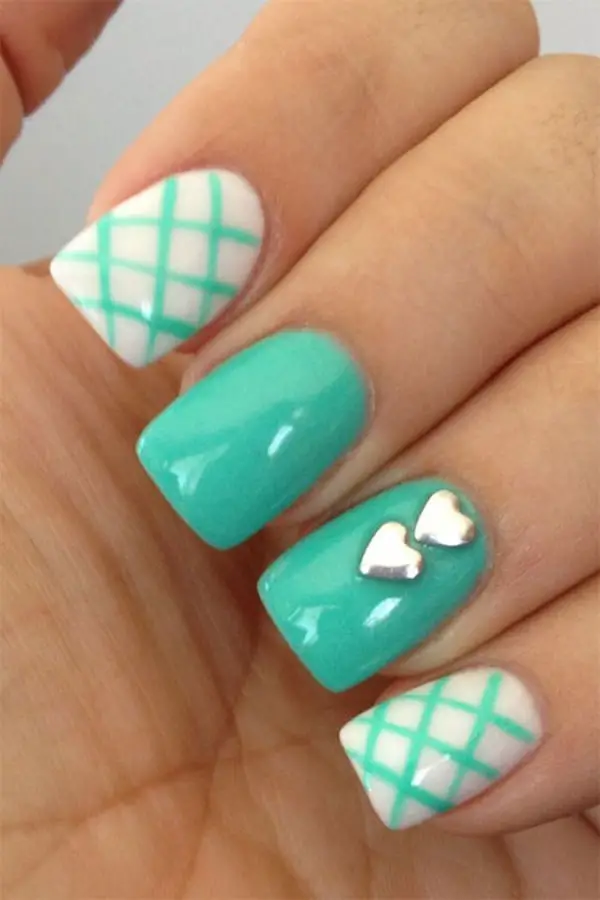
Now that you have some tips and tricks under your belt, here are 10 nail art designs that are perfect for your non-dominant hand: 1. Floral Nails 2. Geometric Nails 3. Ombre Nails 4. Watercolor Nails 5. Striped Nails10 Nail Art Designs You Can Do on Your Non-Dominant Hand
Create delicate and pretty floral designs on your nails using a nail art brush and dotting tool.
Use striping tape and different colors to create geometric patterns on your nails for a modern and trendy look.
Use a makeup sponge to create a gradient effect on your nails. This design is forgiving and looks great on both hands.
Create a beautiful watercolor effect on your nails using a sponge and a few different nail polish colors.
Using striping tape or a nail art brush, create clean and precise stripes on your nails. You can use different colors or stick to a monochromatic look.


10 Nail Art Designs You Can Do on Your Non-Dominant Hand


The Benefits of Doing Nail Art on Your Non-Dominant Hand

Why Nail Art is Not Just for Professionals
 When it comes to nail art, many people tend to think it's only for professionals or those with steady hands. However, that is simply not the case. Anyone can learn how to do nail art, even on their non-dominant hand. In fact, there are numerous benefits to doing nail art on your non-dominant hand that make it worth giving it a try.
Improves Coordination and Dexterity
 One of the main benefits of doing nail art on your non-dominant hand is that it can help improve your coordination and dexterity. Our non-dominant hand often gets neglected and doesn't get as much practice as our dominant hand. By doing nail art on this hand, you are challenging yourself and training your brain and muscles to work in a different way. This can lead to improved coordination and dexterity not just in your hand, but in daily tasks as well.
Boosts Creativity and Self-Expression
 Nail art is a form of self-expression and doing it on your non-dominant hand can push you out of your comfort zone and allow for more creativity. It can also be a therapeutic and relaxing activity, giving you a chance to unwind and tap into your creative side. You can experiment with different designs, colors, and techniques, and truly make your nails a unique extension of your personality.
Related Keyword:
Nail Art Techniques
Nail art is a form of self-expression and doing it on your non-dominant hand can push you out of your comfort zone and allow for more creativity. It can also be a therapeutic and relaxing activity, giving you a chance to unwind and tap into your creative side. You can experiment with different designs, colors, and techniques, and truly make your nails a unique extension of your personality.
Related Keyword:
Nail Art Techniques
Saves Time and Money
 Another great benefit of doing nail art on your non-dominant hand is that it can save you time and money. Instead of constantly going to a nail salon to get your nails done, you can do it yourself at home. And by practicing on your non-dominant hand, you can become more proficient and efficient, saving you time in the long run. Plus, with the right tools and techniques, you can create salon-worthy designs at a fraction of the cost.
Related Keyword:
DIY Nail Art
Another great benefit of doing nail art on your non-dominant hand is that it can save you time and money. Instead of constantly going to a nail salon to get your nails done, you can do it yourself at home. And by practicing on your non-dominant hand, you can become more proficient and efficient, saving you time in the long run. Plus, with the right tools and techniques, you can create salon-worthy designs at a fraction of the cost.
Related Keyword:
DIY Nail Art
Final Thoughts
 In conclusion, doing nail art on your non-dominant hand may seem daunting at first, but the benefits are well worth the effort. Not only does it improve coordination and dexterity, boost creativity and self-expression, and save time and money, but it also allows for a fun and enjoyable activity. So don't be afraid to try it out and see how it can enhance your nail art skills and overall well-being.
Featured Keyword:
Non-Dominant Hand Nail Art
In conclusion, doing nail art on your non-dominant hand may seem daunting at first, but the benefits are well worth the effort. Not only does it improve coordination and dexterity, boost creativity and self-expression, and save time and money, but it also allows for a fun and enjoyable activity. So don't be afraid to try it out and see how it can enhance your nail art skills and overall well-being.
Featured Keyword:
Non-Dominant Hand Nail Art


