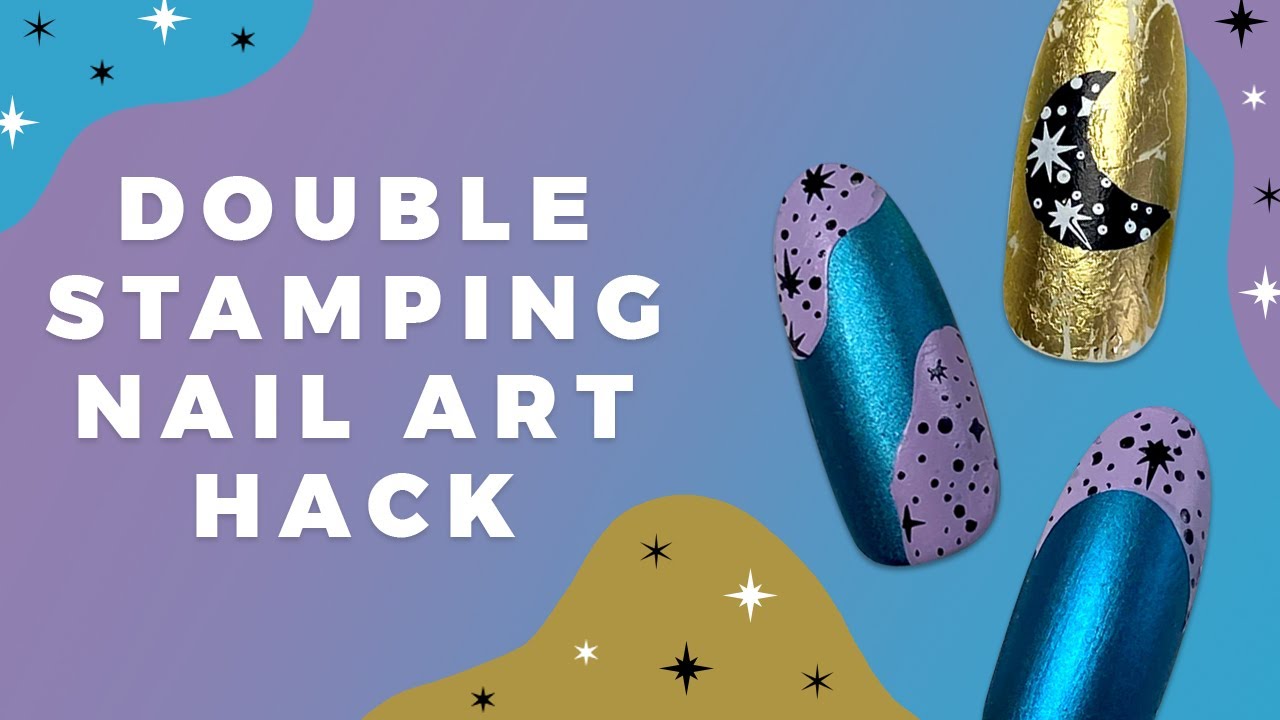
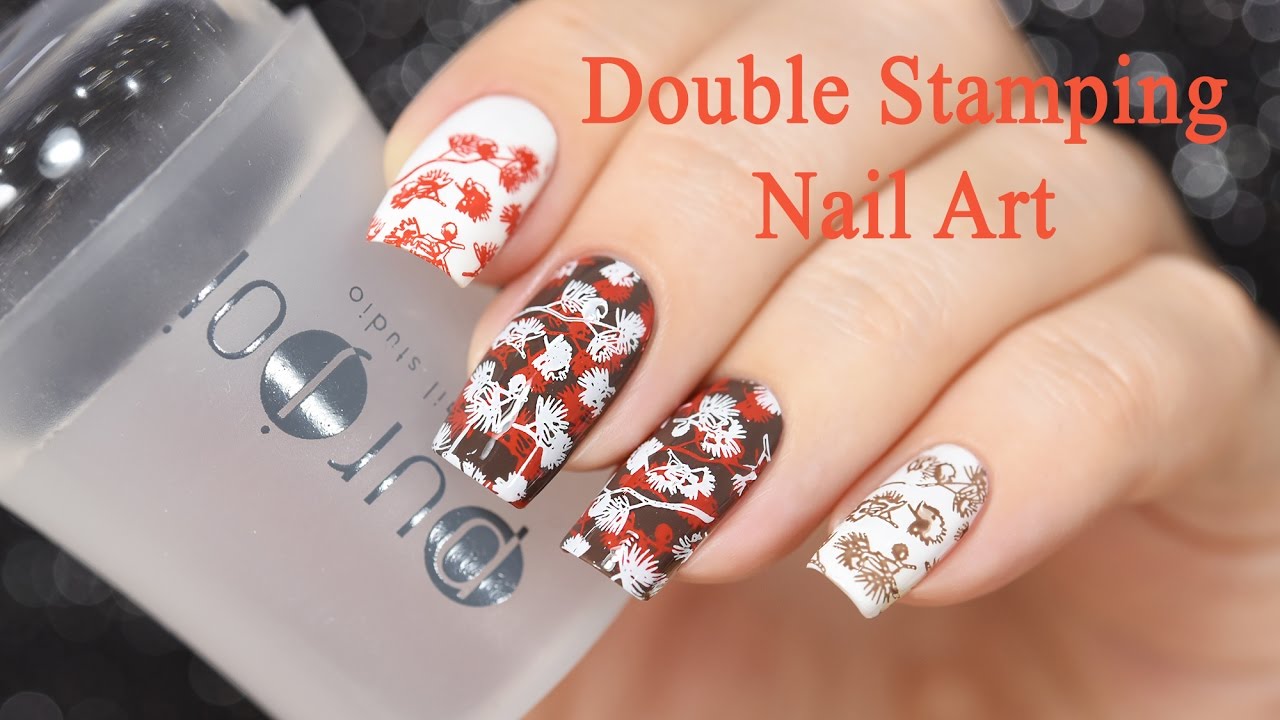
Are you looking for a fun and creative way to spice up your nail game? Look no further than double stamping nail art! This technique involves using two different nail stamping plates to create a unique and eye-catching design on your nails. In this tutorial, we'll walk you through the steps to achieve this trendy nail art. So let's get started!Double Stamping Nail Art Tutorial


Double Stamping Nail Art Tutorial


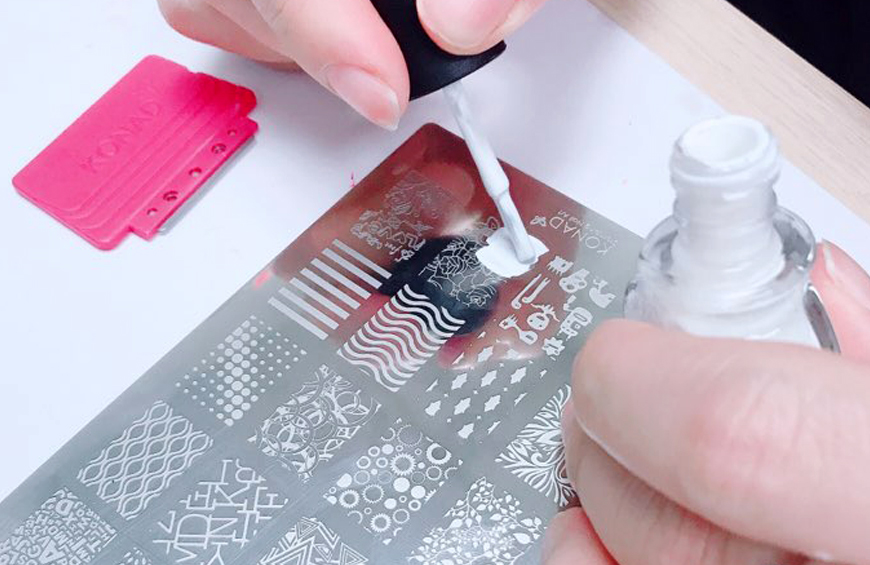
To create double stamping nail art, you will need a few essential supplies. First, you will need two different nail stamping plates with designs of your choice. You will also need a stamping tool, a scraper, and a stamping polish in your desired color. Additionally, you will need a base coat, top coat, and a cotton swab or brush for cleanup.How to Create Double Stamping Nail Art


How to Create Double Stamping Nail Art

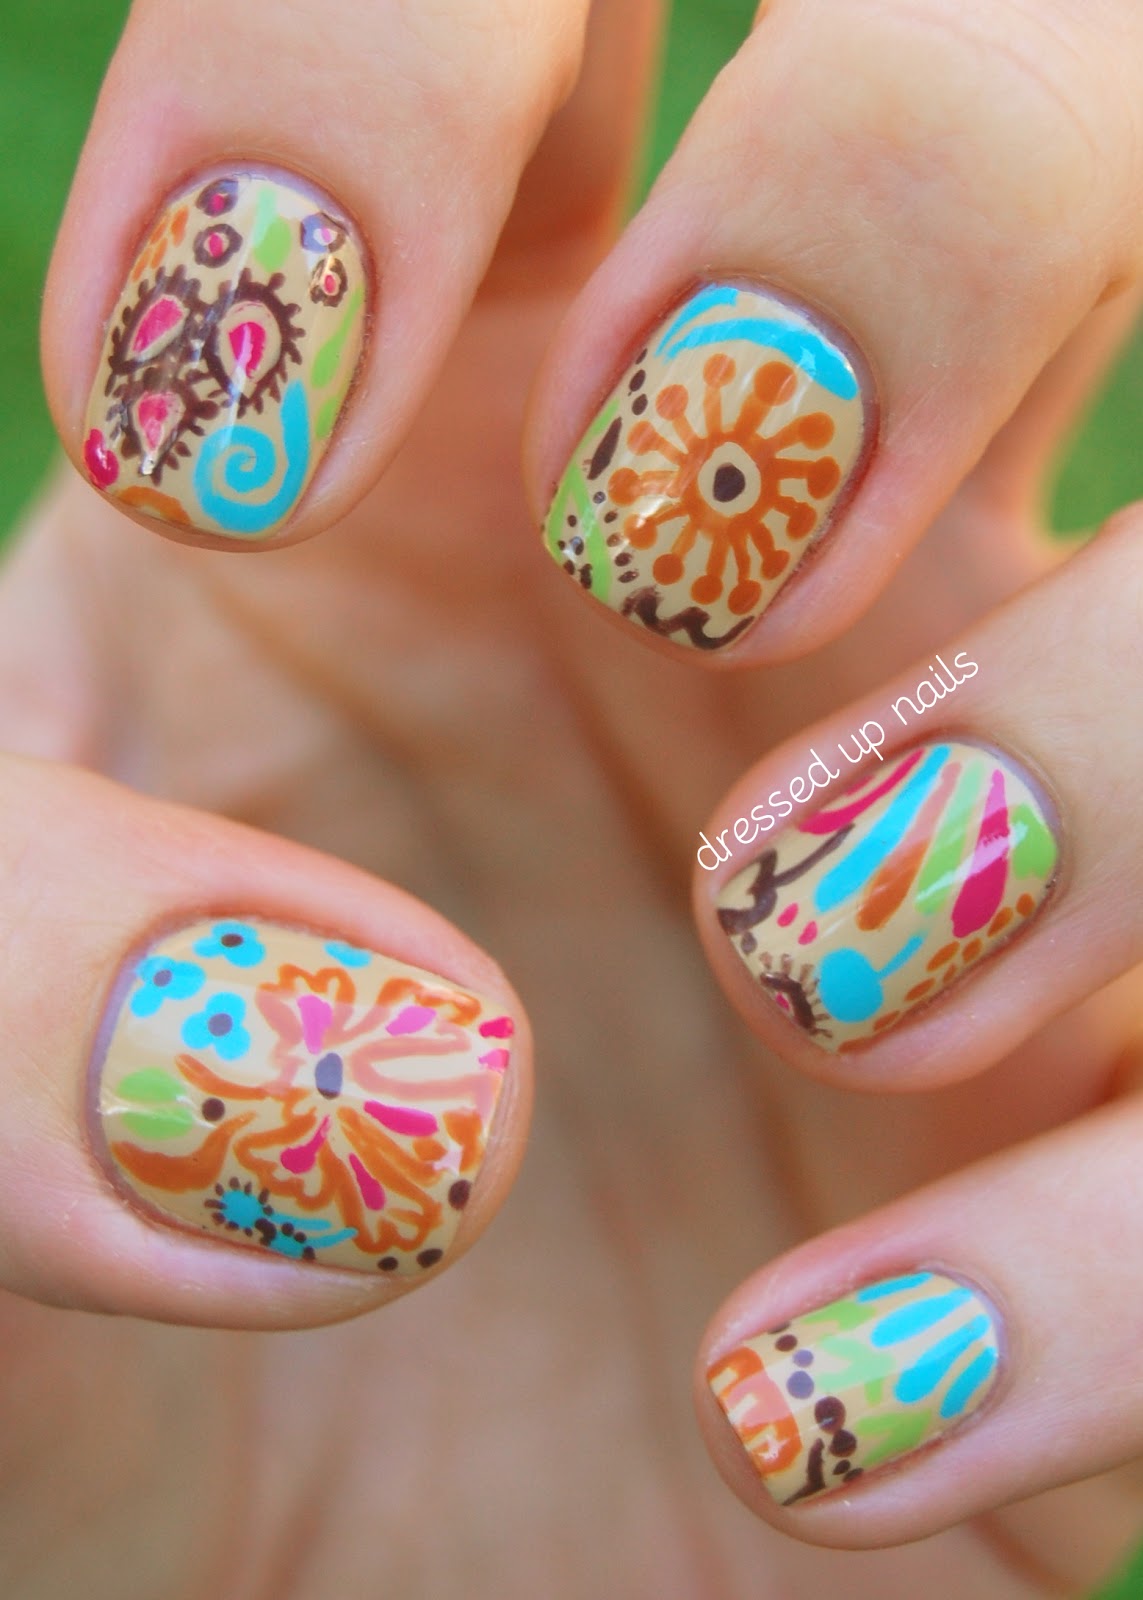
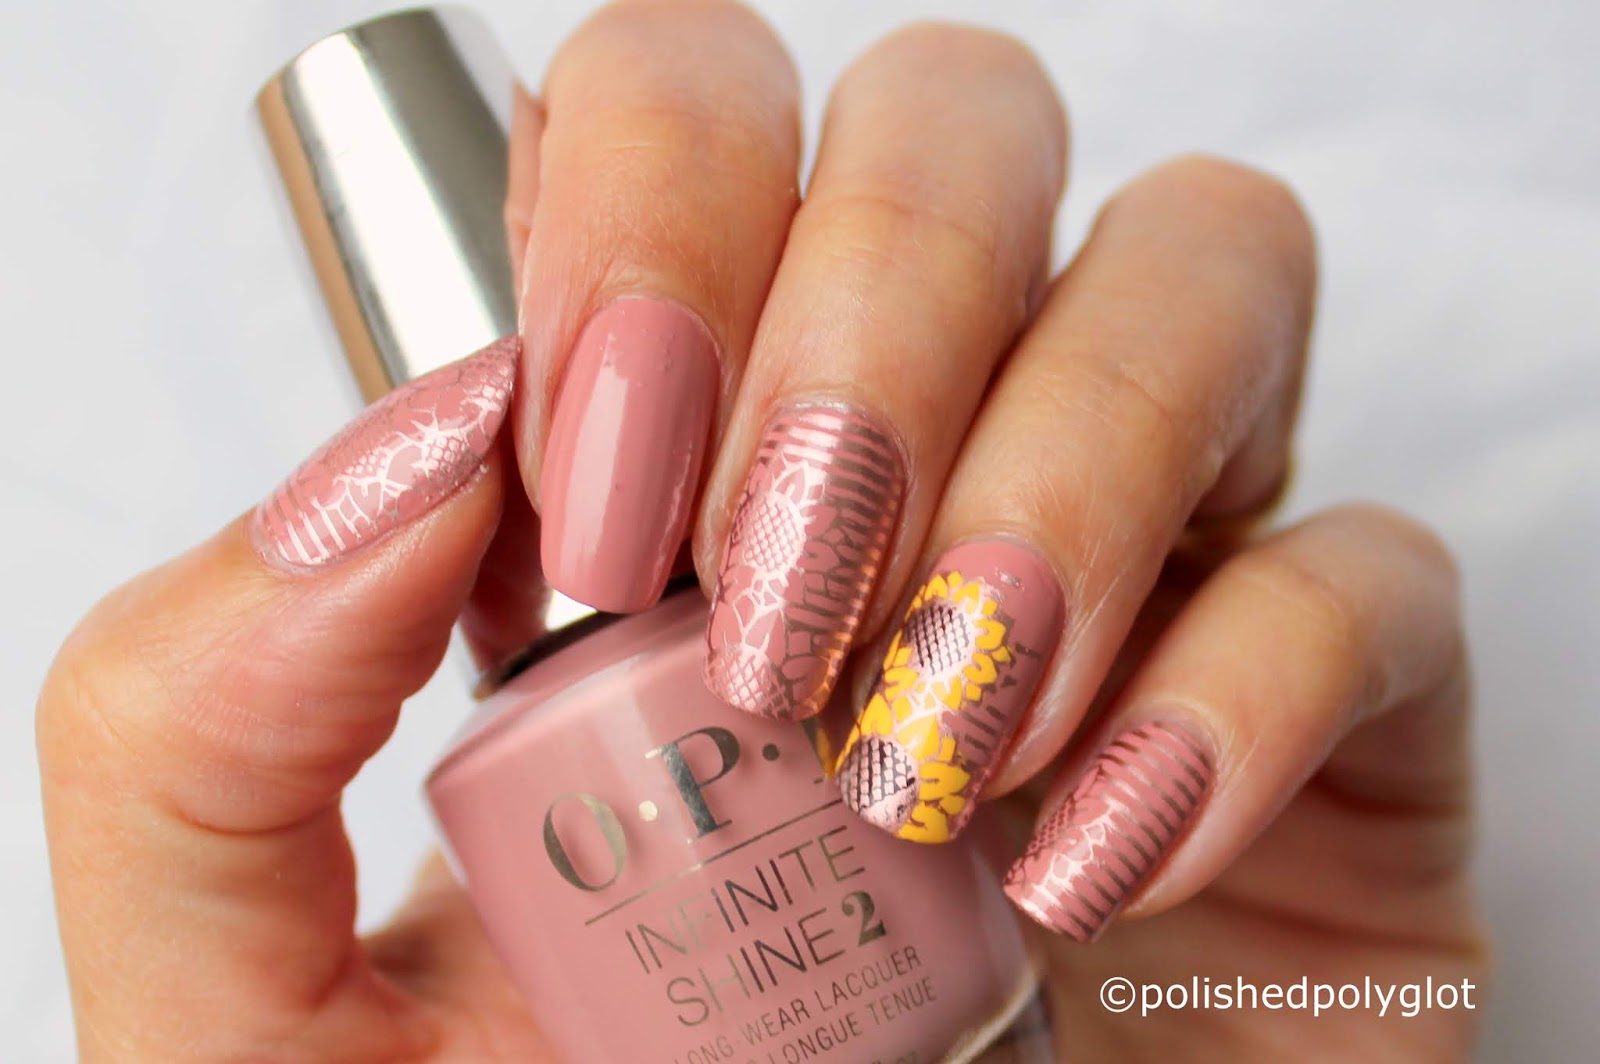
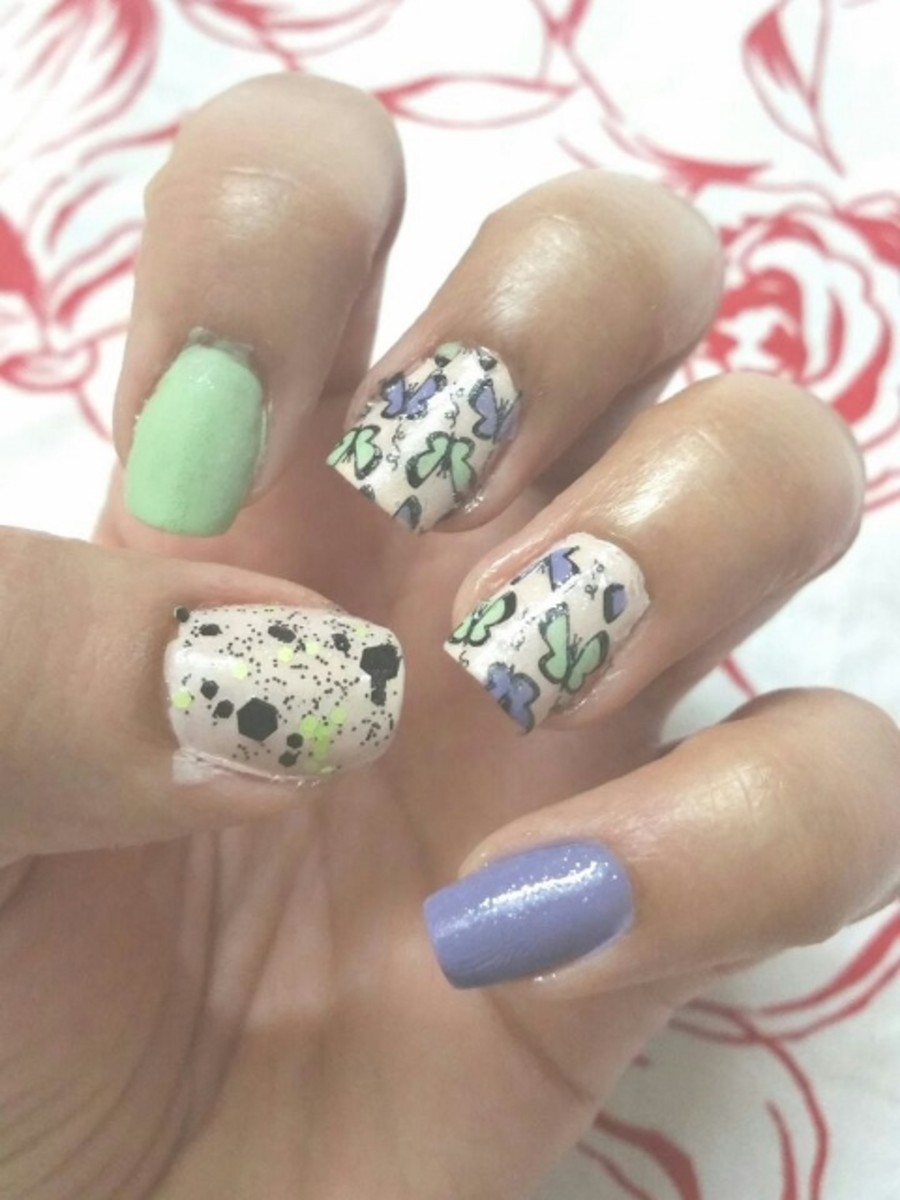
The possibilities are endless when it comes to double stamping nail art designs. You can mix and match different patterns, colors, and themes to create a unique look. Some popular design combinations include floral and geometric patterns, animal prints and abstract designs, or even seasonal designs like snowflakes and pumpkins.Double Stamping Nail Art Designs


Double Stamping Nail Art Designs
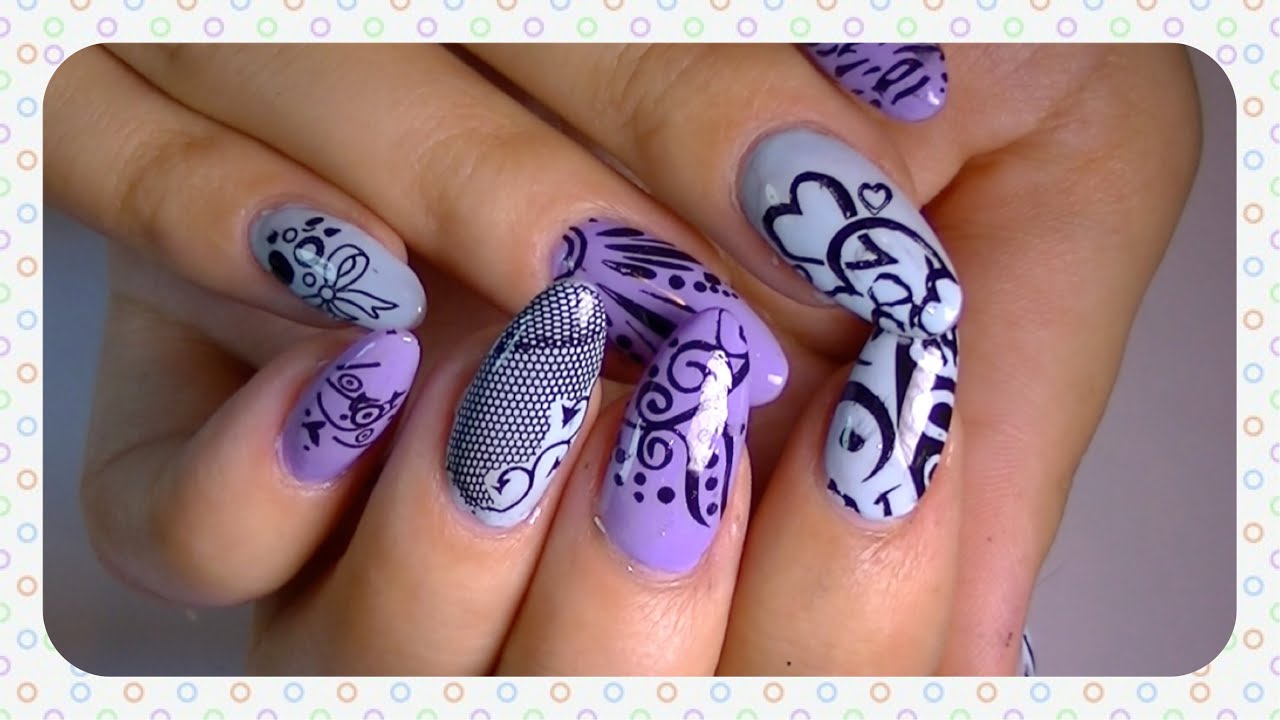
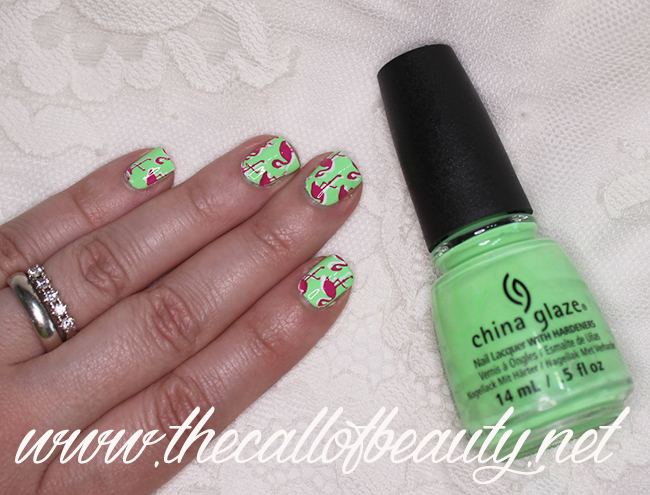
Looking for some inspiration for your next double stamping nail art? Here are some ideas to get you started: 1. Create an ombre effect by using different shades of the same color for each stamping design. 2. Use metallic or holographic stamping polishes for a bold and shimmery look. 3. Try a negative space design by only stamping on certain areas of your nails. 4. Mix and match different stamping plates for a collage-like effect. 5. Add some glitter or rhinestones for extra sparkle and dimension.Double Stamping Nail Art Ideas


Double Stamping Nail Art Ideas
Mastering the technique for double stamping nail art may take some practice, but with these tips, you'll be a pro in no time: 1. Use a light hand when scraping off excess polish from the stamping plate to avoid smudging the design. 2. Roll the stamping tool over the design rather than pressing down to ensure an even transfer of the design onto your nails. 3. Clean your stamping plates and stamping tool after each use to prevent polish buildup and ensure a clean transfer. 4. Work in small sections to avoid the polish drying too quickly.Double Stamping Nail Art Techniques


Double Stamping Nail Art Techniques
To achieve the perfect double stamping nail art, you will need the following supplies: - Two nail stamping plates - Stamping tool - Scraper - Stamping polish - Base coat - Top coat - Cotton swab or brush for cleanupDouble Stamping Nail Art Supplies

Double Stamping Nail Art Supplies
Here are some additional tips to keep in mind when creating double stamping nail art: 1. Allow your base coat to dry completely before starting the stamping process. 2. Apply a top coat over your base coat before stamping to make cleanup easier. 3. Don't be afraid to experiment with different designs and color combinations. 4. Practice makes perfect, so don't get discouraged if your first attempt doesn't turn out as expected.Double Stamping Nail Art Tips

Double Stamping Nail Art Tips
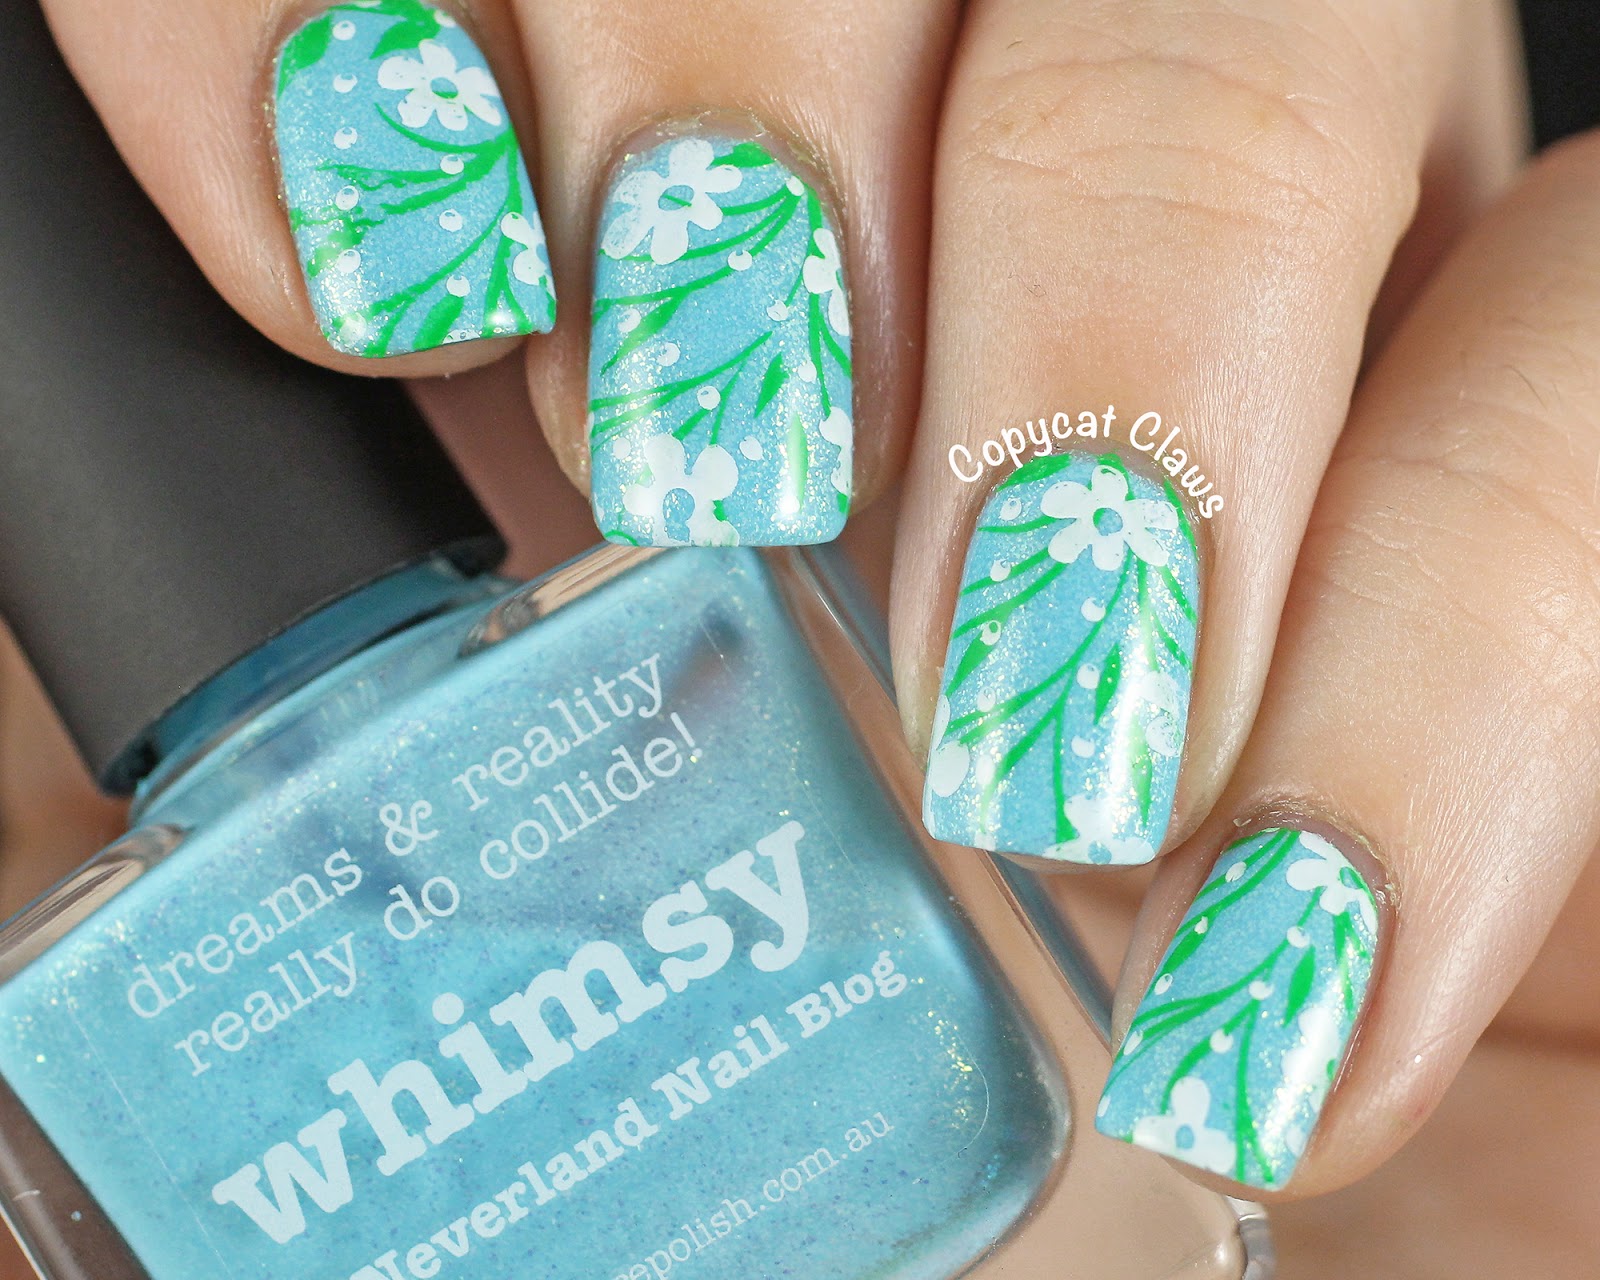
If you're in need of some inspiration for your next double stamping nail art, look no further than social media. Instagram and Pinterest are great platforms to find endless ideas and designs from nail artists all over the world. You can also join online communities or groups dedicated to nail art to share your own creations and get feedback from fellow nail enthusiasts.Double Stamping Nail Art Inspiration
Double Stamping Nail Art Inspiration
Now that you have all the tips and tricks, let's break down the steps to creating double stamping nail art: Step 1: Begin by applying a base coat to protect your natural nails. Step 2: Once the base coat is completely dry, apply a layer of your chosen base color and let it dry. Step 3: Choose two different stamping plates and select the designs you want to use for your nails. Step 4: Apply the stamping polish to the design on the first plate and scrape off the excess polish with the scraper. Step 5: Immediately roll the stamping tool over the design to pick up the polish. Step 6: Stamp the design onto your nail in a rolling motion to ensure an even transfer. Step 7: Repeat steps 4-6 for the second design and stamp it on your nail next to the first one. Step 8: Clean up any excess polish around your nails with a cotton swab or brush dipped in nail polish remover. Step 9: Once the designs are completely dry, apply a top coat to seal in the design and add shine. Step 10: Clean up any remaining polish on your skin and let your nails dry completely before showing off your new double stamping nail art!Double Stamping Nail Art Step-by-Step Guide

Double Stamping Nail Art Step-by-Step Guide
If you're new to nail stamping, don't worry! Double stamping nail art is a great place to start. Start with simple designs and work your way up to more complex ones. Don't be afraid to make mistakes, and remember that practice makes perfect. With some patience and creativity, you'll be creating beautiful double stamping nail art in no time! Ready to try out double stamping nail art? Gather your supplies and get creative with your nail designs. Don't forget to share your creations on social media and tag us in your posts. Happy stamping!Double Stamping Nail Art for Beginners
Double Stamping Nail Art for Beginners

The Art of Double Stamping Nail Art
.jpg)
What is Double Stamping Nail Art?
 Double stamping nail art is a popular trend in the world of nail design. It involves using two different stamping plates to create a unique and intricate design on the nails. This technique allows for endless possibilities and allows nail artists to showcase their creativity and skills. It is a great way to elevate your manicure and make a statement with your nails.
How Does it Work?
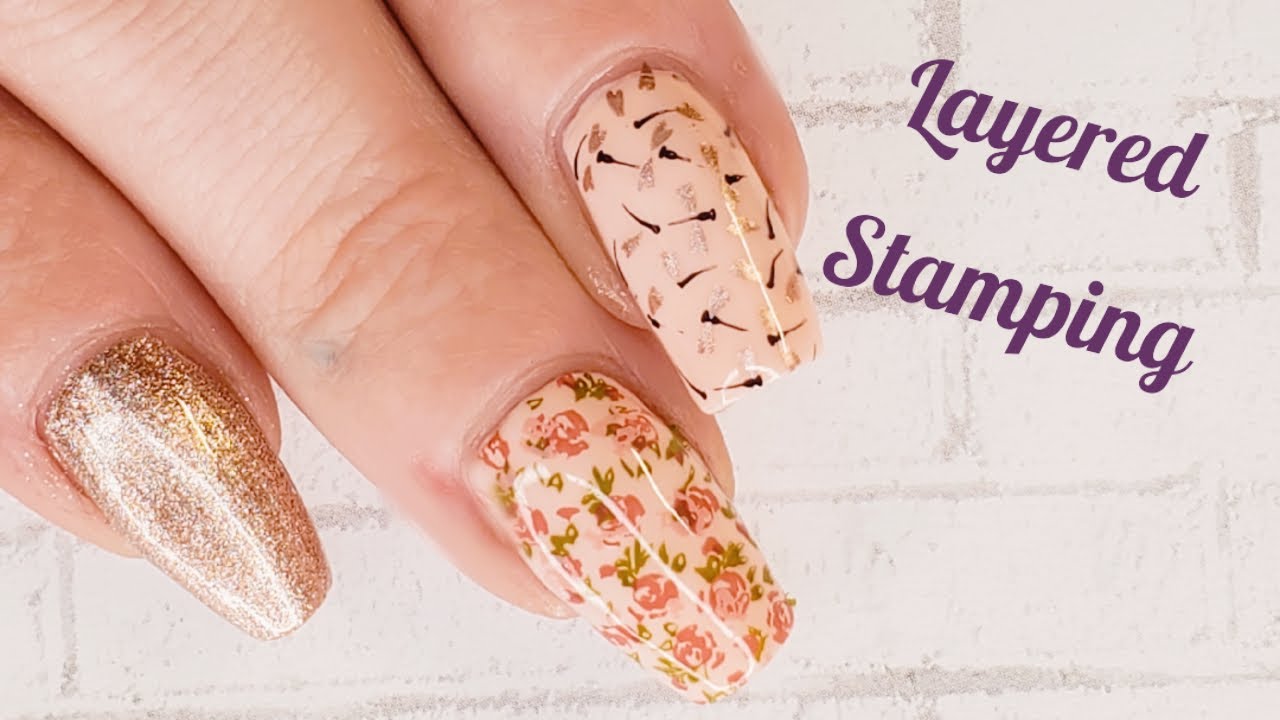
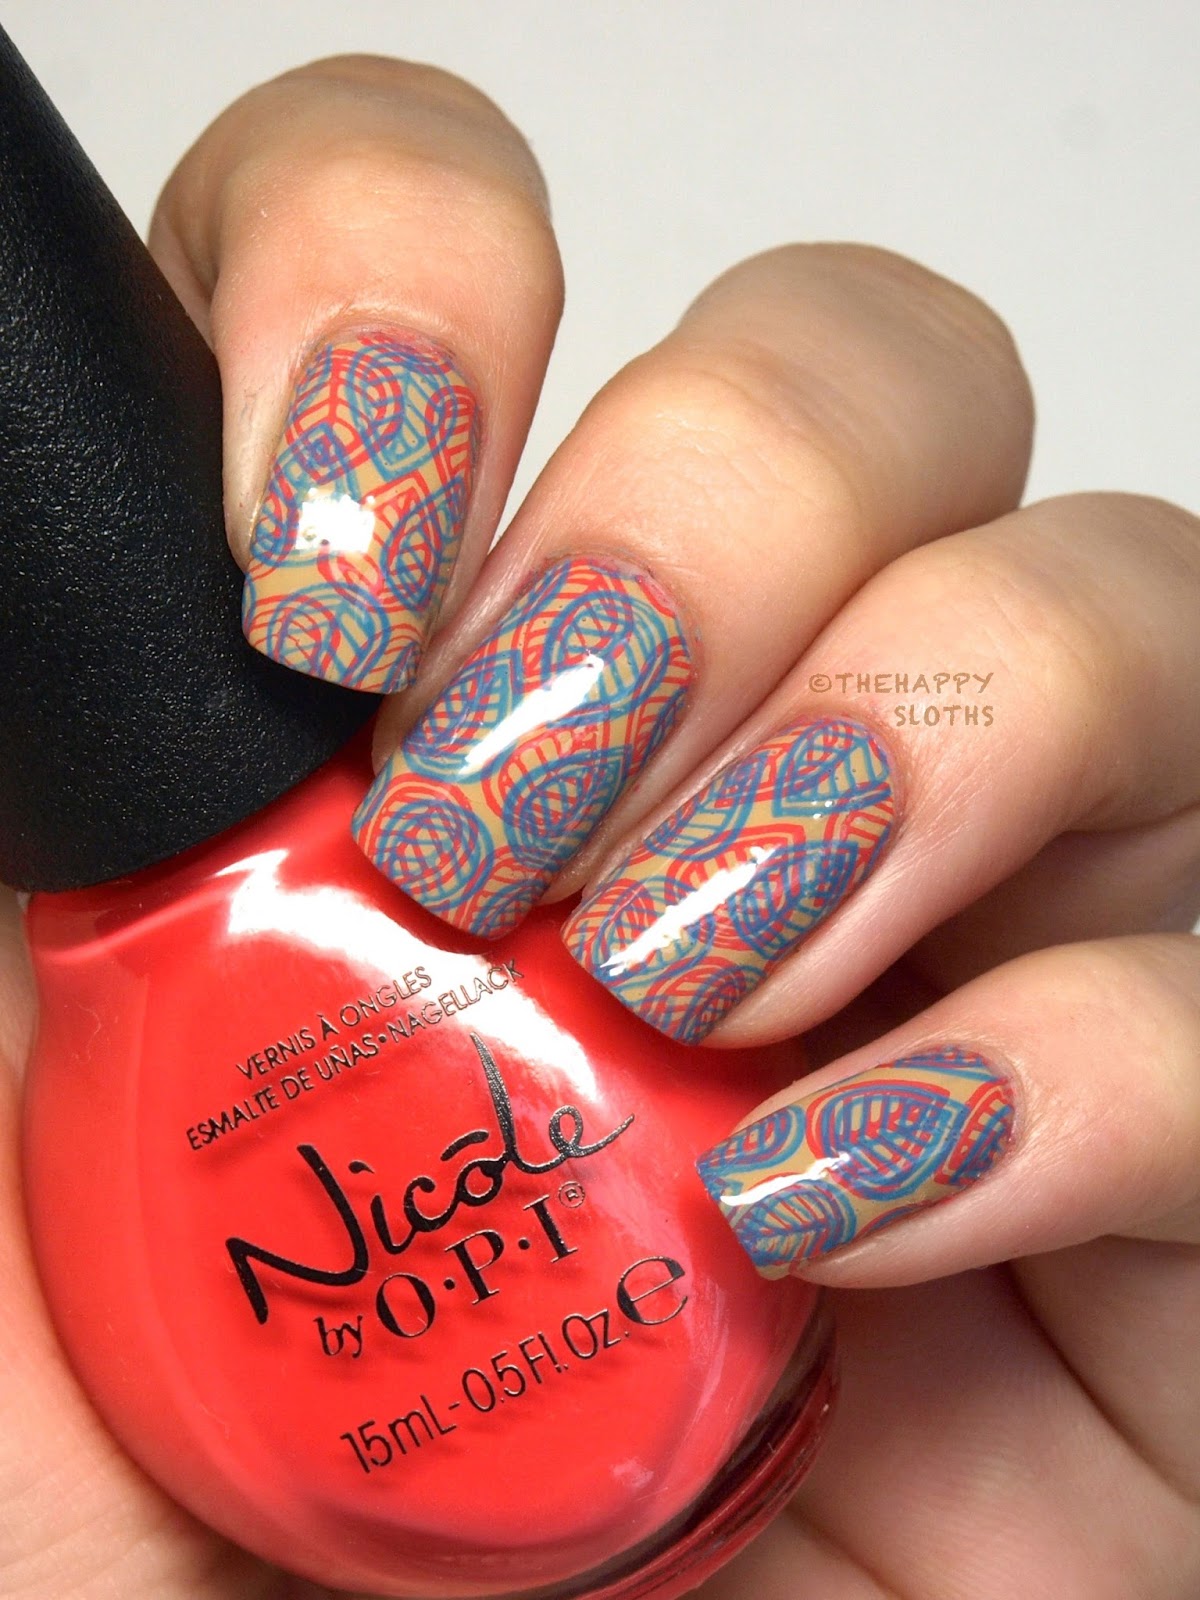
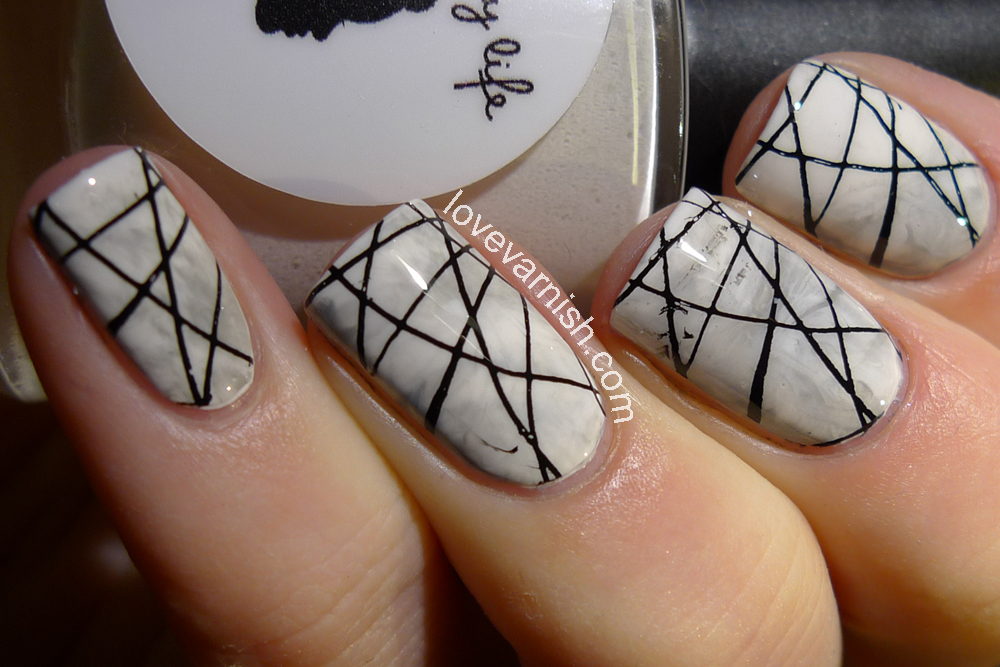 The process of double stamping nail art involves using two different stamping plates with different designs. The first step is to choose a base color for your nails and apply it evenly on your nails. Then, using a stamping tool, transfer the design from the first stamping plate onto your nails. Once that is dry, you can then choose a second stamping plate with a different design and repeat the process on top of the first design. This creates a layered and intricate look on your nails.
Why is it Popular?
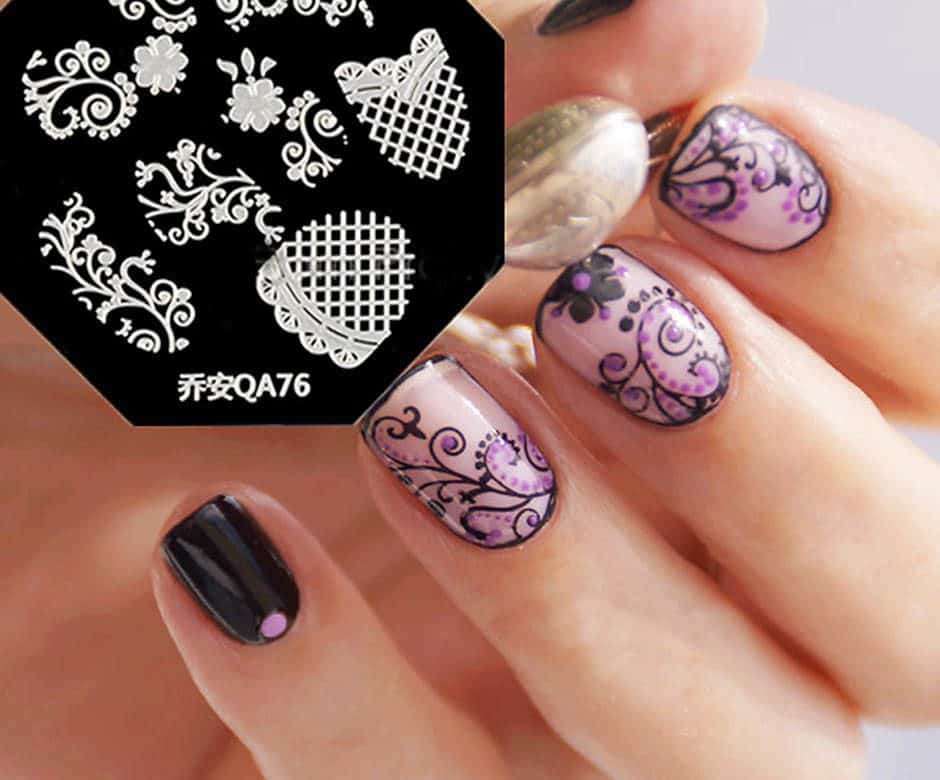
 Double stamping nail art has gained popularity due to its versatility and uniqueness. With this technique, you can create endless combinations of designs and colors, making each manicure one-of-a-kind. It is also a great way to experiment with different stamping plates and create your own custom designs. Additionally, double stamping nail art allows for precise and clean designs, making it suitable for both beginners and experienced nail artists.
How to Achieve the Perfect Double Stamping Nail Art?
 To achieve the perfect double stamping nail art, it is important to have the right tools and products. This includes a good quality stamping tool, stamping plates with intricate designs, and high-quality nail polish. It is also important to have a steady hand and practice the technique to create clean and precise designs. You can also use
top coat
to seal the design and make it last longer.
To achieve the perfect double stamping nail art, it is important to have the right tools and products. This includes a good quality stamping tool, stamping plates with intricate designs, and high-quality nail polish. It is also important to have a steady hand and practice the technique to create clean and precise designs. You can also use
top coat
to seal the design and make it last longer.
Final Thoughts
 Double stamping nail art is a fun and creative way to elevate your manicure and make a statement with your nails. With endless design possibilities and a relatively easy technique, it is a trend that is here to stay. So, grab your stamping tools and get ready to unleash your inner nail artist with this unique and popular technique.


