Are you tired of the same old nail art designs? Want to try something new and unique? Look no further than dry brushing nail art. This technique involves using a dry brush to create beautiful and intricate designs on your nails. It's easy, fun, and perfect for all skill levels. Follow this tutorial for step-by-step instructions on how to achieve stunning dry brushing nail art.1. Dry Brushing Nail Art Tutorial


1. Dry Brushing Nail Art Tutorial


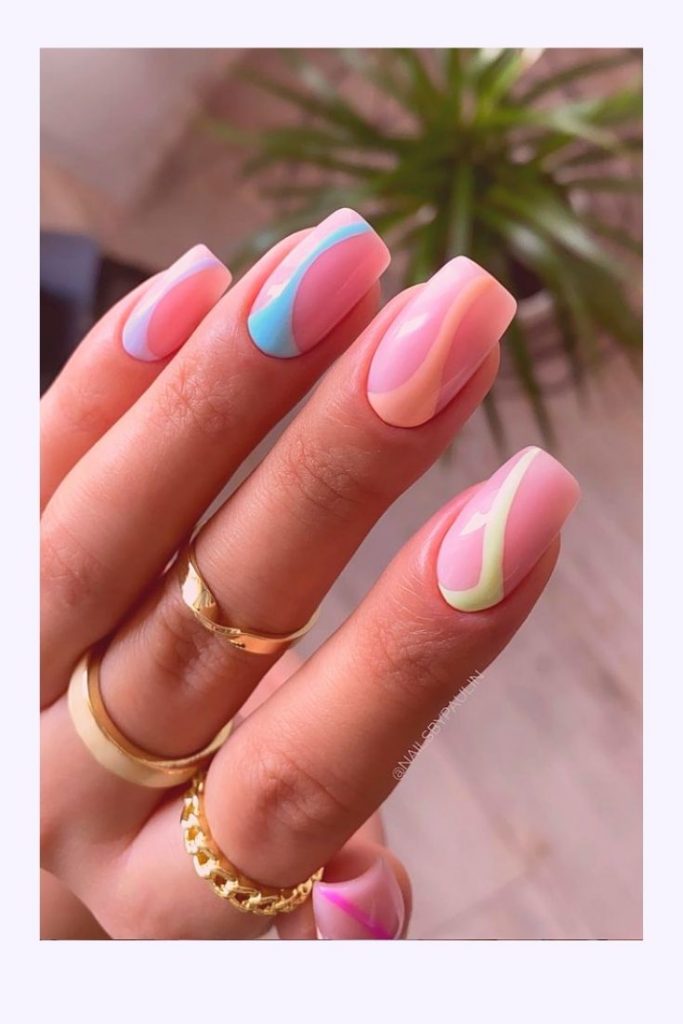
Dry brushing nail art is a versatile technique that allows you to create endless designs. Whether you prefer simple and minimalistic or bold and abstract, the possibilities are endless. With just a few tools and a little bit of practice, you can easily create stunning dry brushing nail art designs that will make your nails stand out from the crowd.2. Easy Dry Brushing Nail Art Designs


2. Easy Dry Brushing Nail Art Designs

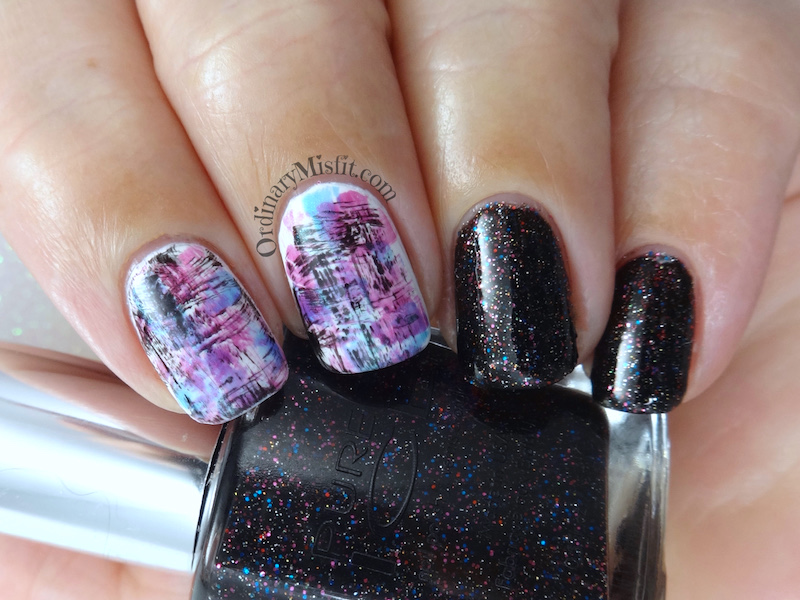


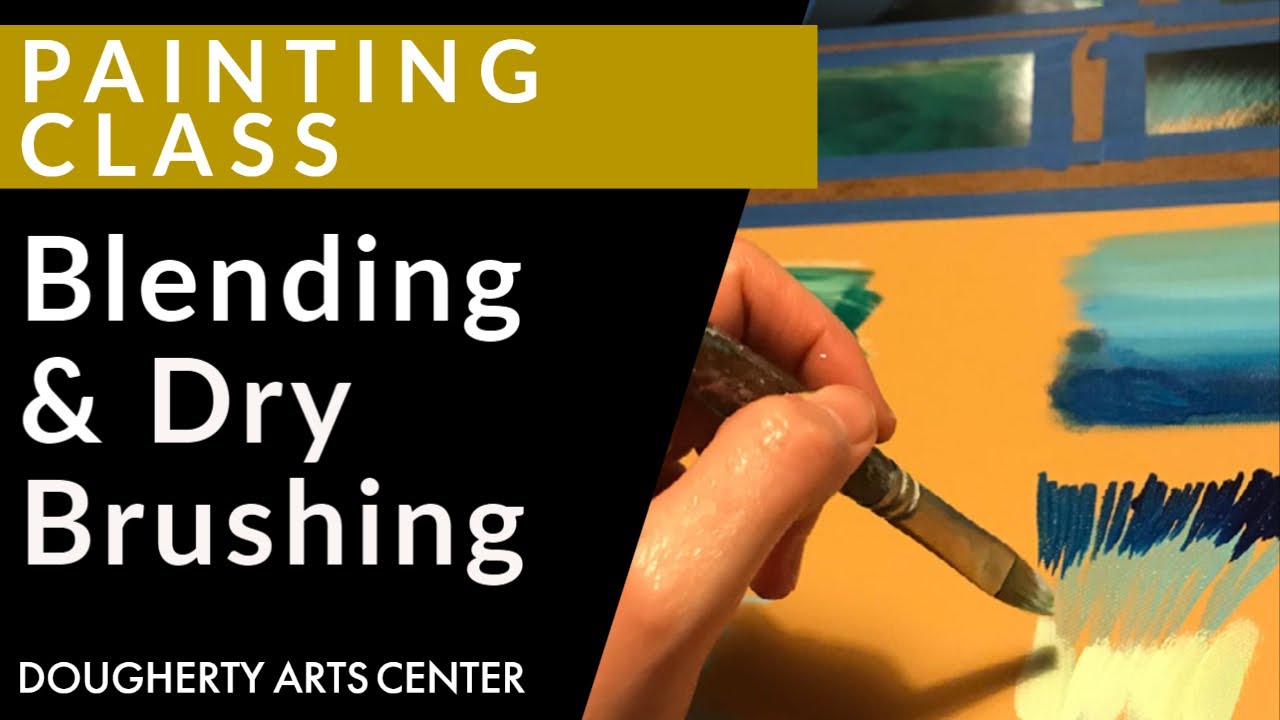
There are several techniques you can use to achieve different effects with dry brushing nail art. One popular technique is to use a light hand and short strokes to create a subtle and delicate design. Another technique is to layer different colors and blend them together for a more vibrant and abstract look. Experiment with different techniques to find the one that works best for you.3. Dry Brushing Nail Art Techniques


3. Dry Brushing Nail Art Techniques
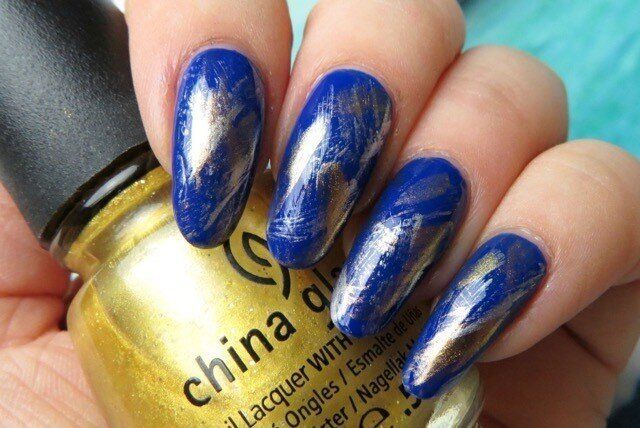
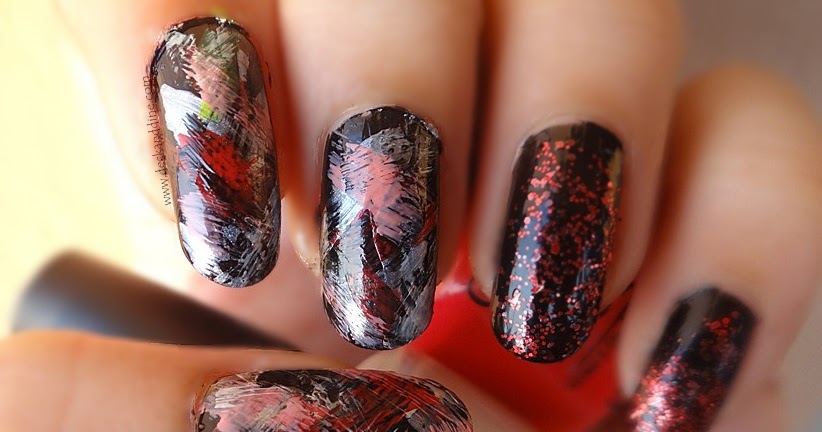
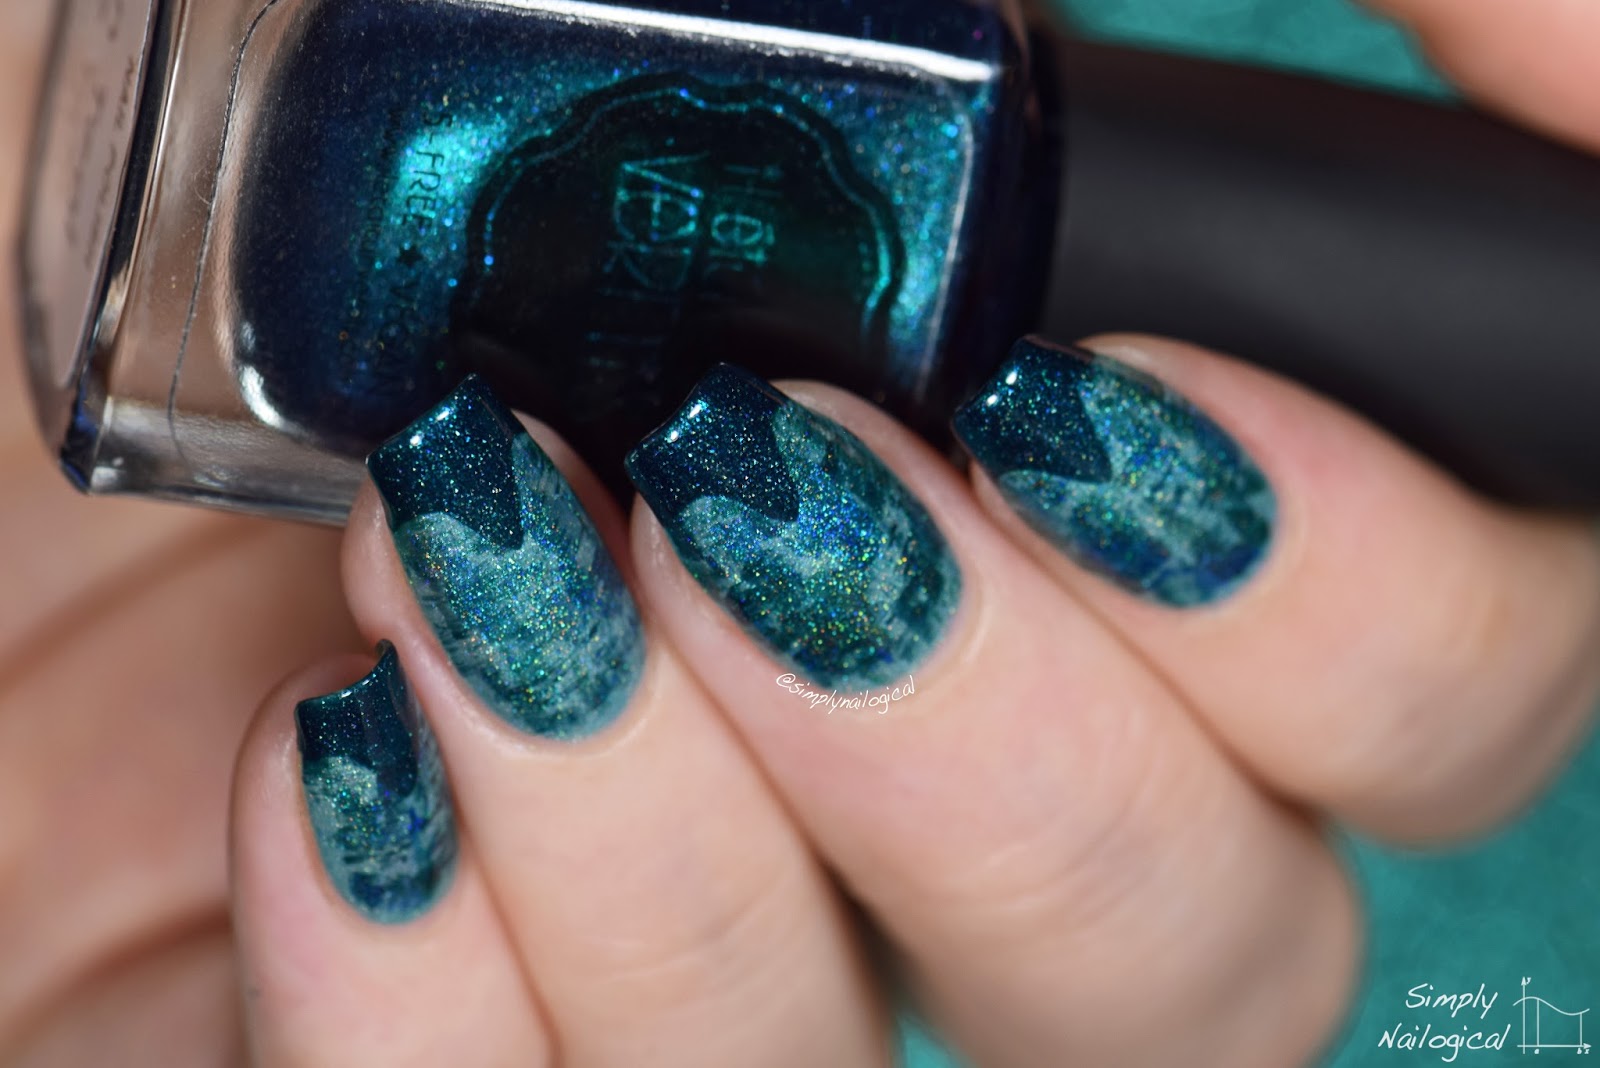
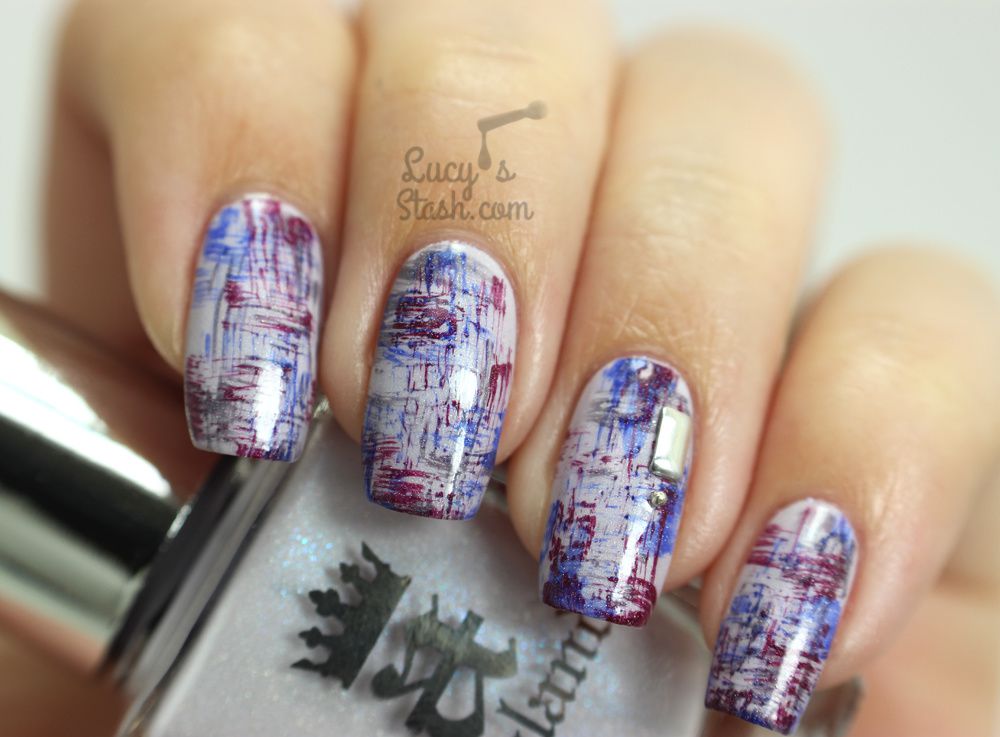
Now that you have the basics down, let's dive into a step-by-step guide on how to create stunning dry brushing nail art. First, start with clean and prepped nails. Then, choose your desired colors and a dry brush. Dip the brush into the polish and remove any excess by wiping it on a paper towel. Next, lightly drag the brush over your nails in the desired pattern. Repeat with different colors until you achieve your desired look. Seal with a topcoat and voila, beautiful dry brushing nail art!4. Step-by-Step Dry Brushing Nail Art

4. Step-by-Step Dry Brushing Nail Art


If you're new to nail art, dry brushing is a great technique to start with. It's easy, forgiving, and doesn't require any special tools. Plus, the results are always stunning. Start with a simple design, like a gradient or ombre effect, and gradually work your way up to more complex designs. With a little bit of practice, you'll be a dry brushing pro in no time.5. Dry Brushing Nail Art for Beginners


5. Dry Brushing Nail Art for Beginners


Dry brushing nail art is all about creativity and experimentation. Don't be afraid to let your imagination run wild and try out different color combinations, patterns, and techniques. You can also incorporate other nail art techniques, like stamping or stenciling, to create unique and one-of-a-kind designs. The key is to have fun and let your creativity shine.6. Creative Dry Brushing Nail Art Ideas


6. Creative Dry Brushing Nail Art Ideas


While most people use regular nail polish for dry brushing, you can also use acrylic paint for a more vibrant and long-lasting look. Acrylic paint is highly pigmented and can be easily thinned down with water for a more translucent effect. It also dries quickly, making it perfect for creating intricate designs. Just make sure to use a separate brush for the paint and clean it thoroughly after each use.7. Dry Brushing Nail Art with Acrylic Paint


7. Dry Brushing Nail Art with Acrylic Paint


Dry brushing nail art can be done on both natural and artificial nails. However, if you have natural nails, it's important to properly prep them before starting. This includes pushing back your cuticles, filing and shaping your nails, and applying a base coat. You can also use a white polish as a base to make the colors pop even more. Follow the same steps as you would with artificial nails, and you'll have stunning dry brushing nail art on your natural nails.8. Dry Brushing Nail Art on Natural Nails


8. Dry Brushing Nail Art on Natural Nails


Gel polish is another great option for dry brushing nail art, especially if you want your design to last longer. The application process is similar to regular nail polish, but you'll need a UV or LED lamp to cure each layer. Gel polish also comes in a wide range of colors and finishes, allowing you to create even more unique and eye-catching designs. Just remember to properly prep your nails and use a gel base and topcoat for the best results.9. Dry Brushing Nail Art with Gel Polish


9. Dry Brushing Nail Art with Gel Polish


Don't think you can't rock dry brushing nail art just because you have short nails. In fact, this technique works particularly well on shorter nails, as the designs can be more concentrated and impactful. You can also use different parts of the brush to create different effects, such as using the tip for finer lines or the side for a wider stroke. So don't be afraid to experiment and show off your stunning dry brushing nail art on your short nails.10. Dry Brushing Nail Art for Short Nails

10. Dry Brushing Nail Art for Short Nails


The Benefits of Dry Brushing Nail Art
Adding a Unique Twist to Your Nail Designs
 When it comes to nail art, there are endless possibilities for creativity and self-expression. From intricate designs to bold colors, nail art has become a popular way for individuals to showcase their personal style. One trend that has recently gained traction is
dry brushing nail art
, a technique that involves using a dry brush to create a textured, brushed effect on the nails. This technique not only adds a unique twist to traditional nail designs, but it also has several benefits for the health and appearance of your nails.
When it comes to nail art, there are endless possibilities for creativity and self-expression. From intricate designs to bold colors, nail art has become a popular way for individuals to showcase their personal style. One trend that has recently gained traction is
dry brushing nail art
, a technique that involves using a dry brush to create a textured, brushed effect on the nails. This technique not only adds a unique twist to traditional nail designs, but it also has several benefits for the health and appearance of your nails.
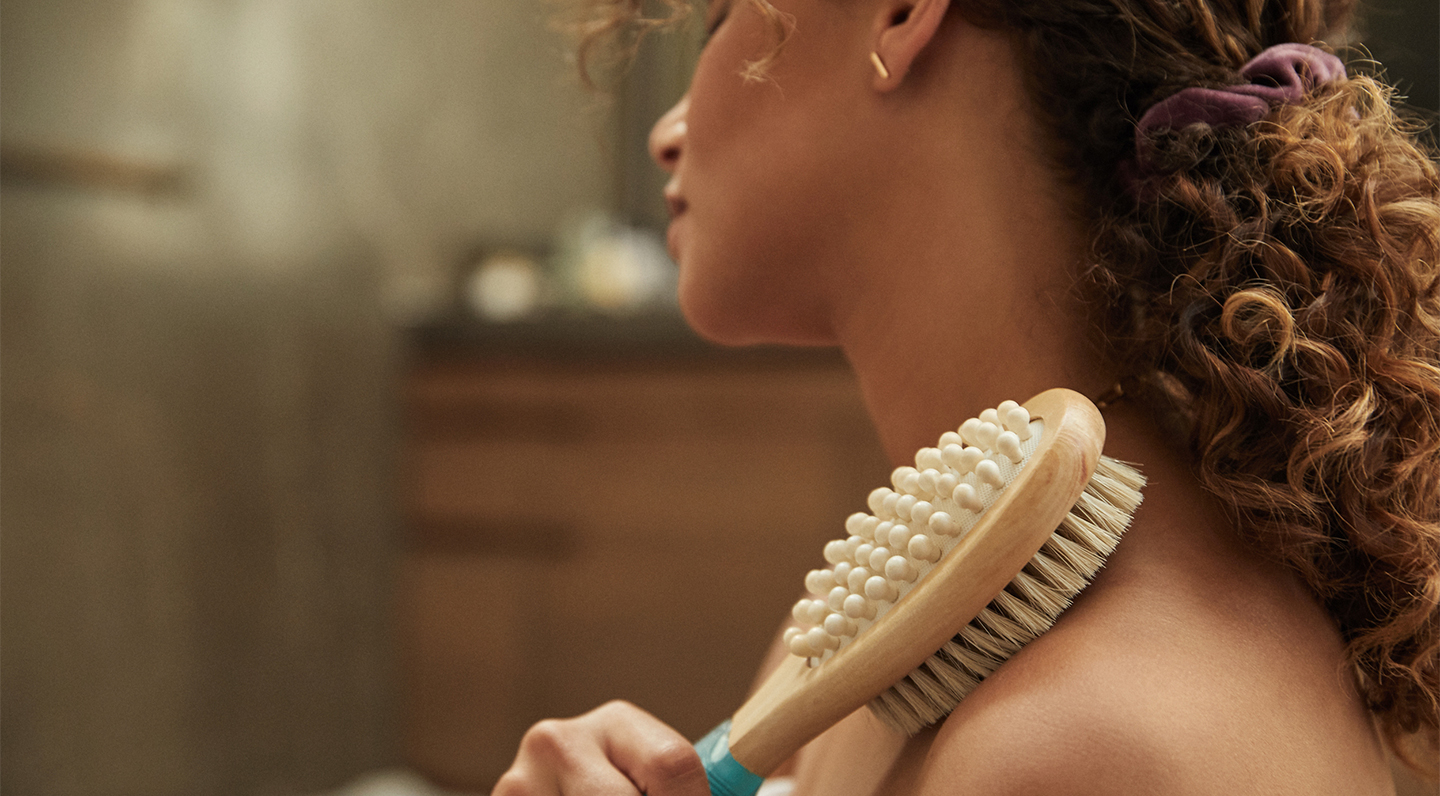
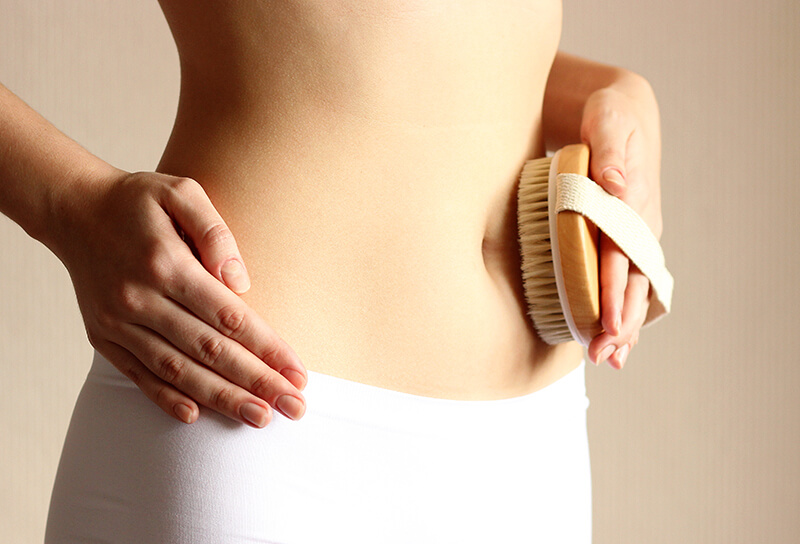
Exfoliation and Detoxification
 One of the main benefits of
dry brushing nail art
is that it helps to exfoliate and detoxify your nails. By using a dry brush to gently scrub your nails, you can remove any dead skin cells and impurities that may be lingering on the surface. This not only leaves your nails looking and feeling smoother, but it also promotes healthy nail growth by allowing new cells to regenerate.
One of the main benefits of
dry brushing nail art
is that it helps to exfoliate and detoxify your nails. By using a dry brush to gently scrub your nails, you can remove any dead skin cells and impurities that may be lingering on the surface. This not only leaves your nails looking and feeling smoother, but it also promotes healthy nail growth by allowing new cells to regenerate.
Improved Blood Circulation
 In addition to exfoliation,
dry brushing nail art
can also improve blood circulation in your fingertips. As you brush the dry brush across your nails, it stimulates the blood vessels and increases blood flow to the area. This can help to nourish and strengthen your nails, making them less prone to breakage and promoting overall nail health.
In addition to exfoliation,
dry brushing nail art
can also improve blood circulation in your fingertips. As you brush the dry brush across your nails, it stimulates the blood vessels and increases blood flow to the area. This can help to nourish and strengthen your nails, making them less prone to breakage and promoting overall nail health.
Enhanced Nail Polish Application
 Another benefit of
dry brushing nail art
is that it can enhance the application of your nail polish. By gently buffing your nails with a dry brush, you can create a smooth and even surface for your nail polish to adhere to. This can help prevent any streaking or clumping of the polish, resulting in a more professional and polished finish.
Another benefit of
dry brushing nail art
is that it can enhance the application of your nail polish. By gently buffing your nails with a dry brush, you can create a smooth and even surface for your nail polish to adhere to. This can help prevent any streaking or clumping of the polish, resulting in a more professional and polished finish.
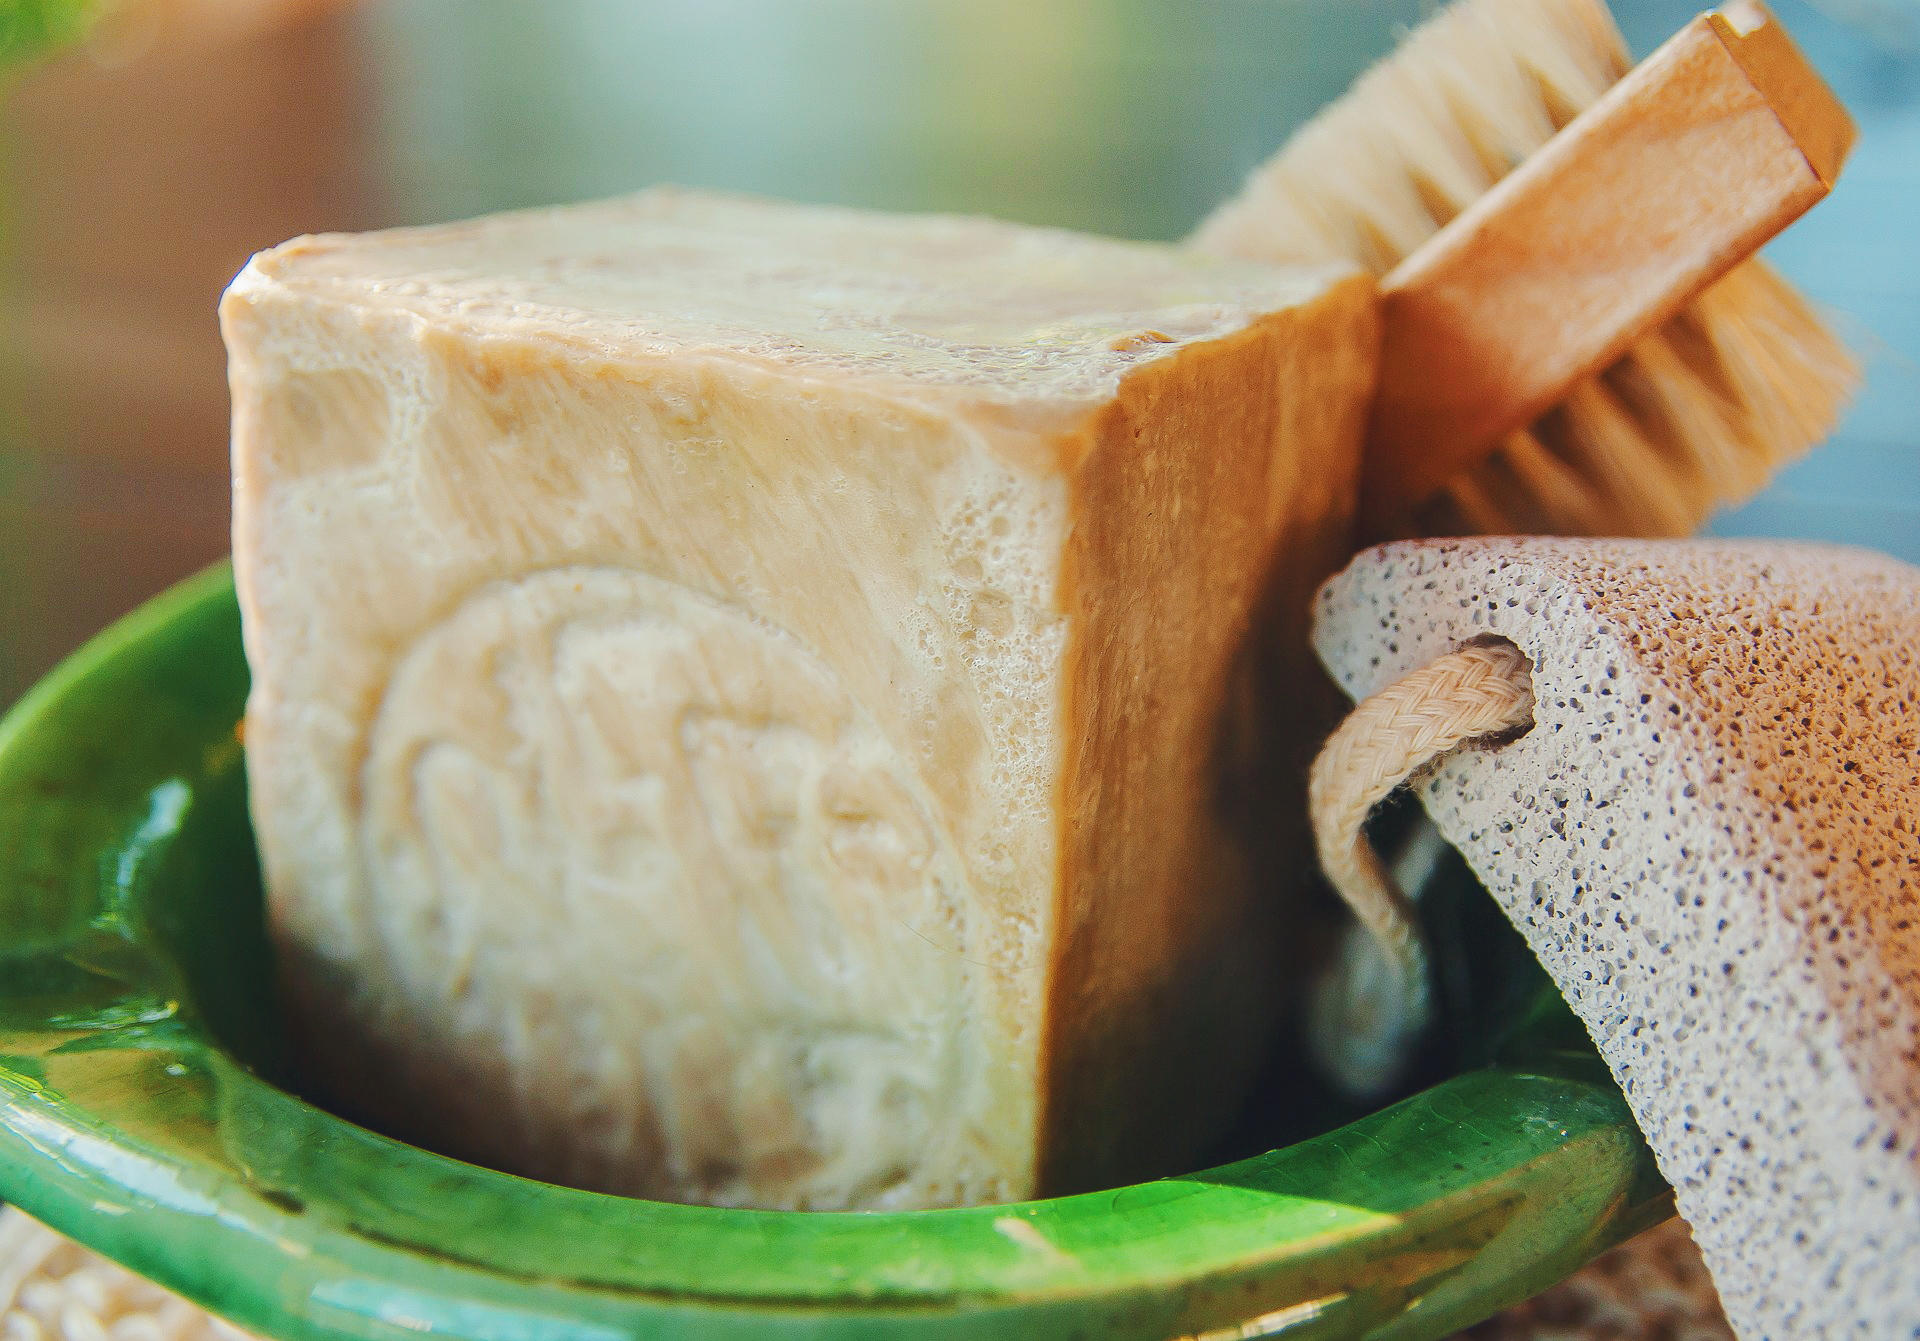
A Budget-Friendly Option
 Not only is
dry brushing nail art
a unique and beneficial technique, but it is also a budget-friendly option for those who love to experiment with their nails. Instead of purchasing expensive tools and supplies, all you need for dry brushing is a clean, dry nail brush. This makes it a great DIY option for those who want to try something new without breaking the bank.
In conclusion,
dry brushing nail art
is a trend that combines creativity and health benefits for your nails. By incorporating this technique into your nail routine, you can achieve unique and textured designs while promoting healthy and strong nails. Give it a try and see the difference it can make for your next nail design!
Not only is
dry brushing nail art
a unique and beneficial technique, but it is also a budget-friendly option for those who love to experiment with their nails. Instead of purchasing expensive tools and supplies, all you need for dry brushing is a clean, dry nail brush. This makes it a great DIY option for those who want to try something new without breaking the bank.
In conclusion,
dry brushing nail art
is a trend that combines creativity and health benefits for your nails. By incorporating this technique into your nail routine, you can achieve unique and textured designs while promoting healthy and strong nails. Give it a try and see the difference it can make for your next nail design!


