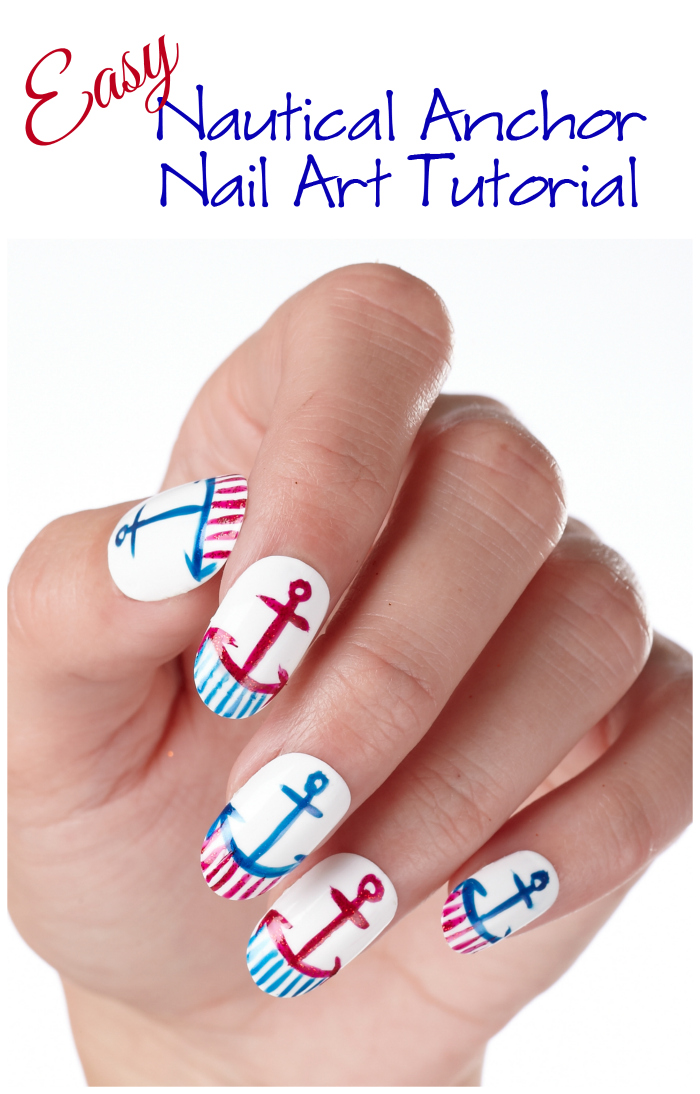
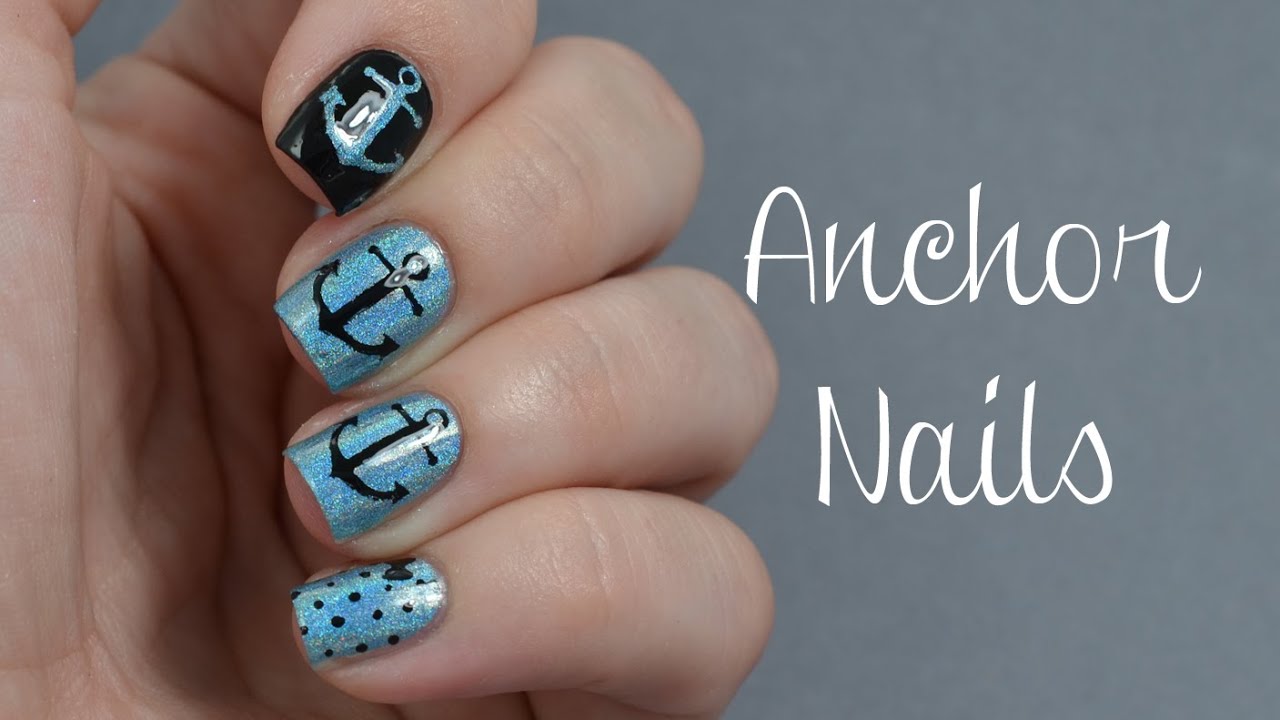
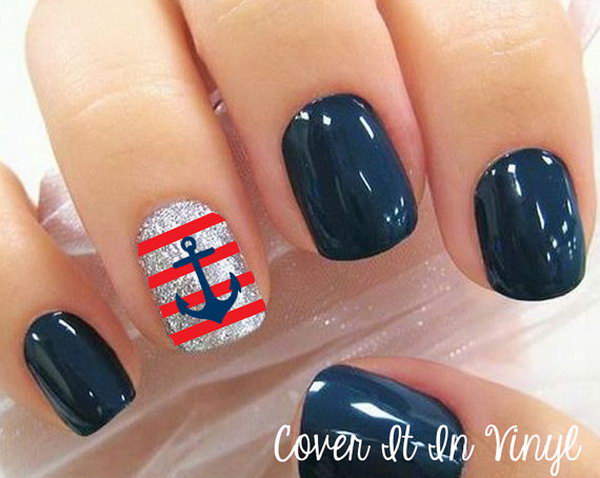
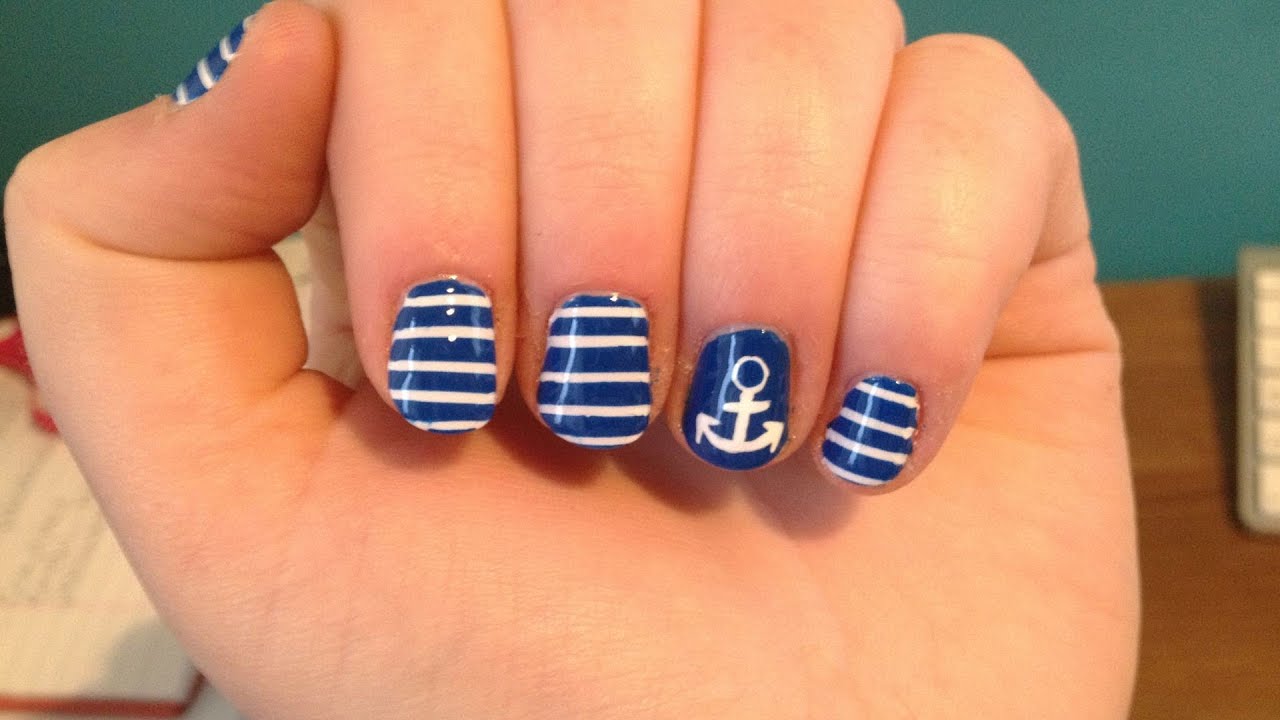
If you're looking for a simple and stylish way to add some nautical vibes to your nails, then you've come to the right place. This easy anchor nail art tutorial will guide you through the steps to create a chic and understated design that is perfect for any occasion. Start by applying a base coat to protect your nails and ensure your design lasts longer. Then, using a white nail polish, paint all of your nails except for your ring finger. This will be your accent nail, so leave it blank for now. Next, take a navy blue nail polish and paint a diagonal line across your ring finger, leaving the bottom half of the nail white. This will create the base of your anchor design. Using a small brush or a toothpick, create a small dot at the top of the navy blue line. This will be the top of your anchor. Then, create a curved line on either side of the dot, connecting it to the bottom of the nail. This will form the anchor's arms. For the final touch, add a small dot at the bottom of the anchor to create the illusion of a rope. You can also add a silver or gold nail polish to the top of the anchor to give it some shine. Finish off with a top coat to seal in your design and give it a glossy finish. Voila! You now have a simple yet stylish anchor nail design.1. Easy Anchor Nail Art Tutorial


1. Easy Anchor Nail Art Tutorial


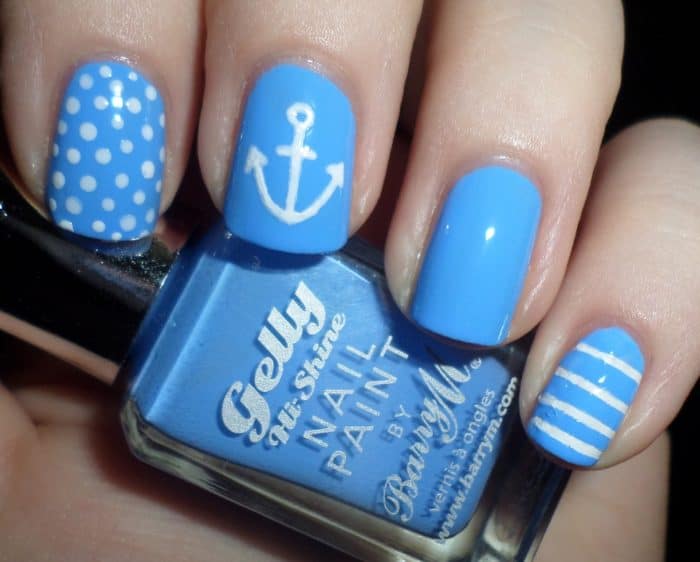
If you're new to nail art and want to try out something easy and fun, then this simple anchor nail design is perfect for you. With just a few steps, you can achieve a cute and playful look that is perfect for summer. Start by applying a light blue nail polish as the base color for all of your nails. Then, using a white nail polish, create a small triangle at the top of your nail, leaving some space at the bottom. Next, using a dark blue nail polish, create a small vertical line in the middle of the white triangle. This will form the anchor's body. Then, add two small diagonal lines on either side of the vertical line to create the anchor's arms. To add some extra detail, you can use a silver or gold nail polish to create small dots on the anchor's body. This will give it a metallic look and make it stand out. Finish off with a top coat to protect your design and give it a shiny finish. This simple anchor nail design is perfect for a day at the beach or any summer gathering.2. Simple Anchor Nail Design


2. Simple Anchor Nail Design


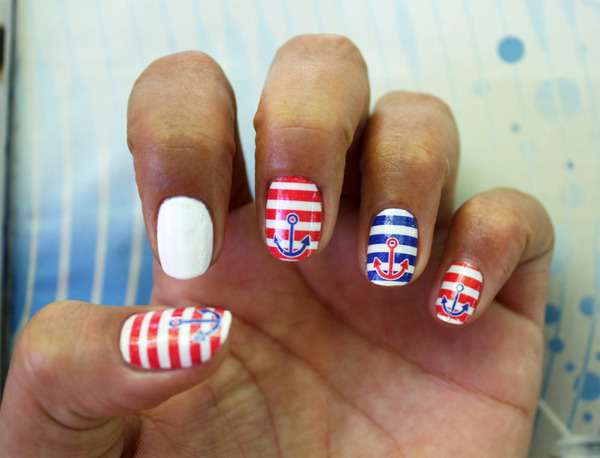
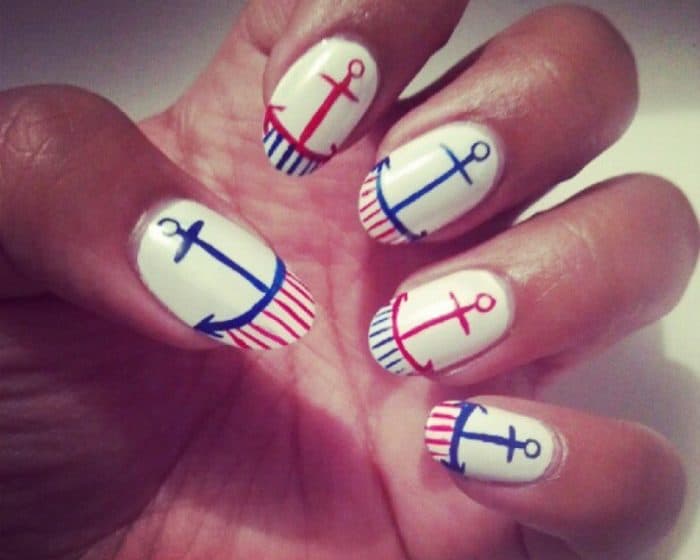
Nautical designs are always popular, especially during the summer months. If you want to add a touch of the ocean to your nails, try out this easy DIY nautical nail art. With a few simple steps, you can create a stunning and unique design that will make a statement. Start by painting all of your nails with a light blue nail polish. Then, using a white nail polish, create a thick horizontal line across each nail, except for your ring finger. This will serve as the base for your nautical design. Next, take a red nail polish and create small horizontal lines on either side of the white line. This will form the stripes of the nautical design. You can also add some small dots in between the stripes to add some extra detail. For the accent nail, use a navy blue nail polish to create a small diagonal line across the nail. Then, using a white nail polish, create a small anchor on top of the blue line. You can also add some small dots around the anchor to give it a rope-like effect. Finish off with a top coat to protect your design and give it a glossy finish. This DIY nautical nail art is perfect for anyone who loves the ocean and wants to show off their love for it on their nails.3. DIY Nautical Nail Art


3. DIY Nautical Nail Art


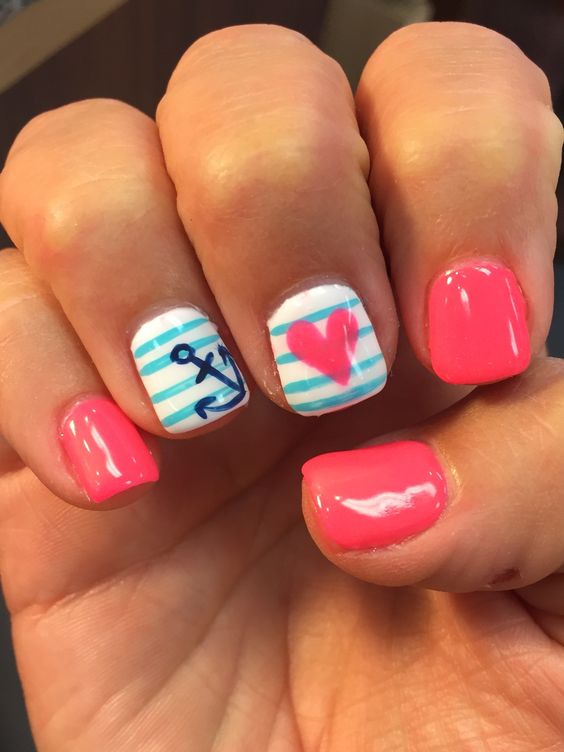
If you're short on time but still want to rock some cute nail art, then these quick and easy anchor nails are perfect for you. With just a few simple steps, you can achieve a stylish and fun design that will make your nails stand out. Start by applying a light blue nail polish as the base color for all of your nails. Then, using a white nail polish, create a small triangle at the top of your nail, leaving some space at the bottom. Next, using a dark blue nail polish, create a small vertical line in the middle of the white triangle. This will form the anchor's body. Then, add two small diagonal lines on either side of the vertical line to create the anchor's arms. To add a pop of color, use a red nail polish to create a small heart at the top of the anchor. This will make your design more playful and fun. Finish off with a top coat to protect your design and give it a shiny finish. These quick and easy anchor nails are perfect for anyone who wants to add a touch of cuteness to their look.4. Quick and Easy Anchor Nails


4. Quick and Easy Anchor Nails


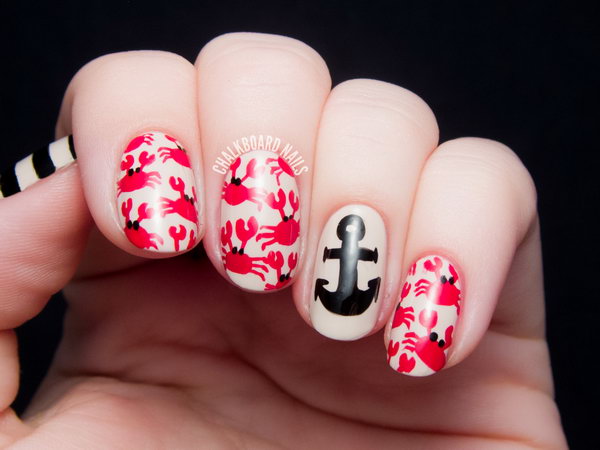
If you're in need of some inspiration for your next nail design, then these cute anchor nail ideas are sure to spark your creativity. From glittery accents to bold colors, there are endless ways to incorporate anchors into your nail art. One idea is to paint your nails with a light blue nail polish and then use a silver or gold nail polish to create small anchor designs on each nail. This will give your nails a chic and elegant look. Another cute idea is to paint your nails with a light pink or coral nail polish and then add a small anchor design on your accent nail using a white nail polish. You can also add some small dots or stripes in a contrasting color to make your design stand out. For a more playful look, try using a bright yellow or orange nail polish as the base color and then use a dark blue nail polish to create the anchor design. This will give your nails a fun and summery vibe. No matter which cute anchor nail idea you choose, don't forget to finish off with a top coat to protect your design and give it a glossy finish.5. Cute Anchor Nail Ideas


5. Cute Anchor Nail Ideas


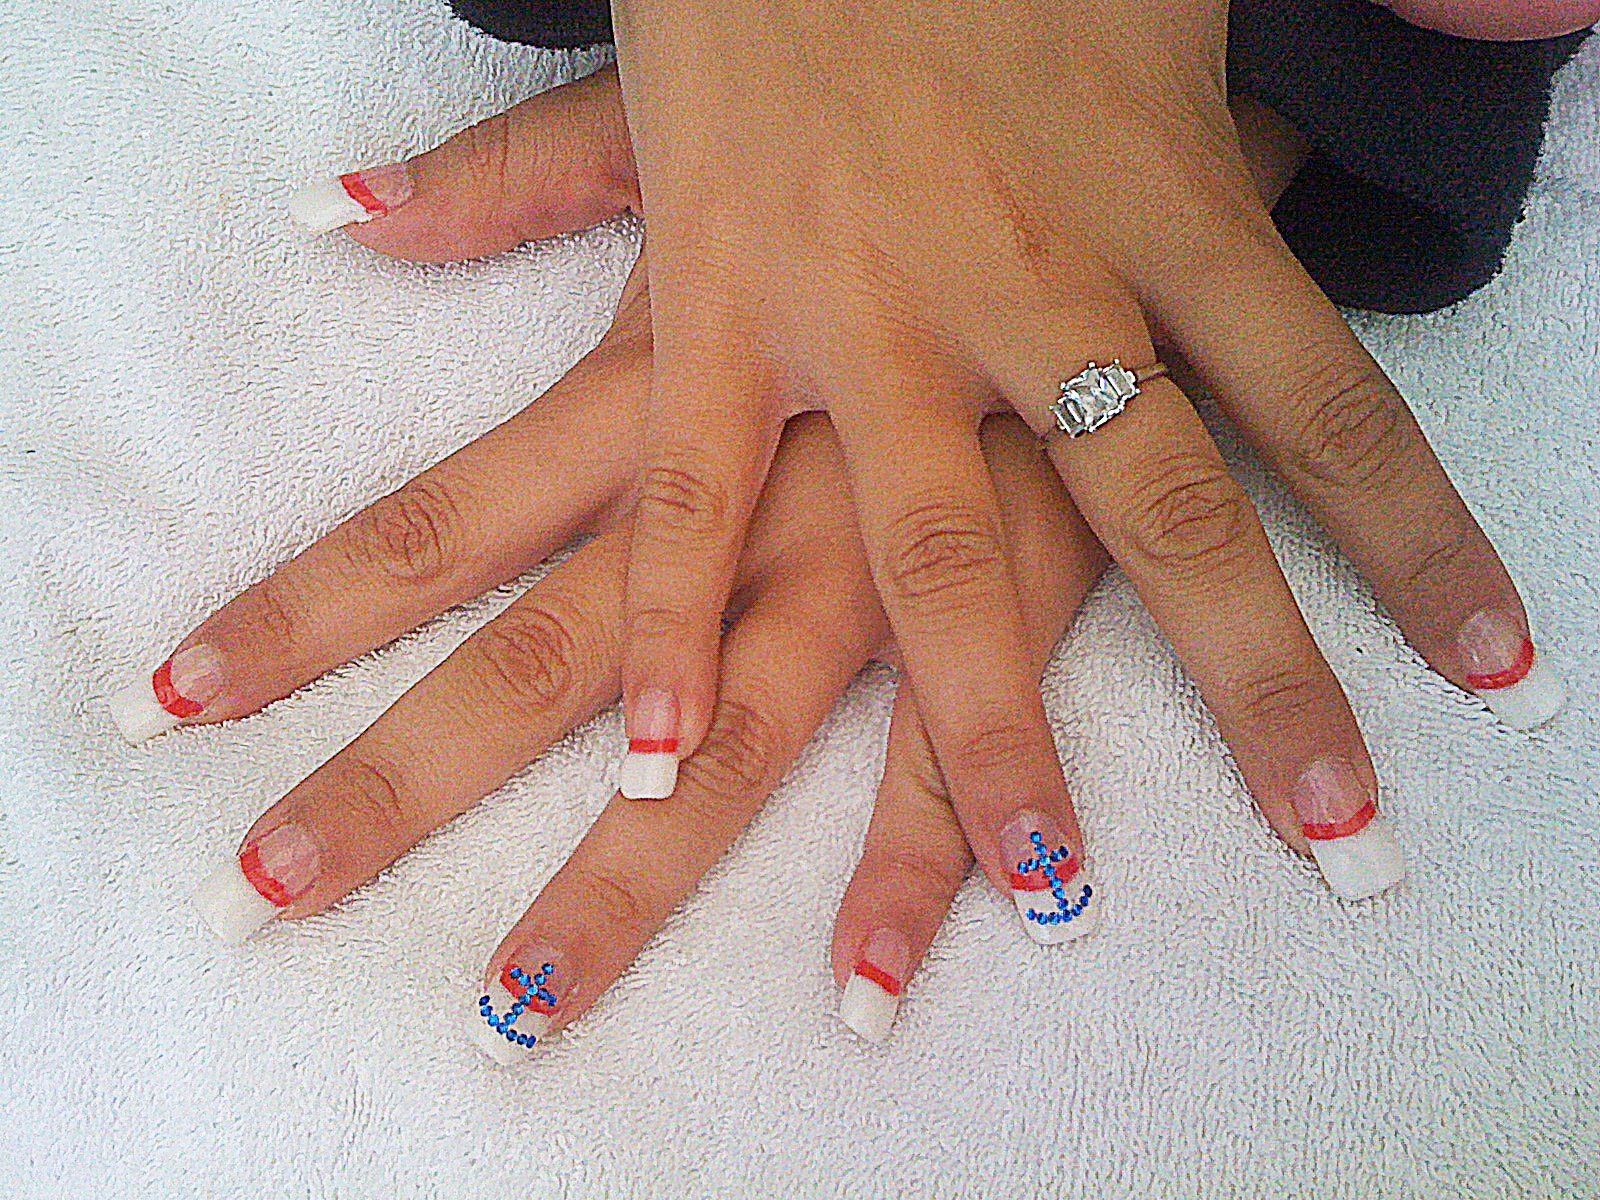
If you're new to nail art or just want a detailed guide on how to create an anchor nail design, then this step-by-step tutorial is perfect for you. With clear instructions and pictures, you'll be able to achieve a stunning anchor design in no time. Start by applying a base coat to protect your nails and ensure your design lasts longer. Then, using a white nail polish, paint all of your nails except for your ring finger. This will be your accent nail, so leave it blank for now. Next, take a navy blue nail polish and paint a diagonal line across your ring finger, leaving the bottom half of the nail white. This will create the base of your anchor design. Using a small brush or a toothpick, create a small dot at the top of the navy blue line. This will be the top of your anchor. Then, create a curved line on either side of the dot, connecting it to the bottom of the nail. This will form the anchor's arms. For the final touch, add a small dot at the bottom of the anchor to create the illusion of a rope. You can also add a silver or gold nail polish to the top of the anchor to give it some shine. Finish off with a top coat to seal in your design and give it a glossy finish. This step-by-step anchor nail tutorial is perfect for beginners or anyone who wants a detailed guide on how to achieve this design.6. Step-by-Step Anchor Nail Tutorial


6. Step-by-Step Anchor Nail Tutorial

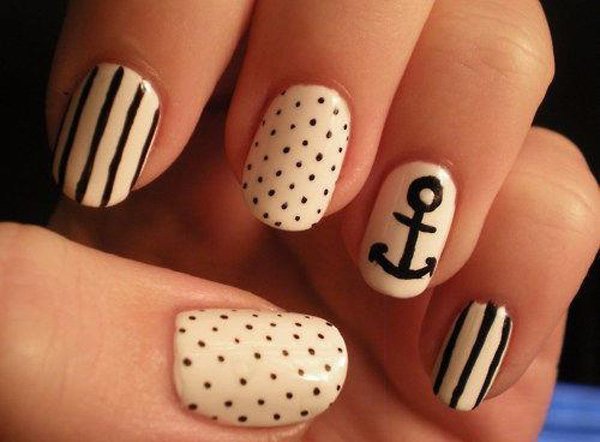
If you prefer a more understated and minimalist look, then this anchor nail design is perfect for you. With just a few simple steps, you can create a chic and sophisticated design that is perfect for any occasion. Start by painting all of your nails with a light blue nail polish. Then, using a white nail polish, create a small triangle at the top of your nail, leaving some space at the bottom. Next, using a black nail polish, create a small vertical line in the middle of the white triangle. This will form the anchor's body. Then, add two small diagonal lines on either side of the vertical line to create the anchor's arms. For the final touch, add a small dot at the bottom of the anchor using a silver or gold nail polish. This will give your design a touch of elegance and make it stand out. Finish off with a top coat to protect your design and give it a glossy finish. This minimalist anchor nail design is perfect for anyone who prefers a simple and chic nail look.7. Minimalist Anchor Nail Design


7. Minimalist Anchor Nail Design
If you're new to nail art and want to try out something fun and easy, then this anchor nail art is perfect for you. With just a few simple steps, you can create a playful and colorful design that is perfect for summer. Start by applying a base coat to protect your nails and ensure your design lasts longer. Then, using a light blue nail polish, paint all of your nails except for your ring finger. This will be your accent nail, so leave it blank for now. Next, take a white nail polish and create small diagonal lines on your ring finger. These lines will form the base of your anchor design. Using a dark blue nail polish, create a small triangle at the top of the white lines. Then, add two small diagonal lines on either side of the triangle to create the anchor's arms. To add some extra fun to your design, use a red nail polish to create small hearts on either side of the anchor. This will give your nails a cute and playful look. Finish off with a top coat to protect your design and give it a glossy finish. This fun and easy anchor nail art is perfect for beginners or anyone who wants a colorful and playful nail look.8. Fun and Easy Anchor Nail Art for Beginners


8. Fun and Easy Anchor Nail Art for Beginners

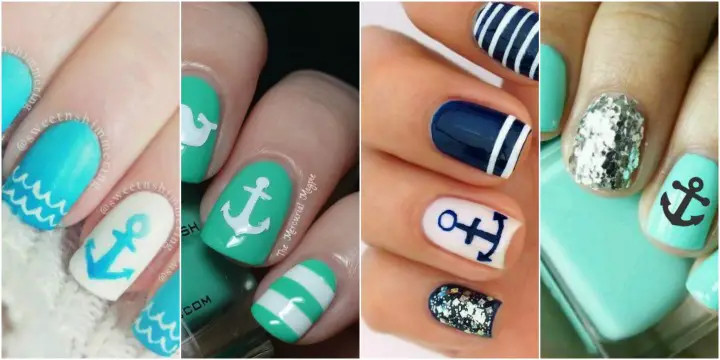
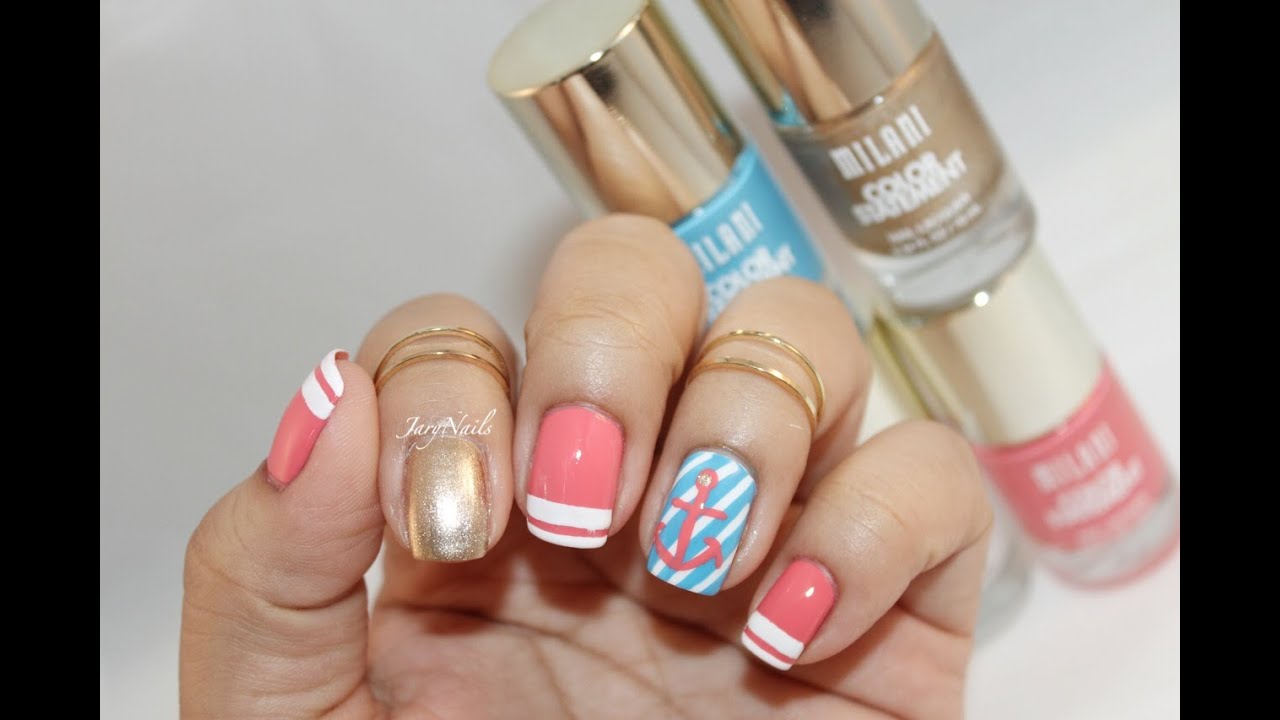
If you're heading to the beach or just want to channel some beachy vibes on your nails, then this anchor nail inspiration is perfect for you. With a mix of colors and designs, you'll be able to create a unique and stunning nail look that is perfect for summer. One idea is to paint your nails with a light blue nail polish and then create a small anchor design using a white nail polish on your accent nail. You can also add some small dots or stripes in a contrasting color to make your design stand out. Another beachy inspiration is to use a sandy beige nail polish as the base color and then add a small anchor design using a navy blue nail polish. You can also add some small seashell decals or glitter to make your design even more beachy. Don't be afraid to mix and match different colors and designs to create your own unique beachy anchor nail look. Just don't forget to finish off with a top coat to protect your design and give it a glossy finish.9. Beachy Anchor Nail Inspiration


9. Beachy Anchor Nail Inspiration


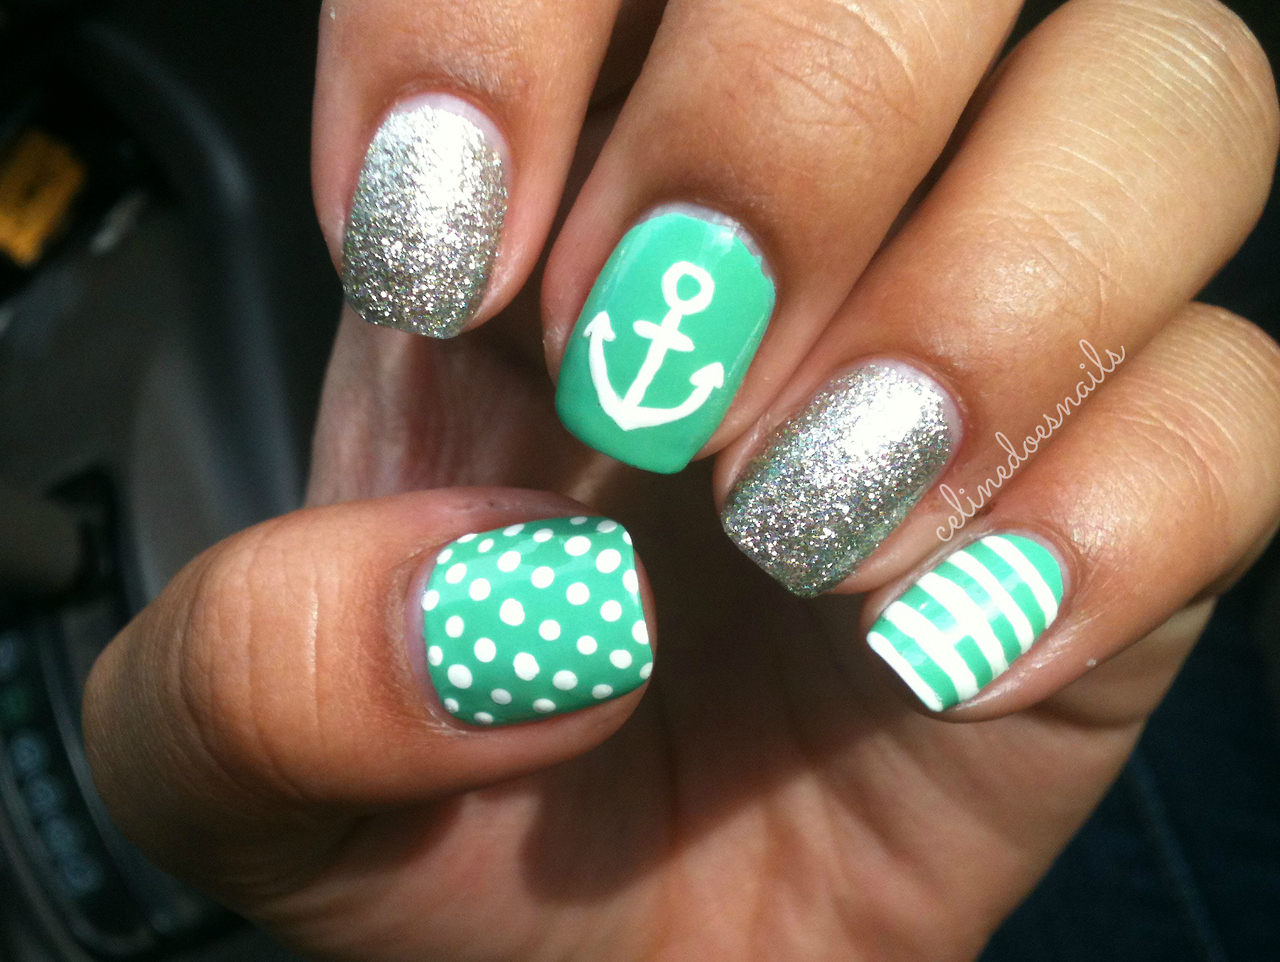
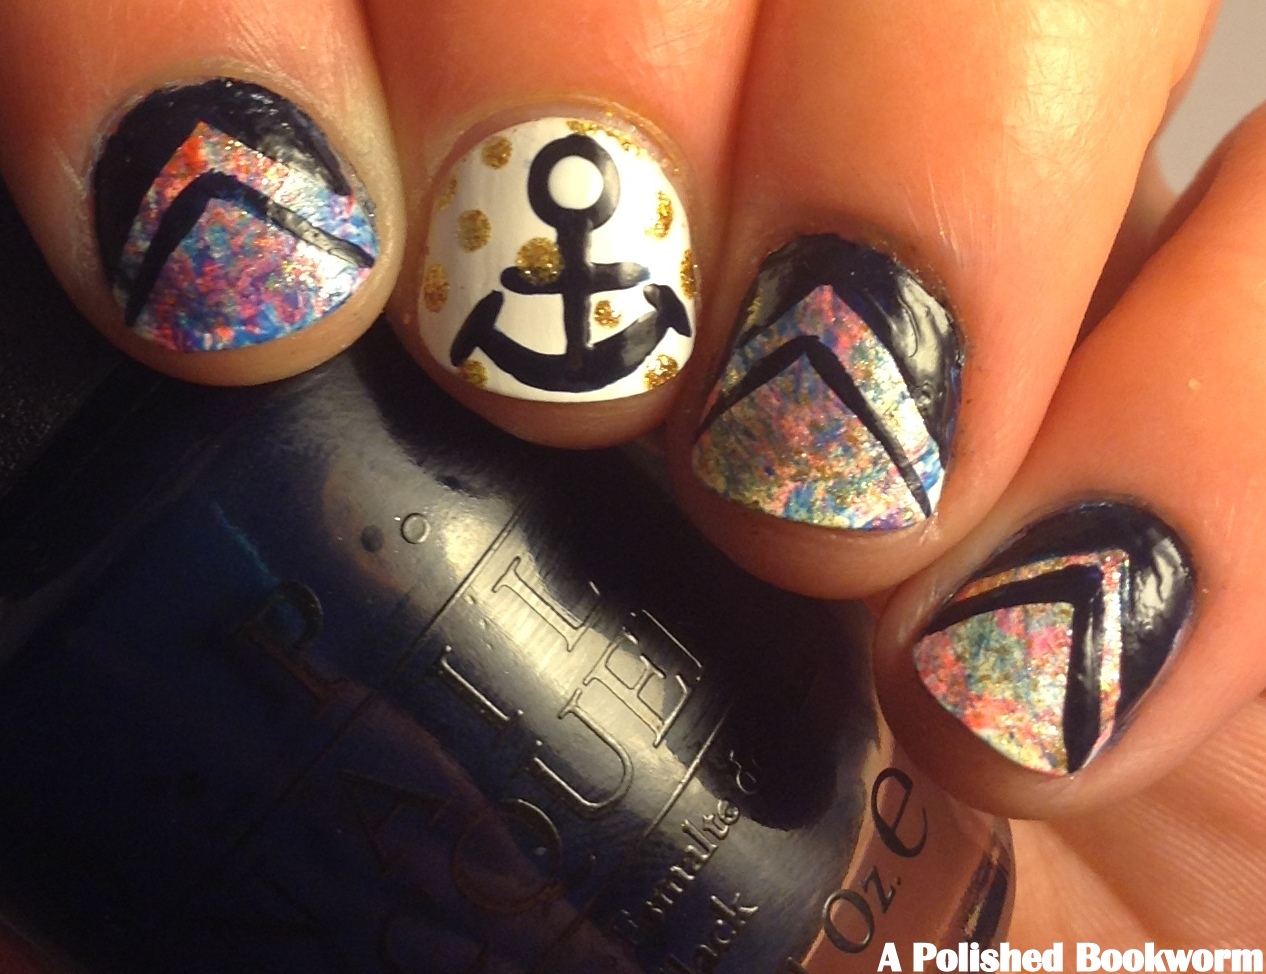
If you're feeling extra creative and want to experiment with different designs and colors, then these creative anchor nail designs are perfect for you. From ombre effects to glitter accents, there are endless ways to incorporate anchors into your nail art. One idea is to create an ombre effect on your nails using different shades of blue. Then, use a white nail polish to create a small anchor design on your accent nail. This will give your nails a unique and eye-catching look. Another creative design is to use a nude or beige nail polish as the base color and then create an anchor design using a metallic silver or gold nail polish. You can also add some small studs or rhinestones for some extra bling. Don't be afraid to mix and match different colors and designs to create your own unique anchor nail design. The possibilities are endless, so have fun and let your creativity shine.10. Creative Anchor Nail Designs to Try


10. Creative Anchor Nail Designs to Try


Create Stunning Nails with Easy Anchor Nail Art

Effortless and Chic Nail Designs
 Adding a pop of design to your nails has become a statement of personal style. It is a way to express yourself and add a touch of creativity to your everyday look. While there are endless possibilities when it comes to nail art,
anchor nail art
has become a popular choice for its simplicity and chicness. With just a few easy steps, you can achieve a stunning anchor design on your nails that will elevate your overall look.
Adding a pop of design to your nails has become a statement of personal style. It is a way to express yourself and add a touch of creativity to your everyday look. While there are endless possibilities when it comes to nail art,
anchor nail art
has become a popular choice for its simplicity and chicness. With just a few easy steps, you can achieve a stunning anchor design on your nails that will elevate your overall look.
Gather Your Tools
 Before you dive into creating your anchor nail art, make sure you have all the necessary tools. You will need a
base coat
,
nail polish
in your desired color, a
nail art brush
, and
top coat
. You can also opt for additional tools such as
nail stickers
or
rhinestones
to add some extra flair to your design.
Before you dive into creating your anchor nail art, make sure you have all the necessary tools. You will need a
base coat
,
nail polish
in your desired color, a
nail art brush
, and
top coat
. You can also opt for additional tools such as
nail stickers
or
rhinestones
to add some extra flair to your design.
Prep Your Nails
 Start by applying a base coat to protect your nails and ensure your nail polish lasts longer. Once the base coat is dry, apply your chosen nail polish color. You can go for a classic navy blue or get creative with a bright red or pastel pink. Let the polish dry completely before moving on to the next step.
Create the Anchor Design
 Using your nail art brush, carefully draw a diagonal line from the bottom corner of your nail towards the center. This will be the first leg of the anchor. Then, draw a short horizontal line at the bottom of your nail to create the base of the anchor. Finally, draw a small, curved line at the top to complete the anchor shape. You can also use a nail sticker or a small rhinestone to create the top of the anchor for a more intricate design.
Seal the Design
 Once your anchor is dry, apply a top coat to seal the design and add shine to your nails. This will also help your nail art last longer and prevent any smudging.
Experiment with Different Colors and Designs
 Don't be afraid to get creative and experiment with different colors and designs for your anchor nail art. You can try a nautical theme with blue and white stripes, or add some glitter for a touch of glam. The possibilities are endless, so have fun and let your personal style shine through.
With these easy steps, you can create stunning anchor nail art that will elevate your overall look and add a touch of personality to your nails. So next time you're looking to switch up your nail game, give easy anchor nail art a try for a chic and effortless design.
Don't be afraid to get creative and experiment with different colors and designs for your anchor nail art. You can try a nautical theme with blue and white stripes, or add some glitter for a touch of glam. The possibilities are endless, so have fun and let your personal style shine through.
With these easy steps, you can create stunning anchor nail art that will elevate your overall look and add a touch of personality to your nails. So next time you're looking to switch up your nail game, give easy anchor nail art a try for a chic and effortless design.


