If you're looking for a simple and stylish nail design, then bow nail art is the way to go. Not only is it easy to create, but it also adds a cute and feminine touch to your overall look. With just a few steps, you can achieve a perfect bow nail design that will surely catch everyone's attention. To start, paint your nails with a base color of your choice. You can go for a soft pastel shade for a more subtle look or opt for a bold color to make a statement. Let the polish dry completely before moving on to the next step. Next, take a nail art brush or a toothpick and dip it into a contrasting nail polish color. Draw a small curved line on one side of your nail, starting from the tip and ending at the middle of your nail. Repeat on the other side to create a bow shape. Now, take the same color and draw two small triangles on the top of the bow shape, connecting them to the curved line. This will create the bow's loops. Fill in the triangles with the nail polish to make them stand out. For the final touch, add a small dot in the middle of the bow using a dotting tool or the end of a bobby pin. This will give the bow a more realistic look. Finish off with a topcoat to seal in the design and add shine. There you have it - a beautiful and easy bow nail art that you can do at home. Experiment with different colors and sizes to create your own unique bow designs.1. Easy Bow Nail Art Tutorial


1. Easy Bow Nail Art Tutorial


If you're a beginner in the world of nail art, then a simple bow design is the perfect place to start. This design requires minimal tools and can be done in just a few steps. Plus, it looks super cute and elegant on any nail length. Start by painting your nails with a light-colored base coat. This will make the bow design stand out more. Once the base coat is dry, take a toothpick or a thin nail art brush and create two small dots on one side of your nail, slightly above the center. These will be the loops of the bow. Next, draw a small curved line connecting the two dots to create the bow's shape. Then, add a small dot in the middle of the bow using a different nail polish color. This will give the bow a 3D effect. For the final touch, take a glitter nail polish and add a small line on the other side of your nail, parallel to the bow. This will create the illusion of a ribbon tying the bow together. Finish off with a topcoat to lock in the design and add shine. There you have it - a simple yet stunning bow nail design that you can rock on any occasion. Play around with different colors and glitter to create your own unique bow designs.2. Simple Bow Nail Design


2. Simple Bow Nail Design


If you're new to the world of nail art, then DIY bow nail art is the perfect way to dip your toes in. Not only is it easy to create, but it also requires minimal tools and can be done at home. Follow these simple steps to achieve a perfect DIY bow nail design. Start by painting your nails with a light-colored base coat. Once it is completely dry, take a toothpick or a thin nail art brush and create two small dots on one side of your nail, slightly above the center. These will be the loops of the bow. Next, draw a small curved line connecting the two dots to create the bow's shape. Then, add a small dot in the middle of the bow using a different nail polish color. This will give the bow a 3D effect. For the final touch, take a glitter nail polish and add a small line on the other side of your nail, parallel to the bow. This will create the illusion of a ribbon tying the bow together. Finish off with a topcoat to lock in the design and add shine. There you have it - a DIY bow nail art that is perfect for beginners. Experiment with different colors and glitter to create your own unique bow designs.3. DIY Bow Nail Art for Beginners


3. DIY Bow Nail Art for Beginners


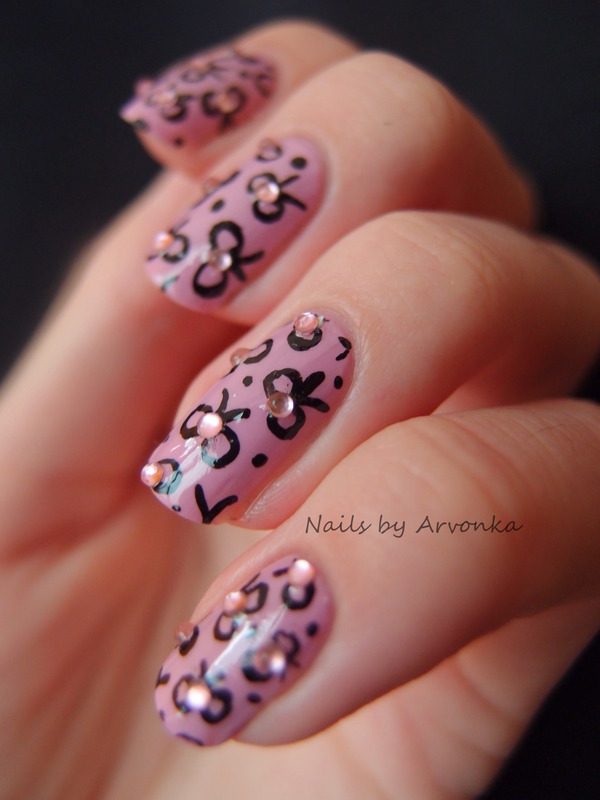
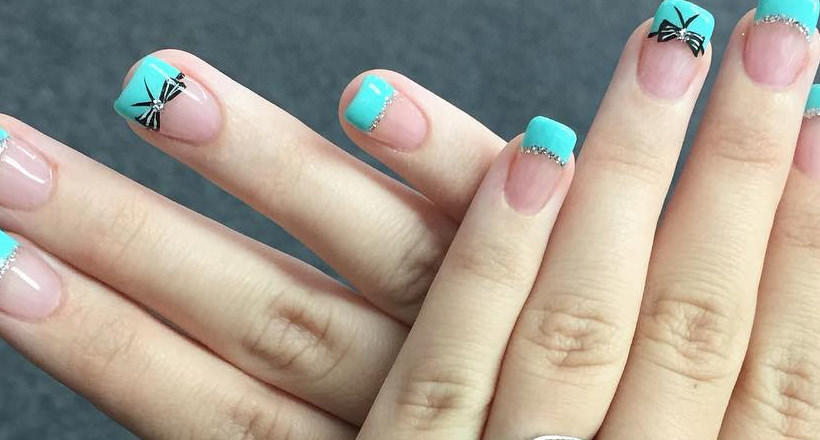
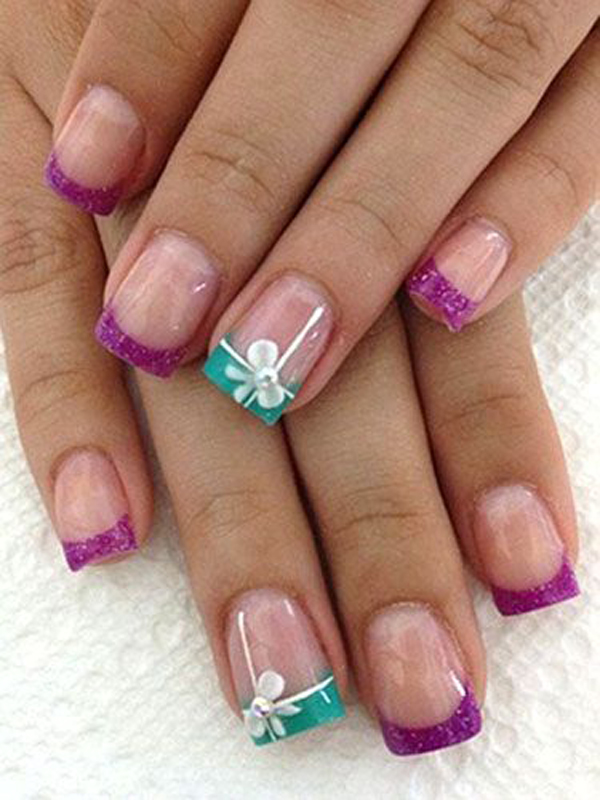
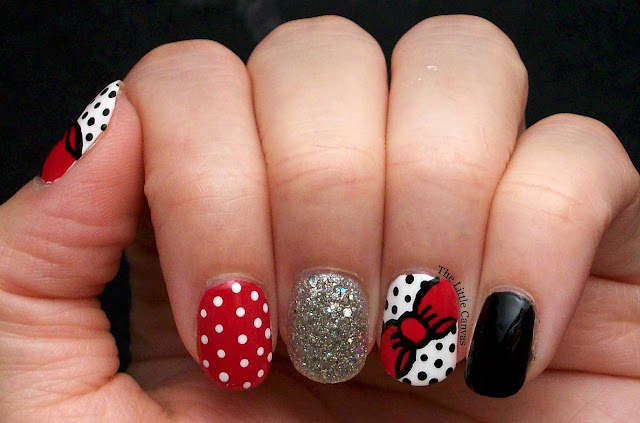
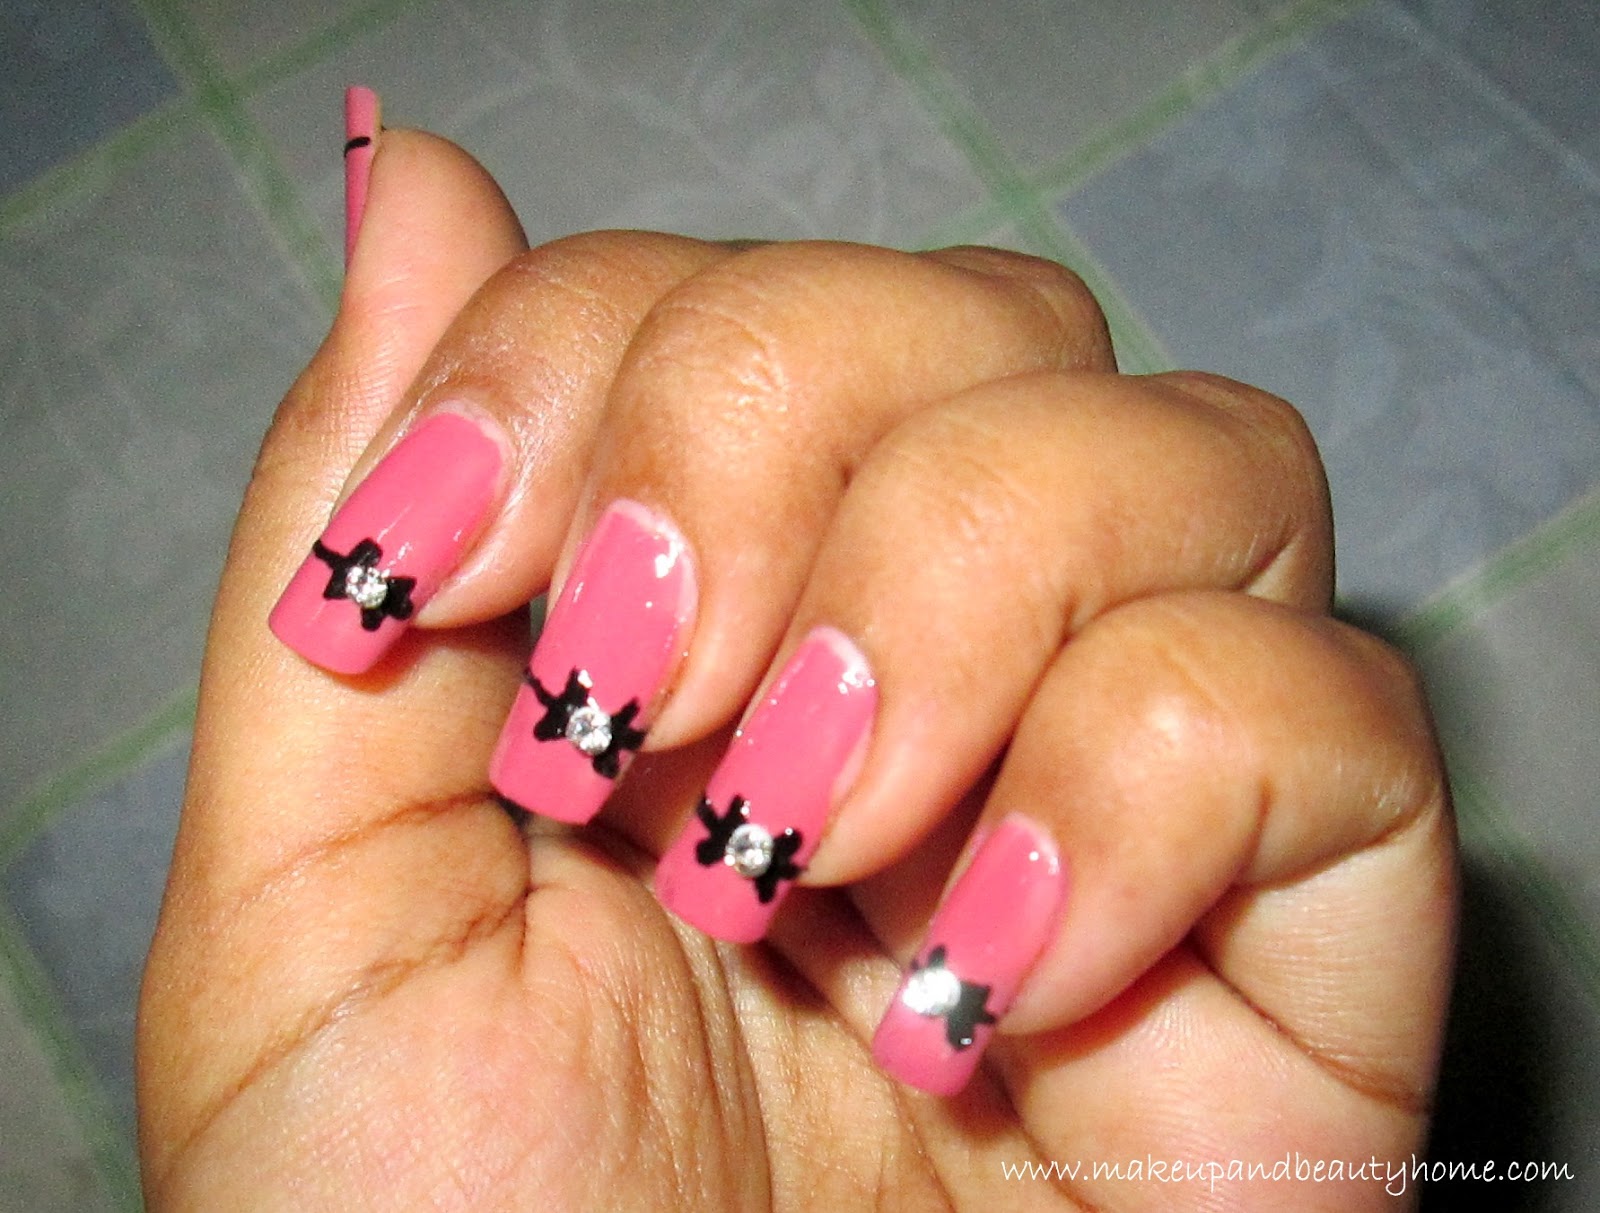
Bow nail art is not only easy to create, but it also adds a cute and fun element to your nails. Whether you're looking for a subtle design or a bold statement, there are endless cute and easy bow nail ideas to try. Here are a few to get you started. For a simple yet elegant look, try a white base with a black bow design. You can also switch it up by using a light pink base with a white bow, or a light blue base with a silver bow. These designs are perfect for any occasion and can be done in just a few steps. If you want to add some sparkle to your nails, try a glittery base with a black or white bow design. You can also use a glitter nail polish for the bow itself to make it stand out even more. For a bolder look, try a neon-colored base with a black or white bow design. This will make your nails pop and is perfect for a night out or a fun event. There are endless possibilities when it comes to cute and easy bow nail ideas. Play around with different colors and designs to find the one that suits your style best.4. Cute and Easy Bow Nail Ideas


4. Cute and Easy Bow Nail Ideas


If you're new to the world of nail art, then a step-by-step guide is the perfect way to learn how to create a perfect bow nail design. Follow these simple steps to achieve a flawless bow design. Step 1: Start by painting your nails with a base color of your choice. Let it dry completely before moving on to the next step. Step 2: Take a toothpick or a thin nail art brush and draw two small dots on one side of your nail, slightly above the center. These will be the loops of the bow. Step 3: Draw a small curved line connecting the two dots to create the bow's shape. Step 4: Add a small dot in the middle of the bow using a different nail polish color. This will give the bow a 3D effect. Step 5: Take a glitter nail polish and add a small line on the other side of your nail, parallel to the bow. This will create the illusion of a ribbon tying the bow together. Step 6: Finish off with a topcoat to seal in the design and add shine. There you have it - a perfect bow nail design in just a few easy steps. Practice makes perfect, so don't be afraid to try different colors and designs to find the one that suits you best.5. Step-by-Step Bow Nail Art Guide

5. Step-by-Step Bow Nail Art Guide


For those who don't have a lot of time to spare but still want to rock a cute nail design, quick and easy bow nail designs are the way to go. These designs require minimal tools and can be done in just a few minutes. Here are a few ideas to try. Start by painting your nails with a base color of your choice. Once it is completely dry, take a toothpick or a thin nail art brush and create two small dots on one side of your nail, slightly above the center. These will be the loops of the bow. Next, draw a small curved line connecting the two dots to create the bow's shape. Then, add a small dot in the middle of the bow using a different nail polish color. This will give the bow a 3D effect. For a quicker option, you can also use nail stickers or decals to create a bow design. Simply apply the stickers on your nails, following the instructions on the package, and seal it in with a topcoat. There you have it - cute and quick bow nail designs that you can do in a matter of minutes. Experiment with different colors and techniques to find the one that works best for you.6. Quick and Easy Bow Nail Designs


6. Quick and Easy Bow Nail Designs

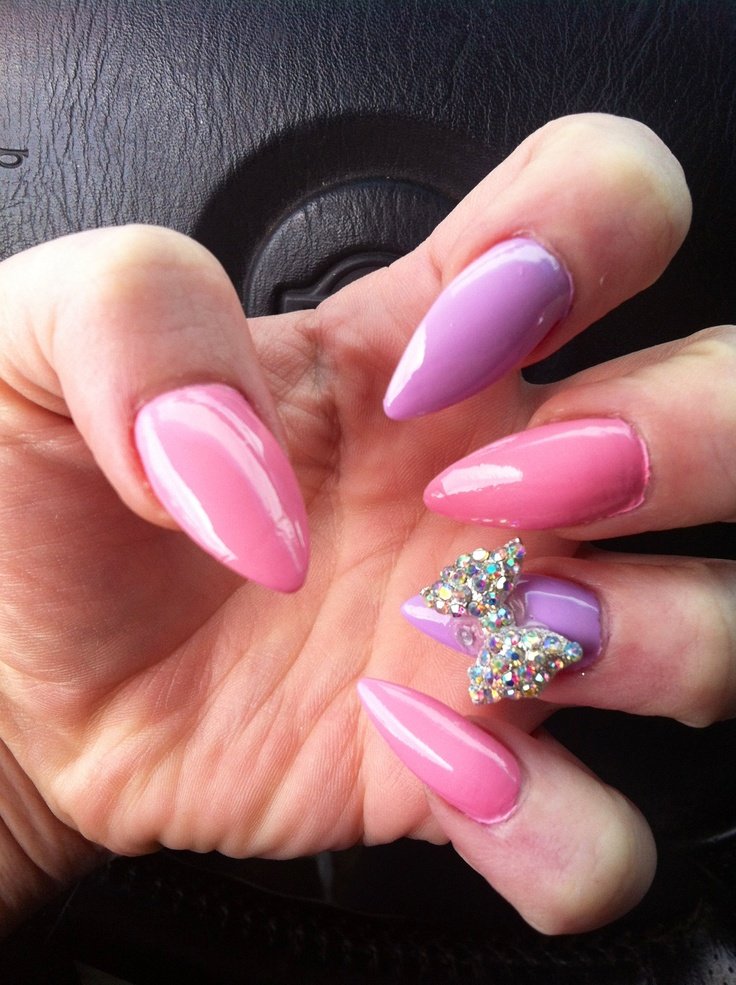
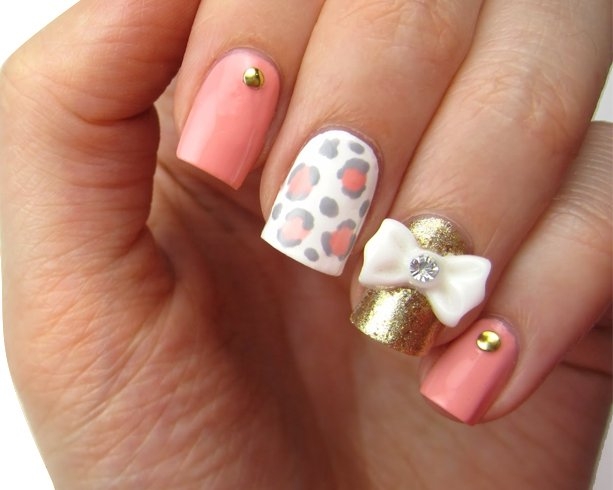
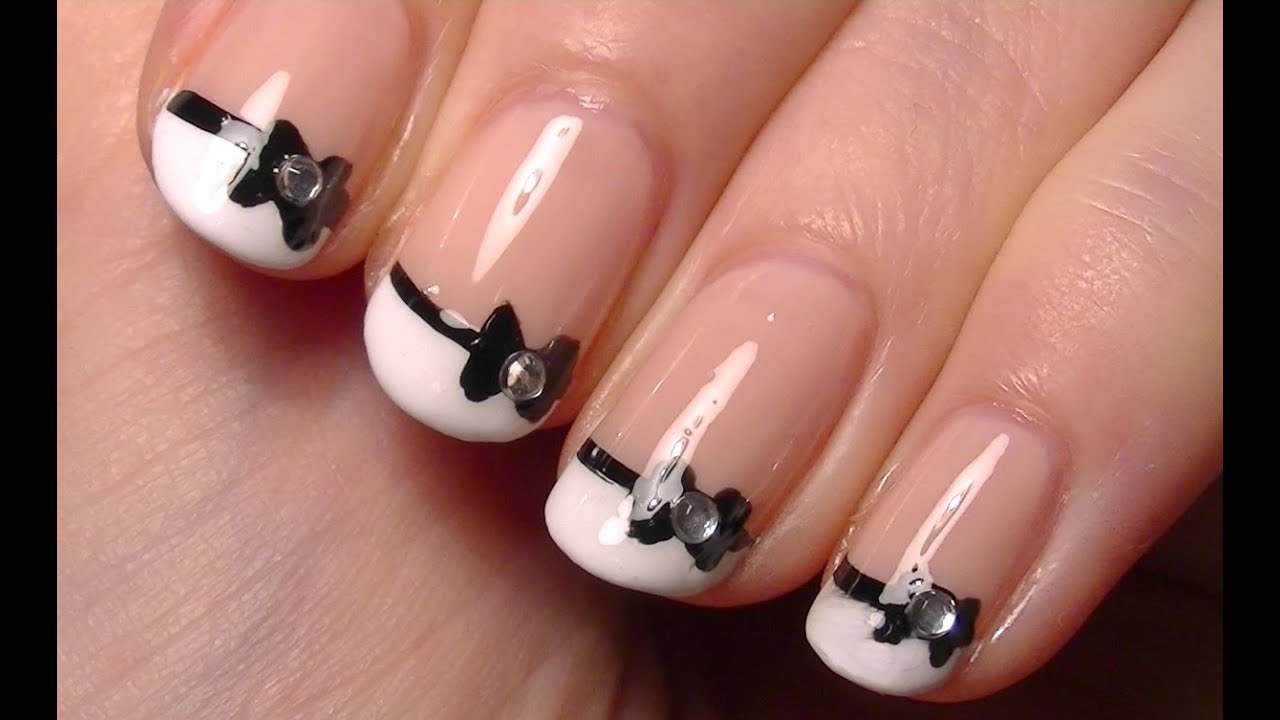
Bow nail art is not just for casual or fun events, it can also be elegant and appropriate for any occasion. Whether you're attending a wedding, a formal event, or just want to add a touch of sophistication to your nails, there are elegant bow nail designs that are perfect for any occasion. For a classic look, try a nude or light pink base with a white or silver bow design. This will give your nails a delicate and elegant look that is perfect for weddings or formal events. If you want to add a pop of color, try a deep red or burgundy base with a black or gold bow design. This will give your nails a more dramatic and sophisticated look. For a more subtle and modern look, try a metallic base with a black or white bow design. This will add a touch of glamour to your nails and is perfect for any occasion. There are endless elegant bow nail designs to choose from, so don't be afraid to experiment with different colors and styles to find the one that suits you best.7. Elegant Bow Nail Art for Any Occasion
7. Elegant Bow Nail Art for Any Occasion

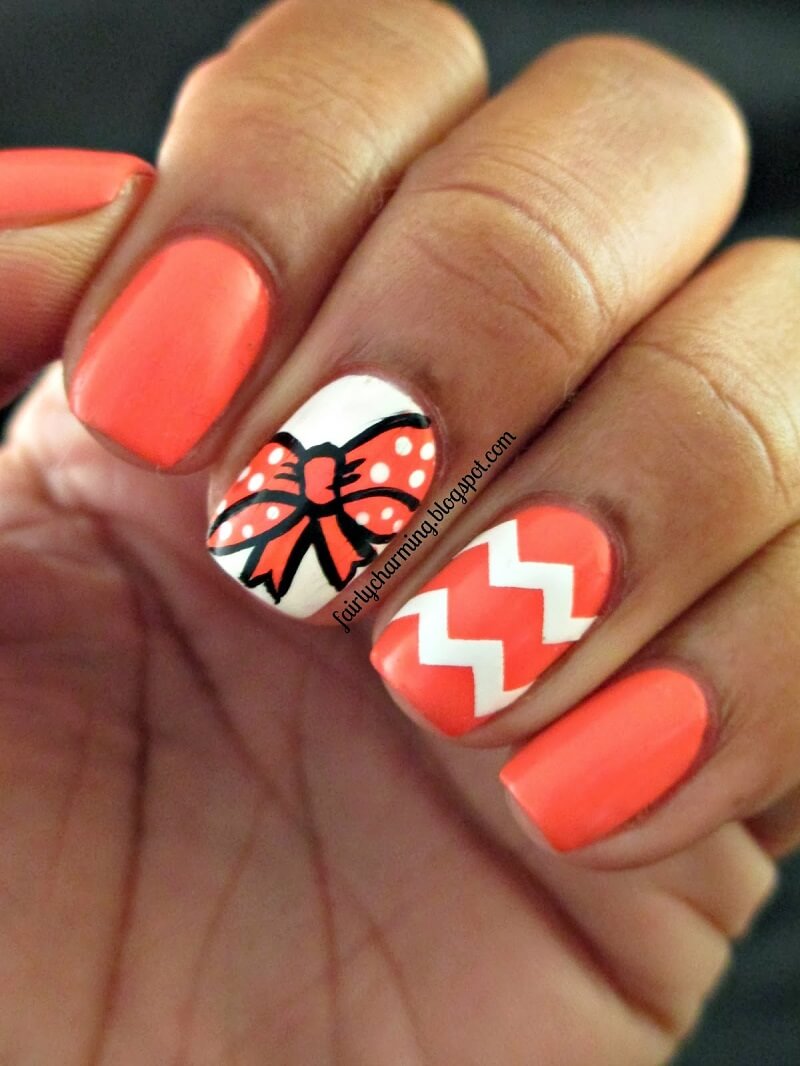
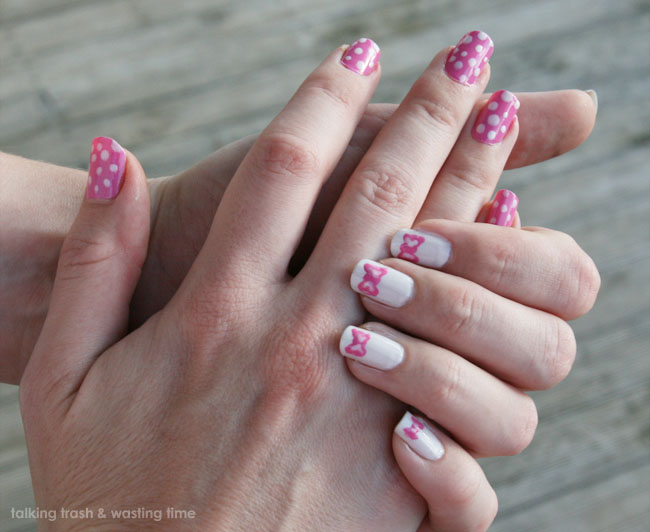
If you want to add a playful and fun touch to your nails, then bow nail designs are the way to go. These designs are perfect for any season and can be done in a variety of colors and styles. Here are a few ideas to get you started. For a cute and girly look, try a pastel-colored base with a white or pink bow design. You can also add small polka dots or other playful designs to make your nails stand out even more. If you want to add some sparkle, try a glittery base with a black or silver bow design. You can also use a glitter nail polish for the bow itself to make it stand out even more. For a more unique look, try a colorful base with a black or white bow design. This will add a playful and fun touch to your nails and is perfect for any occasion. Don't be afraid to experiment with different colors and styles to create your own fun and playful bow nail designs.8. Fun and Playful Bow Nail Designs

8. Fun and Playful Bow Nail Designs
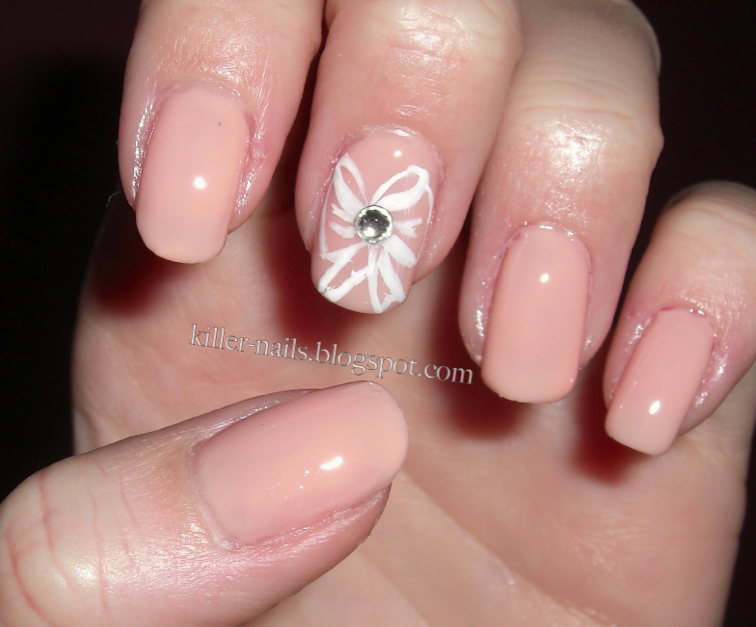
If you prefer a more understated and minimalist look, then bow nail art can still be incorporated into your style. These designs are simple yet elegant and add a touch of femininity to your nails. Here are a few ideas to inspire you. For a clean and modern look, try a nude or light pink base with a black or white bow design. This will give your nails a simple yet sophisticated look that is perfect for any occasion. If you want to add a pop of color, try a pastel-colored base with a gold or silver bow design. This will add a touch of glamour to your nails while still maintaining a minimalist feel. For a more subtle and unique look, try a negative space design with a bow accent. This involves leaving a small portion of your nail unpainted and creating a bow design on the bare nail. It's a creative and minimalist way to incorporate bows into your nail art. There are endless minimalist bow nail art ideas to try, so don't be afraid to experiment with different colors and designs to find the one that suits your style best.9. Minimalist Bow Nail Art Inspiration
9. Minimalist Bow Nail Art Inspiration


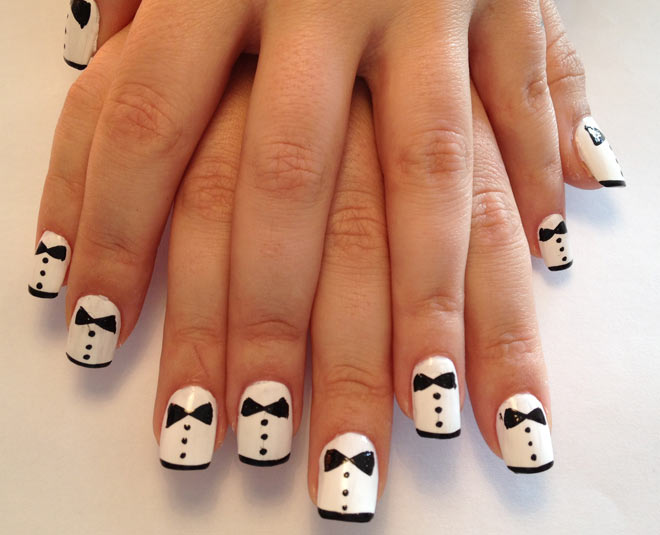
If you want to take your bow nail art to the next level, then get creative with your designs. There are many ways to incorporate bows into your nail art, from 3D designs to using different materials. Here are a few ideas to spark your creativity. For a unique and eye-catching design, try a 3D bow made of acrylic or gel. These can be purchased or created using a mold and then applied onto your nails for a more realistic and dimensional look. If you want to add some texture to your nails, try using a velvet powder or flocking powder to create a fuzzy bow design. Simply apply the powder onto your wet nail polish and let it dry before brushing off the excess. For a more intricate design, try creating a lace or ribbon bow using nail art stickers or decals. These can be cut and applied onto your nails, creating a delicate and detailed bow design. Get creative and experiment with different materials and techniques to create your own unique bow nail art designs.10. Creative Bow Nail Art Ideas

10. Creative Bow Nail Art Ideas
How to Create Easy Bow Nail Art for a Chic Look
A Fun and Simple Way to Elevate Your Nail Game
 If you're looking to add a touch of feminine charm to your nails, look no further than bow nail art. This popular trend is a fun and simple way to elevate your nail game and add some personality to your overall look. The best part? It's easy to create at home with just a few simple steps. In this article, we'll show you how to achieve this chic look without breaking a sweat.
Gather Your Supplies
 Before you begin, make sure you have all the necessary supplies. You'll need a base coat, your choice of nail polish, a small paintbrush or toothpick, and a top coat. You can also add some glitter or rhinestones for some extra sparkle. Choose a color scheme that matches your personal style or the occasion you'll be wearing the nail art for.
Step 1: Apply a Base Coat
 Start by applying a base coat to your nails. This will help your nail polish adhere better and prevent chipping. It will also protect your natural nails from any potential staining.
Step 2: Paint Your Nails
 Once your base coat is dry, it's time to paint your nails with your chosen color. You can go for a solid color or mix it up with different shades on each nail. Make sure to apply two coats for a more vibrant look.
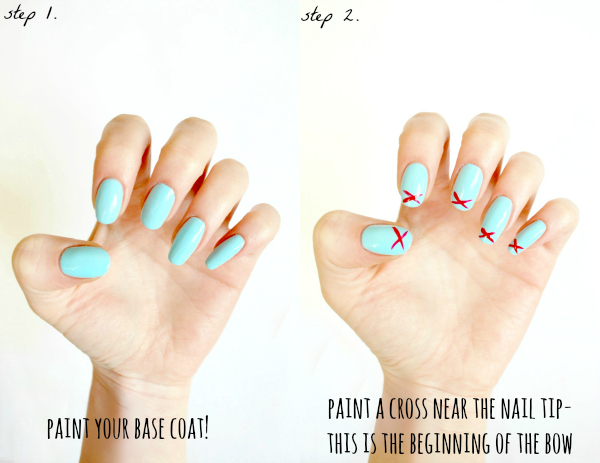
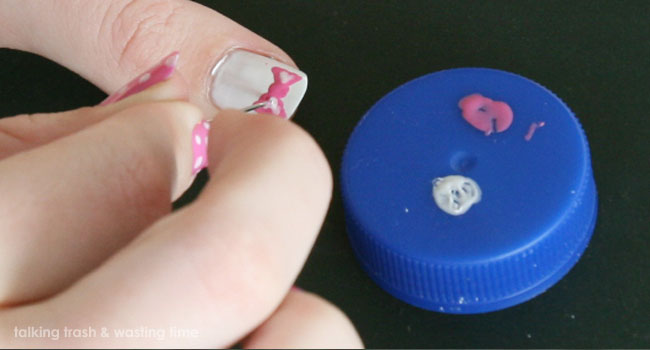
Step 3: Create the Bow
 Using a small paintbrush or toothpick, create a small dot in the center of your nail with a contrasting color. This will serve as the center of your bow. Next, make two curved lines on each side of the dot to form the loops of the bow. Join the ends of the lines with a small horizontal line to complete the bow shape.
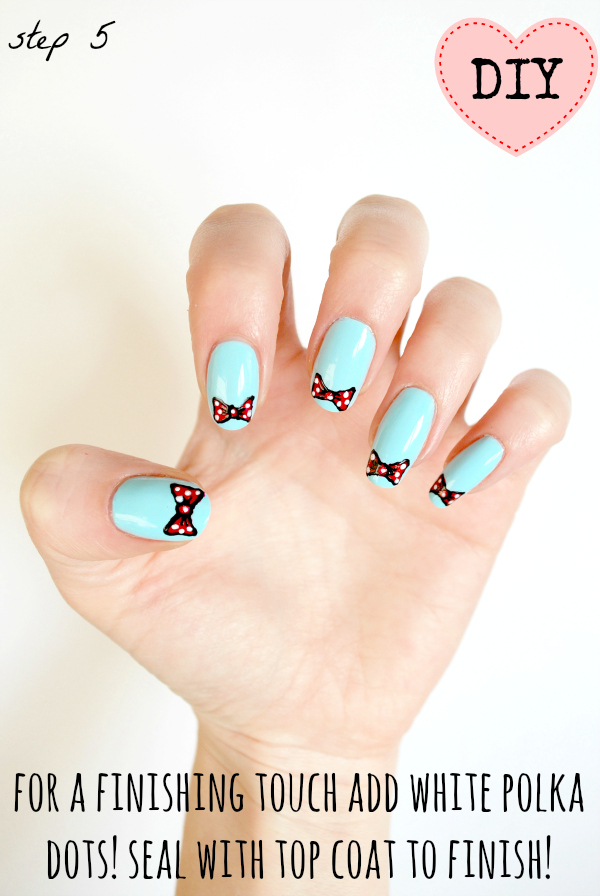
Step 4: Add Some Sparkle
 For some extra pizazz, you can add some glitter or rhinestones to your bow using a clear top coat. Simply dip your brush in the top coat and carefully place it on top of the bow. This will make your bow stand out and add a touch of glamour to your nails.
Step 5: Seal the Look with a Top Coat
 Once your design is complete, wait for it to dry completely before sealing it with a top coat. This will protect your nail art and make it last longer.
Final Thoughts
 Bow nail art is a fun and easy way to add some personality and charm to your nails. With just a few simple steps and some creativity, you can achieve a chic and stylish look that will surely turn heads. So go ahead and give this trend a try, and show off your fancy new nails with pride!


