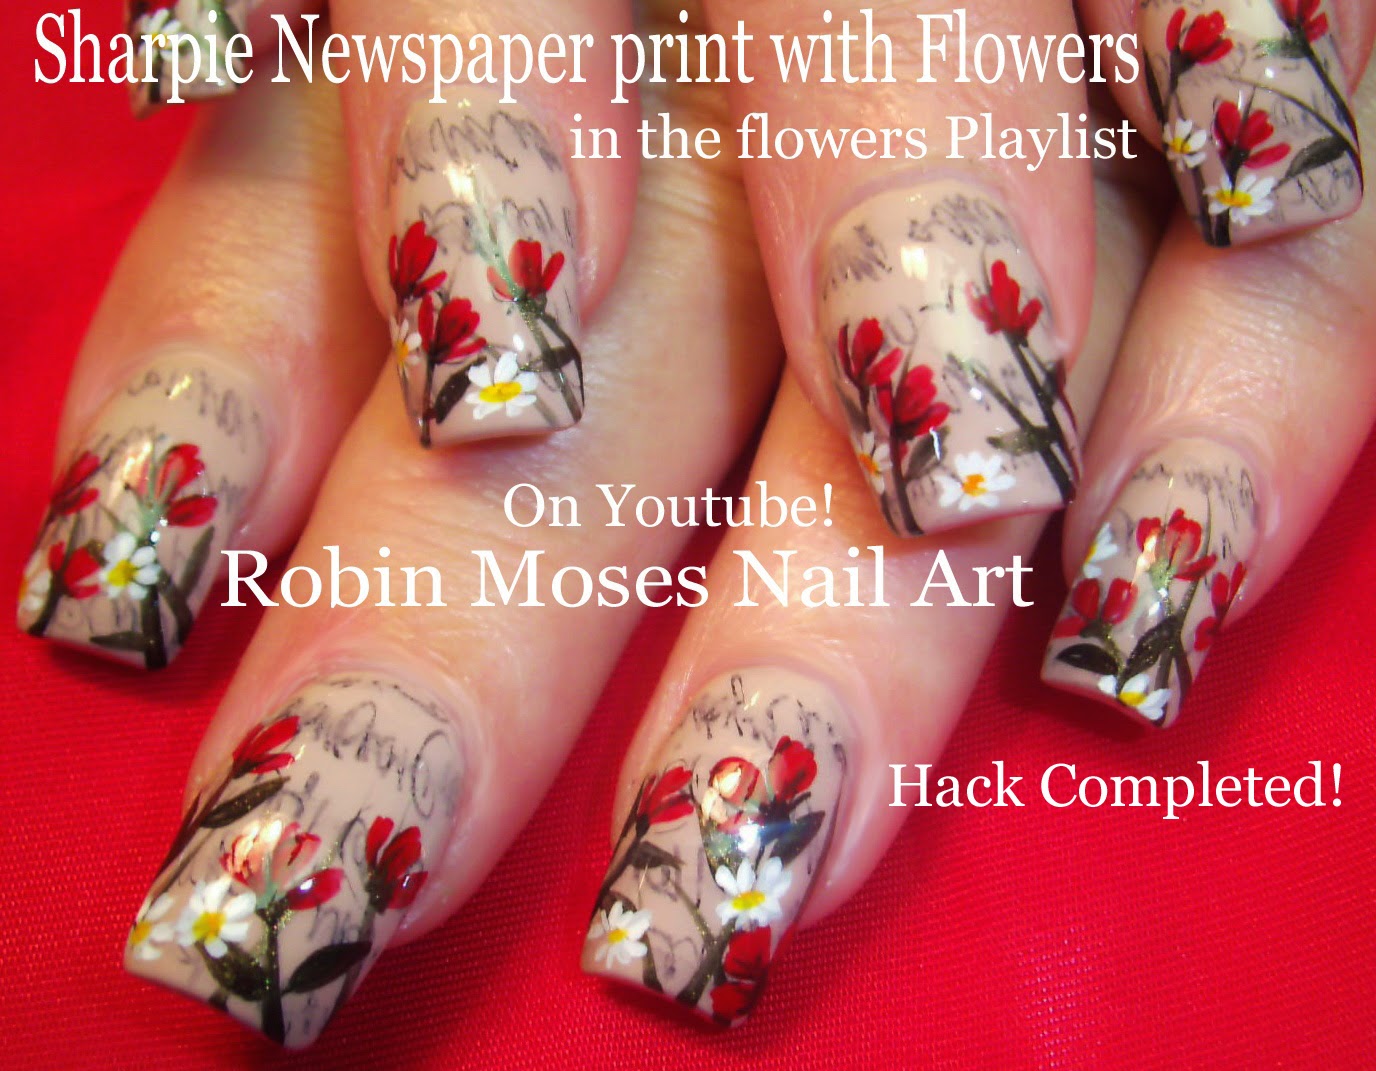
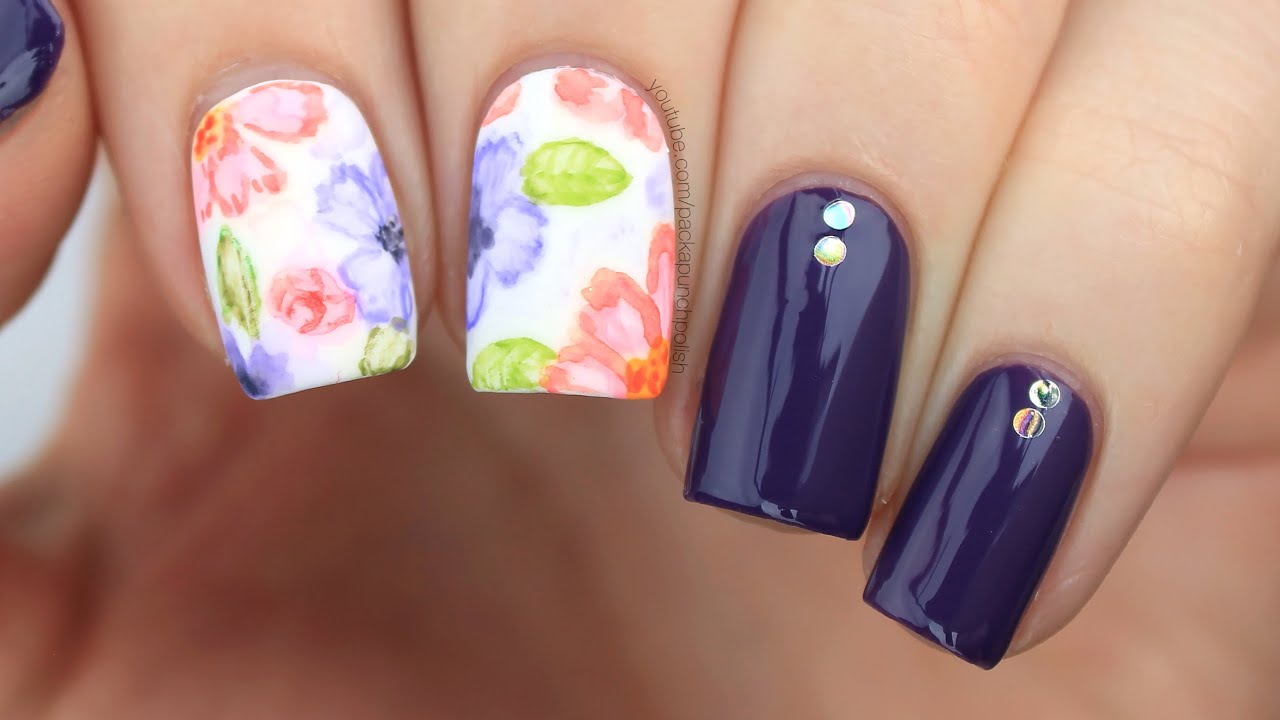
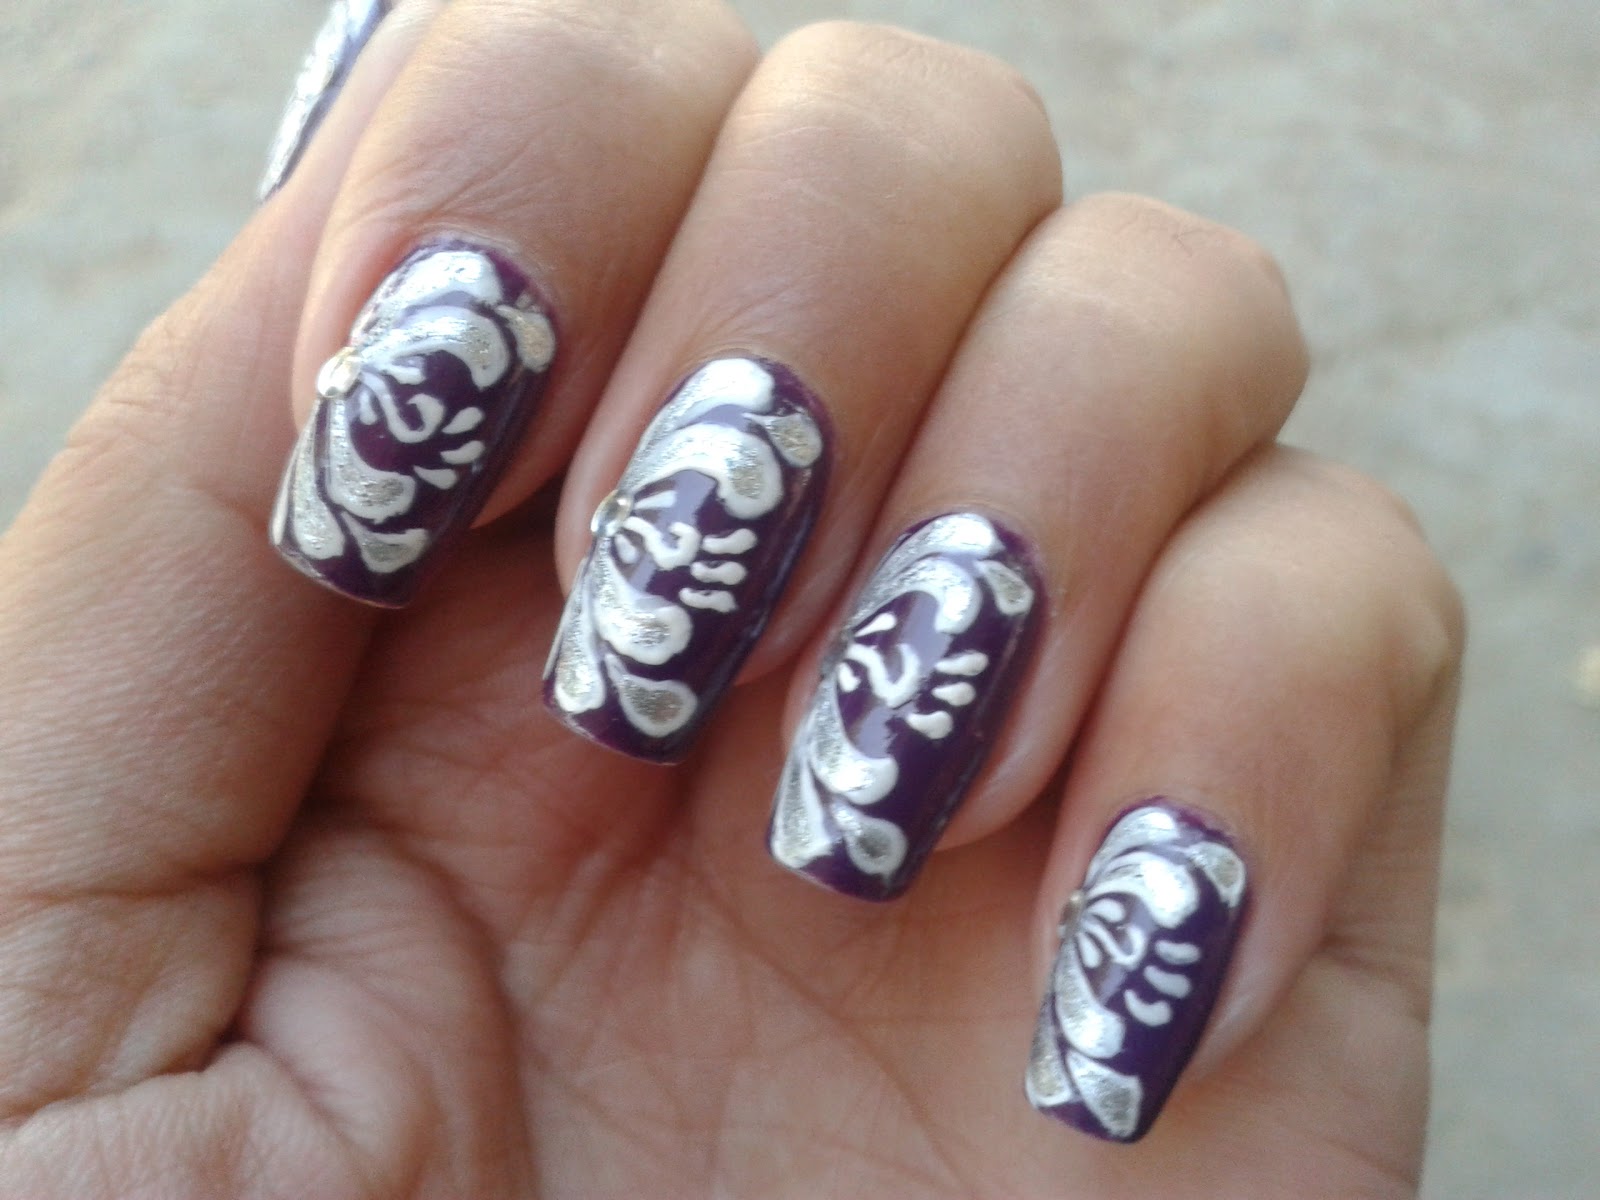
Floral nail art is always a classic and feminine choice for any occasion. And the best part? It's surprisingly easy to create! All you need is a few basic tools and some bright, bold nail polish colors to make a statement with this delicate design. Start by painting your nails with a light, pastel base color. Once it's dry, use a thin nail art brush to draw small flowers on each nail. You can keep it simple and elegant with just one flower on each nail, or add multiple flowers for a more dramatic look. Use a different color for each flower to really make them pop. For the flower design, simply create five small dots in a circle, with one in the center and four surrounding it. You can use a toothpick or a dotting tool if you don't have a nail art brush. Finish off with a top coat to seal in your gorgeous floral nail art.1. Simple Floral Nail Art Tutorial
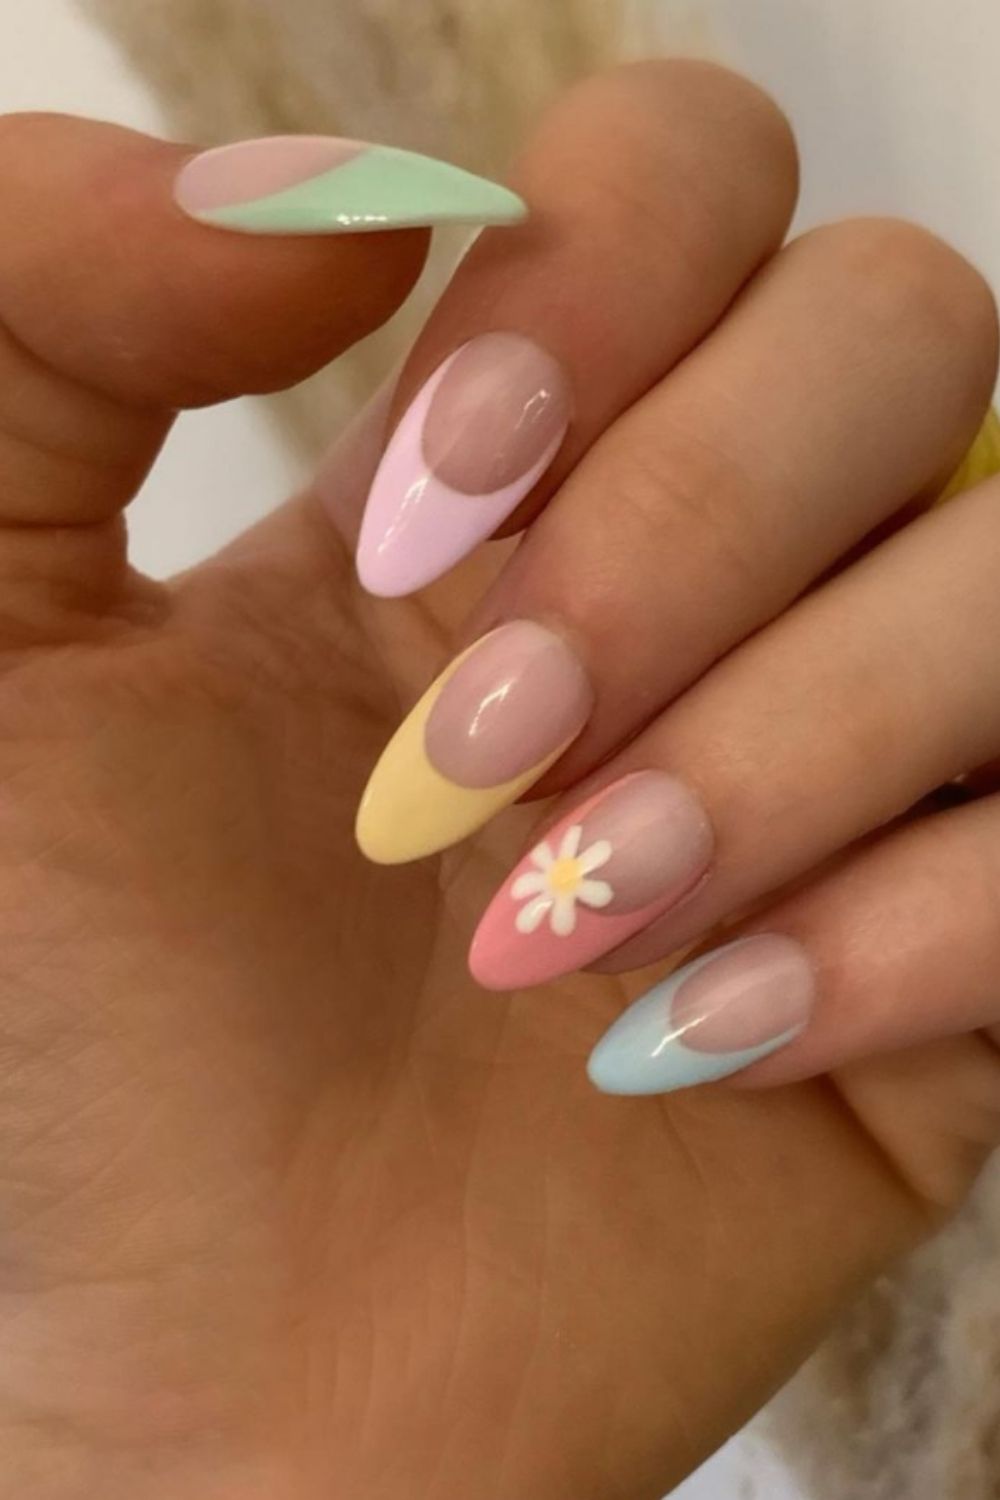
1. Simple Floral Nail Art Tutorial


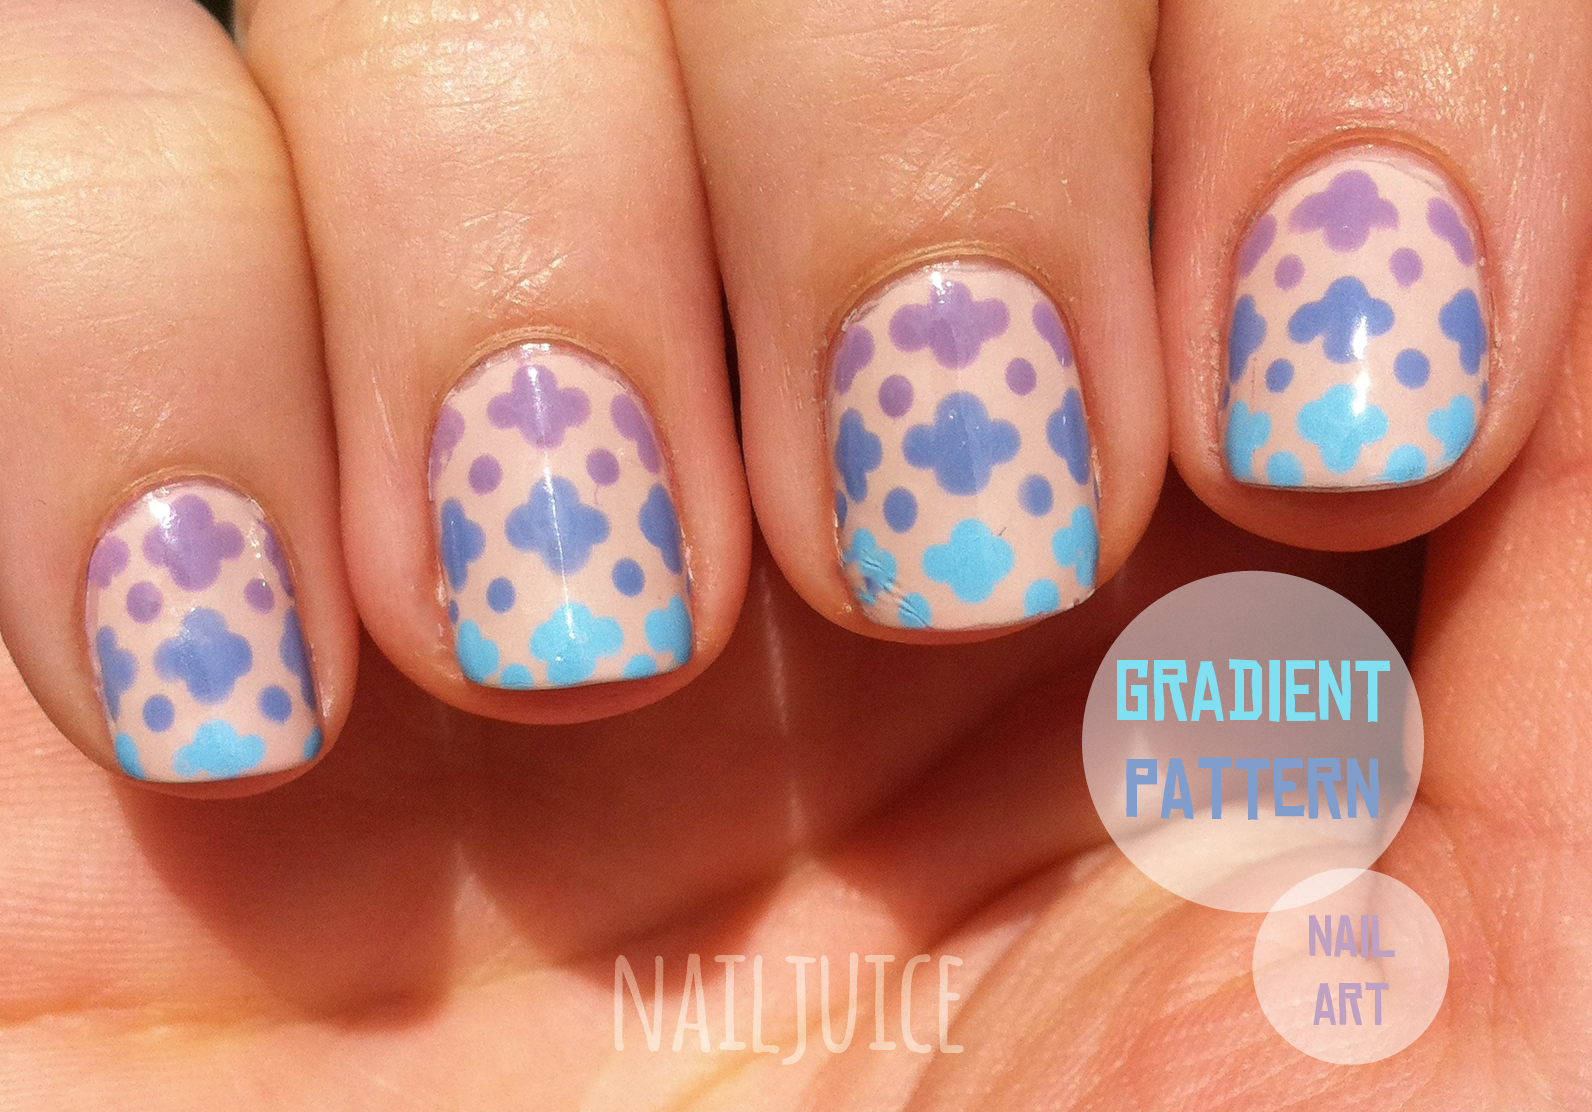
Gradient nail art is a popular and trendy design that can be a bit intimidating for beginners. But fear not, because there's an easy way to achieve this stunning look without any special tools or skills. Start by painting your nails with a light base color. Then, take a makeup sponge and apply two or three different nail polish colors onto it, slightly overlapping them. Dab the sponge onto your nails, moving it up and down to create a gradual fade of colors. Voila, you have a gorgeous gradient effect! You can also add glitter or metallic polish on top to add some sparkle and shine to your gradient nail art. Experiment with different color combinations and patterns to create a unique look every time.2. Easy Gradient Nail Art for Beginners


2. Easy Gradient Nail Art for Beginners


:max_bytes(150000):strip_icc()/072922-beauty-nail-art-lead-2000-21de3481261e48a995c855269f9846ad.jpg)

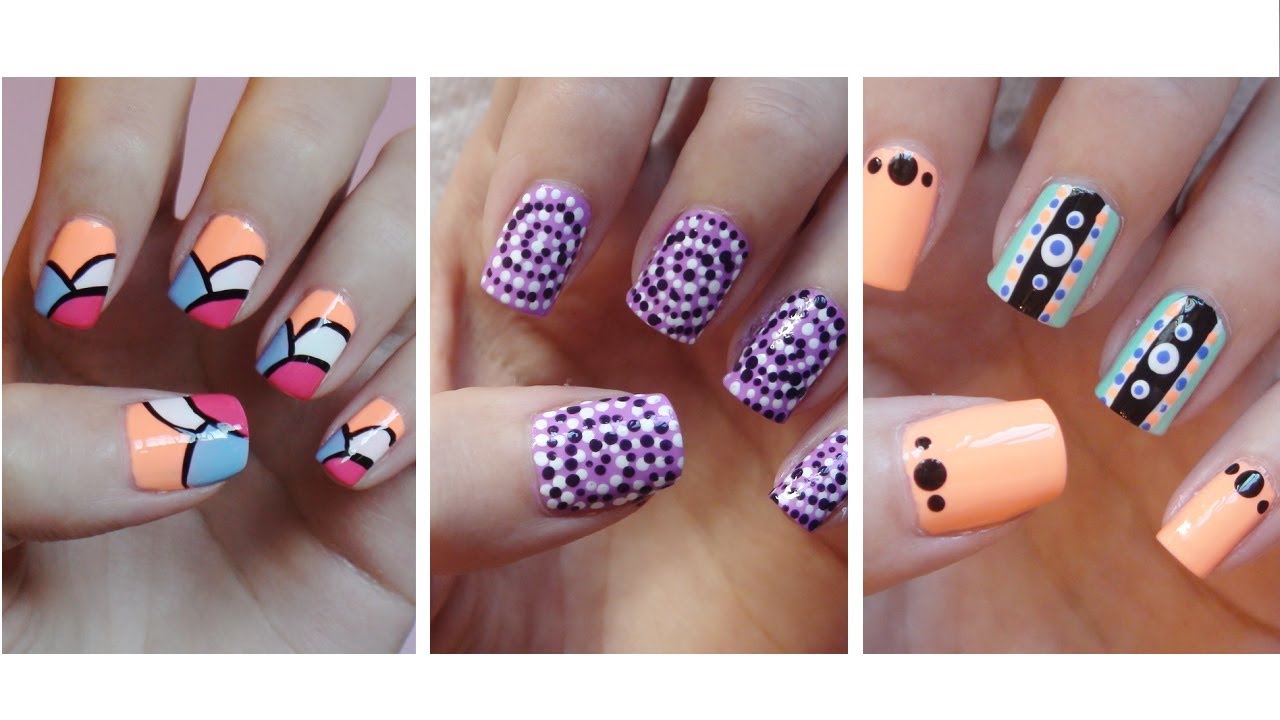
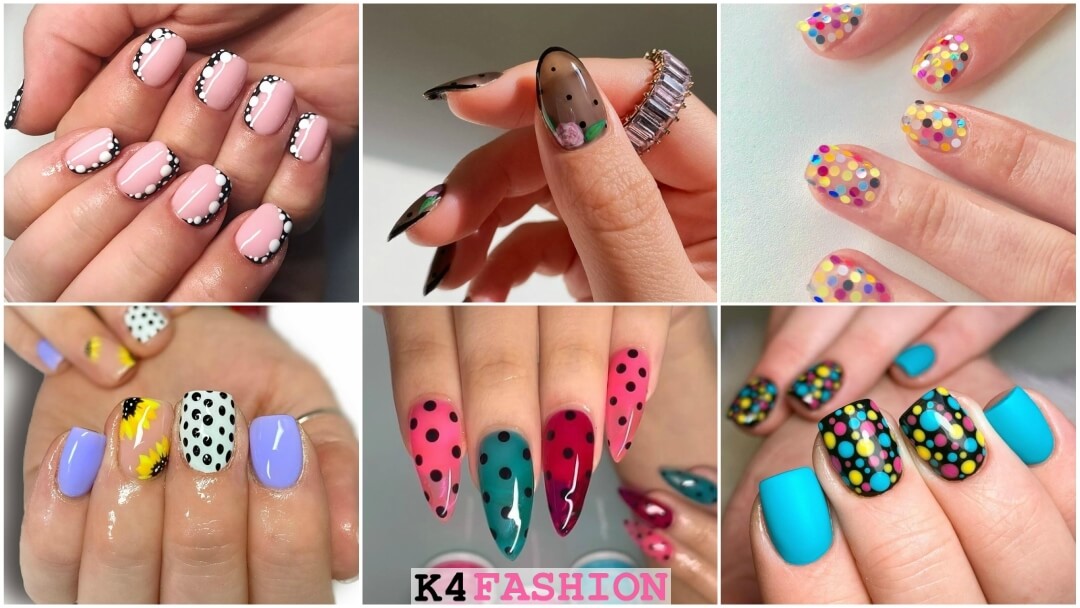
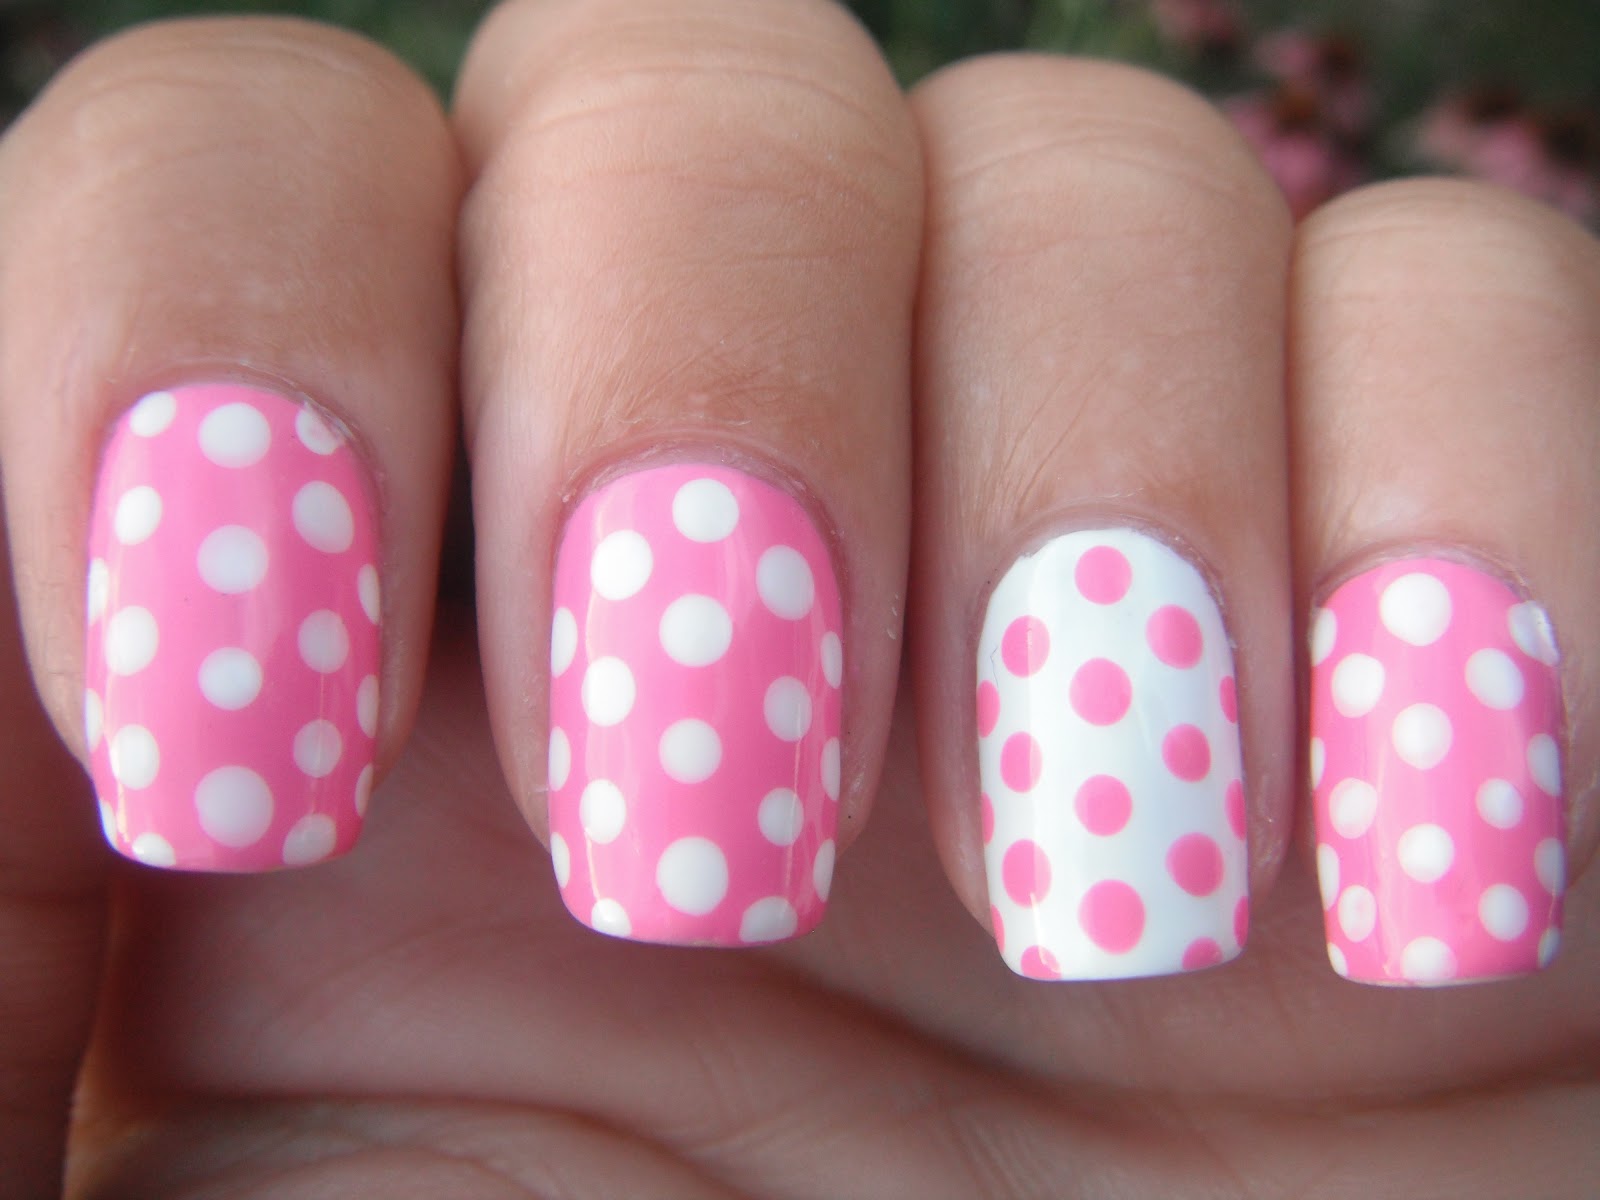
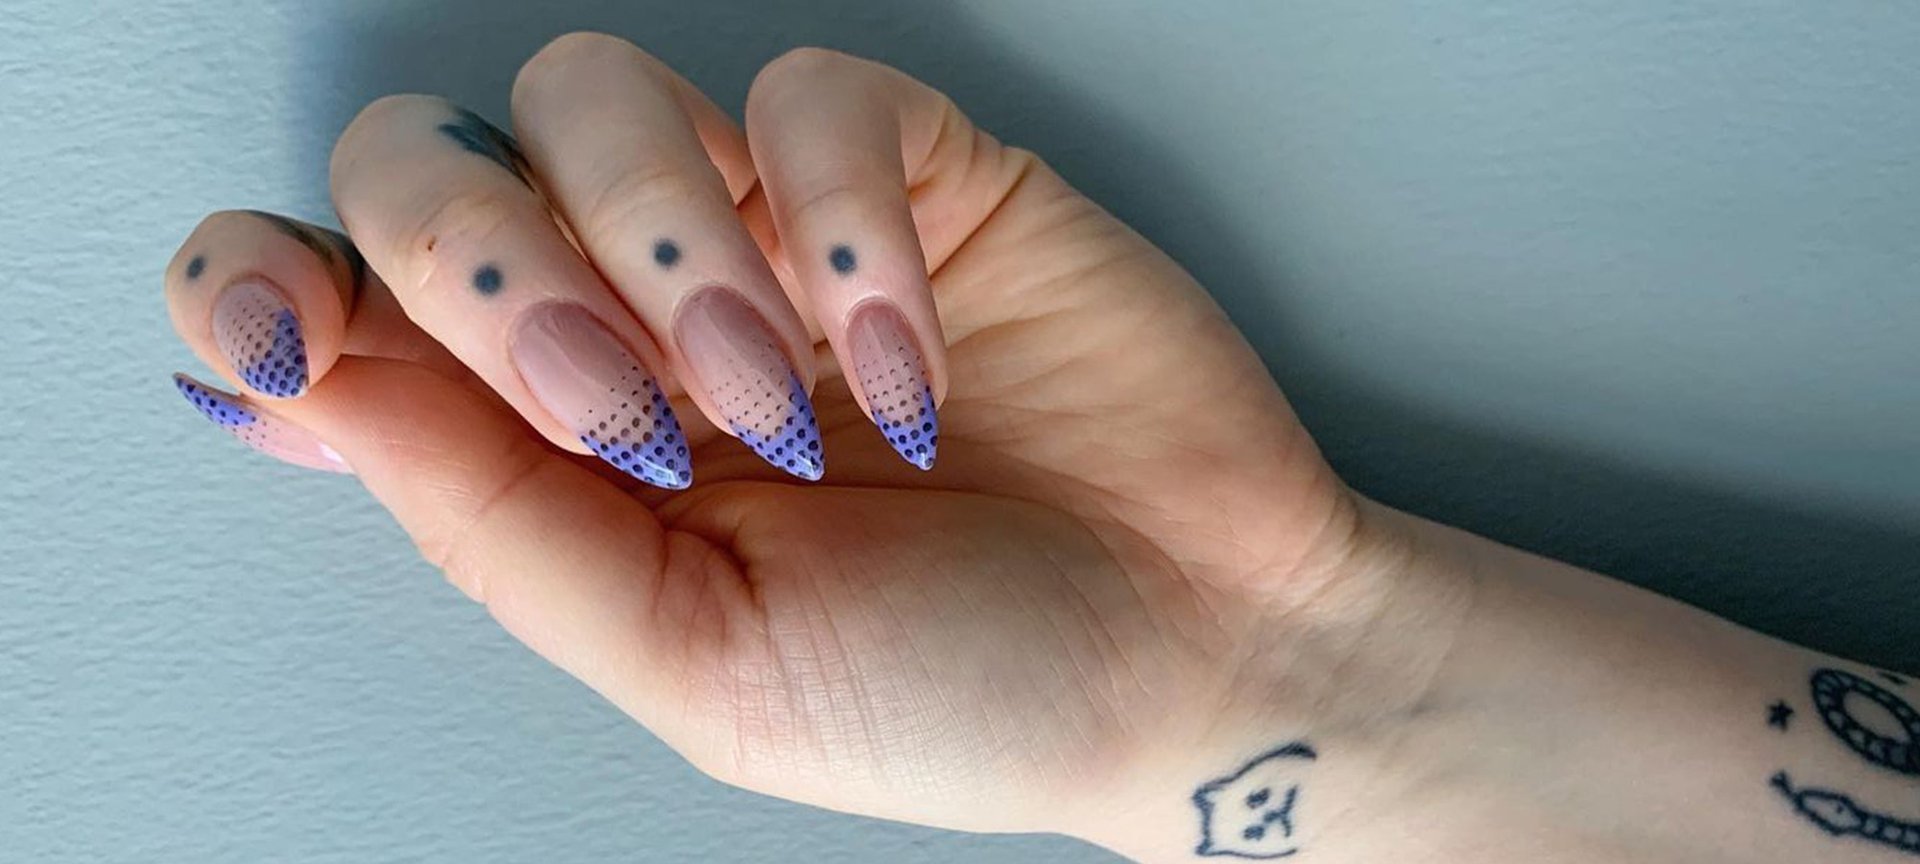
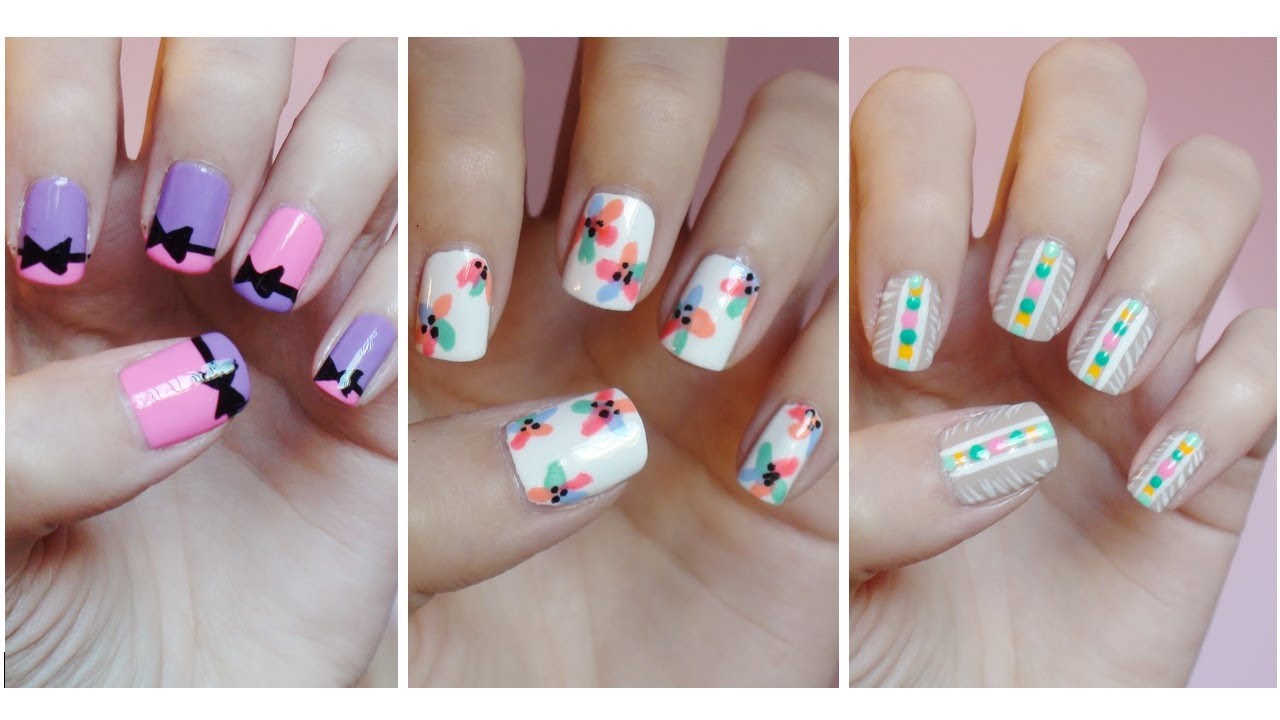
Polka dots are a fun and playful design that can instantly brighten up any outfit. And the best part? You don't need any special tools to create this adorable nail art. Start by painting your nails with a light or pastel base color. Then, using the head of a bobby pin or a dotting tool, create small dots on your nails with a contrasting color. You can keep the dots random and scattered, or create a polka dot pattern with different sizes and colors. For a more sophisticated look, try using a metallic or shimmery polish for the dots. You can also add a matte top coat to give your polka dot nail art a modern twist.3. Cute and Easy Polka Dot Nail Art
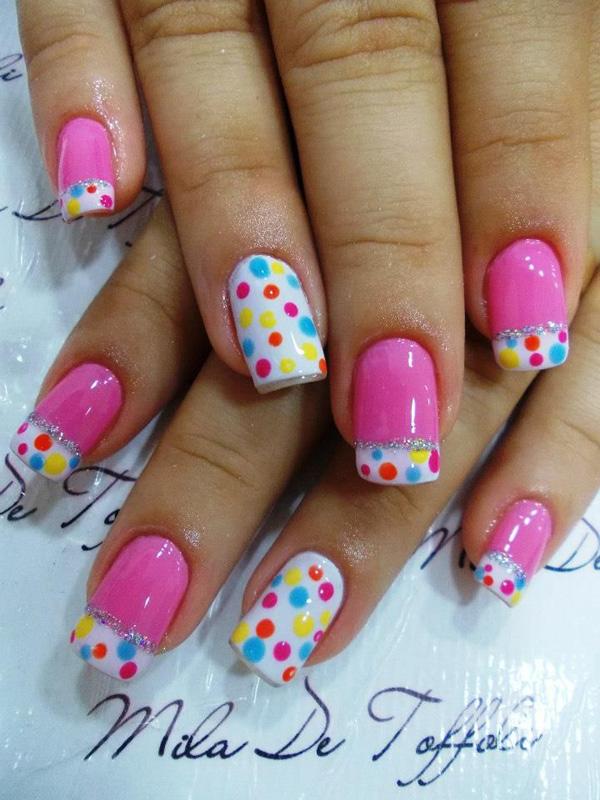
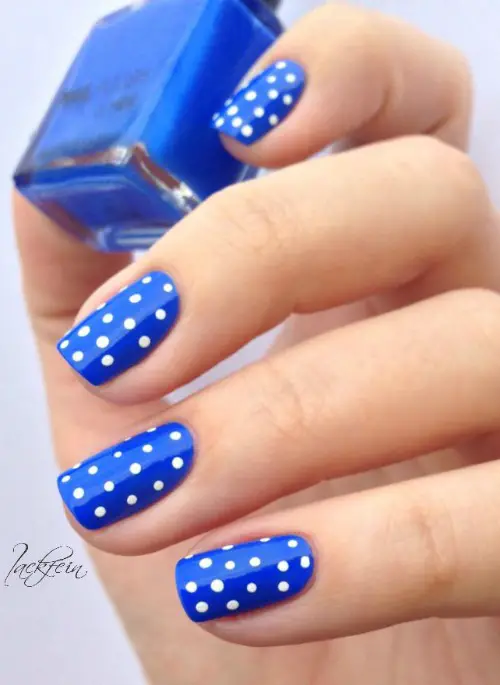
3. Cute and Easy Polka Dot Nail Art


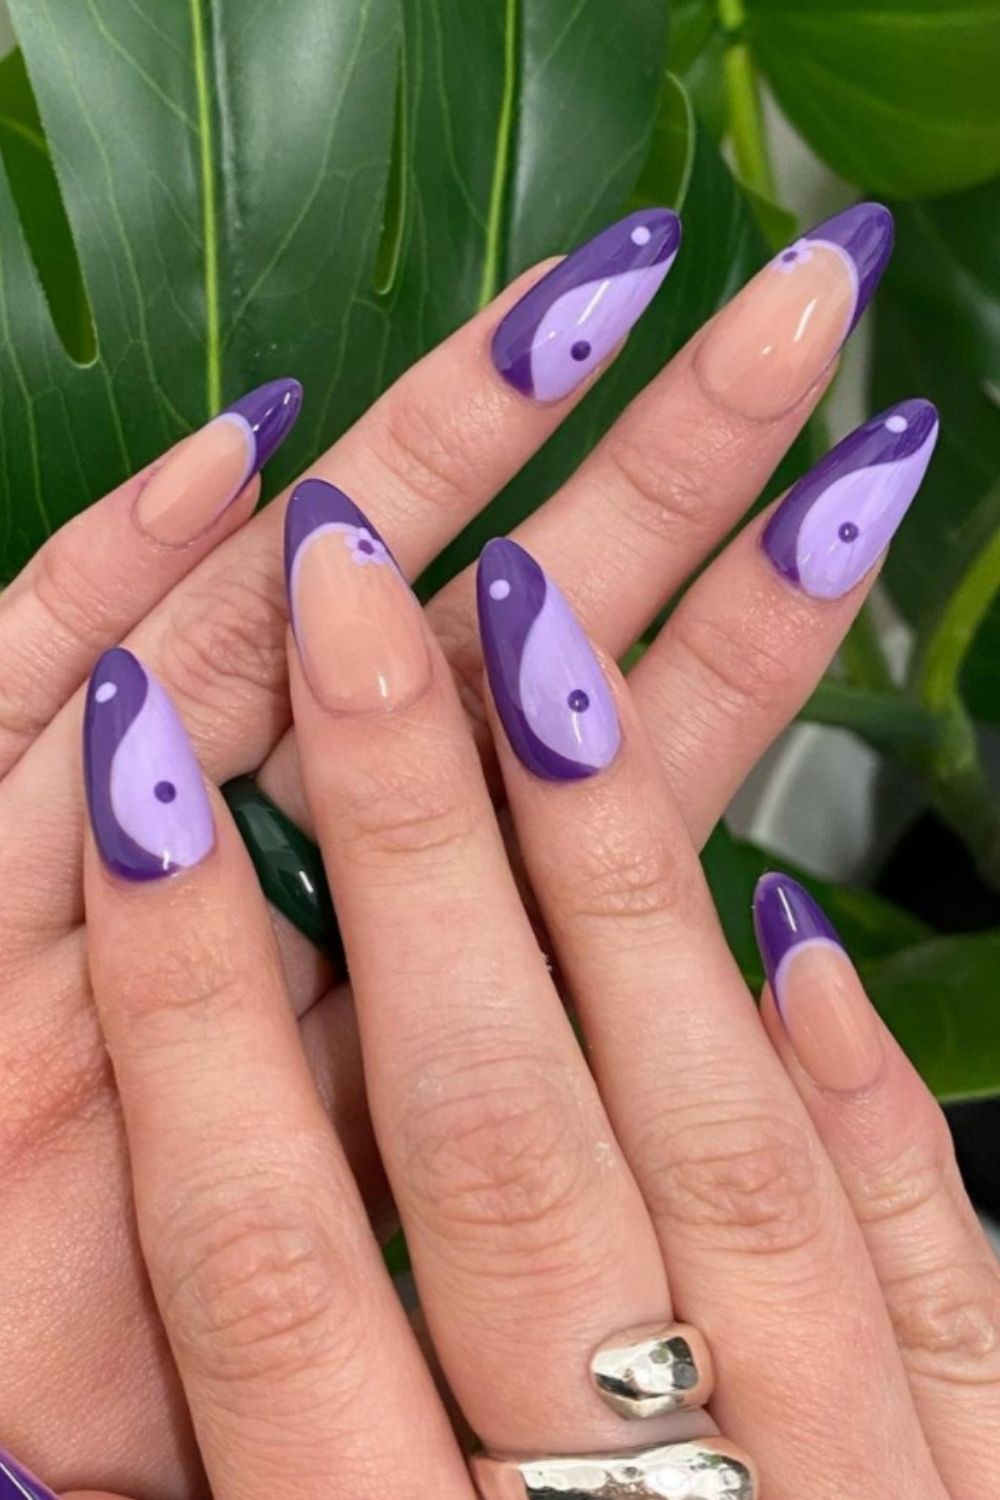
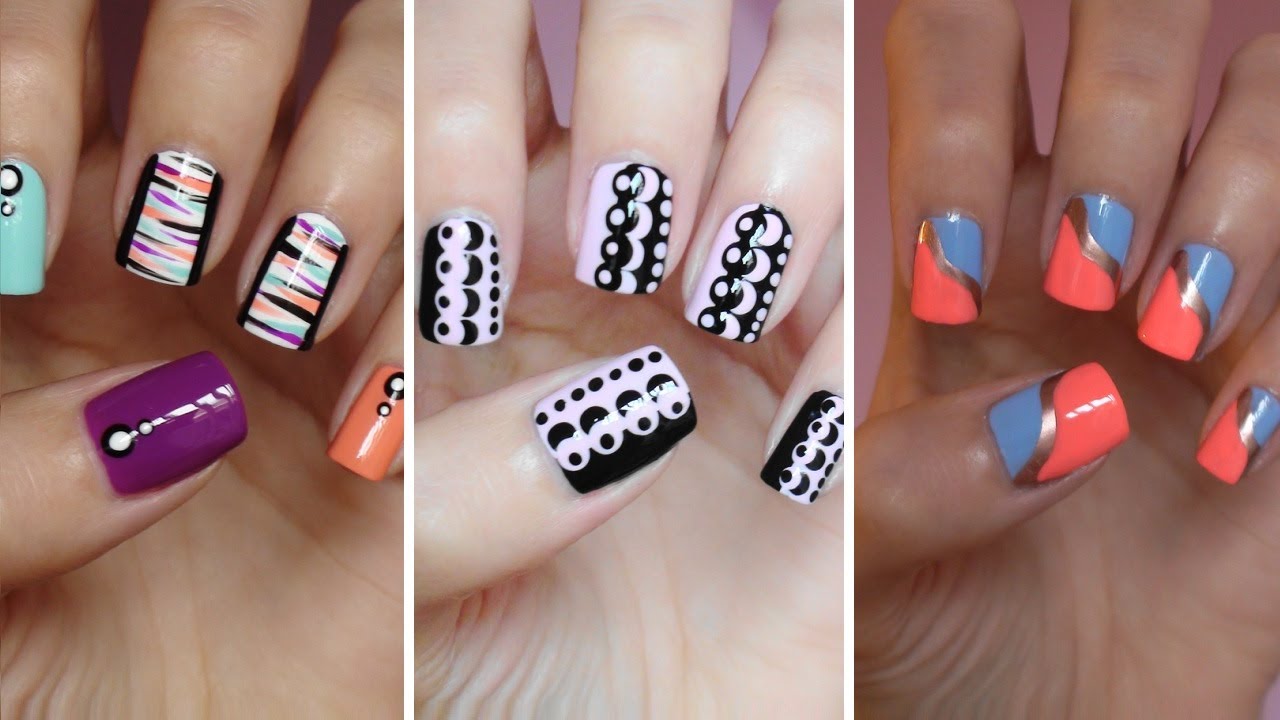
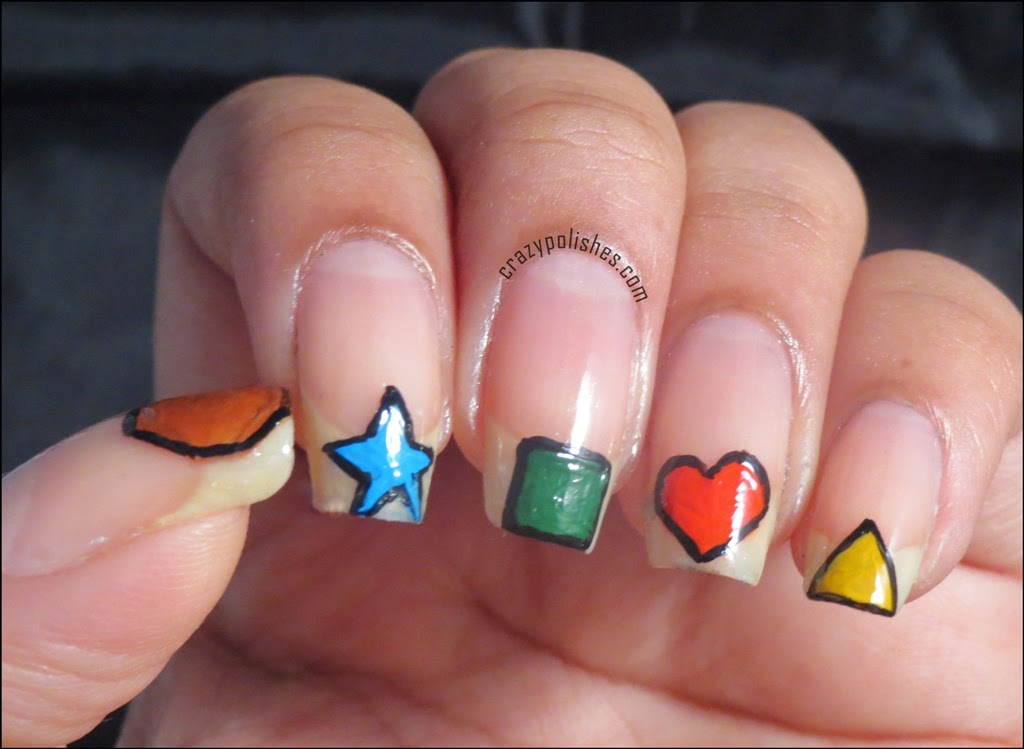
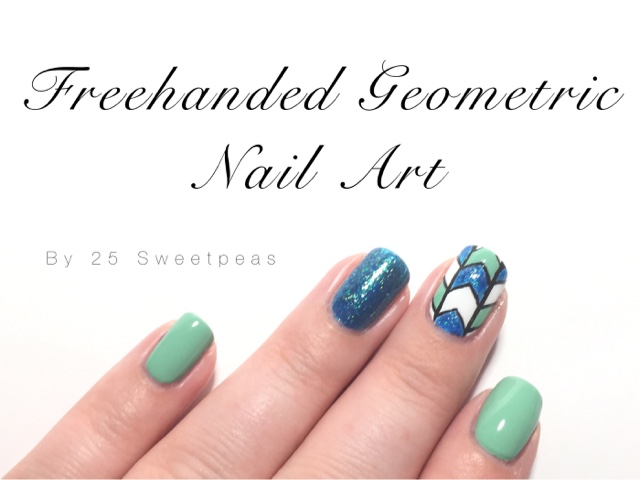
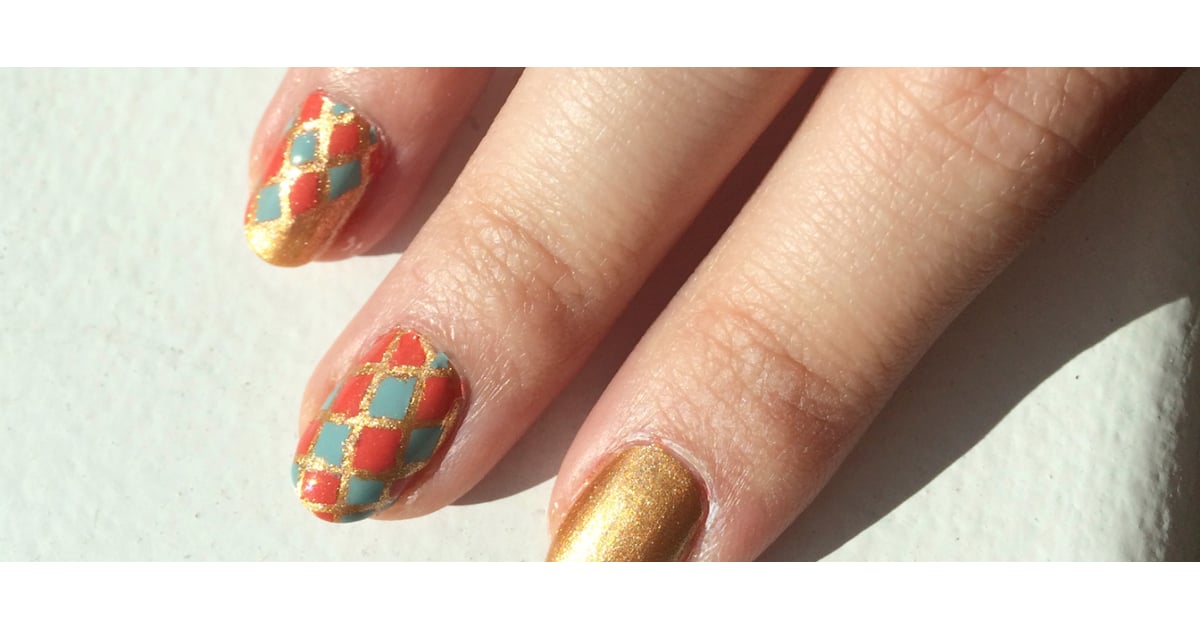
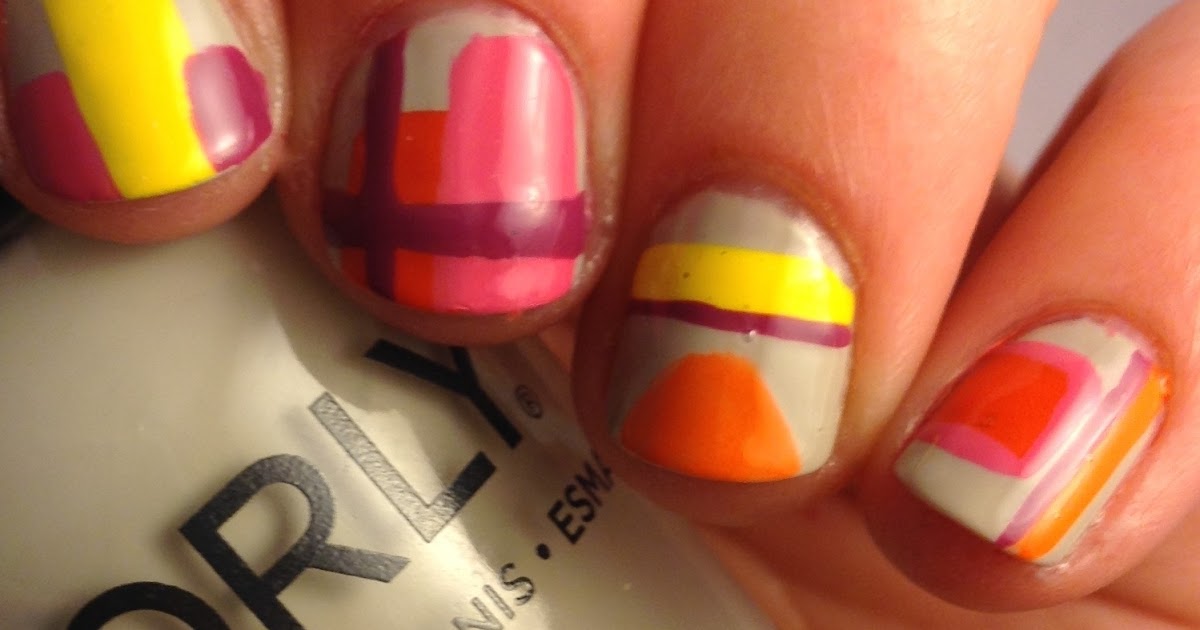
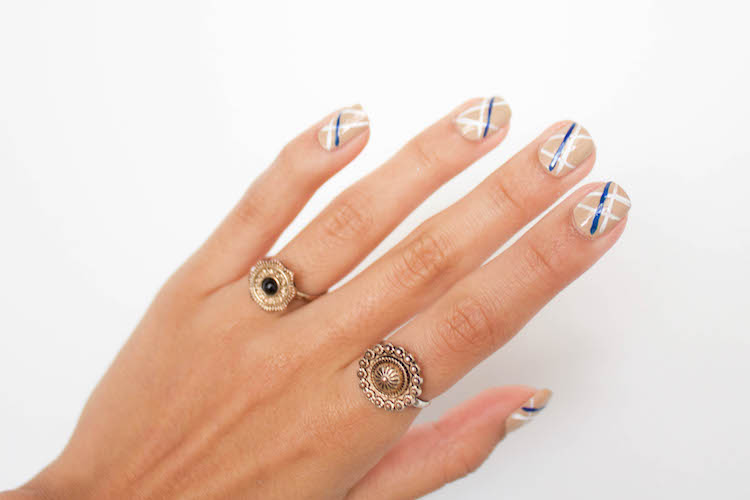
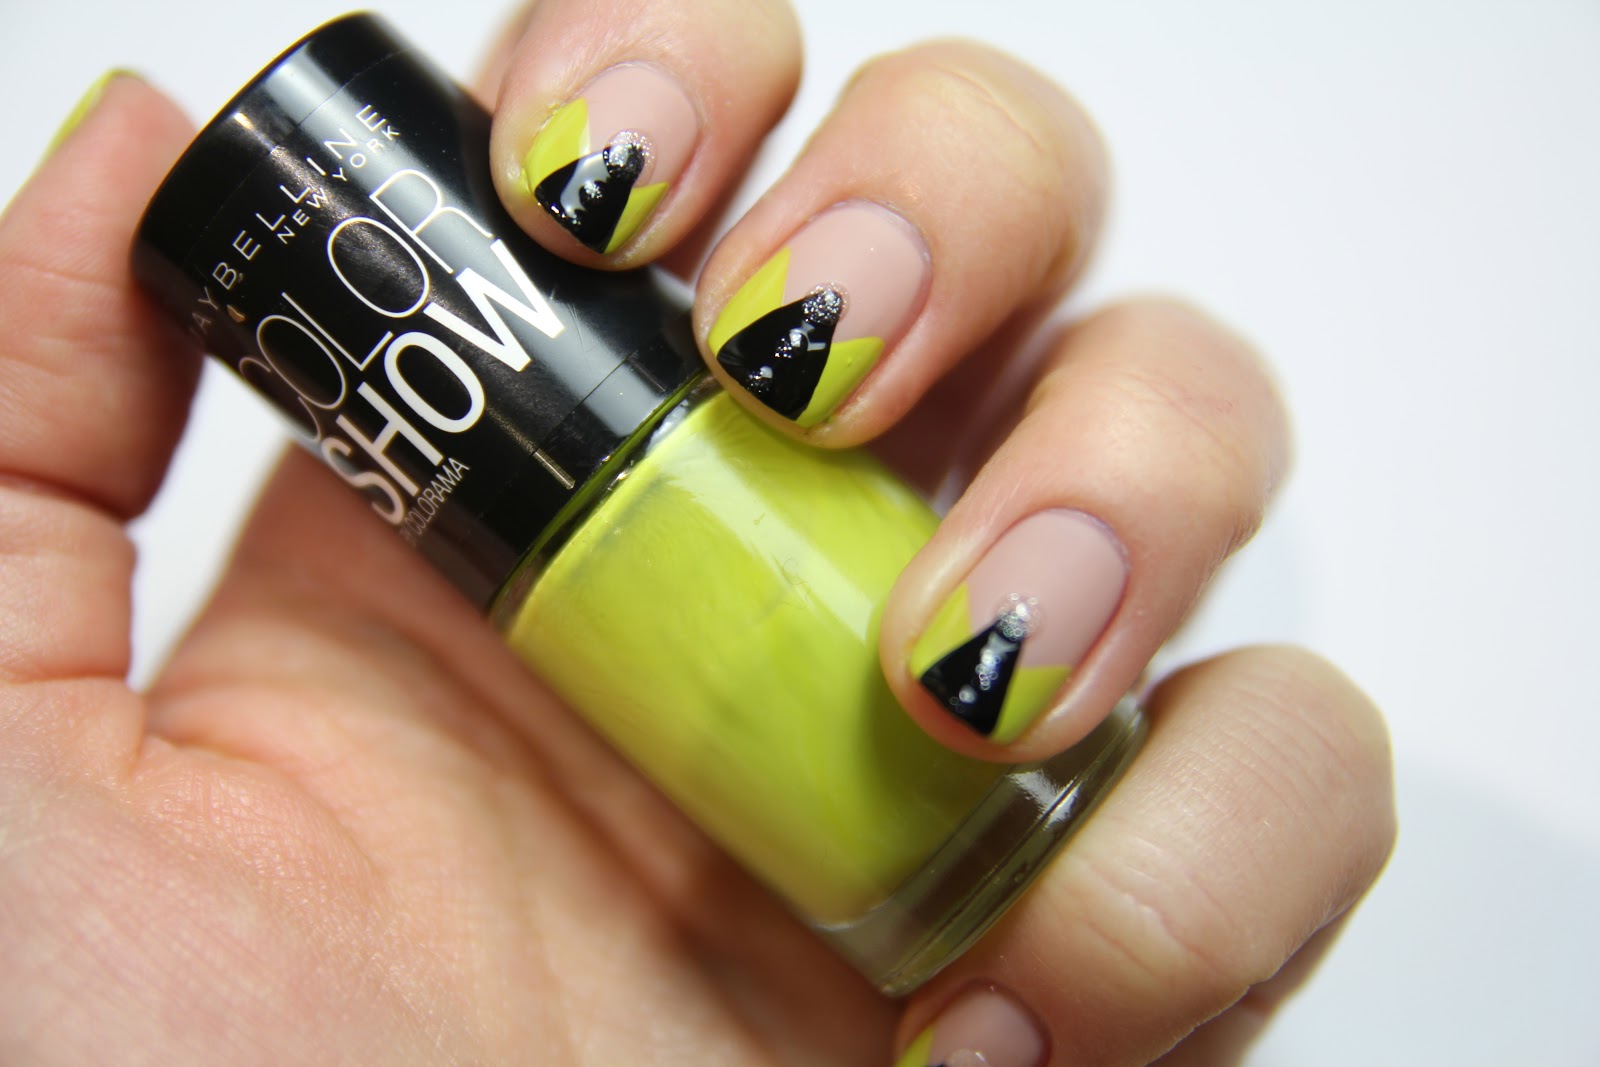
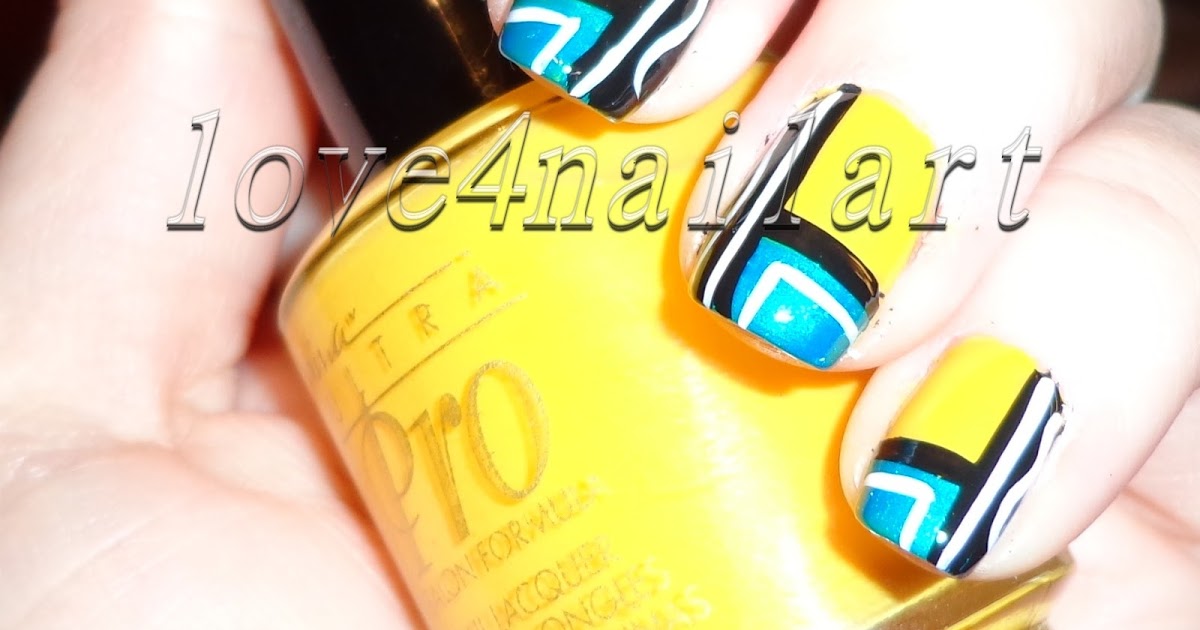
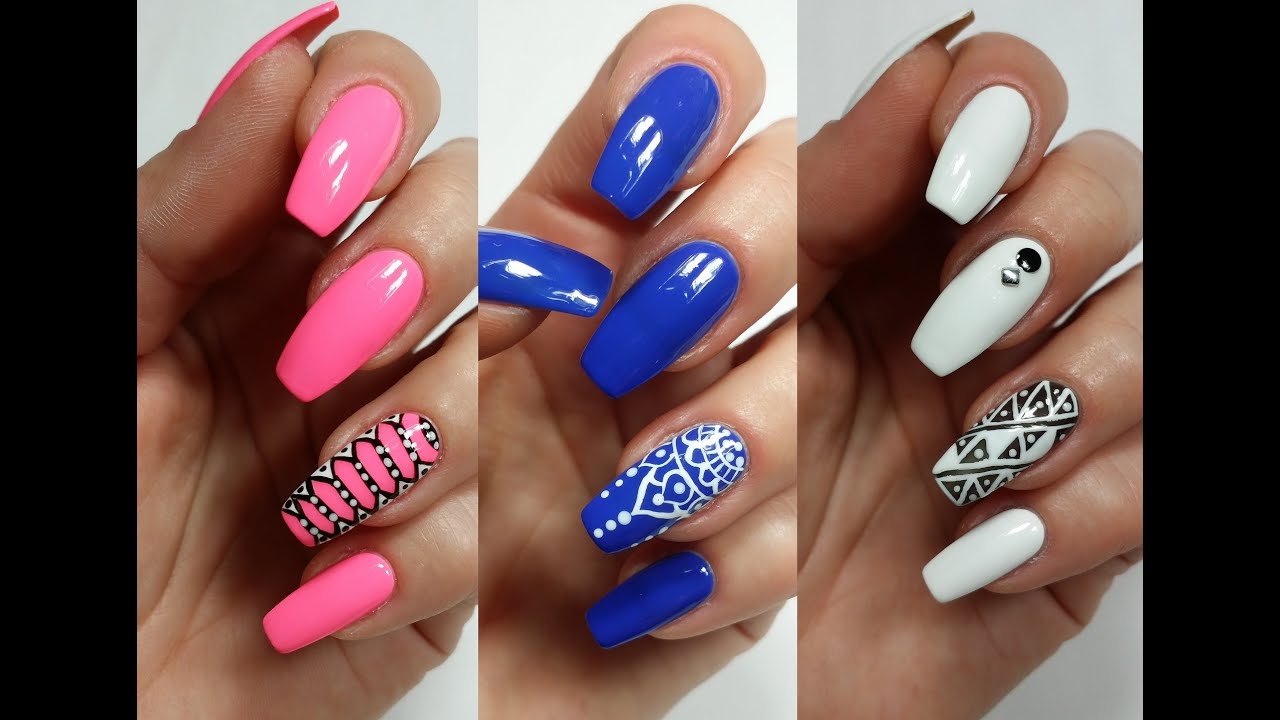
If you're a fan of clean lines and bold shapes, then geometric nail art is the perfect choice for you. And the best part? It's surprisingly easy to achieve with just a few basic tools. Start by painting your nails with a base color of your choice. Then, using a thin nail art brush or a striper brush, create geometric shapes on your nails with a contrasting color. You can mix and match different shapes and colors to create a modern and abstract look. For a minimalist approach, try using a neutral base color and white for the geometric shapes. This will give your nails a chic and understated look.4. Quick and Easy Geometric Nail Art

4. Quick and Easy Geometric Nail Art


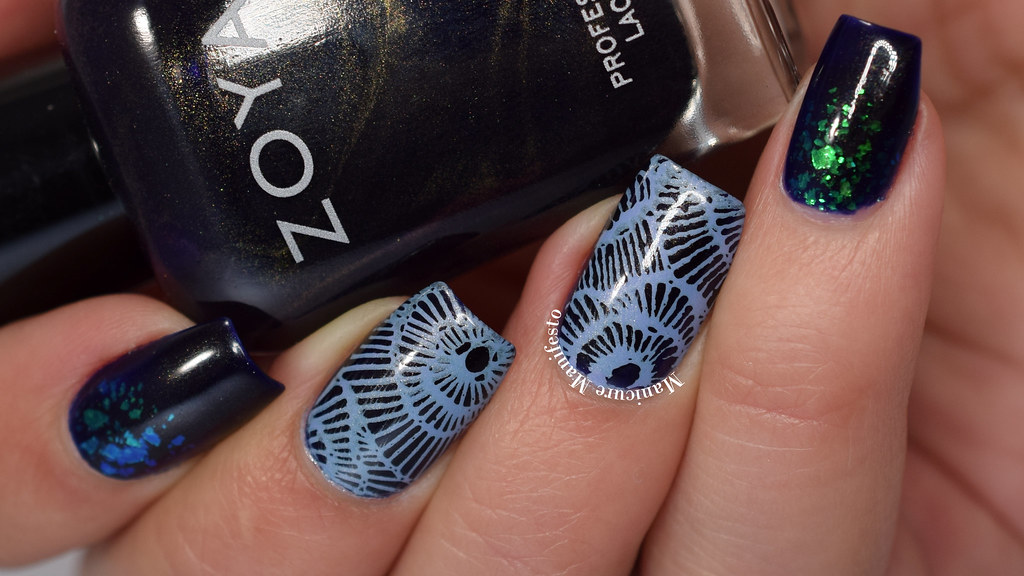
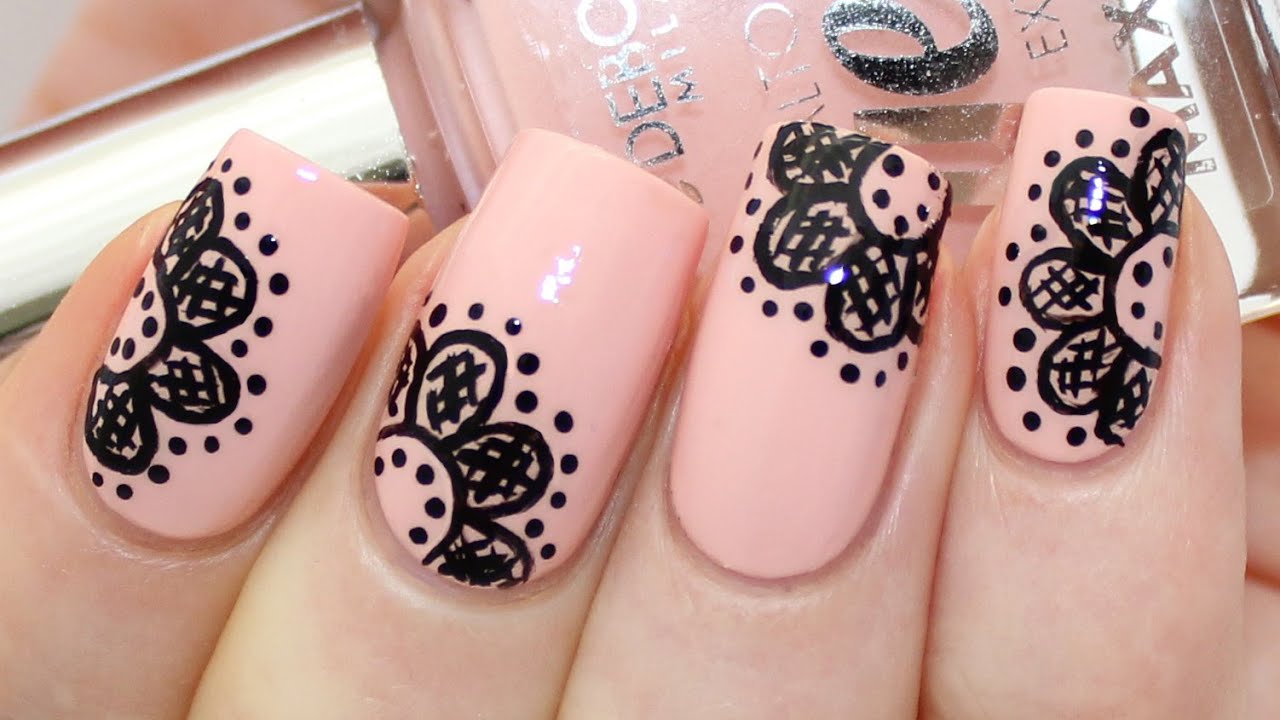
Lace nail art is a romantic and delicate choice for special occasions. And the best part? It's surprisingly easy to create with just a few basic tools. Start by painting your nails with a light, pastel color as the base. Then, using a lace sticker or a lace nail wrap, place it on your nail and press it down gently. Carefully remove the sticker or wrap to reveal a beautiful lace pattern on your nail. You can also create your own lace design by painting it freehand with a thin nail art brush. Finish off with a top coat to seal in your elegant lace nail art.5. Elegant and Easy Lace Nail Art


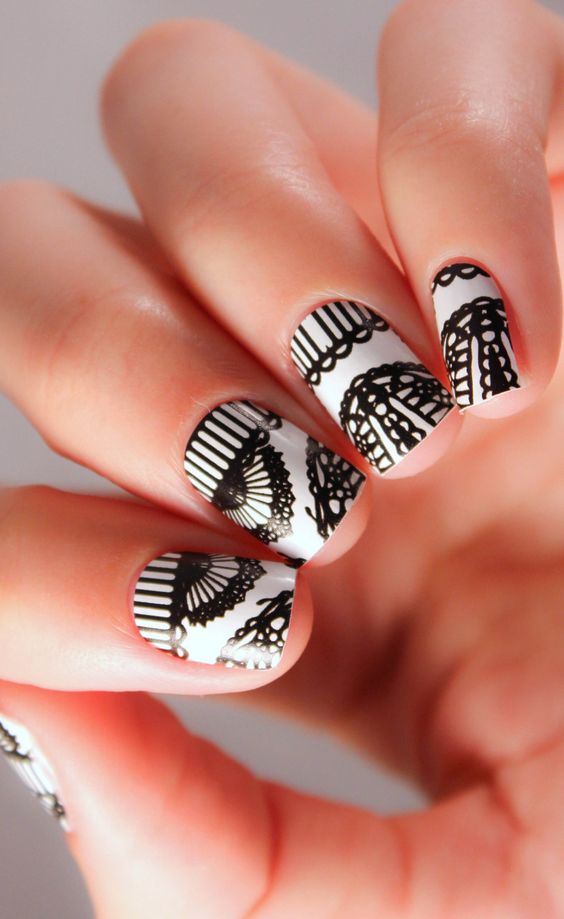
5. Elegant and Easy Lace Nail Art


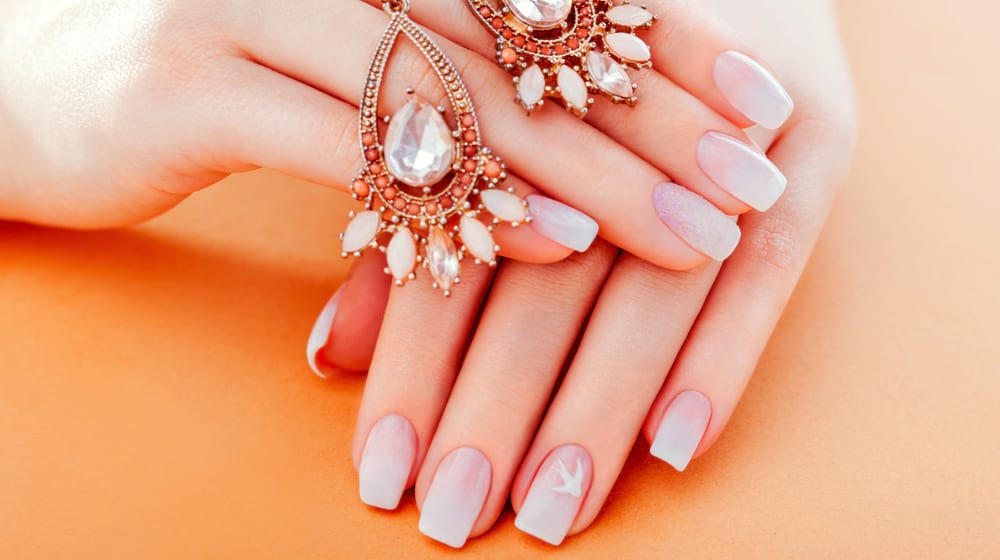
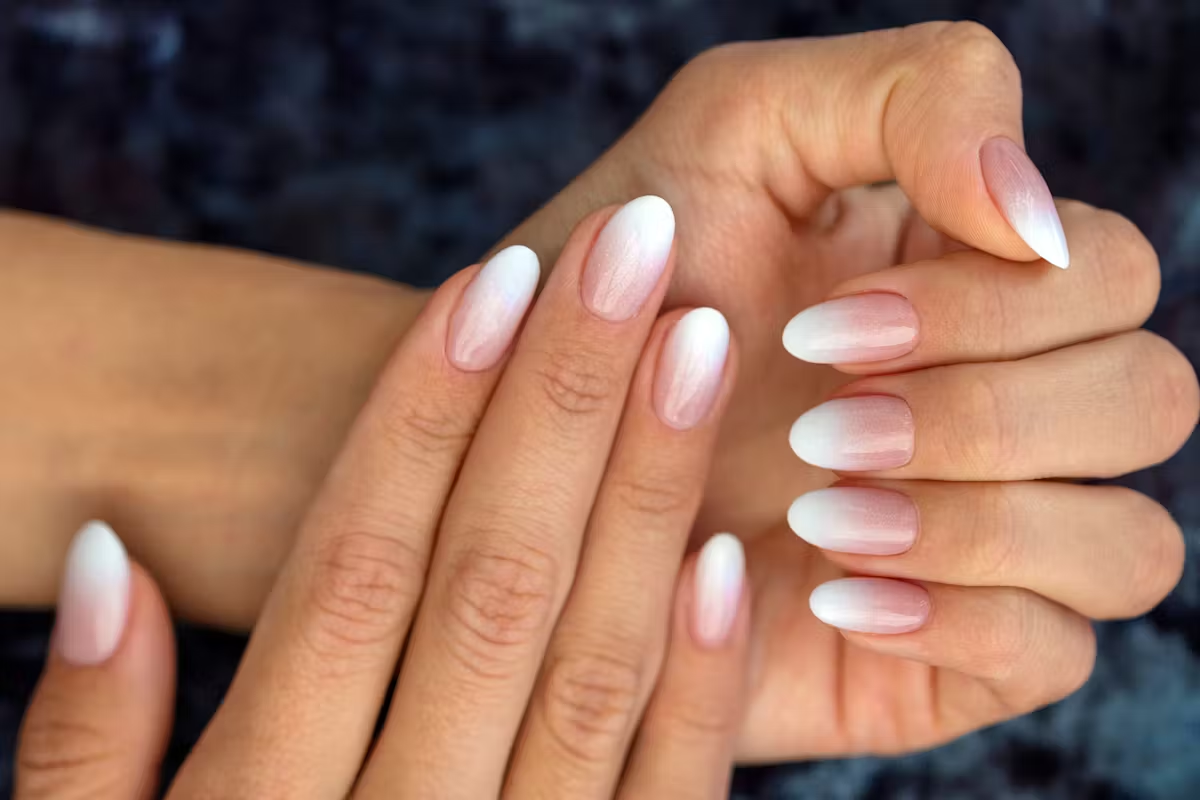
Ombre nail art has been a popular and trendy choice for a while now, and for good reason. It's a versatile design that can be adapted to any color combination and style. To achieve an easy and pretty pastel ombre nail art, start by painting your nails with a white base color. Then, using a makeup sponge, apply three or four different pastel colors onto it, slightly overlapping them. Dab the sponge onto your nails, moving it up and down to create a gradual fade of colors. You can also add some glitter or shimmer polish on top to give your ombre nail art an extra touch of glamour.6. Pretty Pastel Ombre Nail Art


6. Pretty Pastel Ombre Nail Art


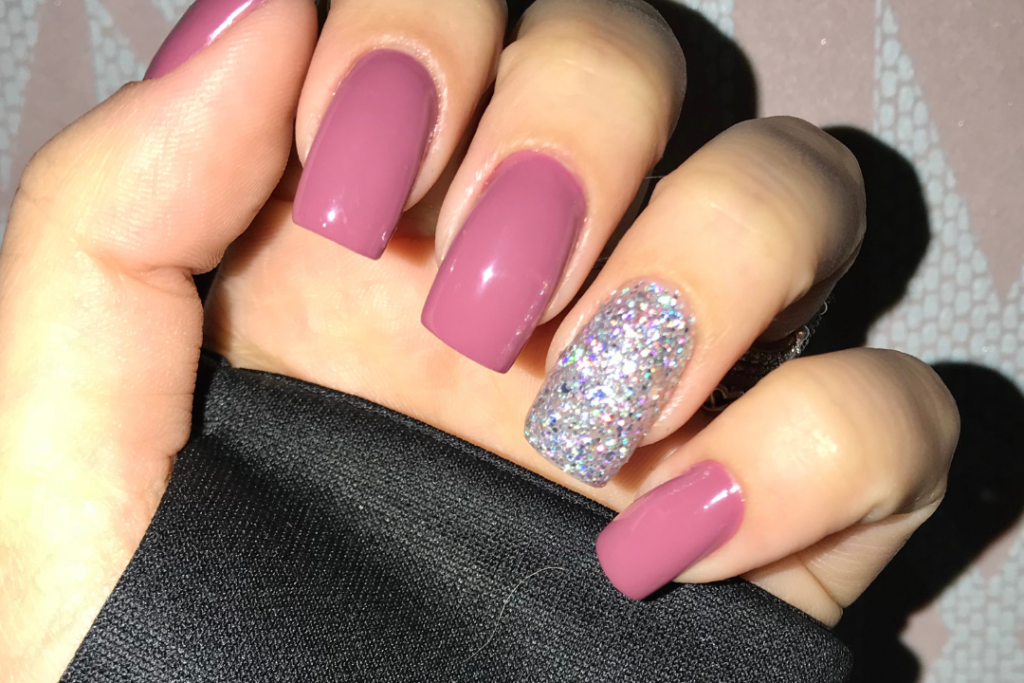
If you want to add some sparkle and glamour to your nails without spending hours on intricate designs, then glitter accent nail art is the perfect choice for you. Start by painting your nails with a base color of your choice. Then, using a small makeup brush or a thin nail art brush, create a glitter gradient on one or two of your nails. You can also use a glitter polish for a quick and easy application. For a more subtle look, create a glitter accent nail on just one finger, or use a neutral base color and gold or silver glitter for a chic and elegant touch.7. Easy Glitter Accent Nail Art


7. Easy Glitter Accent Nail Art


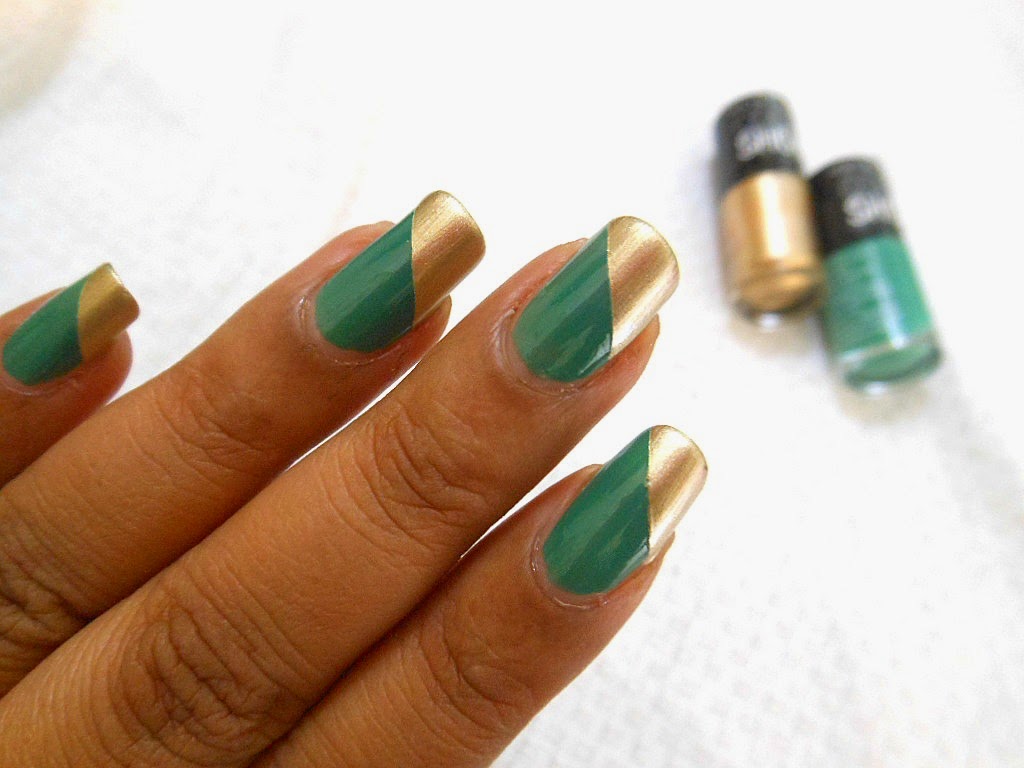
For those who prefer a simple and understated look, minimalist nail art is the way to go. These designs are easy to create and perfect for everyday wear. Start by painting your nails with a neutral base color such as white, nude, or black. Then, using a nail art brush, create clean lines and simple geometric shapes on your nails with a contrasting color. You can also keep it minimalist with just one or two small dots or lines on each nail. This will give your nails a modern and sophisticated look.8. Minimalist Easy Nail Art Designs


8. Minimalist Easy Nail Art Designs


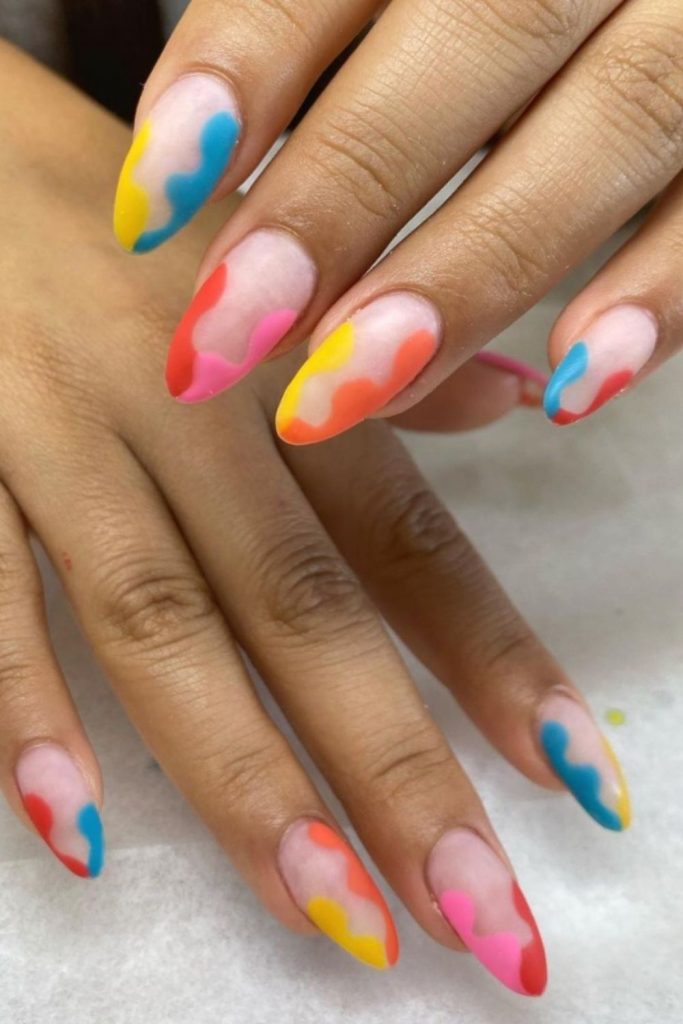
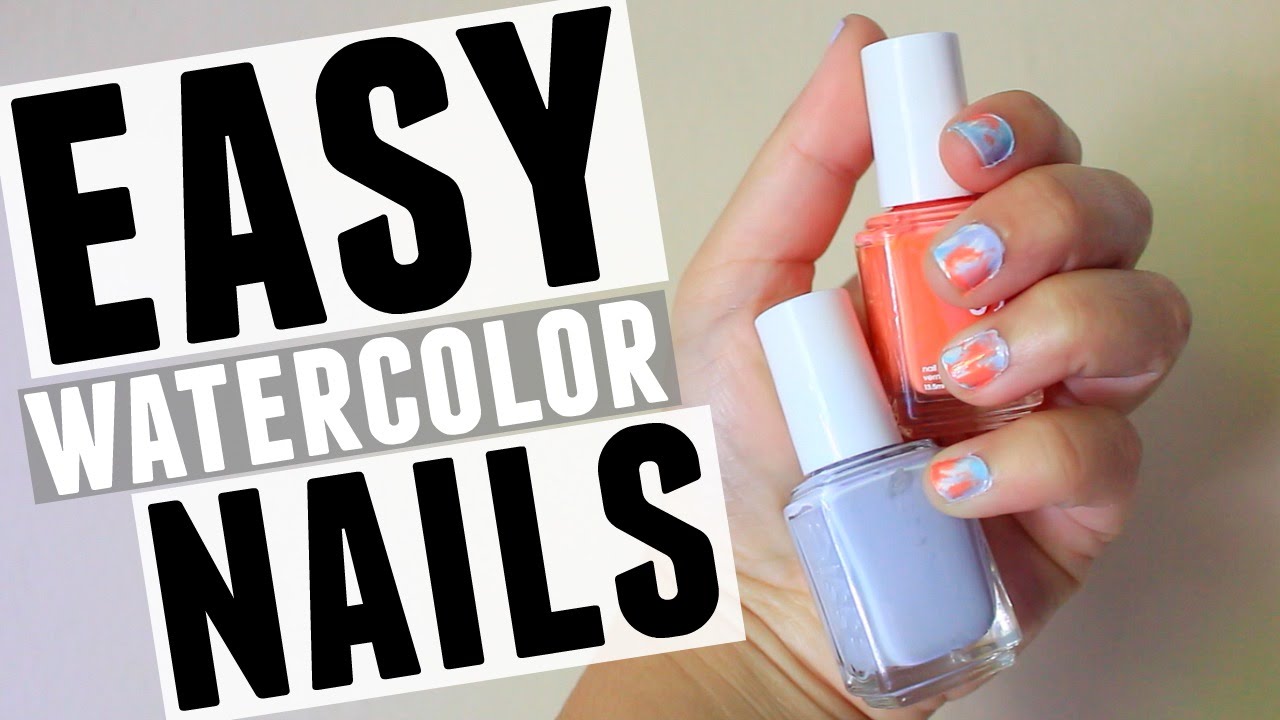
Watercolor nail art is a beautiful and unique design that is surprisingly easy to achieve. All you need is a small sponge and two or three nail polish colors of your choice. Start by painting your nails with a white base color. Then, using a nail polish brush, create small blobs of different colors on your nails. Use a sponge to lightly dab and blend the colors together, creating a watercolor effect. You can also add some glitter or shimmer polish on top for an extra touch of sparkle. Finish off with a top coat to seal in your gorgeous and artistic watercolor nail art.9. Easy Watercolor Nail Art Tutorial

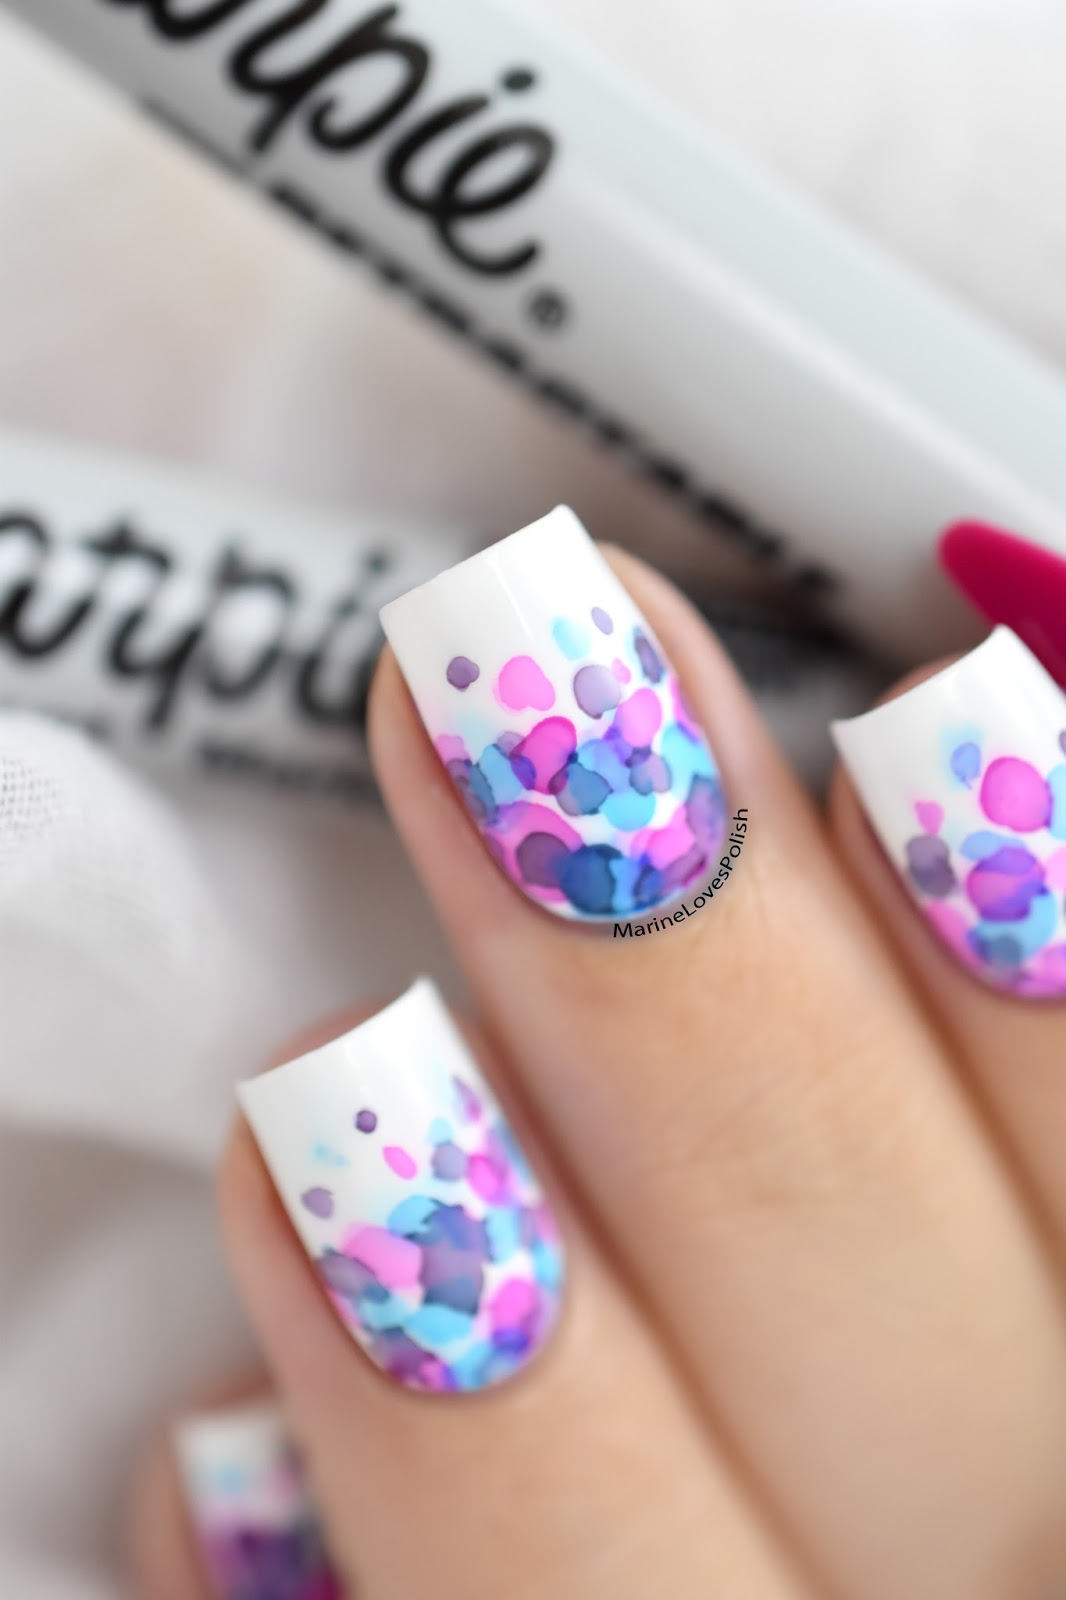
9. Easy Watercolor Nail Art Tutorial


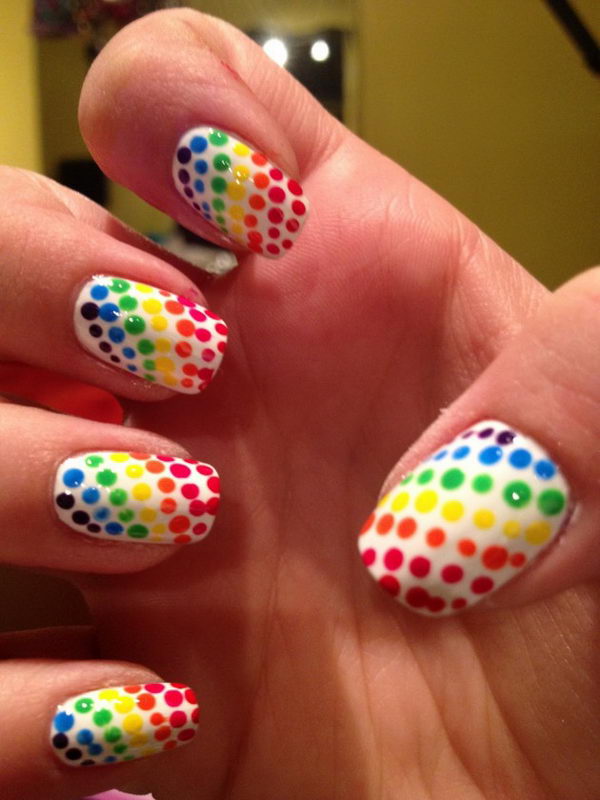
Who doesn't love a rainbow? This colorful and playful design is perfect for any occasion, whether you're going to a festival or just want to brighten up your day. To achieve this easy and fun nail art, start by painting your nails with a white base color. Then, using a thin nail art brush, create small lines of different colors on each nail, creating a rainbow pattern. You can also use a rainbow glitter polish for a quick and easy application. If you want to amp up the fun factor, add some clouds or raindrops on one or two of your nails. This will give your rainbow nail art a whimsical and unique touch.10. Fun and Easy Rainbow Nail Art


10. Fun and Easy Rainbow Nail Art


Easy but Pretty Nail Art: A Fun Way to Express Yourself

Unleash Your Creativity with Simple Nail Designs
 When it comes to expressing your personal style and adding a pop of color to your everyday look,
nail art
is the way to go.
Easy but pretty nail art
is a great way to elevate your outfit and make a statement without breaking the bank. With just a few tools and some
creative
ideas, you can achieve
professional-looking
nail designs right at home.
When it comes to expressing your personal style and adding a pop of color to your everyday look,
nail art
is the way to go.
Easy but pretty nail art
is a great way to elevate your outfit and make a statement without breaking the bank. With just a few tools and some
creative
ideas, you can achieve
professional-looking
nail designs right at home.
Get Inspired with Minimalistic Nail Designs
 If you're new to
nail art
, it can be overwhelming to try out elaborate designs. That's where
easy but pretty
nail art comes in. Start with simple
minimalistic
designs like
stripes
,
dots
, or
geometric shapes
. These designs are not only
easy
to recreate, but they also make a
bold
statement. Plus, they are perfect for any occasion and can be easily customized with different colors to match your outfit.
If you're new to
nail art
, it can be overwhelming to try out elaborate designs. That's where
easy but pretty
nail art comes in. Start with simple
minimalistic
designs like
stripes
,
dots
, or
geometric shapes
. These designs are not only
easy
to recreate, but they also make a
bold
statement. Plus, they are perfect for any occasion and can be easily customized with different colors to match your outfit.
Add a Feminine Touch with Floral Nail Art
 For those who love all things
girly
, floral nail art is a must-try. This
easy but pretty
nail design involves painting delicate flowers on your nails, creating a
romantic
and
chic
look. You can use
pastel
shades for a soft and
feminine
touch or go for
bright
colors for a more
playful
vibe. Either way, this nail art is perfect for spring and summer or whenever you want to add a touch of
floral
to your look.
For those who love all things
girly
, floral nail art is a must-try. This
easy but pretty
nail design involves painting delicate flowers on your nails, creating a
romantic
and
chic
look. You can use
pastel
shades for a soft and
feminine
touch or go for
bright
colors for a more
playful
vibe. Either way, this nail art is perfect for spring and summer or whenever you want to add a touch of
floral
to your look.
Make a Statement with Bold Colors and Patterns
 If you're feeling
adventurous
, why not try
bold
and
colorful
nail designs? These designs often involve
multiple
colors and
intricate
patterns, but with the right tools and a steady hand, they can be achieved at home. Think
animal prints
,
abstract
designs, or
ombre
nails. These
eye-catching
designs will definitely make a
statement
and show off your
fun
and
playful
side.
In conclusion,
easy but pretty nail art
is a fun and
creative
way to express yourself through your nails. With
simple
designs,
floral
touches, or
bold
colors and patterns, you can elevate your look and show off your personality. So why not give it a try and see how
nail art
can make a difference in your overall style?
If you're feeling
adventurous
, why not try
bold
and
colorful
nail designs? These designs often involve
multiple
colors and
intricate
patterns, but with the right tools and a steady hand, they can be achieved at home. Think
animal prints
,
abstract
designs, or
ombre
nails. These
eye-catching
designs will definitely make a
statement
and show off your
fun
and
playful
side.
In conclusion,
easy but pretty nail art
is a fun and
creative
way to express yourself through your nails. With
simple
designs,
floral
touches, or
bold
colors and patterns, you can elevate your look and show off your personality. So why not give it a try and see how
nail art
can make a difference in your overall style?


