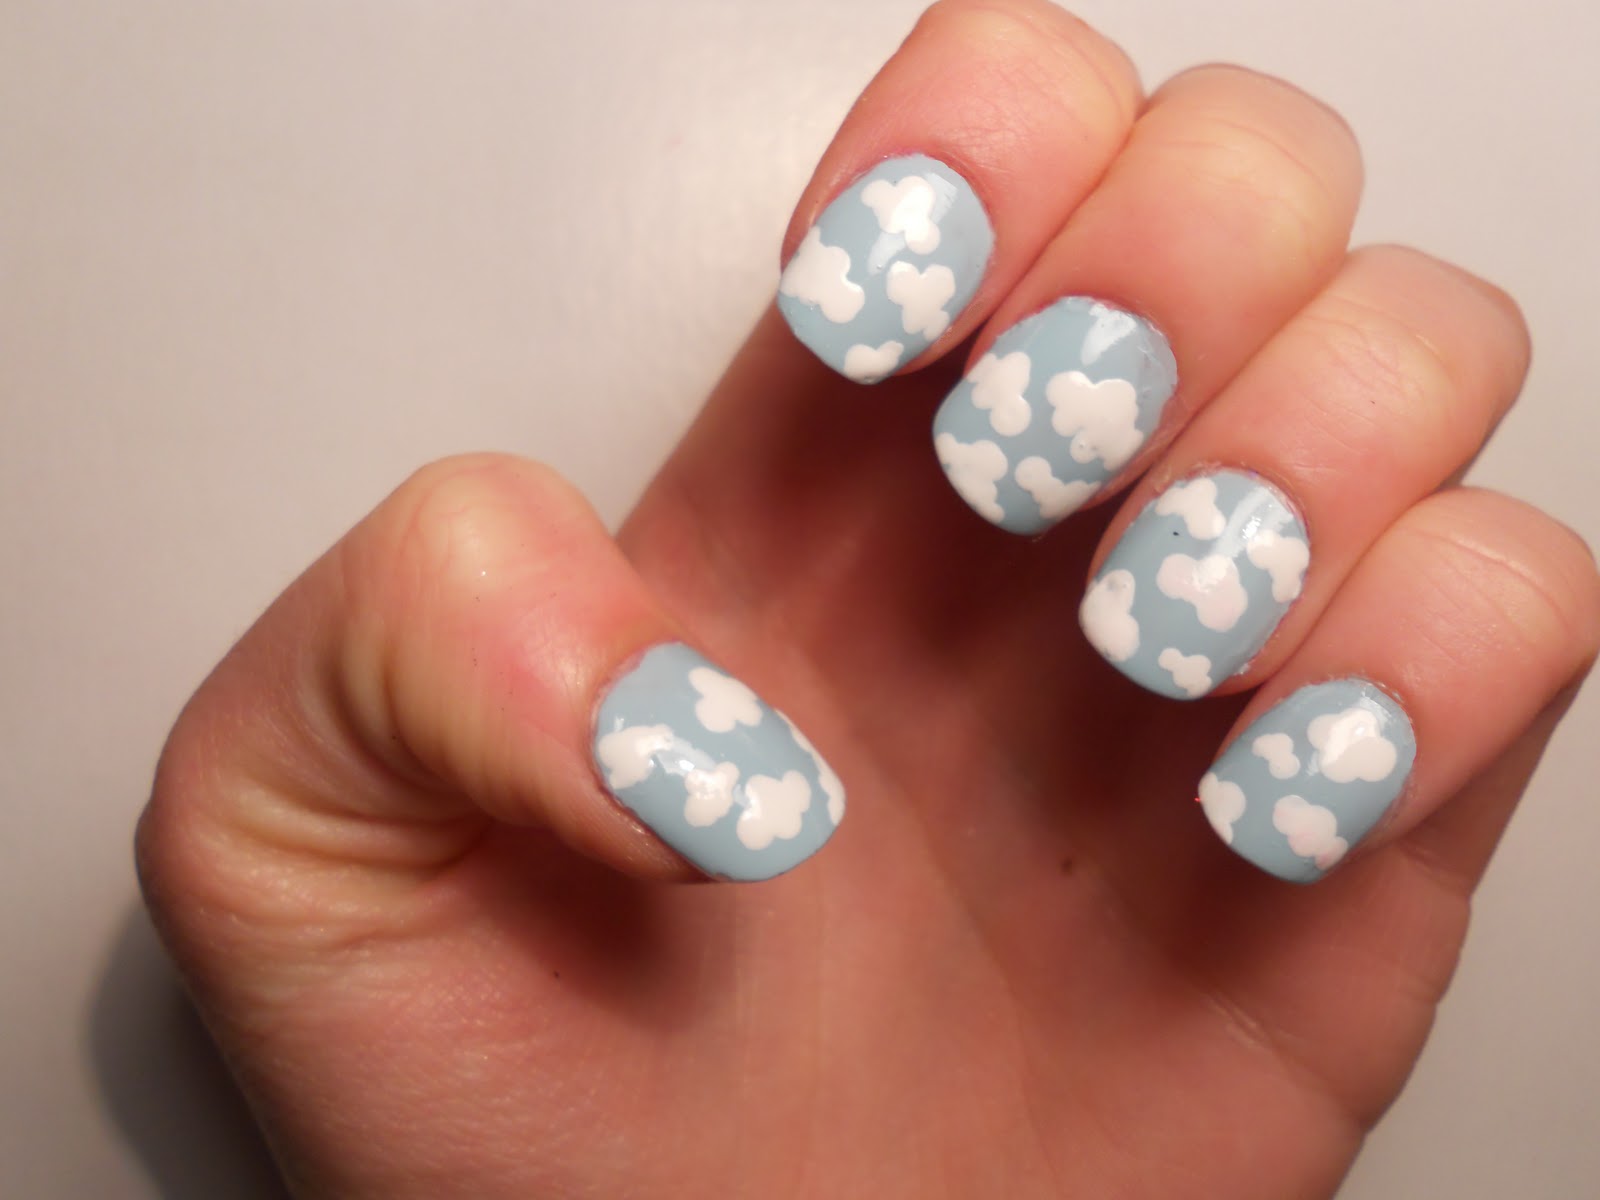
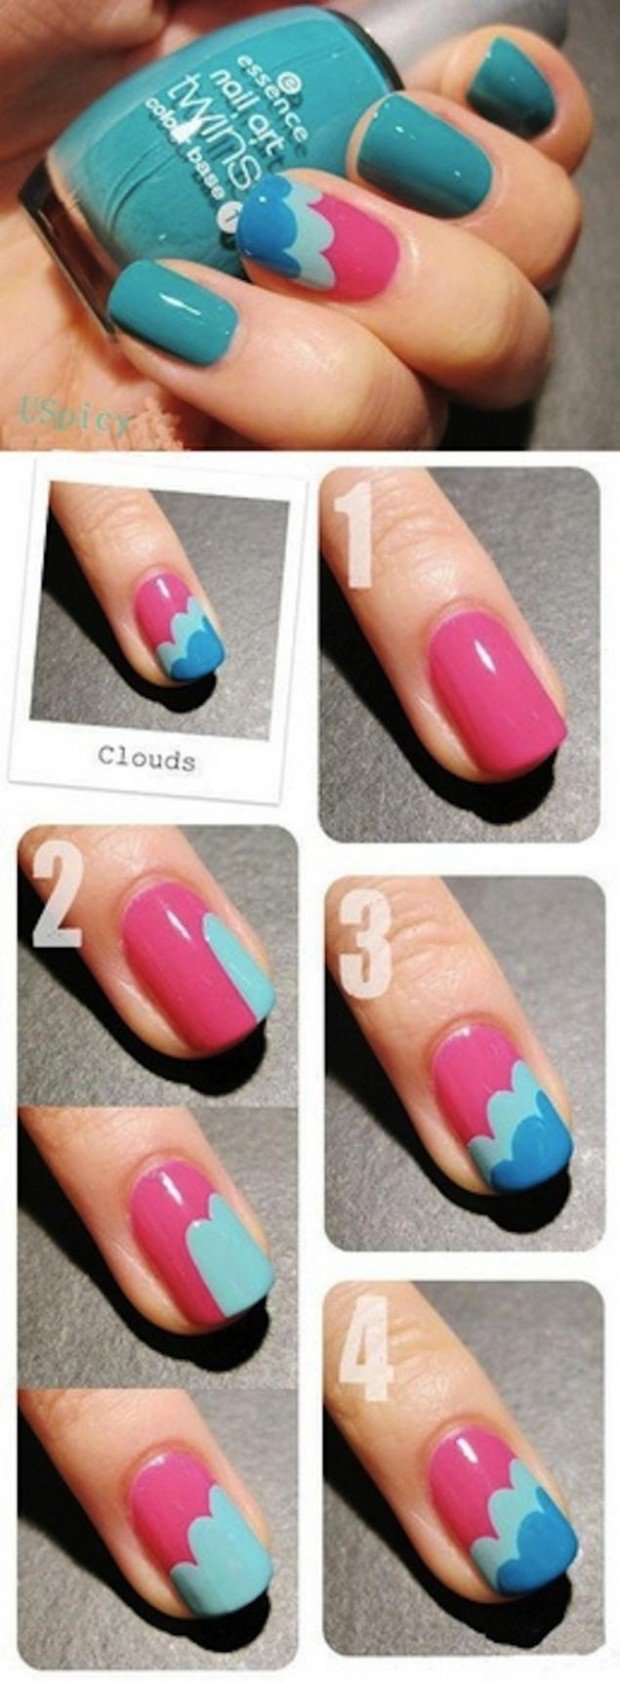
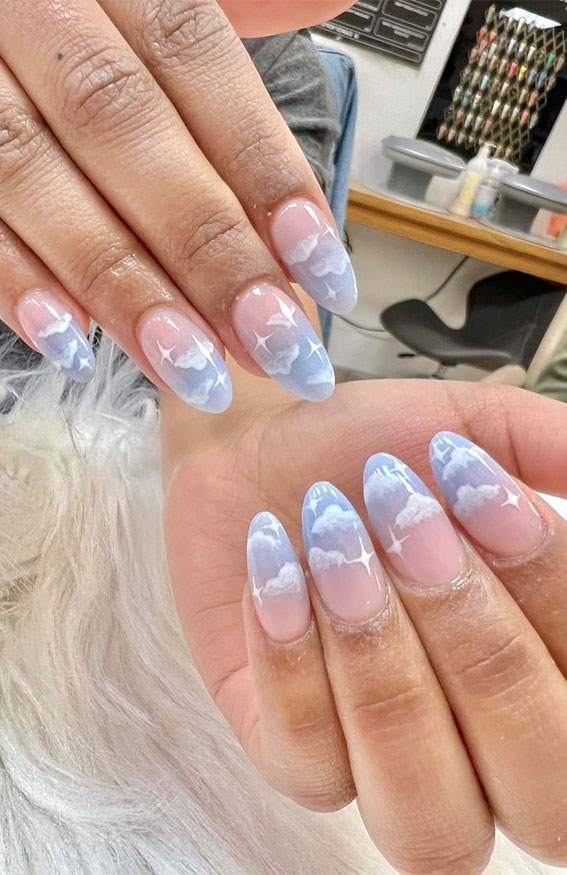
If you're looking for a cute and whimsical nail design, then cloud nail art is the perfect choice for you. Not only is it easy to achieve, but it also adds a touch of playfulness to your nails. In this tutorial, we'll show you how to create this adorable design in just a few simple steps. To start, you will need a white nail polish as your base color, and two shades of blue for the clouds. You can also add some glitter polish for an extra sparkle. Begin by painting your nails with the white polish and let it dry completely. Then, take your light blue polish and create cloud-like shapes on the tips of your nails. You can use a thin brush or a toothpick to achieve this look. Make sure to leave some space between each cloud to give it a more realistic effect. Next, take your darker shade of blue and add some accents to the clouds by creating smaller clouds within the larger ones. This will add dimension to the design and make it look more realistic. Once you're happy with the placement of the clouds, let your nails dry completely before adding a layer of glitter polish. This step is optional, but it adds a fun and whimsical element to the design. Finally, seal in your design with a layer of topcoat to prevent chipping and give your nails a glossy finish. And there you have it, your very own easy cloud nail art! This design is perfect for beginners and can be done in just a few minutes.1. Easy Cloud Nail Art Tutorial
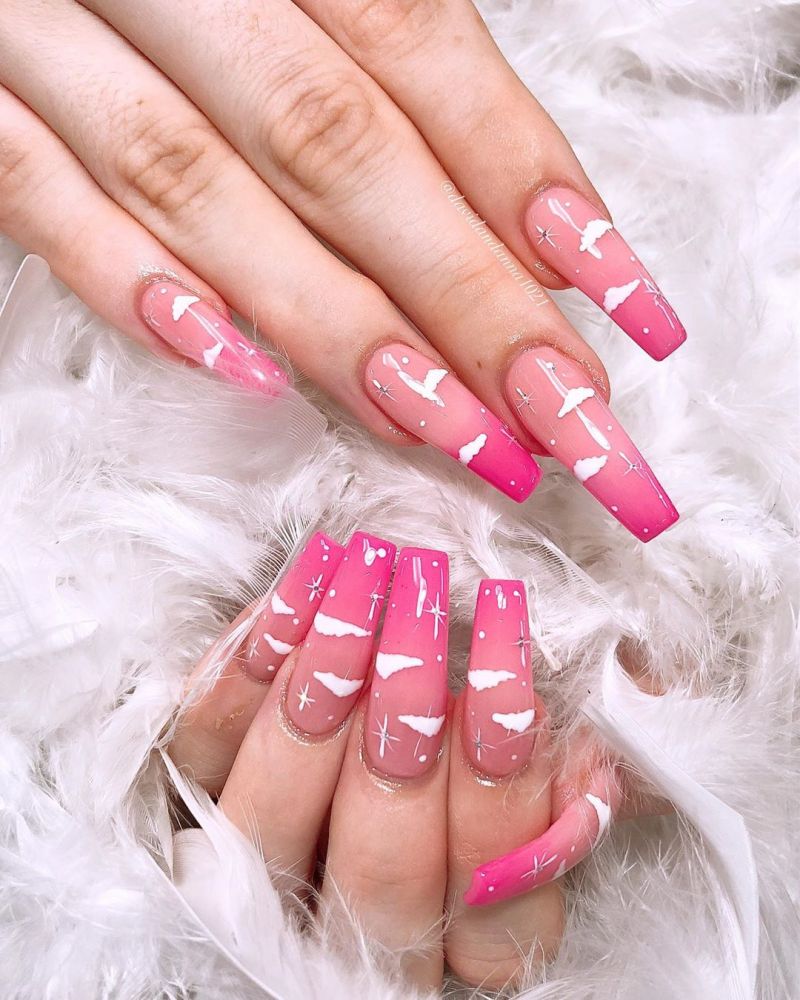

1. Easy Cloud Nail Art Tutorial


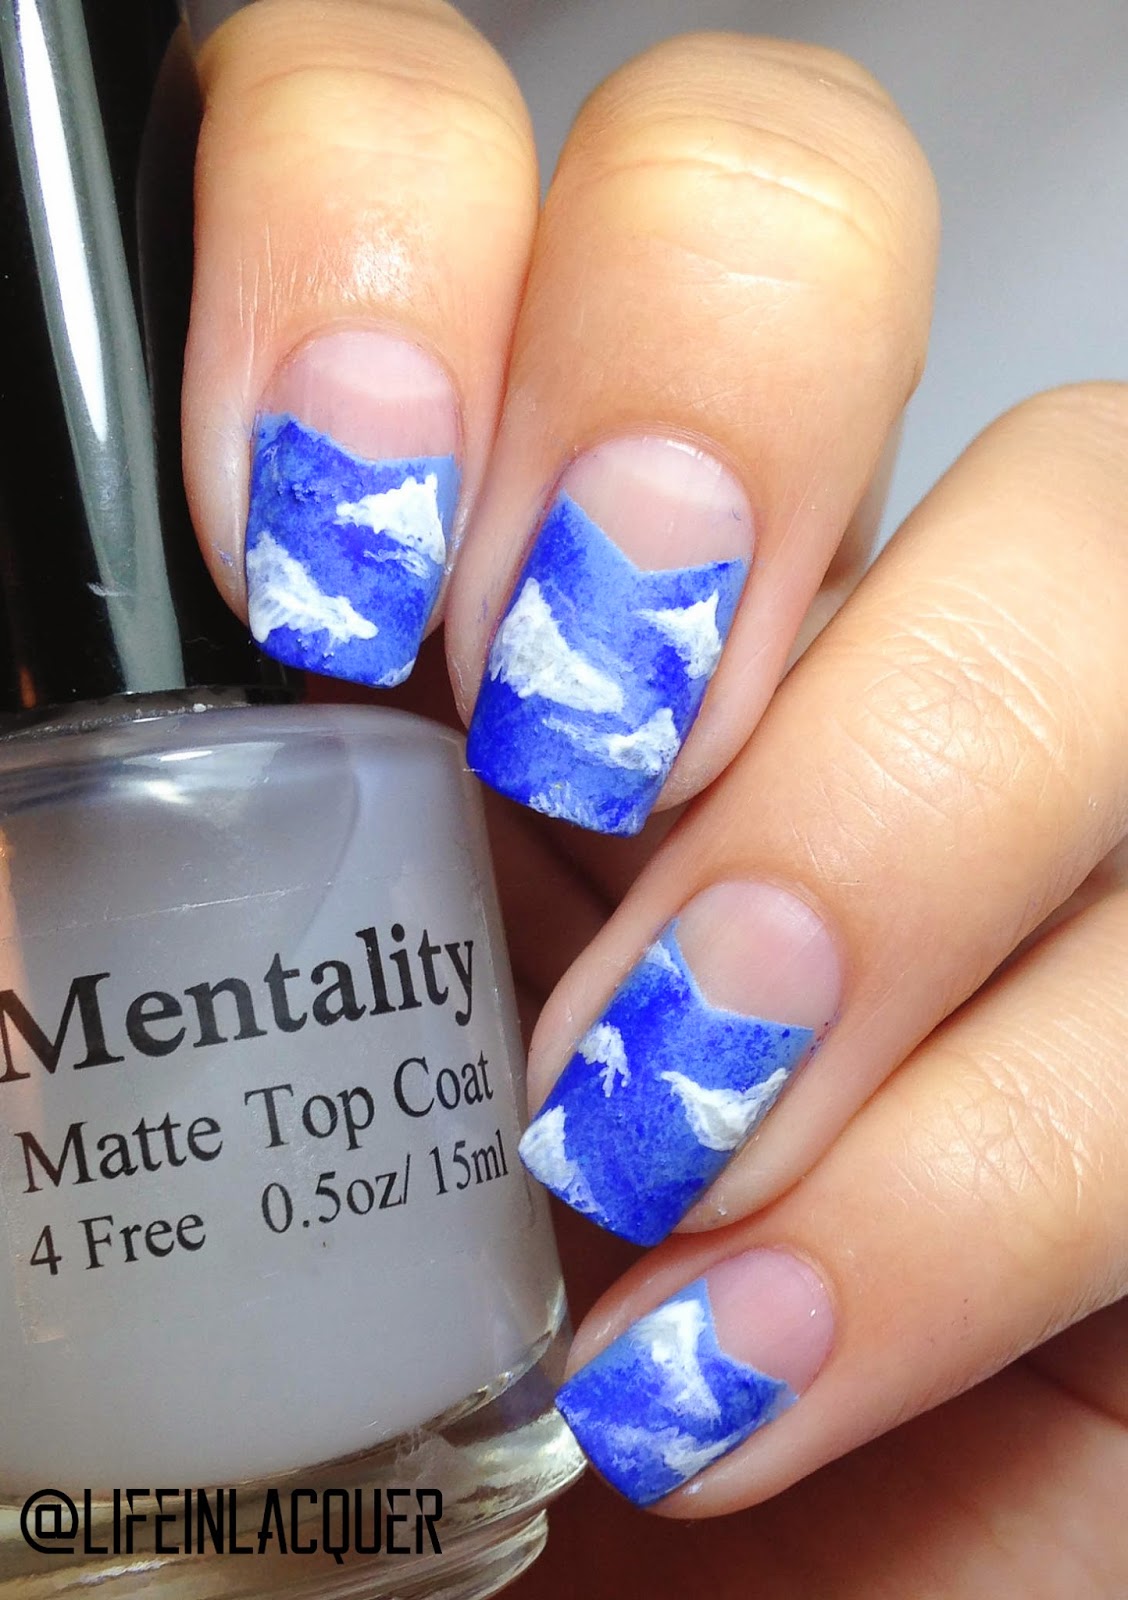
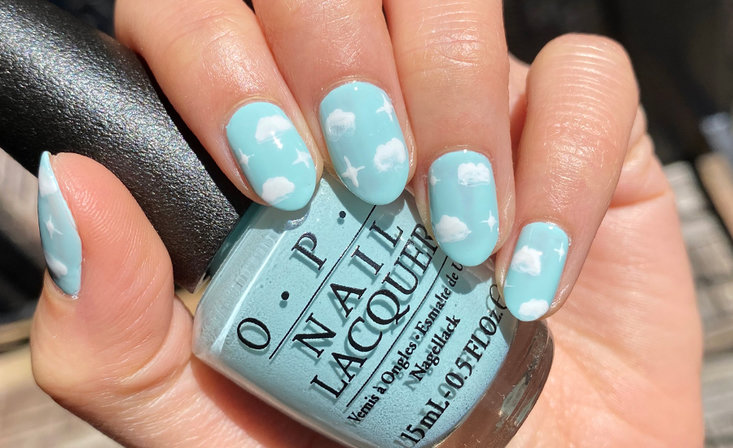
If you're short on time but still want to sport some cute nail art, then this simple cloud nail design is perfect for you. It requires minimal effort and looks adorable on any nail length. Start by painting your nails with a light blue nail polish as your base color. Then, using a white nail polish, create cloud-like shapes on the tips of your nails. You can use a thin brush or a toothpick to achieve this look. For an extra touch, you can add a small sun or rainbow on one of your nails using yellow and red polishes. This will give your design a pop of color and make it stand out even more. Seal in your design with a layer of topcoat to prevent chipping and give your nails a glossy finish. This simple cloud nail design is perfect for those who want to add a subtle touch of whimsy to their nails.2. Simple Cloud Nail Design
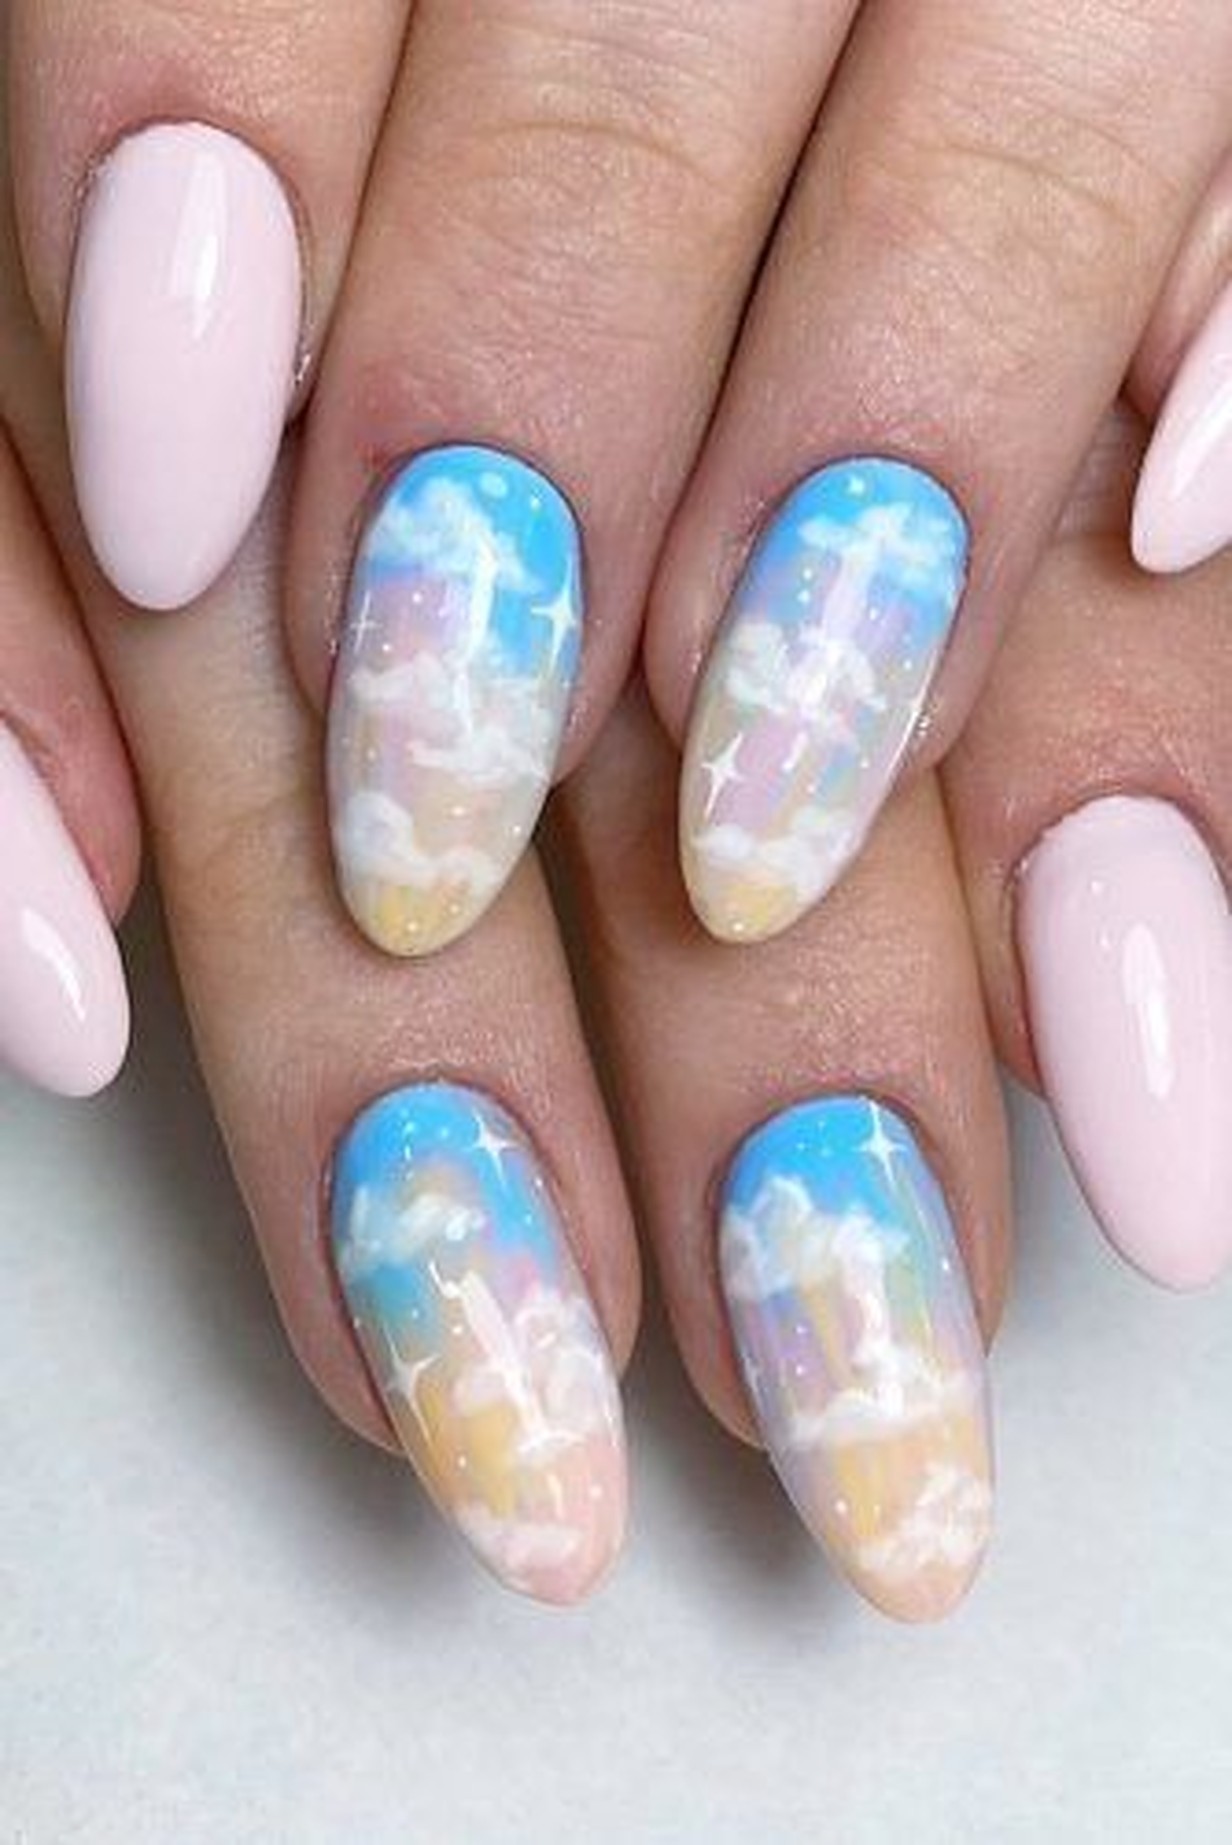


2. Simple Cloud Nail Design
:max_bytes(150000):strip_icc()/cloudnails10-6fec1671a41647a6a357a7294ad2b29d.jpg)
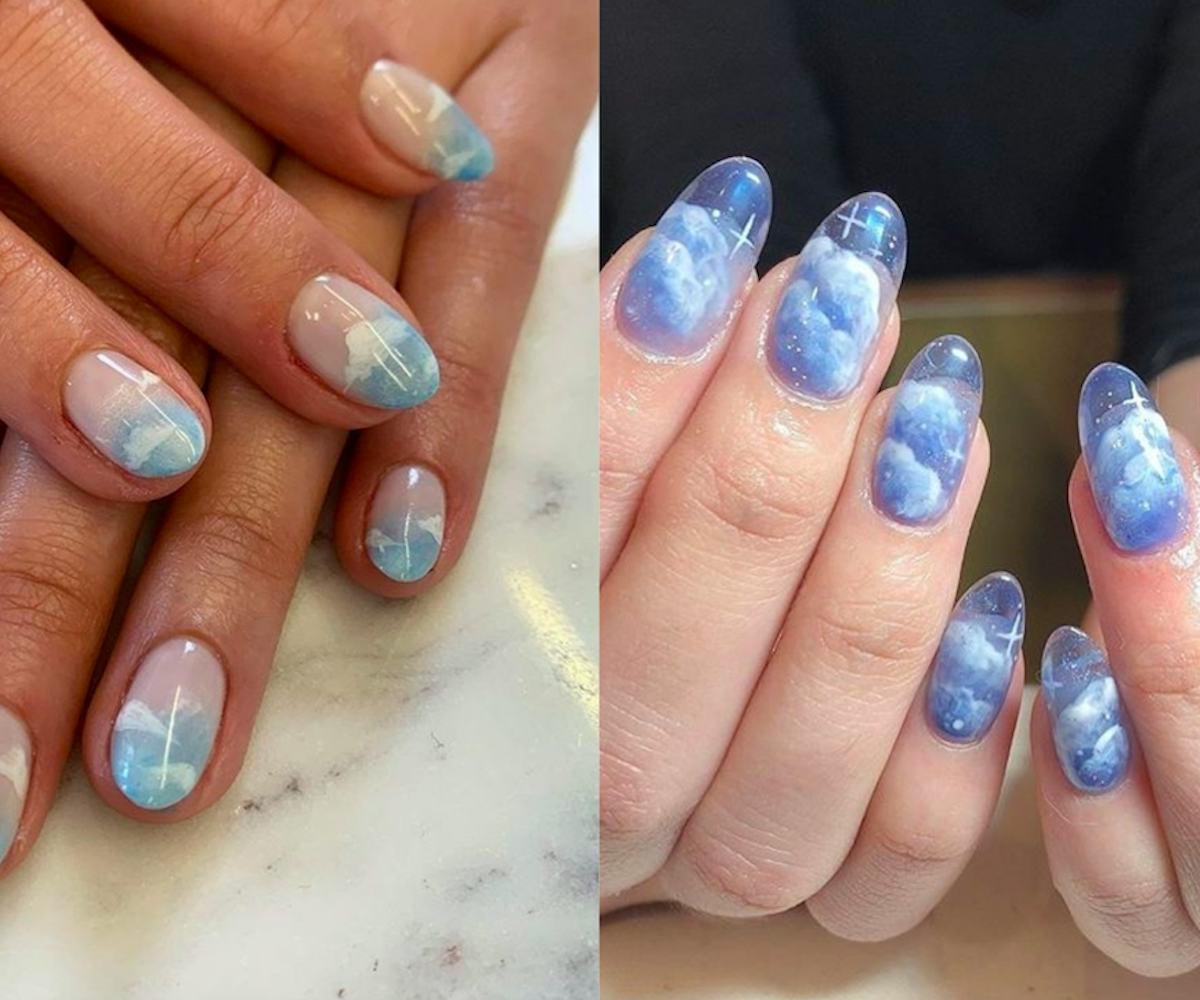
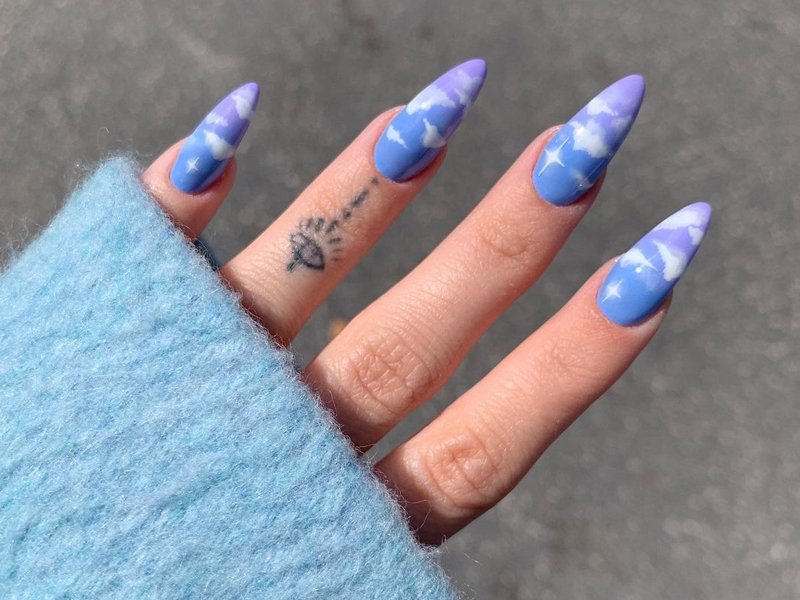
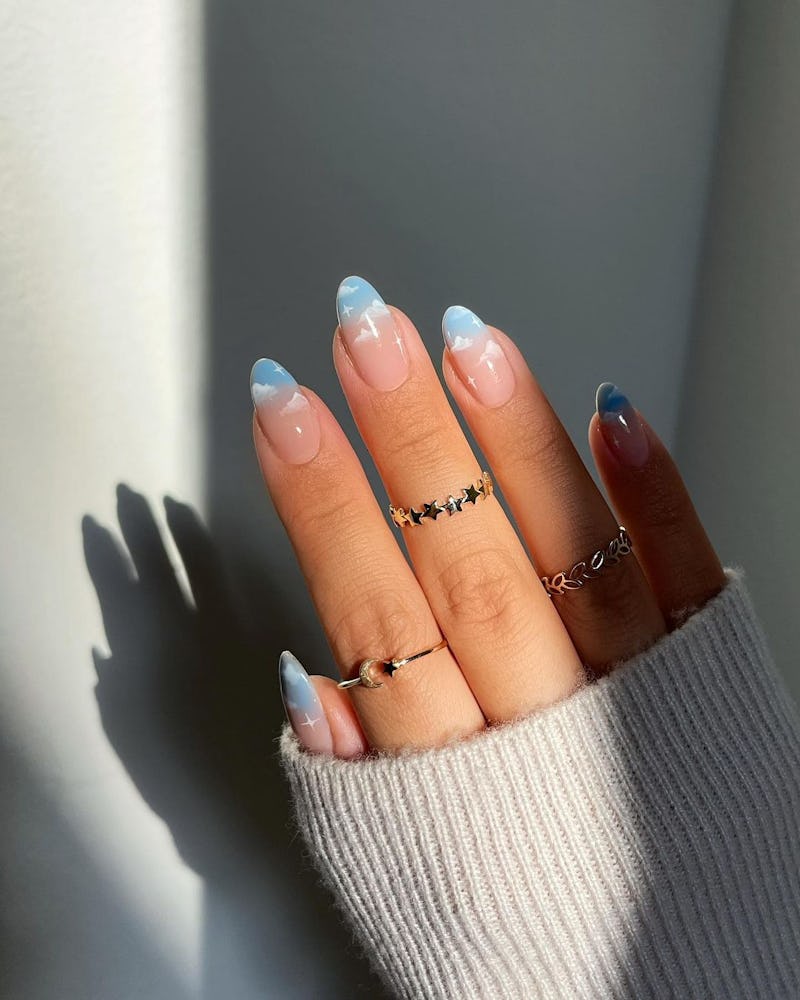
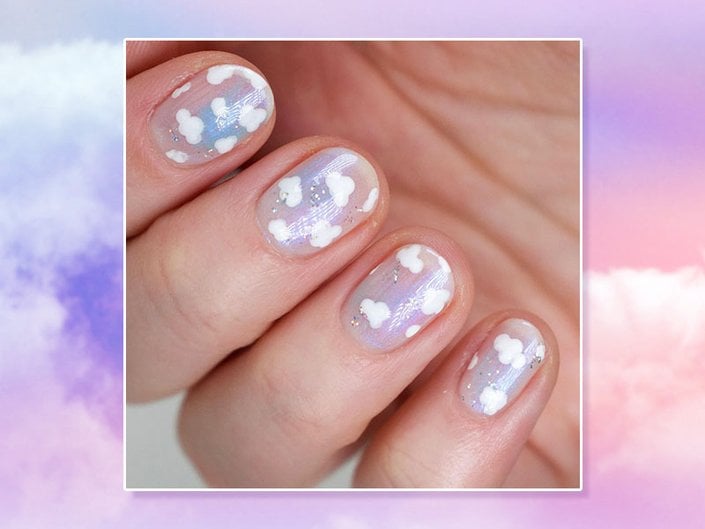
Are you new to nail art and want to try something fun and easy? Then cloud nail art is the perfect design for beginners. With just a few simple steps, you can achieve this cute and playful look. Start by painting your nails with a light blue nail polish as your base color. Then, using a white nail polish, create cloud-like shapes on the tips of your nails. You can use a thin brush or a toothpick to achieve this look. For an added touch, you can use different shades of blue to create a gradient effect on the clouds. This will give your design more depth and make it stand out even more. Finish off with a layer of topcoat to seal in your design and give your nails a glossy finish. This easy cloud nail art is perfect for beginners and can be done in just a few minutes.3. Cloud Nail Art for Beginners

3. Cloud Nail Art for Beginners

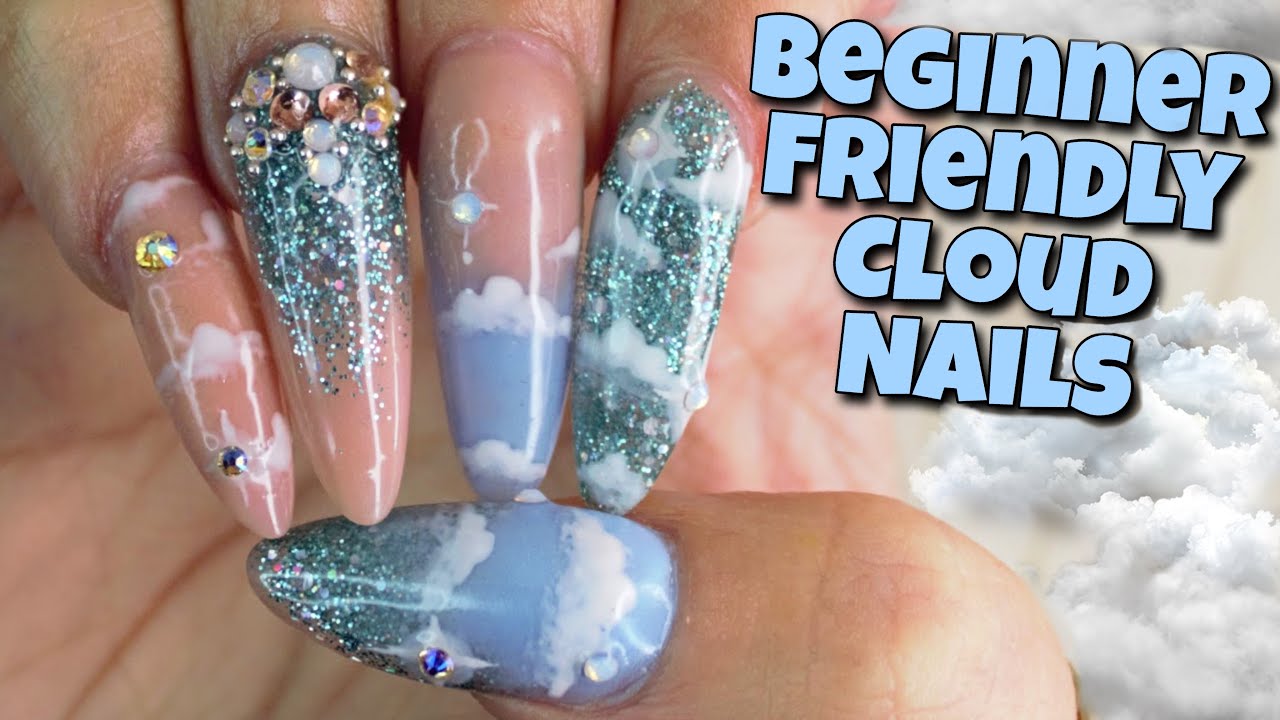
If you're short on time but still want to rock some cute nail art, then these quick and easy cloud nails are perfect for you. They require minimal effort and can be done in just a few minutes. Start by painting your nails with a light blue nail polish as your base color. Then, using a white nail polish, create cloud-like shapes on the tips of your nails. You can use a thin brush or a toothpick to achieve this look. Next, take a small piece of sponge and dip it in white nail polish. Gently dab the sponge on your nails to create a cloudy effect. This will add dimension to your design and make it look more realistic. Seal in your design with a layer of topcoat and let it dry completely. And there you have it, your very own quick and easy cloud nails. This design is perfect for those who want a cute and whimsical look without spending too much time on their nails.4. Quick and Easy Cloud Nails


4. Quick and Easy Cloud Nails


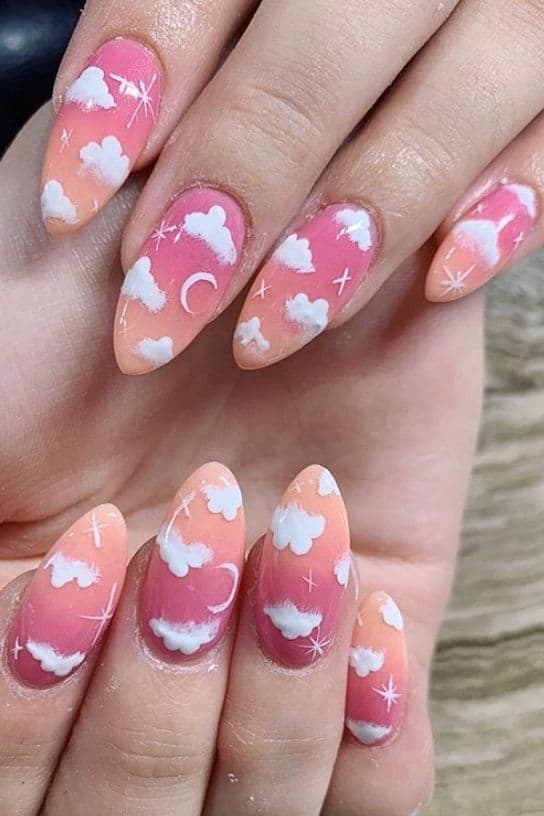
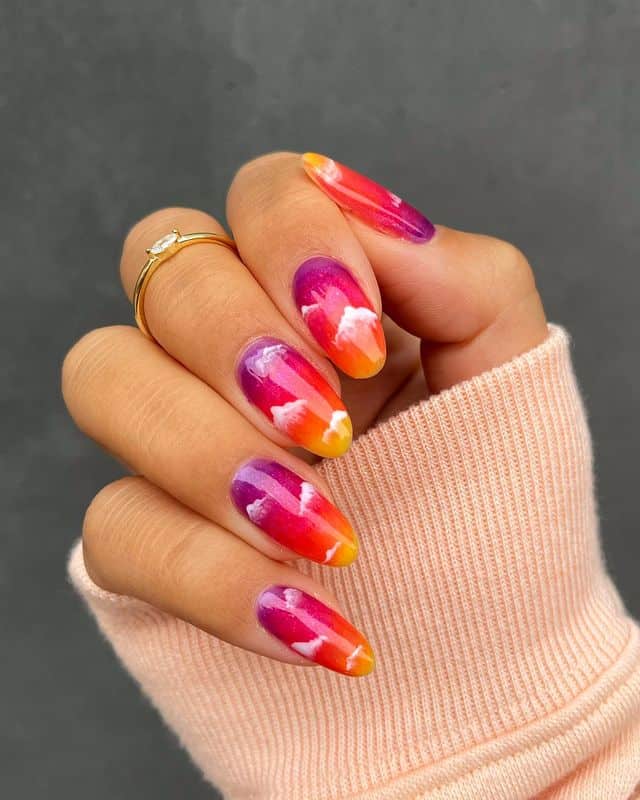
If you're a fan of doing your own nails at home, then this DIY cloud nail art is perfect for you. Not only is it easy to achieve, but it also allows you to be creative and experiment with different colors. To start, choose a base color for your nails. You can opt for a light blue shade or any other pastel color. Then, using a white nail polish, create cloud-like shapes on the tips of your nails. You can use a thin brush or a toothpick to achieve this look. For an added touch, you can use different colors to create a rainbow on one of your nails. This will give your design a pop of color and make it stand out even more. Finish off with a layer of topcoat to seal in your design and give your nails a glossy finish. This DIY cloud nail art is perfect for those who want to add a personal touch to their nails.5. DIY Cloud Nail Art

5. DIY Cloud Nail Art
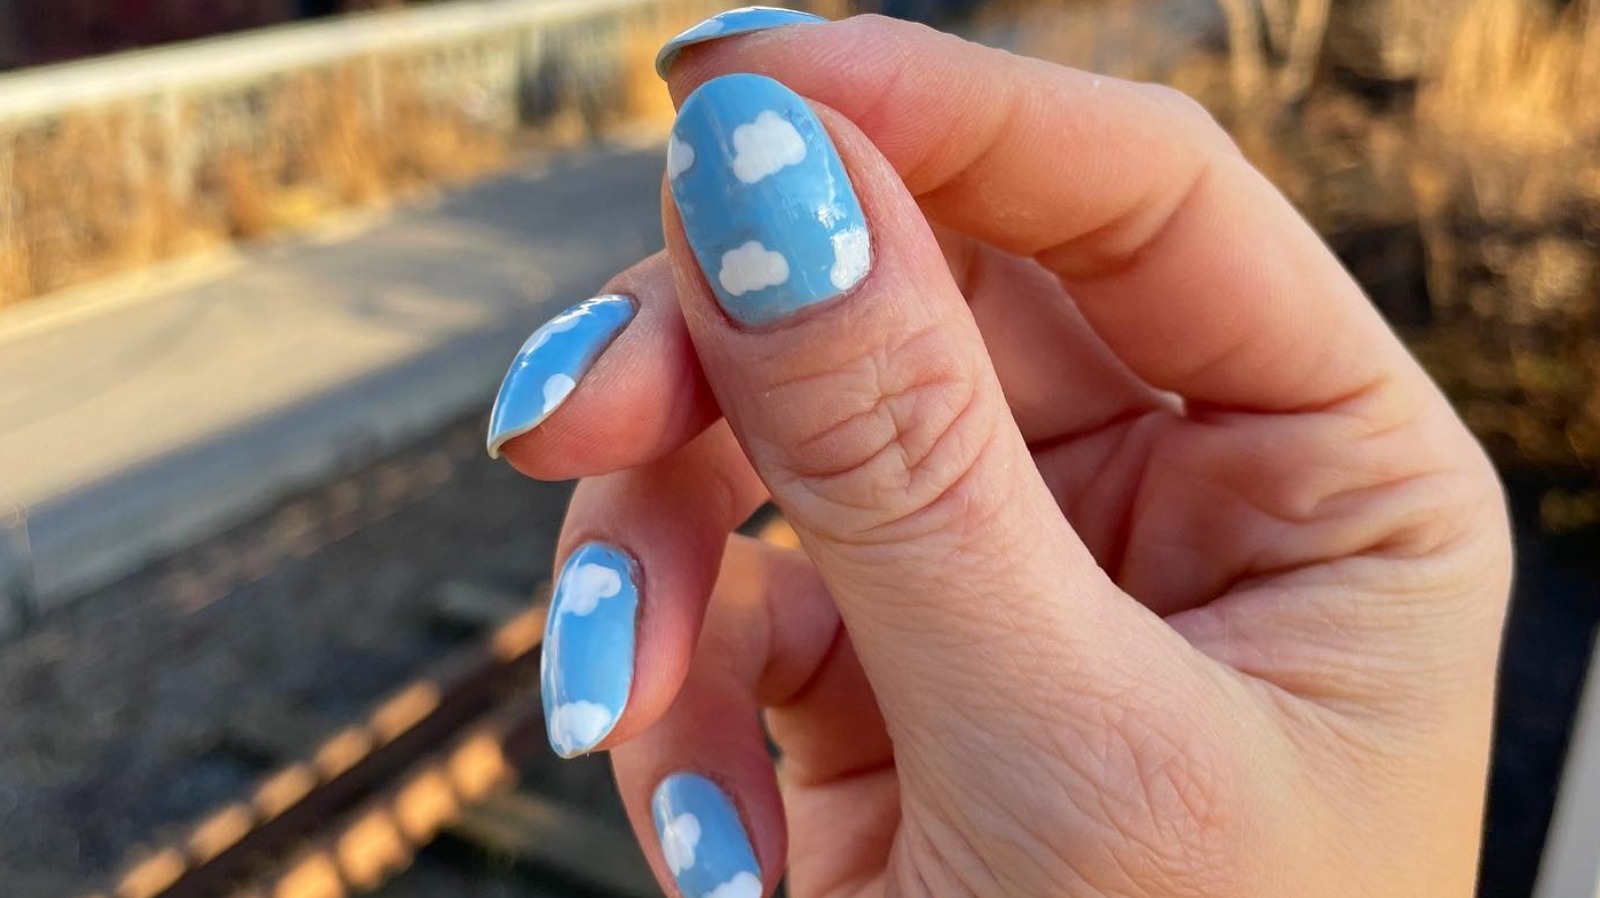
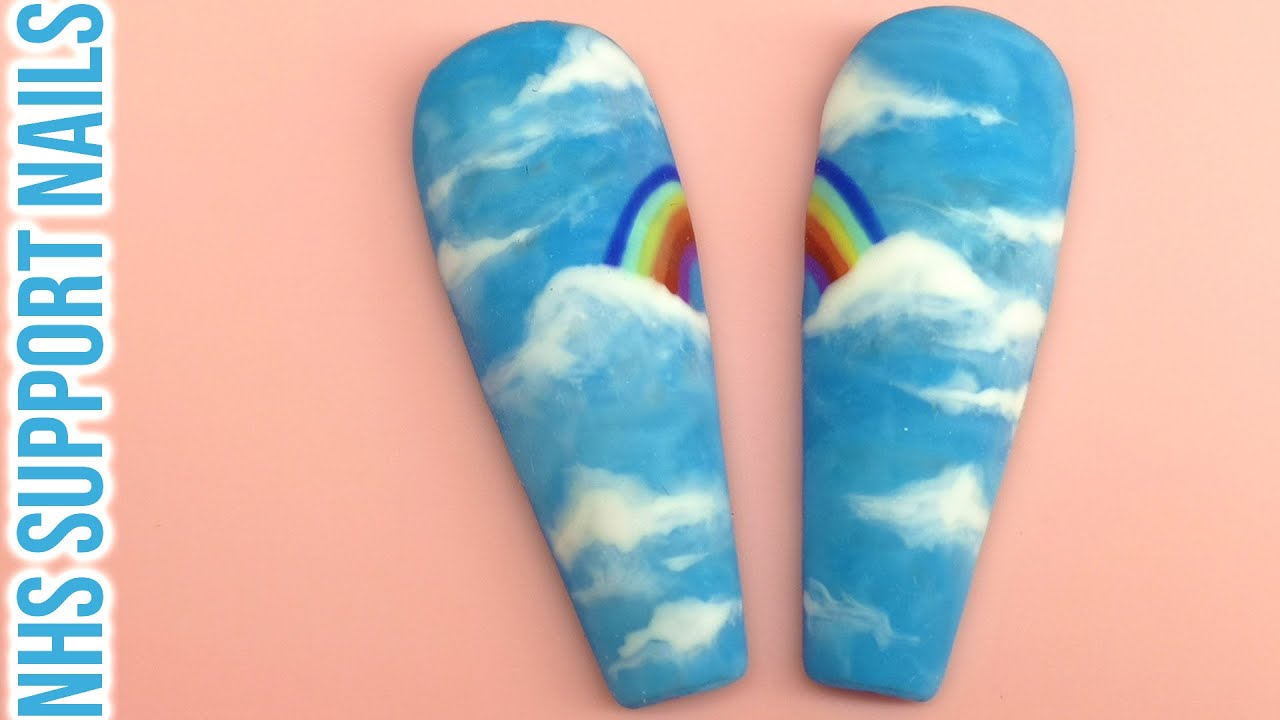
Cloud nail art is not only easy to achieve, but it is also incredibly cute and versatile. There are many ways to incorporate clouds into your nail design, and we've got some adorable ideas to inspire you. One idea is to create a cloudy sky on your nails using different shades of blue and white polish. This will give your nails a dreamy and whimsical look. Another idea is to add a cute cloud accent on one of your nails and complement it with a rainbow or sun on the other nails. This will make for an eye-catching and playful design. You can also experiment with different shapes and sizes of clouds on each nail to create a unique and fun look. There are endless possibilities when it comes to cute cloud nail ideas, so don't be afraid to get creative and have fun with it.6. Cute Cloud Nail Ideas

6. Cute Cloud Nail Ideas


If you want to add some texture to your cloud nail art, then the sponge technique is perfect for you. This technique allows you to achieve a cloudy effect on your nails, making them look more realistic and dimensional. Start by painting your nails with a light blue nail polish as your base color. Then, using a white nail polish, create cloud-like shapes on the tips of your nails. You can use a thin brush or a toothpick to achieve this look. Next, take a small piece of sponge and dip it in white nail polish. Gently dab the sponge on your nails to create a cloudy effect. You can also use multiple shades of white and blue to create a gradient effect. Once you're happy with the placement of the clouds, seal in your design with a layer of topcoat to prevent chipping and give your nails a glossy finish. The sponge technique is a fun and easy way to add some texture to your cloud nail art and make it stand out even more.7. Cloud Nail Art with Sponge Technique
7. Cloud Nail Art with Sponge Technique
If you prefer a more subtle and minimalist look, then this cloud nail art is perfect for you. It is simple yet chic, and it can be done in just a few easy steps. Start by painting your nails with a light blue nail polish as your base color. Then, using a white nail polish, create small cloud-like shapes on the corners of your nails. You can use a thin brush or a toothpick to achieve this look. For an added touch, you can add a small sun or rainbow on one of your nails using yellow and red polishes. This will give your design a pop of color and make it stand out even more. Seal in your design with a layer of topcoat to prevent chipping and give your nails a glossy finish. These minimalist cloud nails are perfect for those who want a subtle yet cute nail design.8. Minimalist Cloud Nails
8. Minimalist Cloud Nails
If you're a fan of stamping nail art, then you can easily achieve a cloud design using this technique. It's perfect for those who want a quick and easy way to add some cute clouds to their nails. To start, choose a base color for your nails. You can opt for a light blue shade or any other pastel color. Then, using a white nail polish, create cloud-like shapes on the tips of your nails. You can use a thin brush or a toothpick to achieve this look. Next, using a cloud-shaped stamping plate, stamp the design onto your nails using white polish. You can also use different shades of blue to create a gradient effect on the clouds. Finish off with a layer of topcoat to seal in your design and give your nails a glossy finish. This cloud nail art with stamping is perfect for those who want a professional-looking design in no time.9. Cloud Nail Art with Stamping

9. Cloud Nail Art with Stamping
If you love pastel colors, then this pastel cloud nail design is perfect for you. It's soft, dreamy, and adds a touch of whimsy to your nails. Start by painting your nails with a pastel blue nail polish as your base color. Then, using a white nail polish, create cloud-like shapes on the tips of your nails. You can use a thin brush or a toothpick to achieve this look. Next, take a small piece of sponge and dip it in white nail polish. Gently dab the sponge on your nails to create a cloudy effect. You can also use different shades of pastel blue to create a gradient effect. Finish off with a layer of topcoat to seal in your design and give your nails a glossy finish. This pastel cloud nail design is perfect for those who want a soft and dreamy nail design.10. Pastel Cloud Nail Design


10. Pastel Cloud Nail Design
Add a Touch of Whimsy to Your Nails with Easy Cloud Nail Art

Elevate Your Nail Game
 If you're tired of the same old boring nail designs and want to add a whimsical touch to your fingertips, then you'll love easy cloud nail art. This cute and playful design is perfect for any occasion and can add a touch of fun to your everyday look. Not to mention, it's super easy to create and can be done from the comfort of your own home. So why not give your nails a little makeover and elevate your nail game with this adorable cloud design?
What You'll Need
 The best part about easy cloud nail art is that you don't need any fancy tools or expensive products. In fact, all you need are a few basic nail polish colors and a toothpick! That's right, a toothpick is the secret to creating perfect, fluffy clouds on your nails. So gather your supplies and let's get started.
Step-by-Step Guide
 1. Begin by painting your nails with a light blue base color. This will serve as the background for your clouds.
2. Once the base color is dry, dip the tip of a toothpick into a white nail polish and create small, curved lines on your nails. These will serve as the base of your clouds.
3. Using the same toothpick, create smaller and shorter curved lines on top of the base lines to give your clouds a more puffy and fluffy appearance.
4. Continue this process until you have as many clouds as you'd like on each nail.
5. To add some dimension to your clouds, you can use a light grey or silver nail polish and create small dots on top of the white lines.
6. Seal in your design with a clear topcoat and voila! You now have adorable cloud nail art.
1. Begin by painting your nails with a light blue base color. This will serve as the background for your clouds.
2. Once the base color is dry, dip the tip of a toothpick into a white nail polish and create small, curved lines on your nails. These will serve as the base of your clouds.
3. Using the same toothpick, create smaller and shorter curved lines on top of the base lines to give your clouds a more puffy and fluffy appearance.
4. Continue this process until you have as many clouds as you'd like on each nail.
5. To add some dimension to your clouds, you can use a light grey or silver nail polish and create small dots on top of the white lines.
6. Seal in your design with a clear topcoat and voila! You now have adorable cloud nail art.
Get Creative
 While the traditional cloud nail art design features white clouds on a blue background, you can get creative and switch up the colors to match your mood or outfit. Try using pastel colors for a softer look or bold colors for a more statement-making design. You can even add glitter or rhinestones for some extra sparkle.
Final Thoughts
 Easy cloud nail art is not only fun and easy to create, but it's also a great way to add a touch of whimsy to your everyday look. So next time you're looking to switch up your nail game, give this design a try and watch as your nails take on a whole new level of cuteness.


