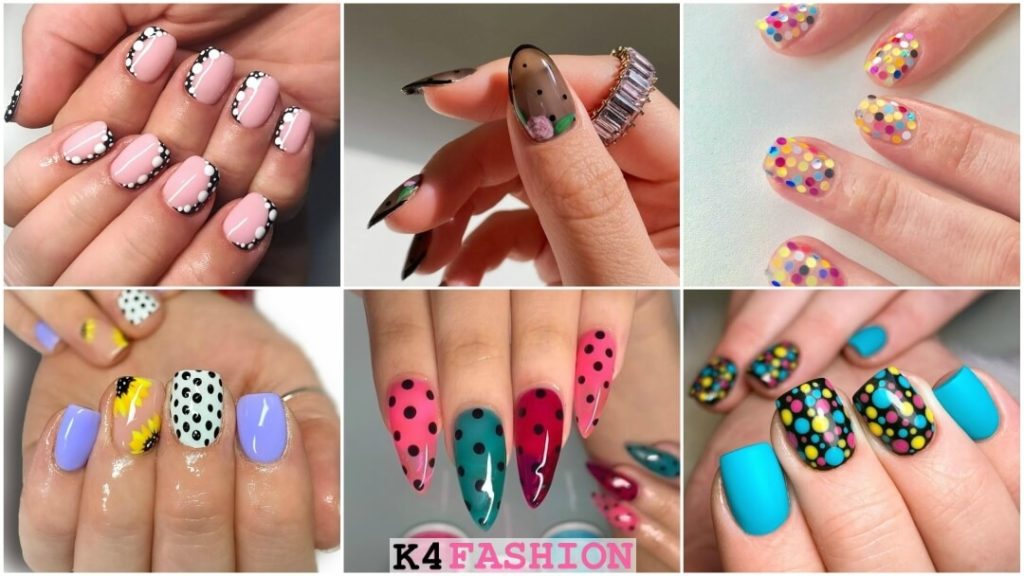
If you're looking for a simple yet chic way to amp up your nail game, then dotted nail art is the perfect choice for you. This easy tutorial will guide you through the steps of creating beautiful dotted nail designs that will make your nails stand out. So grab your dotting tools and let's get started! First, start by applying a base coat to your nails to protect them and ensure your nail polish lasts longer. Then, choose two contrasting colors for your dotted design. One color should be the base color and the other will be used for the dots. For a more subtle look, opt for pastel shades or for a bolder look, go for bright colors. Pro tip: If you don't have dotting tools, you can use a toothpick, bobby pin, or the end of a makeup brush to create small dots.1. Easy Dotted Nail Art Tutorial


1. Easy Dotted Nail Art Tutorial


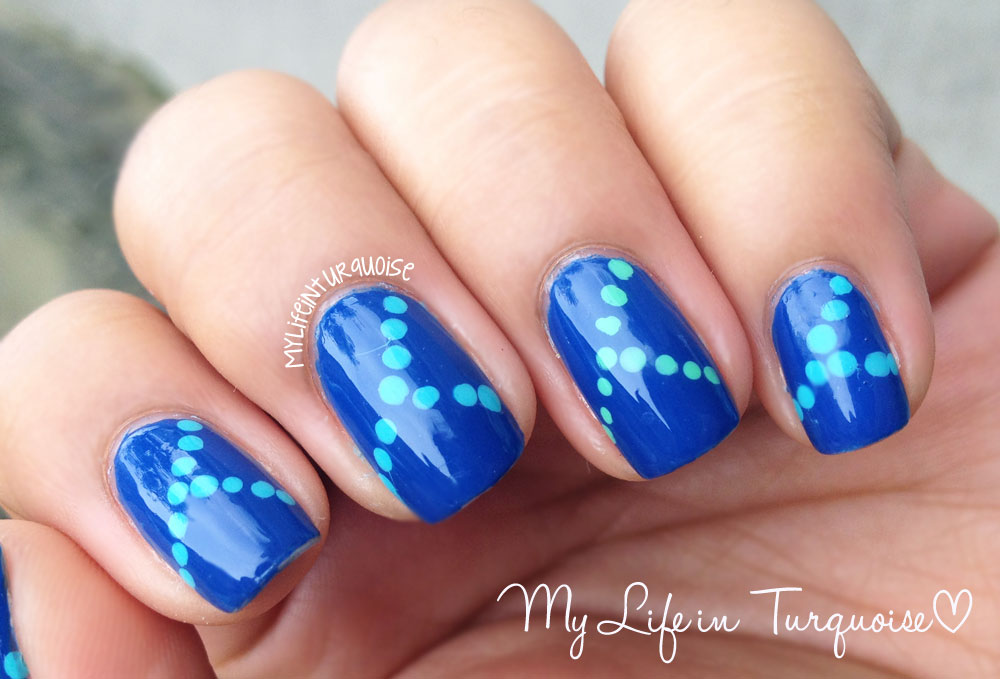


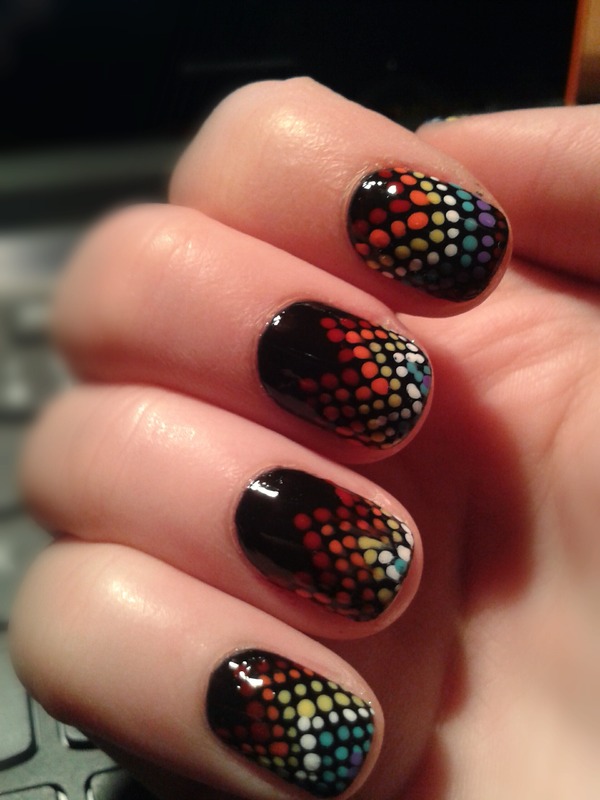
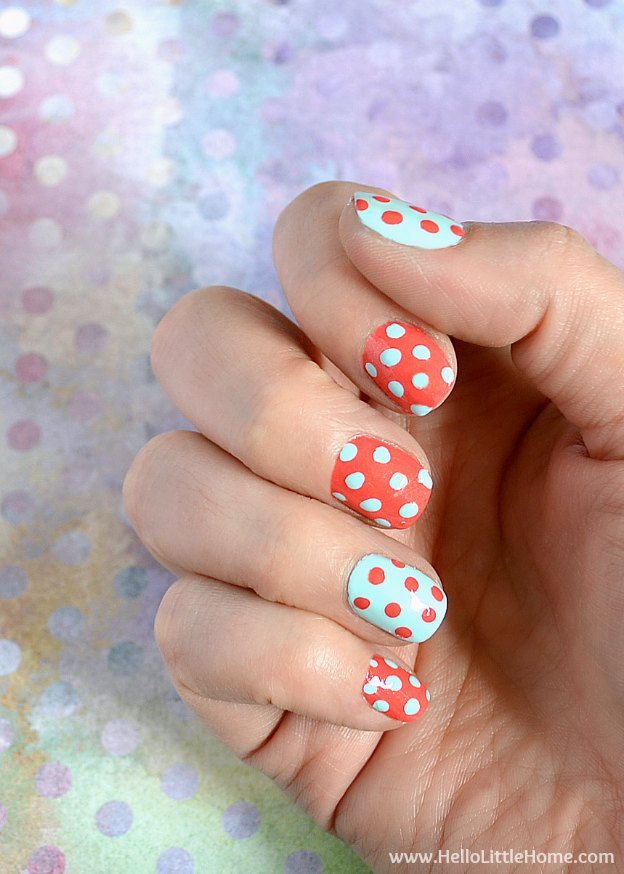
For an effortless yet stylish look, try out these easy dotted nail art designs. One of the simplest designs is to create a polka dot pattern by placing dots of the same size and color all over your nails. You can also create a gradient effect by starting with larger dots at the base of your nails and gradually making them smaller towards the tips. For a twist on the classic polka dot design, try using different sized dots in a random pattern on each nail. This will create a fun and unique look that is perfect for any occasion.2. Simple Dotted Nail Art Designs


2. Simple Dotted Nail Art Designs

If you're short on time but still want to add a pop of color to your nails, then this quick and easy dotted nail art is for you. Start by painting your nails with a light colored base and let it dry completely. Then, using a small dotting tool, create random dots on your nails using a bright colored nail polish. This is a great option for those who struggle with creating intricate designs or for those who want to add a touch of playfulness to their nails.3. Quick and Easy Dotted Nail Art


3. Quick and Easy Dotted Nail Art


If you're new to nail art, don't worry, dotted nail art is a great place to start. It's simple, easy, and requires minimal tools and skills. Start by choosing two colors and paint your nails with the lighter shade. Then, using a larger dotting tool, create random dots using the darker shade. Pro tip: For an even easier design, use a glitter nail polish as the base color and create dots with a solid colored nail polish.4. Dotted Nail Art for Beginners


4. Dotted Nail Art for Beginners

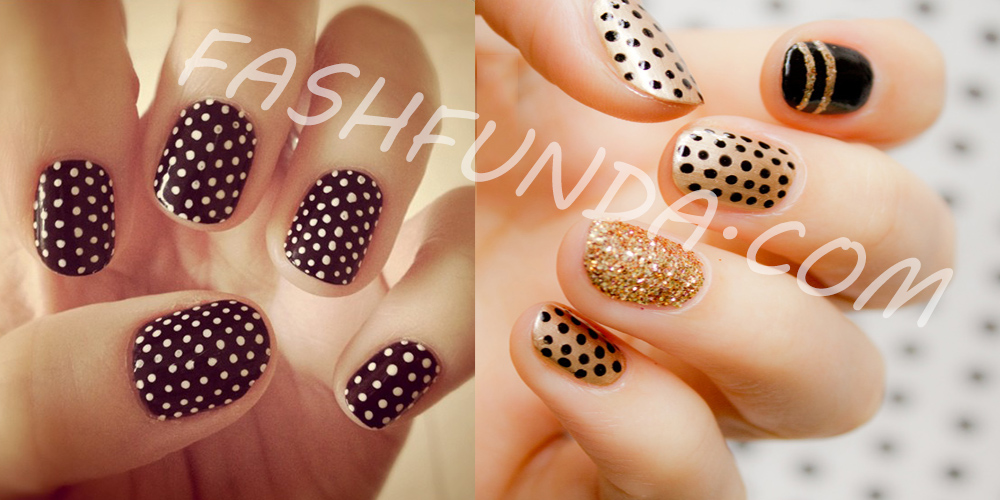
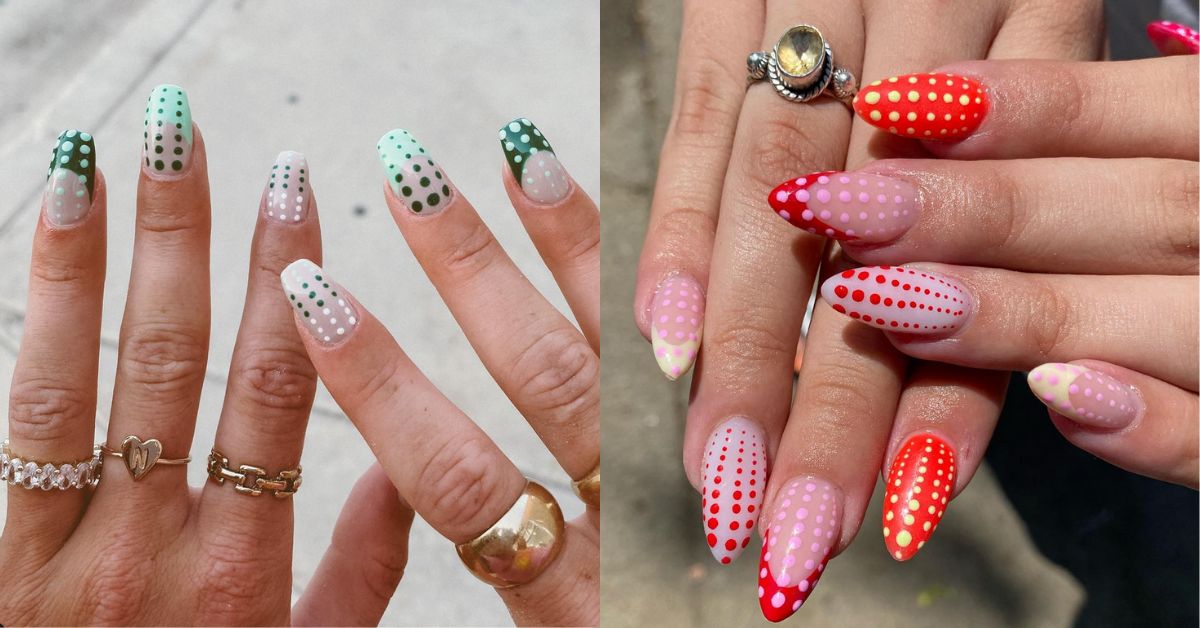
Dotted nail art isn't just limited to polka dots, there are plenty of cute and easy ideas to try out. For a feminine and delicate look, use a light pink as the base color and create small white dots on top. This creates a subtle and elegant design that is perfect for any occasion. For a playful and fun look, use a bright color as the base and create random dots using a contrasting color. You can also add small accents such as hearts or stars using a dotting tool.5. Cute and Easy Dotted Nail Art Ideas


5. Cute and Easy Dotted Nail Art Ideas
If you prefer a more minimalistic approach to nail art, then this tutorial is for you. Start by painting your nails with a neutral color and let it dry completely. Then, using a thin striping brush, create vertical lines on your nails using a contrasting color. Next, using a dotting tool, place small dots in between the lines. This creates a simple yet elegant design that is perfect for any occasion.6. Minimalist Dotted Nail Art Tutorial

6. Minimalist Dotted Nail Art Tutorial

For a fun and playful look, try out these easy dotted nail art designs. Start by painting your nails with a light color and let it dry completely. Then, using a different colored nail polish, create random dots on your nails using a dotting tool. You can also add small accents such as hearts, stars, or lightning bolts for an extra fun touch. This design is perfect for those who want to add a pop of color to their nails without too much effort.7. Fun and Easy Dotted Nail Art Designs

7. Fun and Easy Dotted Nail Art Designs


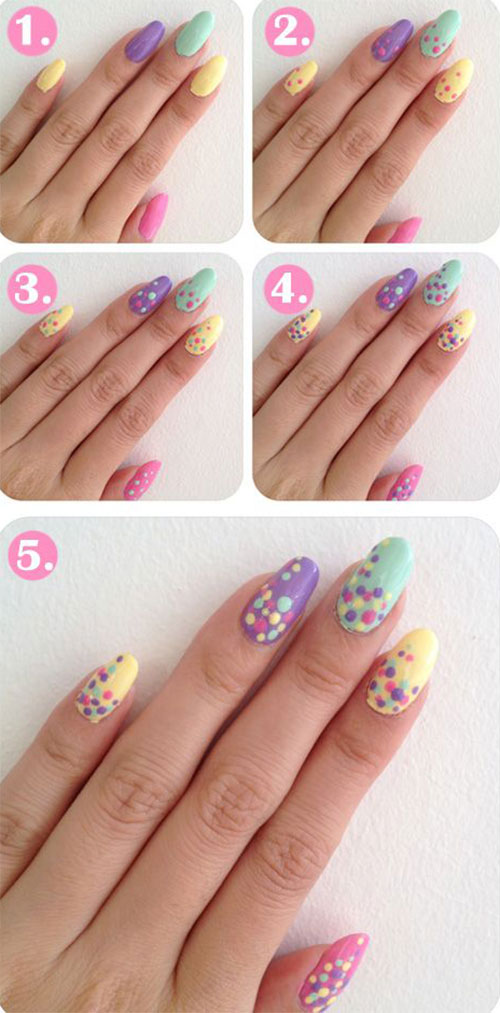
If you're someone who needs a step-by-step guide for nail art, then follow these simple steps for a chic dotted design. Start by painting your nails with a nude color and let it dry completely. Then, using a dotting tool, create small and large dots on your nails using a contrasting color. Next, using a smaller dotting tool, create small dots in between the larger ones. This creates a fun and unique design that is perfect for any occasion.8. Step-by-Step Dotted Nail Art Guide

8. Step-by-Step Dotted Nail Art Guide

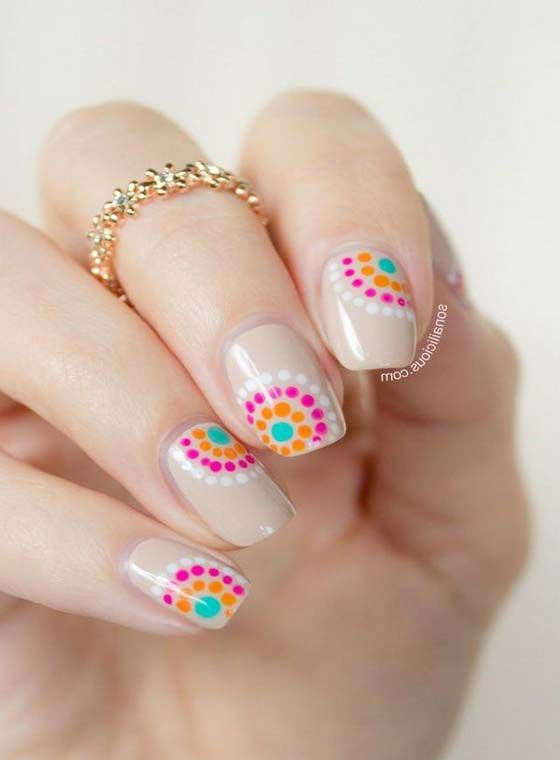
If you're looking for a more elegant and sophisticated look, then this dotted nail art design is perfect for you. Start by painting your nails with a light pink color and let it dry completely. Then, using a small dotting tool, create random dots using a gold nail polish. This design is perfect for weddings, formal events, or for those who prefer a more subtle look. You can also add small accents such as pearls or rhinestones for an even more glamorous touch.9. Elegant Dotted Nail Art for Any Occasion


9. Elegant Dotted Nail Art for Any Occasion

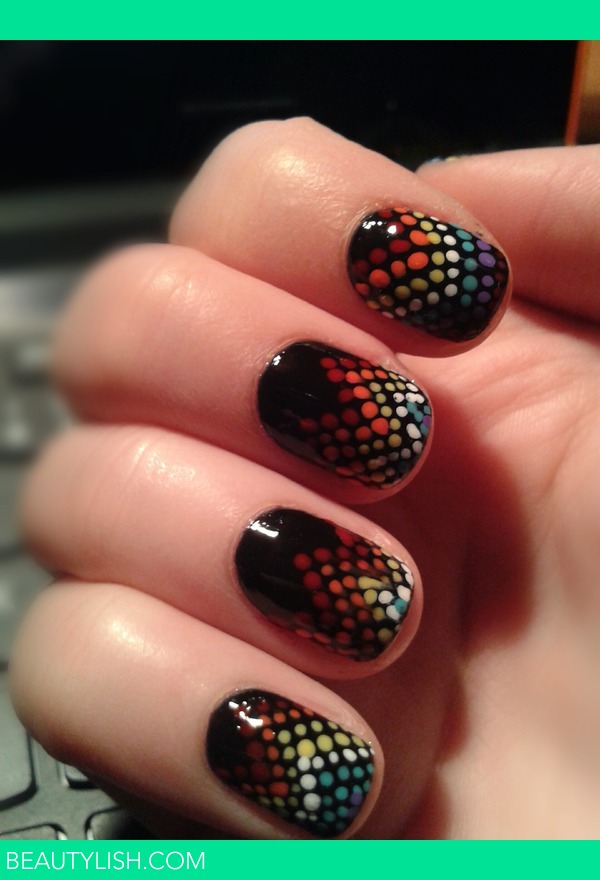
For those who want to get creative with their nail art, try out these unique and creative dotted nail art designs. Start by painting your nails with a light colored base and let it dry completely. Then, using a thin striping brush, create vertical lines on your nails using a contrasting color. Next, using a dotting tool, create random dots in between the lines, making sure to leave some space between each dot. This creates a unique and eye-catching design that is perfect for those who want to stand out.10. Creative Dotted Nail Art Inspiration


10. Creative Dotted Nail Art Inspiration
Create a Unique Look with Easy Dotted Nail Art

Unleash Your Creativity
 When it comes to nail art, there are endless possibilities to express your style and personality. And one of the easiest and most eye-catching techniques is dotted nail art. This simple yet versatile design allows you to create a unique look by using just a few tools and
basic nail polish colors
. From playful and fun to elegant and sophisticated, dotted nail art can be customized to suit any occasion or mood.
When it comes to nail art, there are endless possibilities to express your style and personality. And one of the easiest and most eye-catching techniques is dotted nail art. This simple yet versatile design allows you to create a unique look by using just a few tools and
basic nail polish colors
. From playful and fun to elegant and sophisticated, dotted nail art can be customized to suit any occasion or mood.
Gather Your Supplies
 Before getting started, make sure to gather all the necessary supplies. You will need a
base coat
,
top coat
,
base color
of your choice,
dotting tools
, and
Q-tips
. If you don't have dotting tools, you can use a bobby pin, toothpick, or even the end of a pencil. And don't forget to protect your workspace with some paper towels or old newspapers.
Before getting started, make sure to gather all the necessary supplies. You will need a
base coat
,
top coat
,
base color
of your choice,
dotting tools
, and
Q-tips
. If you don't have dotting tools, you can use a bobby pin, toothpick, or even the end of a pencil. And don't forget to protect your workspace with some paper towels or old newspapers.
Step-by-Step Guide
 1. Begin by applying a base coat to your clean and trimmed nails. This will help your manicure last longer and protect your nails from staining.
2. Once the base coat is dry, choose your base color and apply 2 coats for an even and opaque finish.
White, black, or nude
are popular base colors for dotted nail art, but you can get creative and use any color that you like.
3. Now it's time to create the dots! Dip your dotting tool into your chosen nail polish color and gently press it onto your nail to create a dot. You can create bigger or smaller dots depending on the size of your dotting tool or by using different sized tools.
4. Continue creating dots on your nails, leaving some space between each dot. You can create a pattern, a gradient effect, or random dots, depending on your preference.
5. If you make a mistake or want to clean up any excess nail polish, use a Q-tip dipped in nail polish remover to gently clean up the edges.
6. Once you're happy with your design, wait for the dots to dry completely before applying a top coat. This will help seal the design and make it last longer.
1. Begin by applying a base coat to your clean and trimmed nails. This will help your manicure last longer and protect your nails from staining.
2. Once the base coat is dry, choose your base color and apply 2 coats for an even and opaque finish.
White, black, or nude
are popular base colors for dotted nail art, but you can get creative and use any color that you like.
3. Now it's time to create the dots! Dip your dotting tool into your chosen nail polish color and gently press it onto your nail to create a dot. You can create bigger or smaller dots depending on the size of your dotting tool or by using different sized tools.
4. Continue creating dots on your nails, leaving some space between each dot. You can create a pattern, a gradient effect, or random dots, depending on your preference.
5. If you make a mistake or want to clean up any excess nail polish, use a Q-tip dipped in nail polish remover to gently clean up the edges.
6. Once you're happy with your design, wait for the dots to dry completely before applying a top coat. This will help seal the design and make it last longer.
Get Creative
 The best part about dotted nail art is that there are no rules. You can experiment with different colors, patterns, and designs to create a unique look every time. You can also add some glitter, rhinestones, or other embellishments for a more glamorous look.
Now that you know how to create easy dotted nail art, it's time to unleash your creativity and have fun with your manicures! With some practice, you'll be able to create stunning designs that will make your nails stand out. So grab your dotting tools and start creating your own personalized nail art today.
The best part about dotted nail art is that there are no rules. You can experiment with different colors, patterns, and designs to create a unique look every time. You can also add some glitter, rhinestones, or other embellishments for a more glamorous look.
Now that you know how to create easy dotted nail art, it's time to unleash your creativity and have fun with your manicures! With some practice, you'll be able to create stunning designs that will make your nails stand out. So grab your dotting tools and start creating your own personalized nail art today.


