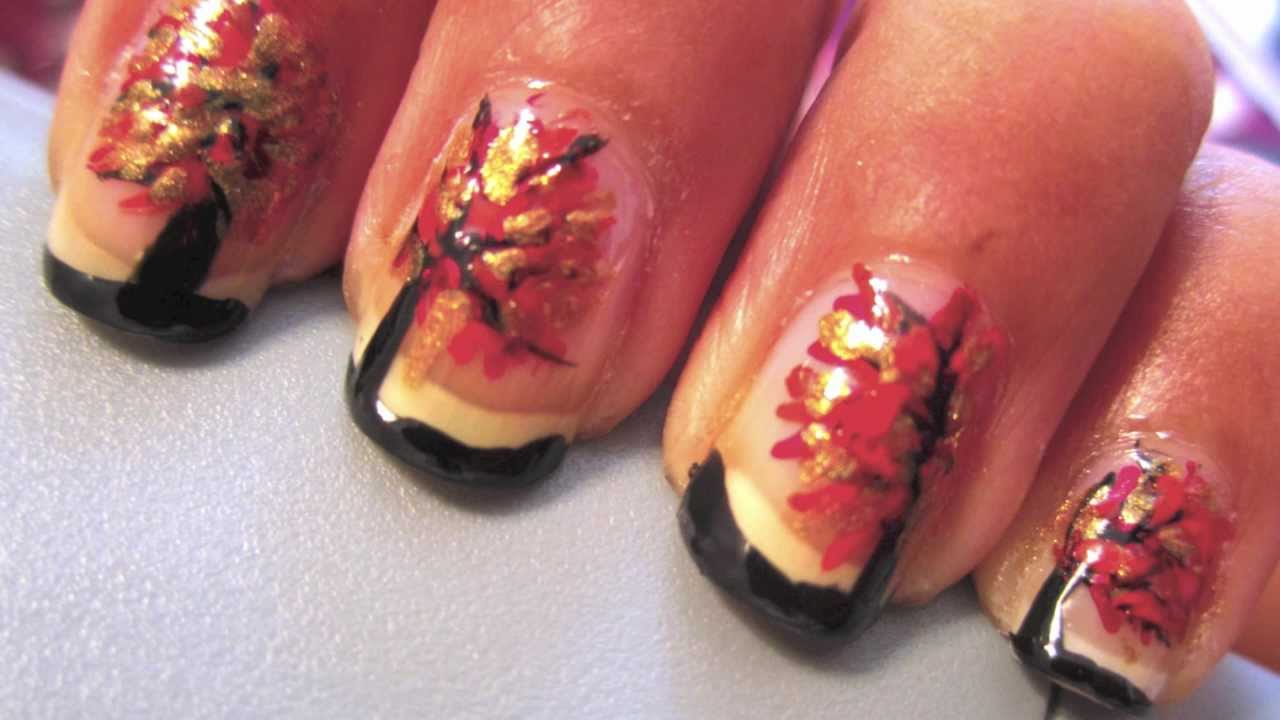
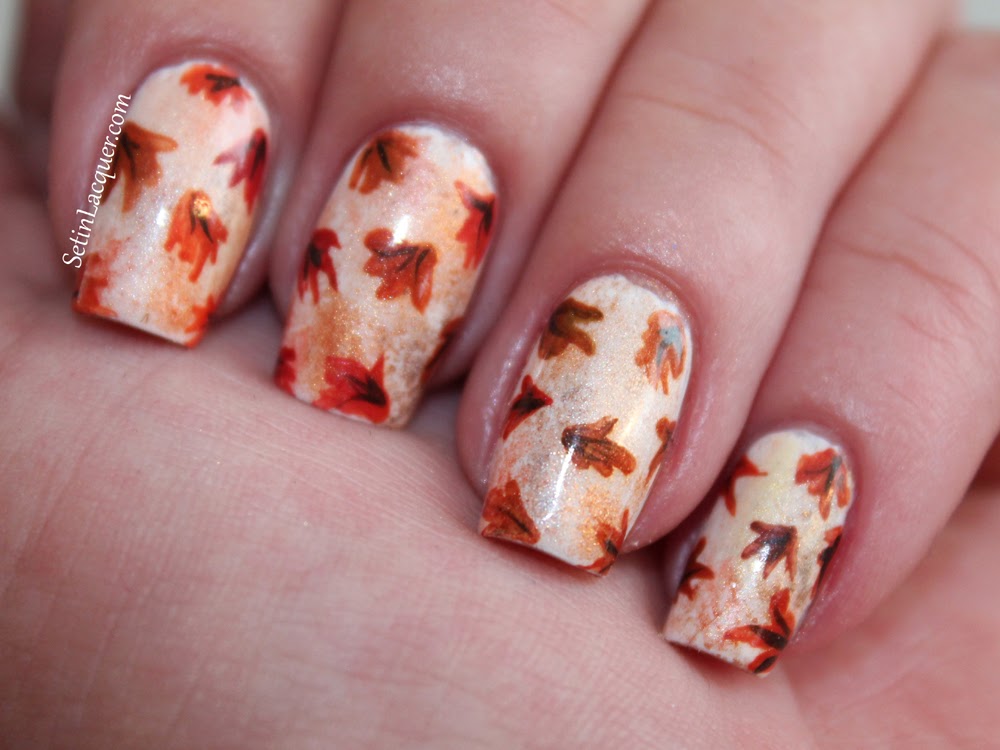
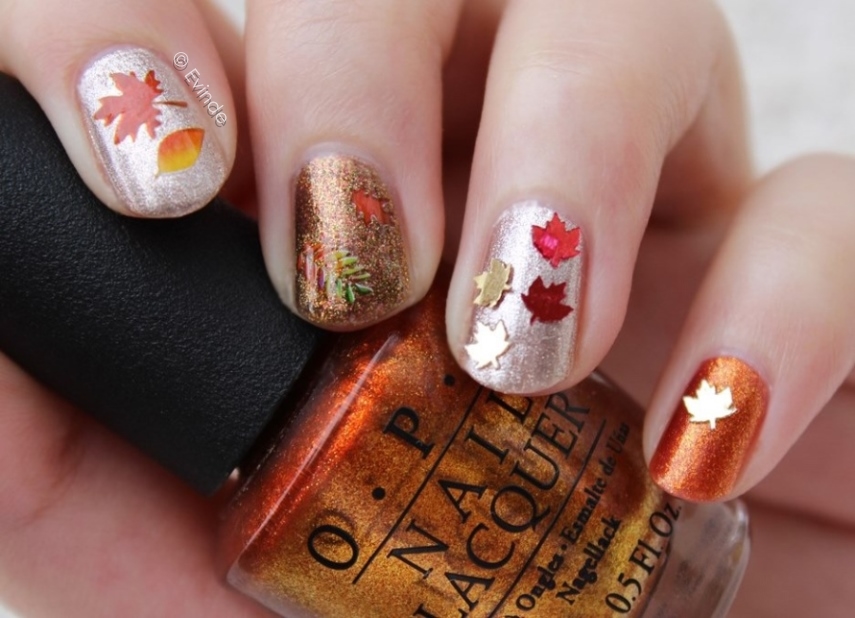
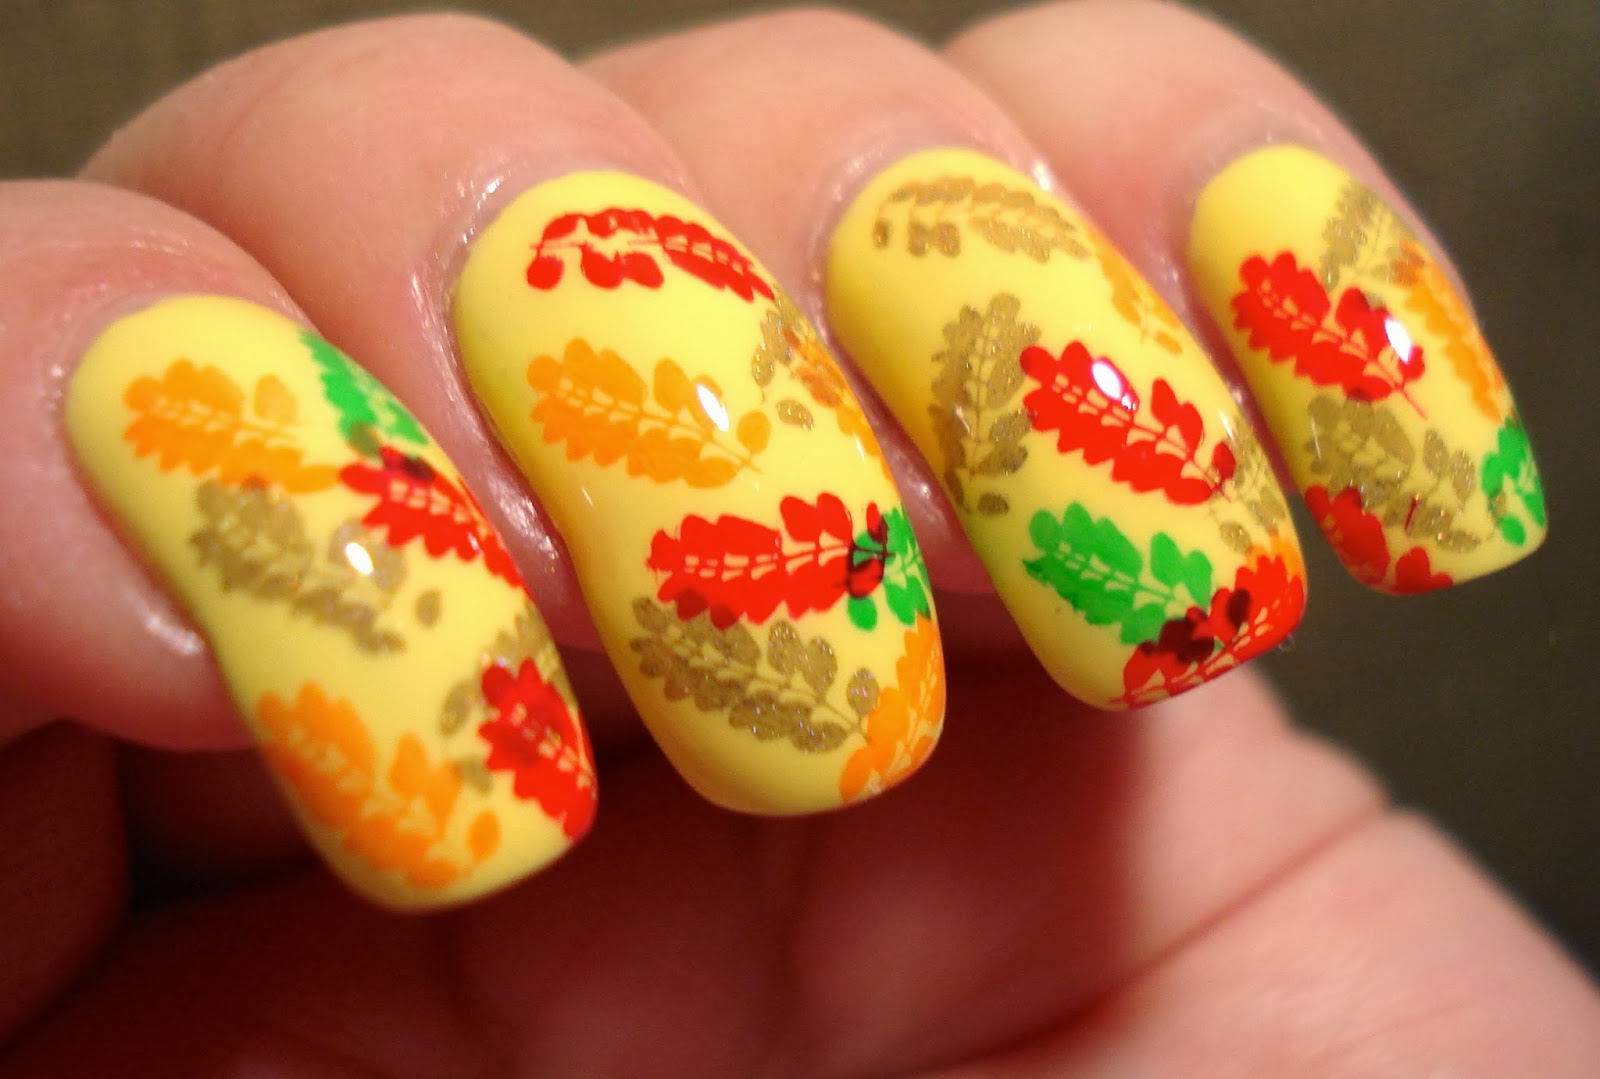
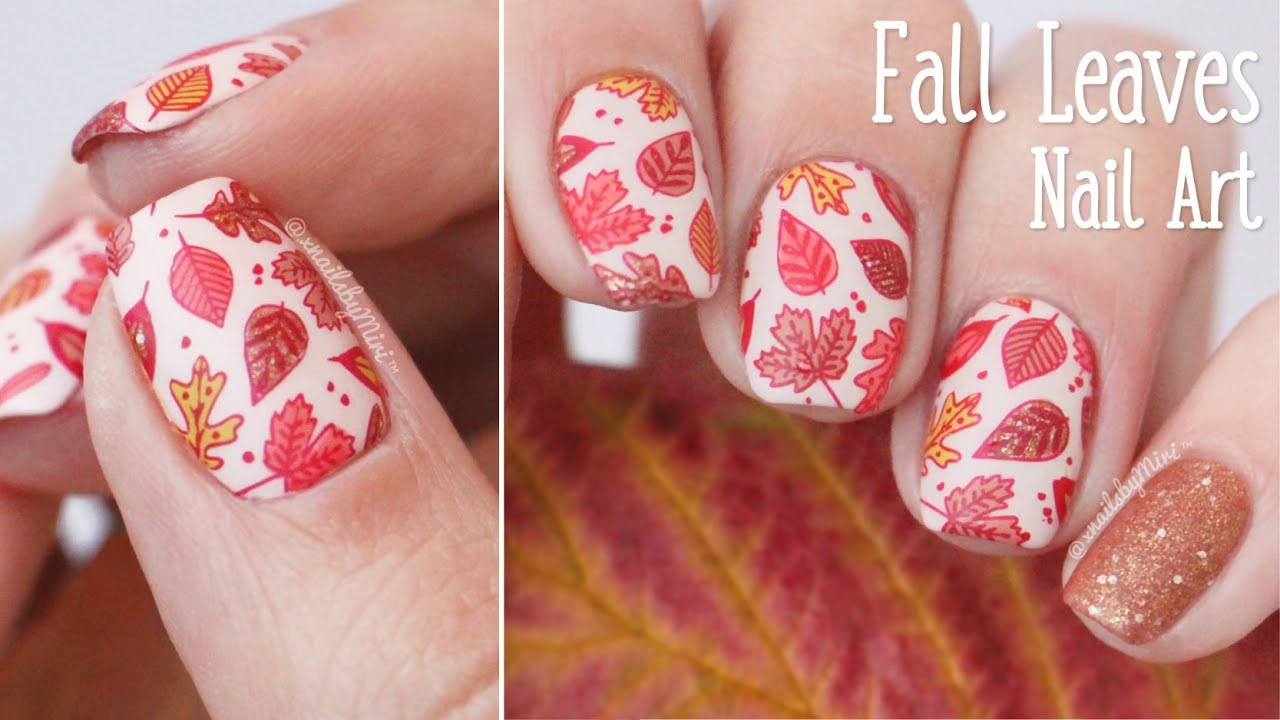
If you're looking for a fun and festive nail art design for the fall season, look no further than this easy fall leaves nail art tutorial. With just a few simple steps, you can create a gorgeous manicure that will have everyone asking for your secrets. To start, gather all the necessary supplies: a base coat, nail polish in fall colors (such as deep red, burnt orange, and mustard yellow), a nail art brush, and a top coat. You can also add some fall-themed nail stickers if you prefer. Begin by applying a base coat to protect your nails and help the polish last longer. Then, paint each nail with a different fall color, or create an ombre effect by blending two or three shades together. Let the polish dry completely before moving on to the next step. Next, use a nail art brush to create the leaf designs. Start by painting a thin line down the center of your nail, then add smaller lines branching out from each side to create the veins of the leaf. Use different colors to create a variety of leaves, and don't worry about making them all perfect – the more imperfect they are, the more natural they will look. If you're using nail stickers, now is the time to apply them. Simply peel them off and press them onto your nails, following the instructions on the package. You can also add some glitter for a touch of sparkle. After you've created all the leaf designs, let them dry for a few minutes before applying a top coat to seal in your beautiful fall nail art. This will also help protect your design from chipping or peeling. And just like that, you have a stunning fall leaves nail art that is perfect for any autumn occasion. Whether you're heading to a pumpkin patch, sipping on a warm apple cider, or just want to add a touch of fall to your everyday look, this easy tutorial has got you covered.1. Easy Fall Leaves Nail Art Tutorial


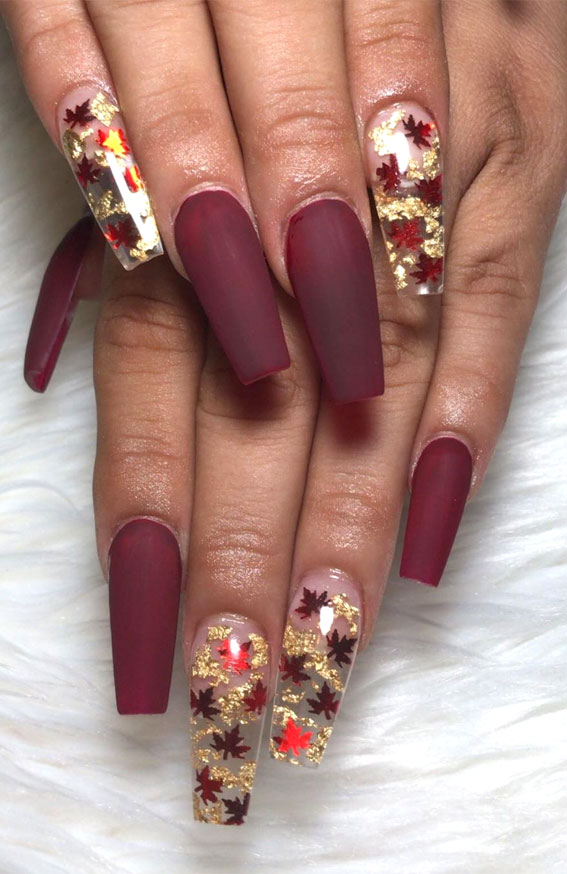
1. Easy Fall Leaves Nail Art Tutorial


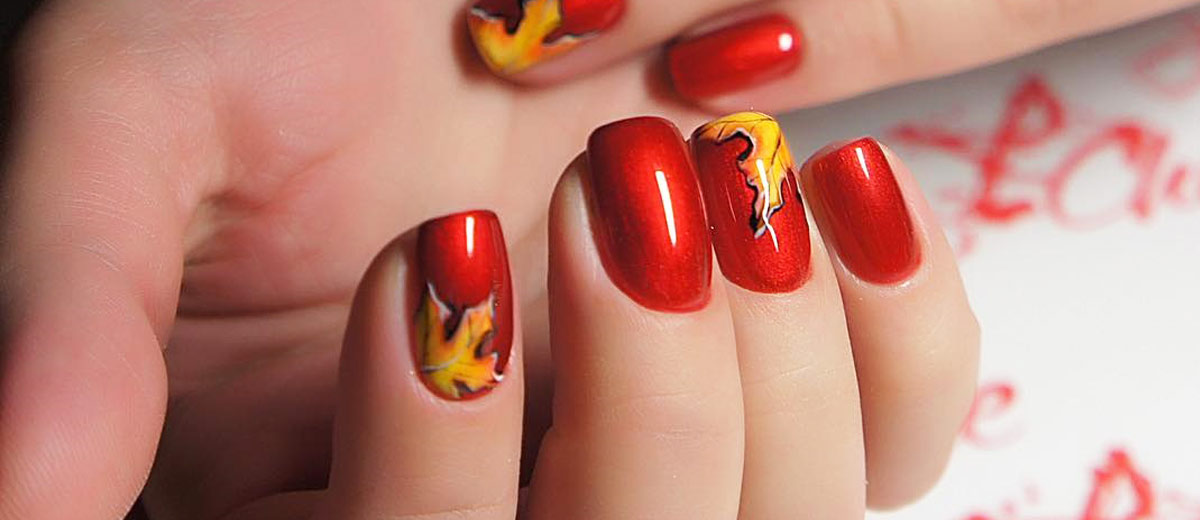
If you're short on time but still want to rock some festive fall nails, these simple fall leaf nail designs are the way to go. With just a few nail polish colors and some nail art tools, you can create a gorgeous manicure that will get you in the autumn spirit. Start by painting your nails with a neutral base color, such as beige or nude. This will allow the fall leaf designs to stand out and give your nails a clean, polished look. Next, use a nail art brush to create the leaf designs on each nail. You can choose to create a single leaf on each nail, or create a french tip effect by painting the leaves along the tips of your nails. For a more minimalist look, you can also paint just one leaf on an accent nail and leave the rest of your nails plain. This will still give you that fall vibe without being too overwhelming. Don't be afraid to experiment with different colors and designs – you can mix and match different shades of red, orange, yellow, and even green for a more unique look. You can also add some glitter or rhinestones for some extra sparkle. And as always, finish off your fall leaf nail art with a top coat to seal in your designs and give your nails a glossy finish. Now you're ready to embrace the beauty of fall with your stunning manicure.2. Simple Fall Leaf Nail Designs

2. Simple Fall Leaf Nail Designs

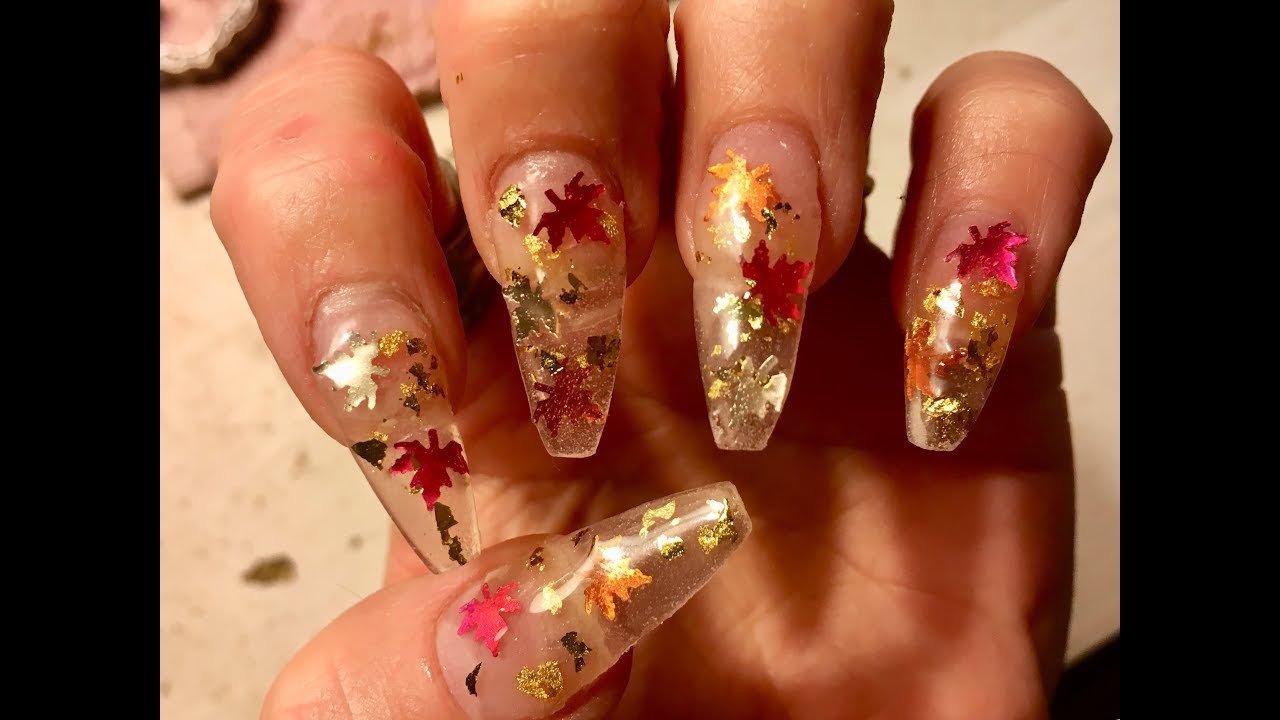


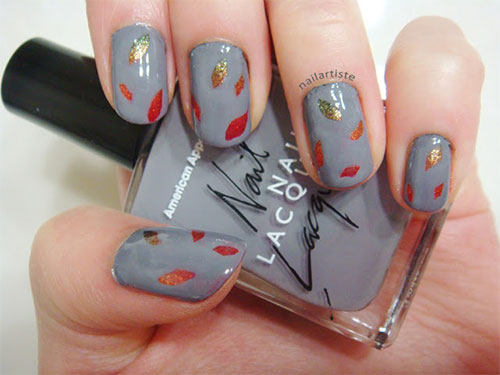
Looking for a fun and budget-friendly way to create some beautiful fall nails? Try this DIY autumn leaf nail art that will have you feeling like a professional nail artist in no time. To start, gather all the necessary supplies: a base coat, nail polish in fall colors (such as burgundy, mustard yellow, and olive green), nail polish remover, and some nail art tools like toothpicks and q-tips. Begin by painting your nails with a base color, such as a light brown or beige. Once it's dry, use the toothpick to create small dots on your nails in different fall colors. These will be the base of your leaves. Next, use a q-tip to gently press the dots and spread them out, creating a watercolor effect. This will give your leaves a more natural and textured look. Once the base is dry, use a toothpick or a nail art brush to create the leaf designs on top of the dots. You can create different types of leaves, such as maple, oak, or even a simple leaf silhouette. For an extra touch of fall, you can also add some gold or copper accents to your leaves using a toothpick or a nail art brush. This will give your nails a touch of elegance and make your fall leaf nail art stand out. Finally, seal in your designs with a top coat and clean up any excess polish around your nails using a q-tip dipped in nail polish remover. And voila, you have a beautiful DIY autumn leaf nail art that will make your nails the talk of the season.3. DIY Autumn Leaf Nail Art


3. DIY Autumn Leaf Nail Art


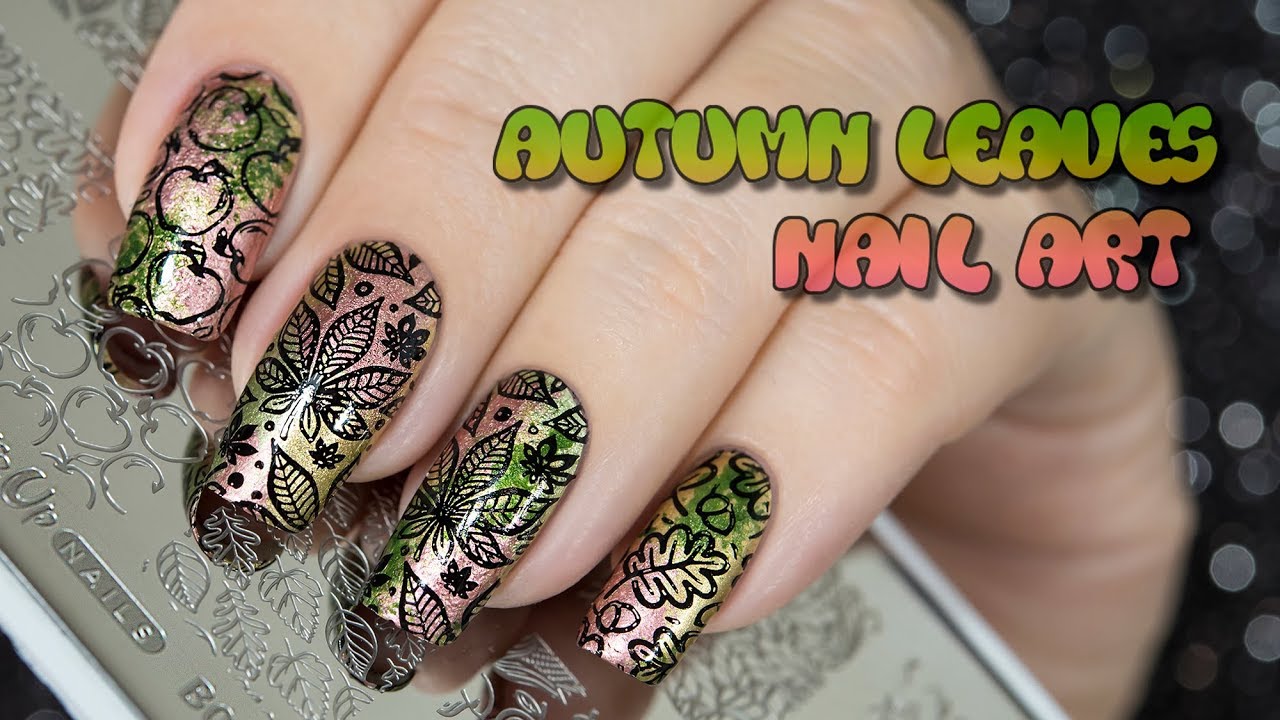
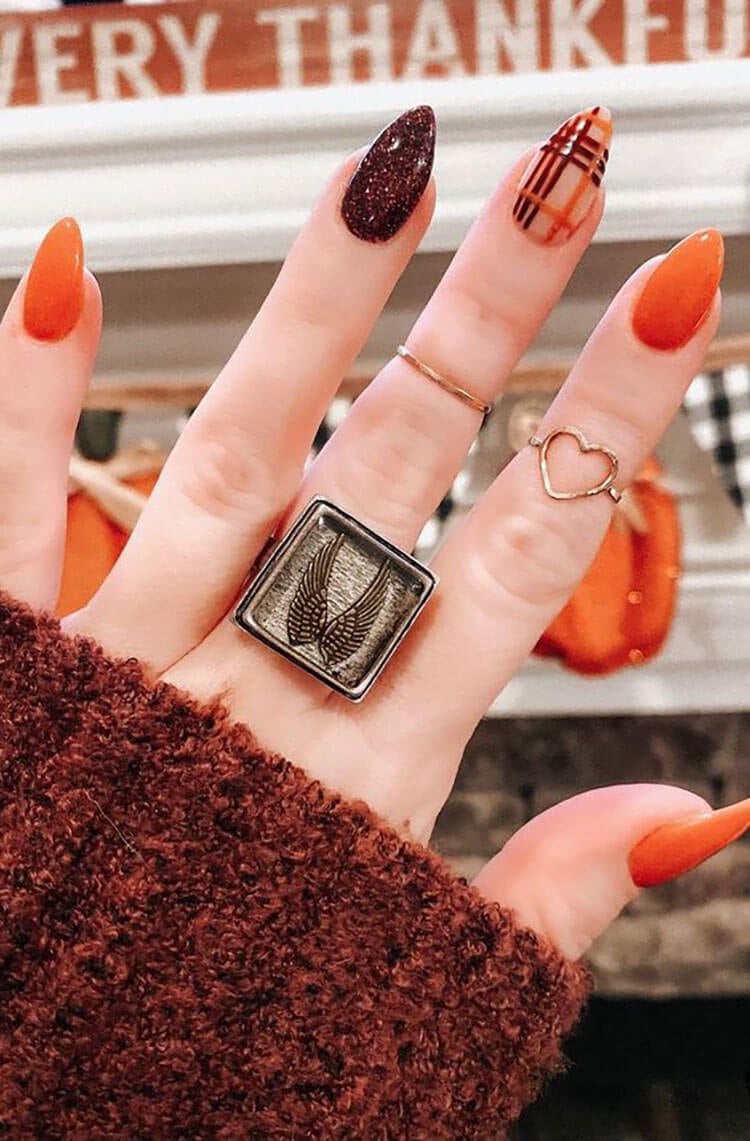
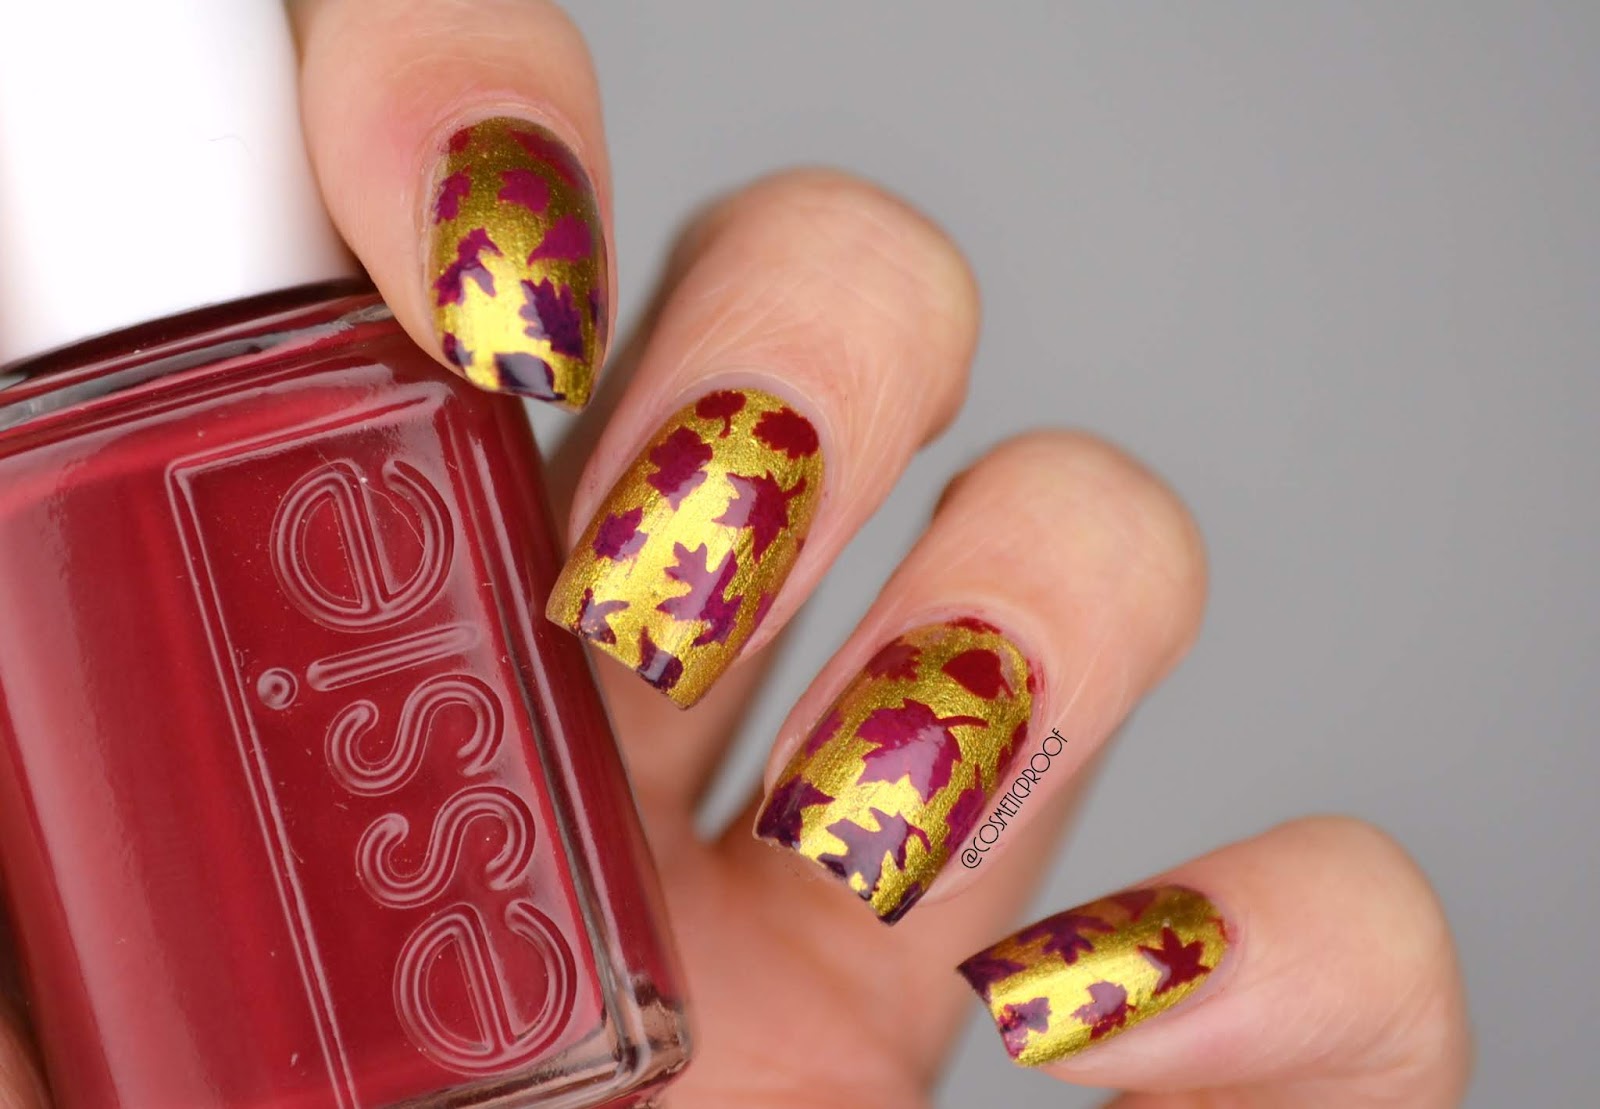
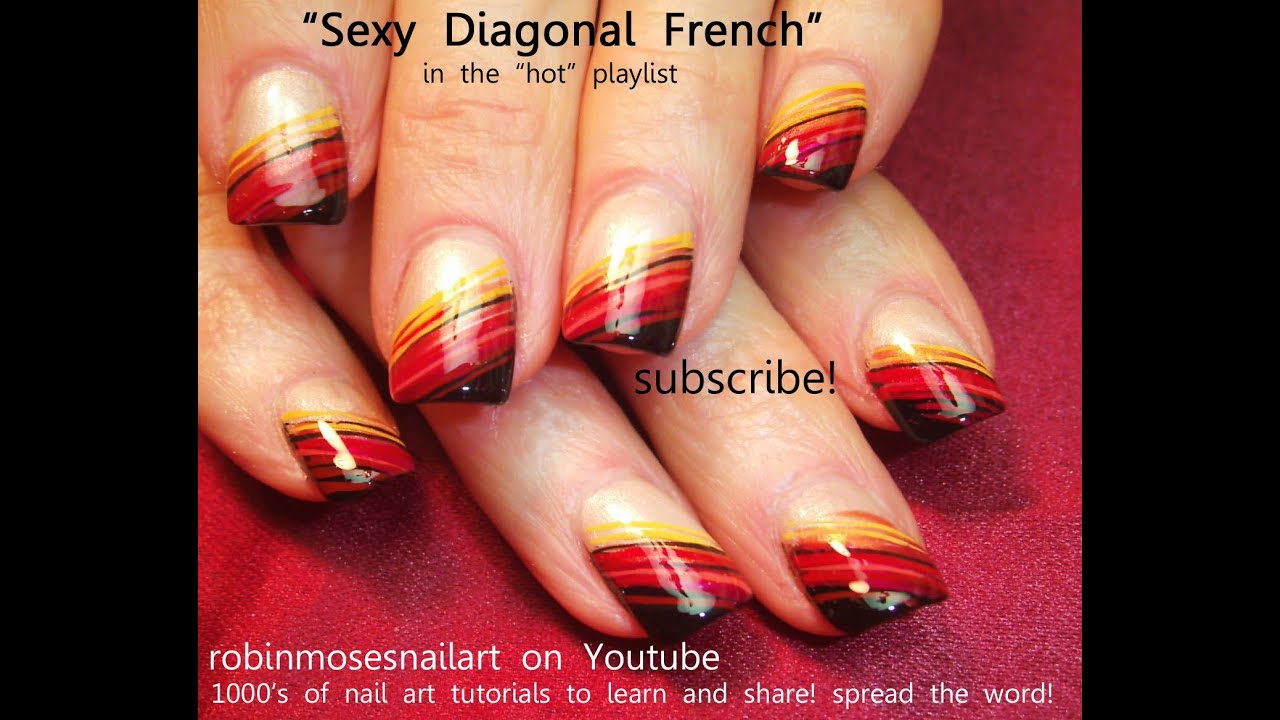
Short on time but still want to rock some festive fall nails? Don't worry, these quick and easy fall nail art ideas will have you ready to embrace the season in no time. For a simple yet eye-catching look, try painting your nails with a dark, vampy color, such as deep purple, dark green, or burgundy. Then, using a nail art brush or a toothpick, create small dots in different fall colors on each nail. This will give the illusion of falling leaves and add a fun pop of color to your manicure. If you want to take it up a notch, you can also add some stamping to your fall nails. Use a fall-themed stamping plate and your favorite nail polish to create intricate designs on your nails. This is a quick and easy way to achieve a professional-looking manicure without spending hours on it. Another simple yet beautiful idea is to paint your nails with a neutral or muted base color, such as taupe, light grey, or soft pink, and then add some fall-themed nail stickers on top. This will give your nails a delicate and feminine touch without being too overpowering. And if all else fails, a classic french manicure with a fall twist is always a quick and easy option. Instead of using white tips, paint them with fall colors, such as orange, burgundy, or mustard yellow. This will give your nails a subtle yet stylish autumn touch.4. Quick and Easy Fall Nail Art Ideas


4. Quick and Easy Fall Nail Art Ideas


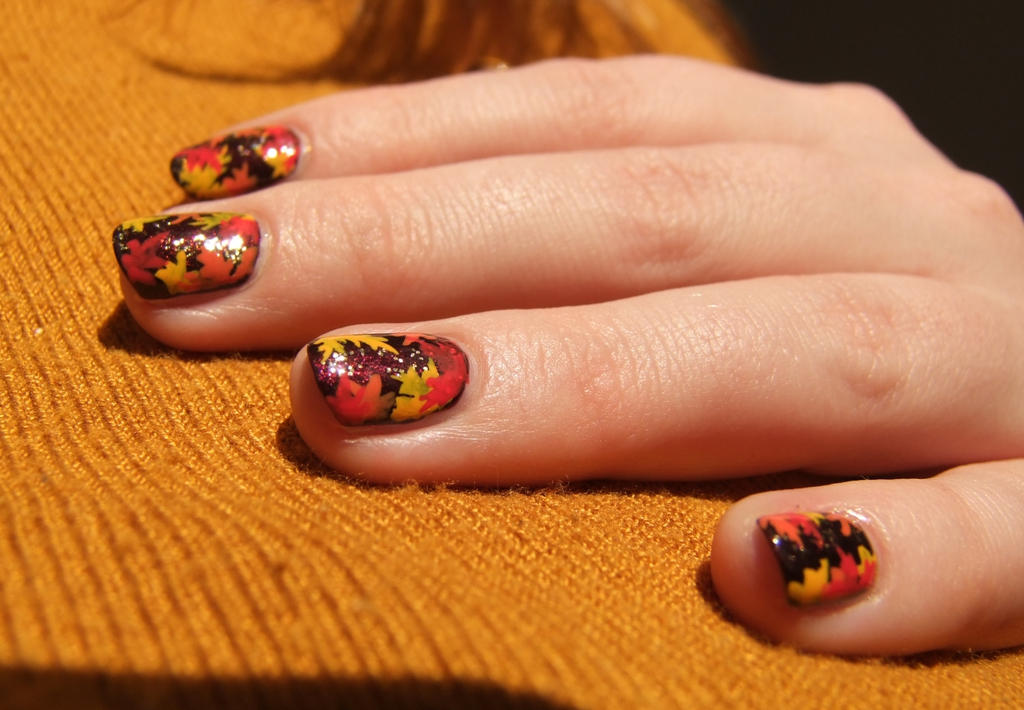
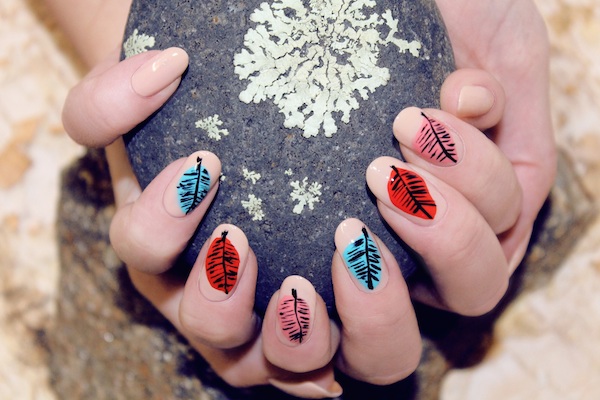
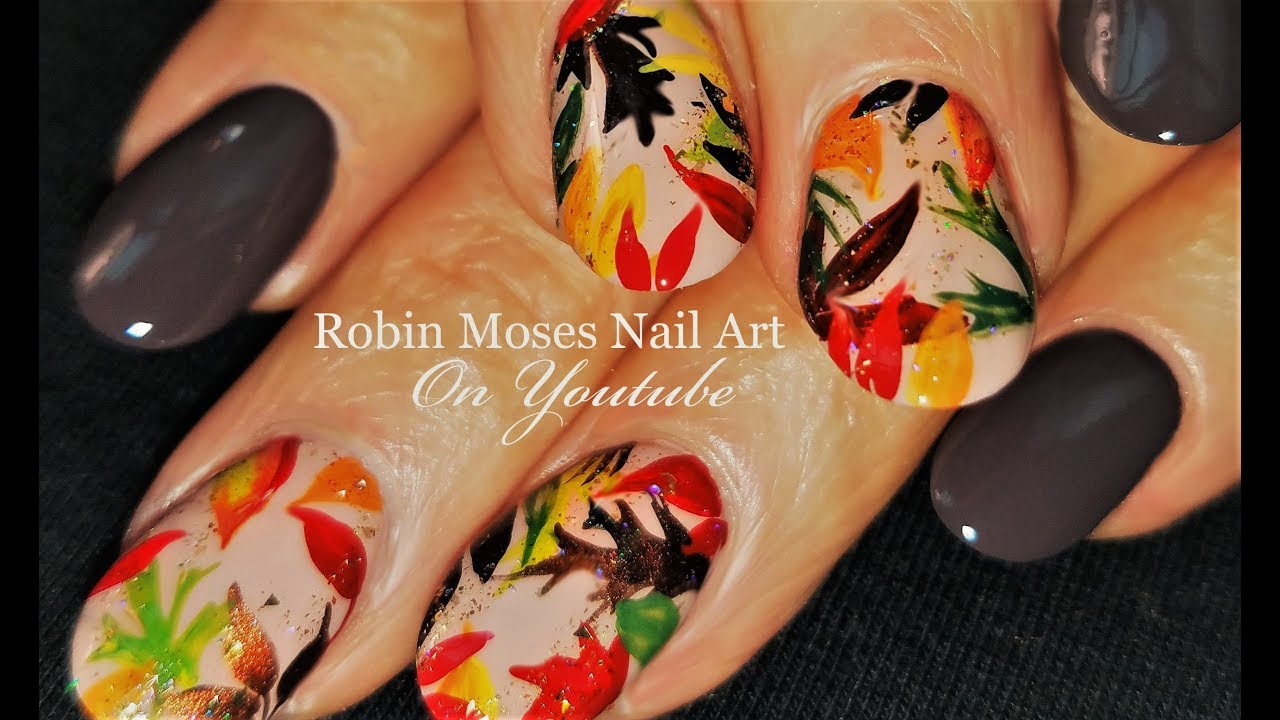
Looking for some cute and easy fall nail designs that will make your nails stand out this season? Look no further, as we've got you covered with some adorable ideas that will have you falling in love with fall all over again. For a fun and playful look, try creating animal-inspired fall nail art. You can paint foxes, hedgehogs, or owls on your nails using a nail art brush and some nail polish. This will add a touch of whimsy to your manicure and make your nails the cutest in the room. If you prefer a more minimalist approach, you can create simple yet stunning fall nail designs using negative space. Paint your nails with a neutral base color and then add small fall-inspired designs, such as leaves, acorns, or pumpkins, using a nail art brush. Leave some parts of your nails unpainted to give them a unique and modern look. For a touch of glamour, try adding some gold or silver accents to your fall nail art. You can create metallic stripes, dots, or leaves using a nail art brush or a toothpick. This will instantly elevate your manicure and add a touch of luxury to your fall look. And if you want to keep it simple yet cute, try painting fall foliage on your nails. Use a nail art brush to create leaves in different shapes and sizes, and finish off with a top coat for a glossy finish. This will give your nails a natural and beautiful look that is perfect for the season.5. Cute and Easy Fall Nail Designs


5. Cute and Easy Fall Nail Designs


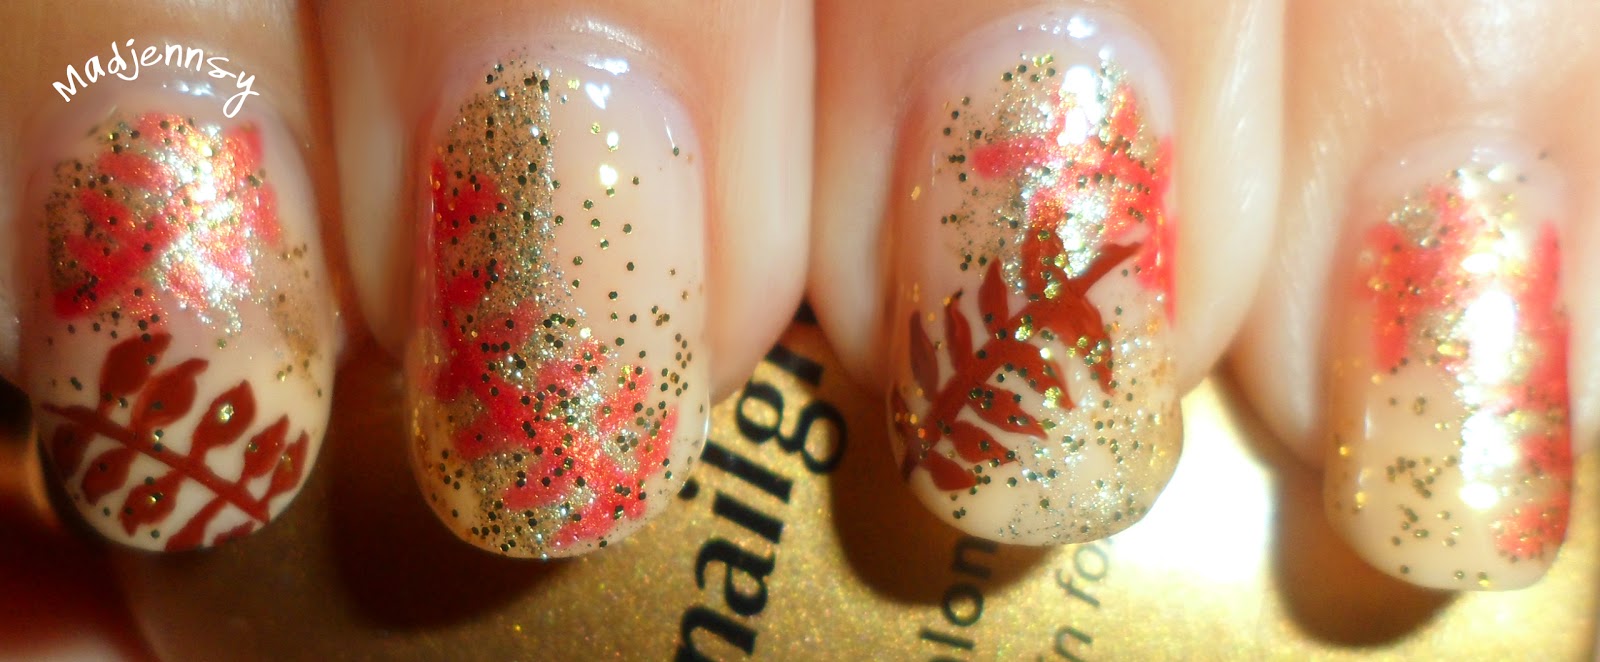
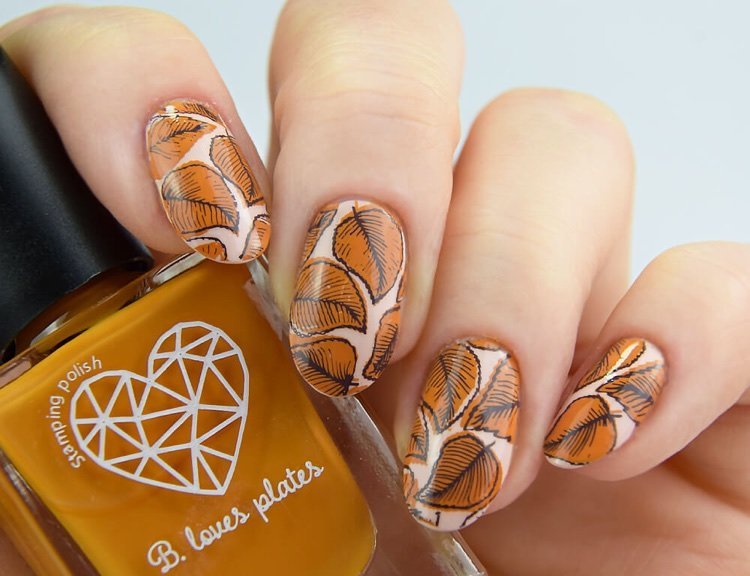
If you're a visual learner and prefer following step-by-step instructions, this fall leaf nail art tutorial is perfect for you. With detailed instructions and images, you'll be able to recreate this stunning fall nail design in no time. Start by painting your nails with a neutral base color, such as beige, nude, or light brown. Then, using a nail art brush, create leaf shapes in different sizes and colors on each nail. You can choose to create realistic leaves with veins and details, or go for a more abstract approach by creating simple leaf silhouettes. Next, use a nail art brush or a toothpick to add stems to your leaves. You can also add dots or lines in different colors to give your leaves a watercolor effect. For an extra touch of fall, you can also add some glitter or rhinestones to your design. You can either apply them on top of the leaves or create a gradient effect by placing them at the bottom of your nails. Finally, seal in your designs with a top coat and clean up any excess polish around your nails using a q-tip dipped in nail polish remover. And there you have it, a beautiful and detailed fall leaf nail art that will make your nails the talk of the season.6. Step-by-Step Fall Leaf Nail Art

6. Step-by-Step Fall Leaf Nail Art


If you're a beginner in the world of nail art, don't worry – these easy fall nail art designs are perfect for you. With just a few simple steps, you can create stunning fall nails that will have everyone thinking you're a pro. For a simple yet beautiful look, try painting your nails with a gradient of fall colors. You can use a sponge to blend the colors together or simply use a nail polish brush to create a french tip effect. This will give your nails a touch of fall without being too overwhelming. Another easy option is to use nail stickers to create your fall nail art. You can find a variety of fall-themed stickers that will instantly transform your nails into a festive masterpiece. Simply peel them off and apply them on top of your base color, and your fall nail art is ready to go. And for those who want to try stamping but are intimidated by the process, don't worry – there are plenty of fall-themed stamping plates that make the process easy and foolproof. Simply apply your base color, stamp your design on top, and seal it with a top coat – it's that simple! With these easy fall nail art ideas, you'll be able to create a beautiful and festive manicure without any stress or frustration. So go ahead and give them a try, and show off your fall nails with confidence.7. Easy Fall Nail Art for Beginners

7. Easy Fall Nail Art for Beginners

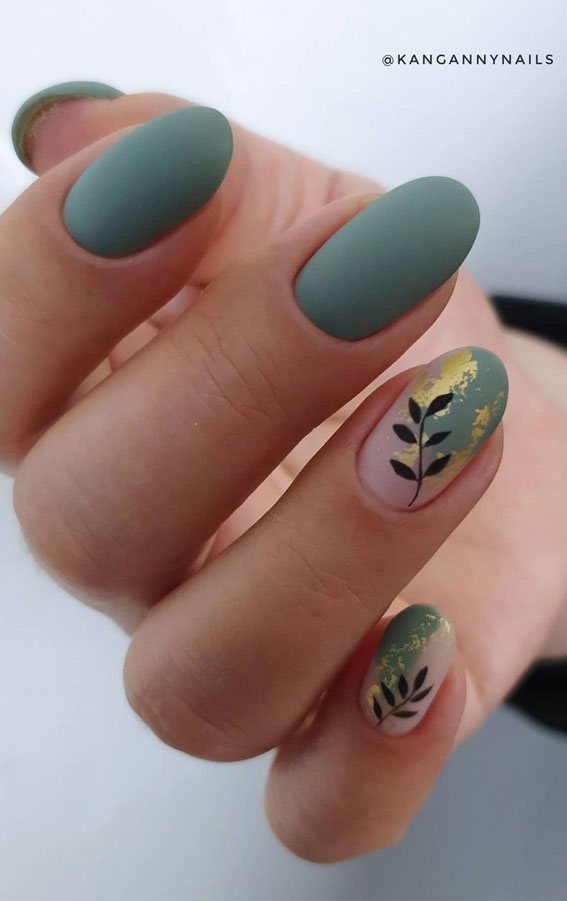
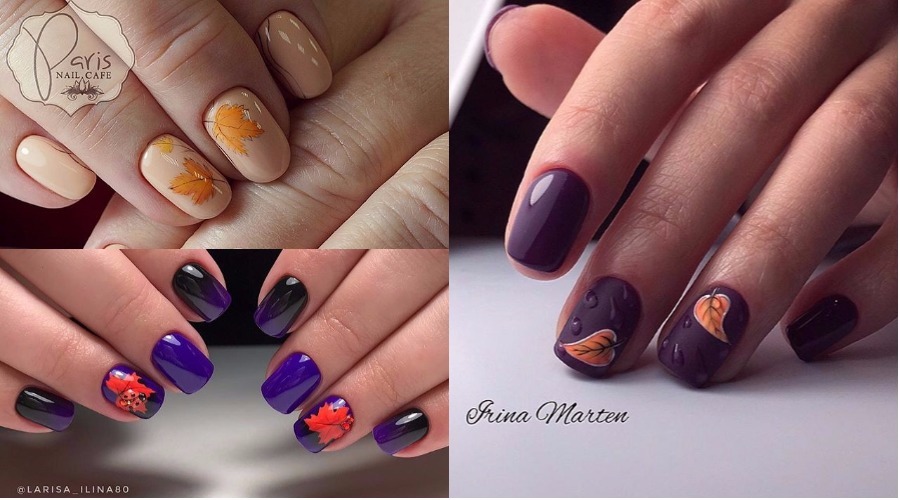
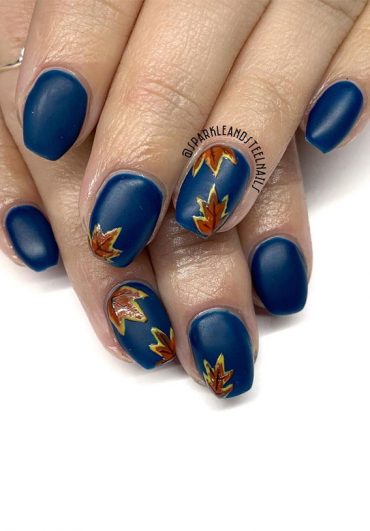
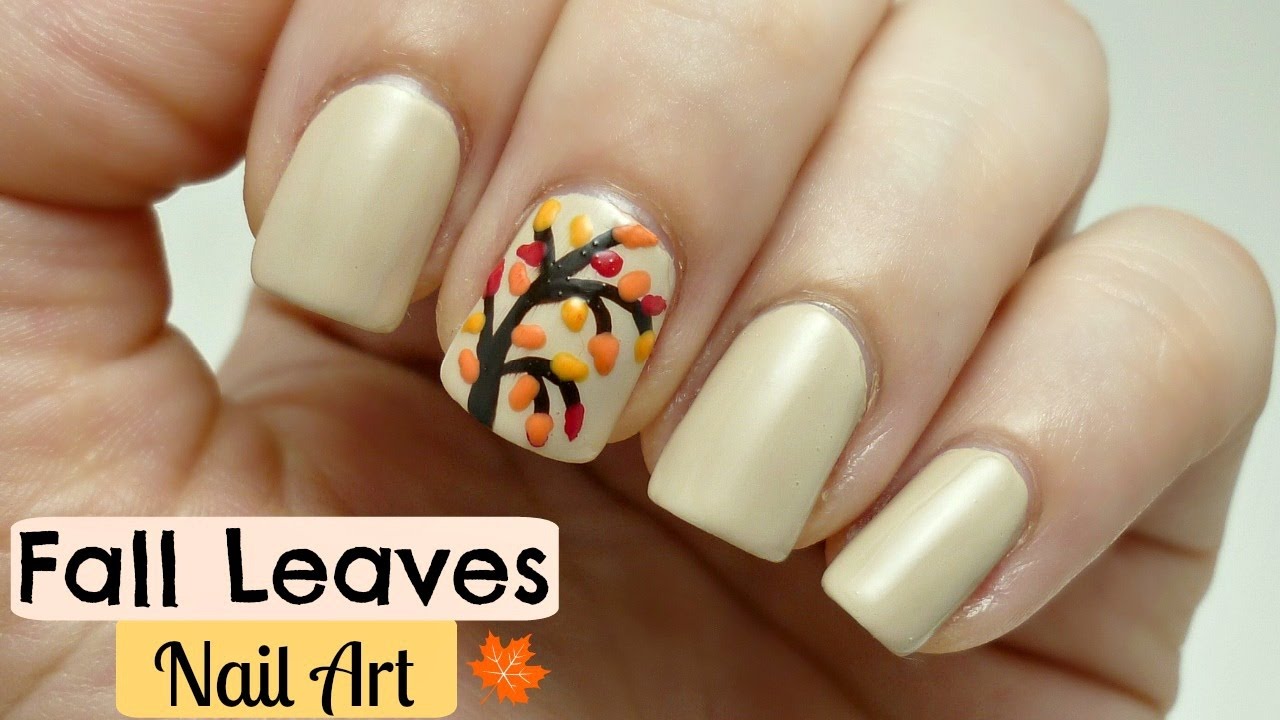
If you prefer a more understated and minimalist look, these fall leaf nail art designs are perfect for you. With simple designs and a neutral color palette, these nails will give you all the fall vibes without being too loud. Start by painting your nails with a neutral base color, such as beige, taupe, or light grey. Then, using a nail art brush, create simple leaf shapes in different sizes and colors on each nail. You can also use nail stickers for a more precise and uniform look. For a more minimalist approach, you can also paint just one leaf on an accent nail and leave the rest of your nails plain. This will still give you that fall vibe without being too overwhelming.8. Minimalist Fall Leaf Nail Art


8. Minimalist Fall Leaf Nail Art

Easy Fall Leaves Nail Art: A Festive Addition to Your Nail Design

As the leaves begin to change and the air becomes crisp, it's the perfect time to switch up your nail design and embrace the beauty of fall. This season, fall leaves nail art is a popular trend that adds a festive touch to your nails and celebrates the changing colors of the season. Whether you're a beginner or a nail art pro, there are plenty of easy and creative ways to incorporate fall leaves into your nail design.
Gather Your Supplies

Before you can start creating your fall leaves nail art, it's important to gather all the necessary supplies. You will need a base coat, your choice of fall nail polish colors, a thin nail art brush, and a top coat. It's also helpful to have a toothpick or dotting tool on hand for creating small details.
Choose Your Color Scheme

When it comes to fall leaves nail art, the options are endless. You can choose to go with traditional fall colors like orange, red, and yellow, or opt for a more muted and earthy palette with shades of brown, green, and burgundy. You can also mix and match colors to create a unique and personalized look.
Get Creative with Your Design

Now it's time to let your creativity shine! There are many different ways to incorporate fall leaves into your nail design. One simple option is to paint a solid color on your nails and use a thin nail art brush to create leaf-shaped designs in a contrasting color. You can also use a toothpick or dotting tool to add veins to your leaves for a more realistic look.
If you're feeling more adventurous, you can try creating ombre leaves by blending two or three different colors on your nails. You can also use stamping plates to easily transfer intricate leaf designs onto your nails. The possibilities are endless, so don't be afraid to experiment and find a design that suits your style.
Finish with a Top Coat
Once you're happy with your fall leaves nail art, it's important to seal it in with a top coat. This will not only add shine to your design, but also help it last longer. Make sure to wait for your nails to dry completely before applying the top coat to avoid smudging.
With these easy tips and tricks, you can create a beautiful and festive fall leaves nail art design that will surely make a statement. So grab your supplies and get ready to embrace the beauty of fall on your fingertips!


