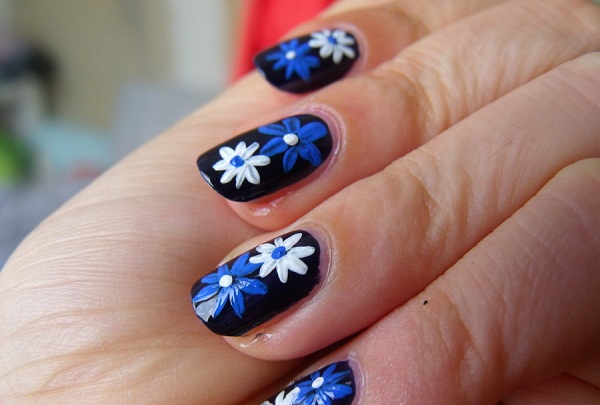
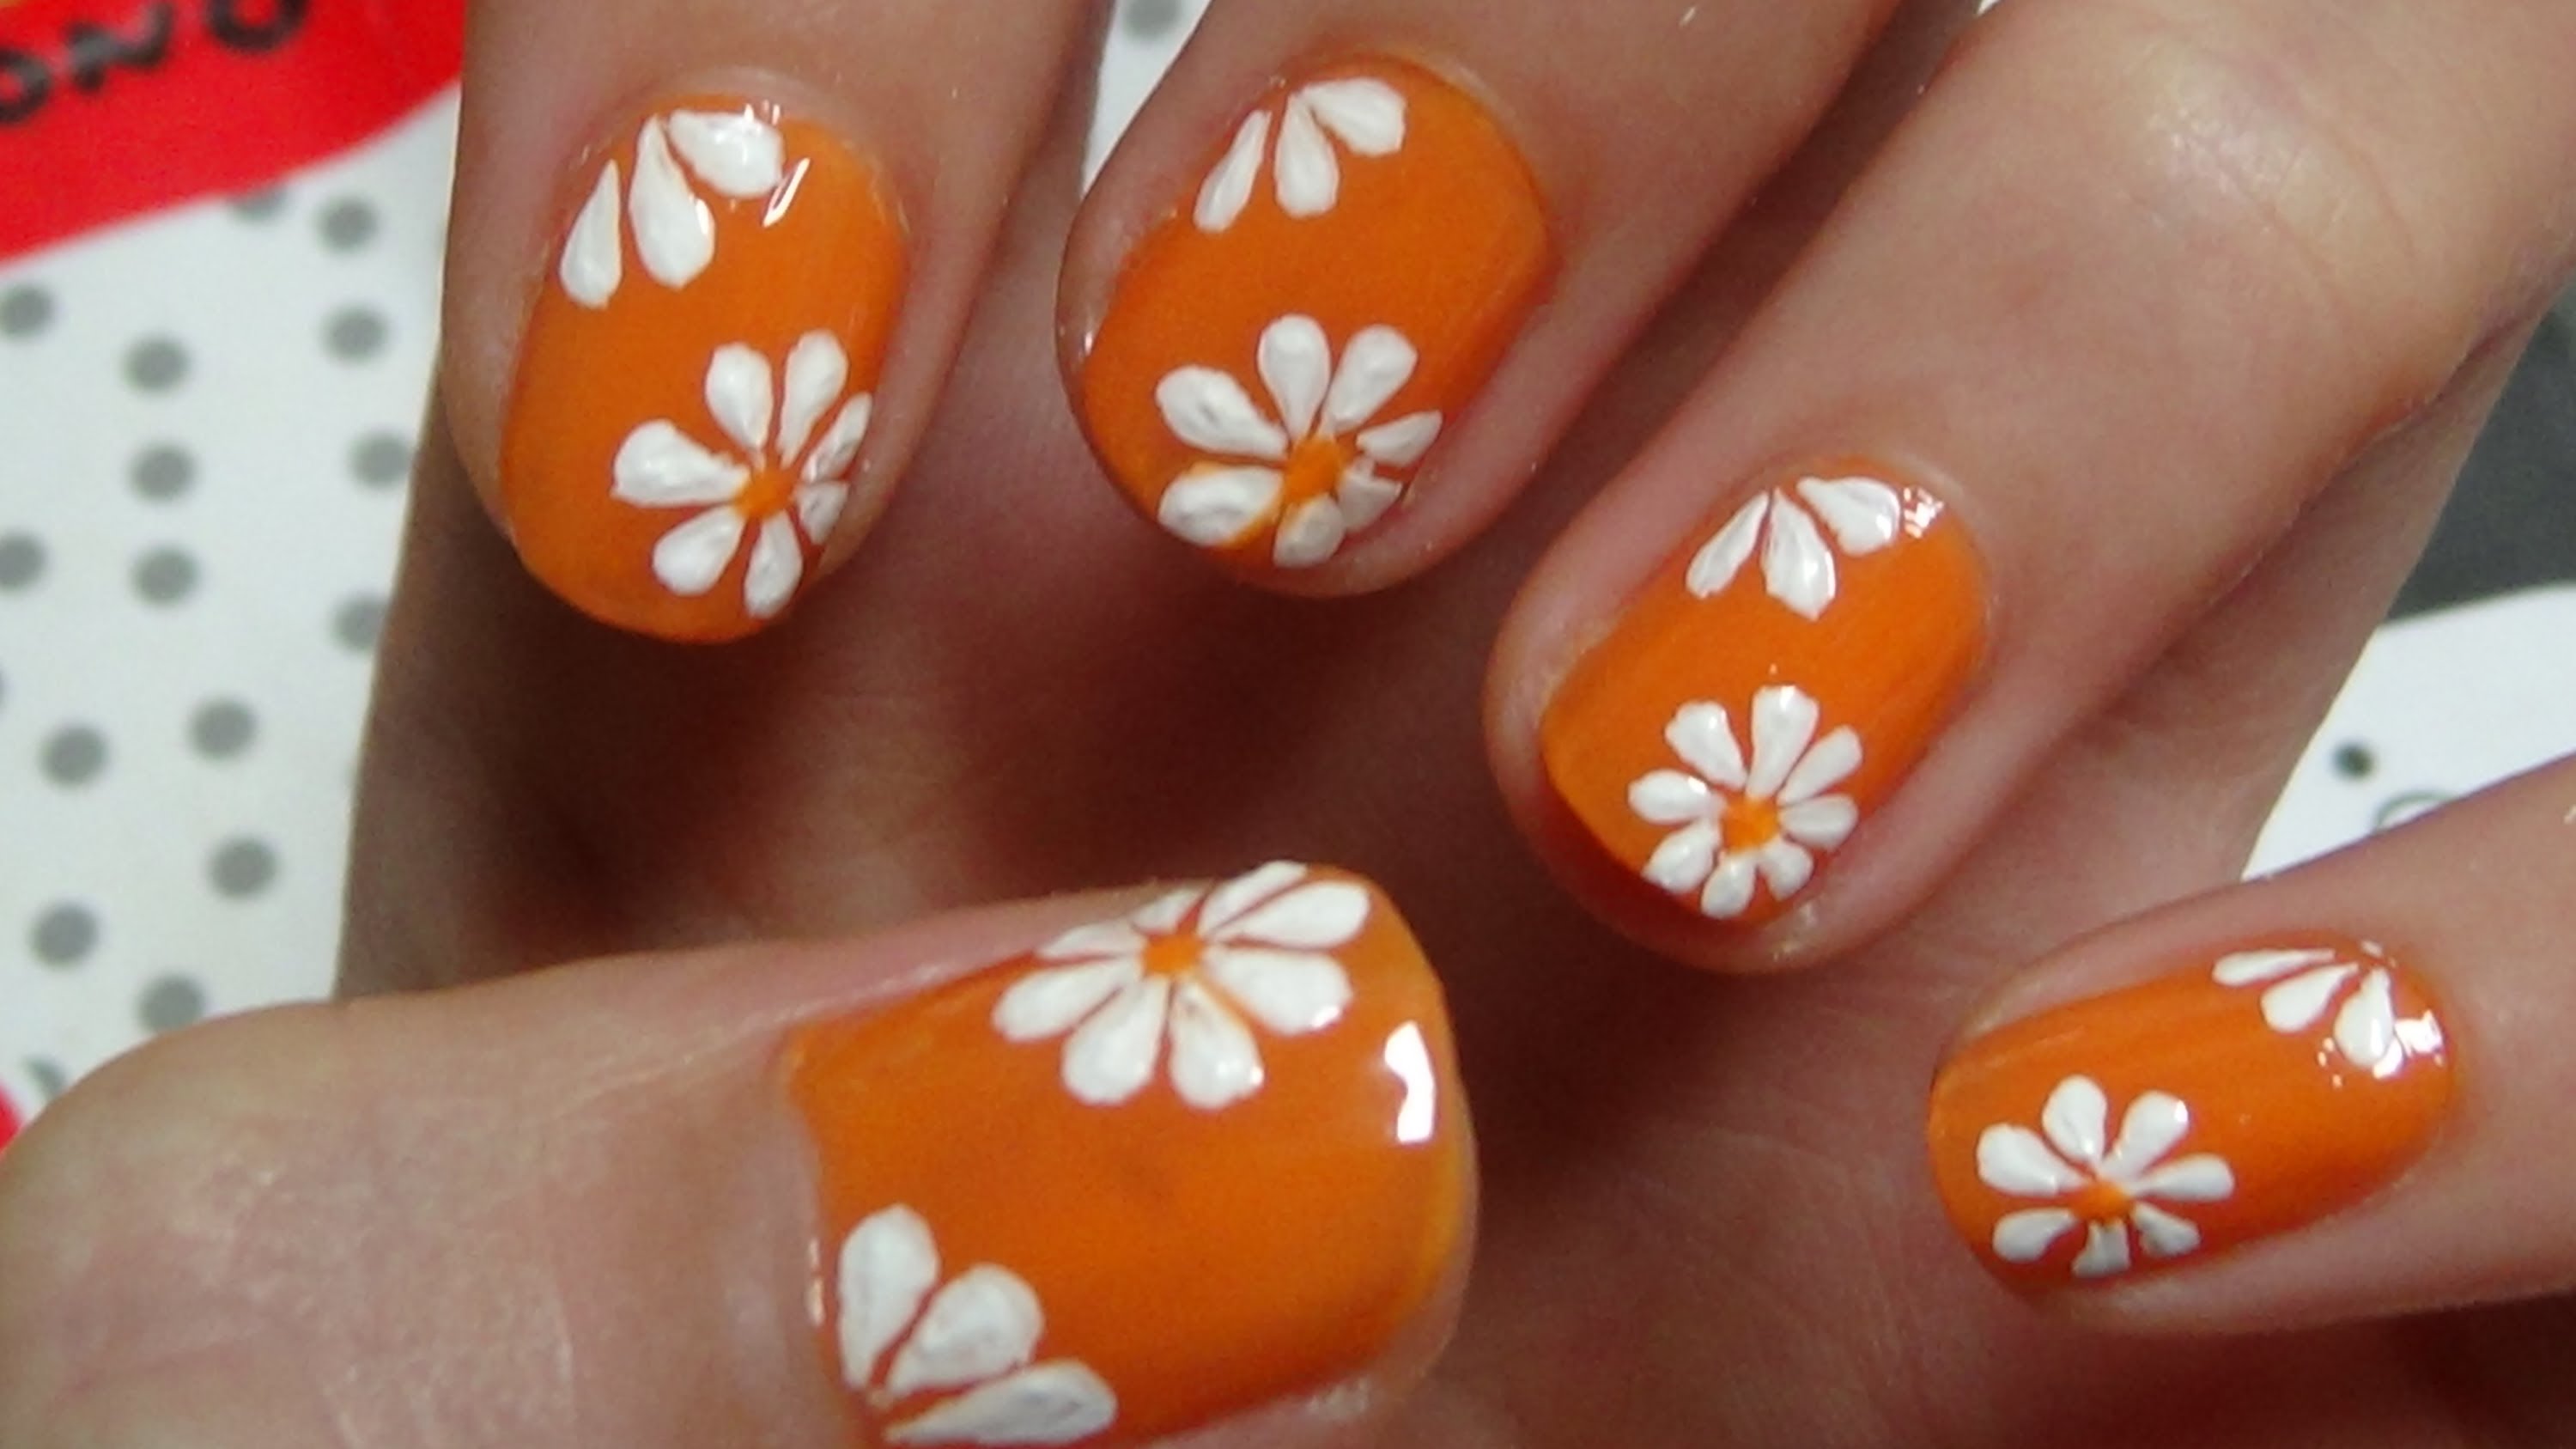
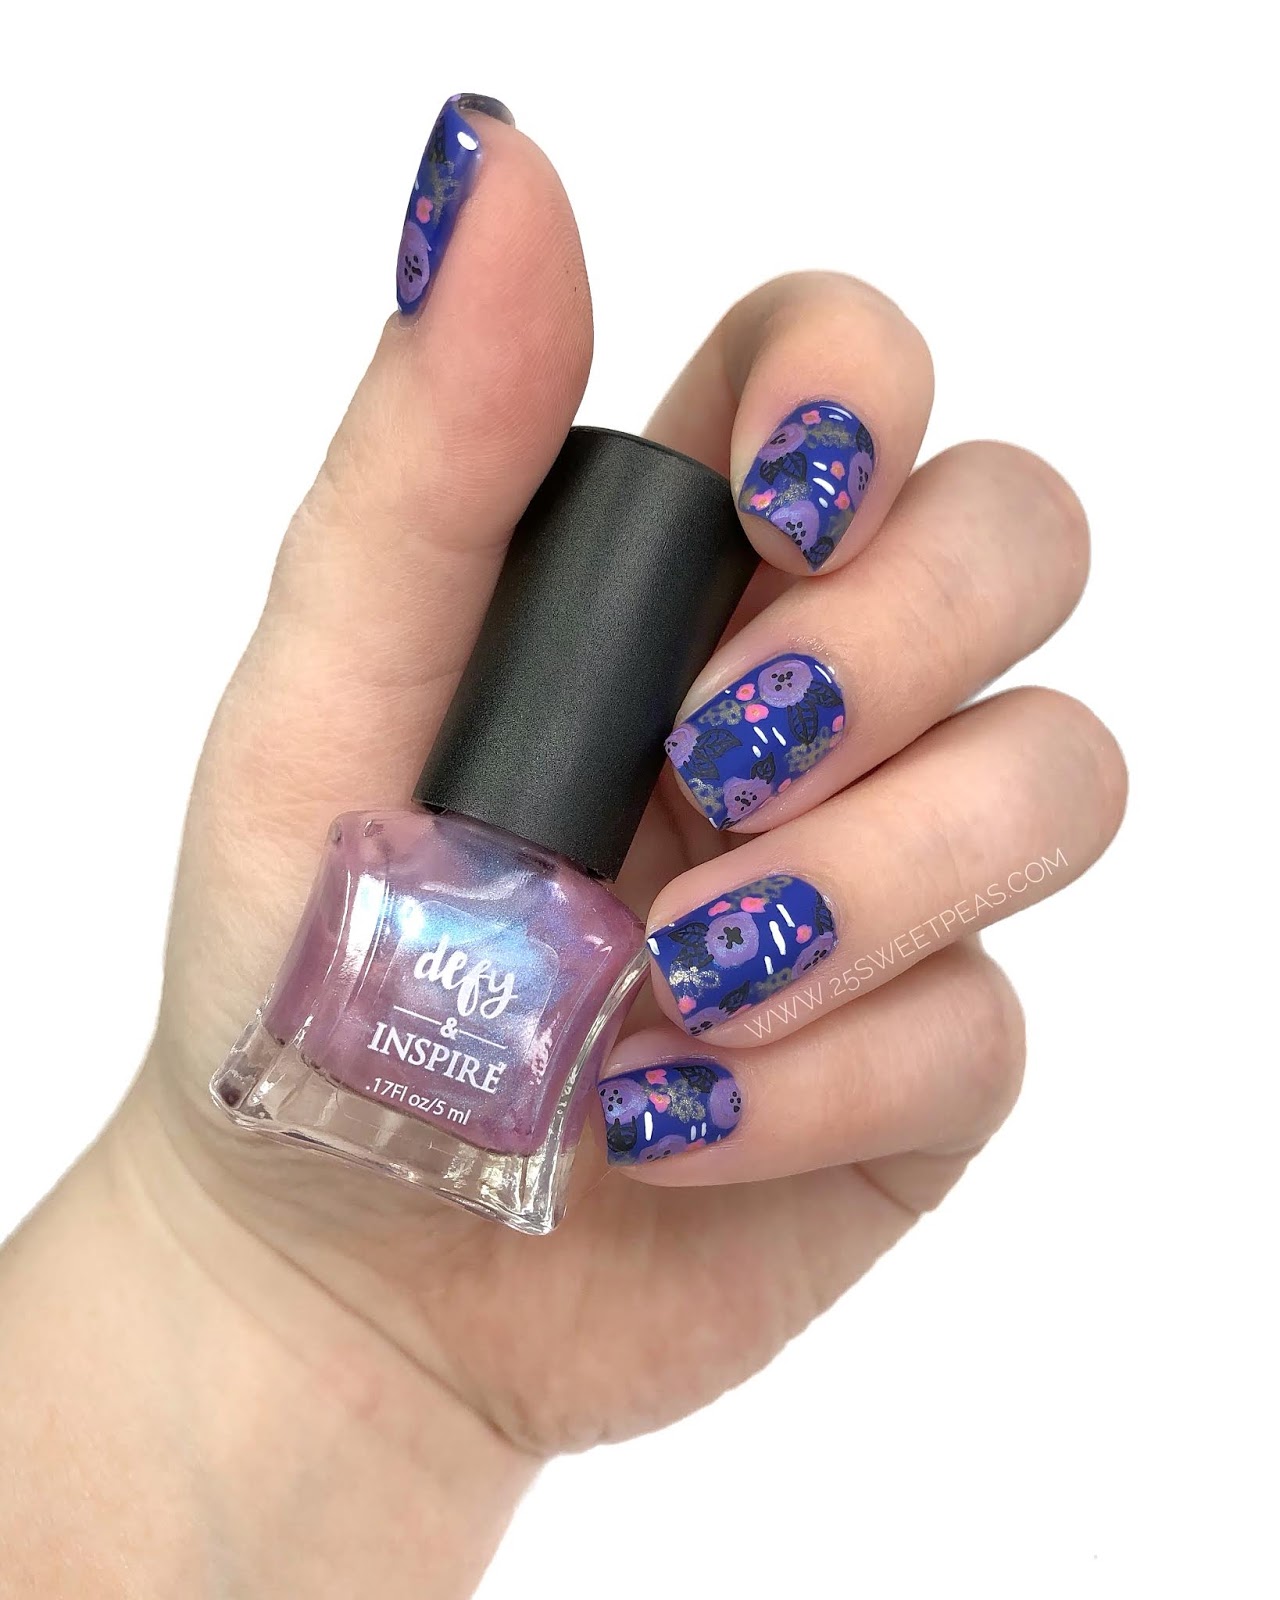
Are you new to nail art and looking for some easy designs to start with? Look no further than this easy floral nail art tutorial for beginners. With just a few simple steps, you can create a beautiful floral design on your nails that will impress everyone. To begin, gather your materials. You will need a base coat, your choice of nail polish colors, a small brush or toothpick, and a top coat. You can use any colors you like, but for a classic floral look, try using pastel shades like pink, lavender, and mint. Start by applying a base coat to protect your nails and help your polish last longer. Then, apply two coats of your chosen base color. Once the polish is dry, take your small brush or toothpick and dip it into a different color of polish. Use the brush to create small dots or petals on your nails, forming a flower shape. Repeat this with different colors to create a bouquet of flowers on each nail. Finish with a layer of top coat to seal in your design and add shine. And there you have it, an easy and pretty floral nail art design that any beginner can do. Practice makes perfect, so don't be afraid to experiment with different colors and designs.1. Easy Floral Nail Art Tutorial for Beginners


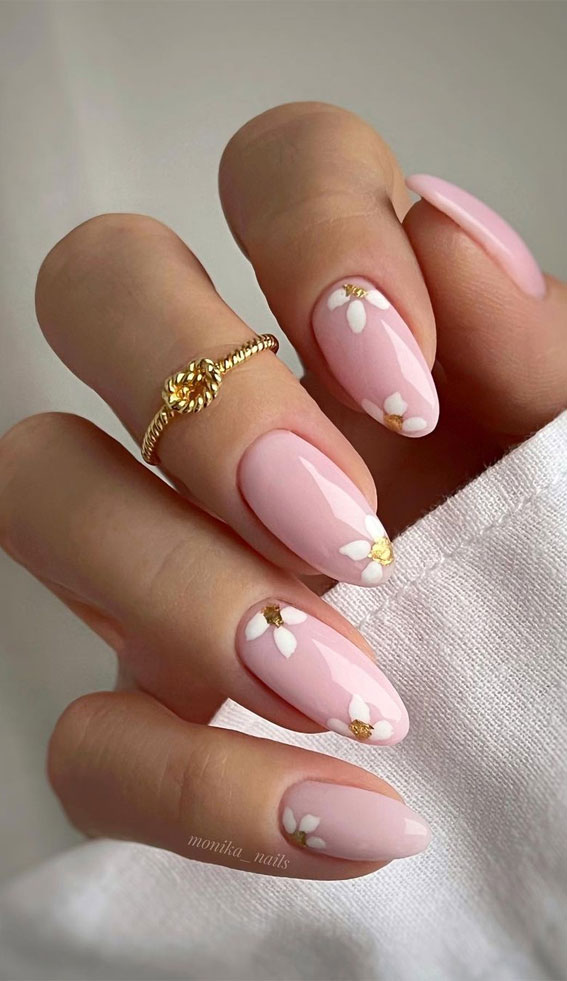
1. Easy Floral Nail Art Tutorial for Beginners


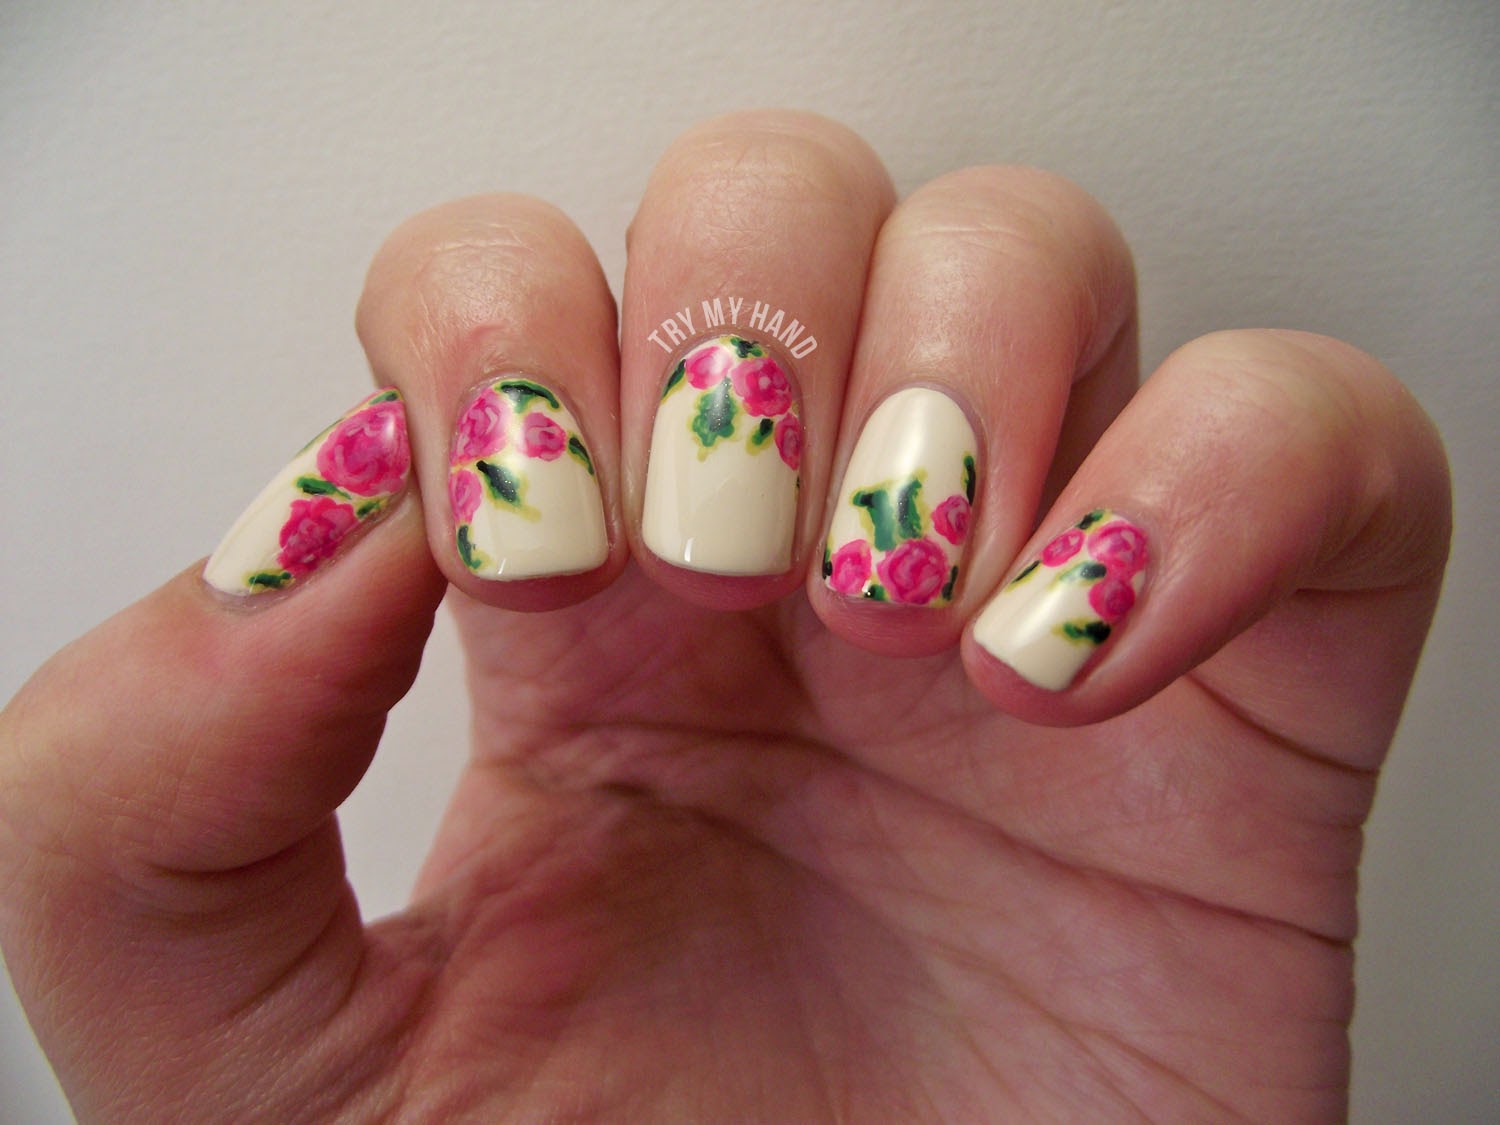
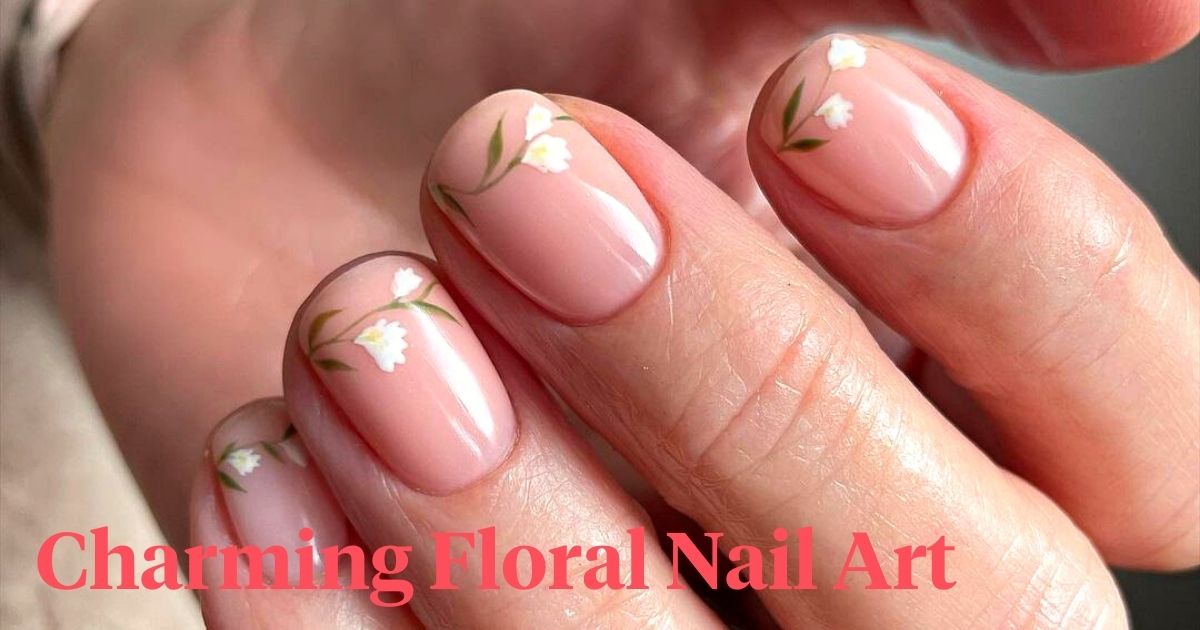
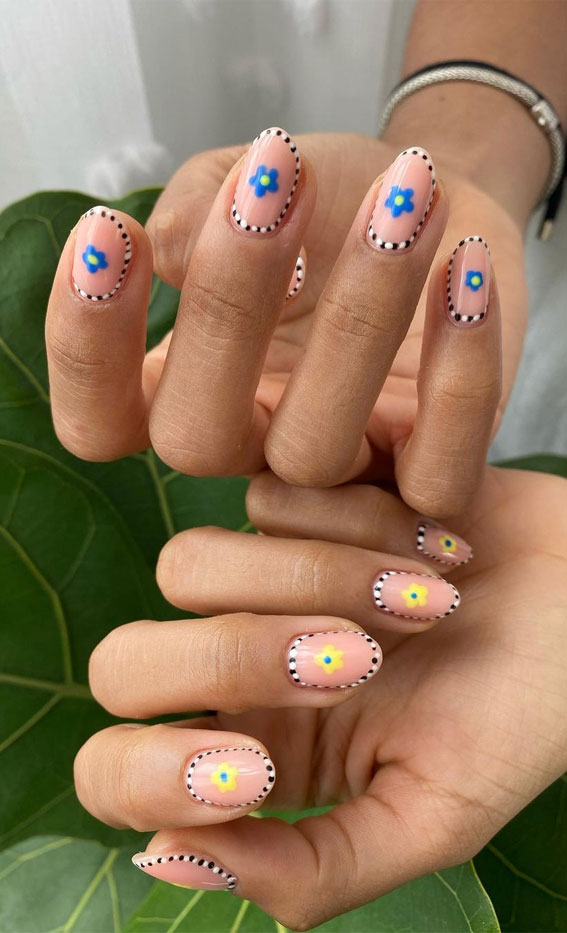
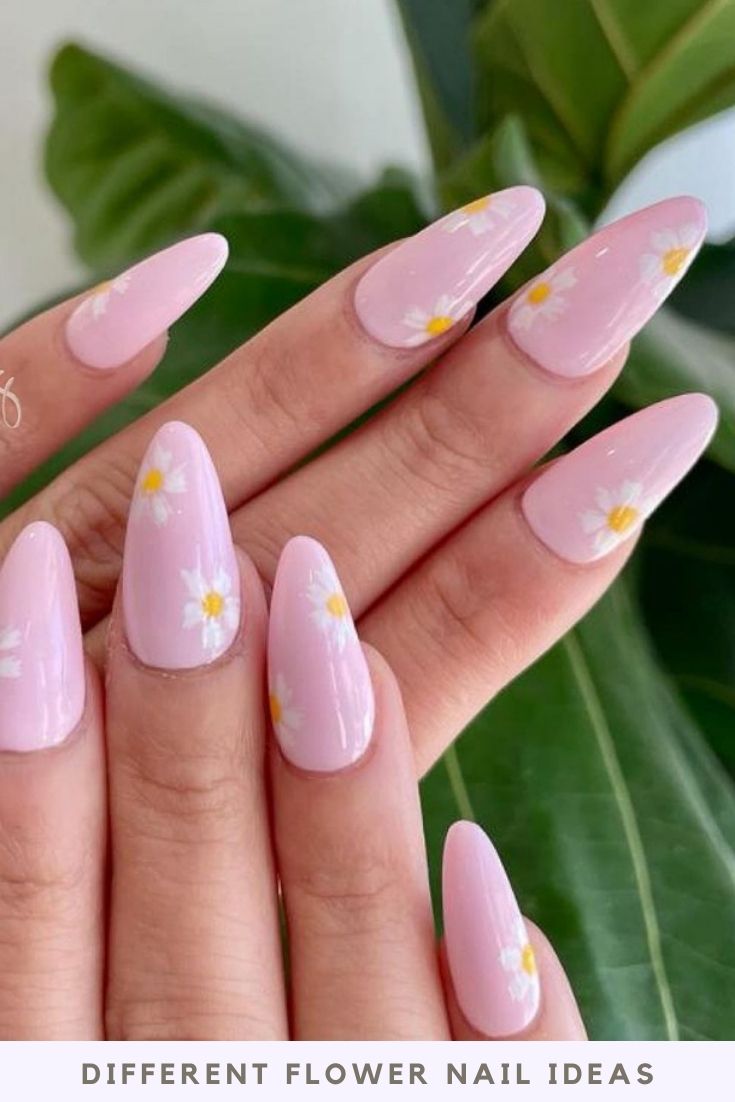
If you're looking for a simple, yet elegant, floral nail art design, this tutorial is for you. With just a few steps, you can create a beautiful floral pattern that will make your nails stand out. Start by applying a base coat to protect your nails. Then, choose a light-colored nail polish as your base. Peach, light blue, and soft yellow are all great options for a simple floral design. Next, take a contrasting color and use a small brush or toothpick to create small dots or lines on your nails. These will serve as the center of your flowers. Then, use the same brush or toothpick to create petals around the center, using different colors to create a variety of flowers on each nail. Finally, add a layer of top coat to seal in your design and add shine. This simple floral nail art design is perfect for any occasion and can be easily recreated with different color combinations.2. Simple Floral Nail Art Tutorial
2. Simple Floral Nail Art Tutorial


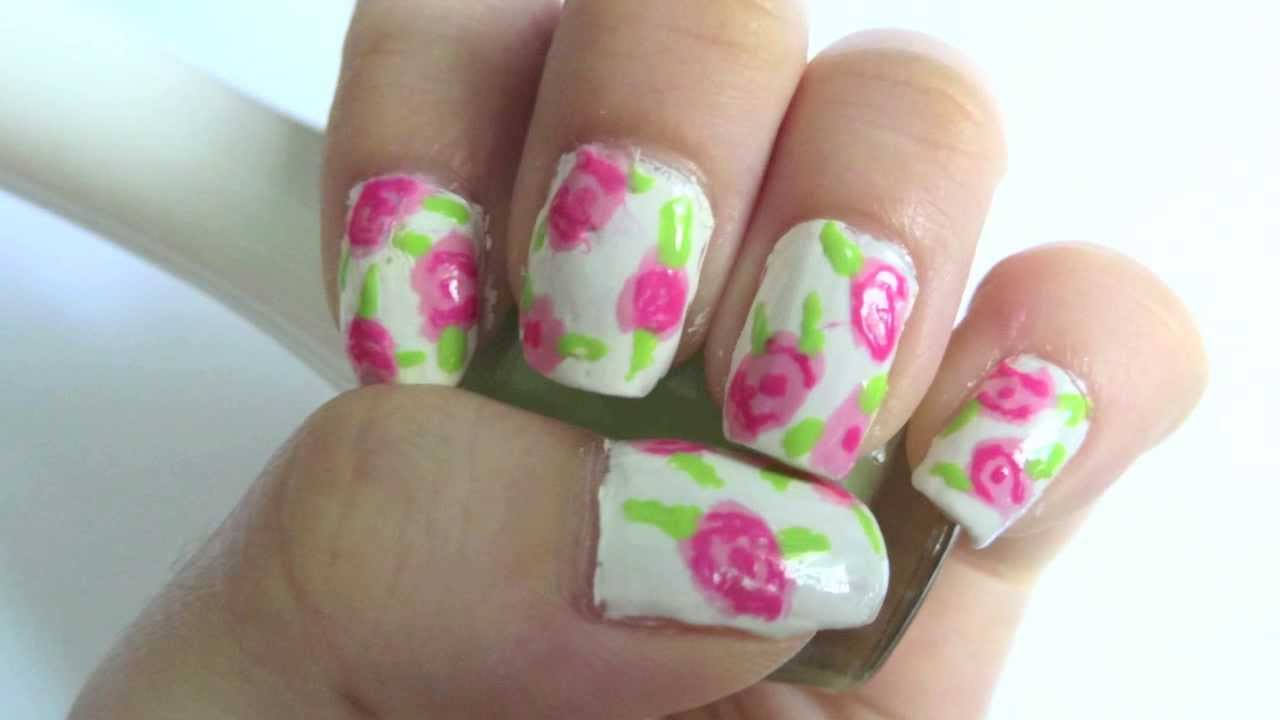
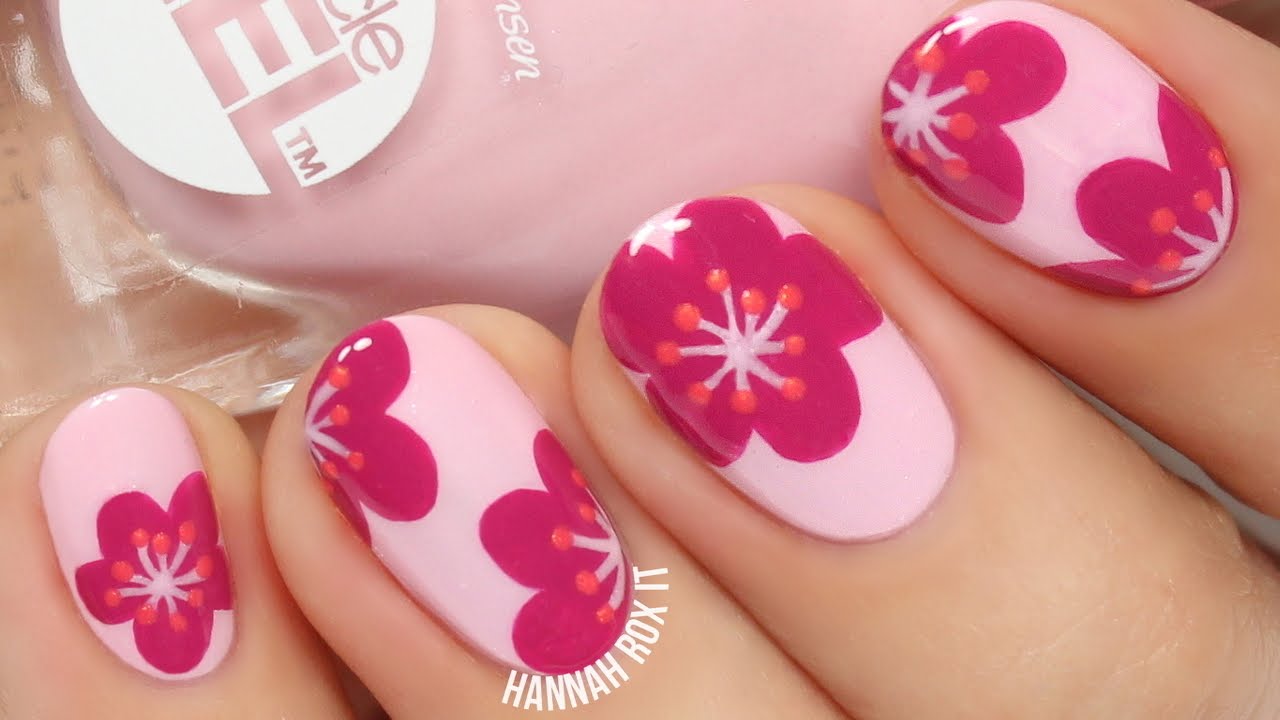
Short on time but still want to rock a floral nail art design? This quick and easy tutorial is perfect for you. With just a few simple steps, you can create a stunning floral design in no time. Start by applying a base coat to protect your nails. Then, choose a light-colored nail polish as your base. Mint green, light pink, and lavender are all great options for a quick and easy floral design. Next, take a different color and use the brush or toothpick to create small dots on your nails. These will serve as the center of your flowers. Then, use the same brush or toothpick to create small petals around the center, forming a flower shape. Repeat this with different colors to create a variety of flowers on each nail. Finish with a layer of top coat to seal in your design and add shine. This quick and easy floral nail art design is perfect for when you're short on time but still want a cute and stylish look.3. Quick and Easy Floral Nail Art Tutorial


3. Quick and Easy Floral Nail Art Tutorial


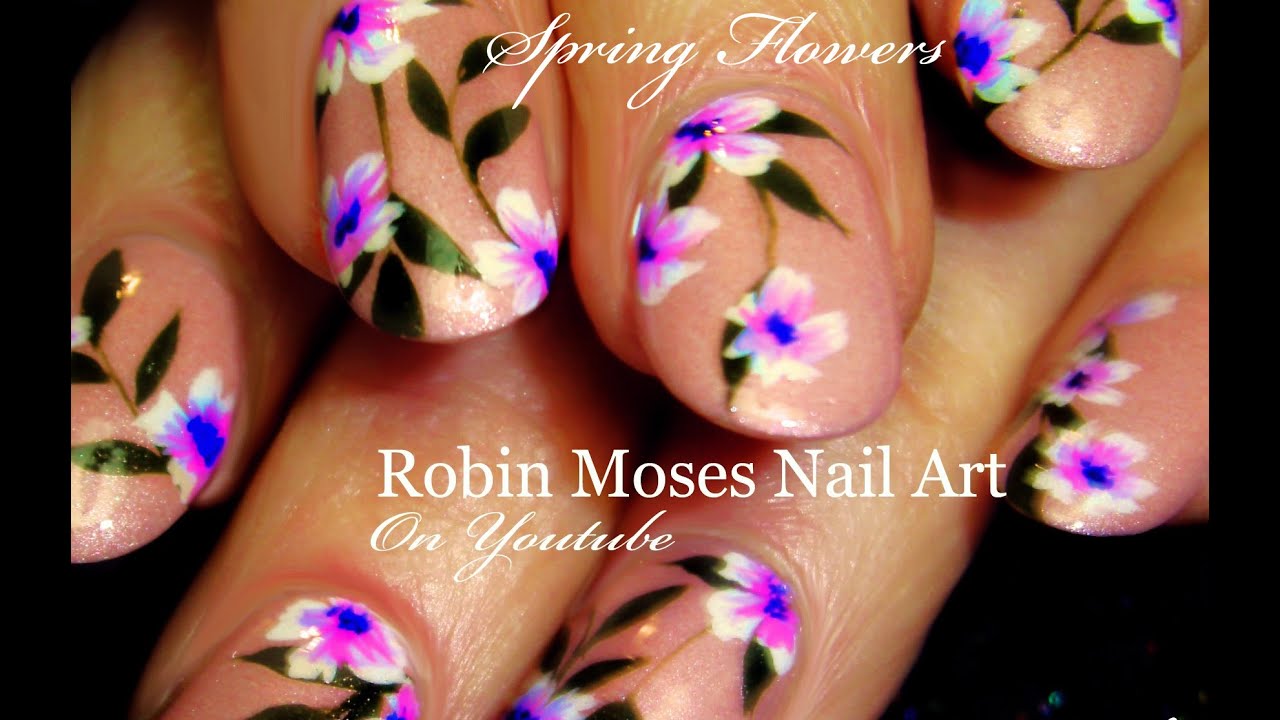
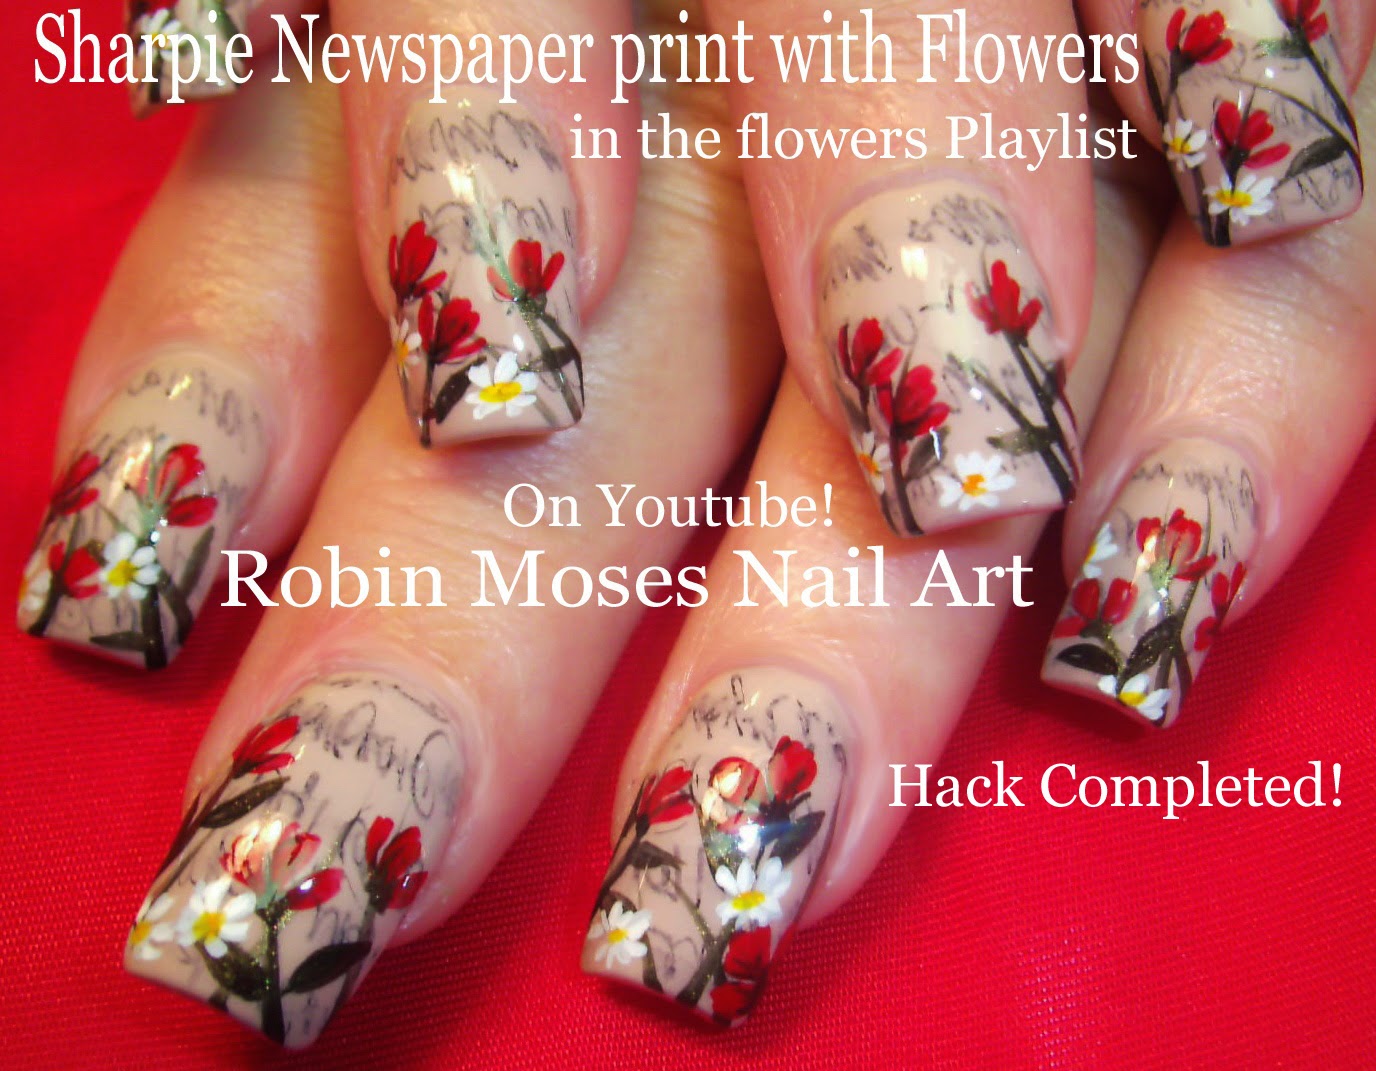
If you're a visual learner and need a step-by-step guide to follow, this tutorial is for you. With detailed instructions and pictures, you can easily recreate this beautiful floral nail art design. Start by applying a base coat to protect your nails. Then, choose a light-colored nail polish as your base. Lilac, light blue, and soft pink are all great options for a floral design. Next, take a different color and use the brush or toothpick to create small dots on your nails. These will serve as the center of your flowers. Then, use the same brush or toothpick to create small petals around the center, forming a flower shape. Repeat this with different colors to create a variety of flowers on each nail. Continue adding different colors and shapes until you are satisfied with your design. Finish with a layer of top coat to seal in your design and add shine. This step-by-step floral nail art tutorial is perfect for beginners who want a little extra guidance.4. Step-by-Step Floral Nail Art Tutorial


4. Step-by-Step Floral Nail Art Tutorial

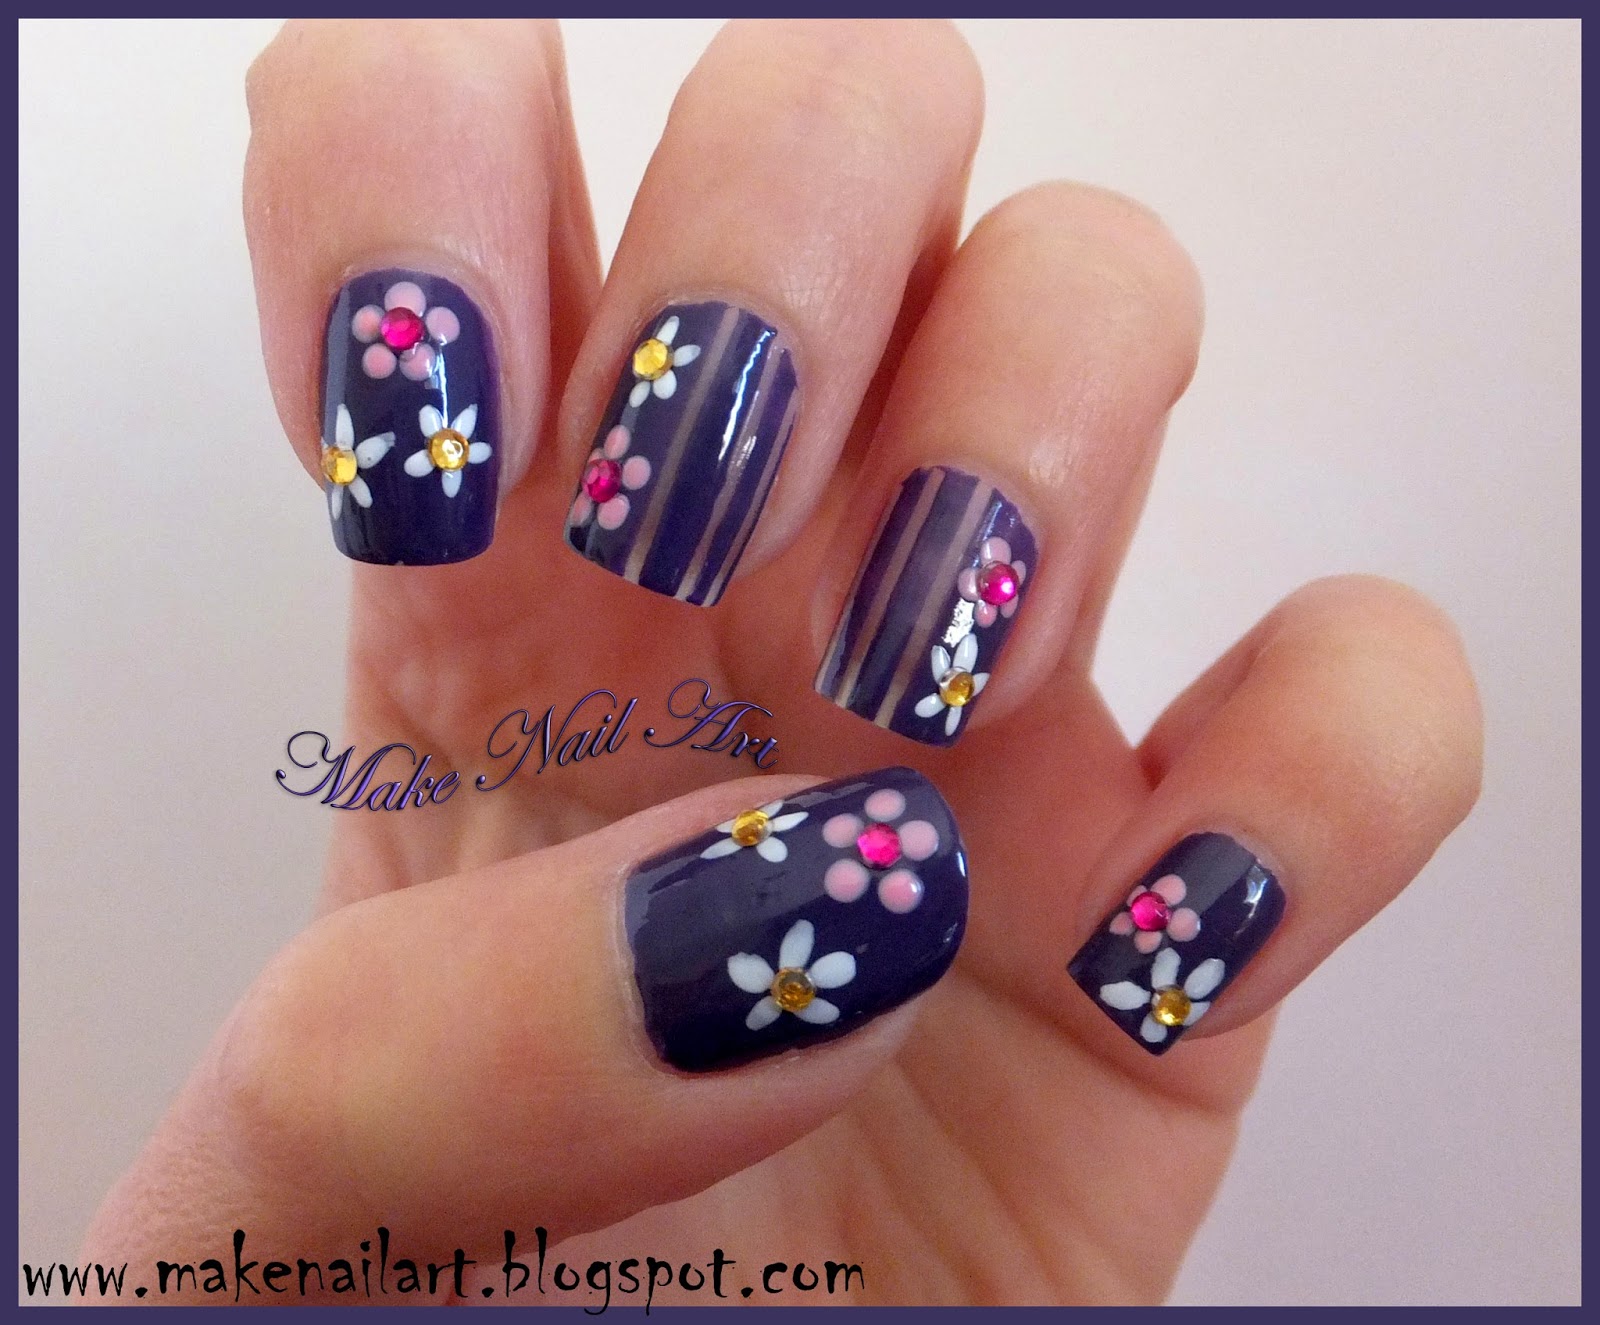
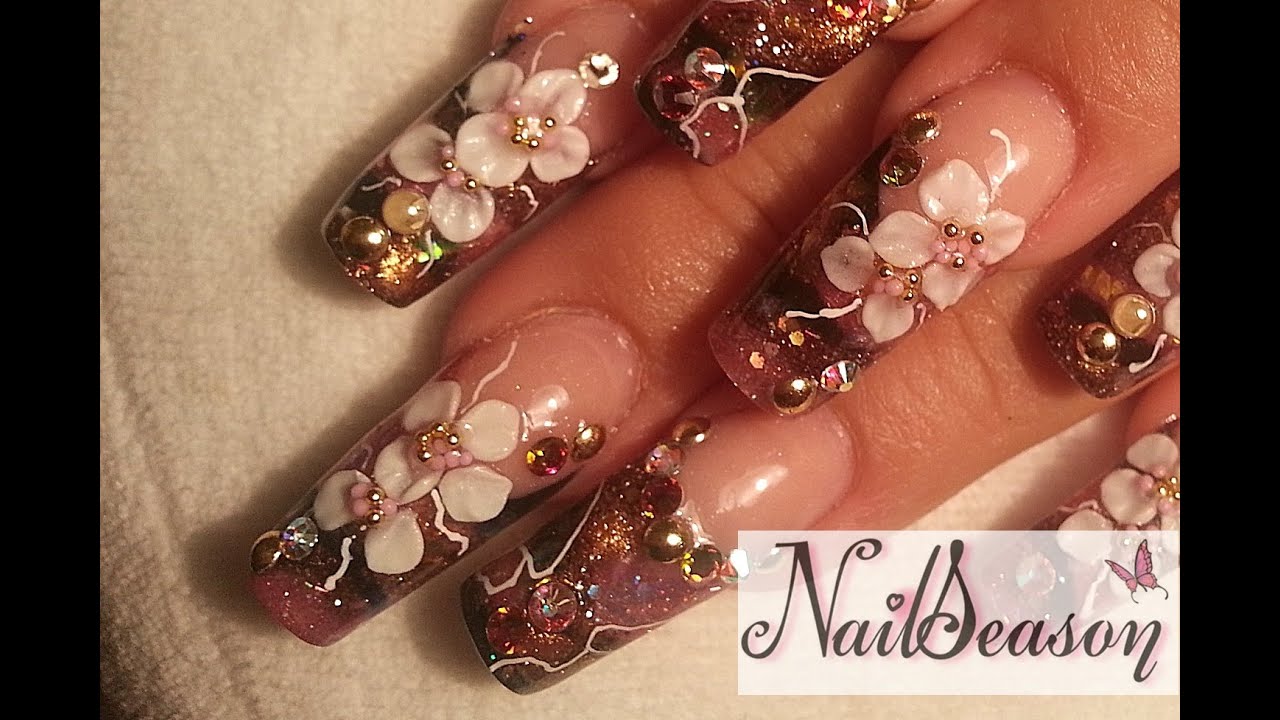
This cute and easy floral nail art tutorial is perfect for anyone who loves a playful and fun design. With just a few steps, you can create a cute and colorful floral pattern on your nails. Start by applying a base coat to protect your nails. Then, choose a light-colored nail polish as your base. Light purple, light green, and peach are all great options for a cute and easy floral design. Next, take a different color and use the brush or toothpick to create small dots on your nails. These will serve as the center of your flowers. Then, use the same brush or toothpick to create small petals around the center, forming a flower shape. Repeat this with different colors to create a variety of flowers on each nail. For an extra cute touch, add a small rhinestone or glitter to the center of each flower. Finish with a layer of top coat to seal in your design and add shine. This cute and easy floral nail art tutorial is perfect for when you want a fun and playful look.5. Cute and Easy Floral Nail Art Tutorial


5. Cute and Easy Floral Nail Art Tutorial

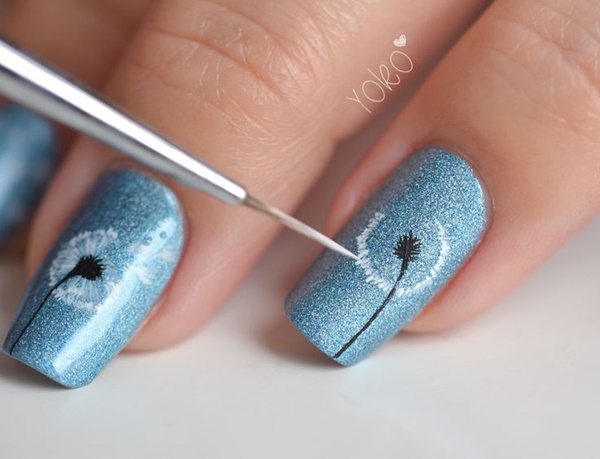
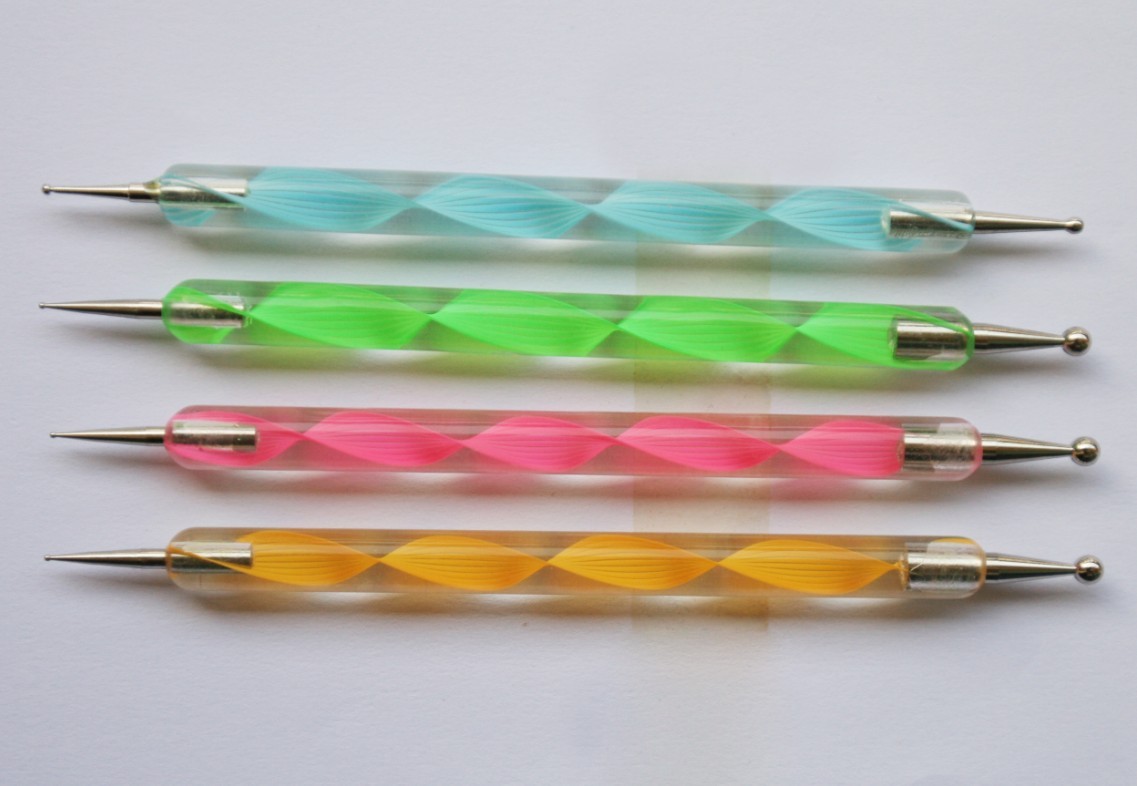
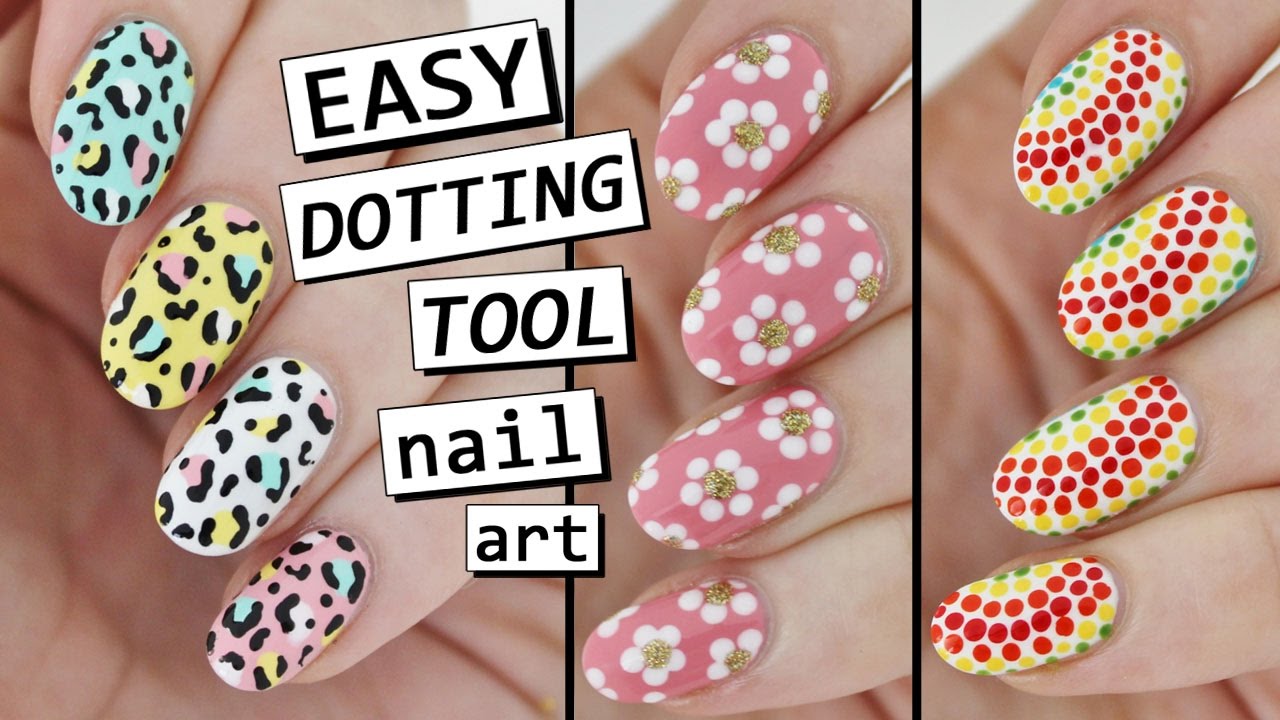
If you have a dotting tool in your nail art kit, this floral nail art tutorial is perfect for you. With just a few simple steps, you can create a beautiful floral design using your dotting tool. Start by applying a base coat to protect your nails. Then, choose a light-colored nail polish as your base. Pastel yellow, soft pink, and light blue are all great options for a floral design. Next, take a different color and use your dotting tool to create small dots on your nails. These will serve as the center of your flowers. Then, use the same tool to create small petals around the center, forming a flower shape. Repeat this with different colors to create a variety of flowers on each nail. For a finishing touch, use a smaller dotting tool to add small details and accents to your design. Finish with a layer of top coat to seal in your design and add shine. This floral nail art tutorial with a dotting tool is perfect for adding intricate details to your designs.6. Floral Nail Art Tutorial with Dotting Tool

6. Floral Nail Art Tutorial with Dotting Tool

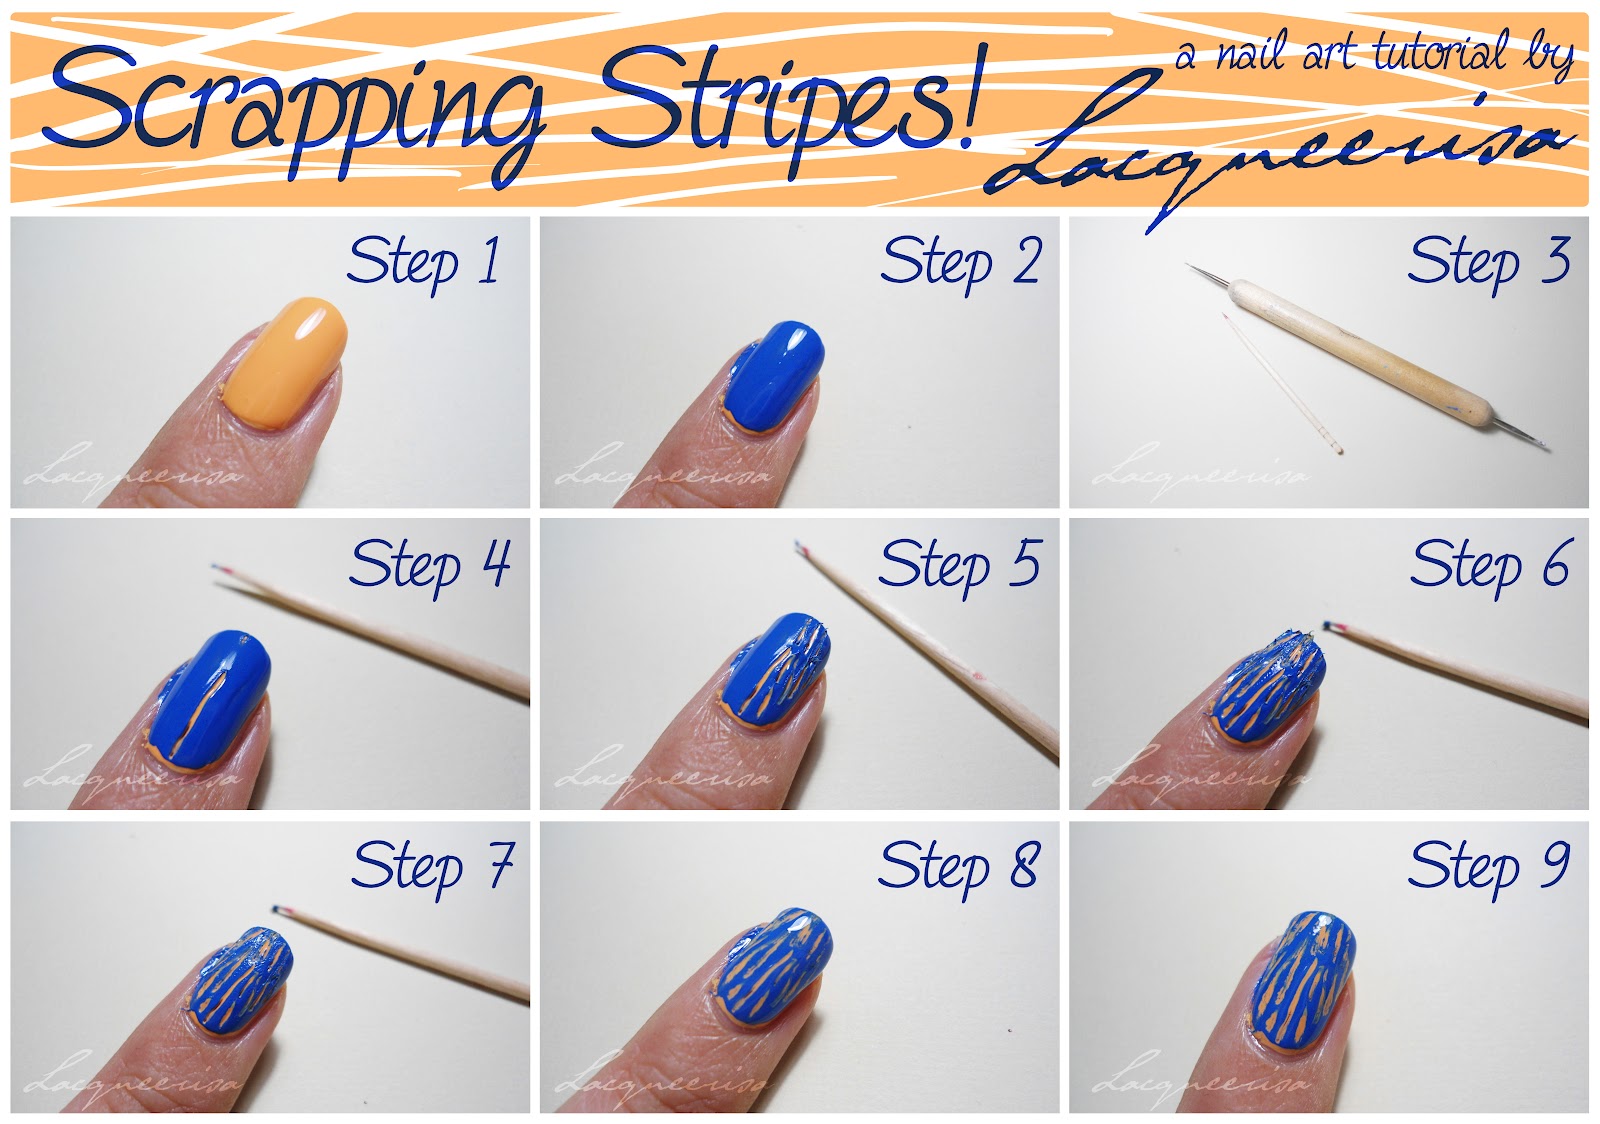


If you don't have a dotting tool, don't worry! You can still create a beautiful floral nail art design using a toothpick. This tutorial will show you how. Start by applying a base coat to protect your nails. Then, choose a light-colored nail polish as your base. Pastel purple, light green, and soft pink are all great options for a floral design. Next, take a different color and use the toothpick to create small dots on your nails. These will serve as the center of your flowers. Then, use the same toothpick to create small petals around the center, forming a flower shape. Repeat this with different colors to create a variety of flowers on each nail. For a finishing touch, use the toothpick to add small details and accents to your design. Finish with a layer of top coat to seal in your design and add shine. This floral nail art tutorial with a toothpick is perfect for those who don't have all the fancy tools.7. Floral Nail Art Tutorial with Toothpick

7. Floral Nail Art Tutorial with Toothpick


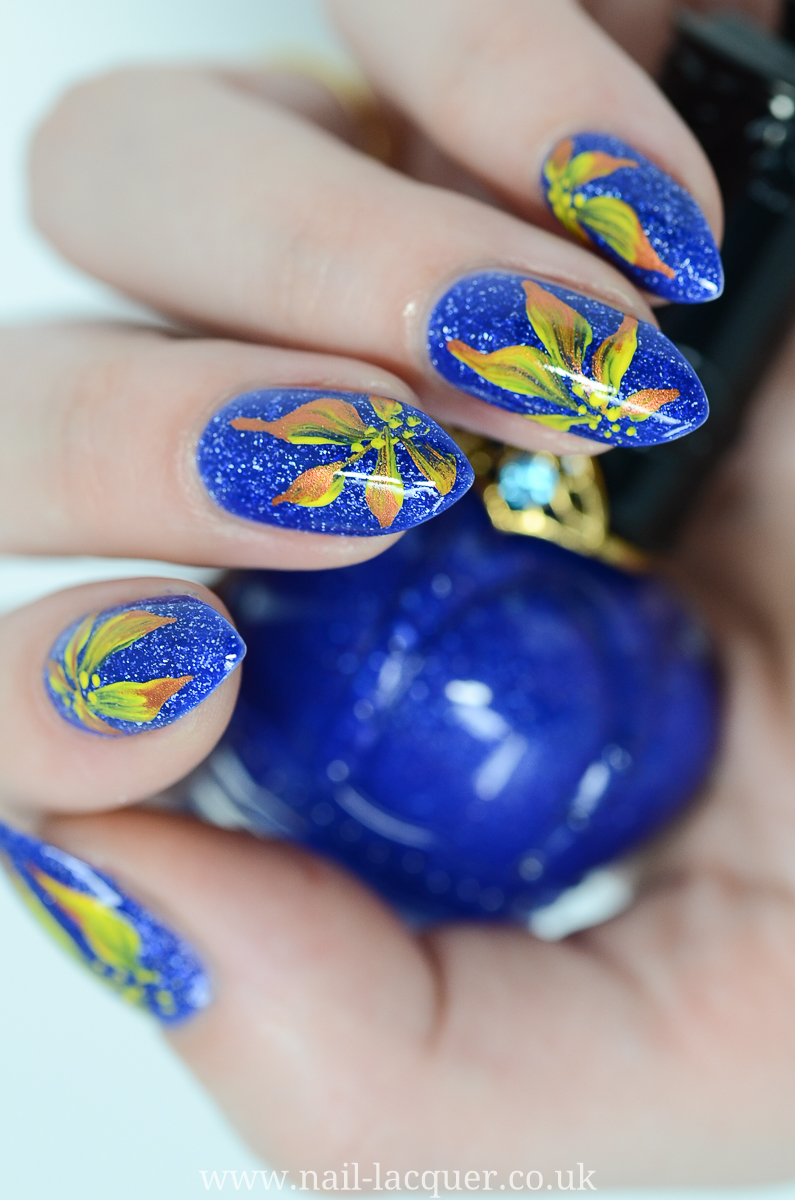
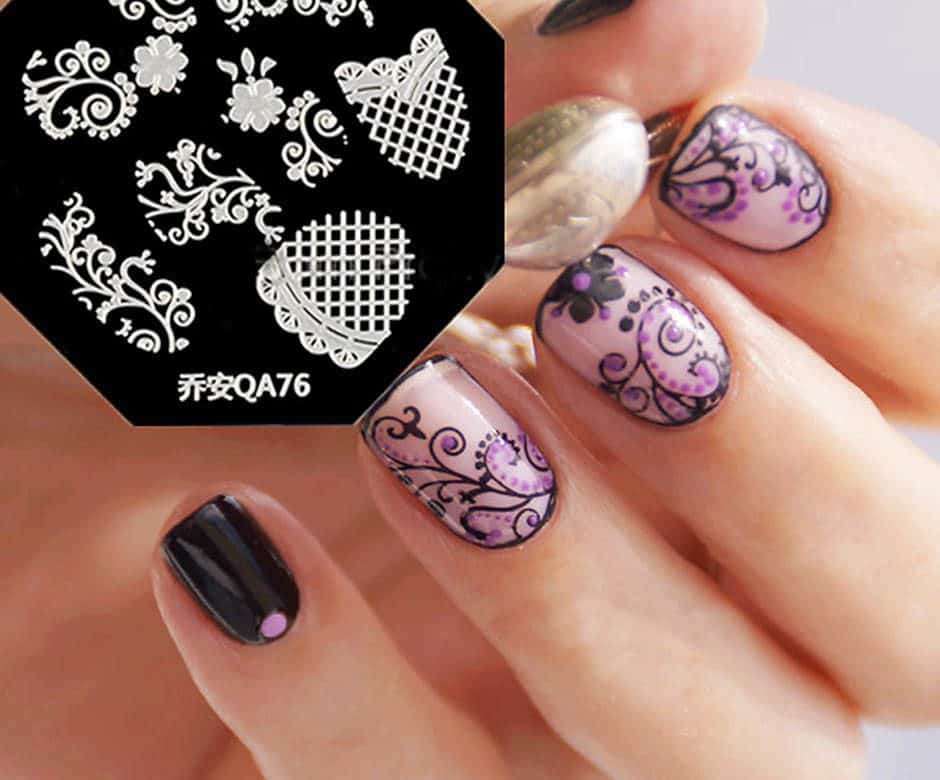
If you're a fan of stamping, this floral nail art tutorial is for you. With just a few steps, you can create a beautiful floral design using your stamping kit. Start by applying a base coat to protect your nails. Then, choose a light-colored nail polish as your base. Pastel blue, soft pink, and light purple are all great options for a floral design. Next, use your stamping kit to transfer a floral pattern onto your nails. You can use a single flower or create a bouquet of flowers on each nail. You can also use different colors for a more colorful design. Finish with a layer of top coat to seal in your design and add shine. This floral nail art tutorial with stamping is perfect for those who want a clean and precise look.8. Floral Nail Art Tutorial with Stamping


8. Floral Nail Art Tutorial with Stamping

If you're not confident in your nail art skills, water decals are a great option. This floral nail art tutorial will show you how to use water decals to create a beautiful floral design on your nails. Start by applying a base coat to protect your nails. Then, choose a light-colored nail polish as your base. Pastel pink, light green, and lavender are all great options for a floral design. Next, cut out the water decals you want to use and soak them in water according to the instructions. Once the decal has separated from the backing, carefully place it onto your nail and press down gently. Use a clean-up brush or toothpick to remove any excess water or air bubbles. Finish with a layer of top coat to seal in your design and add shine. This floral nail art tutorial with water decals is perfect for those who want a beautiful design without the hassle.9. Floral Nail Art Tutorial with Water Decals


9. Floral Nail Art Tutorial with Water Decals

For a quick and easy floral nail art design, try using nail stickers. This tutorial will show you how to use nail stickers to create a beautiful floral design on your nails. Start by applying a base coat to protect your nails. Then, choose a light-colored nail polish as your base. Pale yellow, light purple, and mint green are all great options for a floral design. Next, choose the floral nail stickers you want to use and carefully place them onto your nails. You can use a single sticker or create a bouquet of flowers on each nail. Use a clean-up brush or toothpick to remove any excess sticker or air bubbles. Finish with a layer of top coat to seal in your design and add shine. This floral nail art tutorial with nail stickers is perfect for those who want a quick and easy way to achieve a beautiful floral design.10. Floral Nail Art Tutorial with Nail Stickers

10. Floral Nail Art Tutorial with Nail Stickers


Add a Touch of Elegance: Easy Floral Nail Art Tutorial

Bringing Nature to Your Fingertips
 Creating beautiful, intricate nail art doesn't have to be a difficult and time-consuming task. With this easy floral nail art tutorial, you can add a touch of elegance to your nails in just a few simple steps. Perfect for any occasion, this design incorporates natural elements that will bring a pop of color and beauty to your fingertips.
Gather Your Supplies
 To achieve this stunning floral nail art, you will need a few basic supplies. These include a base coat, top coat,
nail polish
in your desired colors, a thin brush or toothpick, and some
floral nail stickers
for added detail. Make sure to pick colors that complement each other and create a cohesive look.
To achieve this stunning floral nail art, you will need a few basic supplies. These include a base coat, top coat,
nail polish
in your desired colors, a thin brush or toothpick, and some
floral nail stickers
for added detail. Make sure to pick colors that complement each other and create a cohesive look.
Step-by-Step Guide
 1. Start by applying a base coat to your nails to protect them and ensure your nail polish lasts longer.
2. Once the base coat is dry, apply a light-colored polish as your base. This will serve as the background for your floral design.
3. Using a thin brush or toothpick, create small
flower shapes
with a different colored polish on each nail. You can also use the nail polish brush to create larger flower shapes if you prefer.
4. Once the flowers are dry, add
leaf details
using a darker green polish. You can also use a toothpick to create small dots for added texture.
5. To add some extra flair, use
floral nail stickers
on a few nails. These can be placed in the center of the flowers or on the sides for a more subtle look.
6. Once all the polish is dry, finish off with a top coat to seal in your design and add shine.
1. Start by applying a base coat to your nails to protect them and ensure your nail polish lasts longer.
2. Once the base coat is dry, apply a light-colored polish as your base. This will serve as the background for your floral design.
3. Using a thin brush or toothpick, create small
flower shapes
with a different colored polish on each nail. You can also use the nail polish brush to create larger flower shapes if you prefer.
4. Once the flowers are dry, add
leaf details
using a darker green polish. You can also use a toothpick to create small dots for added texture.
5. To add some extra flair, use
floral nail stickers
on a few nails. These can be placed in the center of the flowers or on the sides for a more subtle look.
6. Once all the polish is dry, finish off with a top coat to seal in your design and add shine.
Customize to Your Liking
 The great thing about this easy floral nail art tutorial is that it can be customized to your liking. You can switch up the colors, add different types of flowers, or even add glitter for some extra sparkle. Get creative and make this design your own to truly express your personal style.
With this simple tutorial, you can achieve a beautiful and elegant floral nail art look in no time. So gather your supplies and give it a try – your nails will thank you.
The great thing about this easy floral nail art tutorial is that it can be customized to your liking. You can switch up the colors, add different types of flowers, or even add glitter for some extra sparkle. Get creative and make this design your own to truly express your personal style.
With this simple tutorial, you can achieve a beautiful and elegant floral nail art look in no time. So gather your supplies and give it a try – your nails will thank you.


