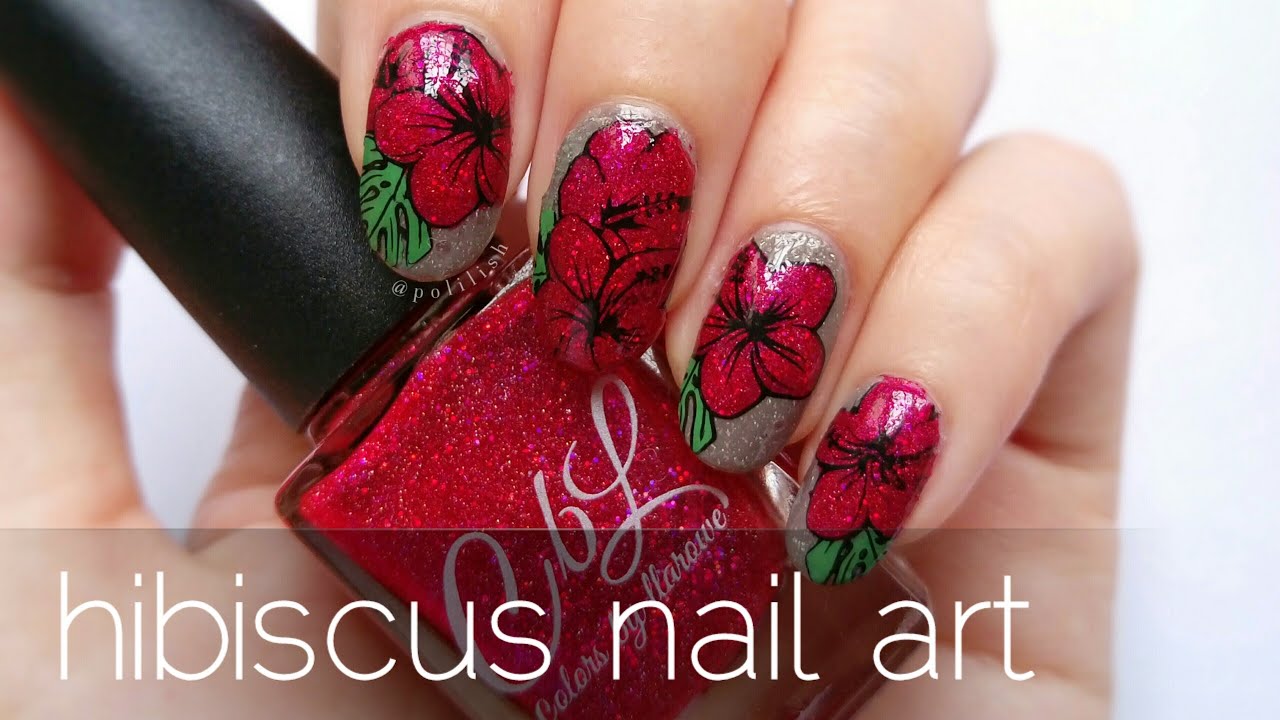
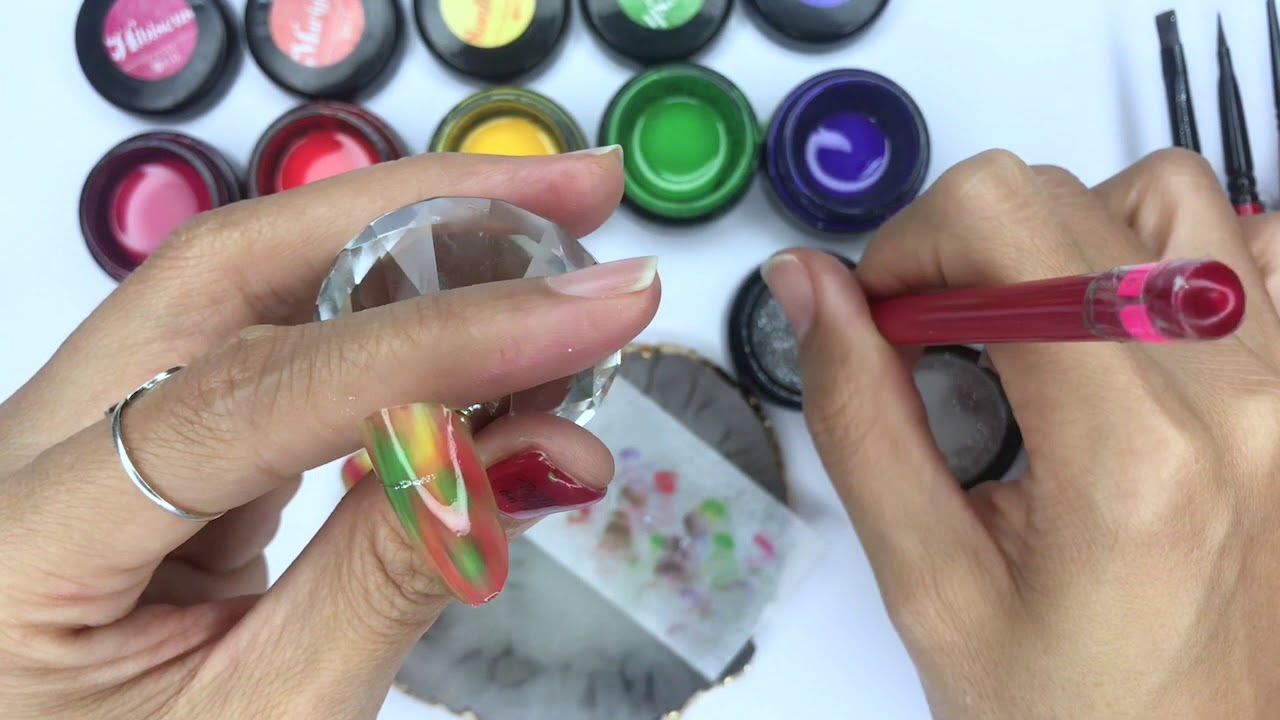
If you're looking to add some tropical flair to your nails, hibiscus nail art is the perfect choice. This beautiful flower is a symbol of beauty and youth, making it a popular design for those who want to add a touch of femininity to their nails. With just a few simple steps, you can create your own hibiscus nail art at home! To start, you'll need a few basic nail art tools such as a base coat, top coat, white and pink nail polish, a small brush, and green nail polish. You can also use stickers or nail stamps for a more effortless design. Once you have your tools ready, follow these steps to create your own easy hibiscus nail art.1. Easy Hibiscus Nail Art Tutorial


1. Easy Hibiscus Nail Art Tutorial


If you're new to nail art, don't worry! This simple hibiscus nail design is perfect for beginners. Start by applying a base coat to protect your nails and allow it to dry completely. Next, paint your nails with a light pink nail polish as the base color. Once the color is dry, use a small brush or a toothpick to create five small dots in a circle shape with white nail polish. This will be the base of your hibiscus flower. Next, take a dark pink nail polish and create smaller dots in the center of the white dots. This will create the center of the flower. Use a green nail polish to create small leaves on either side of the flower. Once everything is dry, finish off with a top coat for a shiny and long-lasting finish.2. Simple Hibiscus Nail Design


2. Simple Hibiscus Nail Design

If you're on a budget or prefer to do things yourself, this DIY hibiscus nail art is perfect for you. Start by painting your nails with a light pink or coral nail polish. Then, take a white nail polish and create small dots in a circle shape on your nails. Next, use a toothpick or a small brush to create small lines around the dots, resembling the petals of a hibiscus flower. Once the white dots are dry, take a yellow nail polish and create small dots in the center of the white ones. Use a green nail polish to create the leaves of the flower on either side. Finish off with a top coat for a glossy finish.3. DIY Hibiscus Nail Art for Beginners

3. DIY Hibiscus Nail Art for Beginners


Short on time? This quick and easy hibiscus nail design is perfect for you. Start by painting your nails with a light purple nail polish as the base color. Then, take a white nail polish and create small dots in a circle shape on your nails. Use a dark purple nail polish to create smaller dots in the center of the white ones. Next, use a small brush or a toothpick to create small lines around the white dots, resembling the petals of a hibiscus flower. Finally, add some green leaves using a green nail polish. Finish off with a top coat for a polished look.4. Quick and Easy Hibiscus Nail Design


4. Quick and Easy Hibiscus Nail Design


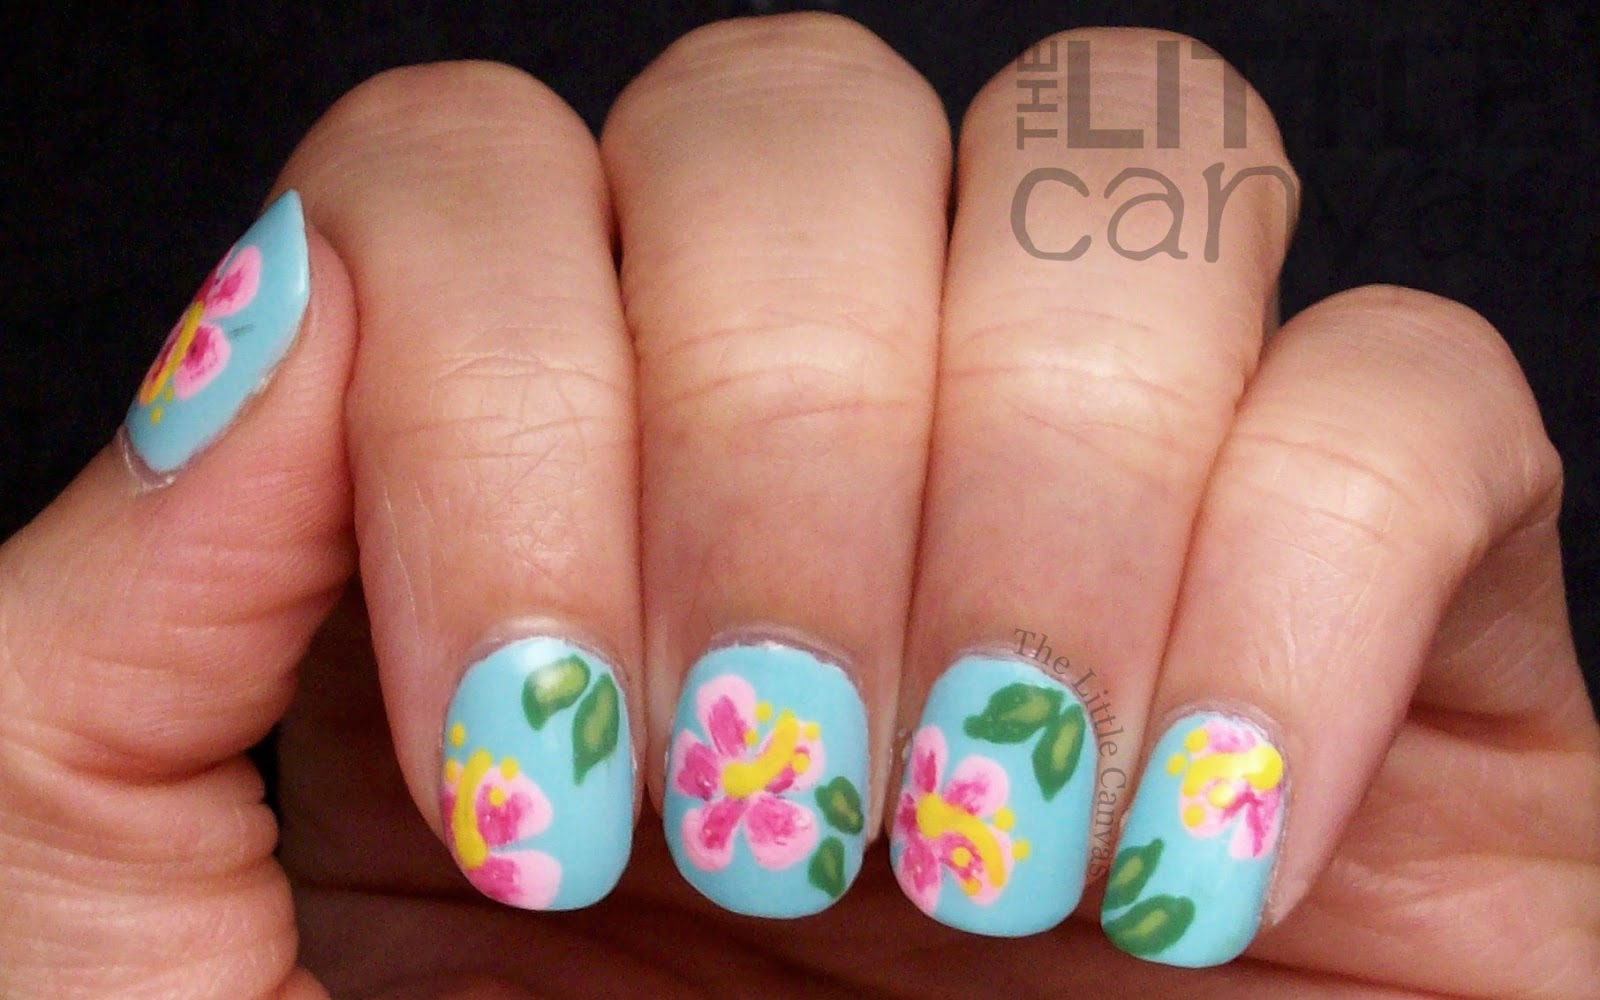
If you're a visual learner, this step-by-step guide is perfect for you. Start by painting your nails with a light blue nail polish as the base color. Then, take a white nail polish and create five small dots in a circle shape on your nails. Use a toothpick or a small brush to create small lines around the white dots for the petals of the flower. Next, take a yellow nail polish and create small dots in the center of the white ones. Use a dark blue nail polish to create smaller dots in the center of the yellow ones. Finally, use a green nail polish to create leaves on either side of the flower. Finish off with a top coat for a glossy finish.5. Hibiscus Flower Nail Art Step by Step

5. Hibiscus Flower Nail Art Step by Step


If you're a fan of pastel colors, this cute and easy hibiscus nail design is perfect for you. Start by painting your nails with a light pink nail polish as the base color. Then, take a white nail polish and create small dots in a circle shape on your nails. Use a toothpick or a small brush to create small lines around the white dots for the petals of the flower. Next, take a light purple nail polish and create small dots in the center of the white ones. Use a dark purple nail polish to create smaller dots in the center of the light purple ones. Finally, use a green nail polish to create leaves on either side of the flower. Finish off with a top coat for a shiny finish.6. Cute and Easy Hibiscus Nail Design


6. Cute and Easy Hibiscus Nail Design


If you're not confident in your nail art skills, using stickers is a great alternative. You can find hibiscus nail art stickers at most drugstores or online. Start by applying a base coat and allowing it to dry completely. Then, apply a light pink nail polish as the base color. Next, take a hibiscus nail art sticker and carefully place it on your nail. Press down gently to ensure it adheres to your nail. Use a toothpick or a small brush to create small dots in the center of the flower using white nail polish. Finish off with a top coat for a glossy finish.7. Hibiscus Nail Art Using Stickers

7. Hibiscus Nail Art Using Stickers

If you prefer a more subtle look, this minimalist hibiscus nail design is perfect for you. Start by painting your nails with a light nude nail polish as the base color. Then, use a small brush or a toothpick to create five small dots in a circle shape using white nail polish. This will be the base of your hibiscus flower. Next, take a light pink nail polish and create smaller dots in the center of the white ones. Use a dark pink nail polish to create smaller dots in the center of the light pink ones. Finish off with a top coat for a clean and minimalist look.8. Minimalist Hibiscus Nail Design
8. Minimalist Hibiscus Nail Design
If you have a dotting tool, this hibiscus nail art is perfect for you. Start by applying a base coat and allowing it to dry completely. Then, paint your nails with a light yellow nail polish as the base color. Next, use a dotting tool to create five small dots in a circle shape using white nail polish. Use a yellow nail polish to create smaller dots in the center of the white ones. Take a dark green nail polish and create leaves on either side of the flower. Finish off with a top coat for a shiny and professional-looking finish.9. Hibiscus Nail Art with Dotting Tool
9. Hibiscus Nail Art with Dotting Tool
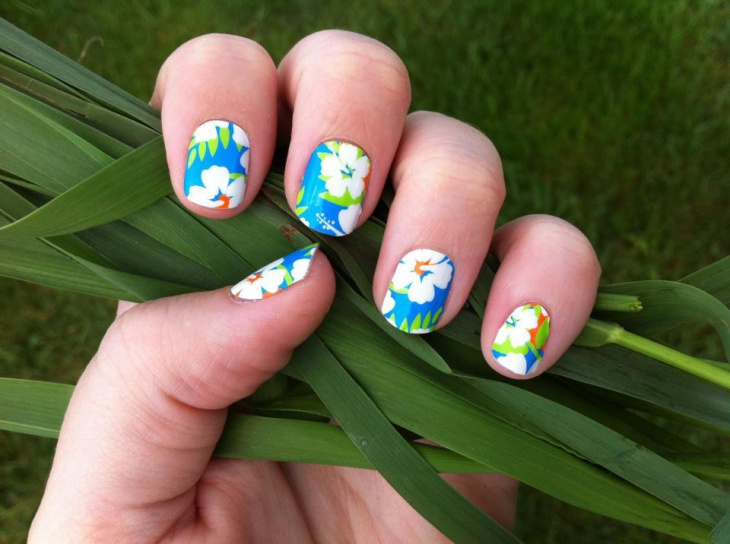
Lastly, for those hot summer days, this tropical hibiscus nail design is perfect. Start by painting your nails with a light blue nail polish as the base color. Then, take a light pink nail polish and create small dots in a circle shape on your nails. Next, use a dark pink nail polish to create smaller dots in the center of the light pink ones. Use a light green nail polish to create leaves on either side of the flower. Finish off with a top coat for a tropical and summery look.10. Tropical Hibiscus Nail Design for Summer

10. Tropical Hibiscus Nail Design for Summer


The Beauty of Hibiscus Nail Art

Unleash Your Creativity

Nail art has become a popular form of self-expression and creativity in recent years. From intricate designs to simple yet eye-catching styles, nail art allows us to showcase our personality and add a touch of fun to our everyday look. One of the most beloved and versatile designs is the hibiscus nail art. This tropical flower brings a pop of color and a touch of elegance to any nail design, making it a must-try for all nail enthusiasts.
Easy to Achieve

Contrary to popular belief, achieving a beautiful hibiscus nail art is not as difficult as it may seem. With the right tools and a little bit of practice, you can create stunning nail designs in the comfort of your own home. All you need is a base color, a fine brush, and some nail polish in different shades to create the perfect hibiscus flower. You can also add some glitter or rhinestones for a touch of glamour.
Perfect for Any Occasion

Whether you're attending a casual beach party or a formal event, hibiscus nail art is a versatile design that can suit any occasion. You can opt for a simple hibiscus flower on a solid color base for a more subtle look, or go all out with a colorful tropical theme. The possibilities are endless, and you can customize the design according to your personal style and the event you're attending.
Healthy for Your Nails
Aside from being aesthetically pleasing, hibiscus nail art is also beneficial for your nails. The use of different colors and techniques allows for healthier and stronger nails. Plus, the intricate brush strokes required for this design can improve your hand-eye coordination and fine motor skills. So not only will you have beautiful nails, but you'll also be improving your overall nail health.
Inspired to Try Hibiscus Nail Art?

With its beauty, versatility, and health benefits, it's no wonder why hibiscus nail art has become a popular trend in the nail industry. So why not unleash your creativity and give it a try? You can experiment with different color combinations, techniques, and styles to create your unique hibiscus nail art. With a little practice, you'll be able to achieve salon-worthy nails in no time. So go ahead and add some tropical vibes to your next manicure session!


