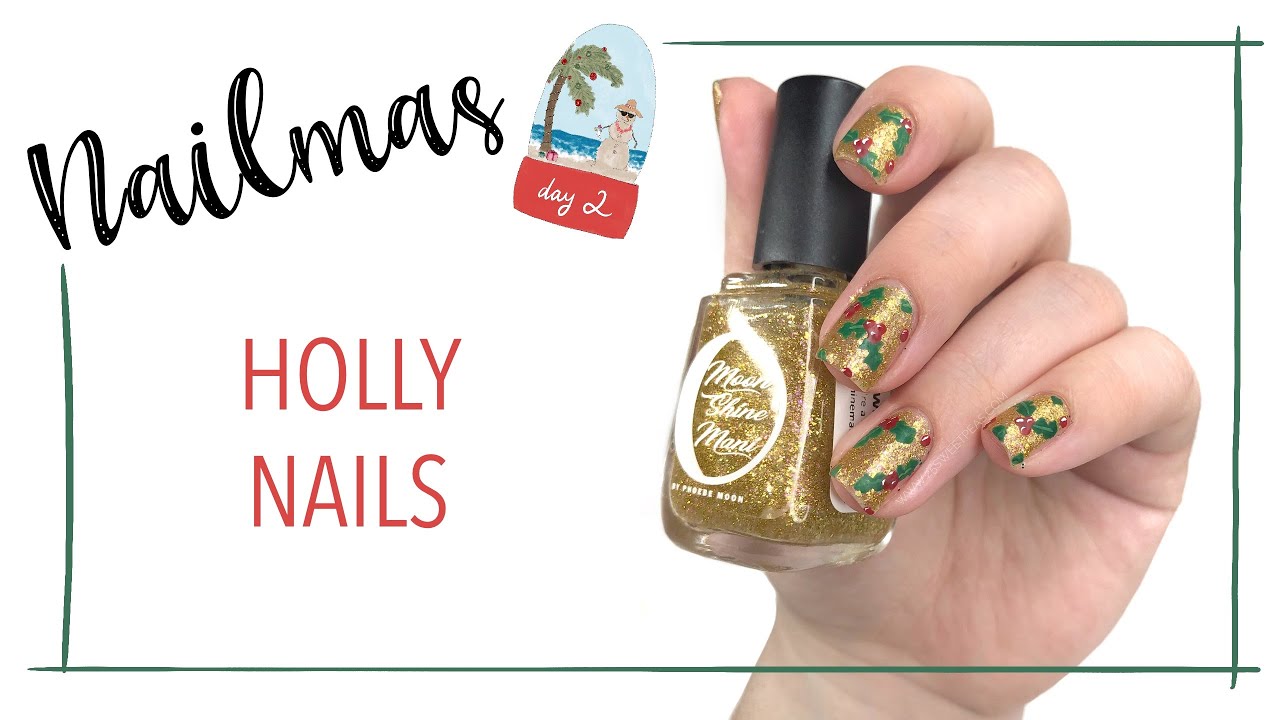
If you're looking to add some festive flair to your nails this holiday season, holly nail art is the perfect choice. Not only is it cute and easy to do, but it also adds a touch of Christmas spirit to your manicure. Follow this easy tutorial to create your own holly nail art at home.Easy Holly Nail Art Tutorial


Easy Holly Nail Art Tutorial


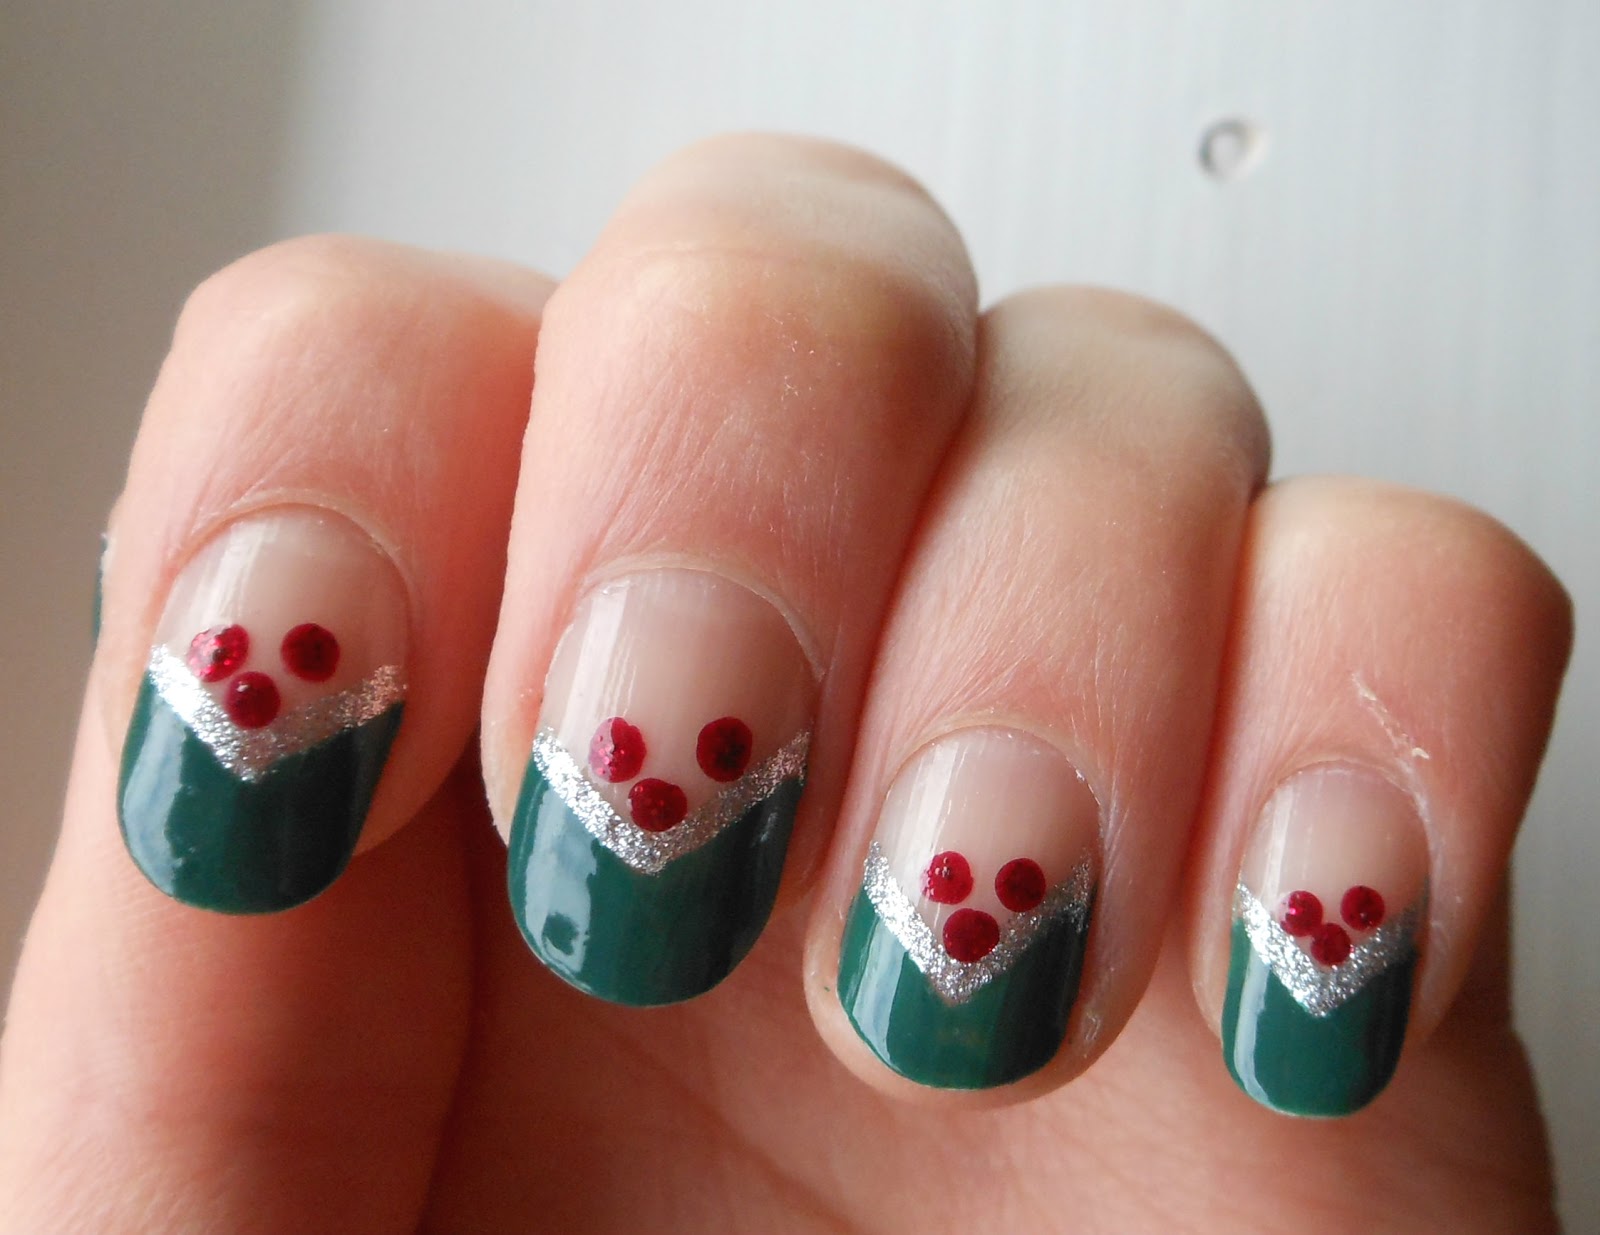
For those who are new to nail art, simple designs are the way to go. Start by painting your nails with a green base color. Once it's dry, use a red nail polish to create small dots on your nails, resembling holly berries. Then, using a white or silver nail polish, draw curved lines above the dots to create the holly leaves. You can also add some glitter for an extra festive touch.Simple Holly Nail Art Designs

Simple Holly Nail Art Designs


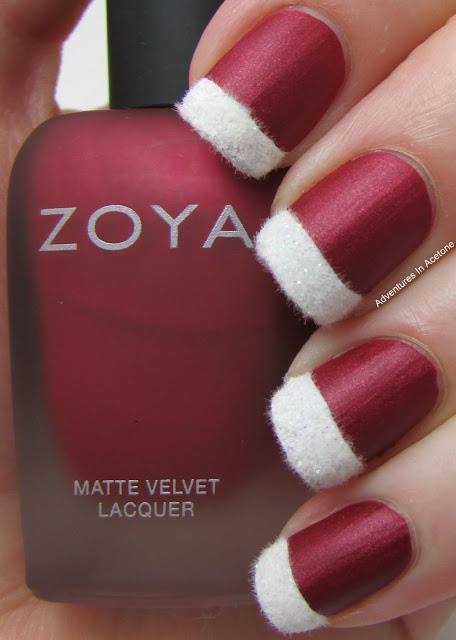
If you're short on time but still want to rock some holly nail art, this quick and easy design is perfect for you. Start by painting your nails with a red base color. Once it's dry, use a green nail polish to create small dots on the tips of your nails. Then, using a white or silver nail polish, draw curved lines above the dots to create the holly leaves. You can also add some rhinestones for some sparkle.Quick and Easy Holly Nail Art

Quick and Easy Holly Nail Art


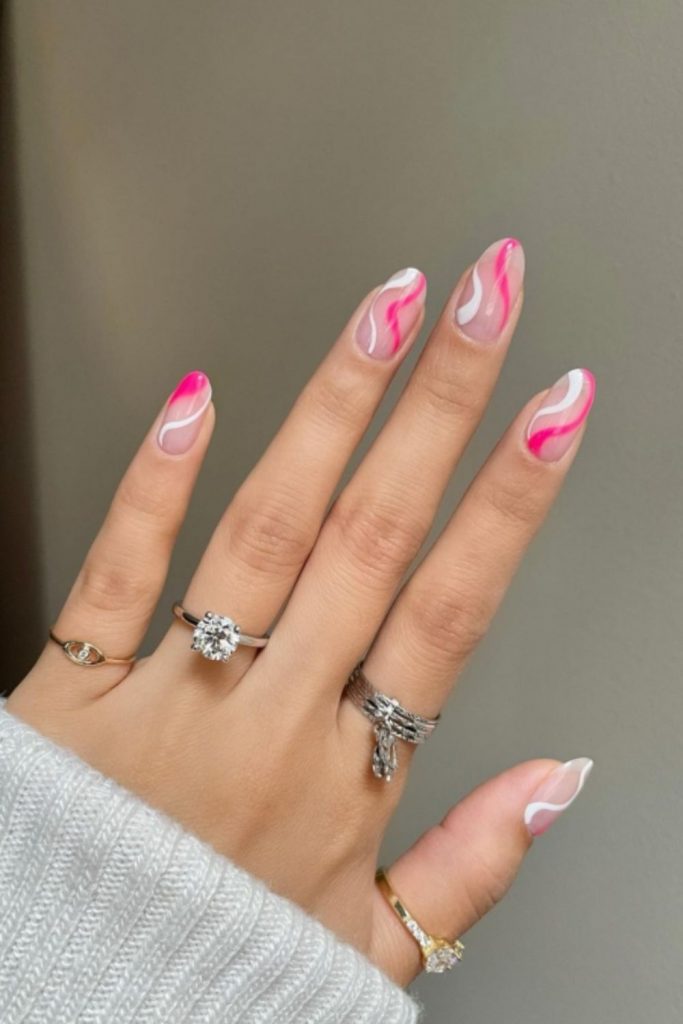
Holly nail art doesn't have to be limited to just red and green. Get creative and use other colors to create a cute and unique holly design. Start by painting your nails with a light blue base color. Once it's dry, use a pink nail polish to create small dots on your nails, resembling holly berries. Then, using a white or gold nail polish, draw curved lines above the dots to create the holly leaves. This colorful design is perfect for those who want to stand out.Cute and Easy Holly Nail Art


Cute and Easy Holly Nail Art

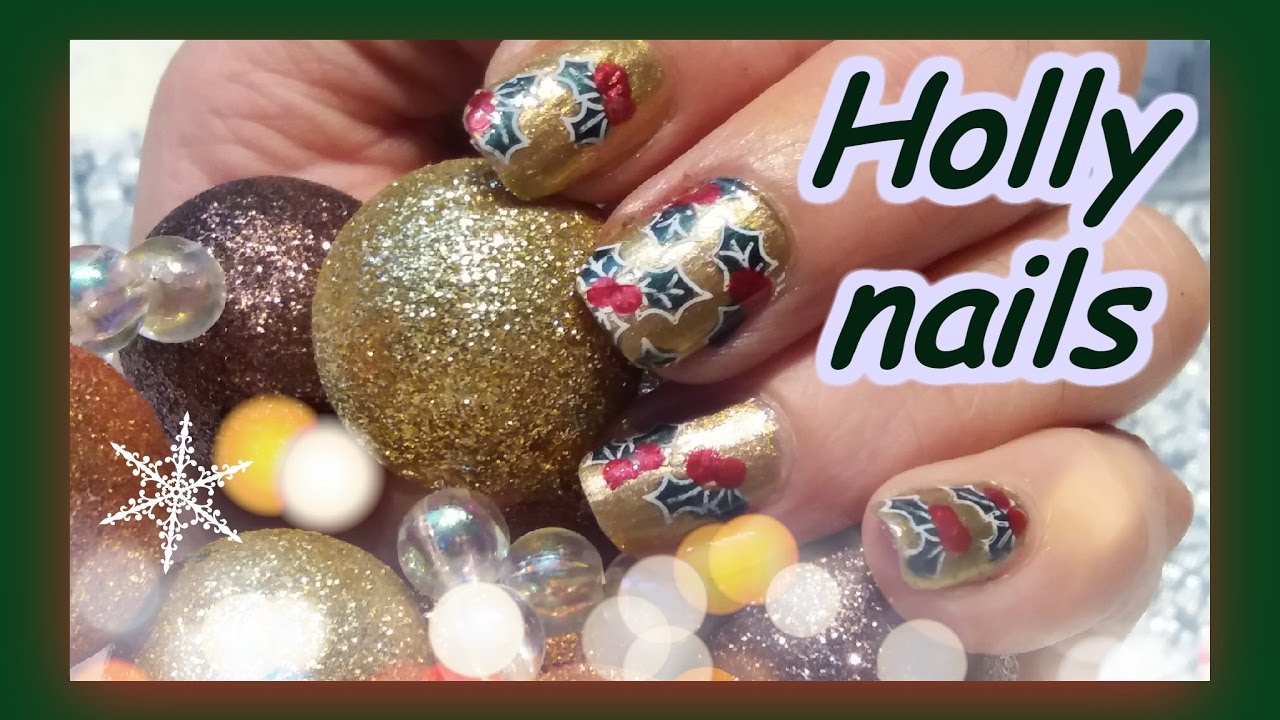
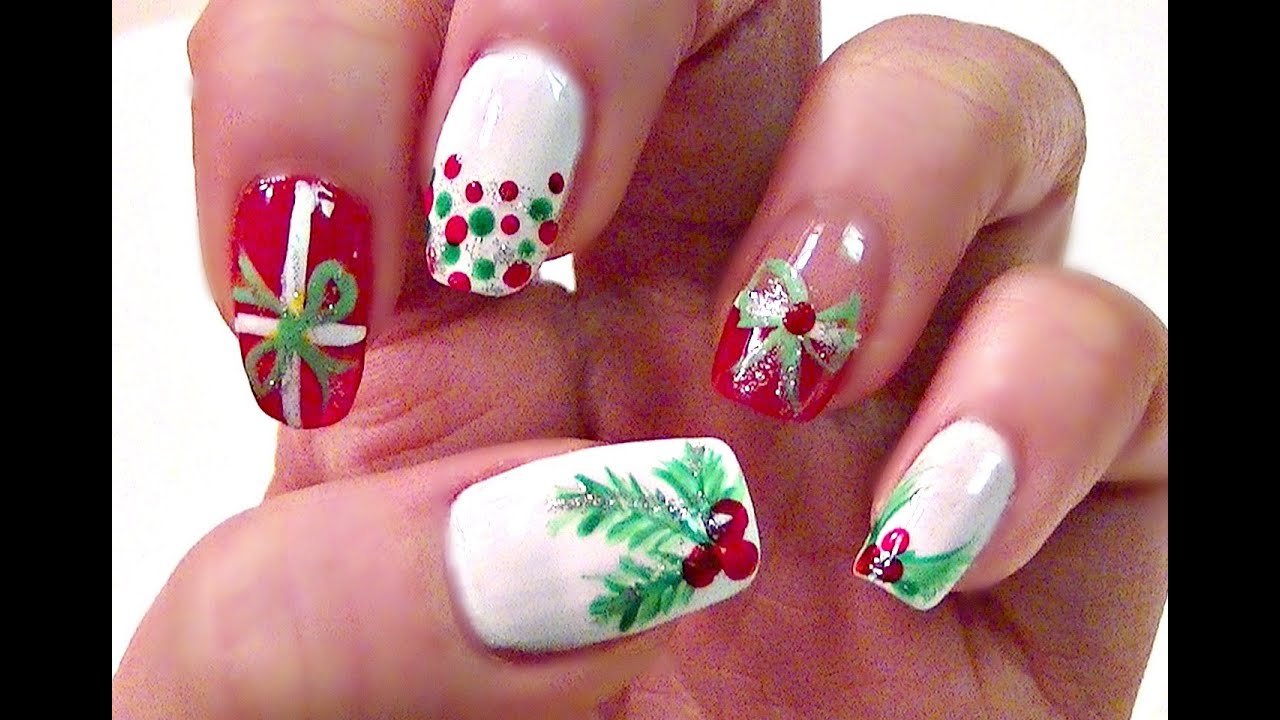
Take your holly nail art to the next level by adding other Christmas elements to your design. Start by painting your nails with a white base color. Once it's dry, use a green nail polish to create small dots on your nails, resembling holly berries. Then, using a red nail polish, draw small triangles above the dots to create Christmas tree shapes. Finish off the design with some gold accents for a truly festive look.Easy Christmas Holly Nail Art


Easy Christmas Holly Nail Art

For those who prefer a more detailed tutorial, here is a step-by-step guide for creating holly nail art. Start by painting your nails with a red base color. Once it's dry, use a white or silver nail polish to create small dots on your nails, resembling holly berries. Then, using a green nail polish, draw curved lines above the dots to create the holly leaves. For a finishing touch, add some glitter or rhinestones to the berries and leaves. Voila, you now have a beautiful holly nail art design!Step-by-Step Holly Nail Art Tutorial


Step-by-Step Holly Nail Art Tutorial


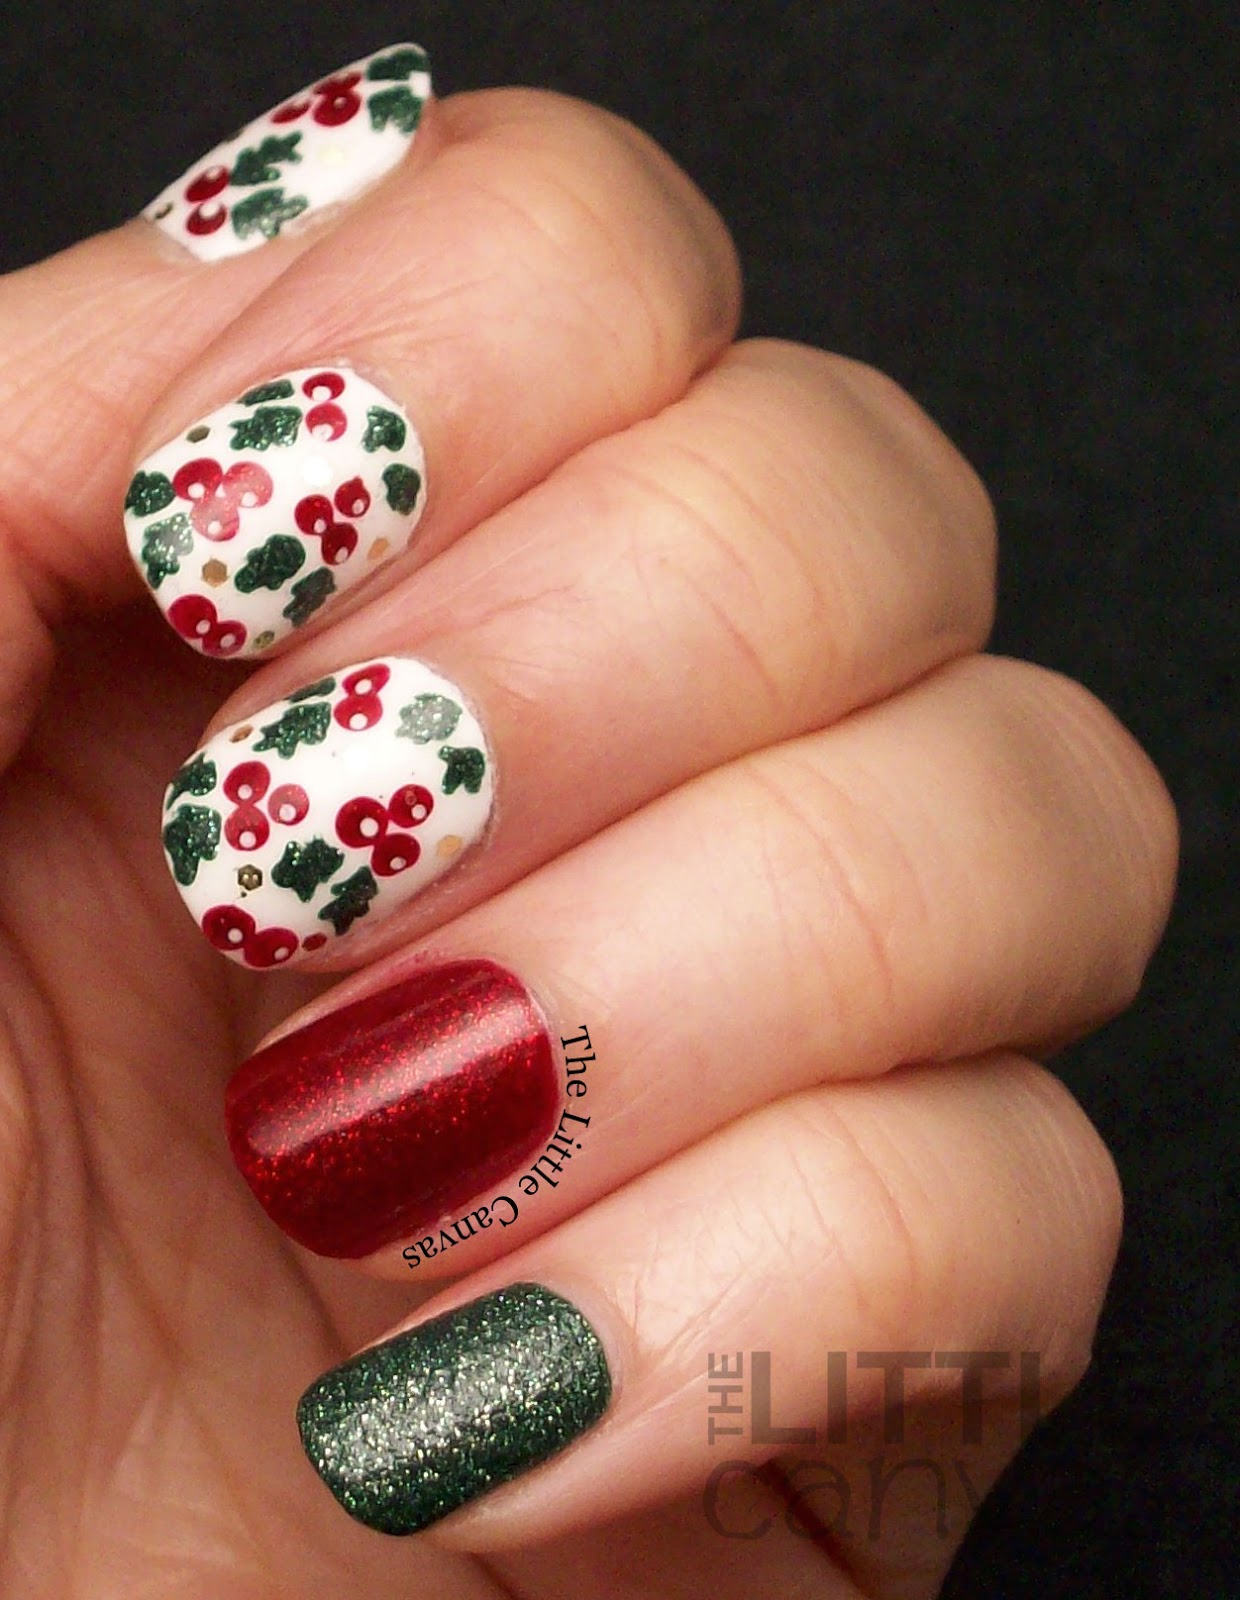
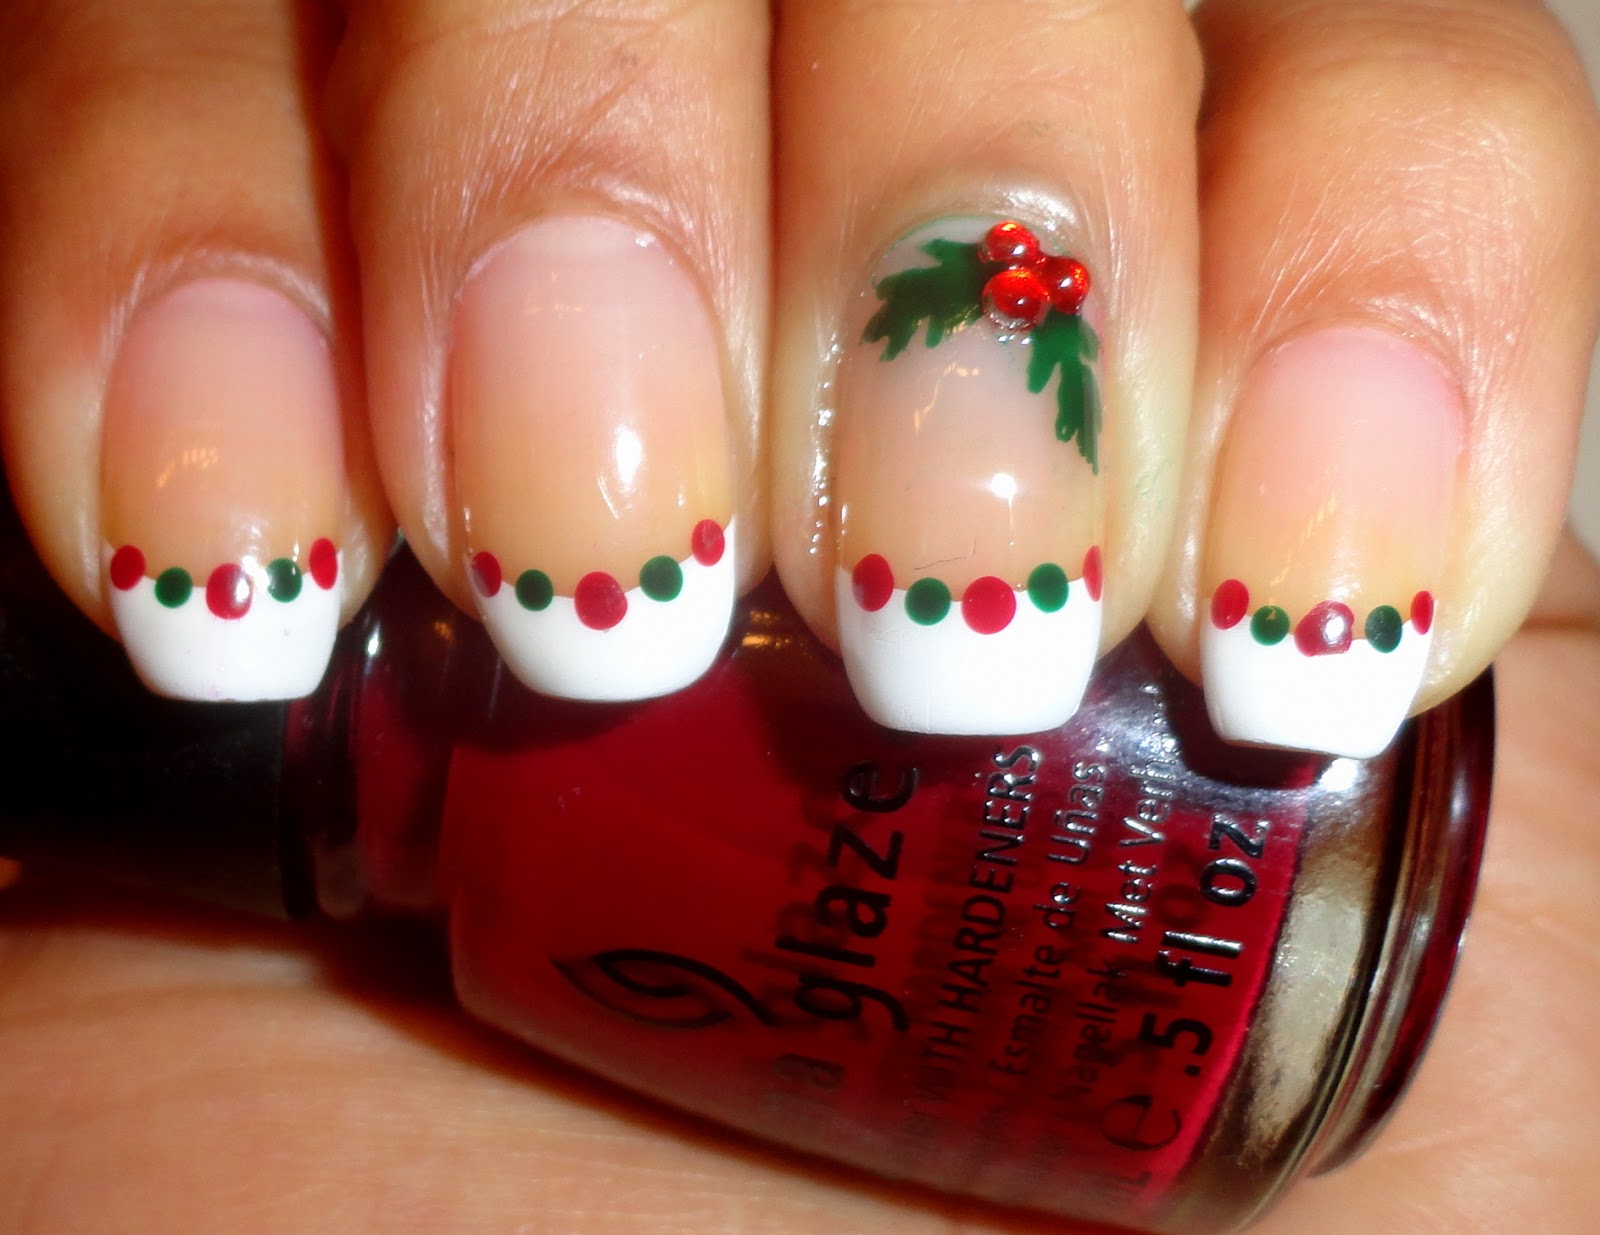
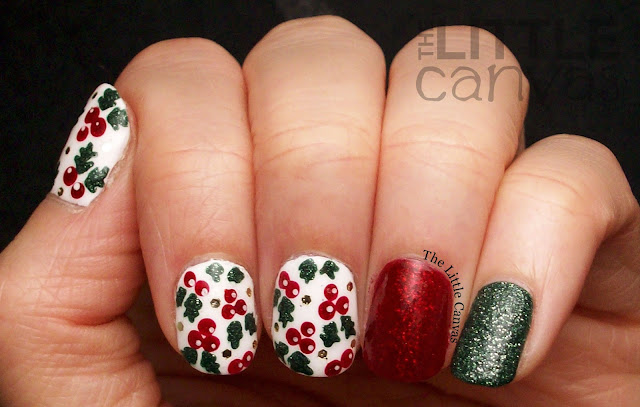
No need to spend money at the salon, you can easily create holly nail art at home with these simple DIY steps. Start by painting your nails with a white base color. Once it's dry, use a red nail polish to create small dots on your nails, resembling holly berries. Then, using a green nail polish, draw curved lines above the dots to create the holly leaves. You can also add some silver accents for a more elegant look.Easy DIY Holly Nail Art

Easy DIY Holly Nail Art
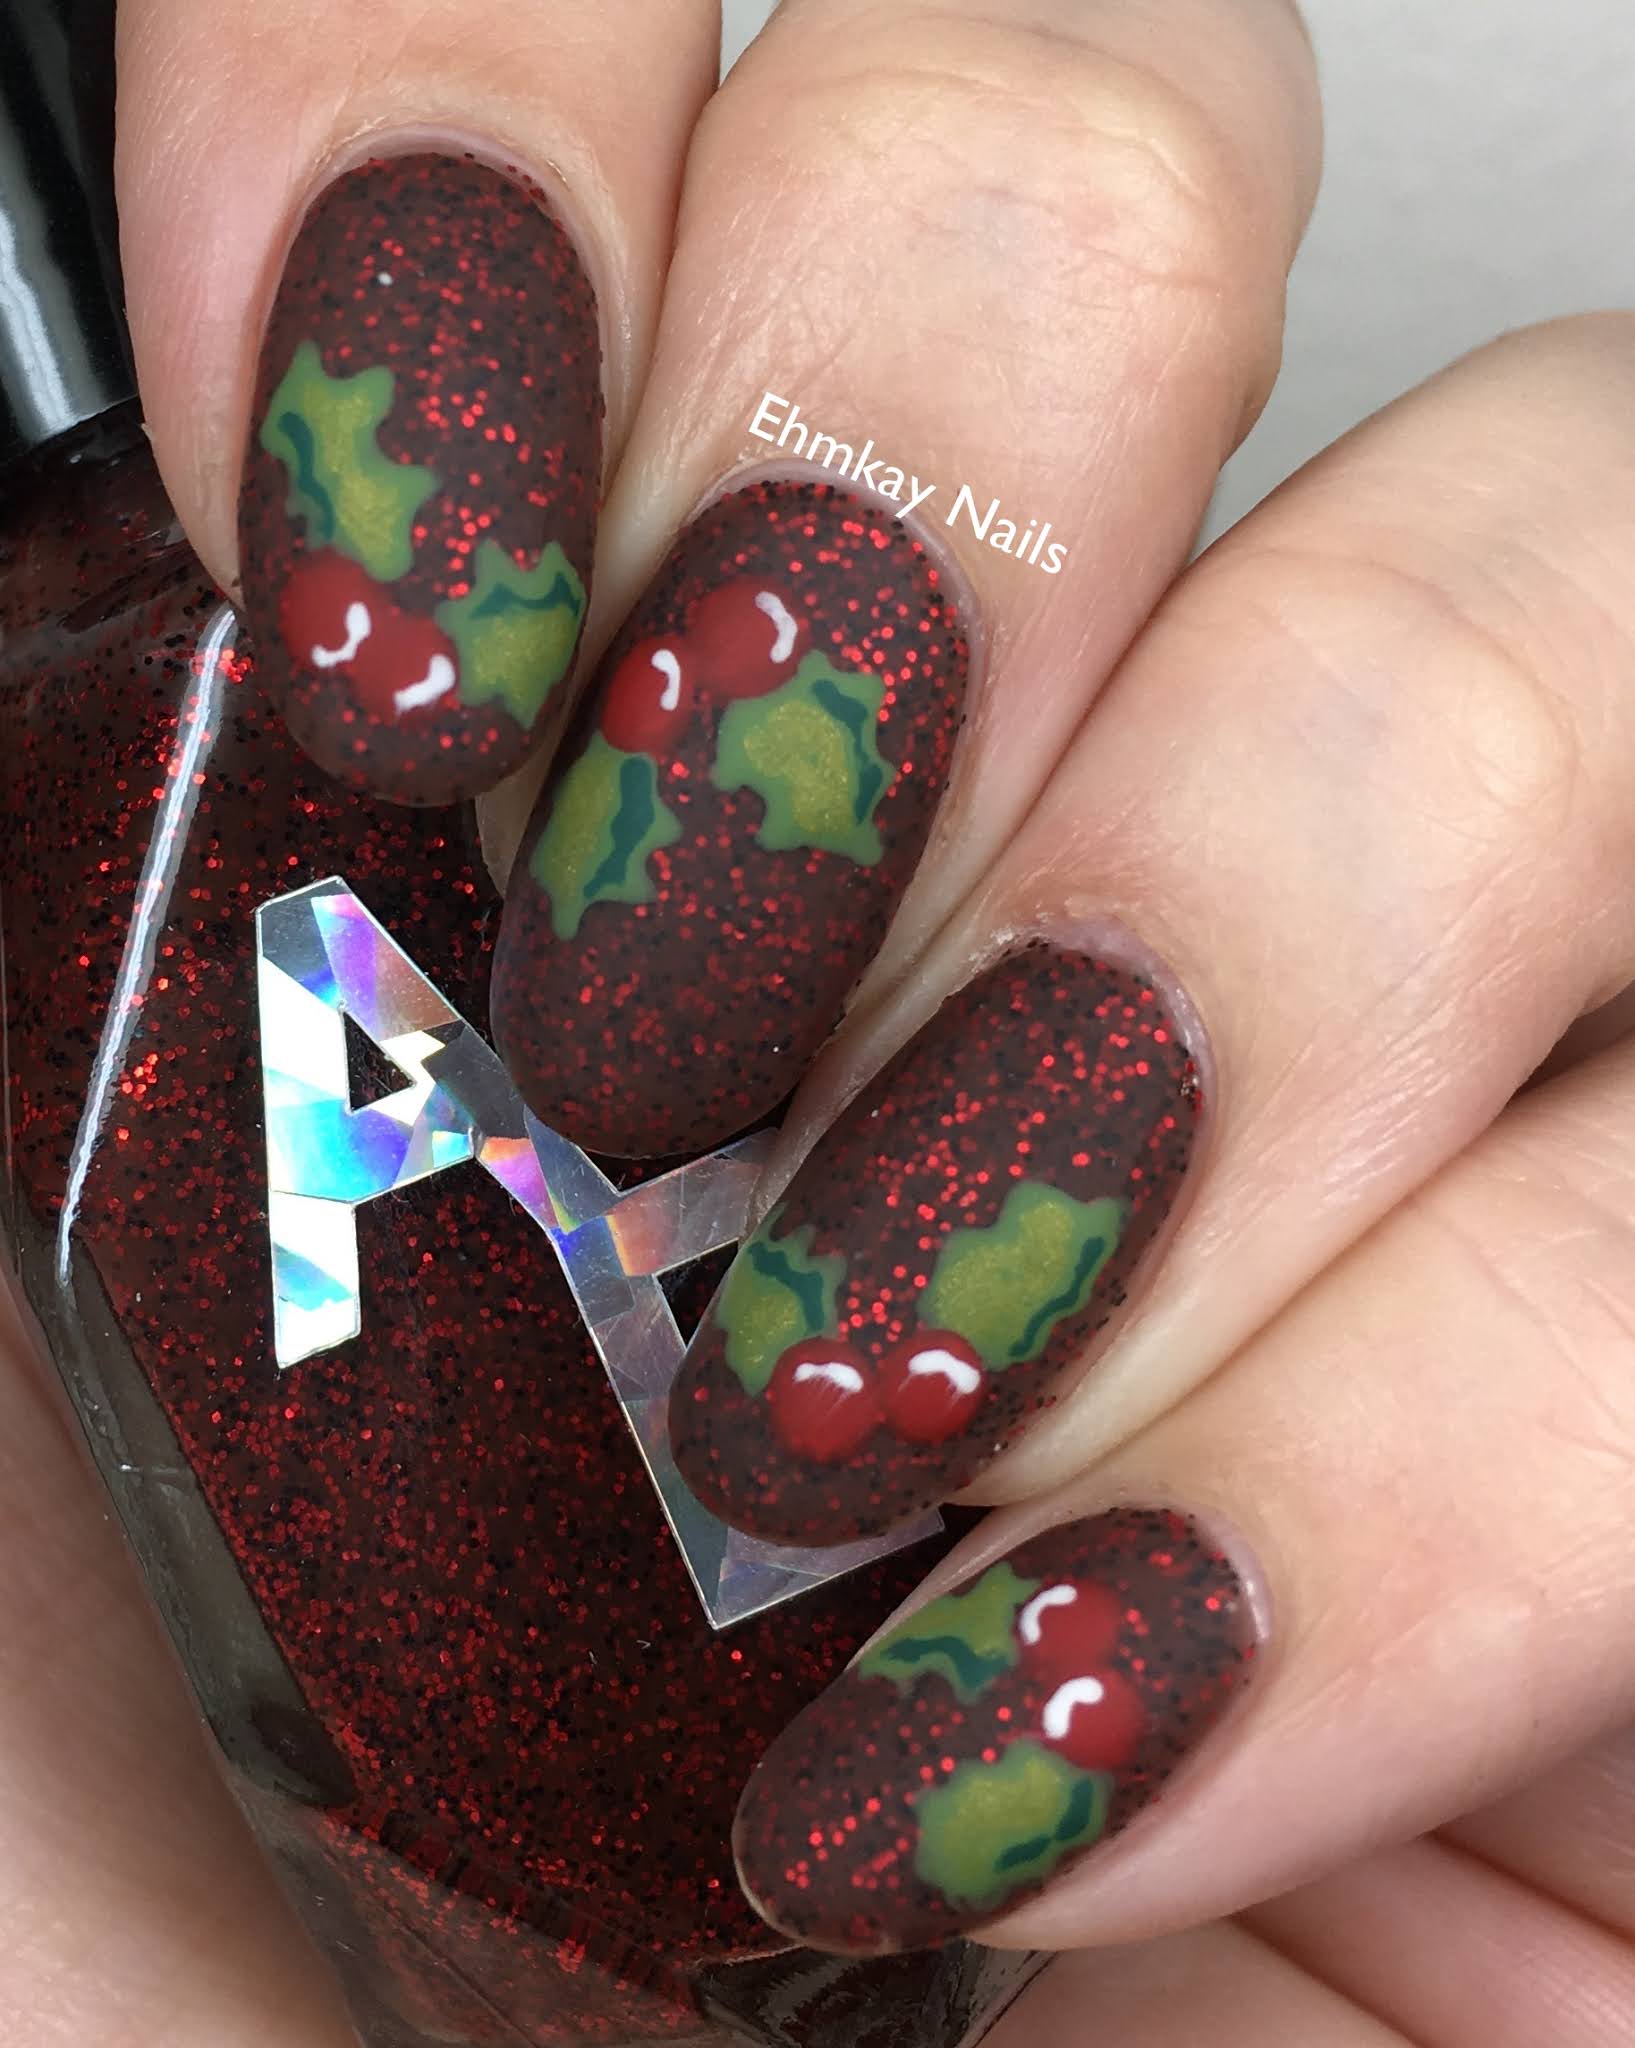
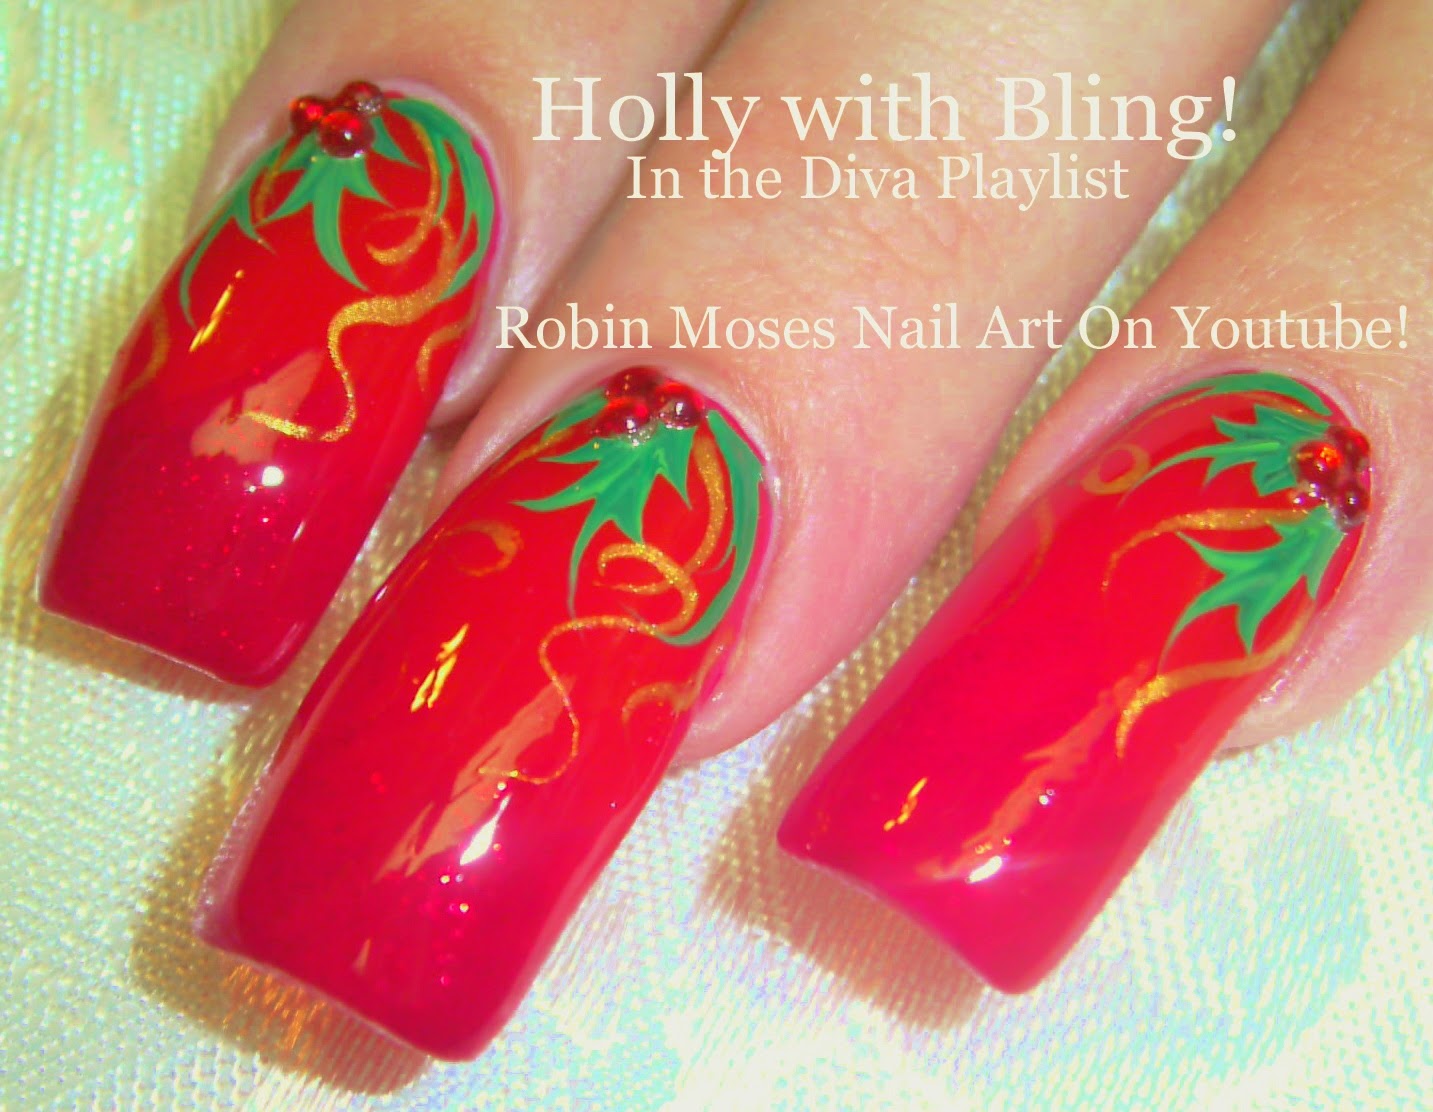
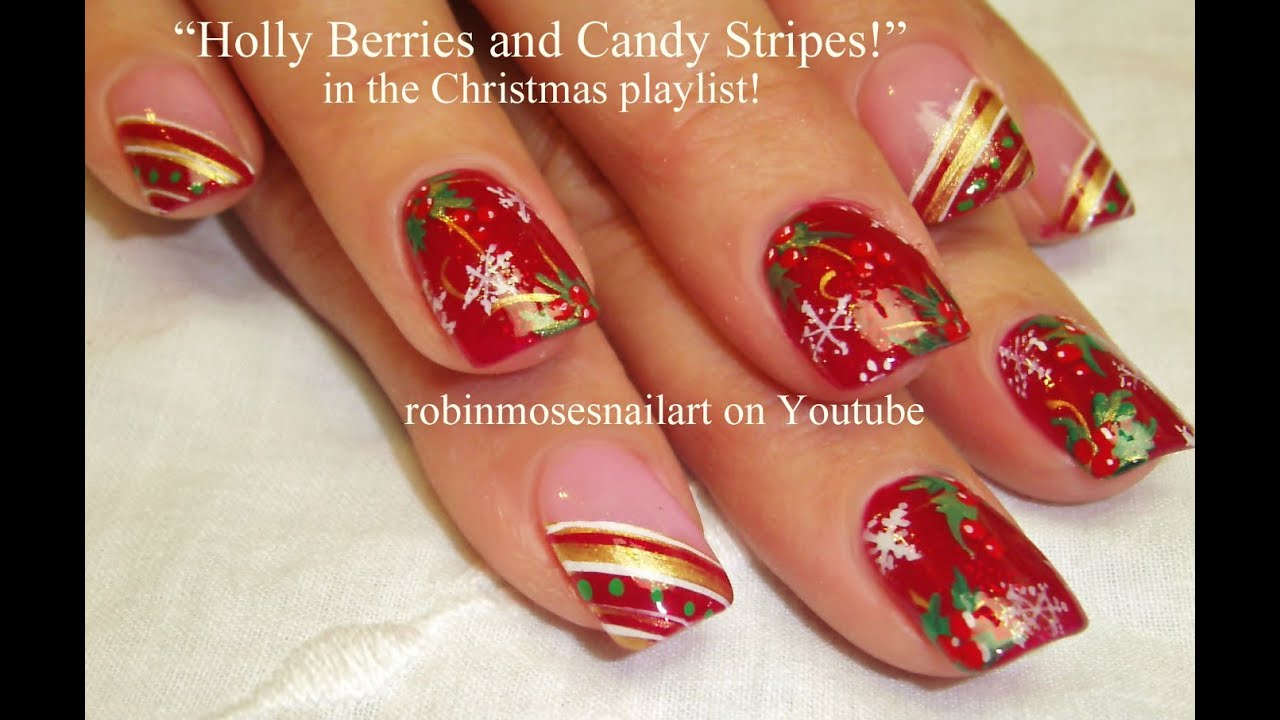
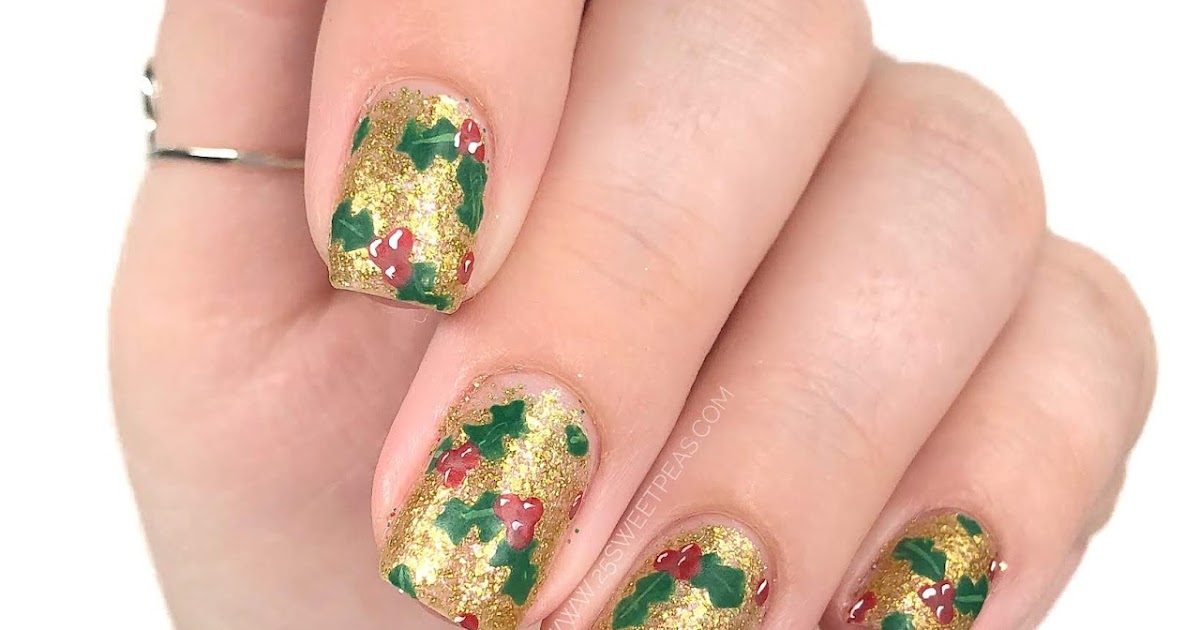
If you want to take your holly nail art to the next level, here are some festive ideas to inspire you. Try painting your nails with a sparkly red base color and adding gold holly leaves on top. Or, paint your nails with a shimmery green base color and add red holly berries and white snowflakes. The possibilities are endless, so get creative!Festive Holly Nail Art Ideas
Festive Holly Nail Art Ideas

For a more subtle holly nail art design, focus on creating the holly leaves instead of the berries. Start by painting your nails with a light green base color. Once it's dry, use a dark green nail polish to draw holly leaves on your nails. You can also add some gold accents for a touch of glamour. This simple yet elegant design is perfect for any occasion.Easy Holly Leaf Nail Art

Easy Holly Leaf Nail Art

If you're new to nail art, don't worry. This holly nail art design is perfect for beginners. Start by painting your nails with a light pink base color. Once it's dry, use a light green nail polish to create small dots on your nails, resembling holly berries. Then, using a dark green nail polish, draw curved lines above the dots to create the holly leaves. This design is easy to do and adds a subtle touch of Christmas to your manicure.Holly Nail Art for Beginners


Holly Nail Art for Beginners


Create Holly-Inspired Nails with Ease
Step-by-Step Guide
 If you're looking for a festive and eye-catching nail design, look no further than holly nail art. This classic Christmas plant is not only easy to recreate, but it also adds a touch of elegance to any holiday ensemble. Follow these simple steps to achieve the perfect holly nail art.
Step 1: Gather Your Supplies
 Before jumping into the nail art, make sure you have all the necessary supplies on hand. These include:
- Base coat
- White nail polish
- Red nail polish
- Green nail polish
- Small detailing brush
- Dotting tool
- Top coat
- Nail polish remover and q-tips (for clean-up)
Before jumping into the nail art, make sure you have all the necessary supplies on hand. These include:
- Base coat
- White nail polish
- Red nail polish
- Green nail polish
- Small detailing brush
- Dotting tool
- Top coat
- Nail polish remover and q-tips (for clean-up)
Step 2: Prep Your Nails
 Start by shaping and buffing your nails to ensure a smooth canvas for your nail art. Then, apply a base coat to protect your nails and help the polish last longer. Let it dry completely before moving on to the next step.
Step 3: Paint Your Nails White
 Using a white nail polish, paint all of your nails and let them dry completely. This will serve as the base for your holly design.
Step 4: Create the Holly Leaves
 Using a small detailing brush and green nail polish, start by painting two curved lines on each nail to create the holly leaves. Make sure the lines are thin and pointed at the end, resembling the shape of a holly leaf. You can also mix different shades of green to add dimension to your design.
Step 5: Add the Berries
 Using a dotting tool and red nail polish, carefully add small dots between the leaves to create the holly berries. You can also use a toothpick or the end of a bobby pin if you don't have a dotting tool. Make sure the dots are evenly spaced and the same size.
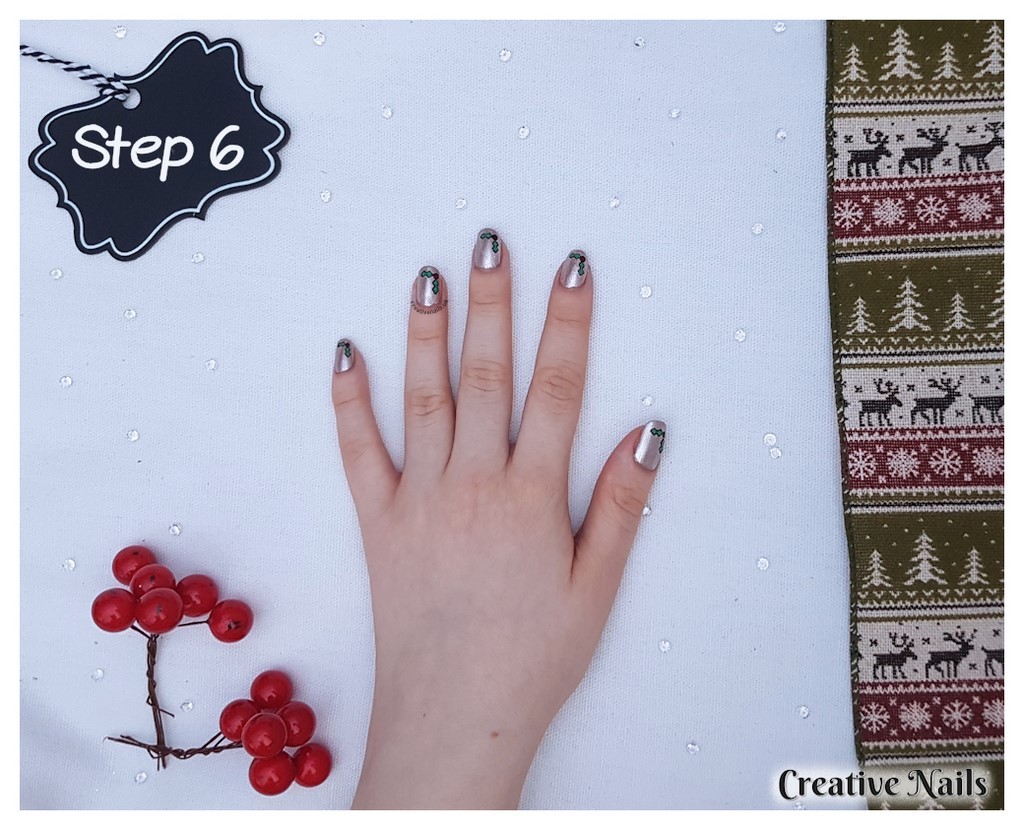
Step 6: Seal Your Design
 Once your design is complete, let it dry for a few minutes before adding a top coat to seal it in and give it a glossy finish. This will also help your design last longer and prevent chipping.
Step 7: Clean Up Any Mistakes
 Using a q-tip dipped in nail polish remover, carefully clean up any mistakes or smudges around your nails. This will give your holly nail art a professional and polished look.
Now you're ready to show off your holly-inspired nails and spread some holiday cheer! With these easy steps, you can create a stunning and festive look in no time. So go ahead and get creative with different colors and designs, and enjoy the holiday season with your beautiful holly nail art.
Using a q-tip dipped in nail polish remover, carefully clean up any mistakes or smudges around your nails. This will give your holly nail art a professional and polished look.
Now you're ready to show off your holly-inspired nails and spread some holiday cheer! With these easy steps, you can create a stunning and festive look in no time. So go ahead and get creative with different colors and designs, and enjoy the holiday season with your beautiful holly nail art.


