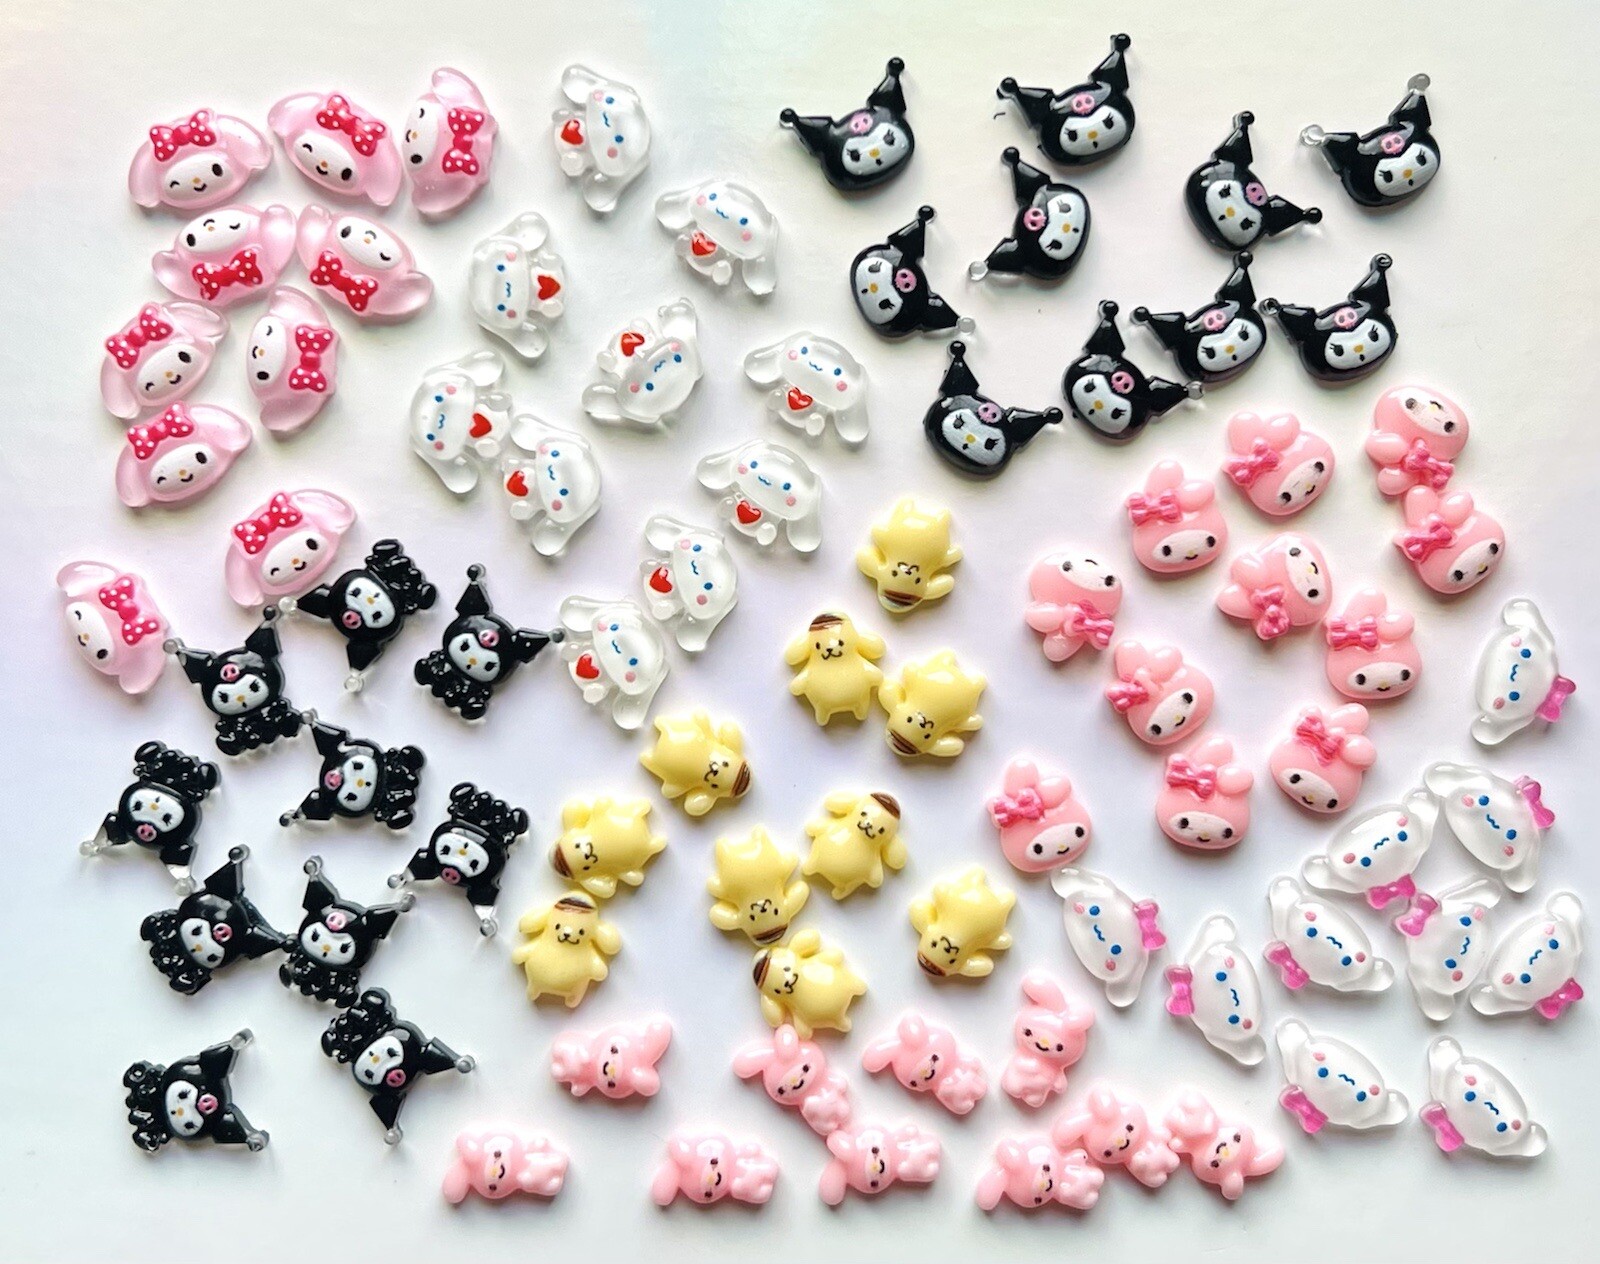
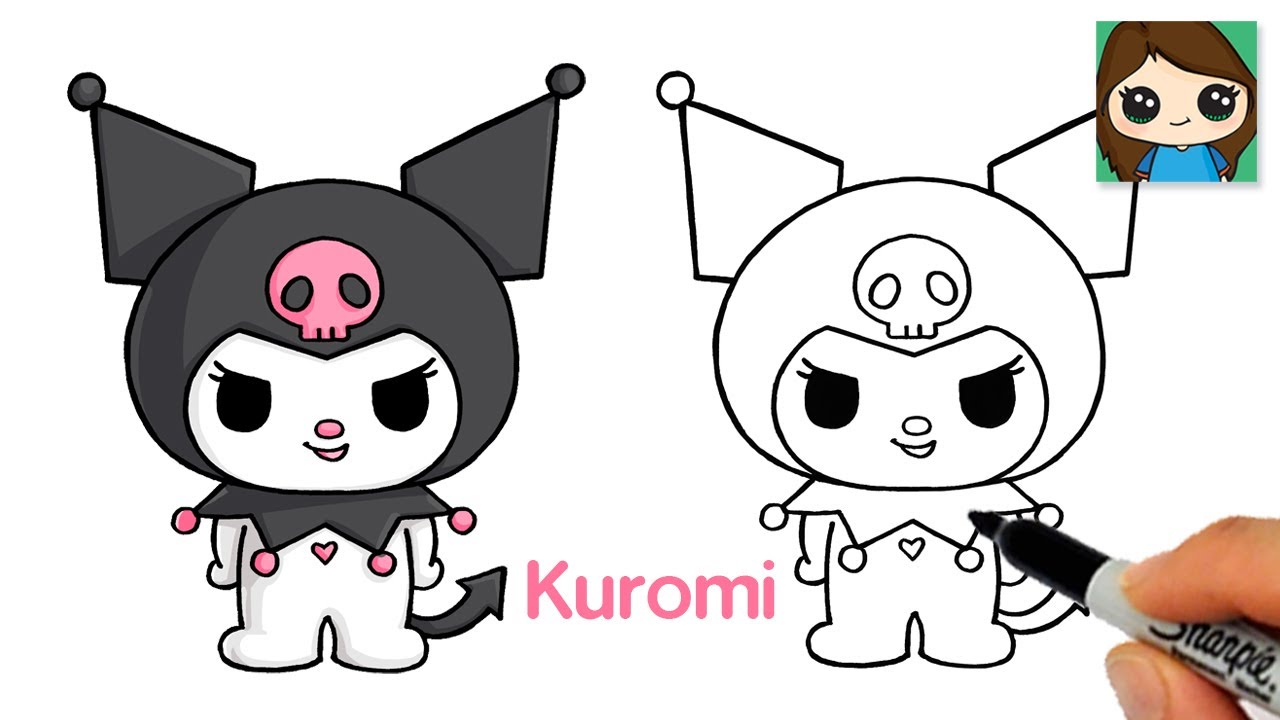
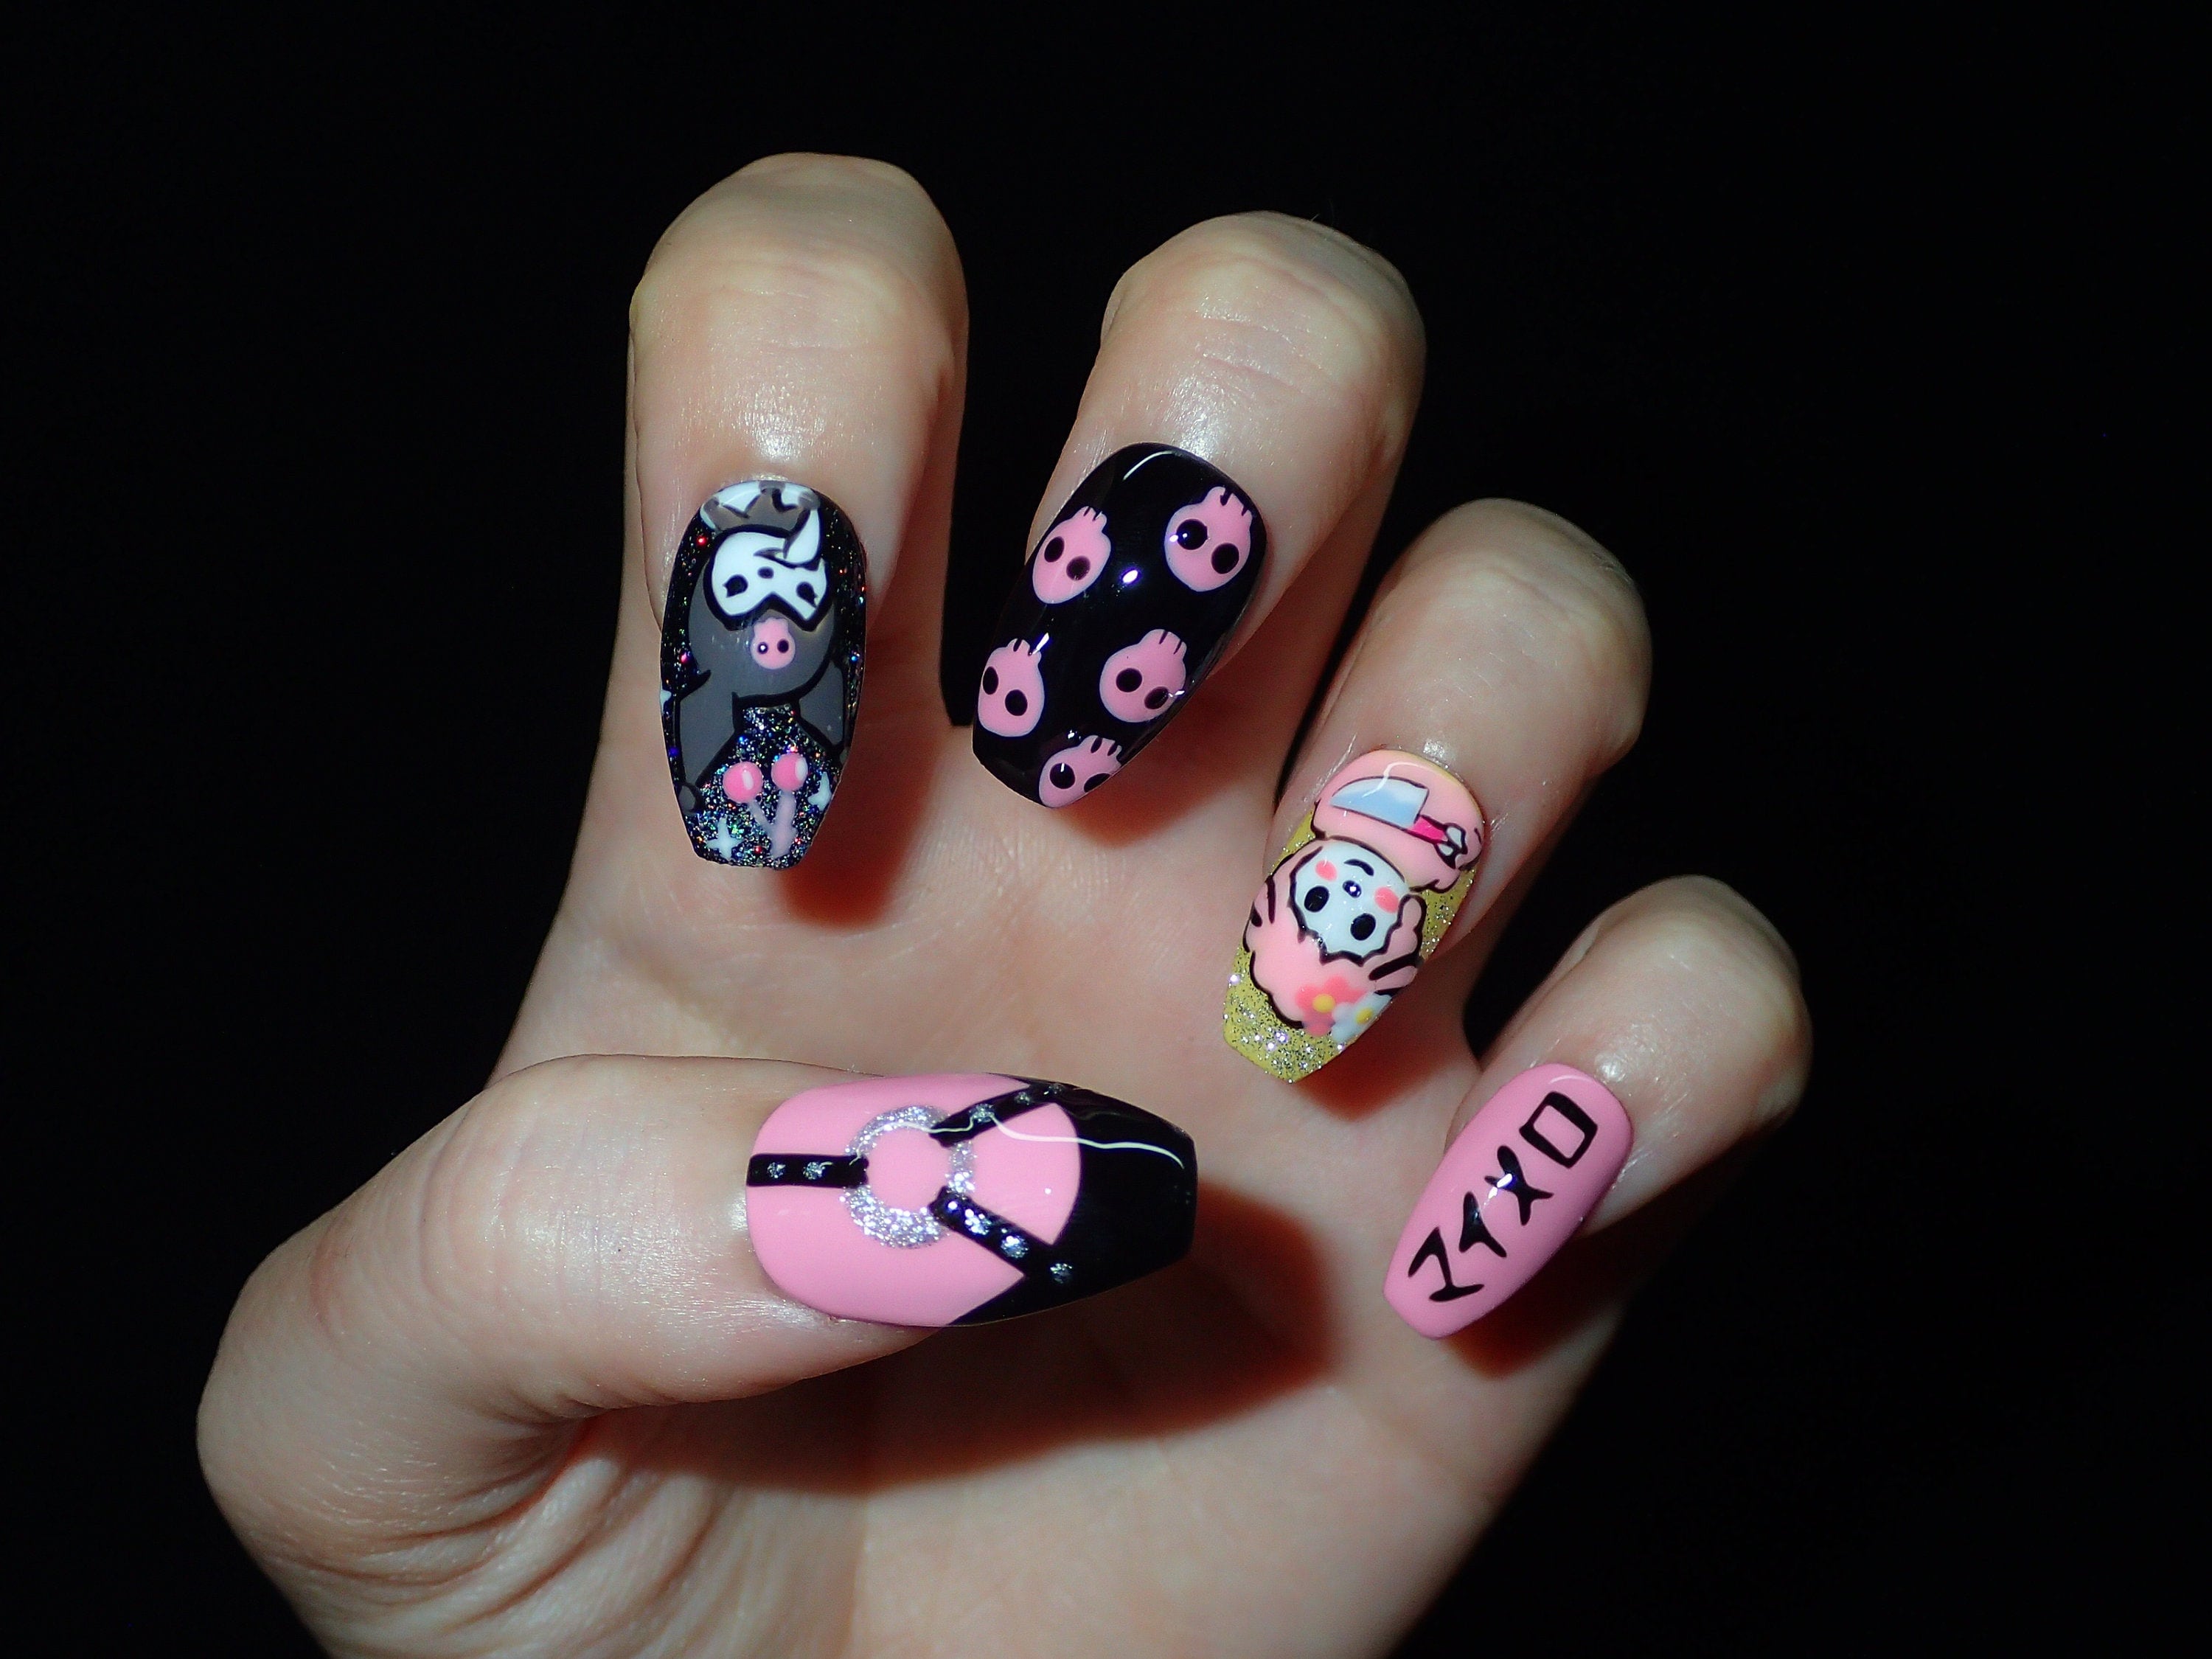
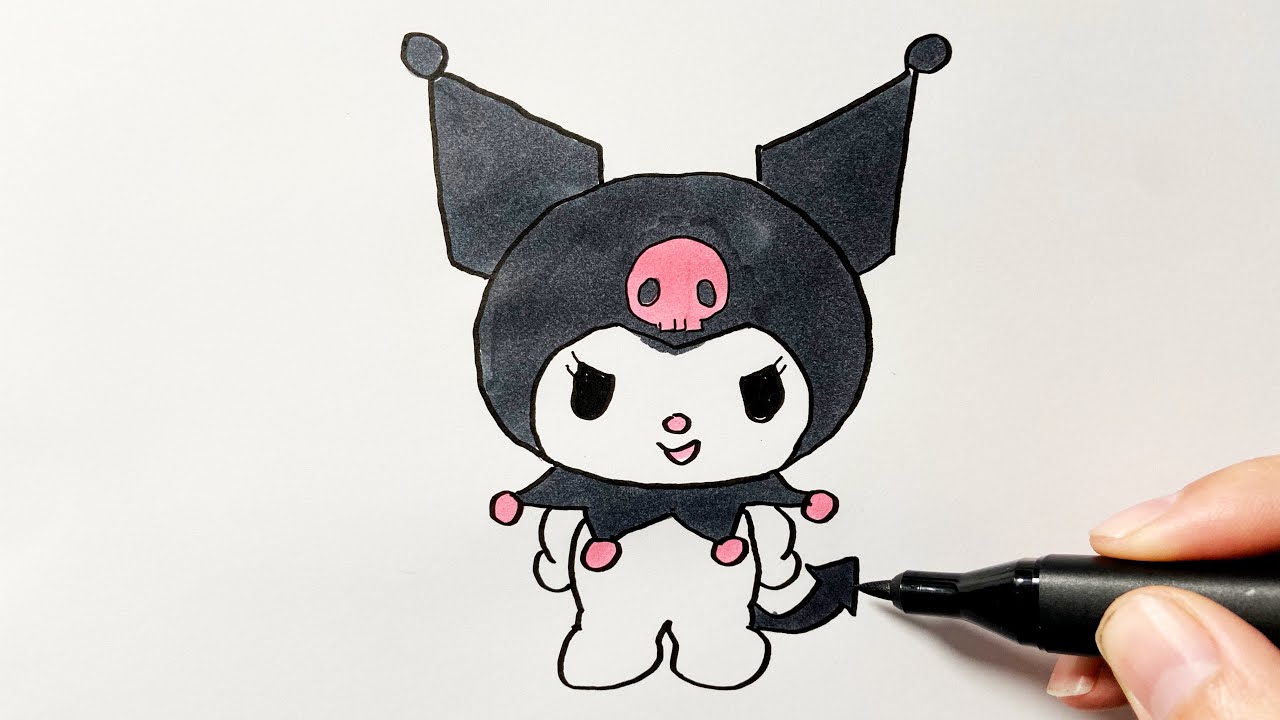
Are you a fan of Sanrio's adorable character, Kuromi? Do you love to express your love for this mischievous bunny through your nail art? Well, you're in luck because we have put together a simple and easy tutorial for you to create your own Kuromi-inspired nails. Follow these steps and rock your Kuromi nails in no time! To start off, you will need a base coat, black, pink, and white nail polish, a dotting tool or toothpick, and a top coat. Apply the base coat on your nails and let it dry completely before moving on to the next step. Next, paint your nails with a black polish. You can use any brand you prefer, but we recommend using Sally Hansen Hard as Nails Xtreme Wear in Black Out for its rich and opaque finish. Let the polish dry for a few minutes before proceeding. Now, it's time to create Kuromi's signature pink hair. Using a dotting tool or a toothpick, create small dots on the tips of your nails using a pink polish like Essie's Watermelon. You can also use a nail art brush if you have one for more precision. Don't worry if the dots aren't perfect, as Kuromi's hair is supposed to look messy and wild. Once the pink dots have dried, use your dotting tool or toothpick to create two small white dots on the pink dots to represent Kuromi's ears. You can also use a white nail art pen for a more precise and cleaner look. For the final touch, use your dotting tool or toothpick to create two small black dots on the white ones to represent the inner part of Kuromi's ears. This will give your nails a cute and playful look. Let the design dry for a few minutes before finishing off with a top coat. This will seal in your design and protect it from chipping. We recommend using Seche Vite Dry Fast Top Coat for a shiny and long-lasting finish. And that's it! You now have your own Kuromi-inspired nails that are simple, cute, and easy to recreate. Show them off to your friends and fellow Kuromi fans and watch them be amazed by your nail art skills. Don't forget to tag us on social media so we can see your creations too!1. Simple Kuromi Nail Art Tutorial


1. Simple Kuromi Nail Art Tutorial


If you're a fan of Kuromi and want to add a cute and playful touch to your nails, then this design is perfect for you. It's simple, easy to do, and will definitely make a statement. Here's how to achieve this cute Kuromi nail design. Start off by applying a base coat to your nails to protect them from staining and to make your nail polish last longer. Let it dry completely before moving on to the next step. Next, paint your nails with a light pink polish like OPI's Mod About You. This will serve as the base color for your Kuromi design. You can also use a pastel pink or a dusty rose shade for a softer look. Once the base color has dried, use a nail art brush or a small paintbrush to create two small triangles near the tip of your nails. These will serve as Kuromi's ears. Next, use a black polish like China Glaze's Liquid Leather to create Kuromi's signature black bow. This can be done by creating two small circles near the cuticle of your nails and then connecting them with a curved line. You can also use a black nail art pen for a more precise and clean look. For the final touches, use a white polish or a white nail art pen to create two small dots on the bow to represent the polka dots and a small dot in the middle to represent the center of the bow. Let the design dry for a few minutes before finishing it off with a top coat. This will seal in your design and give your nails a shiny and long-lasting finish. We recommend using Ella+Mila's In a Rush Fast Drying Top Coat for a quick and glossy finish. There you have it, a cute and easy Kuromi nail design that will surely make your nails stand out. This design is perfect for any occasion, whether it's a casual day out or a special event. Have fun recreating this look and don't forget to share it with us!2. Cute and Easy Kuromi Nail Design


2. Cute and Easy Kuromi Nail Design

If you're new to nail art and want to try your hand at creating a Kuromi-inspired design, then this step-by-step tutorial is perfect for you. It's simple, easy to follow, and requires minimal tools. Get your nail polish ready and let's get started! Start off by applying a base coat to your nails. This will protect your nails from staining and make your nail polish last longer. Let it dry completely before moving on to the next step. Next, paint your nails with a light pink polish like Sally Hansen's Pink Blink. This will serve as the base color for your Kuromi design. You can also use a pastel pink or a dusty rose shade for a softer look. Once the base color has dried, use a dotting tool or a toothpick to create two small dots near the tip of your nails using a black polish like OPI's Black Onyx. These will serve as Kuromi's eyes. Next, use the dotting tool or toothpick to create a small triangle between the two dots to represent Kuromi's nose. For the final touch, use a white nail art pen to create two small dots on the black ones to represent the reflection in Kuromi's eyes. This will give your nails a cute and playful look. Let the design dry for a few minutes before finishing off with a top coat. This will seal in your design and protect it from chipping. We recommend using Essie's Gel Couture Platinum Grade Top Coat for a high-shine and long-lasting finish. And there you have it, a step-by-step Kuromi nail art that is perfect for beginners. This design is simple, cute, and easy to recreate. Give it a try and show off your Kuromi-inspired nails to everyone!3. Step-by-Step Kuromi Nail Art for Beginners


3. Step-by-Step Kuromi Nail Art for Beginners


Are you short on time but still want to rock some Kuromi-inspired nails? Don't worry, we've got you covered. Here are some quick and easy Kuromi nail ideas that you can recreate in no time. 1. Kuromi Accent Nail: Paint all your nails with a light pink polish and add a black bow on one nail using a black nail art pen. This will serve as your Kuromi accent nail. 2. Kuromi French Tips: Paint your nails with a light pink polish and add black tips using a black nail polish. Use a white nail art pen to create Kuromi's signature bow on one or two nails. 3. Kuromi Polka Dots: Paint your nails with a light pink polish and use a dotting tool or toothpick to create black polka dots all over your nails. Use a white nail art pen to add Kuromi's signature bow on one or two nails. 4. Kuromi Cuticle Art: Paint your nails with a light pink polish and use a white nail art pen to create Kuromi's face on your cuticles. This will give your nails a unique and playful look. These are just some ideas to get you started, but feel free to get creative and come up with your own Kuromi nail designs. Remember to have fun and don't worry about making it perfect, as Kuromi's character is all about being playful and carefree.4. Quick and Easy Kuromi Nail Ideas


4. Quick and Easy Kuromi Nail Ideas


If you prefer a more subtle and minimalist look for your nails, you can still incorporate Kuromi's character into your nail art. Here's how to achieve a minimalist Kuromi nail art. Start off by applying a base coat to your nails. This will protect your nails from staining and make your nail polish last longer. Let it dry completely before moving on to the next step. Next, paint your nails with a light pink polish like Zoya's Dot. This will serve as the base color for your Kuromi design. You can also use a pastel pink or a dusty rose shade for a softer look. Once the base color has dried, use a black nail art pen to create a small triangle near the tip of your nails. This will serve as Kuromi's ears. Next, use the nail art pen to create a small oval shape near the cuticle of your nails to represent Kuromi's head. For the final touch, use the nail art pen to create a small bow on top of Kuromi's head. This will give your nails a cute and minimalist look. Let the design dry for a few minutes before finishing off with a top coat. This will seal in your design and give your nails a shiny and long-lasting finish. We recommend using OPI's Start to Finish Base Coat, Top Coat, and Strengthener for a quick and all-in-one finish. And there you have it, a simple and minimalist Kuromi nail art that is perfect for those who prefer a more subtle look. This design is quick and easy to do, making it perfect for those busy days when you still want to rock some Kuromi-inspired nails.5. Minimalist Kuromi Nail Art for a Subtle Look

5. Minimalist Kuromi Nail Art for a Subtle Look


If you're not confident in your nail art skills, you can still achieve cute and playful Kuromi nails by using stickers. Here's how to create easy Kuromi nail designs using stickers. Start off by applying a base coat to your nails. This will protect your nails from staining and make your nail polish last longer. Let it dry completely before moving on to the next step. Next, paint your nails with a light pink polish like OPI's Suzi Shops & Island Hops. This will serve as the base color for your Kuromi design. You can also use a pastel pink or a dusty rose shade for a softer look. Once the base color has dried, choose your desired Kuromi nail stickers and place them on your nails. You can find a variety of Kuromi stickers online or at your local beauty store. For the final touch, finish off with a top coat. This will seal in the stickers and protect them from peeling off. We recommend using Revlon's Quick Dry Top Coat for a quick and glossy finish. And there you have it, easy Kuromi nail designs using stickers. This is perfect for those who want to achieve cute and playful nails without having to do any nail art. It's quick, easy, and perfect for any occasion.6. Easy Kuromi Nail Designs Using Stickers


6. Easy Kuromi Nail Designs Using Stickers


Kuromi is loved by kids for her playful and mischievous personality, so why not let them have fun with their nails too? Here's a fun and playful Kuromi nail art idea for kids. Start off by applying a clear base coat to your kid's nails. This will protect their nails and make their nail polish last longer. Let it dry completely before moving on to the next step. Next, paint your kid's nails with a light pink polish like Essie's Muchi, Muchi. This will serve as the base color for their Kuromi design. You can also use a pastel pink or a dusty rose shade for a softer look. Once the base color has dried, use a black nail art pen to create two small dots near the tip of their nails. These will serve as Kuromi's eyes. Next, use the nail art pen to create a small triangle between the two dots to represent Kuromi's nose. For the final touch, use the nail art pen to create a small bow on one of the nails. This will give their nails a cute and playful look. Let the design dry for a few minutes before finishing off with a top coat. This will seal in the design and protect it from chipping. We recommend using Orly's Bonder Rubberized Base Coat to make the design last longer and protect your kid's nails. And that's it, a fun and playful Kuromi nail art that your kids will surely love. This design is quick, easy, and perfect for kids who love Kuromi's character. Have fun creating this look with your little ones!7. Fun and Playful Kuromi Nail Art for Kids

7. Fun and Playful Kuromi Nail Art for Kids


Who said Kuromi nails can't be elegant? With the right colors and design, you can rock Kuromi-inspired nails even on special occasions. Here's how to achieve an elegant Kuromi nail art. Start off by applying a clear base coat to your nails. This will protect your nails and make your nail polish last longer. Let it dry completely before moving on to the next step. Next, paint your nails with a light pink polish like OPI's Bubble Bath. This will serve as the base color for your Kuromi design. You can also use a pastel pink or a dusty rose shade for a softer look.8. Elegant Kuromi Nail Art for Special Occasions


8. Elegant Kuromi Nail Art for Special Occasions
Get Cute and Easy Kuromi Nail Art at Home

Step-by-Step Guide to Creating Adorable Kuromi Nails
 Kuromi, the mischievous counterpart to Hello Kitty, has gained a huge following in recent years. This cute and edgy character has made its way into fashion, accessories, and even nail art. If you're a Kuromi fan looking to spice up your nail game, we've got you covered. With just a few simple steps, you can achieve adorable and easy Kuromi nail art at home.
Step 1: Prep Your Nails
As with any nail art, the first step is to prep your nails. Start by trimming and shaping your nails to your desired length and shape. Next, push back your cuticles and gently buff the surface of your nails to create a smooth canvas for your nail art.
Step 2: Paint Your Base
For this Kuromi nail art, we recommend using a light pink or pastel purple as your base color. These soft shades will complement the darker Kuromi designs and add a touch of sweetness to the overall look. Apply two coats of your chosen base color and let it dry completely.
Step 3: Create the Kuromi Design
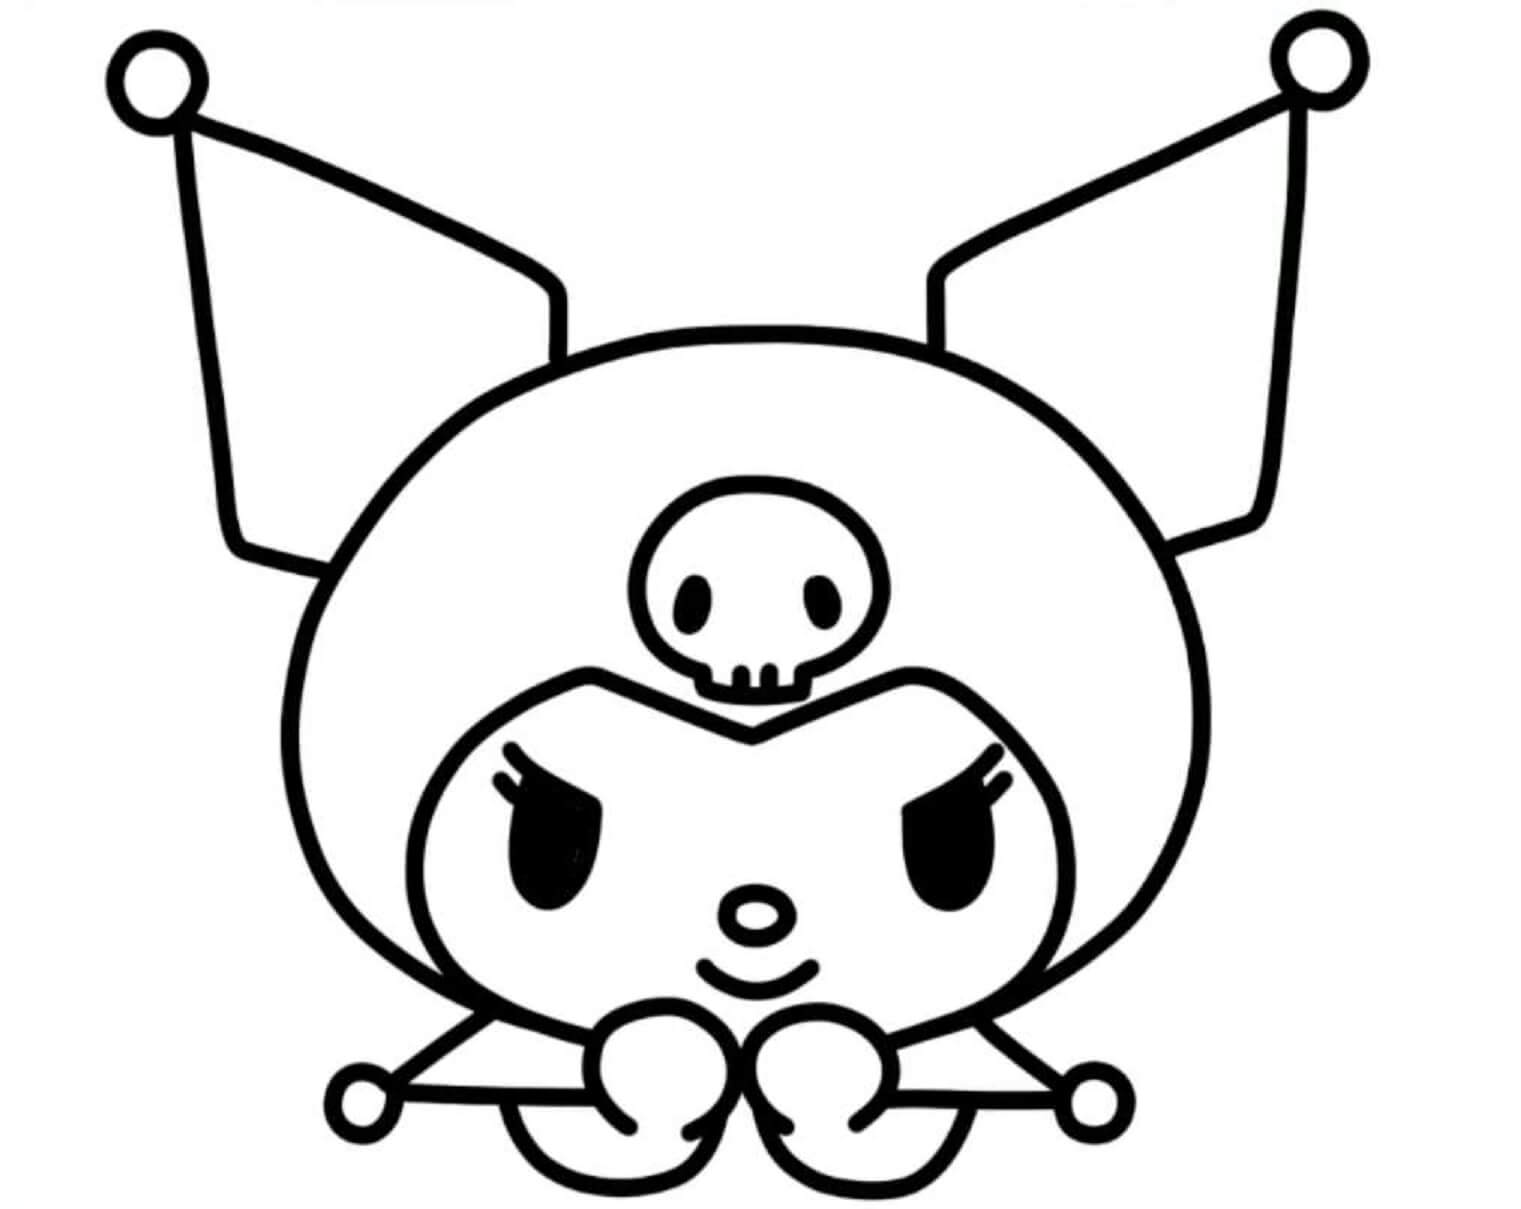
To create the signature Kuromi design, you will need a black nail polish and a small nail art brush. Start by dipping your brush into the black polish and carefully drawing a curved line near the tip of your nail. This will be the outline of Kuromi's head.
Next, add two small triangles on top of the head for the ears. Then, use the brush to create two small circles for the eyes and a small triangle for the nose. To complete the design, add two small curved lines for the mouth and two small dots for the cheeks. Don't worry if your design isn't perfect, the imperfections add to the hand-drawn charm of this nail art.
Step 4: Add Details and Accents
To make your Kuromi nail art pop, you can add some extra details and accents. You can use a white nail polish to add some highlights to the eyes and cheeks, or a red polish to create a cute bow on Kuromi's head. You can also use a small dotting tool to add some polka dots or hearts around the design for a touch of cuteness.
Step 5: Seal in Your Design
Once your design is complete, let it dry for a few minutes before applying a clear top coat. This will help seal in your design and add a glossy finish to your nails. Be sure to let your nails dry completely before going about your day to prevent any smudging.
And there you have it, easy and cute Kuromi nail art that you can create at home. With just a few simple steps, you can show off your love for this lovable character on your nails. So gather your nail art supplies and get ready to rock some adorable Kuromi nails!
Kuromi, the mischievous counterpart to Hello Kitty, has gained a huge following in recent years. This cute and edgy character has made its way into fashion, accessories, and even nail art. If you're a Kuromi fan looking to spice up your nail game, we've got you covered. With just a few simple steps, you can achieve adorable and easy Kuromi nail art at home.
Step 1: Prep Your Nails
As with any nail art, the first step is to prep your nails. Start by trimming and shaping your nails to your desired length and shape. Next, push back your cuticles and gently buff the surface of your nails to create a smooth canvas for your nail art.
Step 2: Paint Your Base
For this Kuromi nail art, we recommend using a light pink or pastel purple as your base color. These soft shades will complement the darker Kuromi designs and add a touch of sweetness to the overall look. Apply two coats of your chosen base color and let it dry completely.
Step 3: Create the Kuromi Design
To create the signature Kuromi design, you will need a black nail polish and a small nail art brush. Start by dipping your brush into the black polish and carefully drawing a curved line near the tip of your nail. This will be the outline of Kuromi's head.
Next, add two small triangles on top of the head for the ears. Then, use the brush to create two small circles for the eyes and a small triangle for the nose. To complete the design, add two small curved lines for the mouth and two small dots for the cheeks. Don't worry if your design isn't perfect, the imperfections add to the hand-drawn charm of this nail art.
Step 4: Add Details and Accents
To make your Kuromi nail art pop, you can add some extra details and accents. You can use a white nail polish to add some highlights to the eyes and cheeks, or a red polish to create a cute bow on Kuromi's head. You can also use a small dotting tool to add some polka dots or hearts around the design for a touch of cuteness.
Step 5: Seal in Your Design
Once your design is complete, let it dry for a few minutes before applying a clear top coat. This will help seal in your design and add a glossy finish to your nails. Be sure to let your nails dry completely before going about your day to prevent any smudging.
And there you have it, easy and cute Kuromi nail art that you can create at home. With just a few simple steps, you can show off your love for this lovable character on your nails. So gather your nail art supplies and get ready to rock some adorable Kuromi nails!


