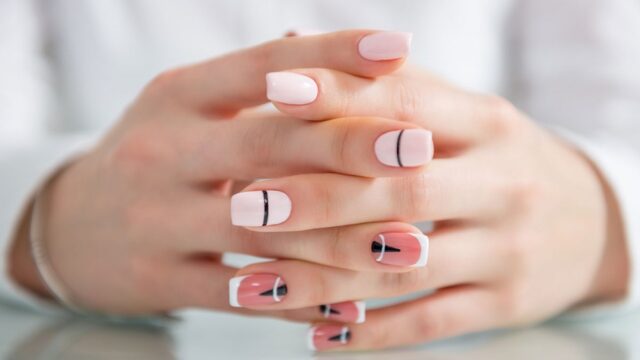
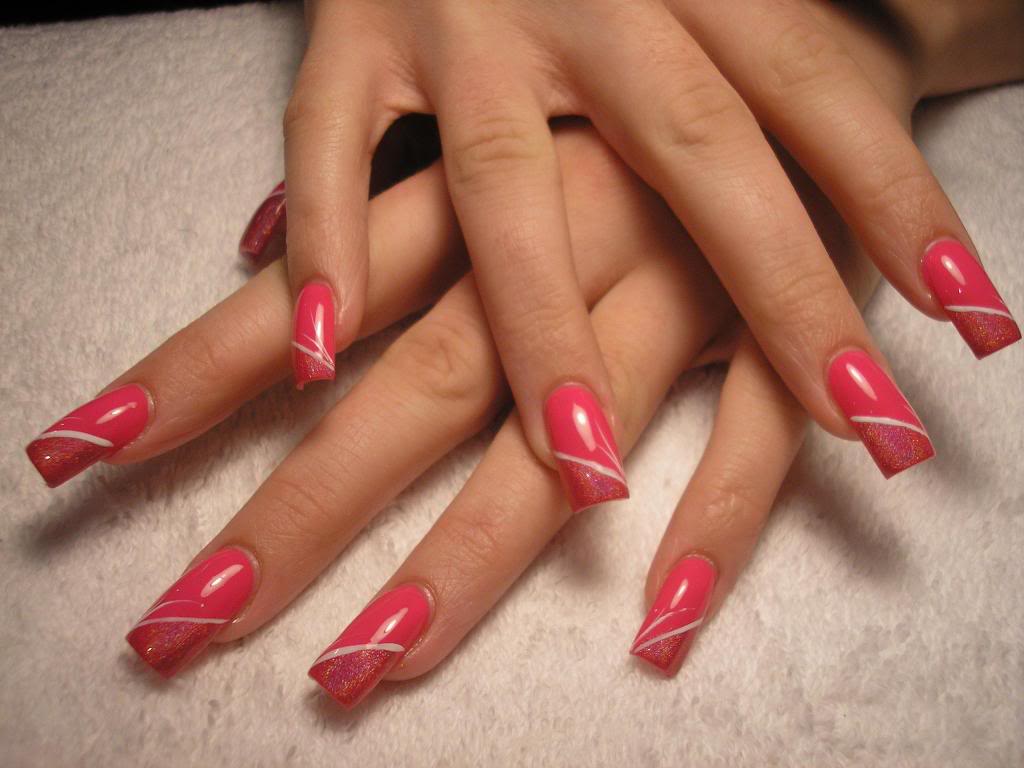
Striped nails are a classic and easy way to add some fun to your manicure. All you need is a steady hand and a nail polish in your desired color. To achieve this look, simply paint your nails with a base color and then use a thin brush or a striping tape to create even stripes on top. You can play around with different color combinations and thickness of the stripes to create a unique and eye-catching look.1. Simple Stripes


1. Simple Stripes

/ScreenShot2020-01-13at1.02.35PM-f3cc8a0d04b748e9ab7aaa185aab409b.png)
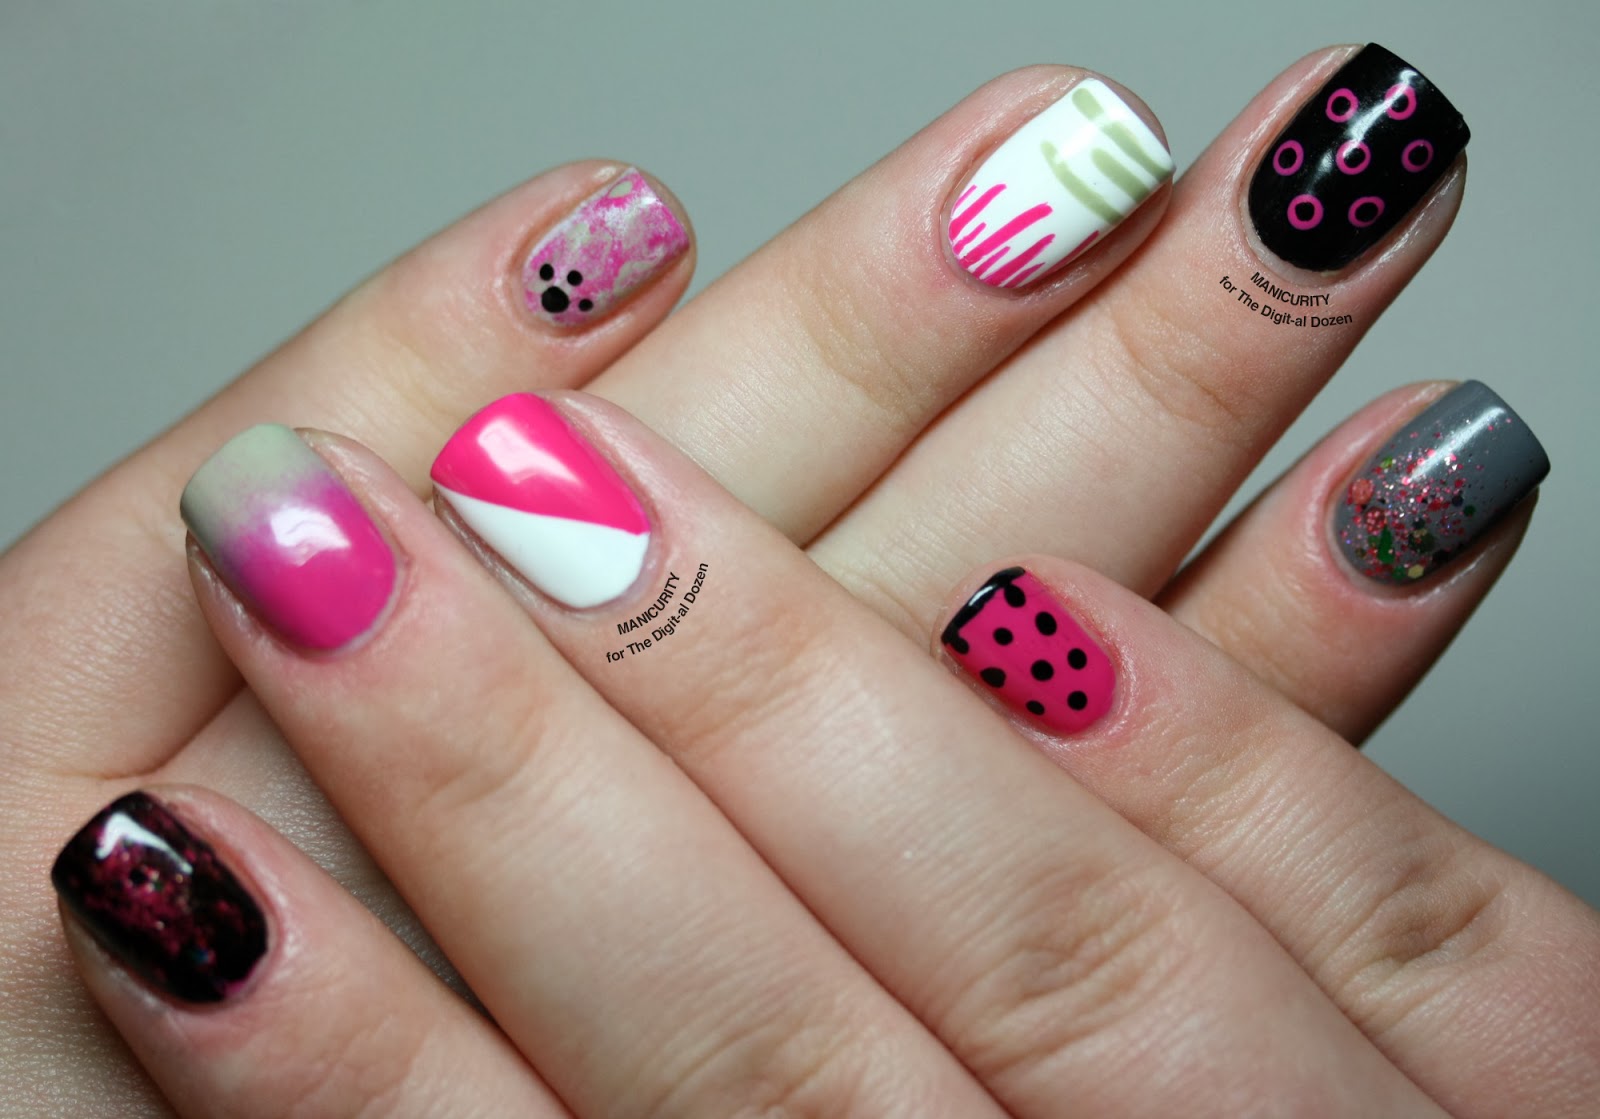


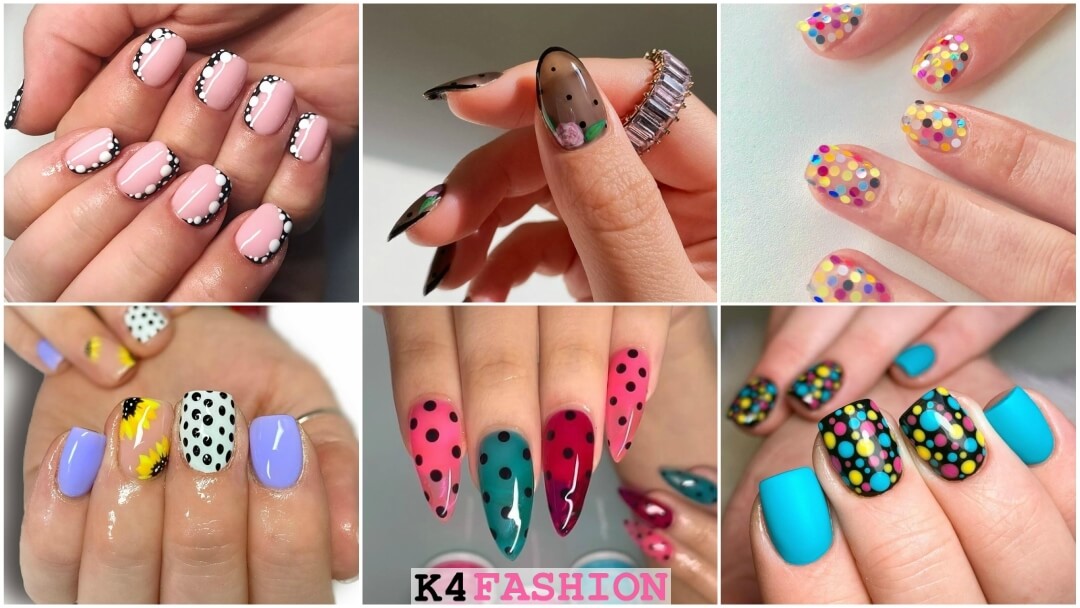
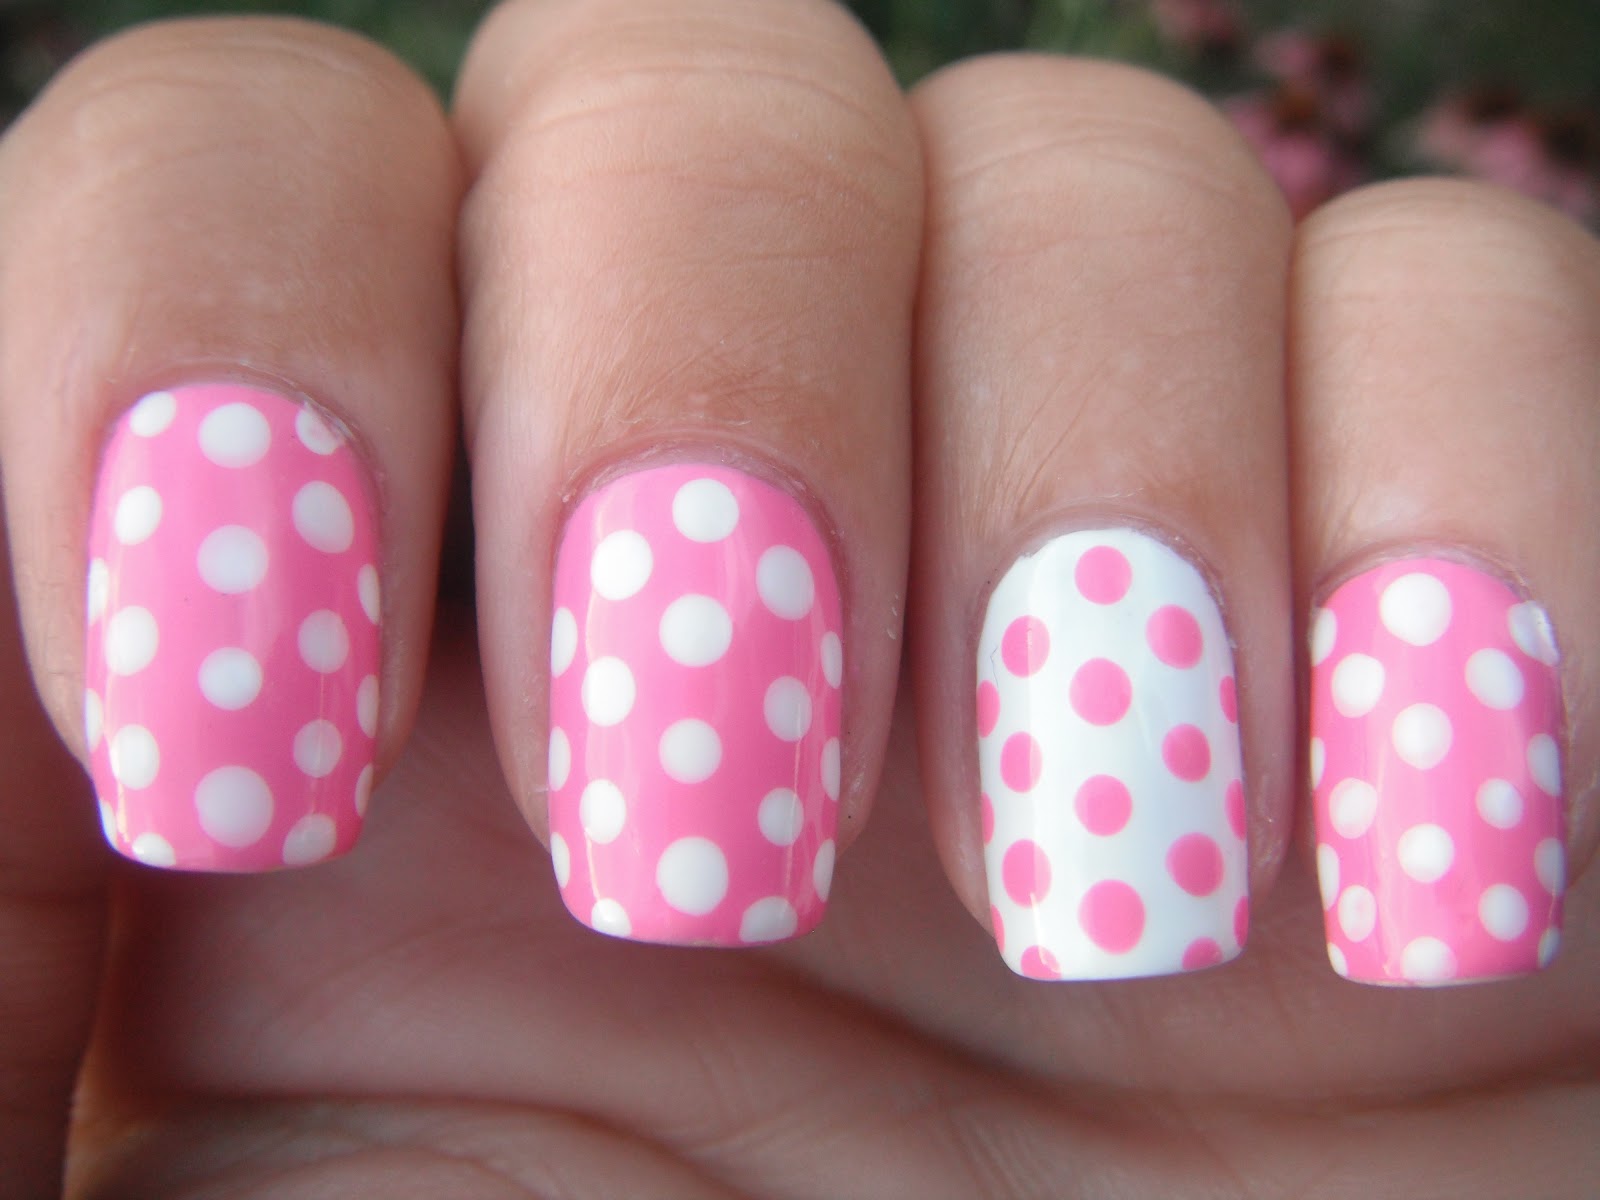
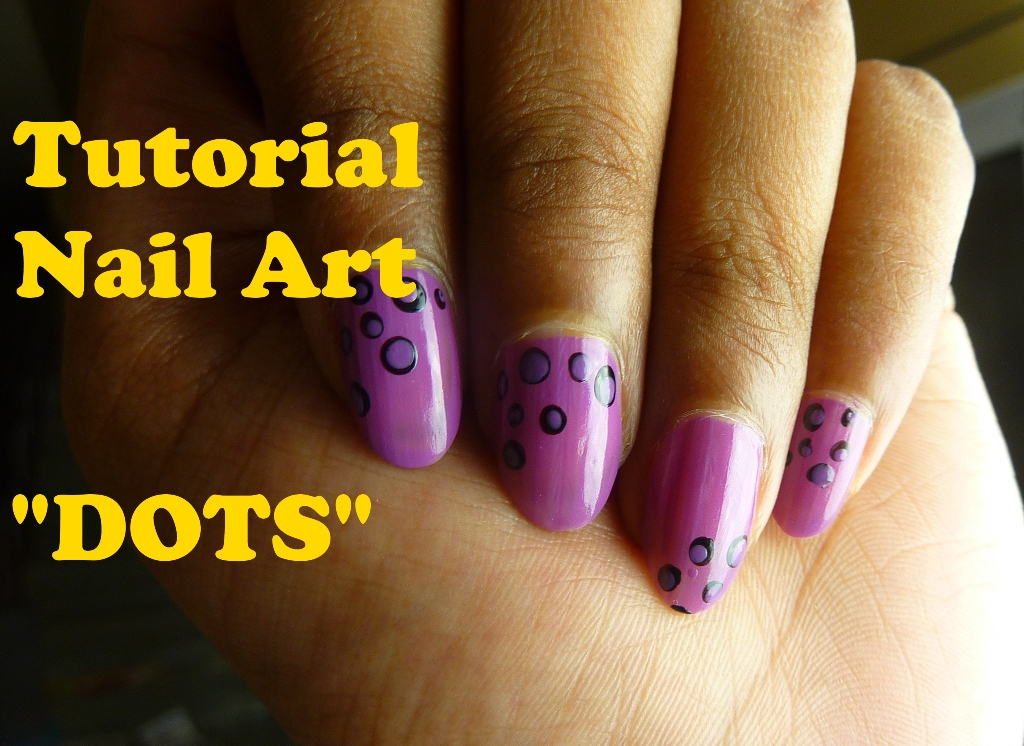
Polka dot nails are another simple and fun design that can be achieved with just a regular nail polish. To create this look, start by painting your nails with a base color. Then, using a dotting tool or the end of a bobby pin, create small dots on your nails in a pattern or randomly. You can use one color for the base and a contrasting color for the dots, or stick to one color for a more subtle look.2. Polka Dot Nails
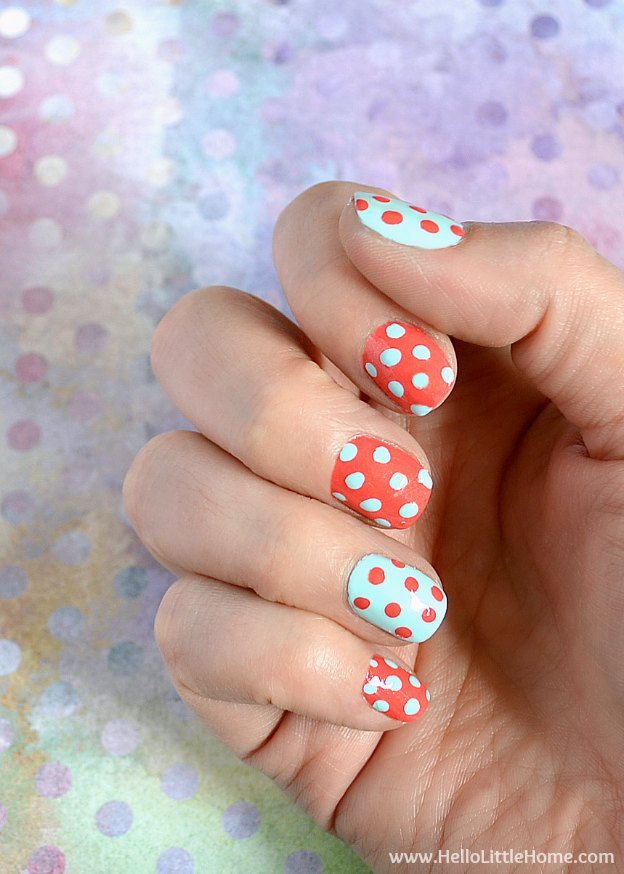


2. Polka Dot Nails


Creating a gradient effect on your nails may seem daunting, but it's actually quite easy with regular nail polish. Simply choose two to three colors that blend well together and paint them on a makeup sponge in the desired order. Then, lightly dab the sponge onto your nails to create a gradient effect. You may need to repeat this step a few times to get the desired intensity. Finish off with a top coat for a smooth and polished look.3. Gradient Nails


3. Gradient Nails


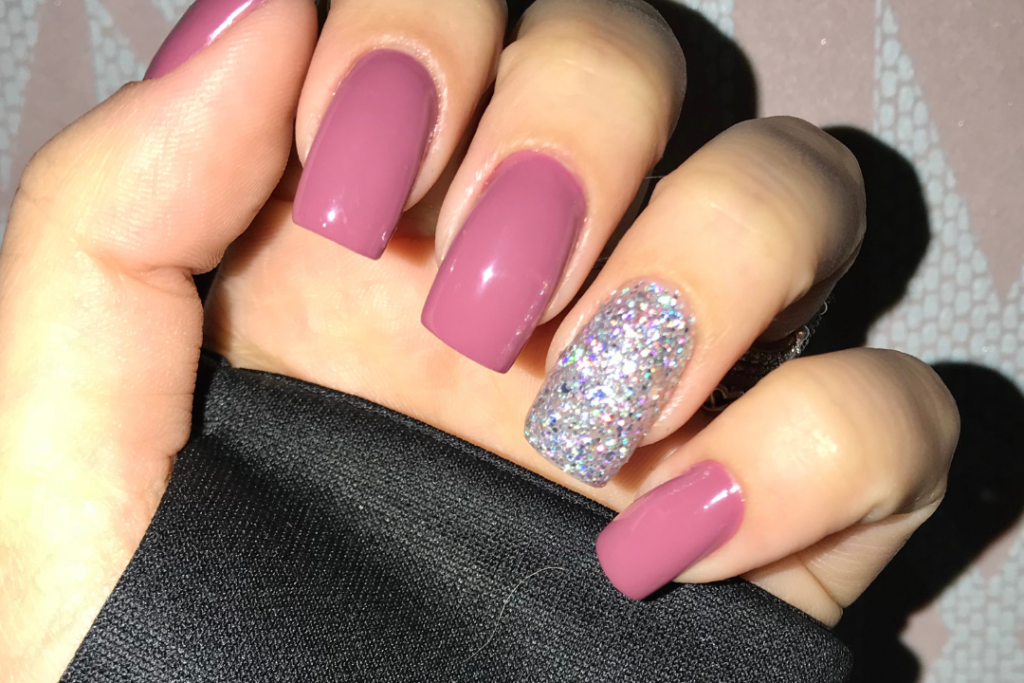
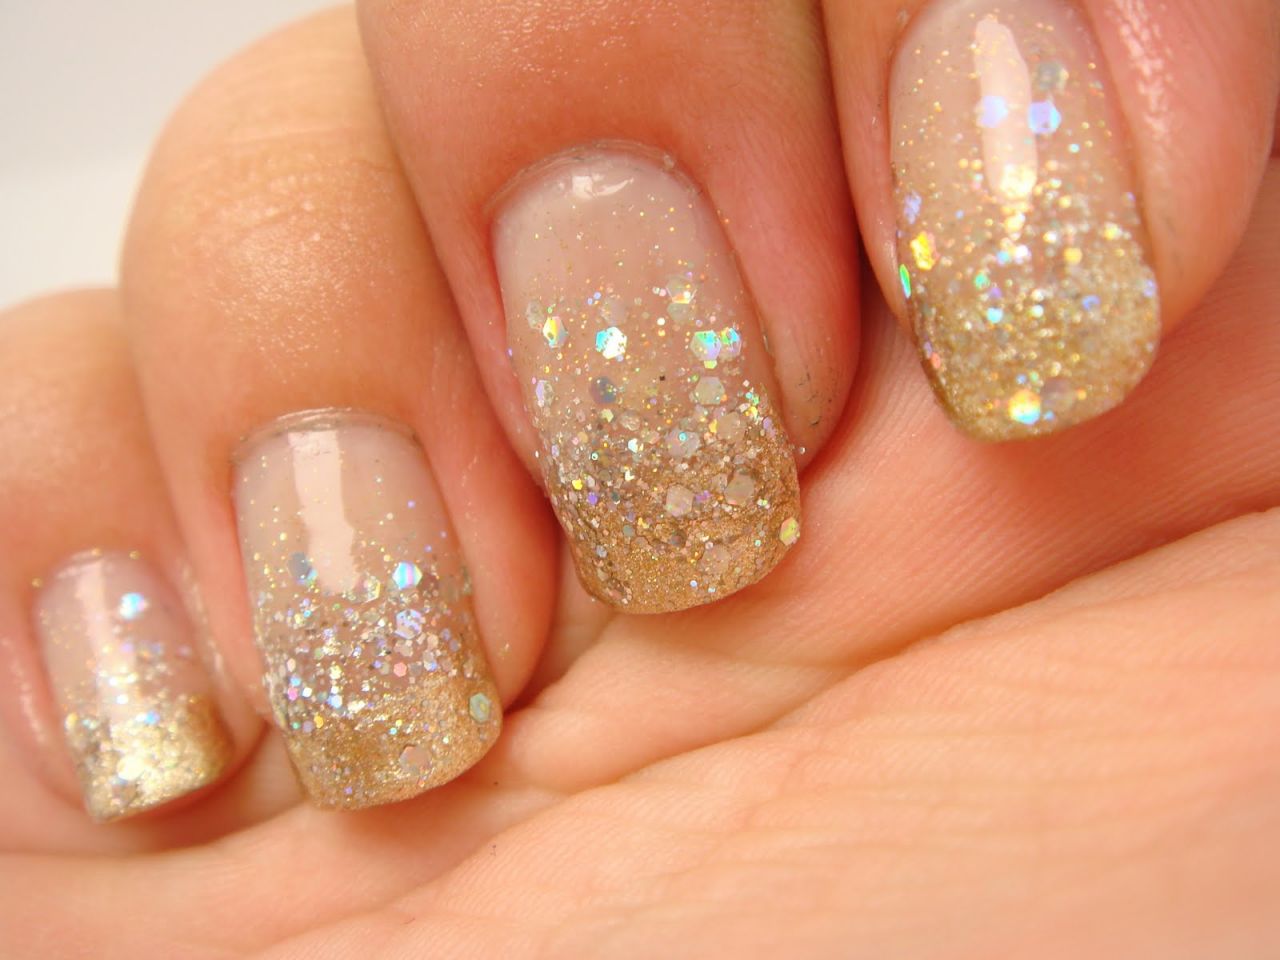
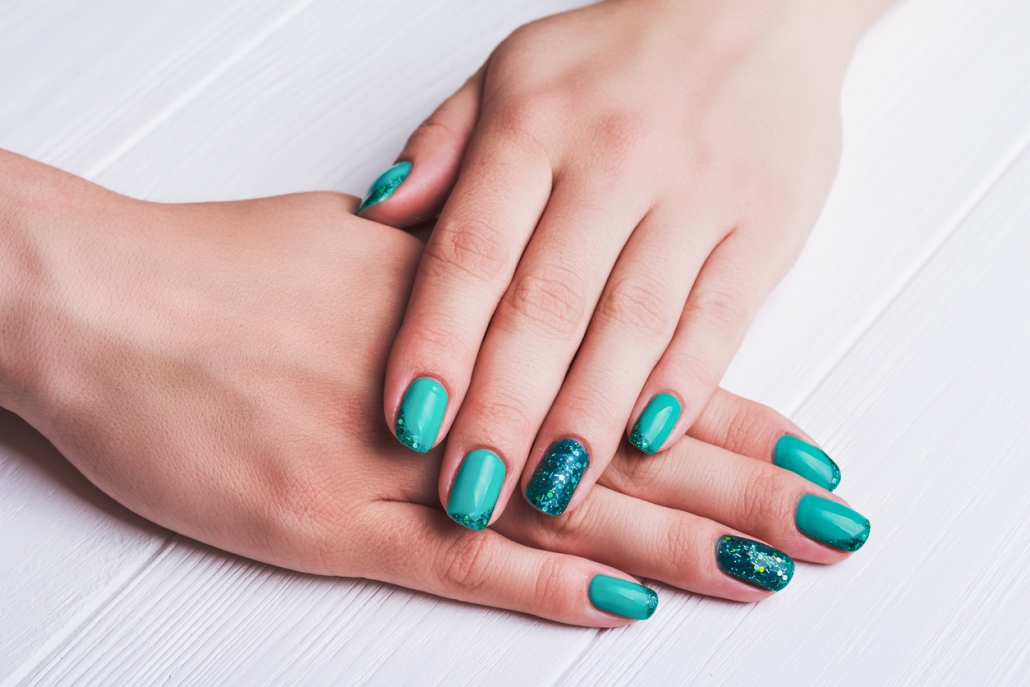
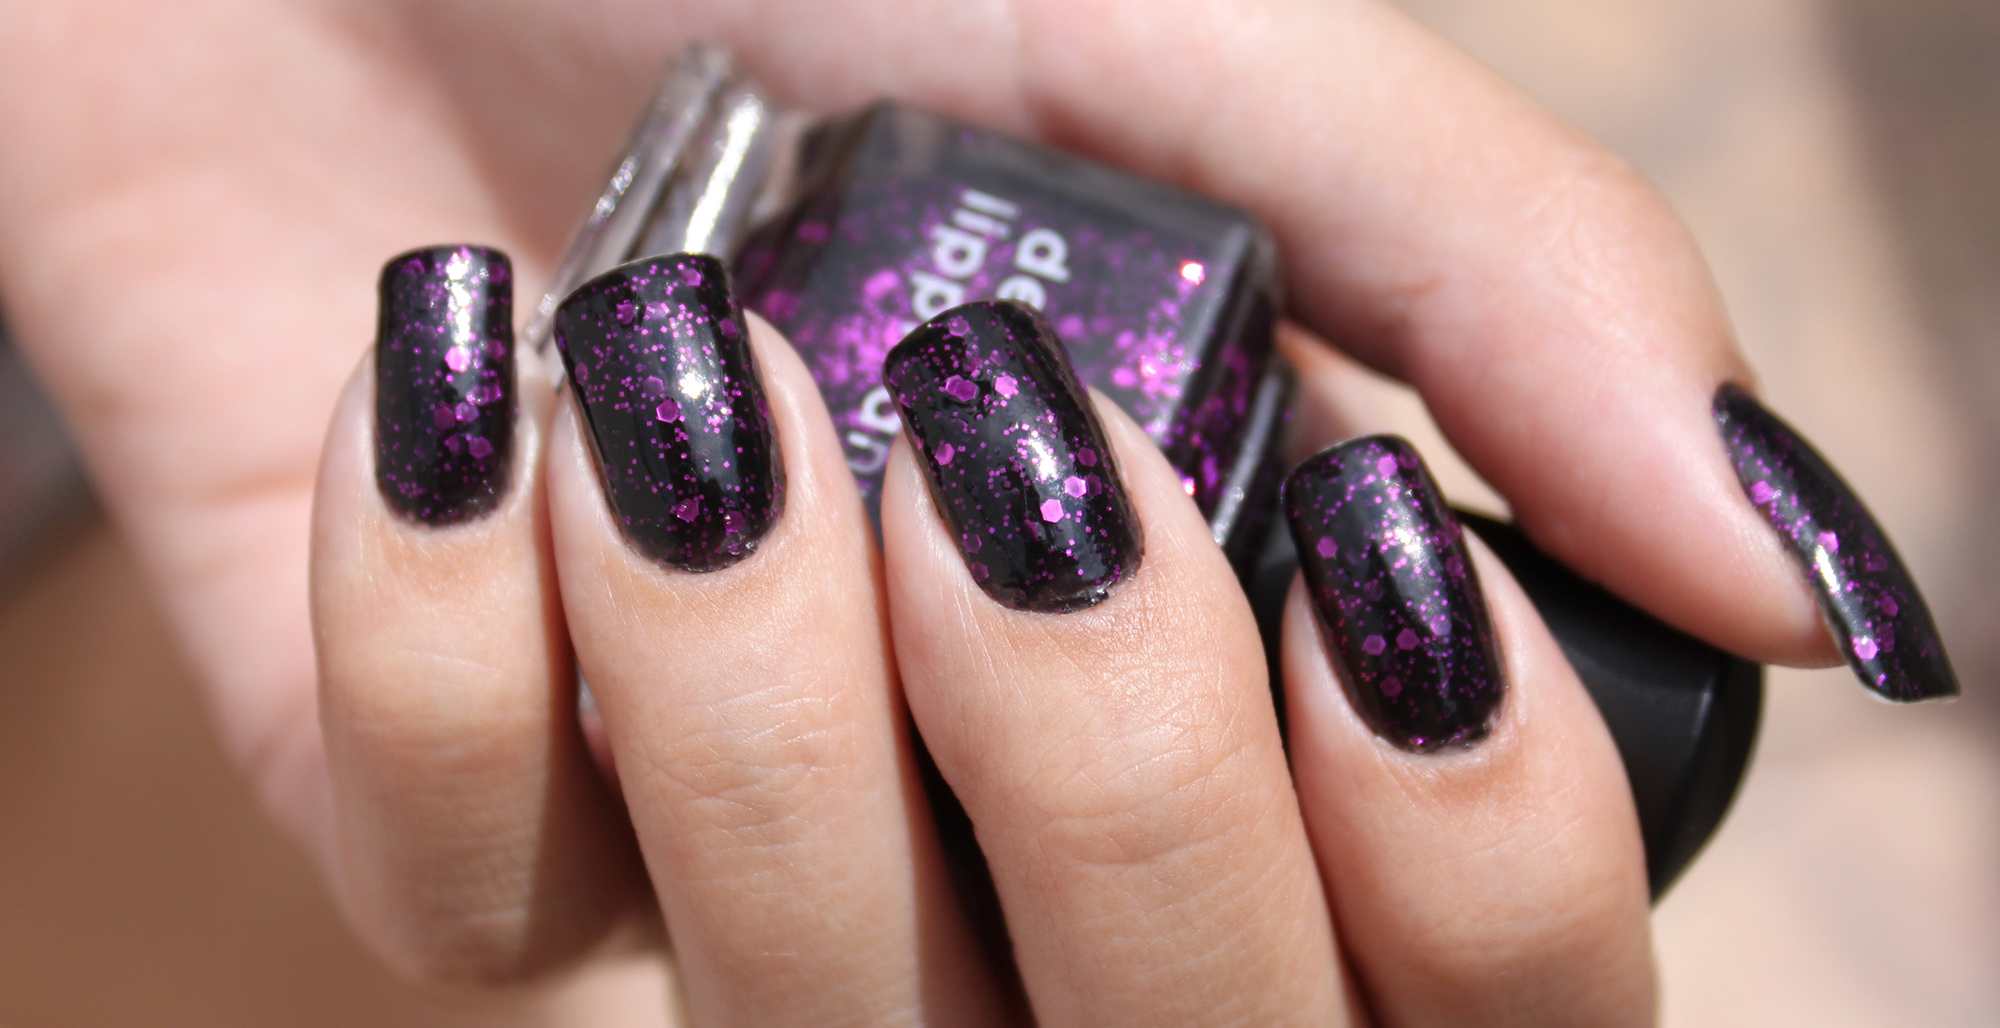
Adding a touch of glitter to your nails can instantly elevate your manicure. To achieve this look, paint your nails with a base color and let it dry completely. Then, using a clear nail polish as a glue, apply loose glitter onto one or two nails. You can also use glitter nail polish for a more subtle effect. Finish off with a top coat to seal in the glitter and prevent it from rubbing off.4. Glitter Accent Nails
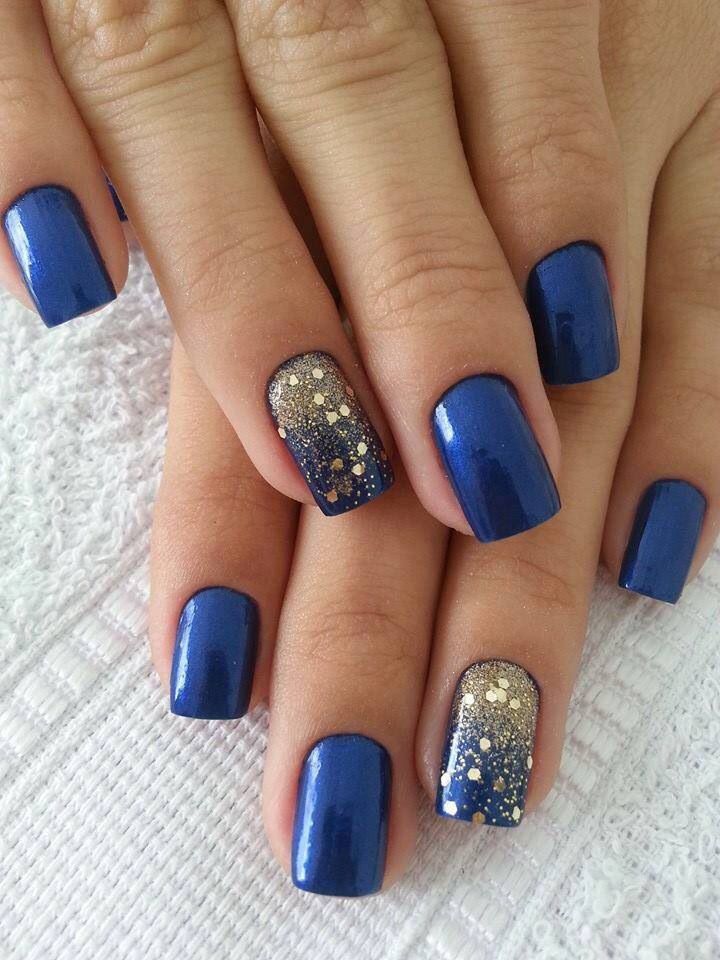


4. Glitter Accent Nails

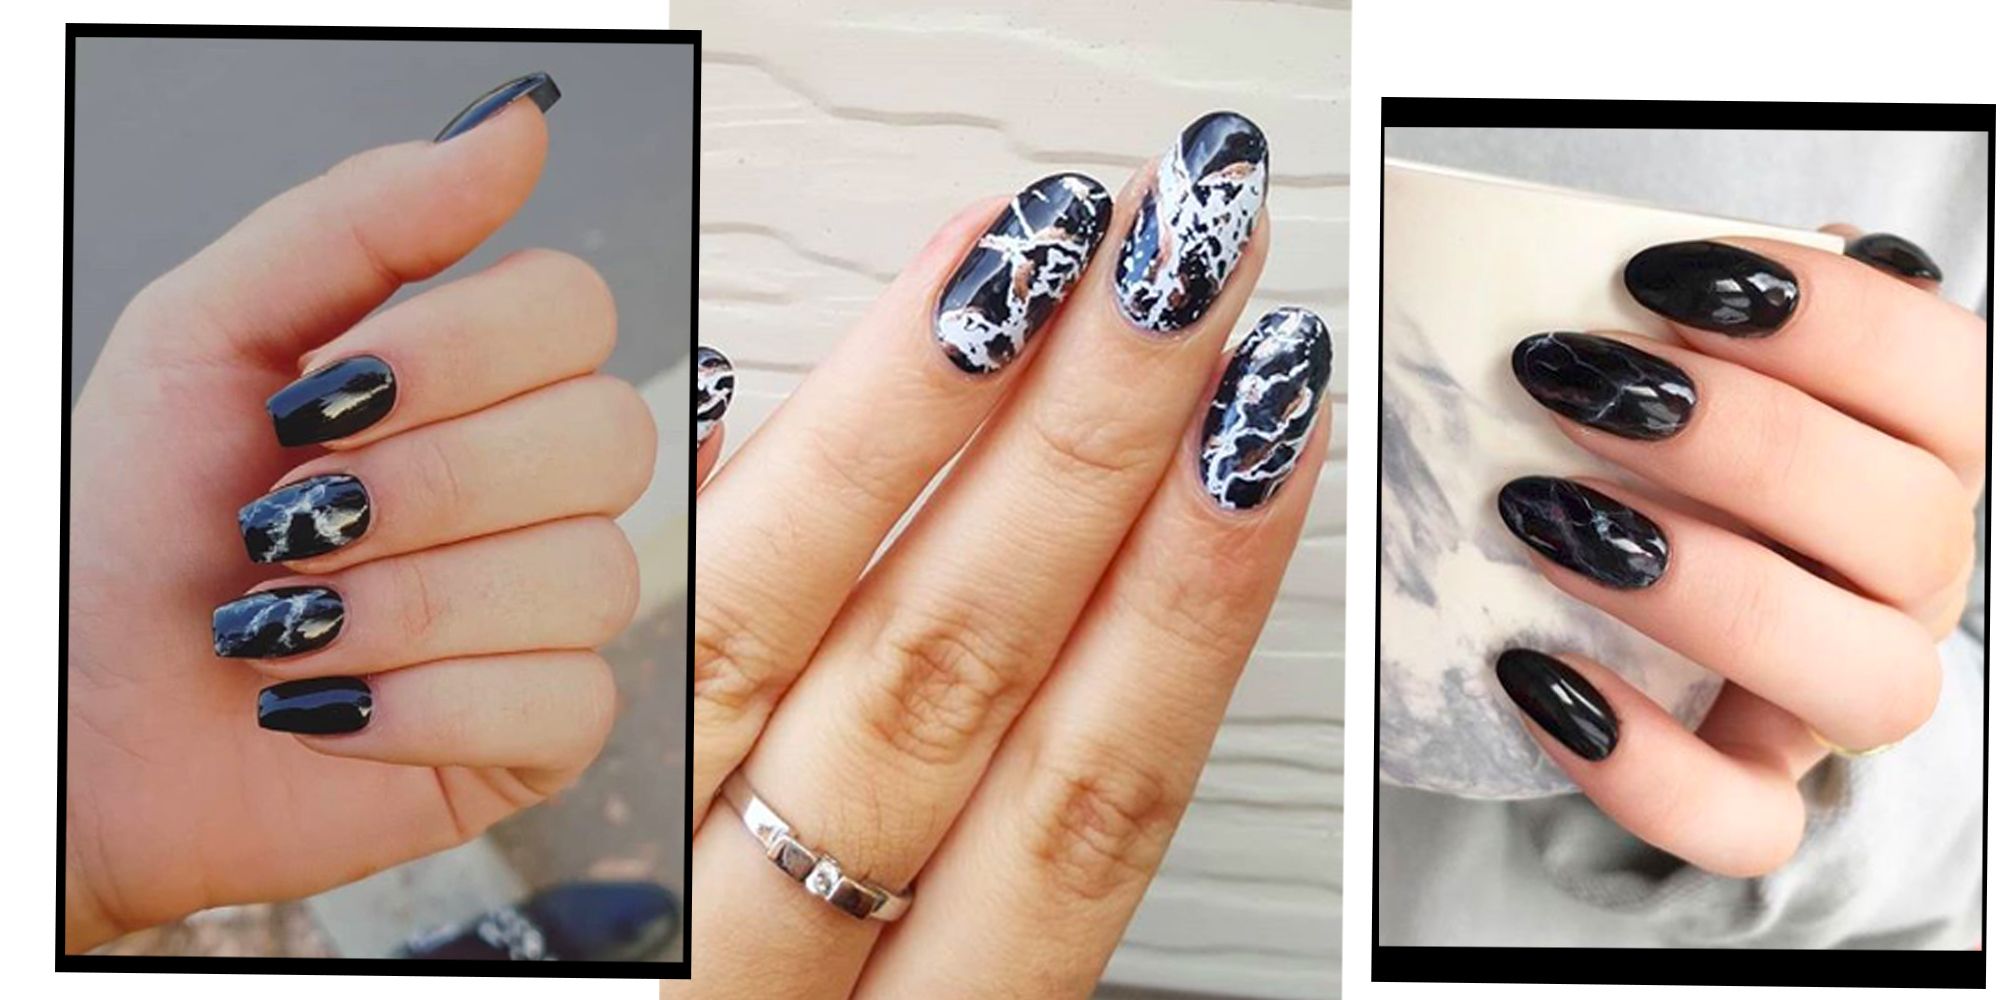
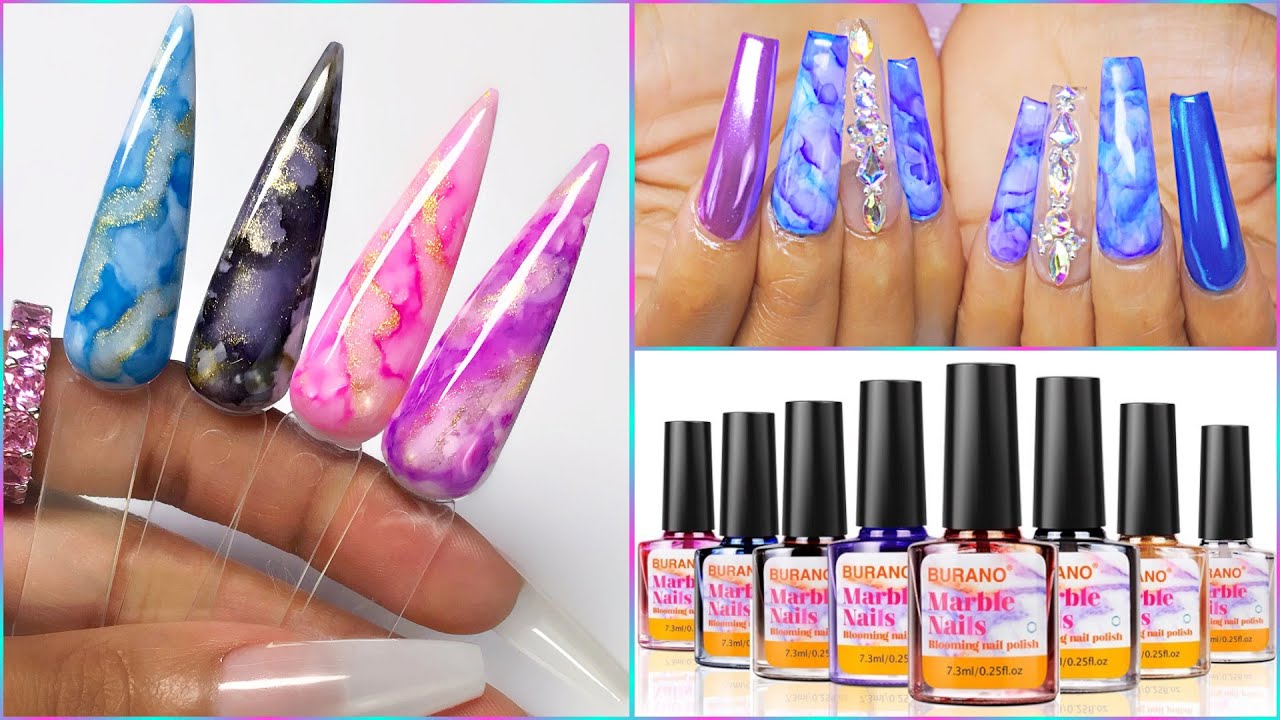
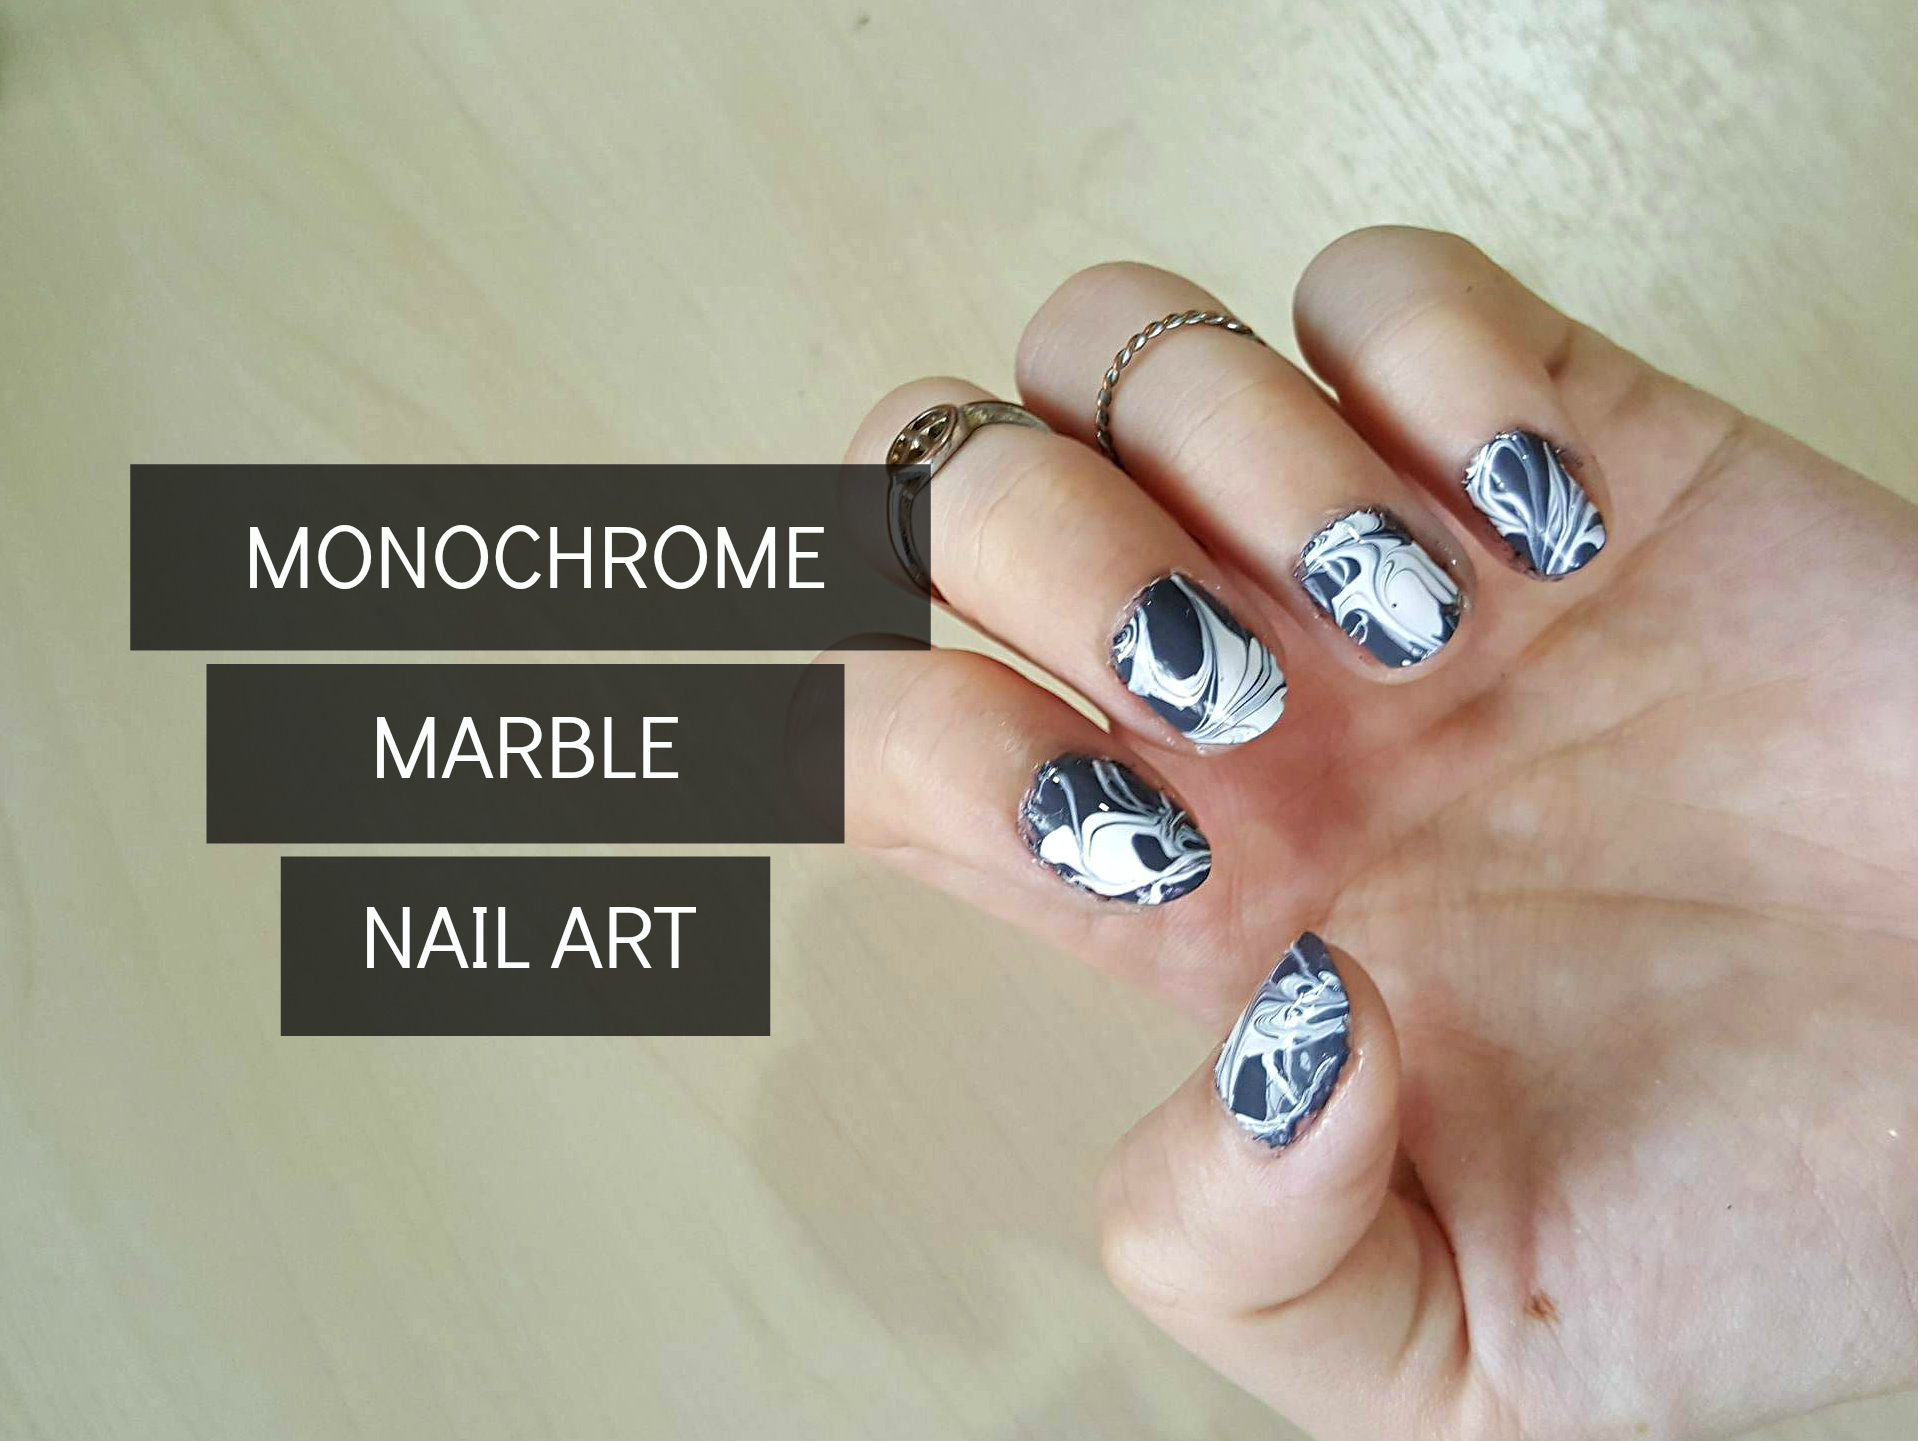
Marble nails are a trendy and unique design that can be achieved with regular nail polish. Start by painting your nails with a light base color and let it dry completely. Then, using a few drops of two or three different colors, create a swirl pattern on top of the base color with a toothpick or a thin brush. Once you're happy with the design, gently press your nails onto the pattern to transfer it onto your nails. Finish off with a top coat for a glossy finish.5. Marble Nails


5. Marble Nails

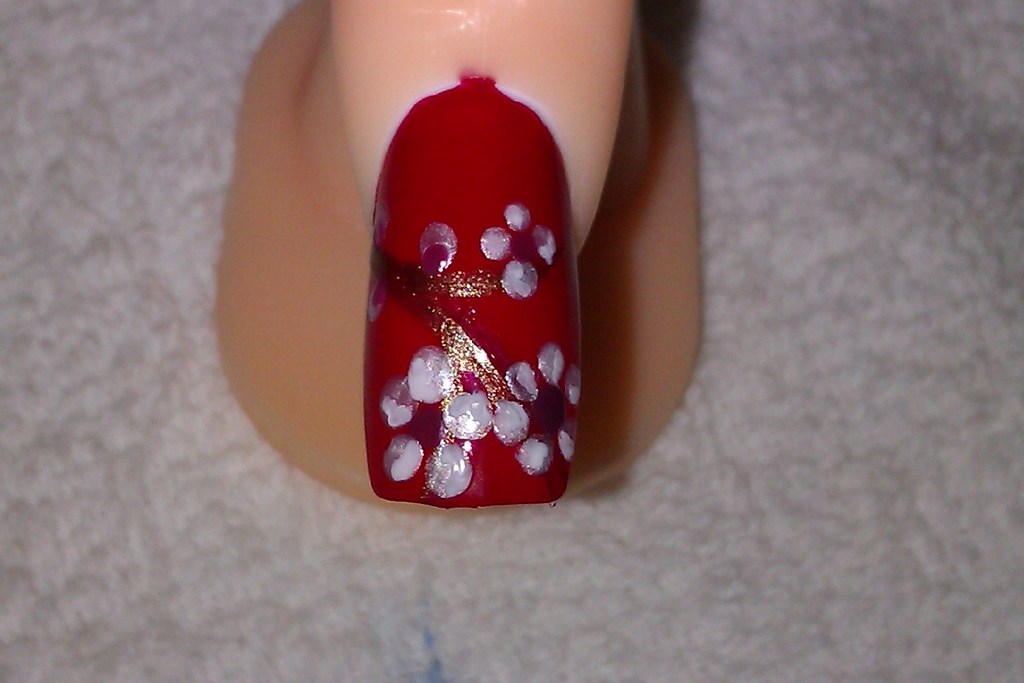
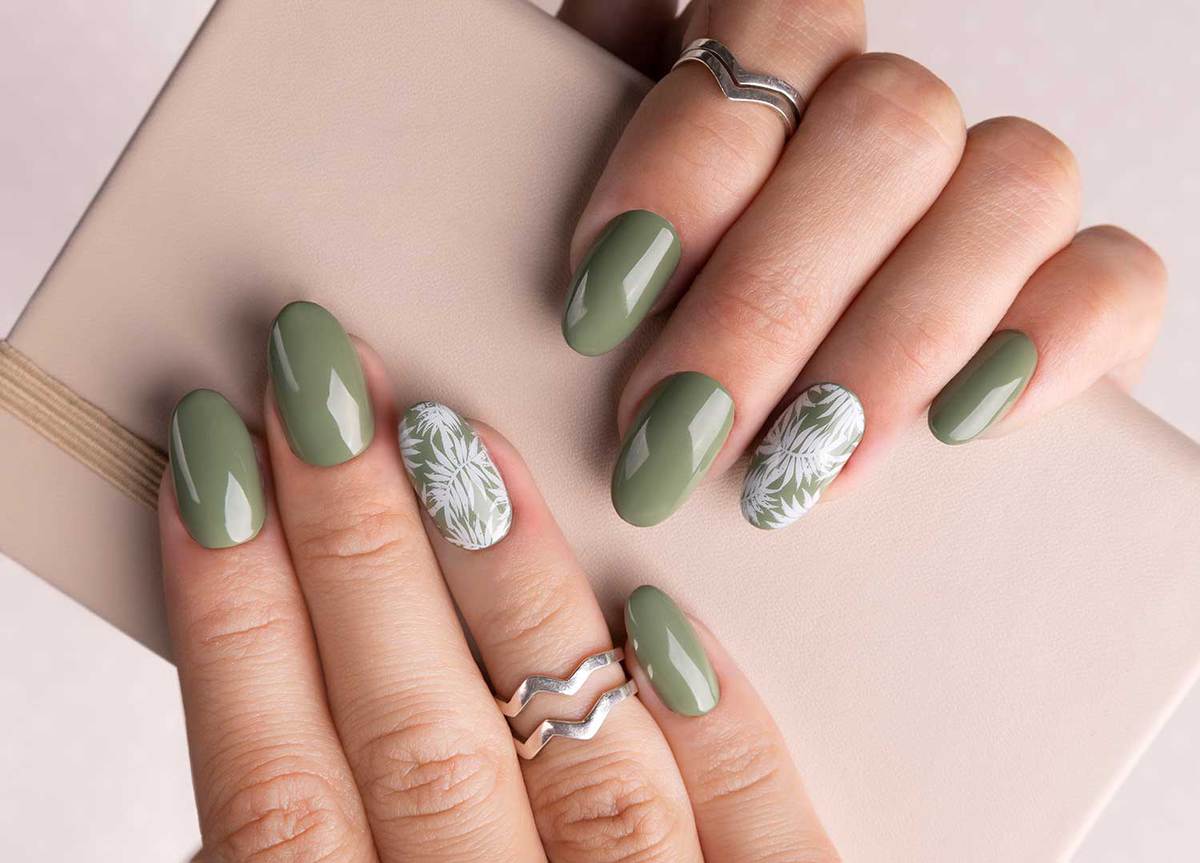
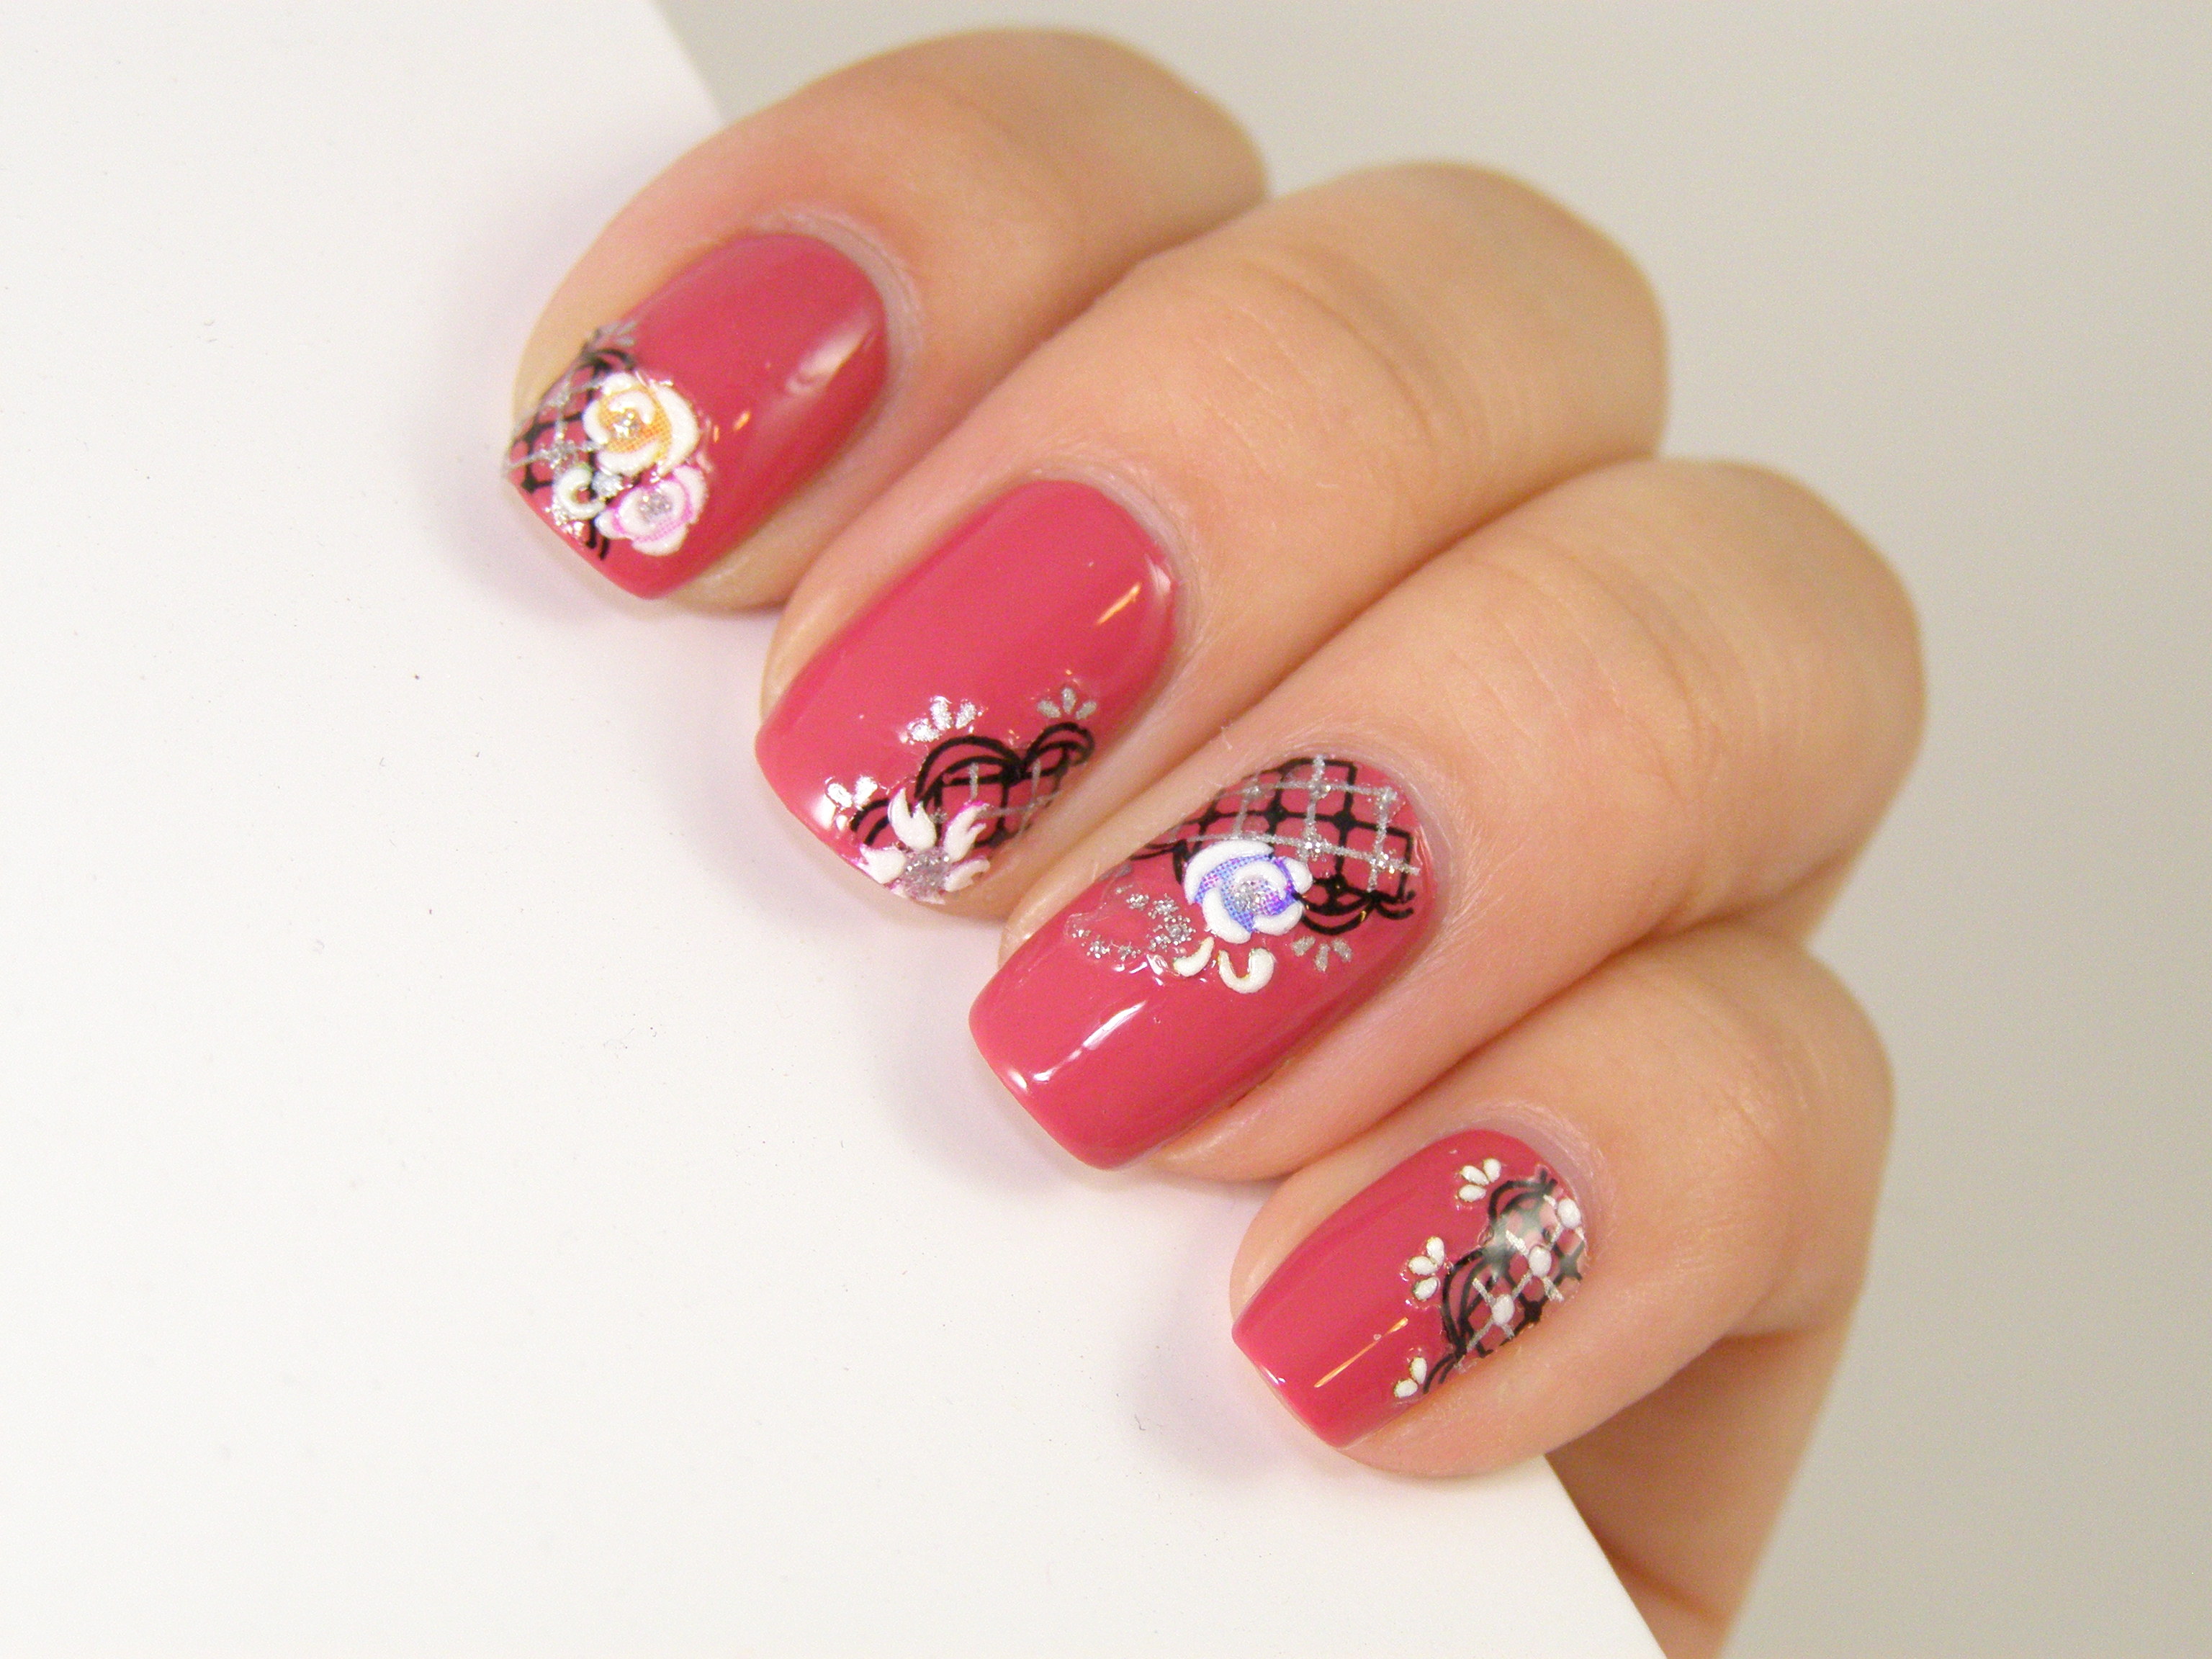
Floral nails are perfect for spring and summer and can easily be created with regular nail polish. Start by painting your nails with a light base color. Then, using a thin brush or a dotting tool, create small flowers on top in different colors. You can also add leaves or other details to make the design more intricate. Finish off with a top coat to seal in the design and add shine.6. Floral Nails


6. Floral Nails


:max_bytes(150000):strip_icc()/284224607_818102752504475_277547827964259801_n-3ef75484d6c149c986288e35e05275b0.jpg)

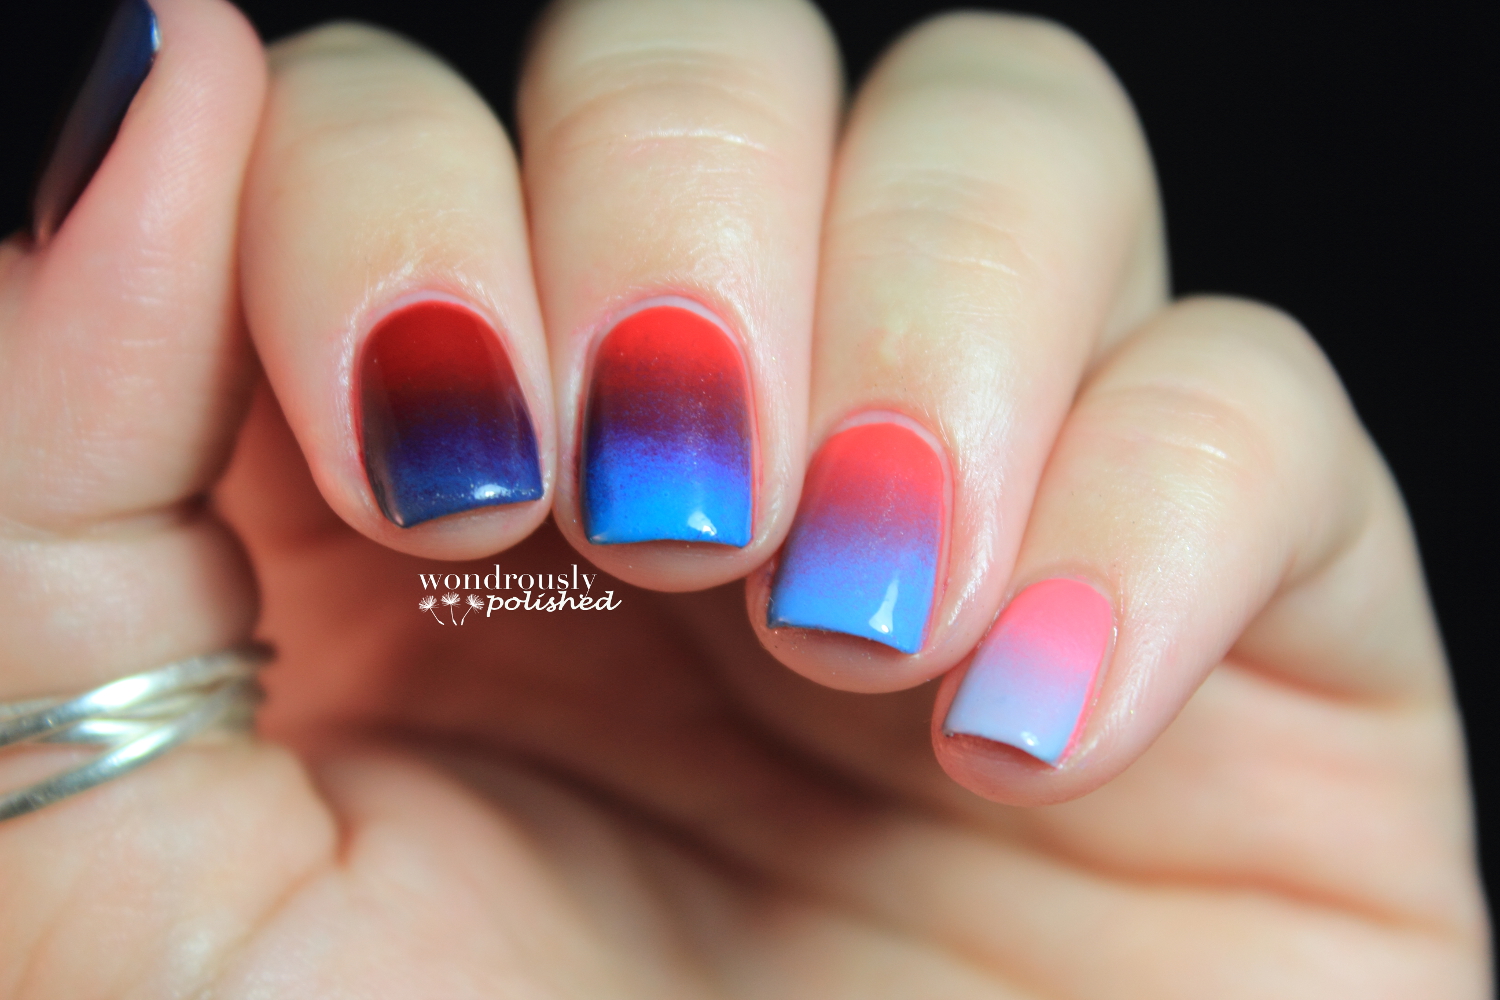
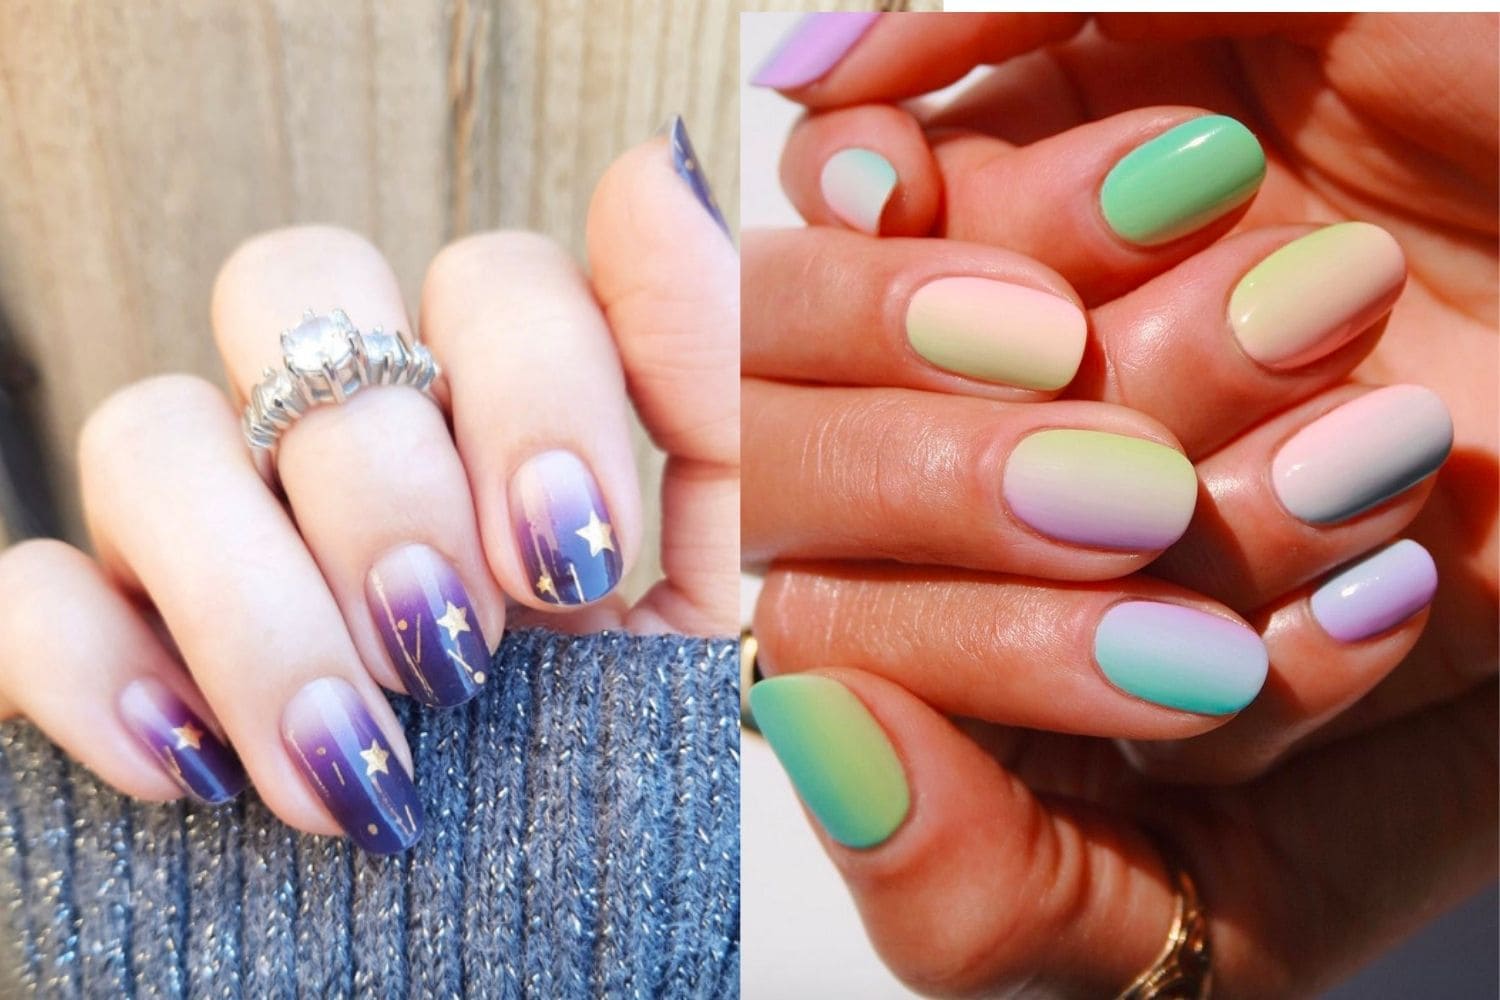
Ombre nails are a popular and trendy design that can be achieved with regular nail polish. Start by painting your nails with a base color and let it dry completely. Then, using a makeup sponge, apply two to three different colors in a gradient effect onto the sponge and dab it onto your nails. You may need to repeat this step a few times to get the desired intensity. Finish off with a top coat for a smooth and blended look.7. Ombre Nails


7. Ombre Nails


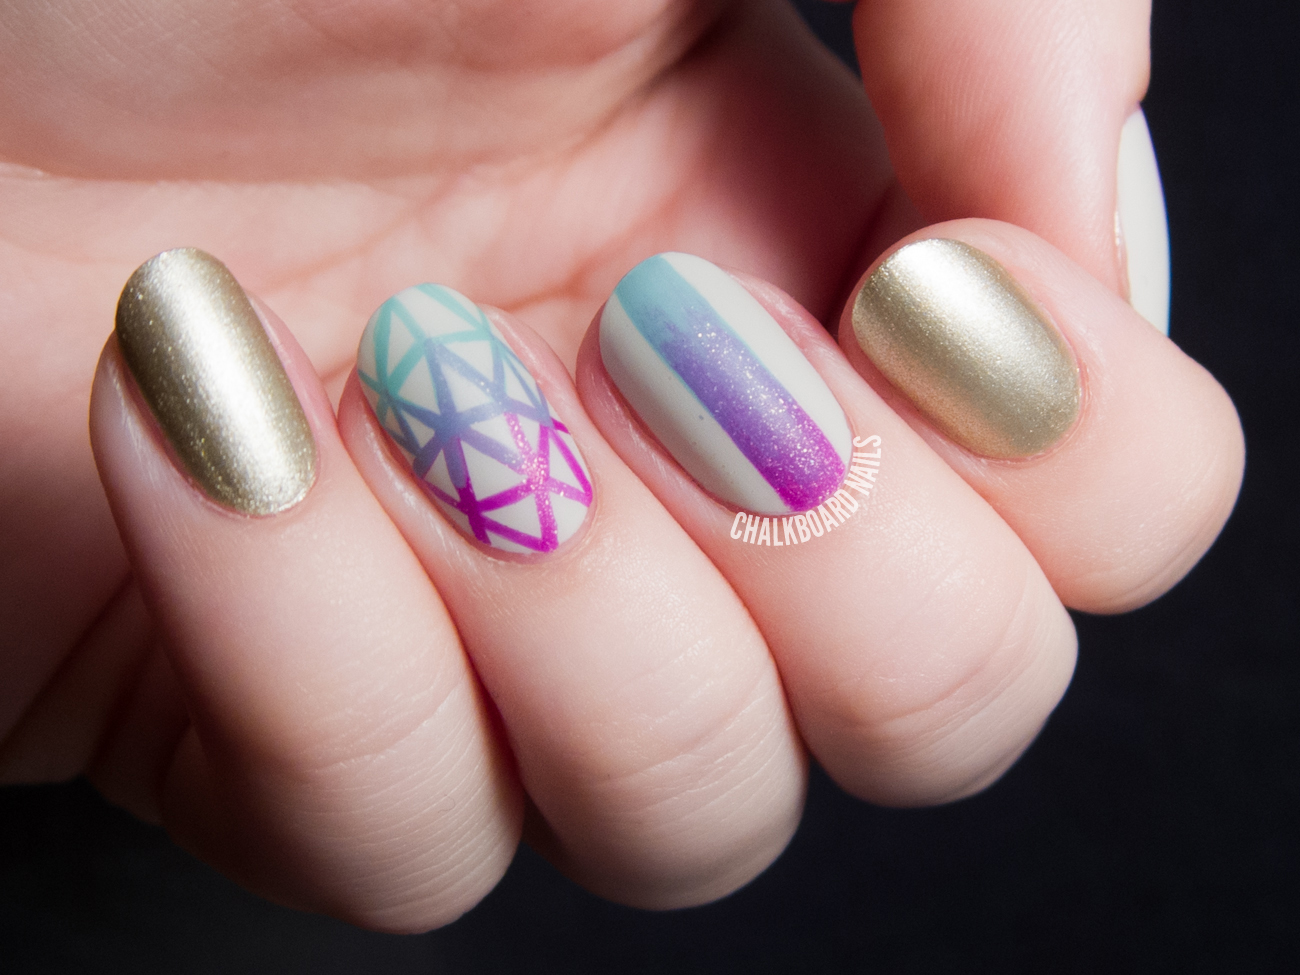
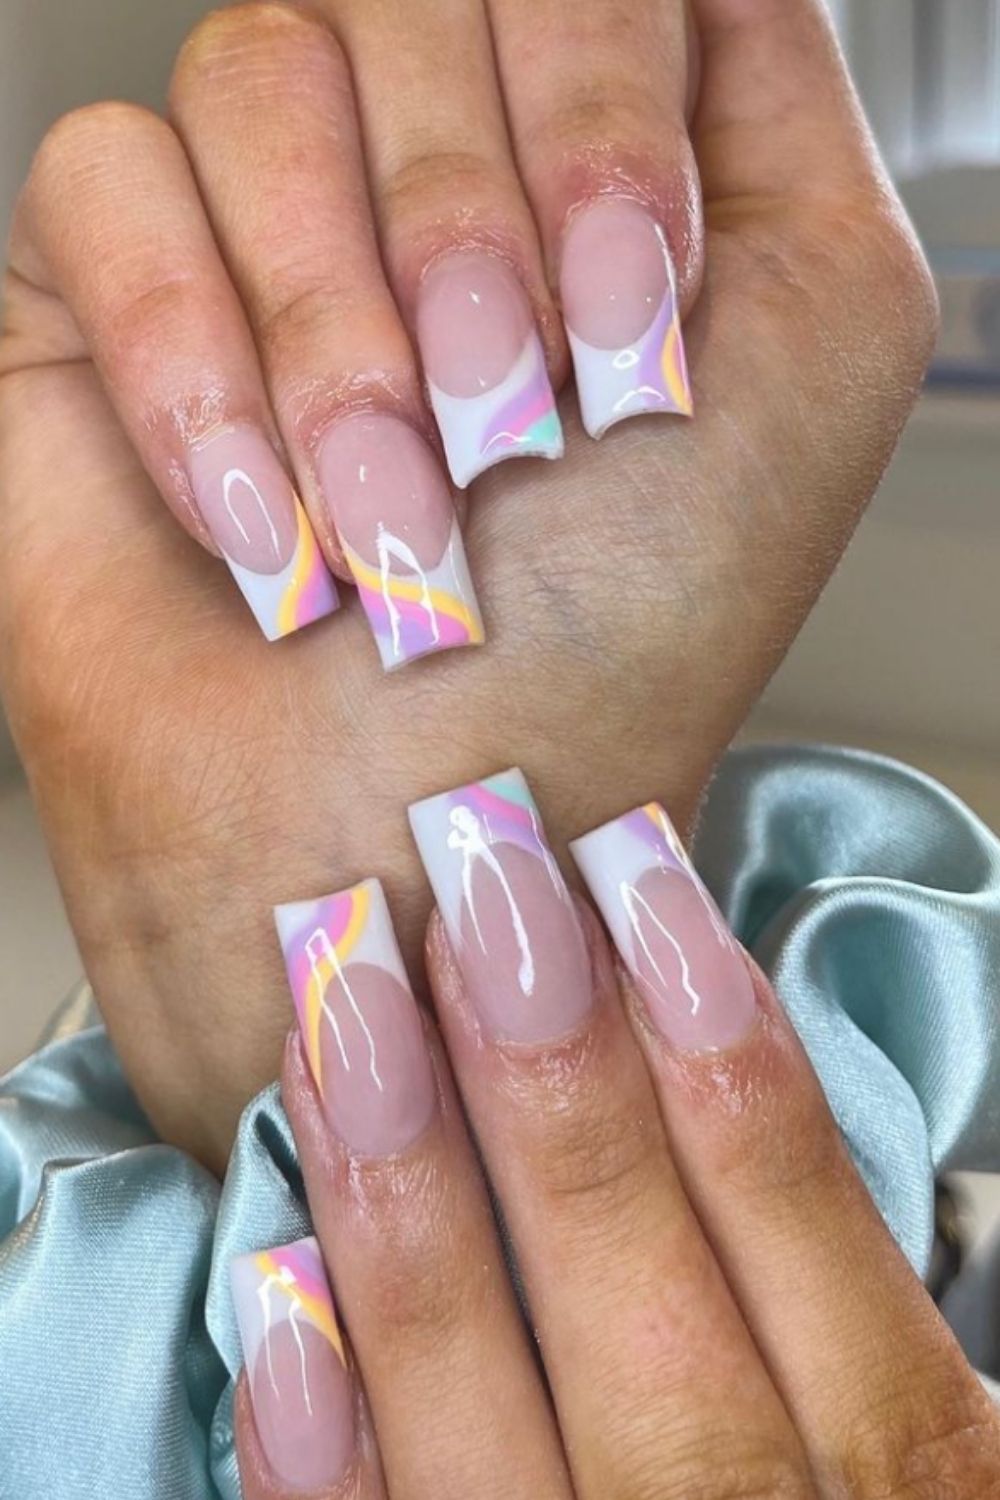
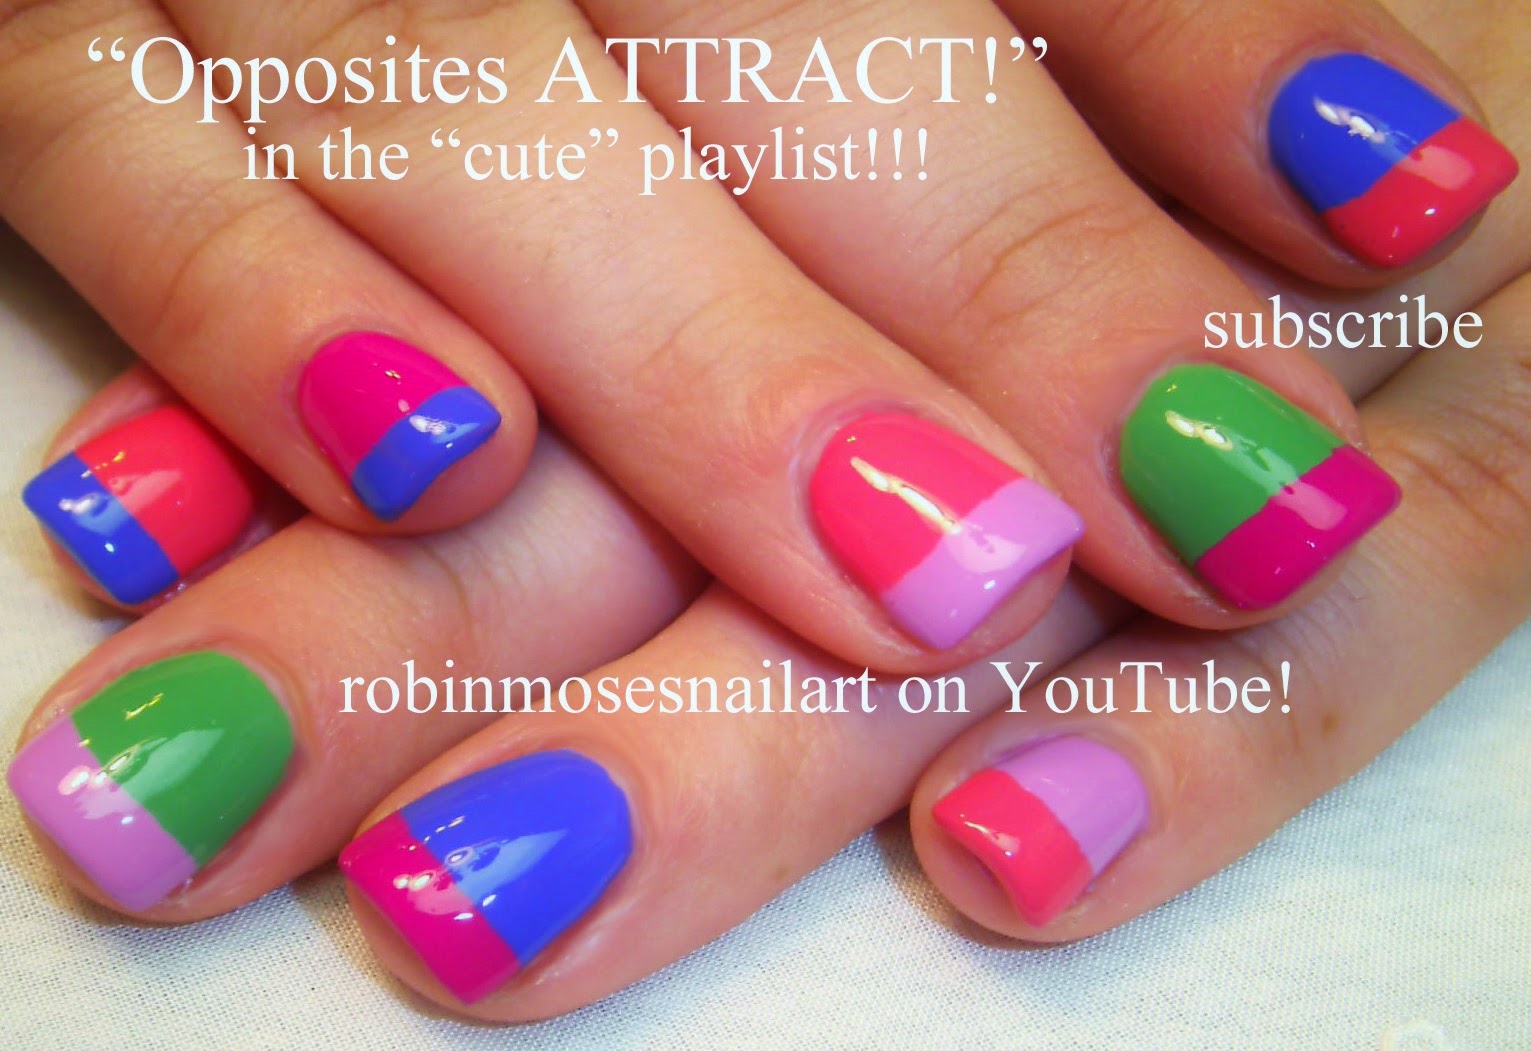
Geometric nails are a fun and modern design that can be created with regular nail polish. Start by painting your nails with a base color and let it dry completely. Then, using a thin brush or striping tape, create geometric shapes on top in different colors. You can also use negative space by leaving some parts of your nails unpainted. Finish off with a top coat to seal in the design and add shine.8. Geometric Nails


8. Geometric Nails


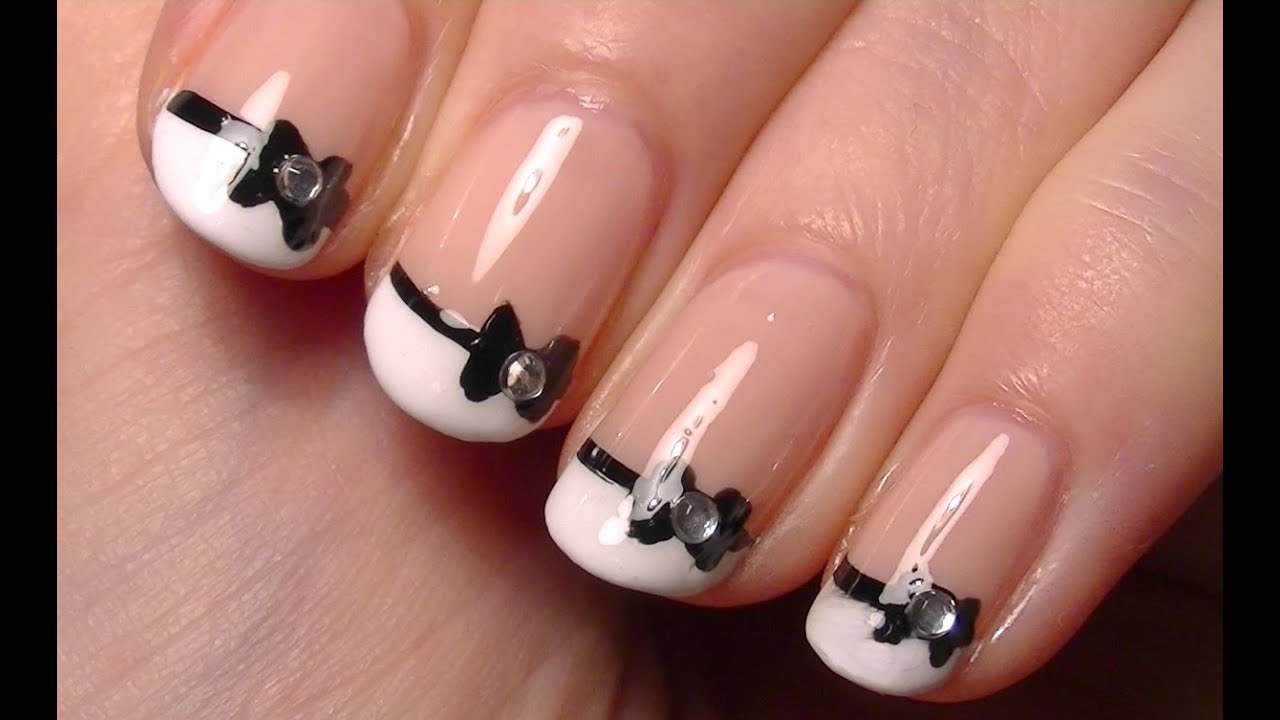
The classic French tip nails can also be achieved with regular nail polish. Start by painting your nails with a base color and let it dry completely. Then, using a white nail polish, create a diagonal line at the tip of your nails. You can also use a French tip sticker or tape to create a more precise line. Finish off with a top coat for a clean and polished look.9. French Tip Nails


9. French Tip Nails


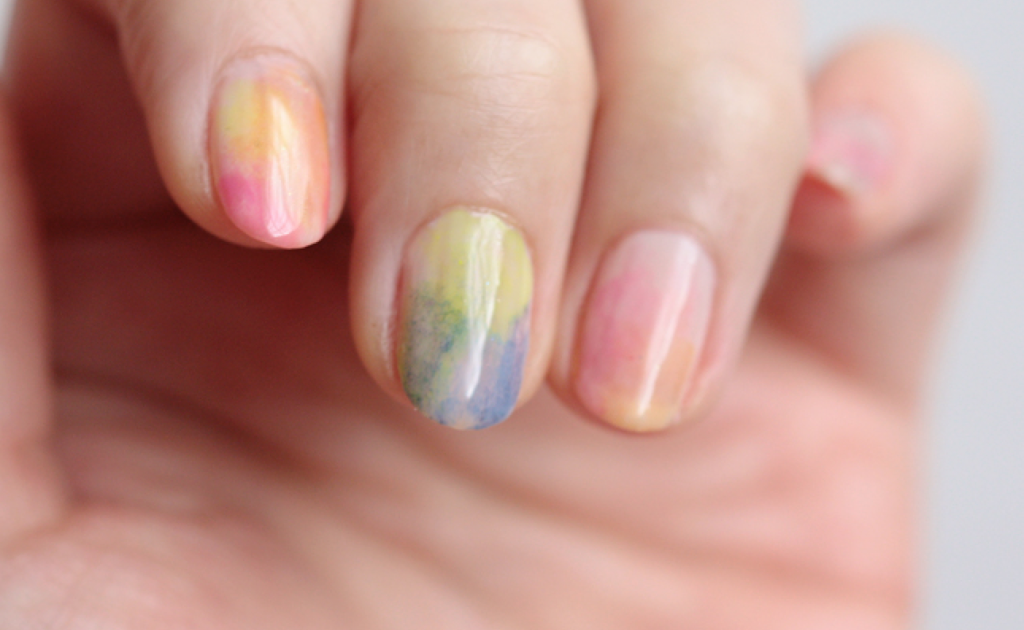
Watercolor nails are a beautiful and artistic design that can be created with regular nail polish. Start by painting your nails with a light base color and let it dry completely. Then, using a few drops of different colors, create a watercolor effect on top of the base color with a toothpick or a thin brush. You can also add a few drops of water to the polish to make it more transparent. Finish off with a top coat for a dreamy and ethereal look.10. Watercolor Nails


10. Watercolor Nails


Create Unique Nail Art with Everyday Nail Polish
:max_bytes(150000):strip_icc()/072922-beauty-nail-art-lead-2000-21de3481261e48a995c855269f9846ad.jpg)
Revamp Your Nails with These Easy DIY Designs
 Are you tired of the same old plain nail polish colors? Want to add some creativity and personality to your nails without having to spend a fortune on professional nail art? Look no further, because we have the perfect solution for you – creating unique and trendy nail art with
normal nail polish
! With just a few simple techniques, you can achieve stunning nail art designs right at home. Let's dive into the world of
easy nail art
and explore the endless possibilities with everyday nail polish.
Are you tired of the same old plain nail polish colors? Want to add some creativity and personality to your nails without having to spend a fortune on professional nail art? Look no further, because we have the perfect solution for you – creating unique and trendy nail art with
normal nail polish
! With just a few simple techniques, you can achieve stunning nail art designs right at home. Let's dive into the world of
easy nail art
and explore the endless possibilities with everyday nail polish.
What You'll Need
 Before we get started, make sure you have all the necessary tools and materials. You will need your favorite
nail polish colors
, a base coat, a top coat, a small paintbrush or toothpick, and some
nail art accessories
such as rhinestones, glitter, or stickers. You can find these items at any drugstore or beauty supply store.
Before we get started, make sure you have all the necessary tools and materials. You will need your favorite
nail polish colors
, a base coat, a top coat, a small paintbrush or toothpick, and some
nail art accessories
such as rhinestones, glitter, or stickers. You can find these items at any drugstore or beauty supply store.
Step-by-Step Guide
 Now, let's get into the fun part – creating your very own nail art!
Step 1: Prep Your Nails
 Start by prepping your nails for the nail polish. Trim and file your nails to your desired shape and push back your cuticles. Then, apply a base coat to protect your natural nails and help the nail polish last longer.
Step 2: Choose Your Design
 There are endless possibilities when it comes to nail art designs. You can opt for a simple
polka dot
design, a
striped
pattern, or even a
marble
effect. You can also mix and match different colors to create your own unique design.
There are endless possibilities when it comes to nail art designs. You can opt for a simple
polka dot
design, a
striped
pattern, or even a
marble
effect. You can also mix and match different colors to create your own unique design.
Step 3: Get Creative
 Once you have your design in mind, it's time to start creating! Use your small paintbrush or toothpick to carefully draw your design onto your nails. Don't worry if it's not perfect – the beauty of nail art is in its imperfections.
Step 4: Add Some Sparkle
 To take your nail art to the next level, add some
glitter
,
rhinestones
, or
stickers
to your nails. This will add a touch of glam and make your nails stand out even more.
To take your nail art to the next level, add some
glitter
,
rhinestones
, or
stickers
to your nails. This will add a touch of glam and make your nails stand out even more.
Step 5: Seal the Deal
 Once your design is complete, let it dry for a few minutes and then seal it with a top coat. This will not only protect your nail art but also give it a glossy finish.
Final Thoughts
 See how easy it is to create unique and trendy nail art with just
normal nail polish
? With a little bit of creativity and some everyday nail polish, you can achieve salon-worthy nail art right at home. So next time you're looking to revamp your nails, don't hesitate to try these easy DIY designs. Your nails will thank you!
See how easy it is to create unique and trendy nail art with just
normal nail polish
? With a little bit of creativity and some everyday nail polish, you can achieve salon-worthy nail art right at home. So next time you're looking to revamp your nails, don't hesitate to try these easy DIY designs. Your nails will thank you!
HTML Code:
Create Unique Nail Art with Everyday Nail Polish

Revamp Your Nails with These Easy DIY Designs
Are you tired of the same old plain nail polish colors? Want to add some creativity and personality to your nails without having to spend a fortune on professional nail art? Look no further, because we have the perfect solution for you – creating unique and trendy nail art with normal nail polish ! With just a few simple techniques, you can achieve stunning nail art designs right at home. Let's dive into the world of easy nail art and explore the endless possibilities with everyday nail polish.
What You'll Need
.jpg)
Before we get started, make sure you have all the necessary tools and materials. You will need your favorite nail polish colors , a base coat, a top coat, a small paintbrush or toothpick, and some nail art accessories such as rhinestones, glitter, or stickers. You can find these items at any drugstore or beauty supply store.
Step-by-Step Guide
Now, let's get into the fun part – creating your very own nail art!
Step 1: Prep Your Nails
Start by prepping your nails for the nail polish. Trim and file your nails to your desired shape and push


