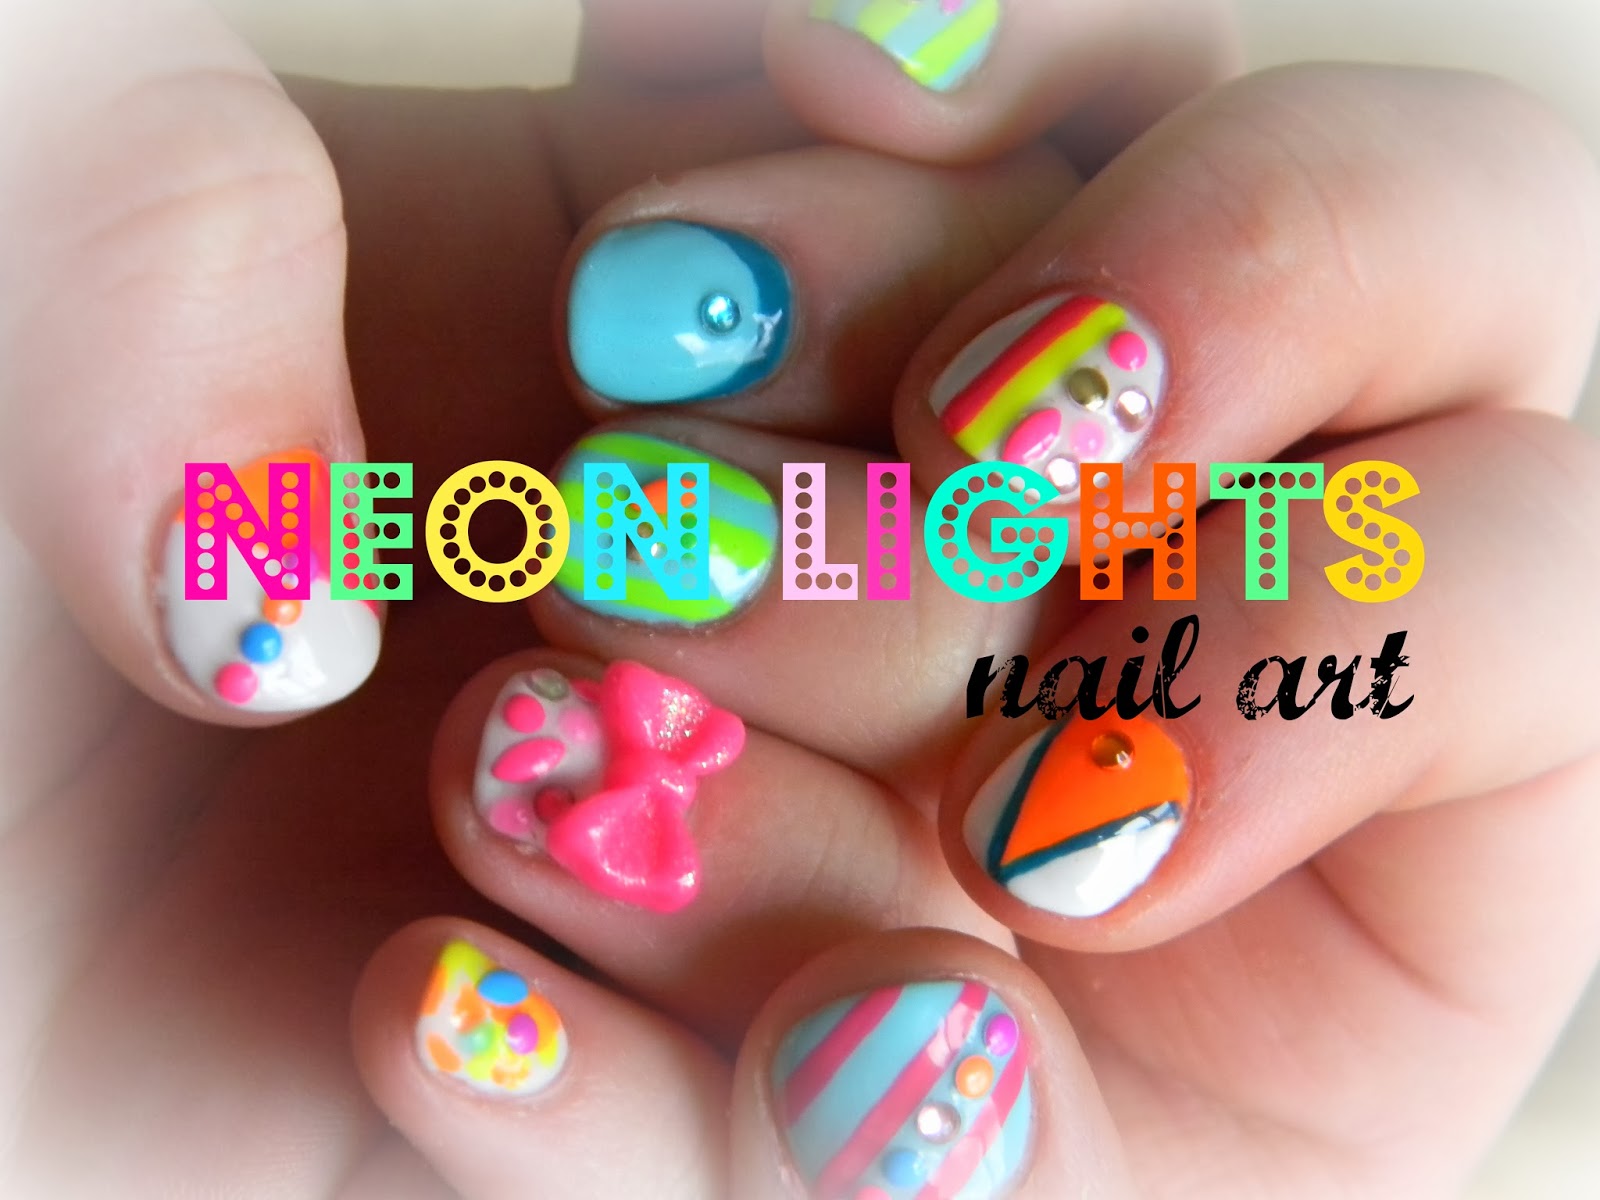
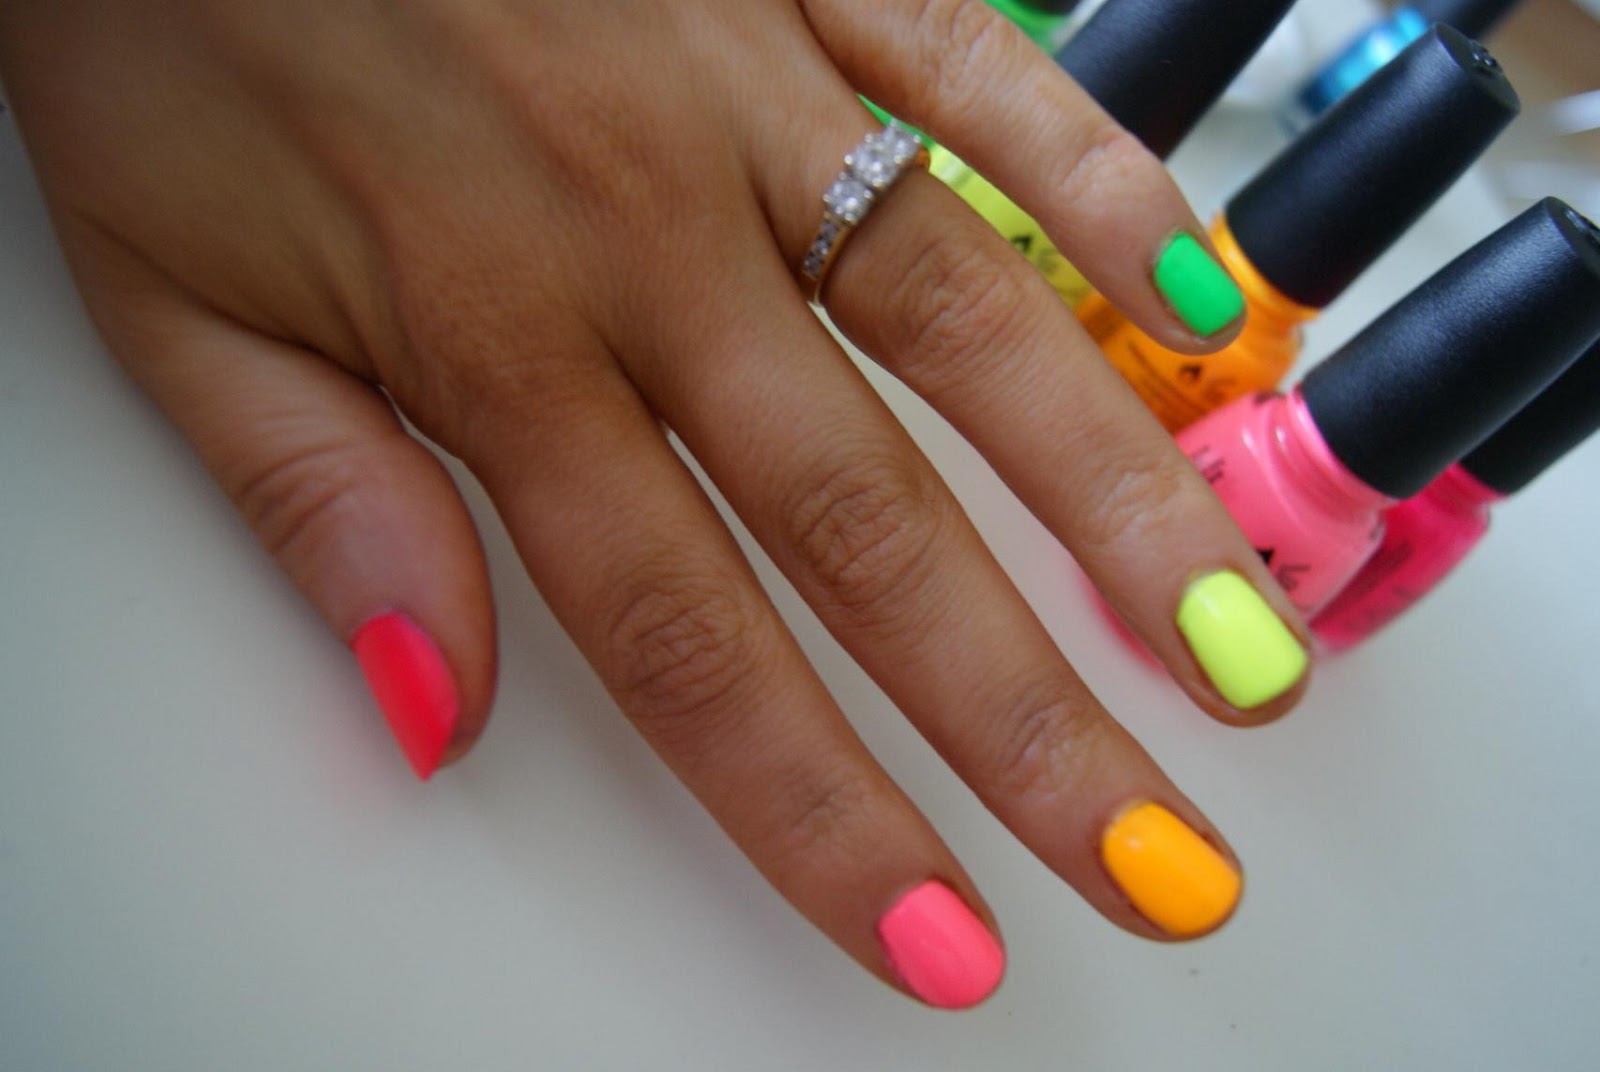
Are you new to the world of nail art but want to try something bold and eye-catching? Look no further than neon nail art designs! These vibrant and electrifying colors are perfect for beginners as they are easy to work with and require minimal tools. You don't need to be a professional nail artist to achieve stunning results with neon nail art. So let's dive into some simple and fun designs that even beginners can master.1. Neon Nail Art Designs for Beginners


1. Neon Nail Art Designs for Beginners


Ready to get your neon on? Let's start with a step-by-step tutorial on how to achieve easy neon nail art. First, gather your supplies - a base coat, your choice of neon nail polish, a white nail polish, and a top coat. Begin by painting all your nails with the white polish as a base. Once it dries, take your neon polish and create a small triangle at the base of your nail. Then, using a small brush or toothpick, create vertical lines from the triangle to the tip of your nail. Repeat this on all your nails and seal it with a top coat for a fun and colorful look.2. Easy Neon Nail Art Tutorial


2. Easy Neon Nail Art Tutorial


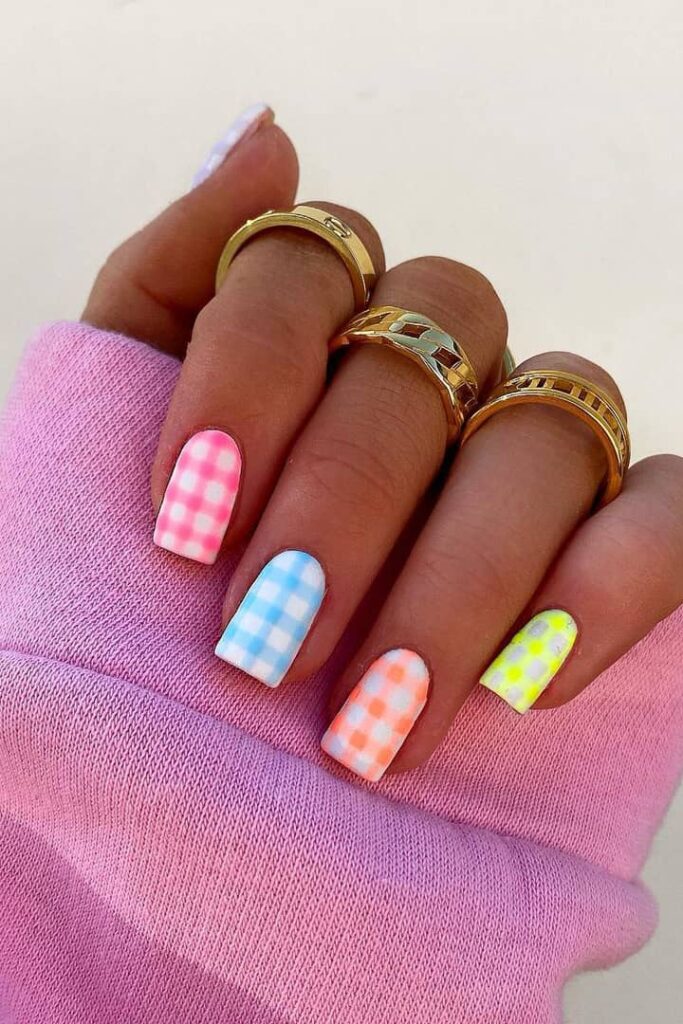
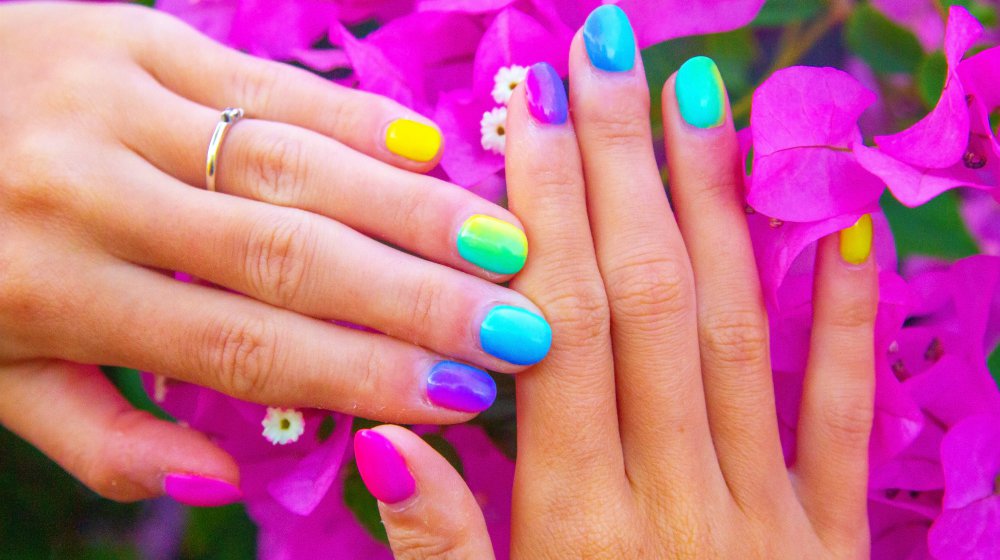
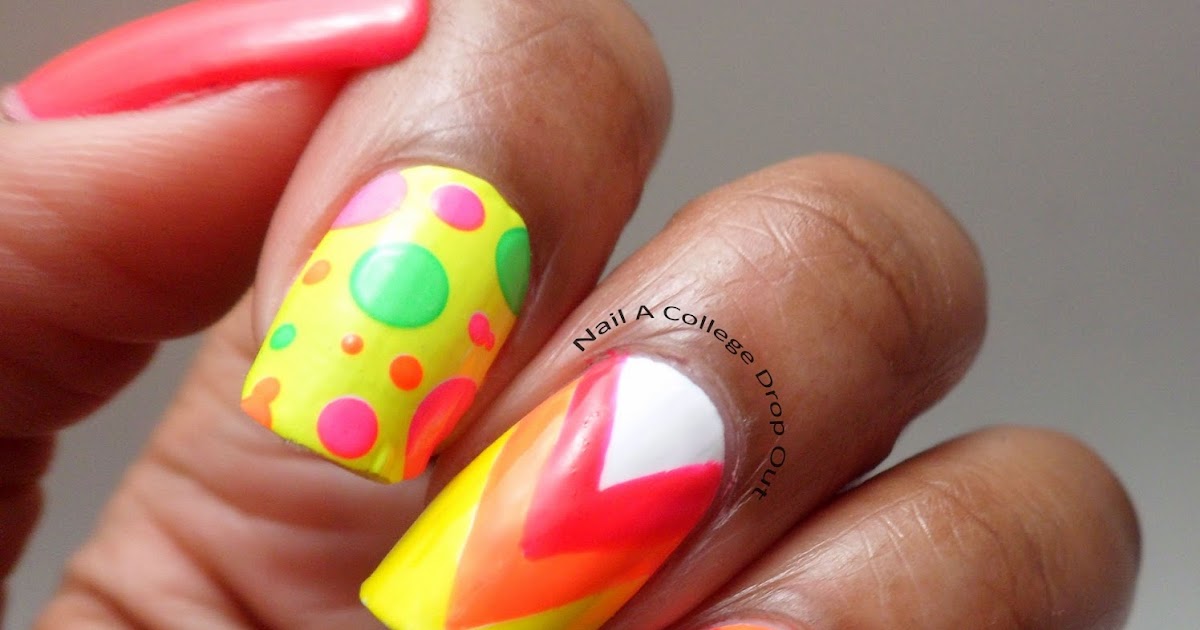
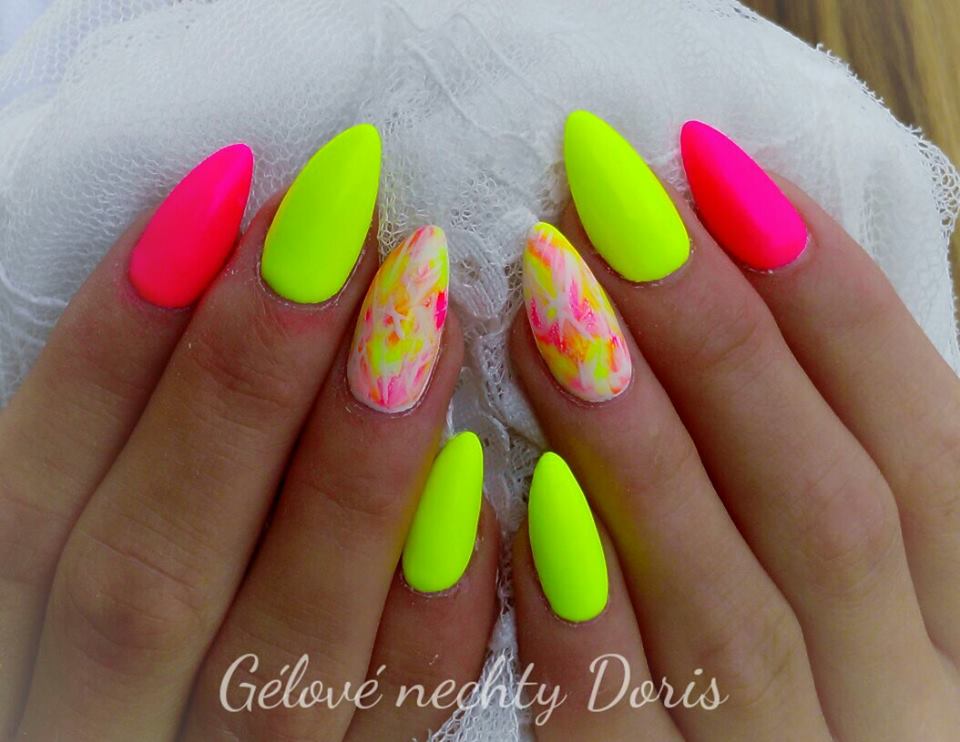
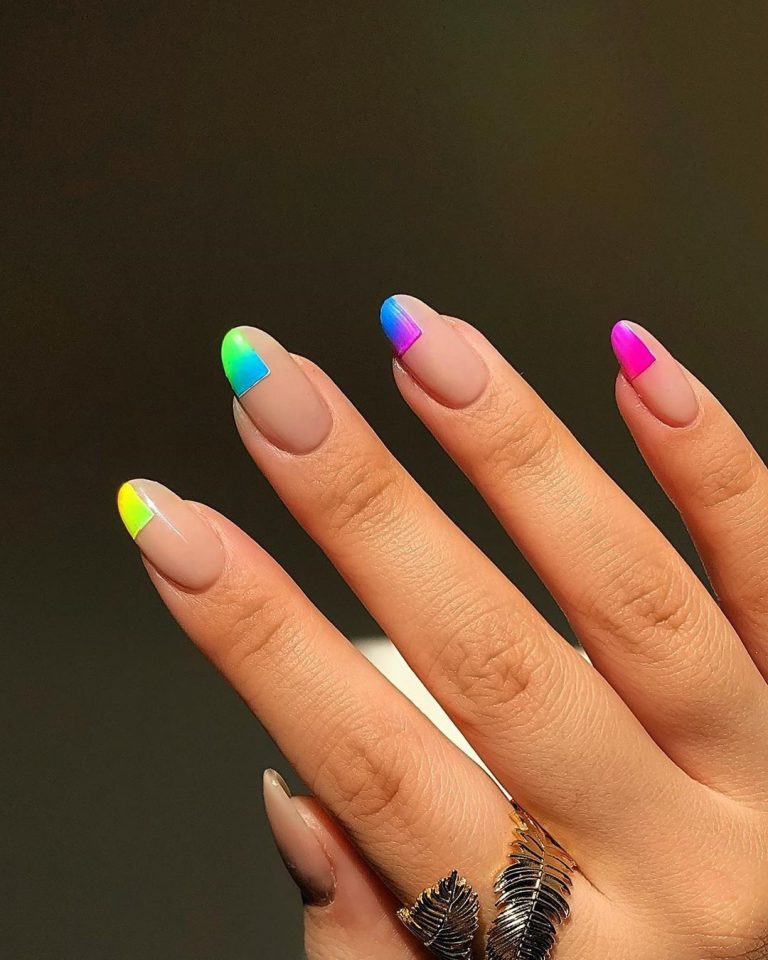
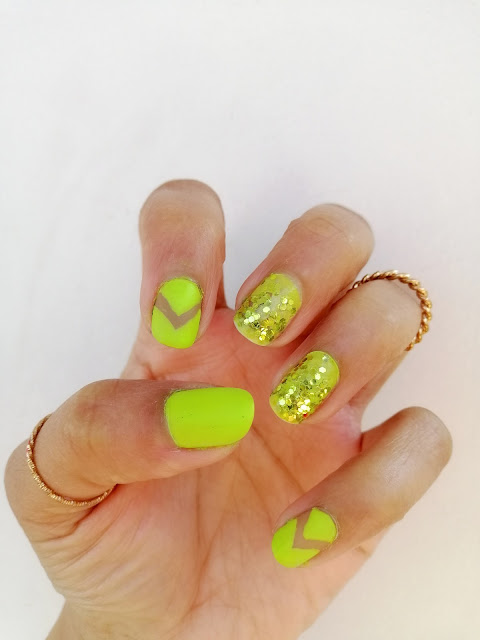
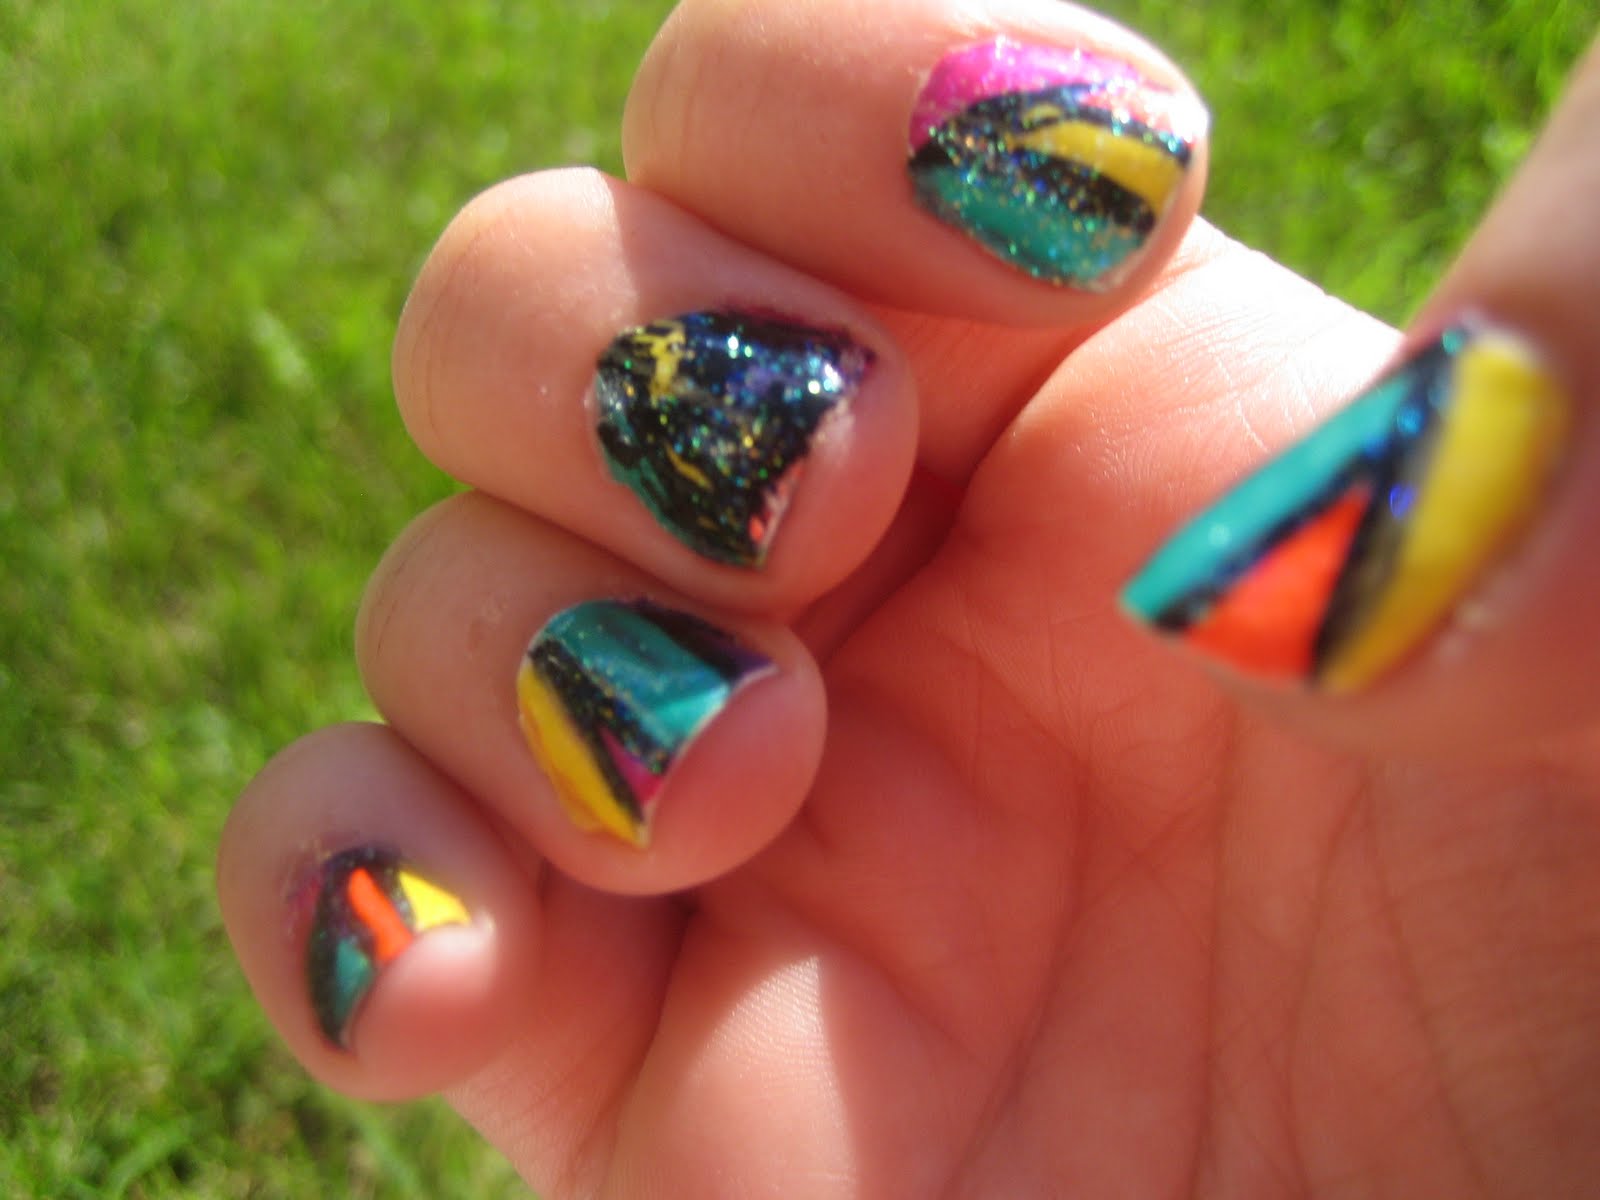
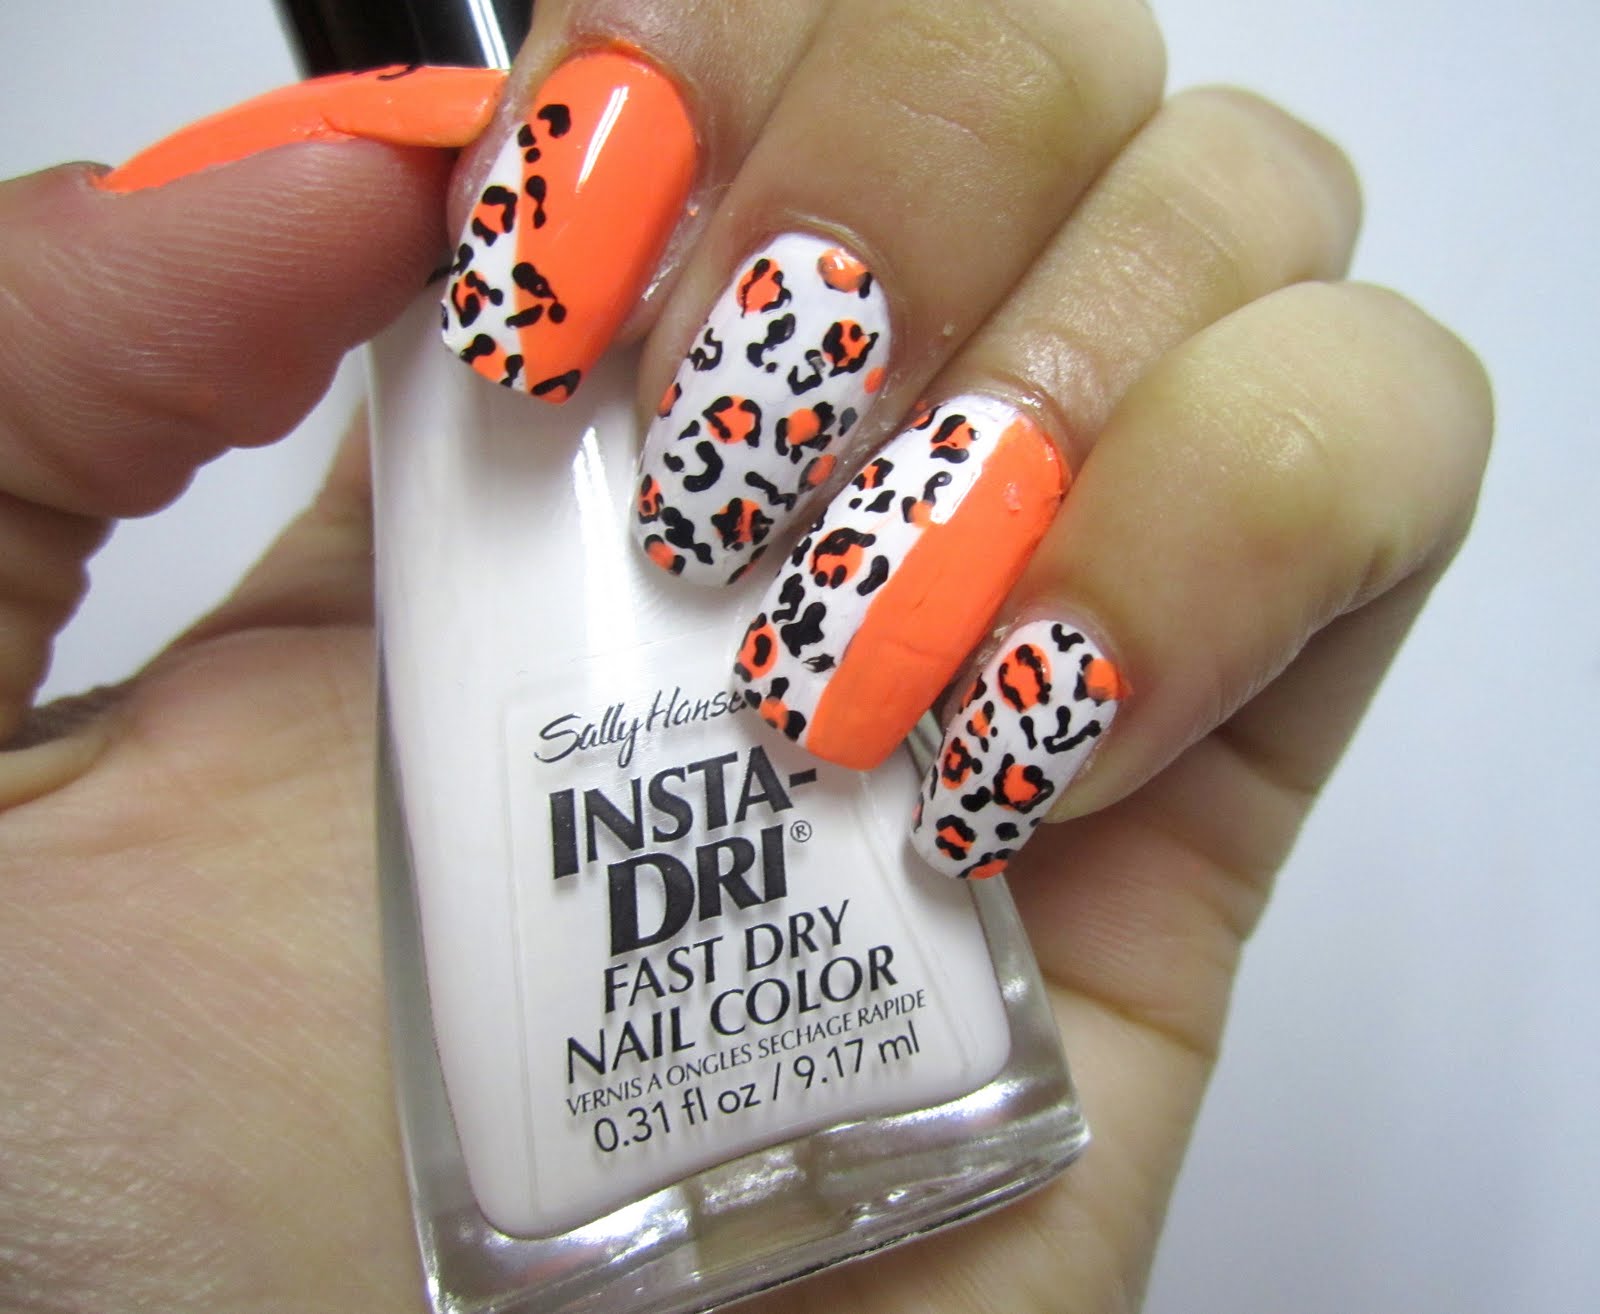
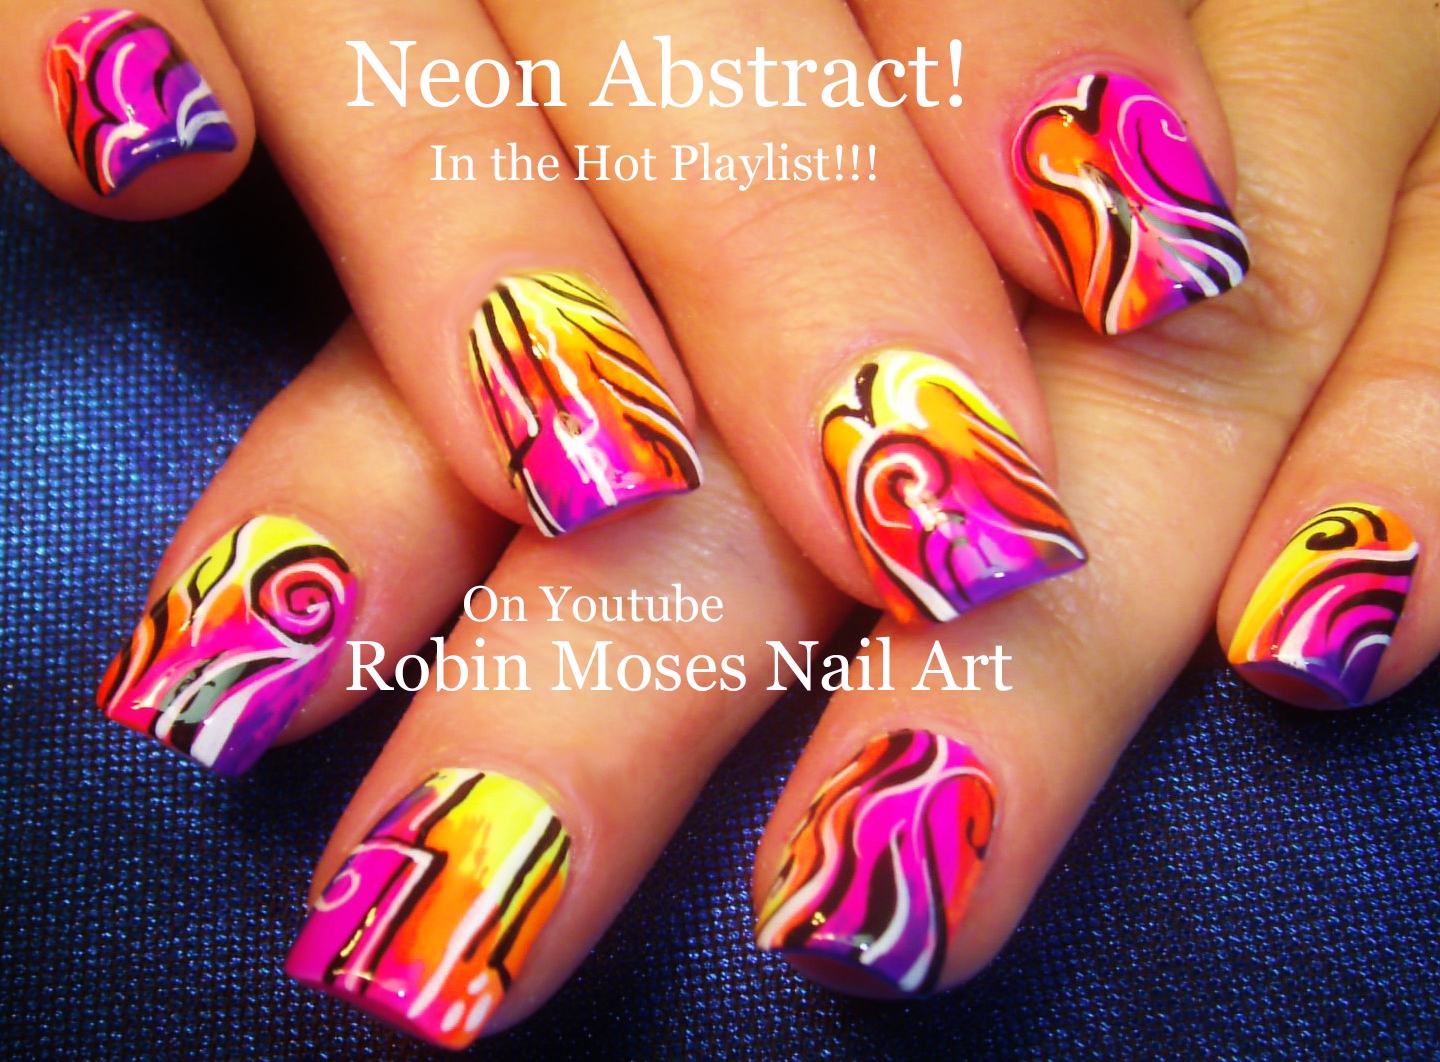
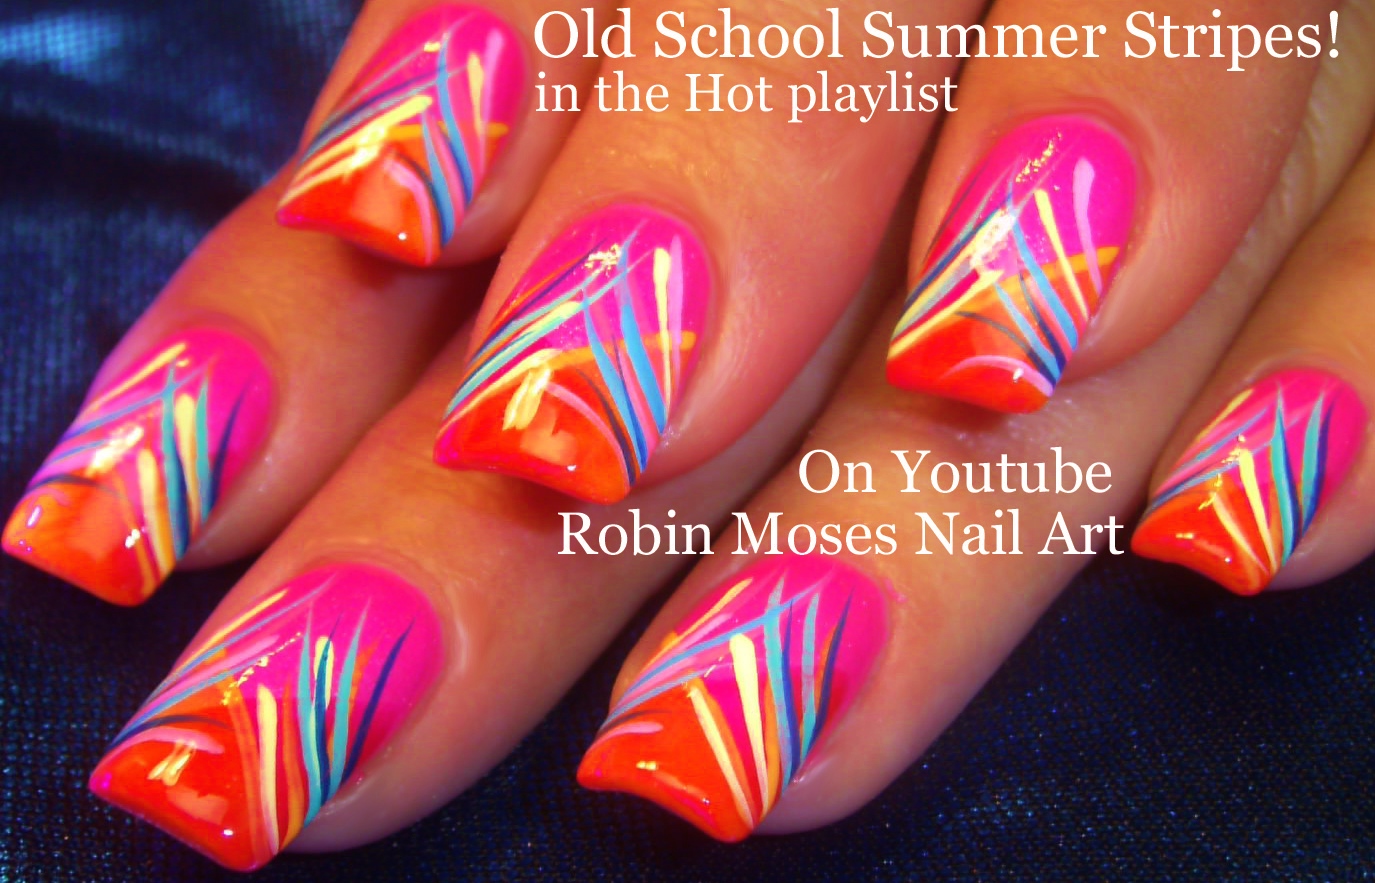
Looking for more inspiration? Here are some simple and creative neon nail art ideas to try out. If you're feeling bold, try a neon gradient by painting each nail with a different neon color and blending them together at the tips. For a more subtle look, try a neon French tip by painting your nails with a neutral color and adding a pop of neon at the tips. You can also create a neon polka dot design using a dotting tool or bobby pin. The possibilities are endless with neon nail art!3. Simple Neon Nail Art Ideas

3. Simple Neon Nail Art Ideas


You don't need to visit a salon to get the perfect neon nails. With a few simple tools and some creativity, you can achieve salon-worthy neon nail art at home. Start with a clean base by removing any old polish and shaping your nails. Then, follow the easy neon nail art tutorial mentioned above or experiment with different designs using neon colors. Don't be afraid to mix and match colors and get creative!4. DIY Neon Nail Art at Home

4. DIY Neon Nail Art at Home


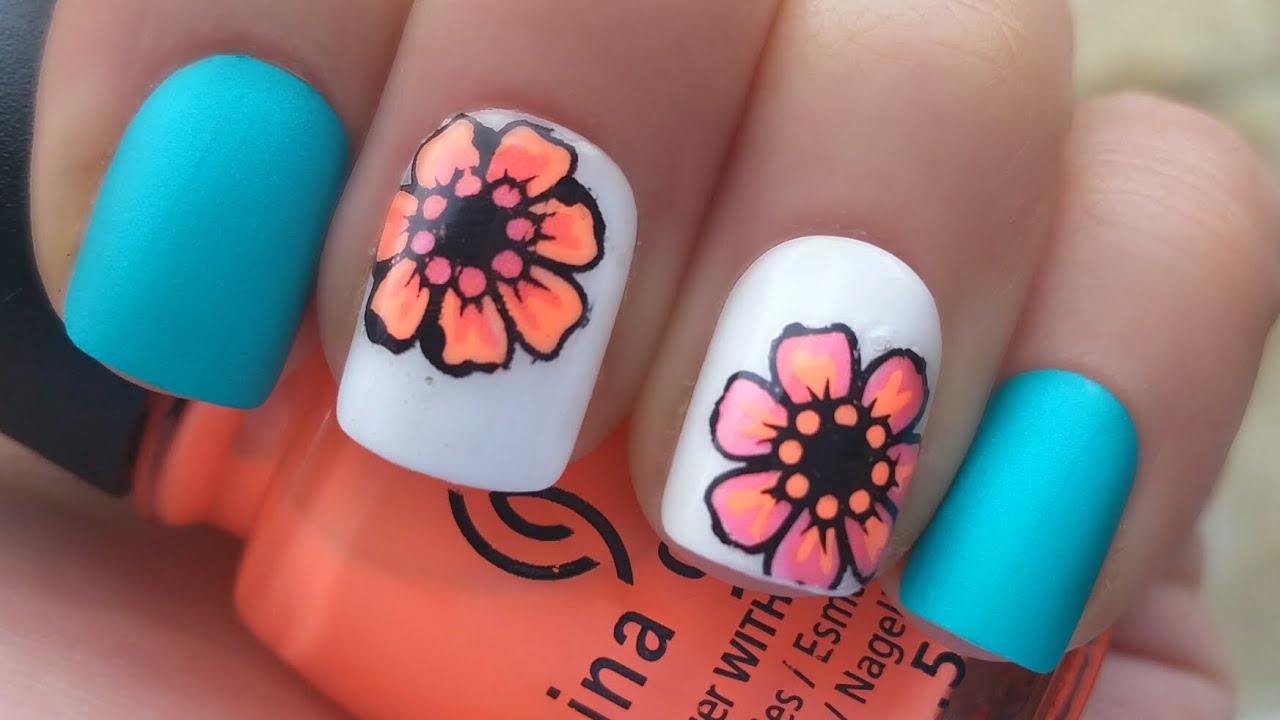
Think you can't rock neon nails because you have short nails? Think again! Neon nail art can look just as stunning on shorter nails. If you have a smaller nail bed, opt for simpler designs like a neon stripe down the middle of the nail or a single neon accent nail. You can also try a negative space design by leaving some of your natural nail untouched and adding a pop of neon around the edges.5. Neon Nail Art for Short Nails

5. Neon Nail Art for Short Nails


Short on time but still want to rock some neon nails? Don't worry, you can still achieve a quick and easy neon nail art look. Start with a base coat and a white polish, then add a few drops of your chosen neon color onto a paper plate or piece of foil. Dip a small brush or toothpick into the color and create abstract designs on your nails. This is a fun and simple way to add a burst of neon to your nails in just a few minutes.6. Quick and Easy Neon Nail Art


6. Quick and Easy Neon Nail Art


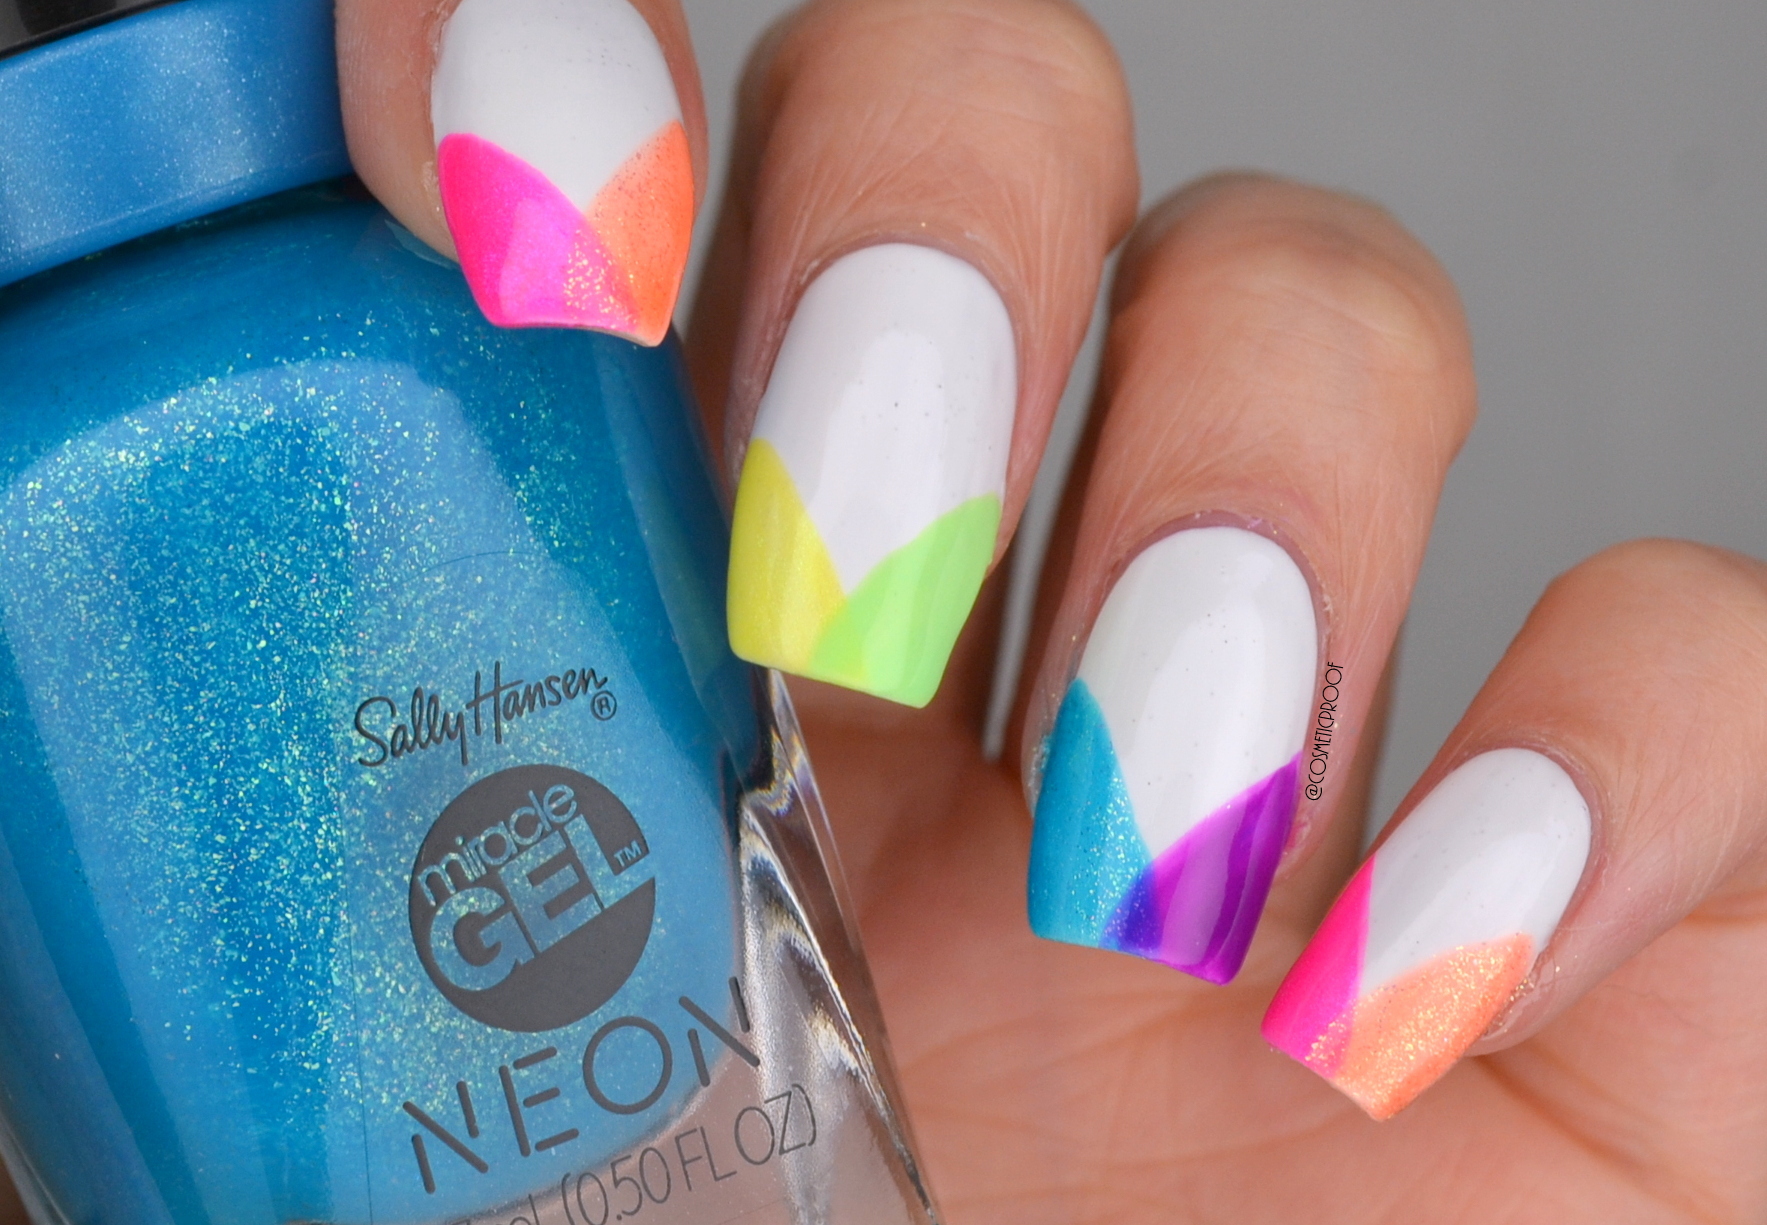
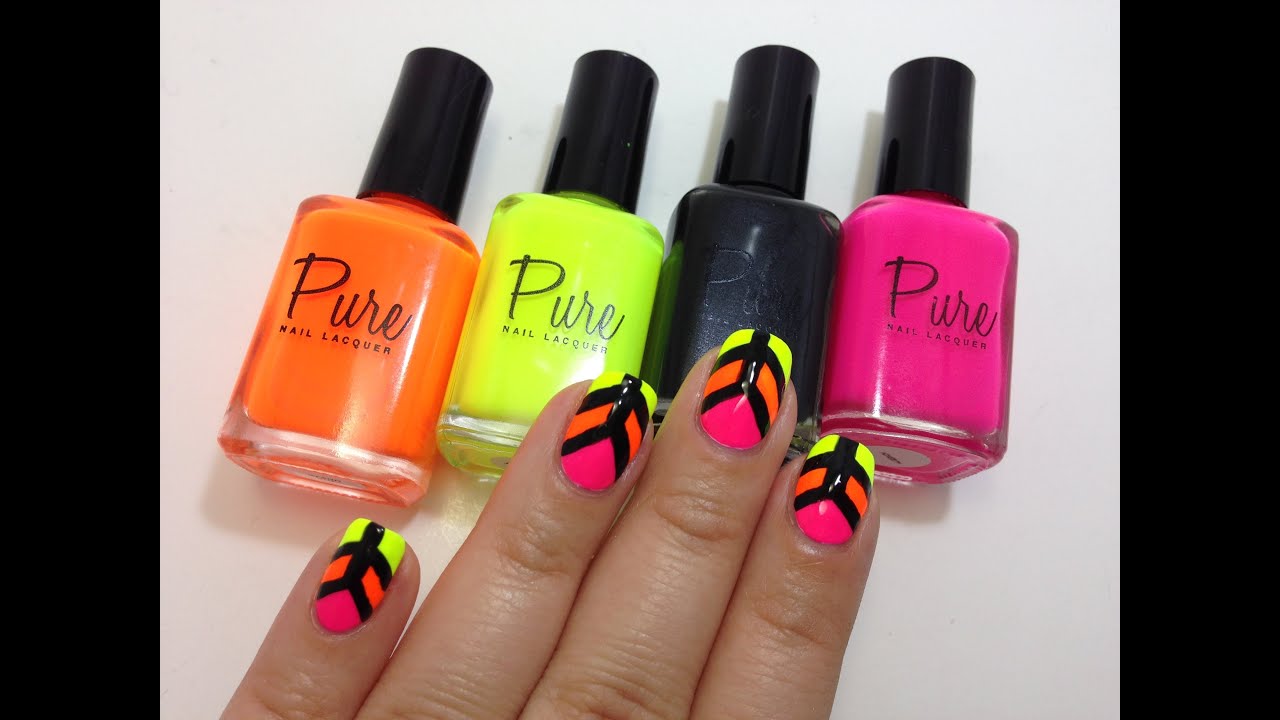
If you want to achieve clean and crisp lines in your neon nail art, try using tape. Start by painting your nails with a base color and letting it dry completely. Then, cut thin strips of tape and place them on your nails in your desired pattern. Paint over the tape with your neon color, let it dry for a few seconds, and then carefully remove the tape to reveal your design. This is a great technique for achieving precise lines and geometric patterns.7. Neon Nail Art with Tape


7. Neon Nail Art with Tape
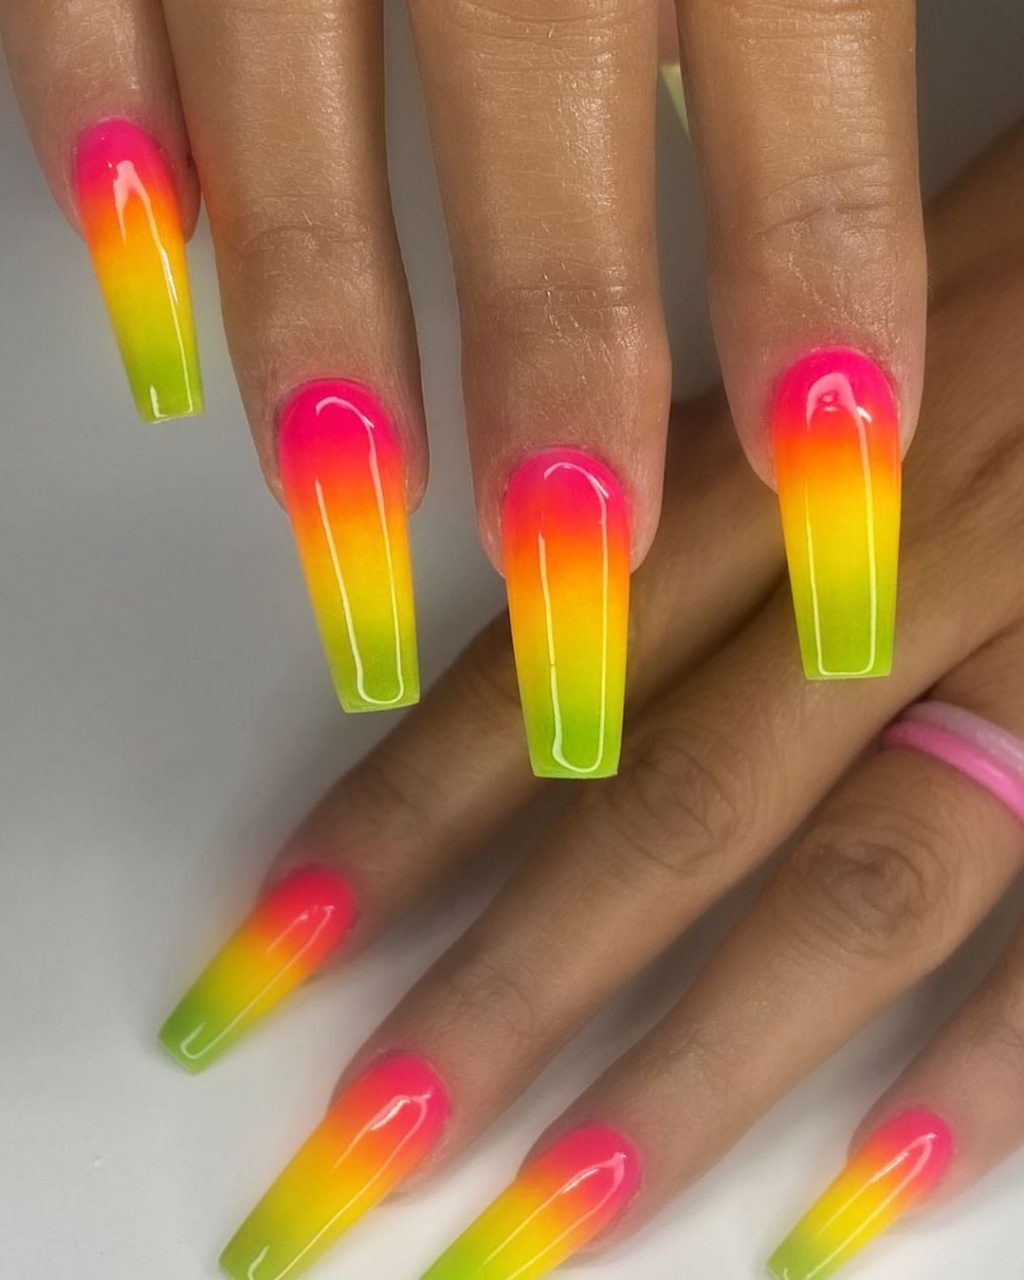
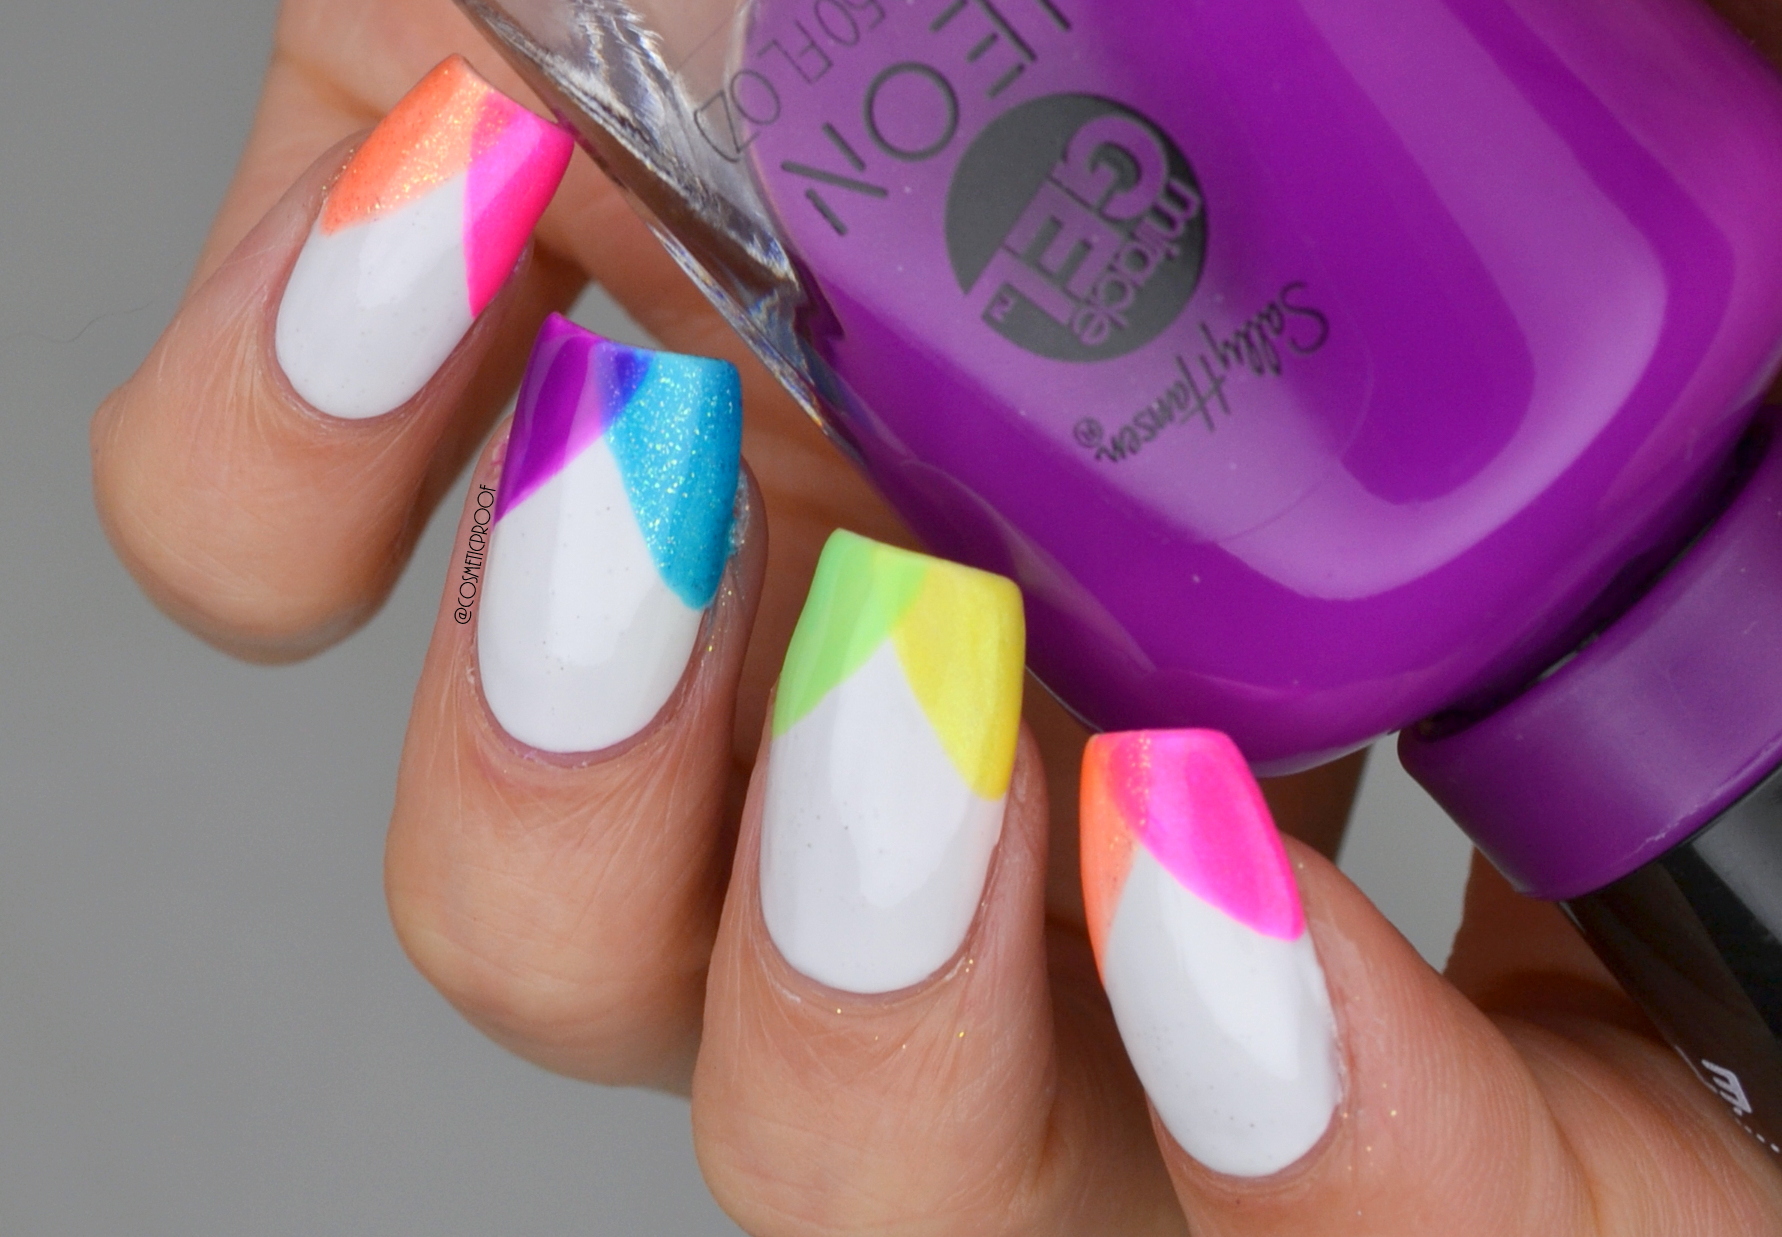
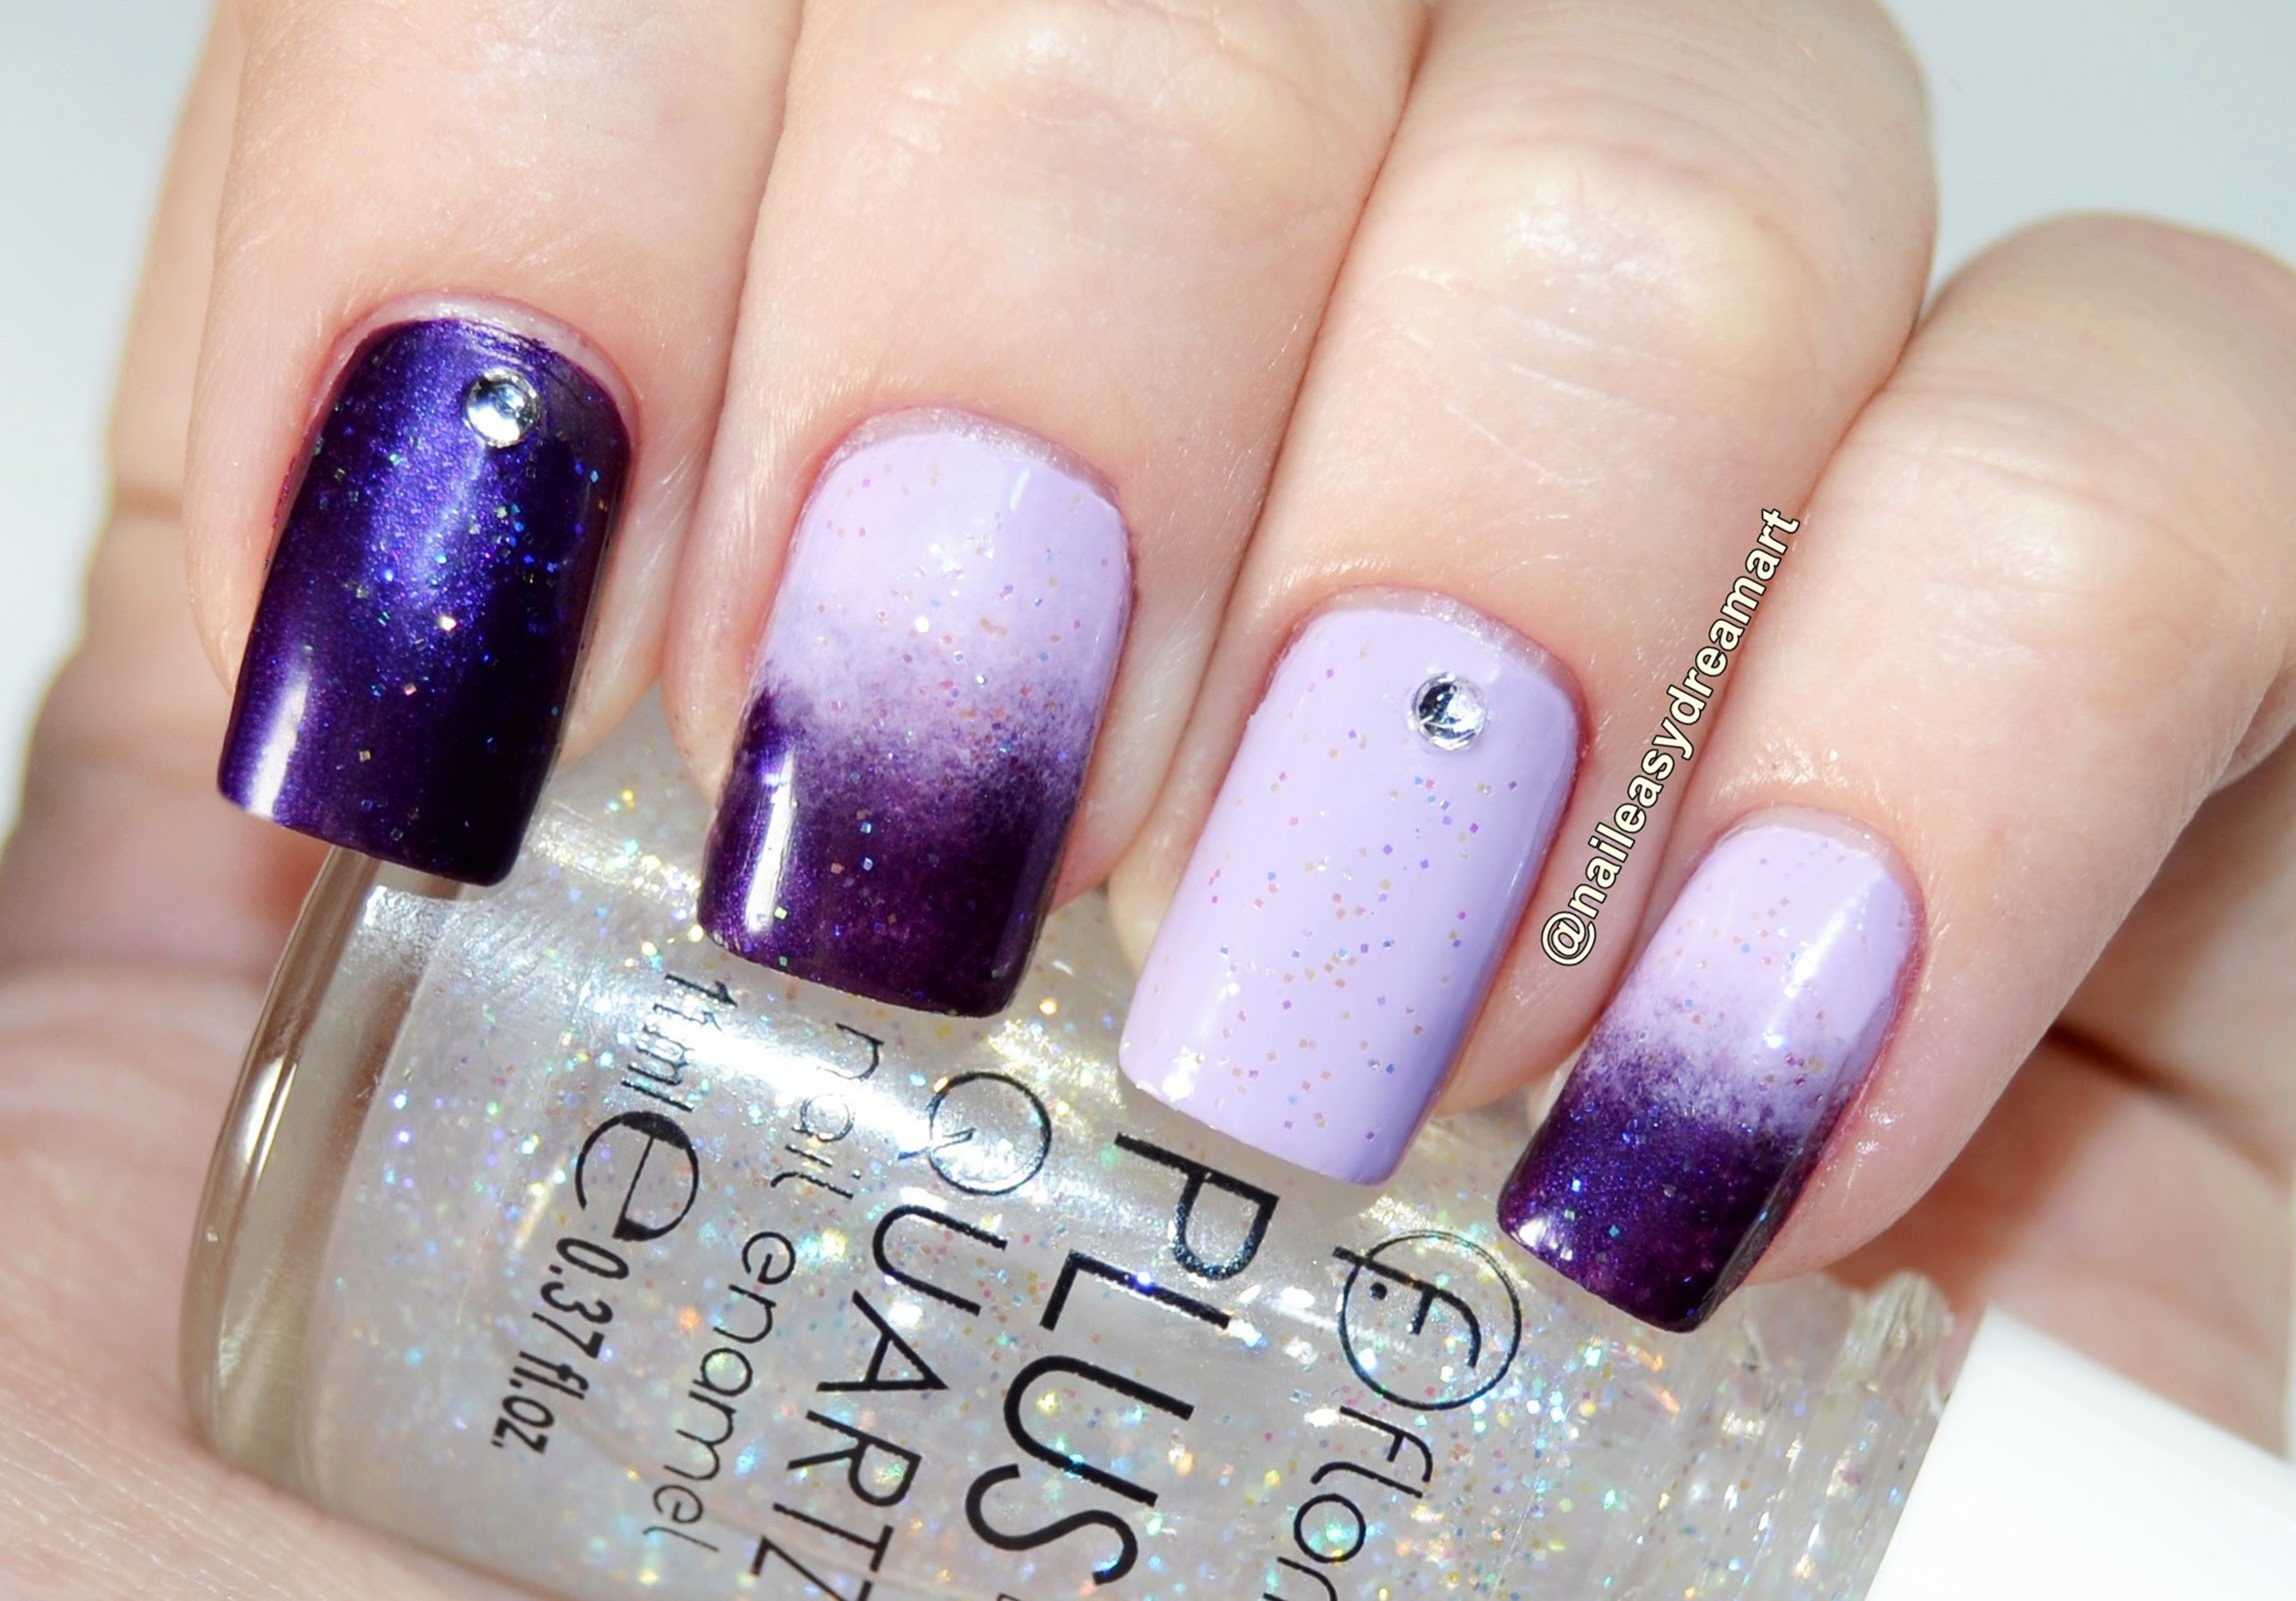
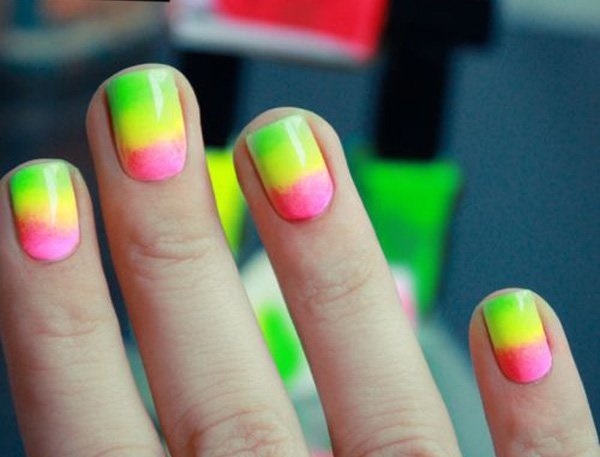
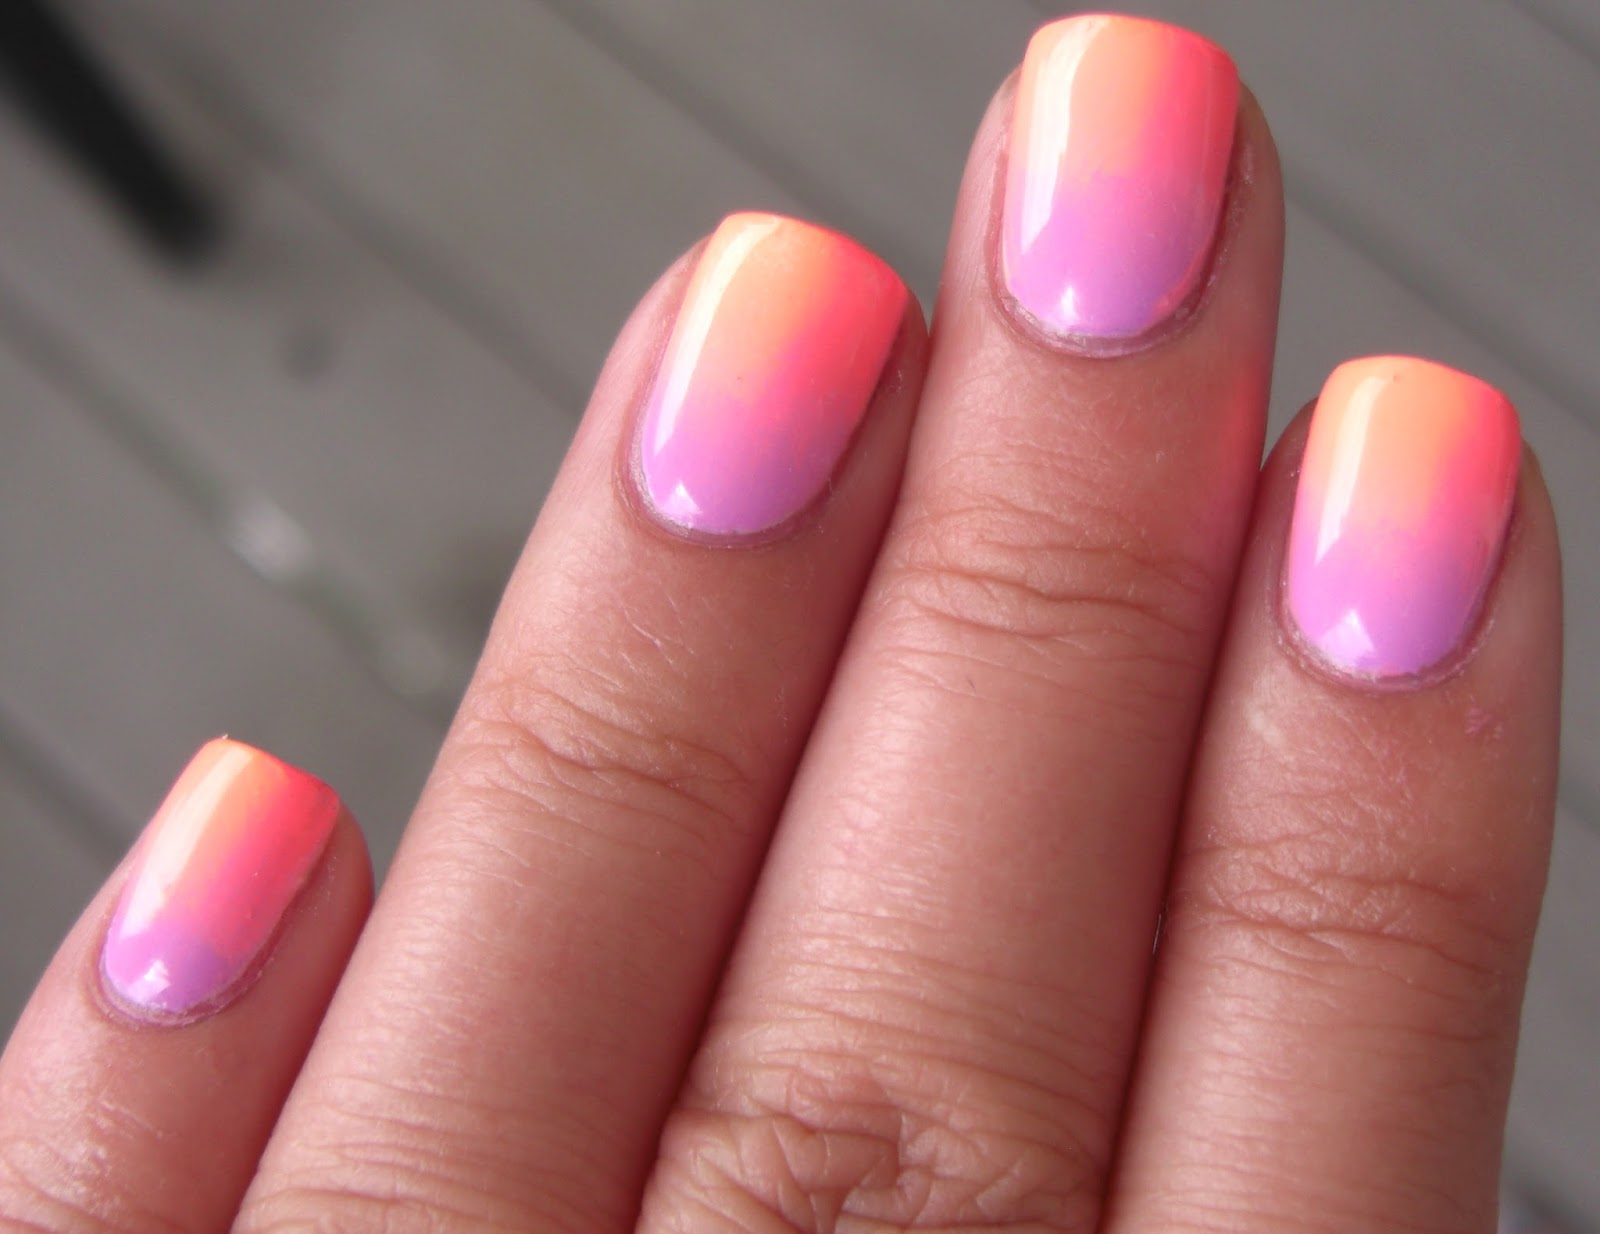
Ombre nails are a popular trend, and you can easily incorporate neon colors into this look. For a neon ombre nail art, you will need a white polish, a lighter and darker shade of your chosen neon color, and a makeup sponge. Start by painting your nails with white as a base and letting it dry. Then, take your makeup sponge and paint the two neon colors side by side on the sponge. Dab the sponge onto your nails in a downward motion to create a gradient effect. Repeat this process until you achieve your desired ombre look.8. Neon Ombre Nail Art Tutorial


8. Neon Ombre Nail Art Tutorial
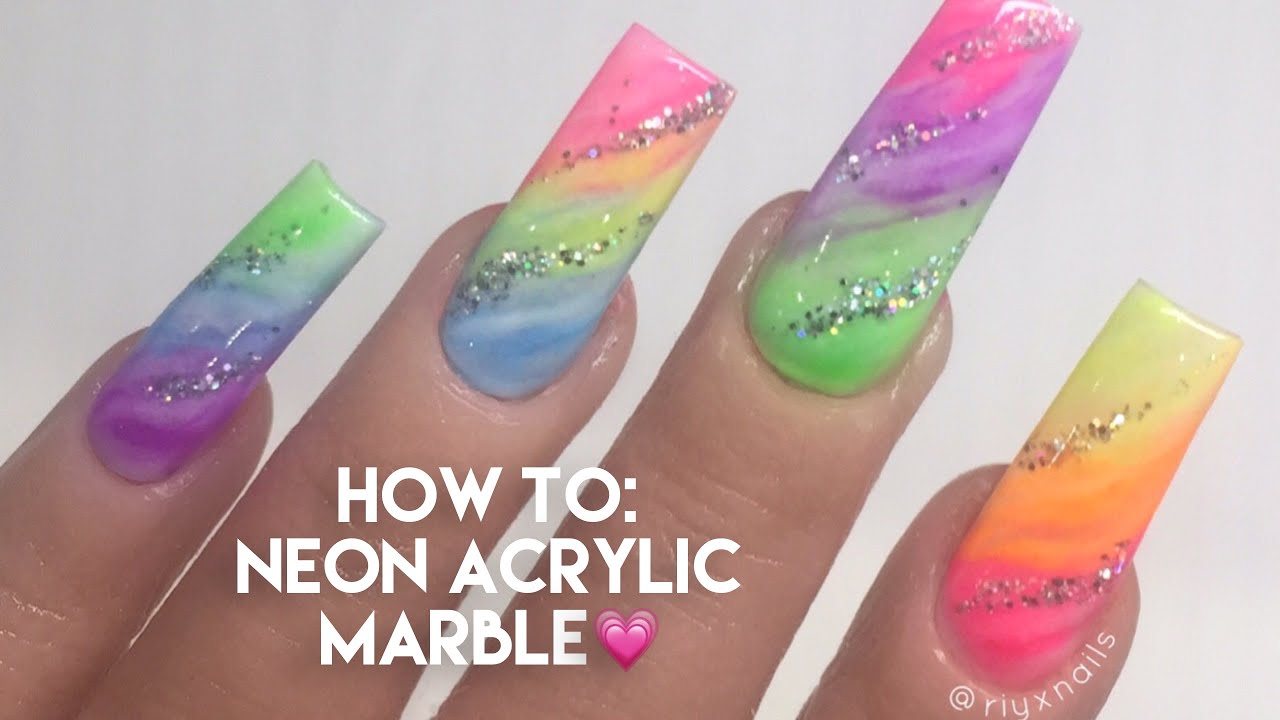
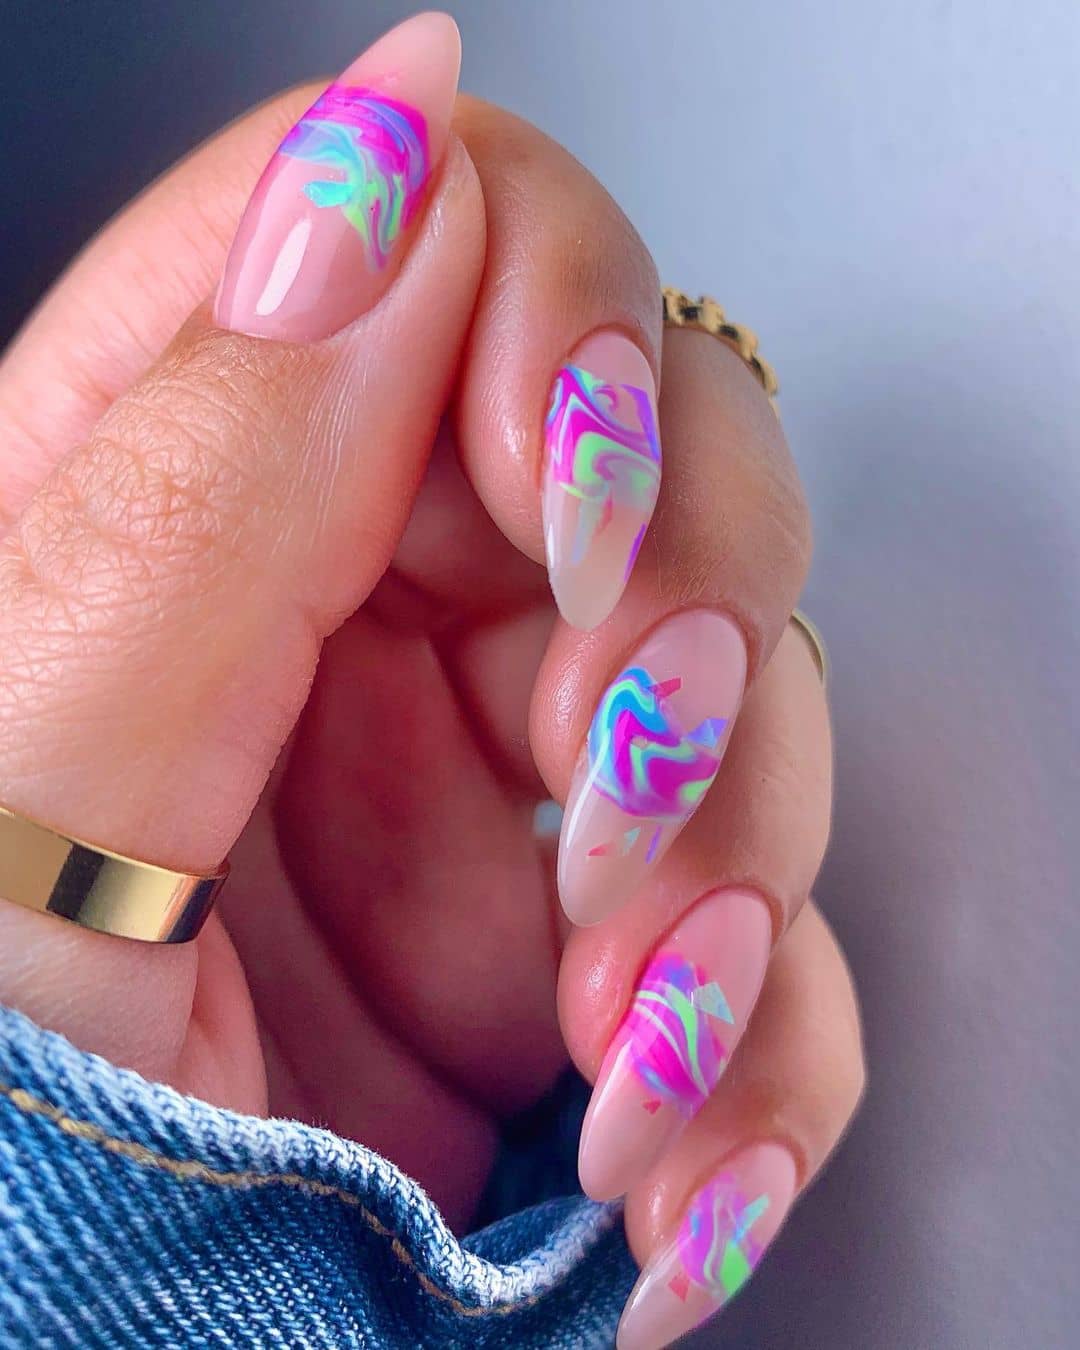
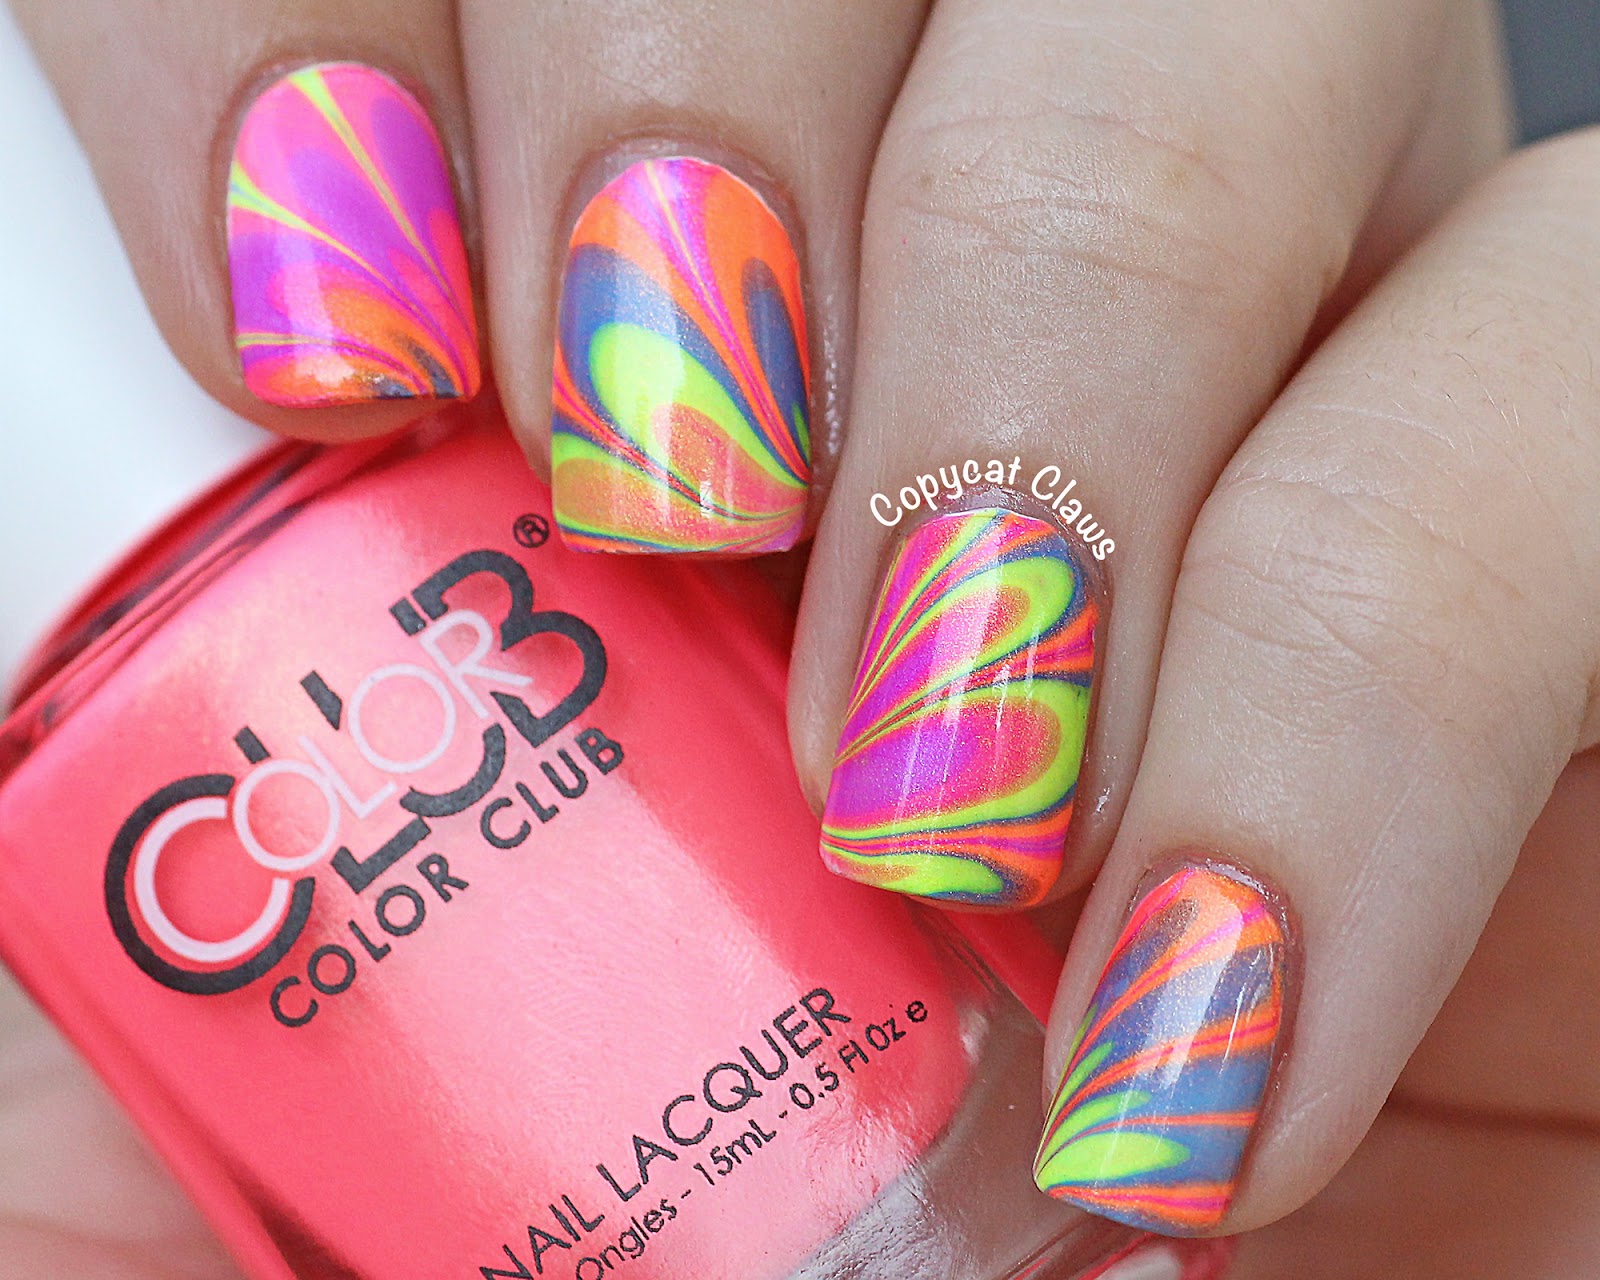
Marble nails are a popular trend, and you can easily add a neon twist to this look. For this design, you will need a white polish, a neon polish, and a toothpick. Start by painting your nails with white as a base and letting it dry completely. Then, add a few drops of your neon polish onto a paper plate or piece of foil and use the toothpick to swirl the colors together. Dab the mixture onto your nails and repeat until you achieve the desired marble effect.9. Neon Marble Nail Art for Beginners

9. Neon Marble Nail Art for Beginners

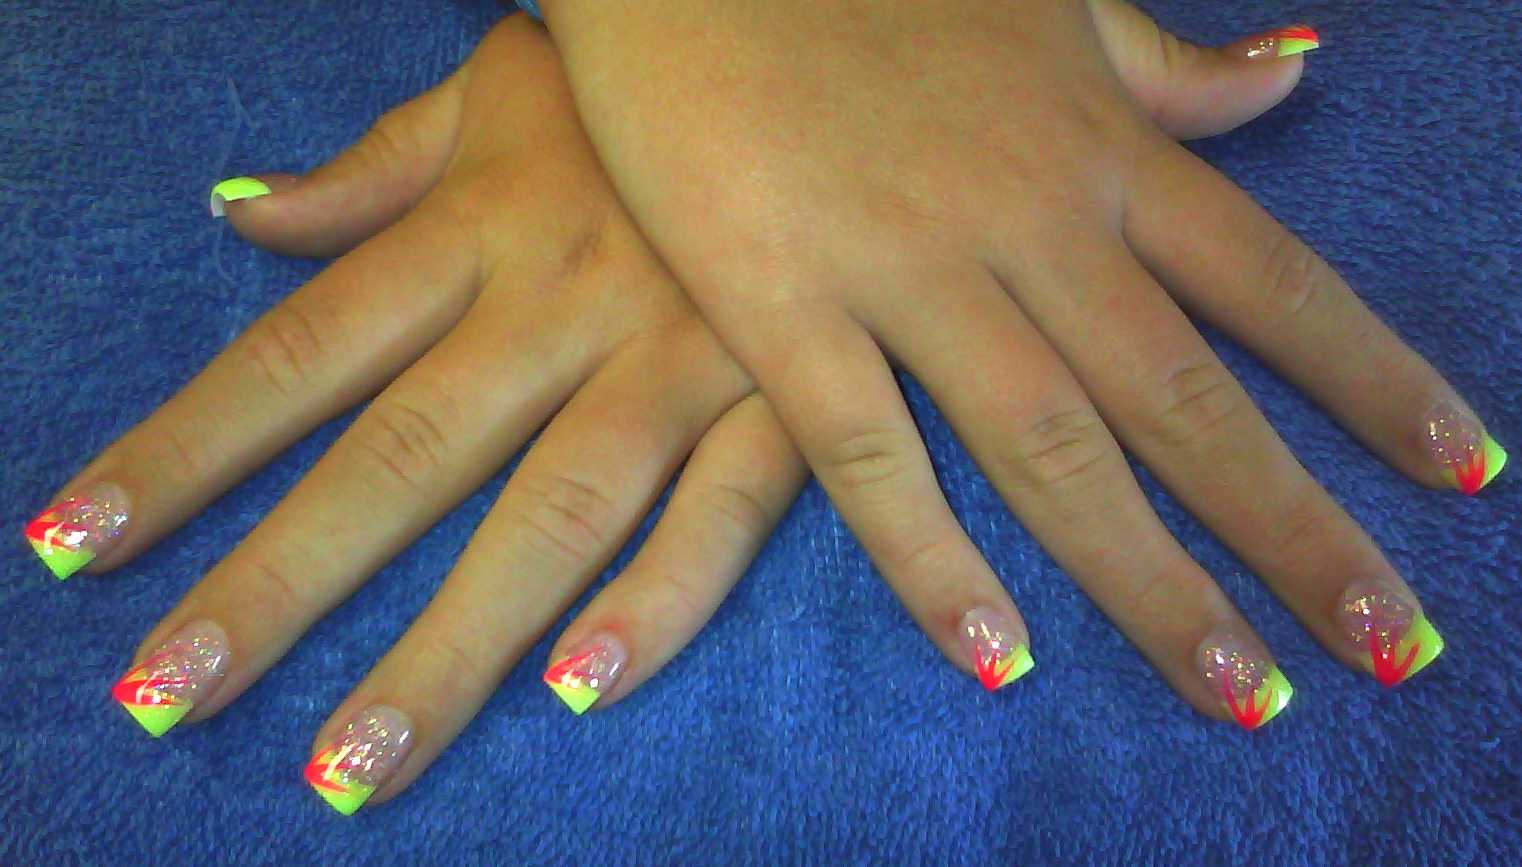
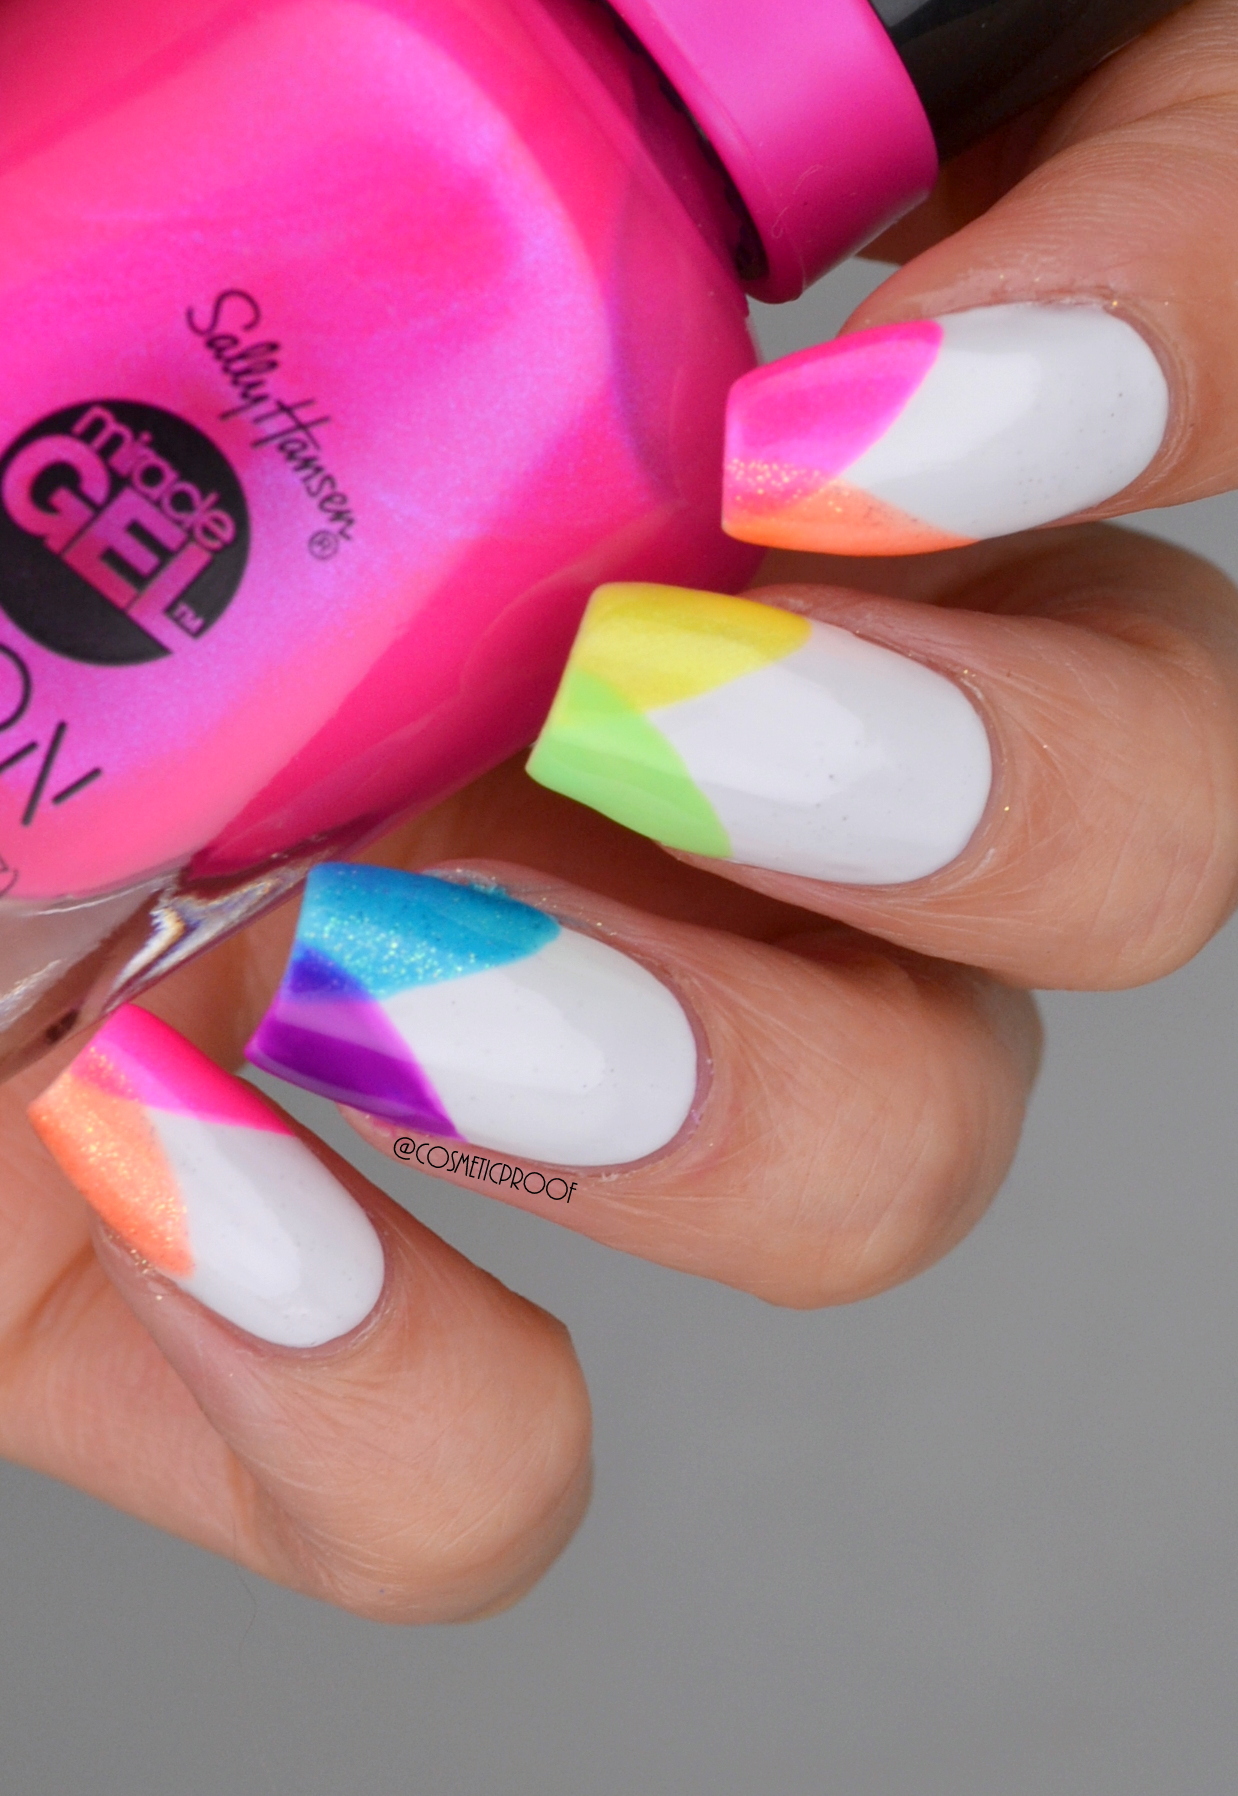
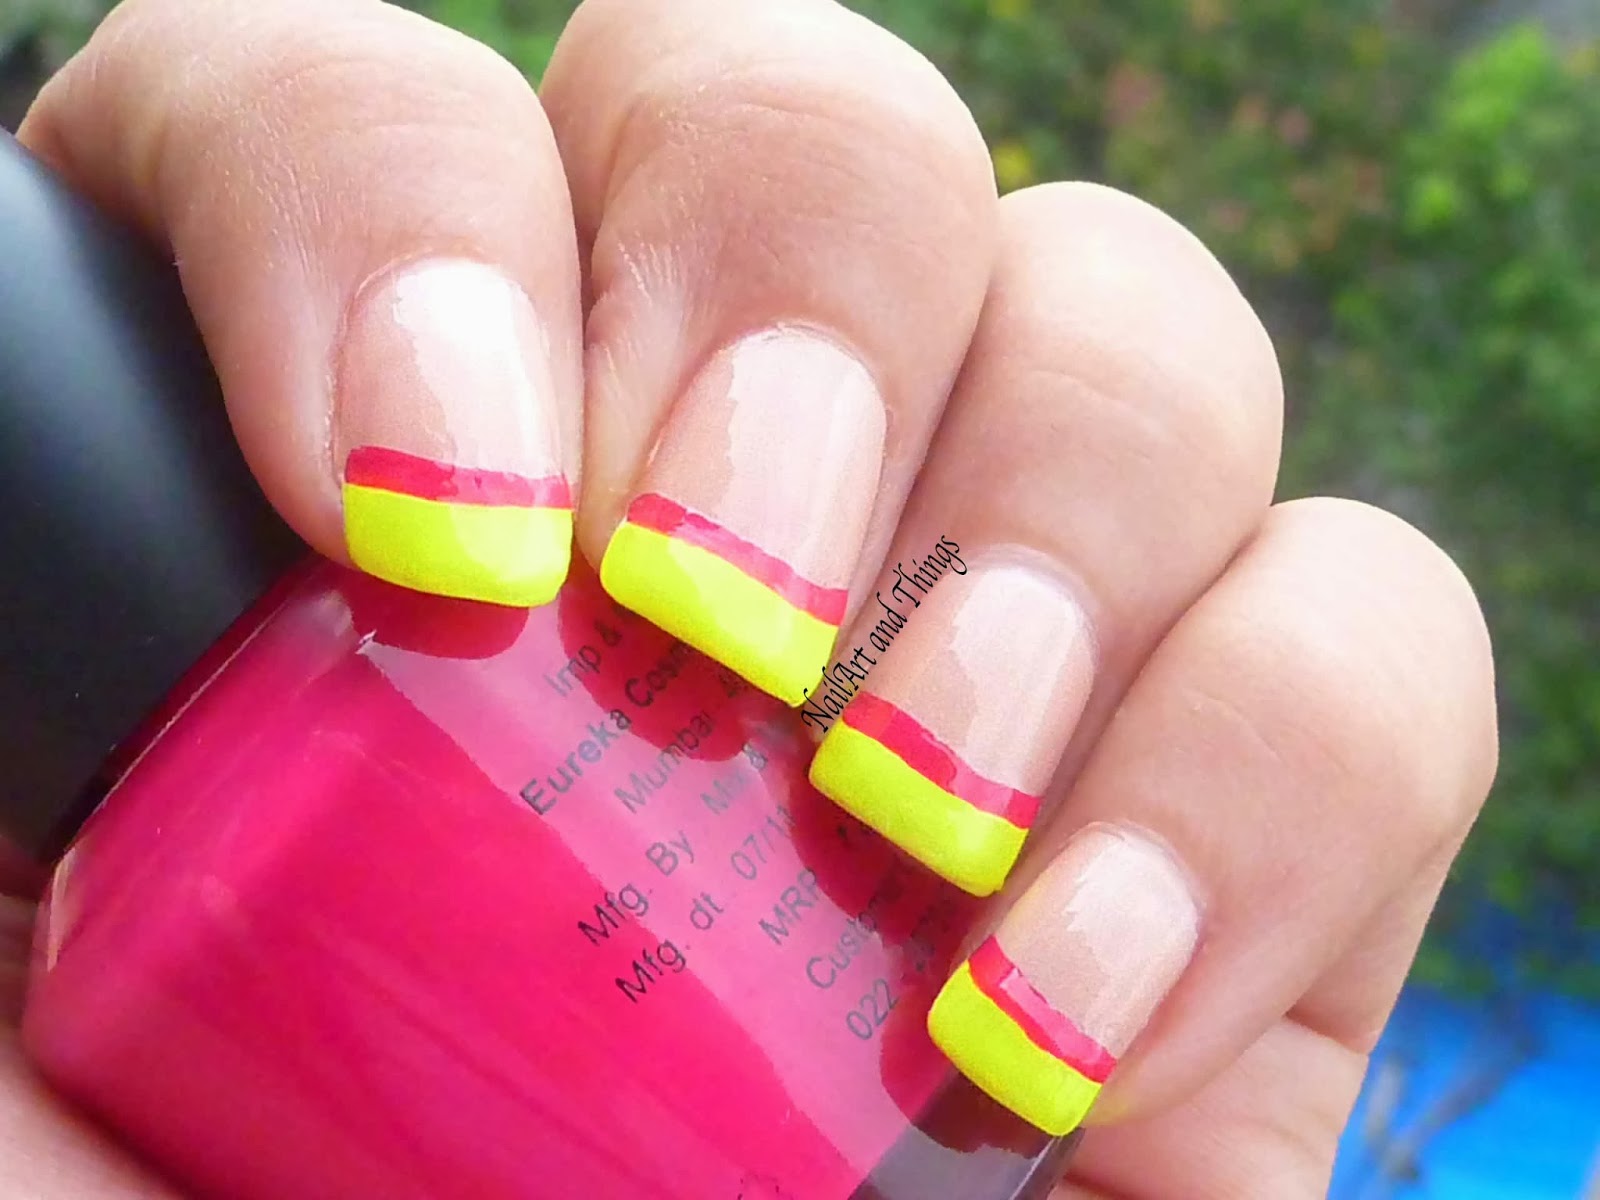
For a modern twist on the classic French tip, try a neon French tip nail art. You will need a base coat, a white polish, a neon polish, and a small brush or toothpick. Begin by painting your nails with the base coat and letting it dry. Then, paint the tips of your nails with white and let it dry. Using the small brush or toothpick, create a thin line of neon color just below the white tip. Seal it with a top coat, and you have a fun and vibrant take on the classic French tip. With these easy and creative neon nail art designs, you can add a pop of color to your nails and stand out from the crowd. Don't be afraid to experiment and have fun with these bright and bold colors. And remember, practice makes perfect, so keep trying until you achieve your desired look. Now go rock those neon nails!10. Neon French Tip Nail Art Tutorial


10. Neon French Tip Nail Art Tutorial

Enhance Your Nails with Easy Neon Nail Art
Get Creative with Vibrant Colors
 If you're looking to add some fun and excitement to your nails, then neon nail art is the way to go. Neon colors are bold, bright, and eye-catching, making them the perfect choice for making a statement with your nails. With just a few simple steps, you can achieve a professional-looking neon nail art design that will make your nails stand out from the crowd.
Gather Your Supplies
 Before you can start creating your neon nail art, you'll need to gather all the necessary supplies. This includes a base coat, top coat, white nail polish, and
neon-colored nail polishes
of your choice. It's important to have a white base to make the neon colors pop, so make sure to have a white nail polish on hand. You'll also need some
nail art tools
such as dotting tools, striping tape, and a fine brush for precise designs.
Before you can start creating your neon nail art, you'll need to gather all the necessary supplies. This includes a base coat, top coat, white nail polish, and
neon-colored nail polishes
of your choice. It's important to have a white base to make the neon colors pop, so make sure to have a white nail polish on hand. You'll also need some
nail art tools
such as dotting tools, striping tape, and a fine brush for precise designs.
Prep Your Nails
 Before you begin applying any nail polish, it's essential to prep your nails properly. Start by
trimming and shaping
your nails to your desired length and shape. Next, gently push back your cuticles and use a nail file to smooth out any rough edges. Then, apply a thin layer of base coat to protect your nails and ensure that your nail polish adheres properly.
Before you begin applying any nail polish, it's essential to prep your nails properly. Start by
trimming and shaping
your nails to your desired length and shape. Next, gently push back your cuticles and use a nail file to smooth out any rough edges. Then, apply a thin layer of base coat to protect your nails and ensure that your nail polish adheres properly.
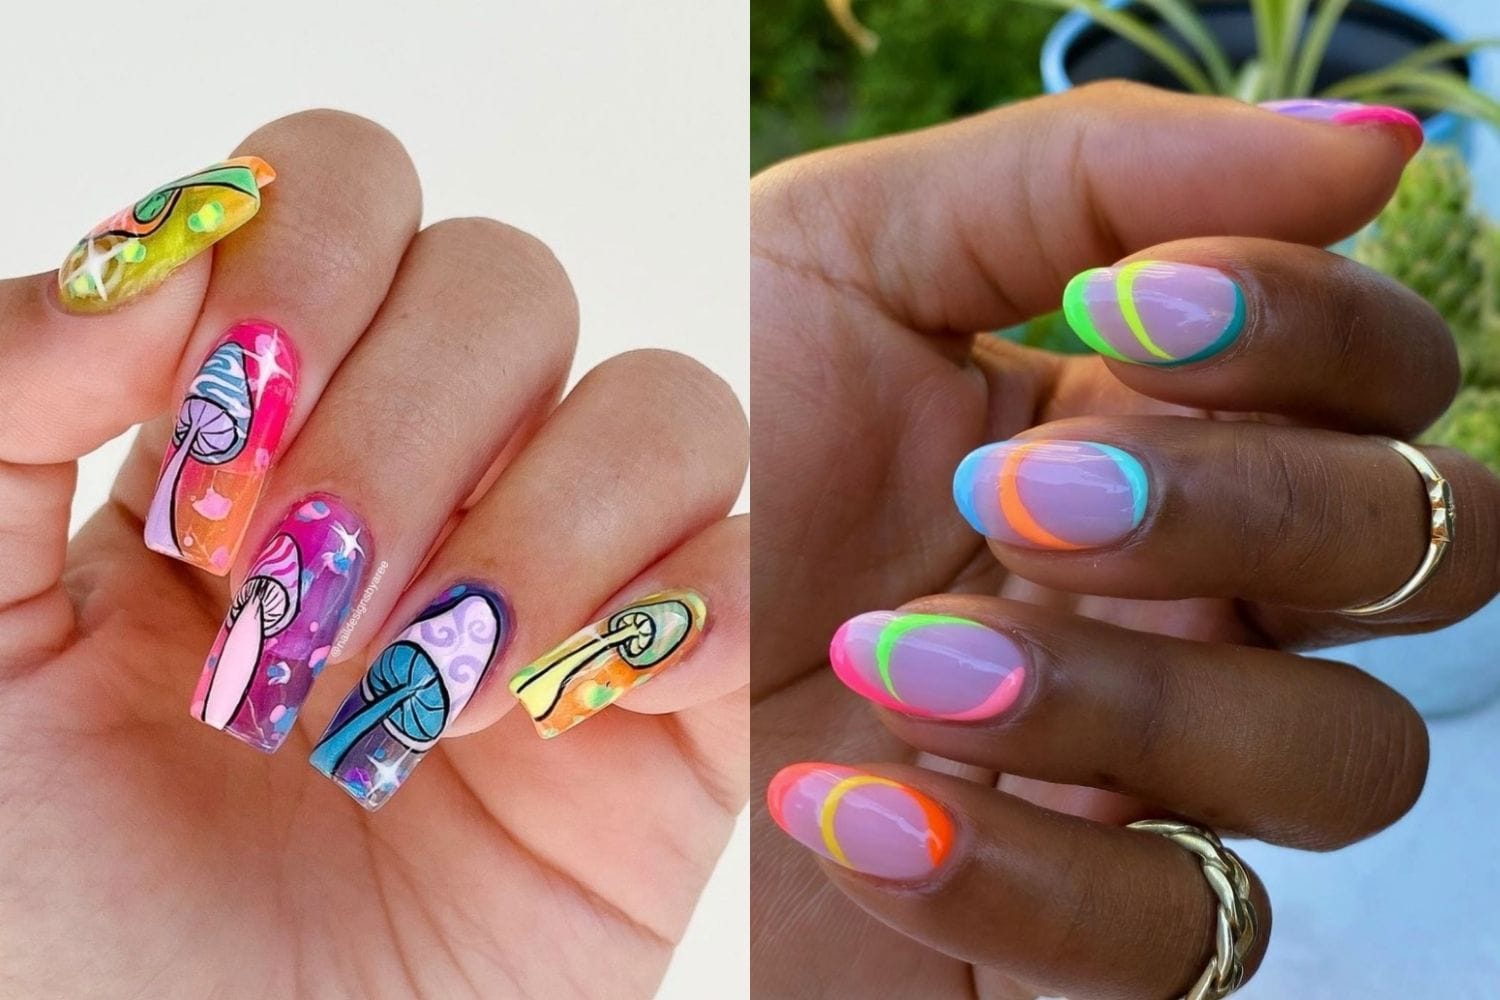
Get Creative
 Now comes the fun part – creating your neon nail art. The possibilities are endless with neon colors, so let your creativity run wild. You can create
stripes, dots, geometric shapes, or even intricate designs
using different neon colors. You can also mix and match different colors for a unique and vibrant look. Don't be afraid to experiment and have fun with your designs.
Now comes the fun part – creating your neon nail art. The possibilities are endless with neon colors, so let your creativity run wild. You can create
stripes, dots, geometric shapes, or even intricate designs
using different neon colors. You can also mix and match different colors for a unique and vibrant look. Don't be afraid to experiment and have fun with your designs.
Seal the Deal with a Top Coat
 After you're satisfied with your neon nail art, it's time to seal the deal with a top coat. This will not only protect your design but also give it a glossy and professional finish. Make sure to apply a generous amount of top coat to ensure that your nail art lasts longer.
In Conclusion
 Neon nail art is an excellent way to add a pop of color and personality to your nails. With a few easy steps and some
basic supplies
, you can achieve stunning neon nail art designs that are sure to turn heads. So go ahead and try out some easy neon nail art designs and
show off your creative side
with your vibrant and bold nails.
Neon nail art is an excellent way to add a pop of color and personality to your nails. With a few easy steps and some
basic supplies
, you can achieve stunning neon nail art designs that are sure to turn heads. So go ahead and try out some easy neon nail art designs and
show off your creative side
with your vibrant and bold nails.


