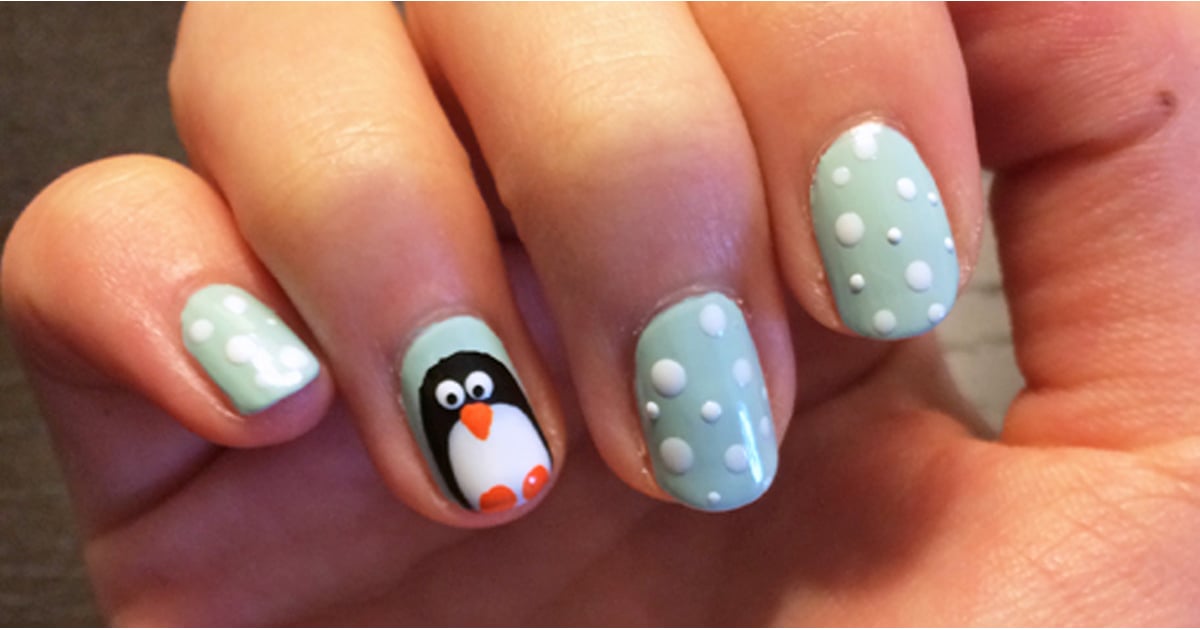
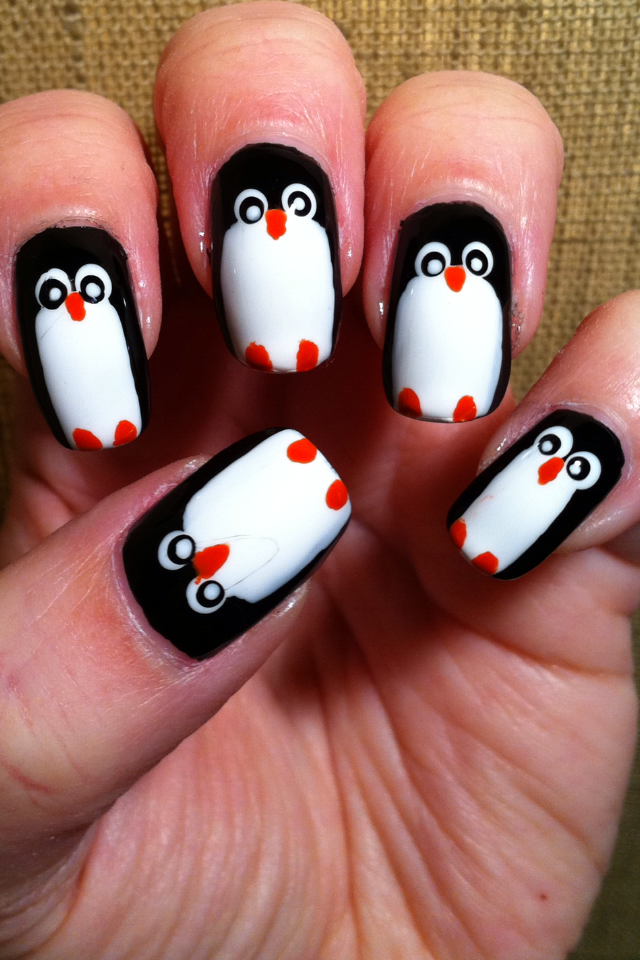
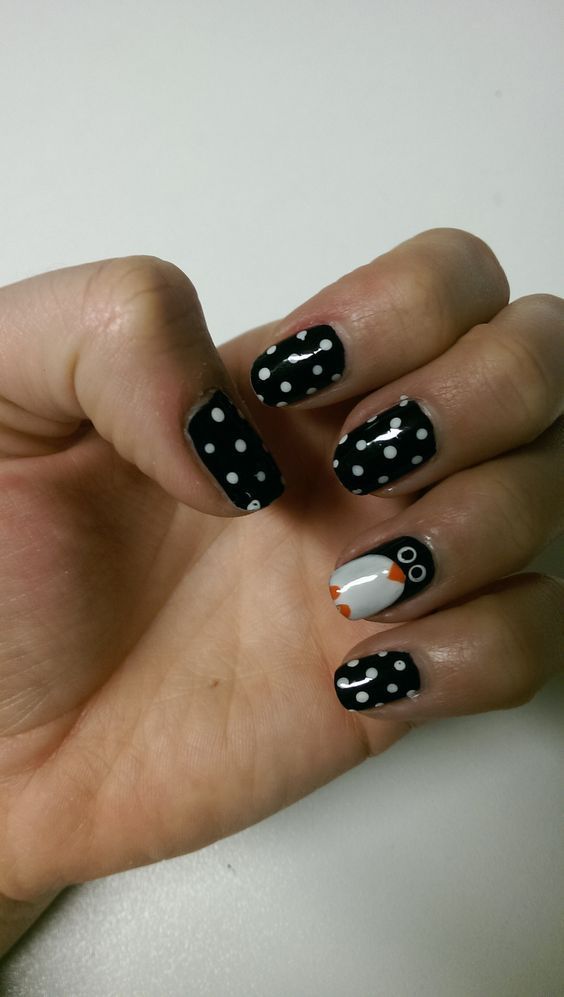
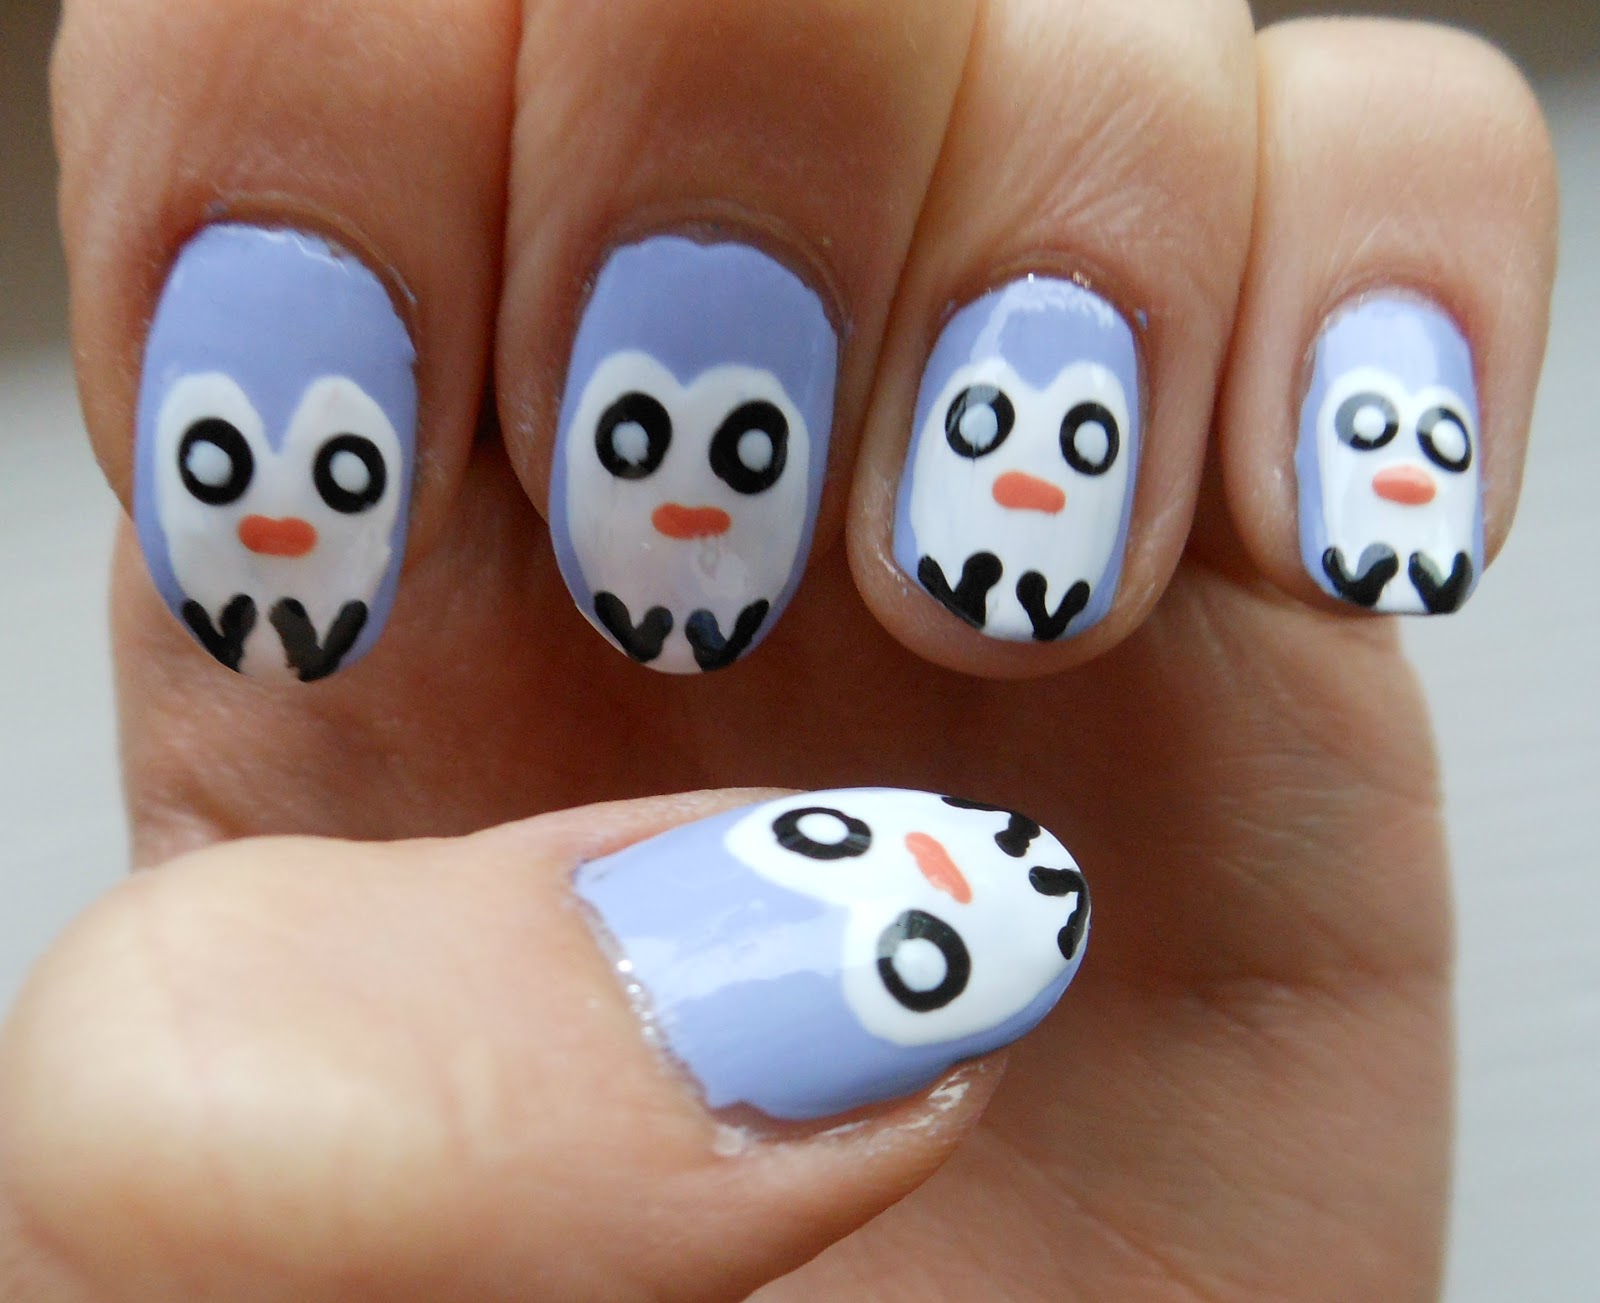
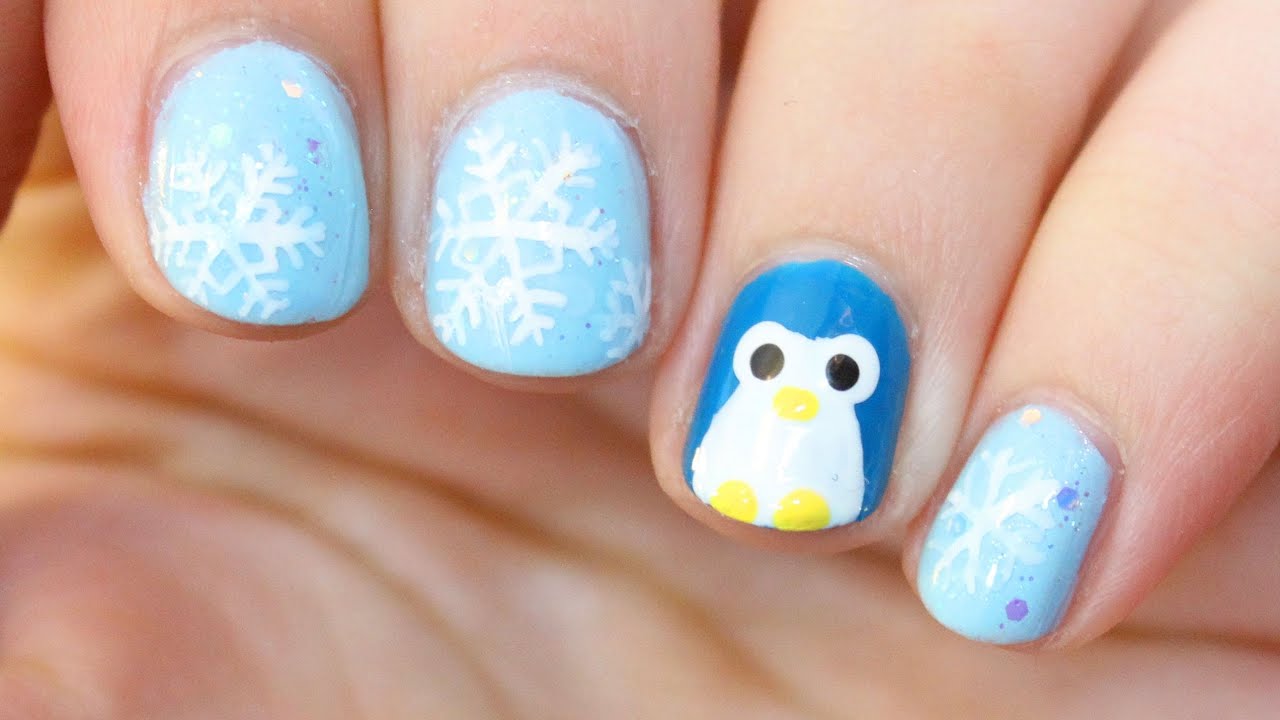
If you're new to nail art, don't worry because this easy penguin nail art tutorial is perfect for beginners. Start by applying a light blue nail polish as the base color. Once it dries, use a white nail polish to create two large circles on your nails, leaving some space in between for the penguin's body. Next, use a black nail polish to create smaller circles within the white ones for the penguin's eyes. Finally, use a yellow nail polish to draw a beak and feet for your penguin. This simple yet cute design is perfect for those who want to have a subtle penguin nail art.1. Easy Penguin Nail Art Tutorial


1. Easy Penguin Nail Art Tutorial


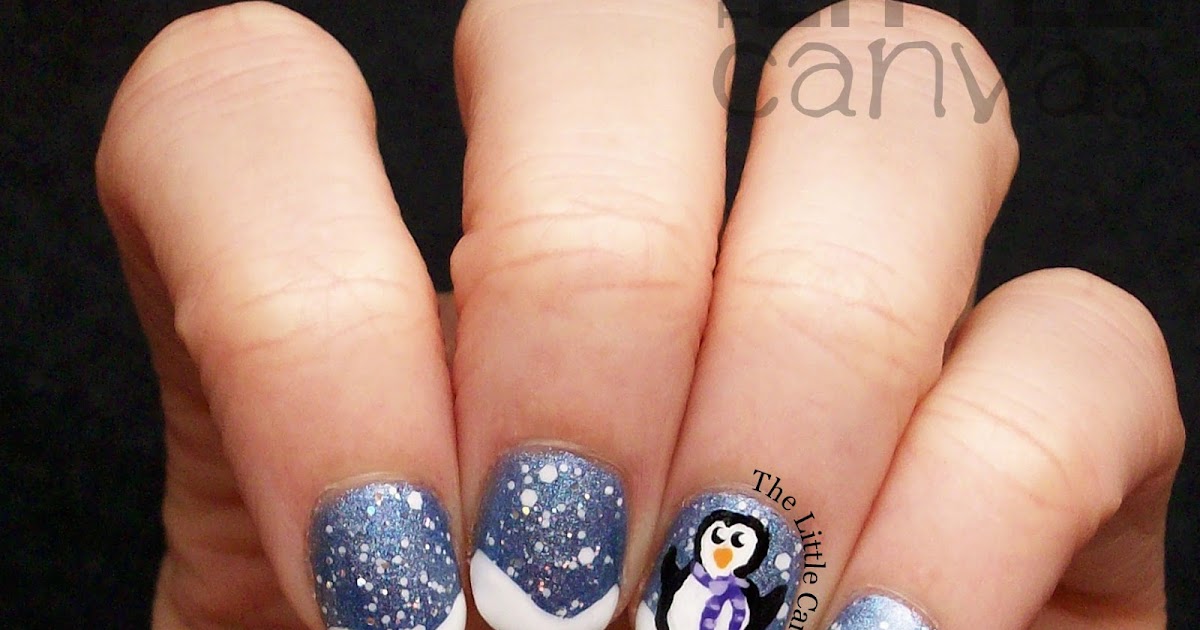


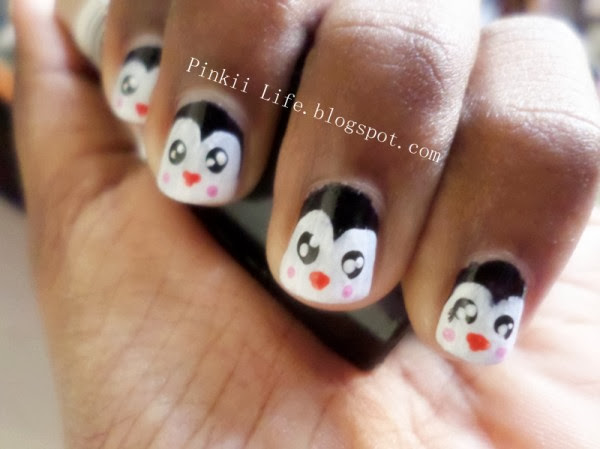
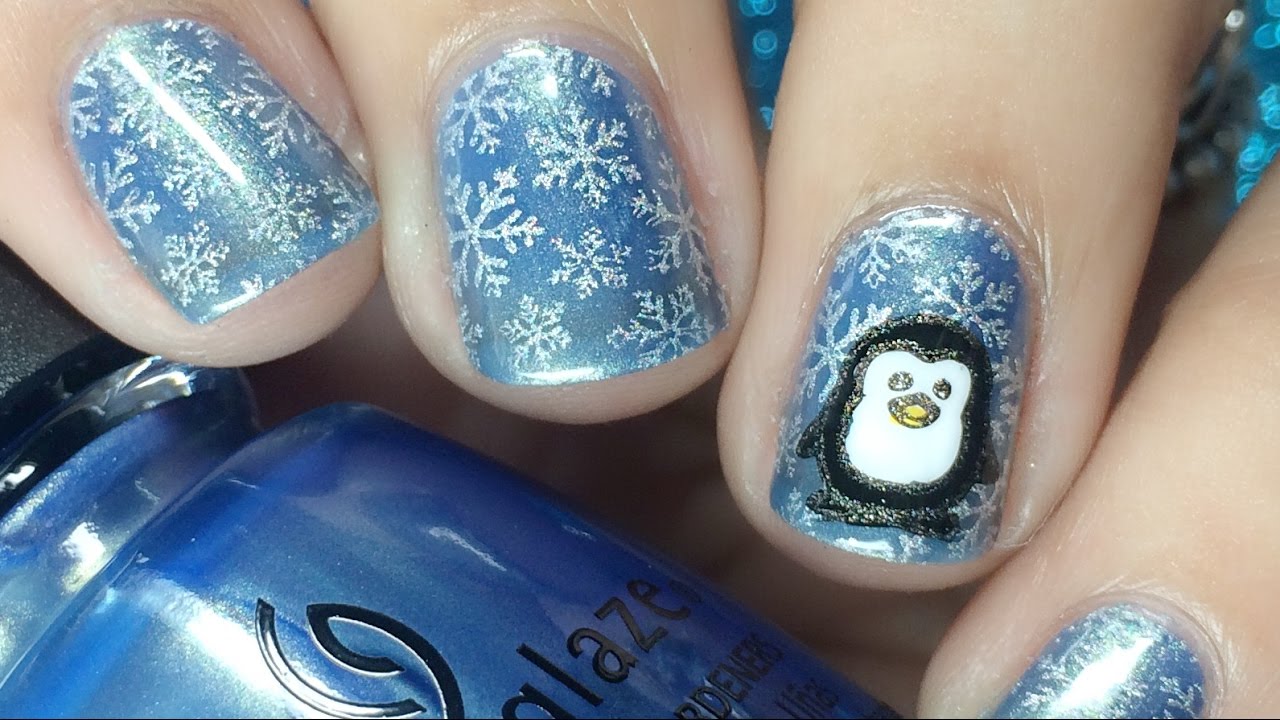
If you want to keep your penguin nail design minimal yet eye-catching, this simple penguin nail design is perfect for you. Start by painting your nails with a light grey nail polish. Once it dries, use a black nail polish to create two small circles on the tips of your nails for the penguin's eyes. Next, use a white nail polish to create the penguin's belly and a small triangle for its beak. To finish off the design, use a red nail polish to create a cute scarf around the penguin's neck. This design is perfect for winter and holiday seasons.2. Simple Penguin Nail Design


2. Simple Penguin Nail Design
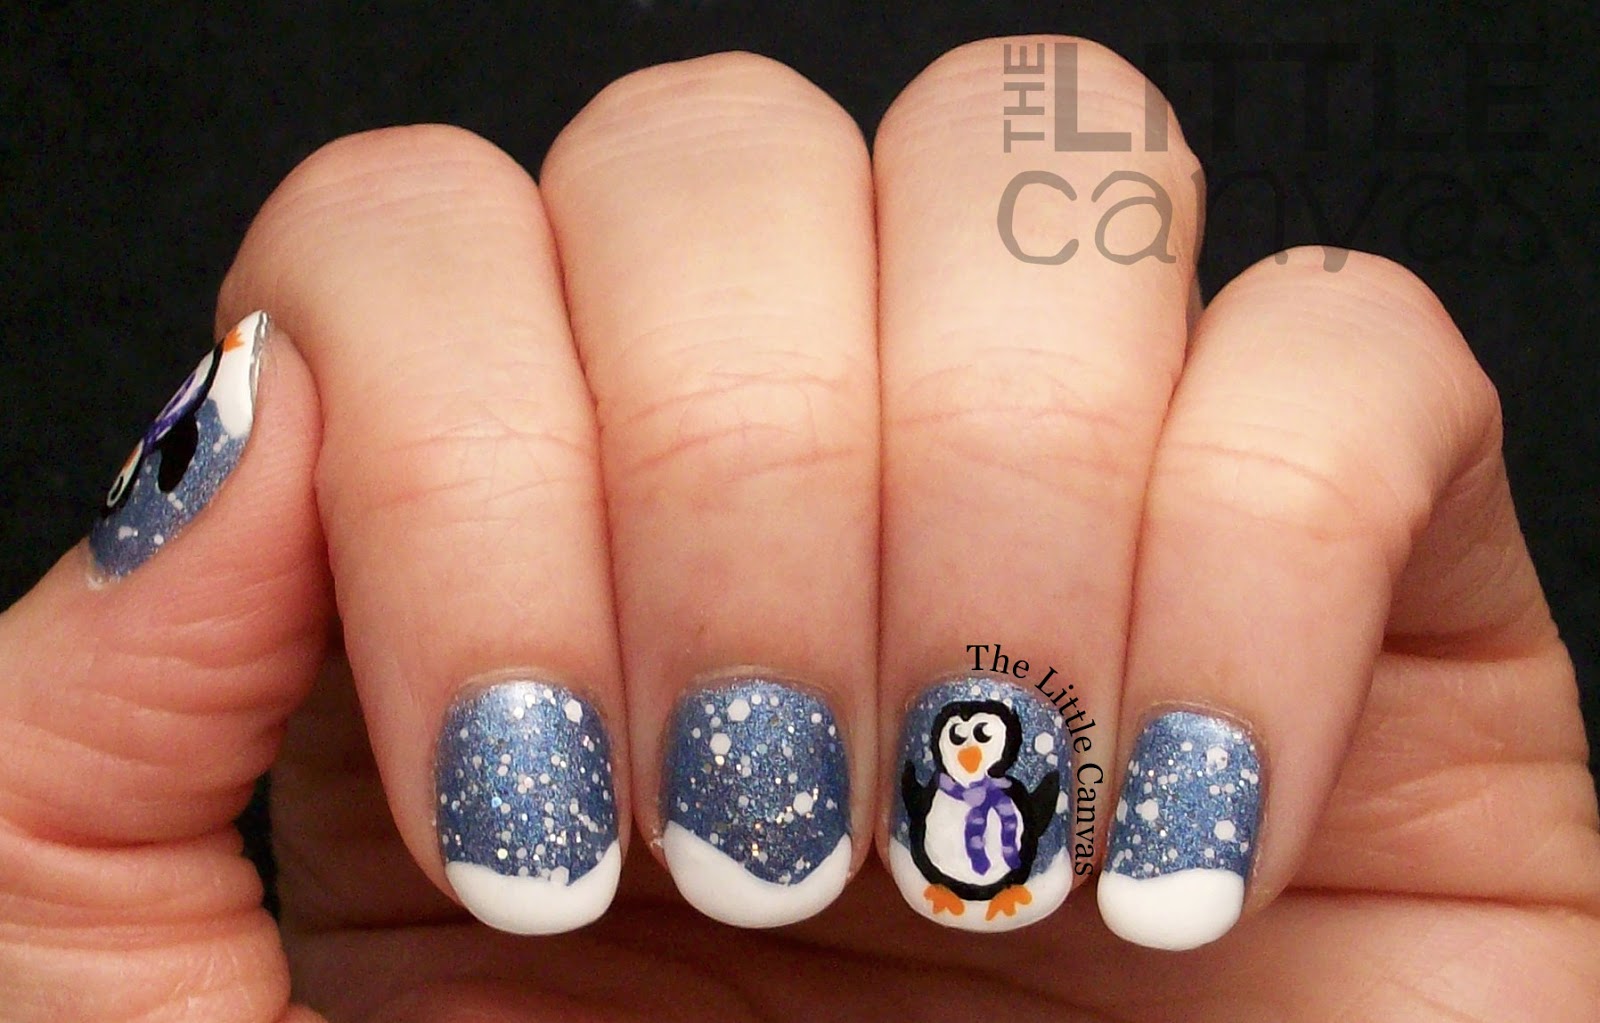


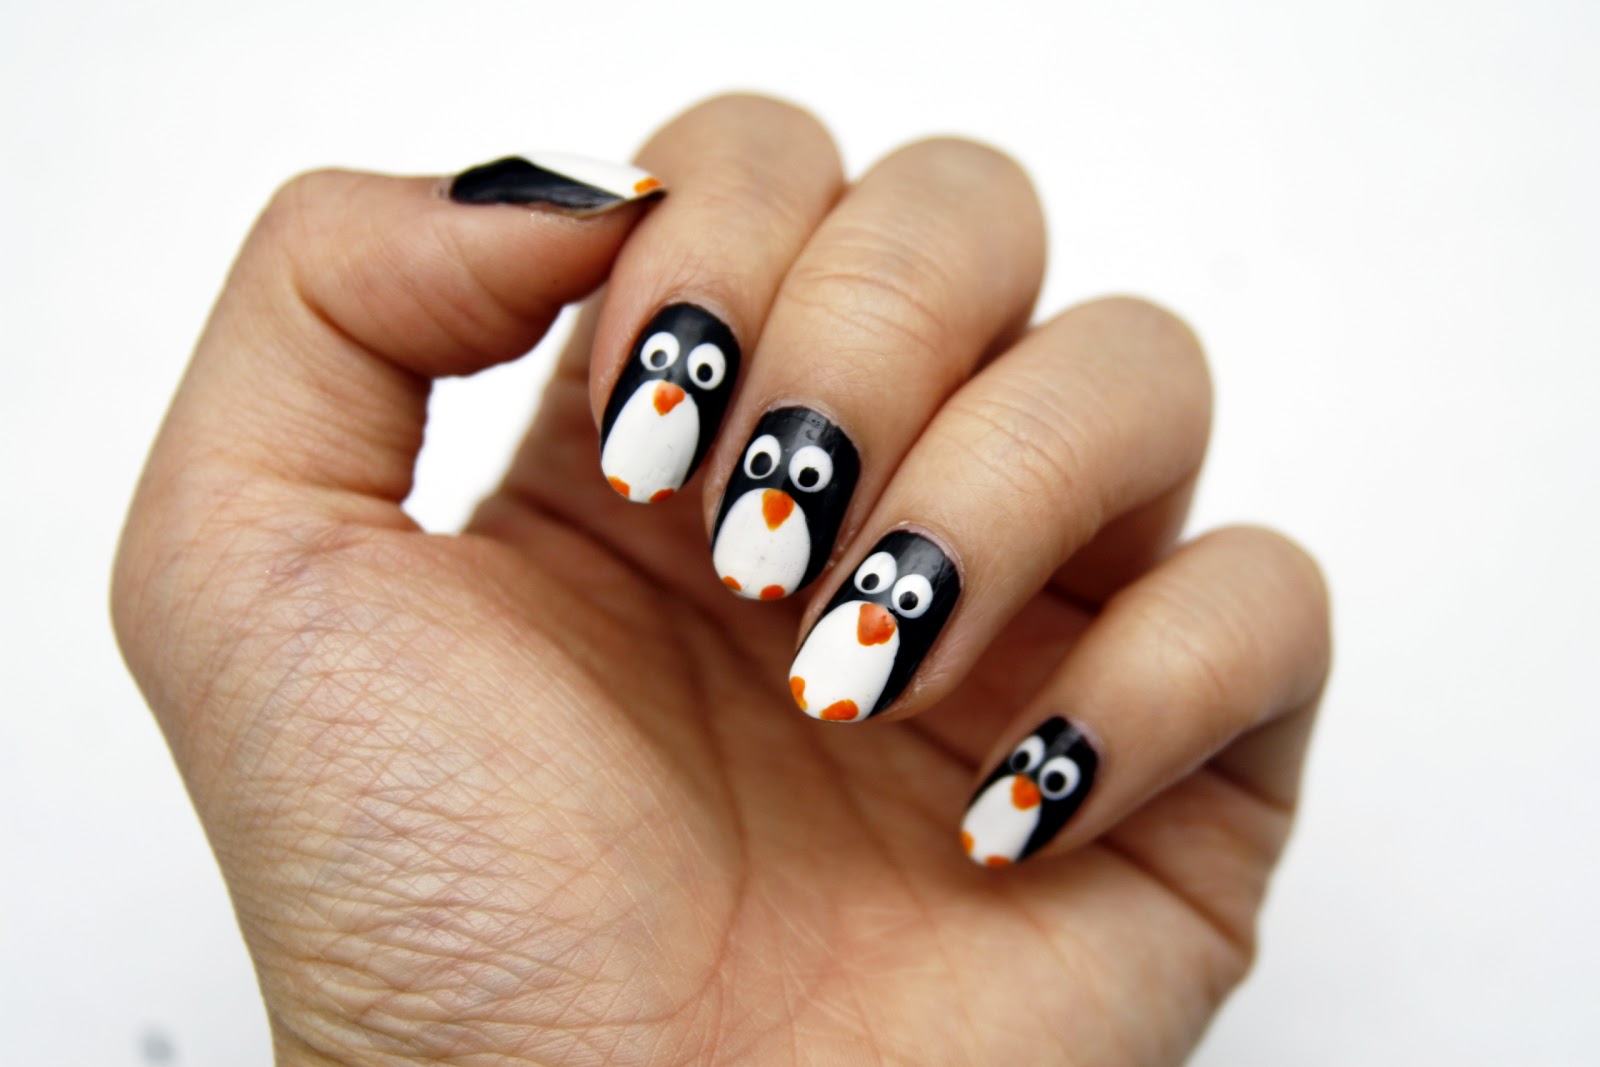
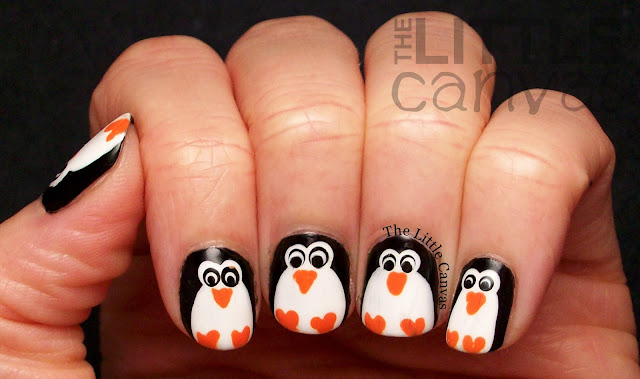
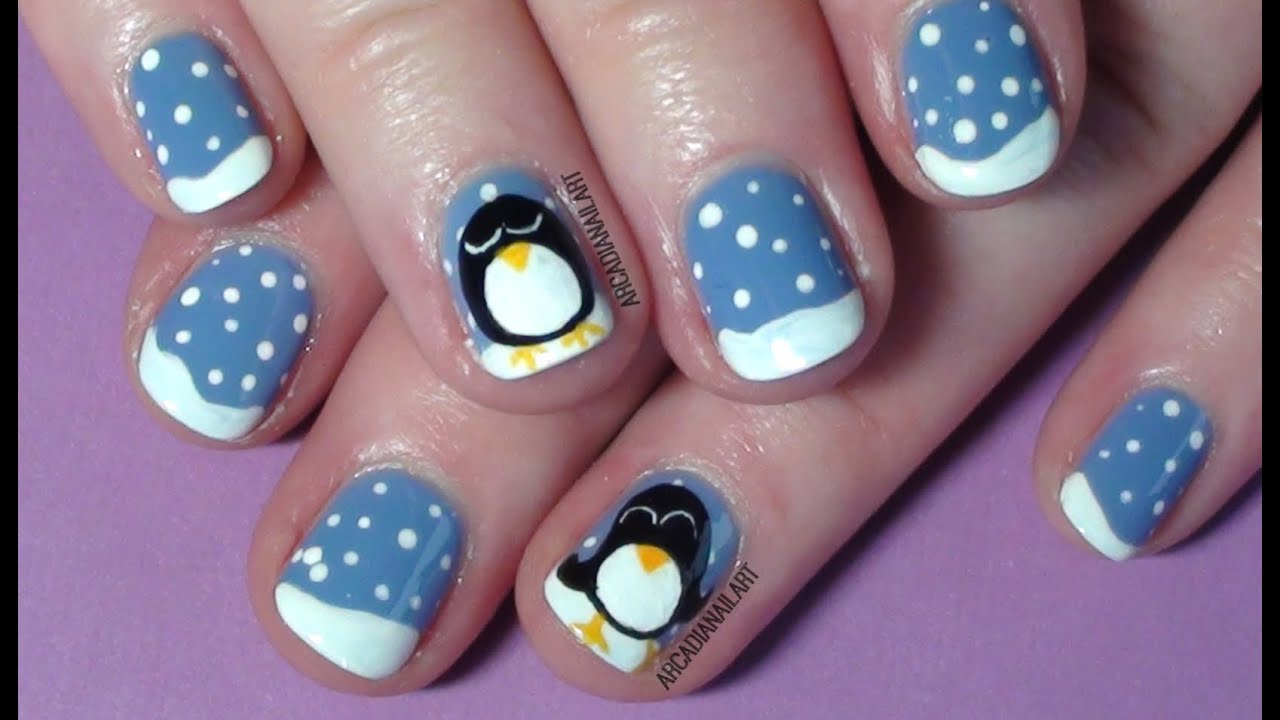
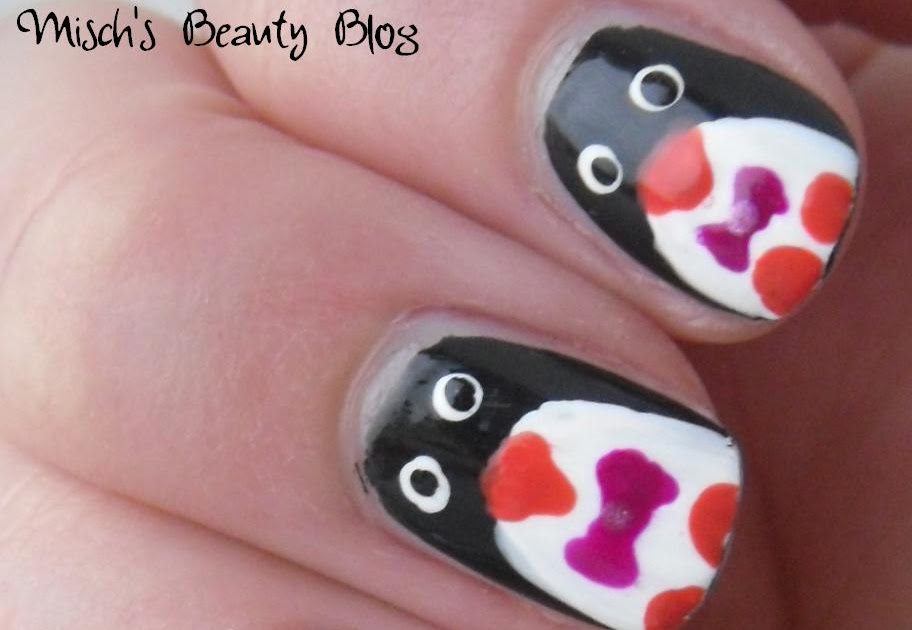
If you want to take your penguin nail art to the next level, try out these cute penguin nail art ideas. You can create a whole penguin family on your nails by using different sizes of dots for the penguin's body and adding different accessories, such as hats and scarves. You can also use different colors for the penguin's body, like pink or purple, for a more playful look. The possibilities are endless with this cute penguin nail art idea!3. Cute Penguin Nail Art Ideas

3. Cute Penguin Nail Art Ideas


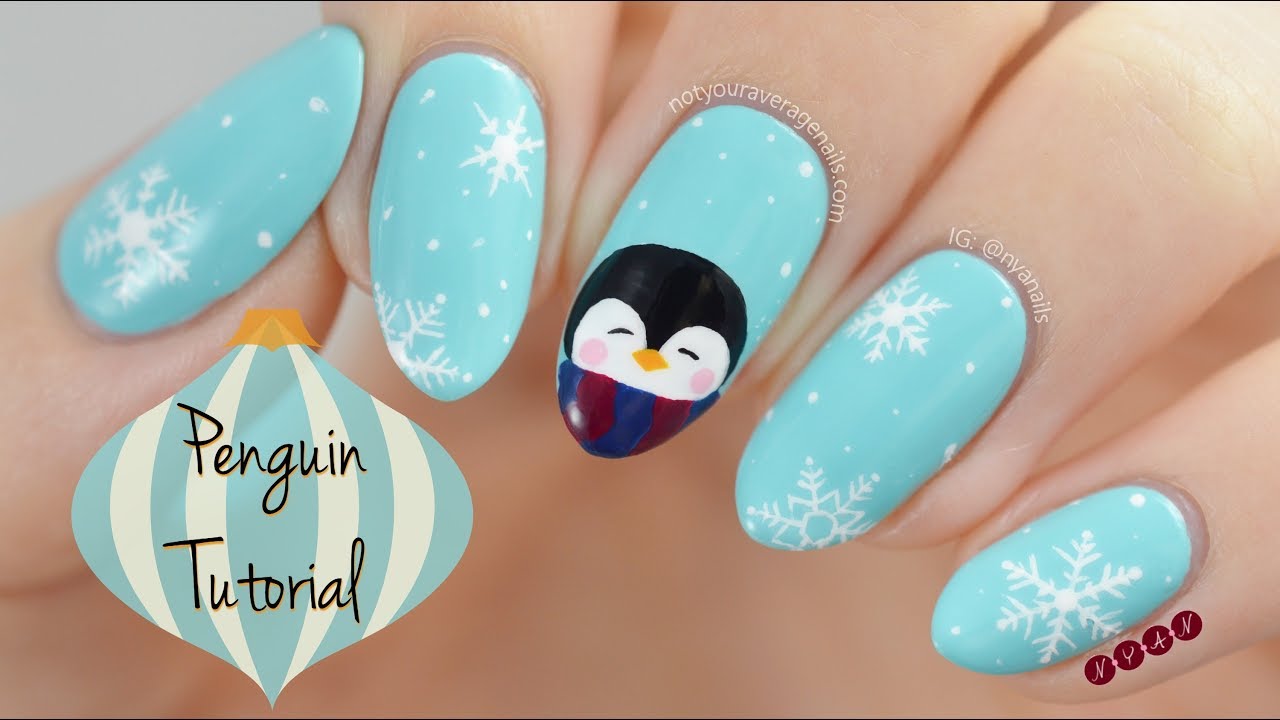
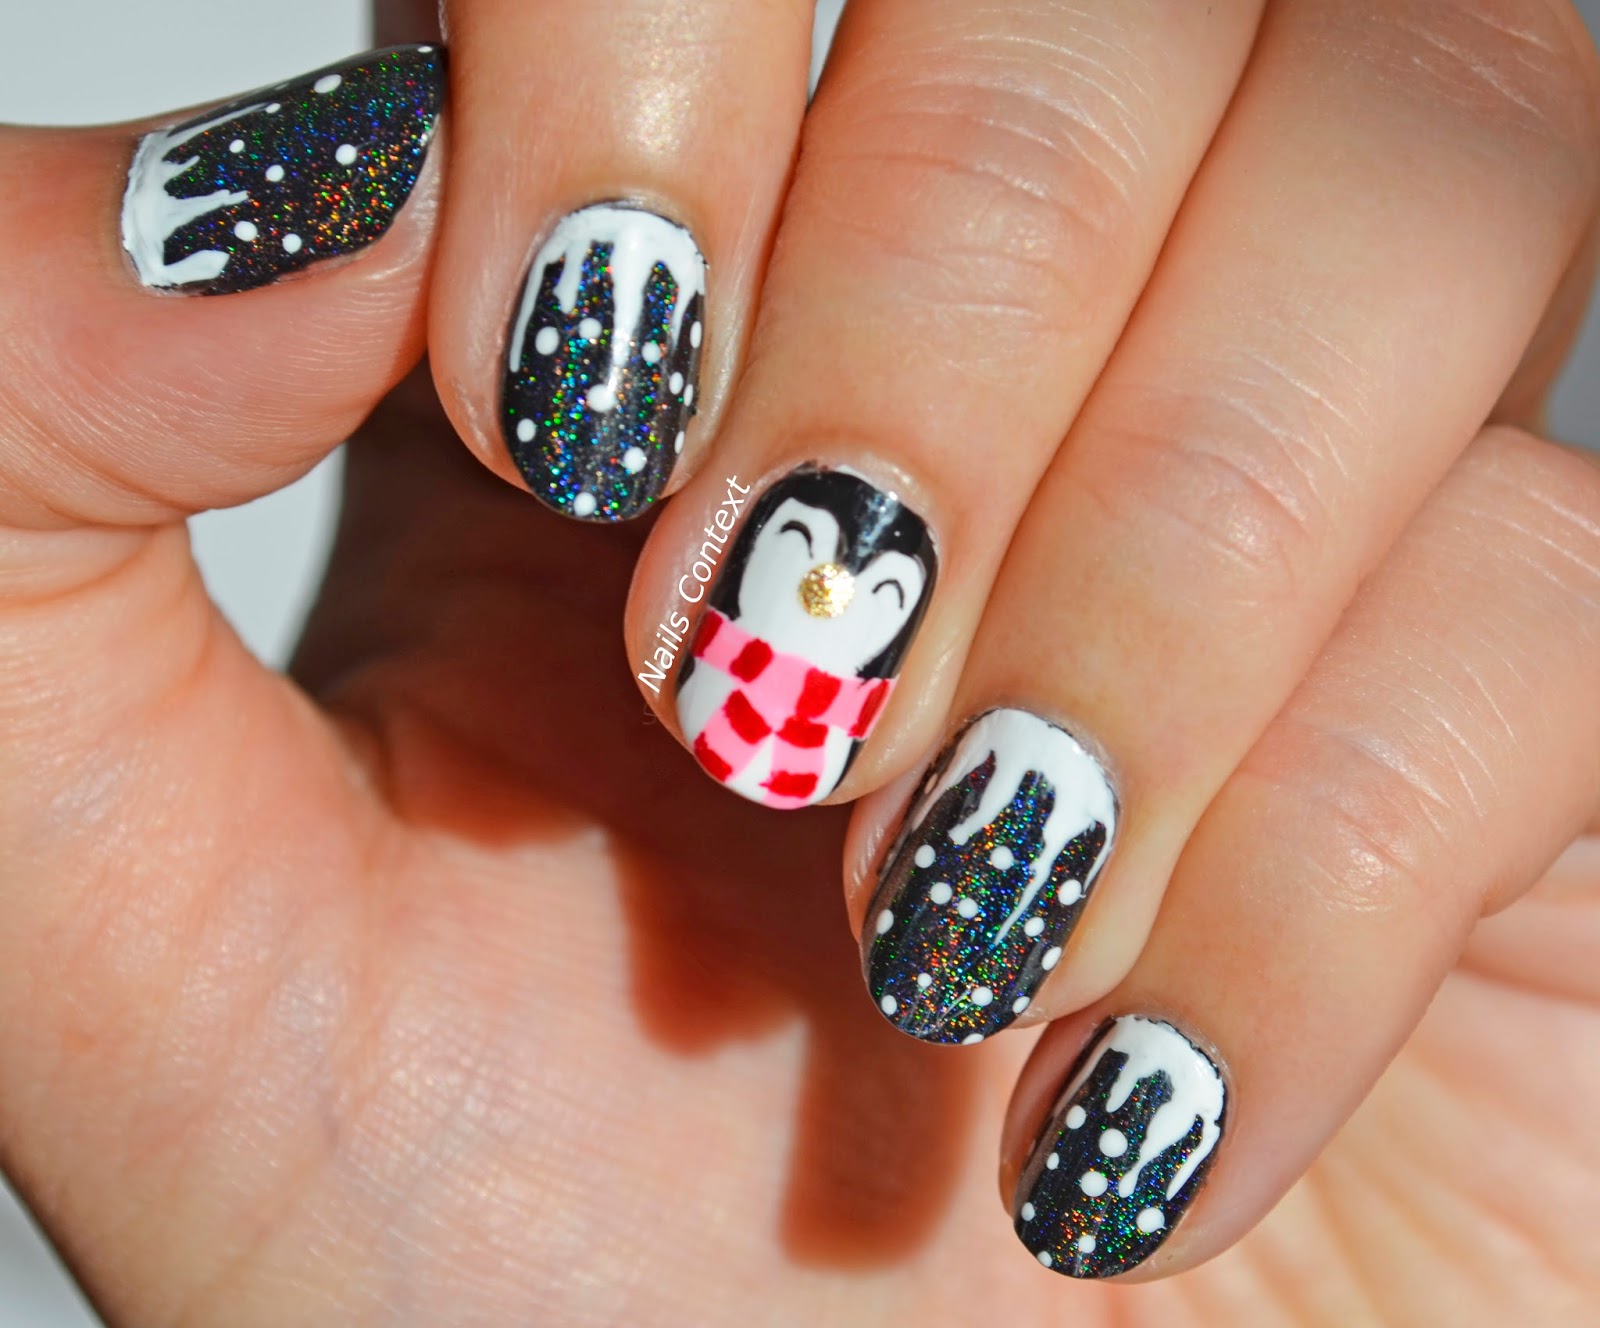
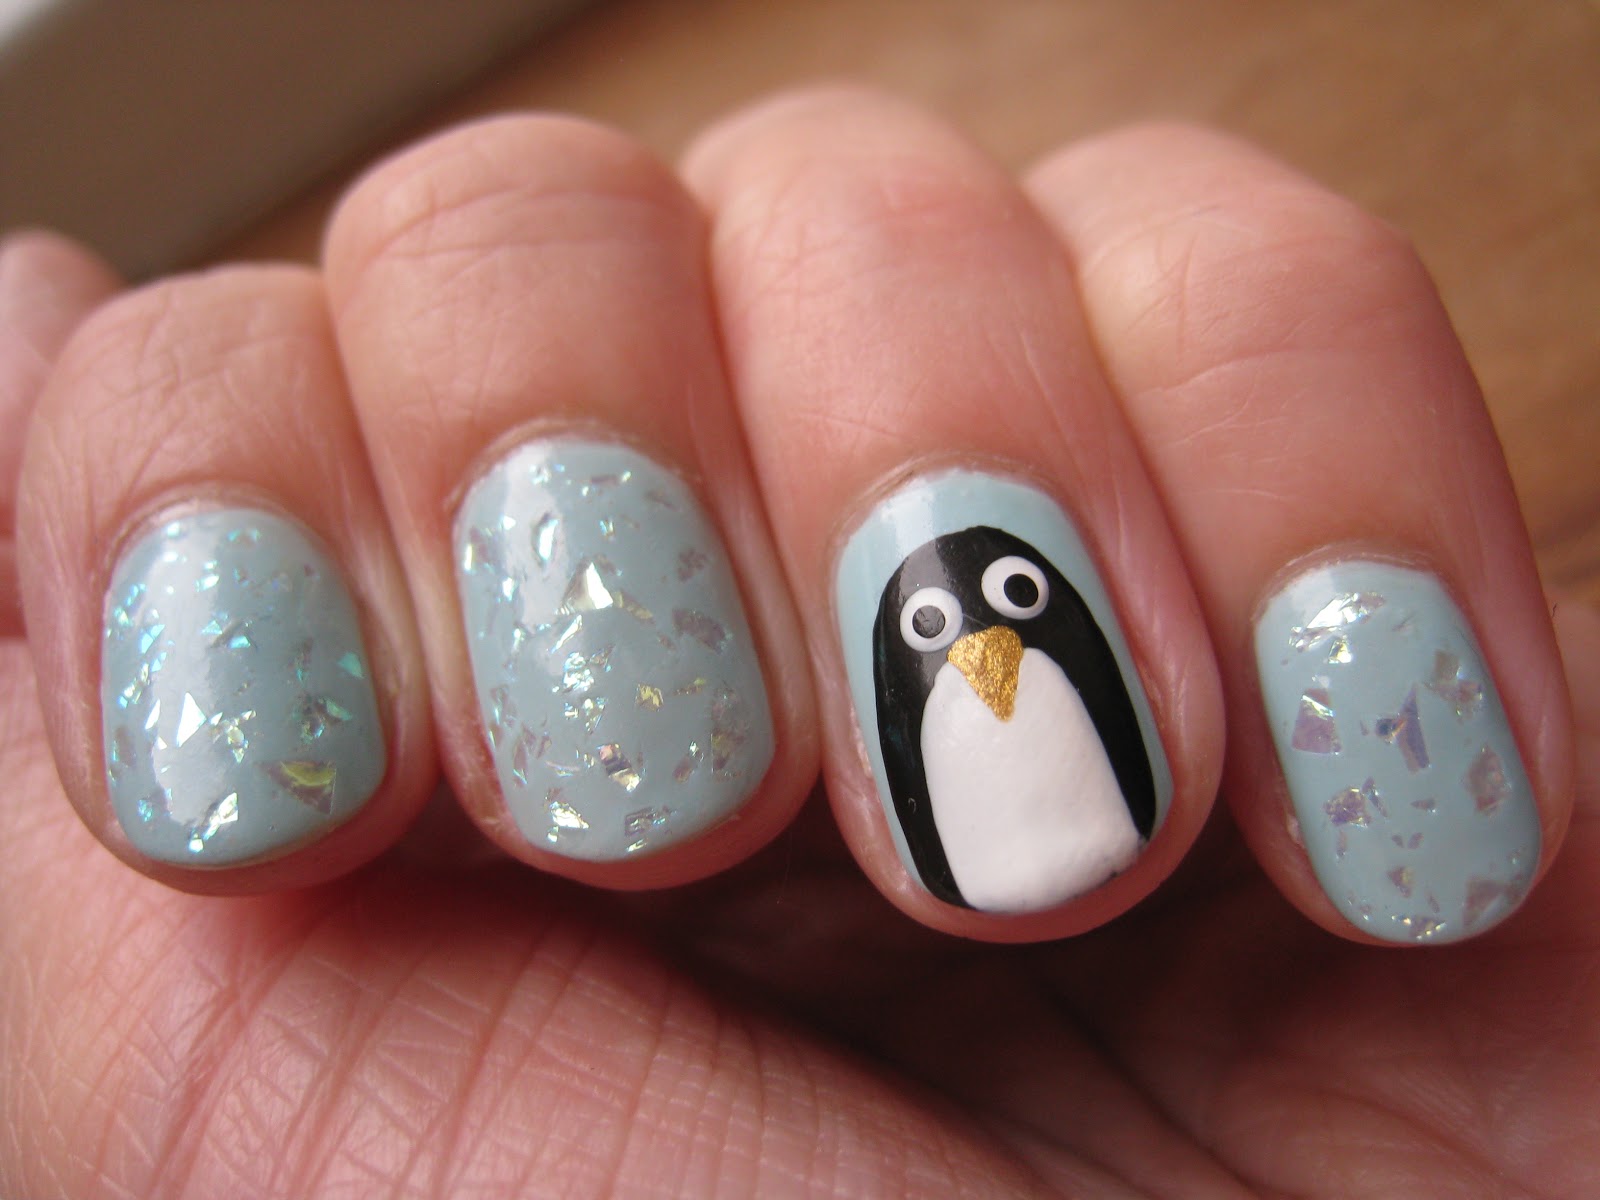
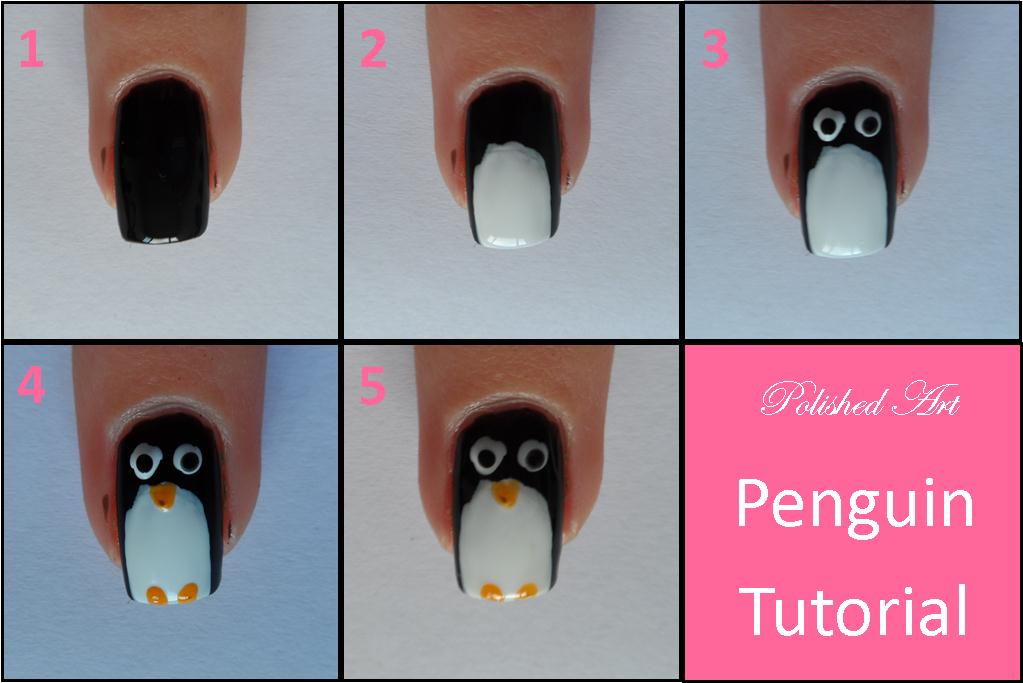
If you want a detailed guide on how to create penguin nail art, this step-by-step penguin nail tutorial is perfect for you. Start by applying a white nail polish as the base color. Once it dries, use a black nail polish to create two small circles on the tips of your nails for the penguin's eyes. Next, use a yellow nail polish to create a triangle for the penguin's beak. Then, use a black nail polish to create two small rectangles for the penguin's flippers. Finally, use a white nail polish to add some details, like a white belly and snowflakes, to complete the design. This tutorial is perfect for those who want to achieve a more detailed penguin nail art look.4. Step-by-Step Penguin Nail Tutorial


4. Step-by-Step Penguin Nail Tutorial

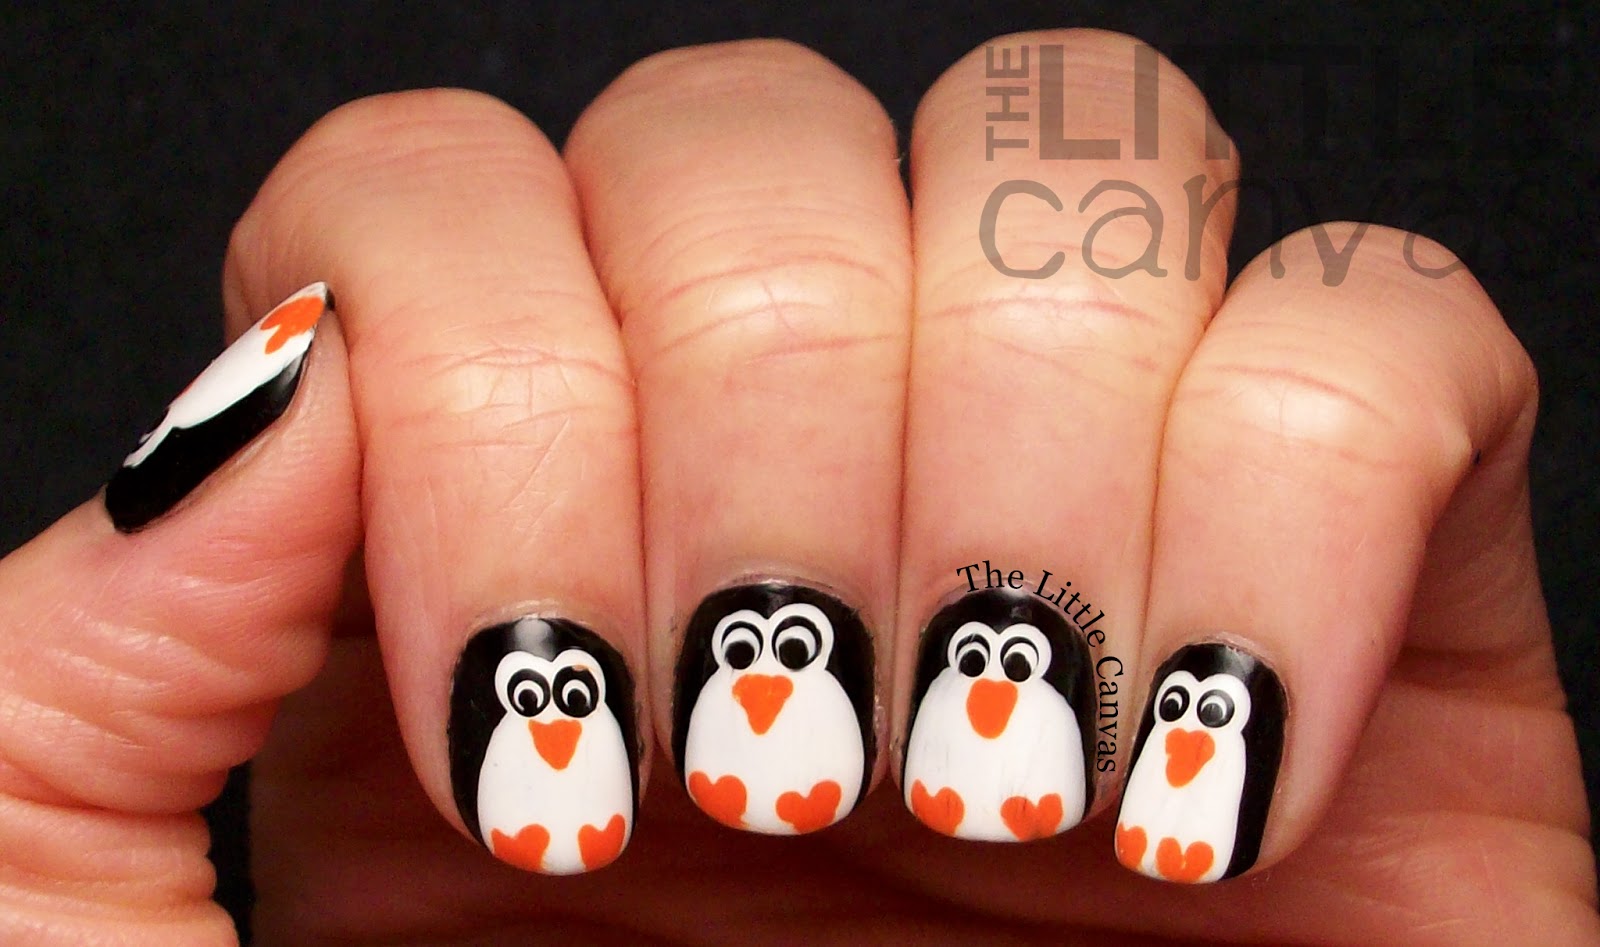
If you're in a rush but still want to have cute penguin nails, this quick and easy penguin nail design is perfect for you. Start by painting your nails with a light blue nail polish. Once it dries, use a black nail polish to create a large circle on your nails for the penguin's body. Next, use a white nail polish to create two smaller circles for the penguin's eyes. Then, use a yellow nail polish to create a triangle for the penguin's beak. This design is perfect for those who want to have cute penguin nails without spending too much time on them.5. Quick and Easy Penguin Nails


5. Quick and Easy Penguin Nails

If you want to add more cuteness to your penguin nail art, try out these adorable penguin nail designs. You can add cute winter-themed elements, such as snowflakes and snowmen, to your penguin design. You can also incorporate glitter for a more festive look. Play around with different colors and designs to create your own unique adorable penguin nail design.6. Adorable Penguin Nail Designs

6. Adorable Penguin Nail Designs

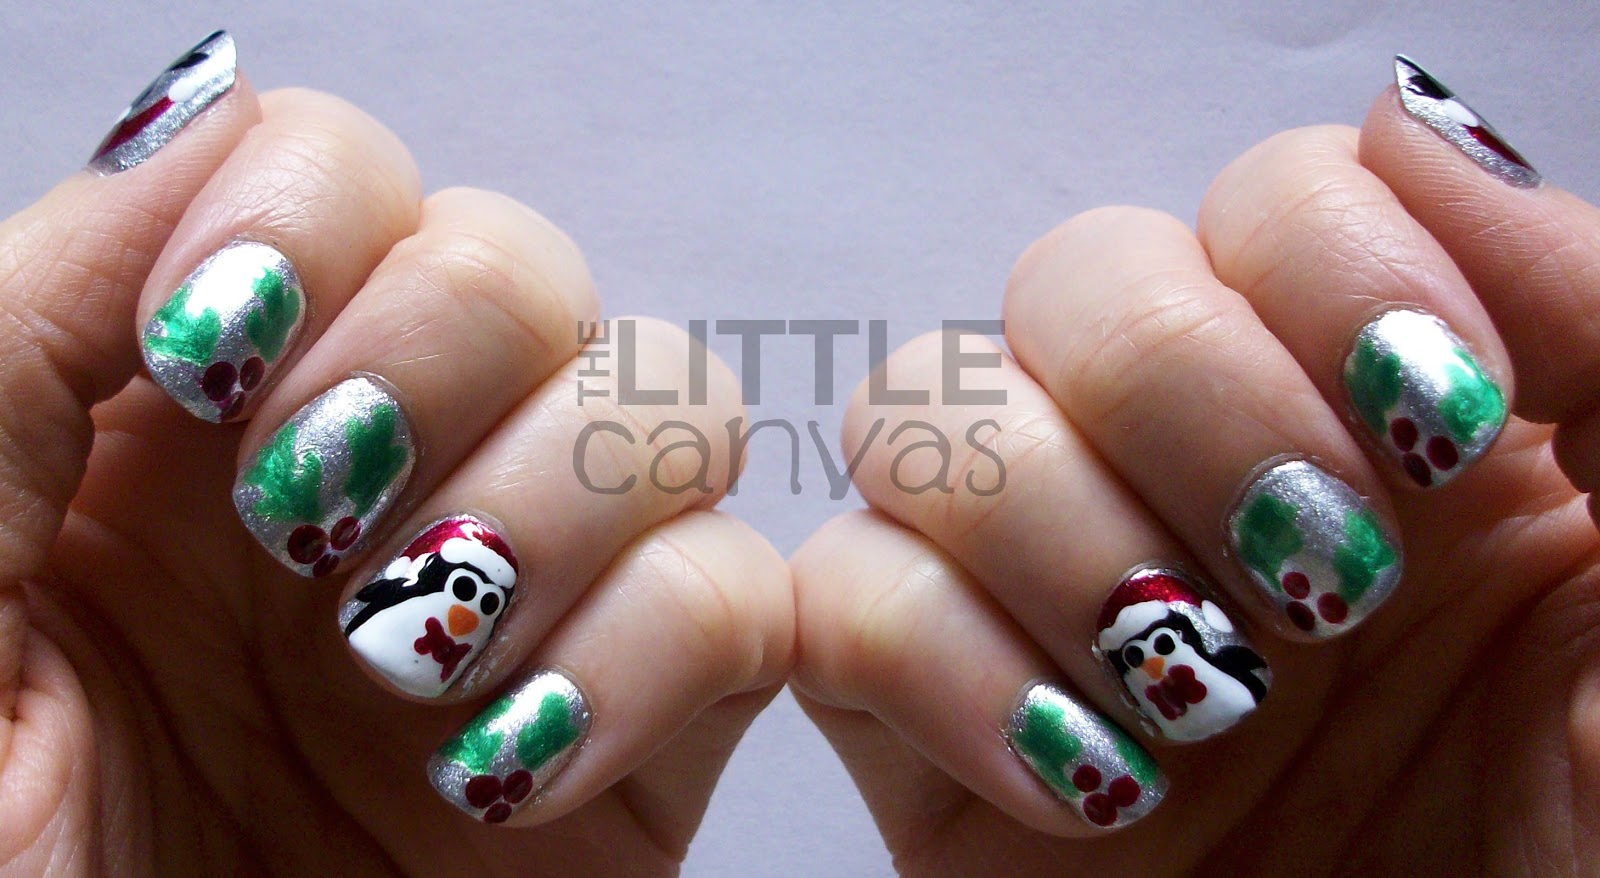
Who says penguin nail art has to be serious? Have some fun with your nails by trying out this fun and easy penguin nail art design. Start by painting your nails with a light blue nail polish. Once it dries, use a black nail polish to create a large circle on your nails for the penguin's body. Next, use a white nail polish to create two smaller circles for the penguin's eyes. Then, use a red nail polish to create a cute Santa hat on top of the penguin's head. This design is perfect for the holiday season and will definitely bring a smile to your face.7. Fun and Easy Penguin Nail Art

7. Fun and Easy Penguin Nail Art

If you're new to nail art, don't be intimidated by penguin nail art. This penguin nail art for beginners is perfect for those who are just starting to experiment with nail designs. Start by painting your nails with a light blue nail polish. Once it dries, use a black nail polish to create a large circle on your nails for the penguin's body. Next, use a white nail polish to create two smaller circles for the penguin's eyes. Then, use a yellow nail polish to create a triangle for the penguin's beak. This simple design is perfect for beginners and will surely impress your friends.8. Penguin Nail Art for Beginners

8. Penguin Nail Art for Beginners


If you prefer a more minimalistic approach to nail art, this minimalist penguin nail design is perfect for you. Start by painting your nails with a light grey nail polish. Once it dries, use a black nail polish to create two small circles on the tips of your nails for the penguin's eyes. Next, use a white nail polish to create a small triangle for the penguin's beak. This simple and chic design is perfect for those who want to have a subtle penguin nail art.9. Minimalist Penguin Nail Design

9. Minimalist Penguin Nail Design
If you're still looking for more penguin nail art inspiration, don't worry because the possibilities are endless. You can incorporate other elements, such as snowflakes, hearts, and even other animals, into your penguin nail design. You can also play around with different colors and patterns to create your own unique penguin nail art. Let your imagination run wild and have fun with your nails! In conclusion, these top 10 easy penguin nail art ideas are perfect for anyone who wants to add a touch of cuteness to their nails. Whether you're a beginner or an experienced nail artist, there's a penguin nail design for everyone. So, gather your nail polishes and get ready to create some adorable penguin nails! 10. Penguin Nail Art Inspiration

10. Penguin Nail Art Inspiration
Add Some Whimsy to Your Nails with Easy Penguin Nail Art

Why Penguin Nail Art is the Perfect Design for You
 Are you looking to add some charm and playfulness to your nails? Look no further than penguin nail art! These adorable creatures make for the perfect design with their distinctive black and white coloring and cute waddling walk. Not only is penguin nail art fun and whimsical, but it also allows for endless creativity and customization. Plus, it's easy to achieve at home with just a few simple steps.
What You'll Need
 Before diving into the tutorial, gather your materials. You'll need a base coat, top coat, white, black, and orange nail polish, a small nail art brush, a dotting tool, and a toothpick. Make sure to have all your tools ready and easily accessible before beginning.
Step-by-Step Tutorial
 Now, let's get to the fun part - creating your penguin nail art! Follow these easy steps for a flawless design:
Step 1:
Start by applying a base coat to protect your nails and ensure your design lasts.
Step 2:
Once the base coat is dry, apply two coats of white nail polish to all your nails.
Step 3:
Using a small nail art brush, create a black oval shape near the tip of your nail. This will be the penguin's head.
Step 4:
Next, create a smaller black oval shape next to the head for the penguin's body.
Step 5:
Using a dotting tool, create two small white dots for the eyes on the penguin's head.
Step 6:
With a toothpick, create a small orange triangle for the penguin's beak.
Step 7:
To add some extra detail, use the nail art brush to paint a black line across the penguin's belly and two small black dots for the feet.
Step 8:
Repeat these steps on all your nails, and voila! You now have a cute and playful penguin design on your nails.
Now, let's get to the fun part - creating your penguin nail art! Follow these easy steps for a flawless design:
Step 1:
Start by applying a base coat to protect your nails and ensure your design lasts.
Step 2:
Once the base coat is dry, apply two coats of white nail polish to all your nails.
Step 3:
Using a small nail art brush, create a black oval shape near the tip of your nail. This will be the penguin's head.
Step 4:
Next, create a smaller black oval shape next to the head for the penguin's body.
Step 5:
Using a dotting tool, create two small white dots for the eyes on the penguin's head.
Step 6:
With a toothpick, create a small orange triangle for the penguin's beak.
Step 7:
To add some extra detail, use the nail art brush to paint a black line across the penguin's belly and two small black dots for the feet.
Step 8:
Repeat these steps on all your nails, and voila! You now have a cute and playful penguin design on your nails.
Customization Ideas
 While the tutorial above creates a classic penguin design, feel free to add your own creative twist to make it your own. For example, you can use different colored nail polish for the penguin's scarf or add a top hat for a dapper look. The possibilities are endless, so have fun and get creative!
In conclusion, penguin nail art is a fun and easy way to add some charm and whimsy to your nails. With just a few simple steps, you can achieve a cute and playful design that is sure to turn heads. So why not give it a try and bring some penguin magic to your next manicure?
While the tutorial above creates a classic penguin design, feel free to add your own creative twist to make it your own. For example, you can use different colored nail polish for the penguin's scarf or add a top hat for a dapper look. The possibilities are endless, so have fun and get creative!
In conclusion, penguin nail art is a fun and easy way to add some charm and whimsy to your nails. With just a few simple steps, you can achieve a cute and playful design that is sure to turn heads. So why not give it a try and bring some penguin magic to your next manicure?


