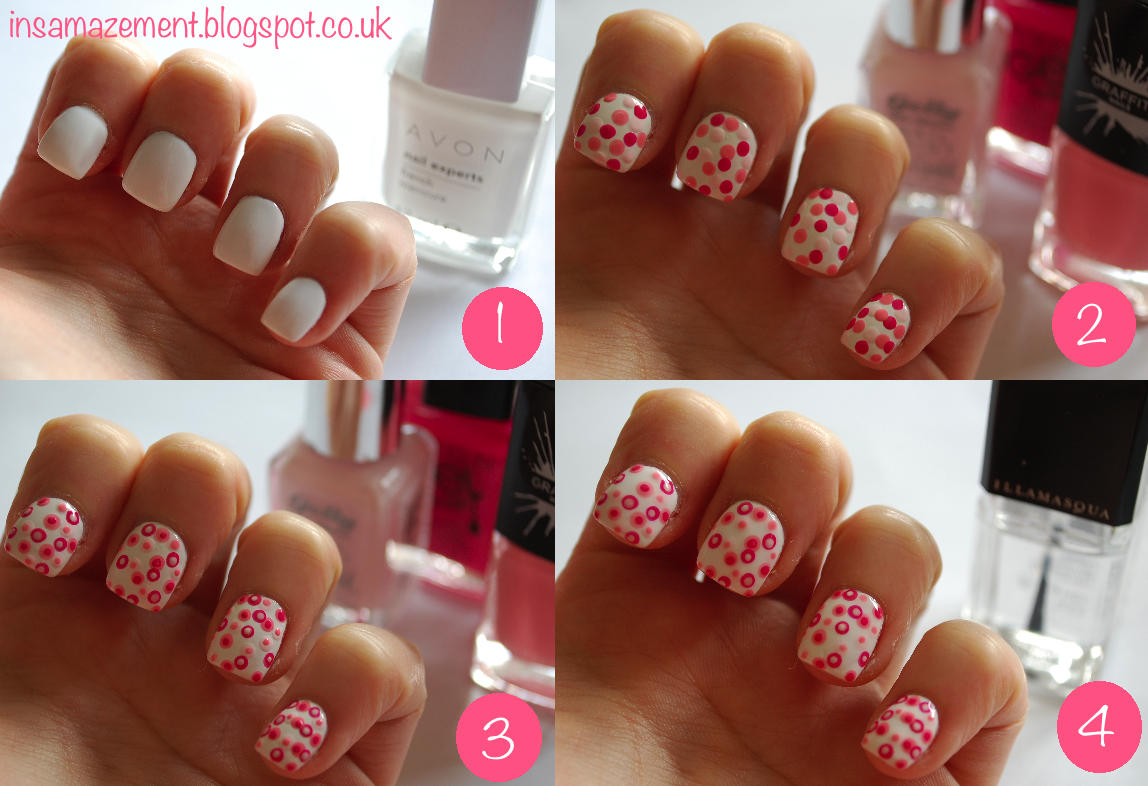
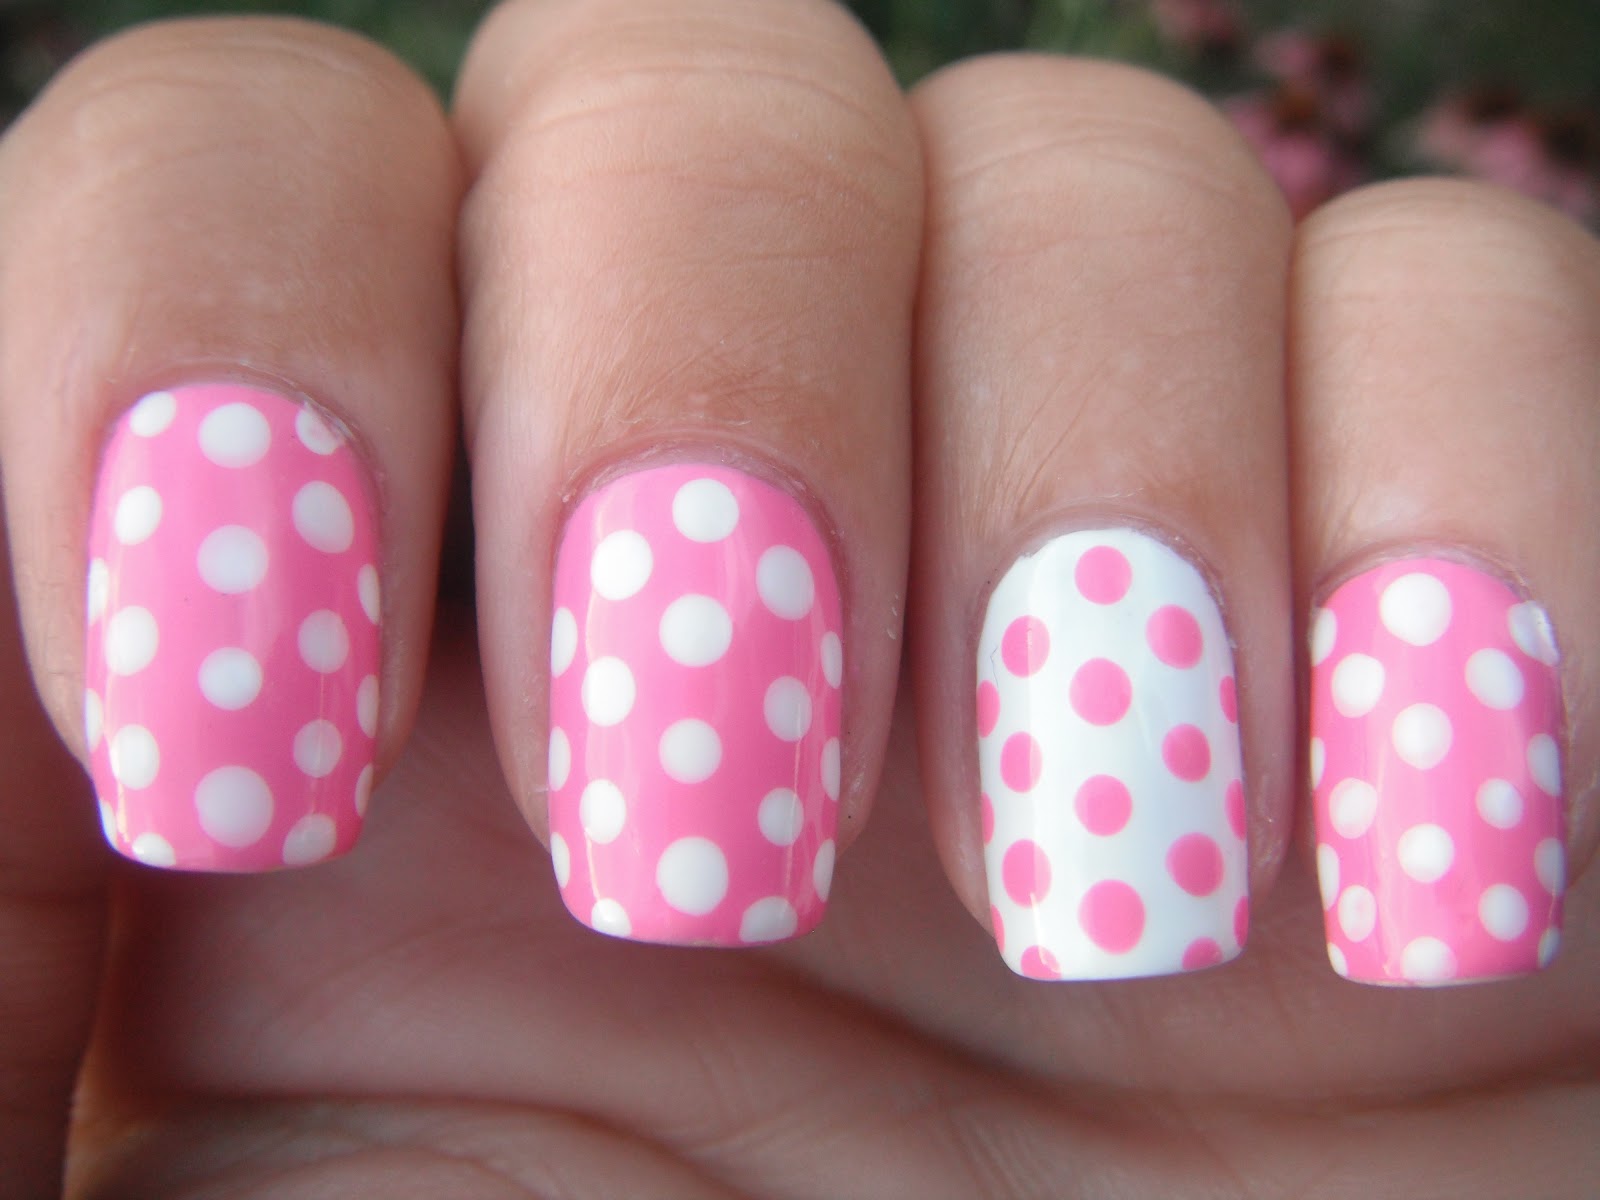
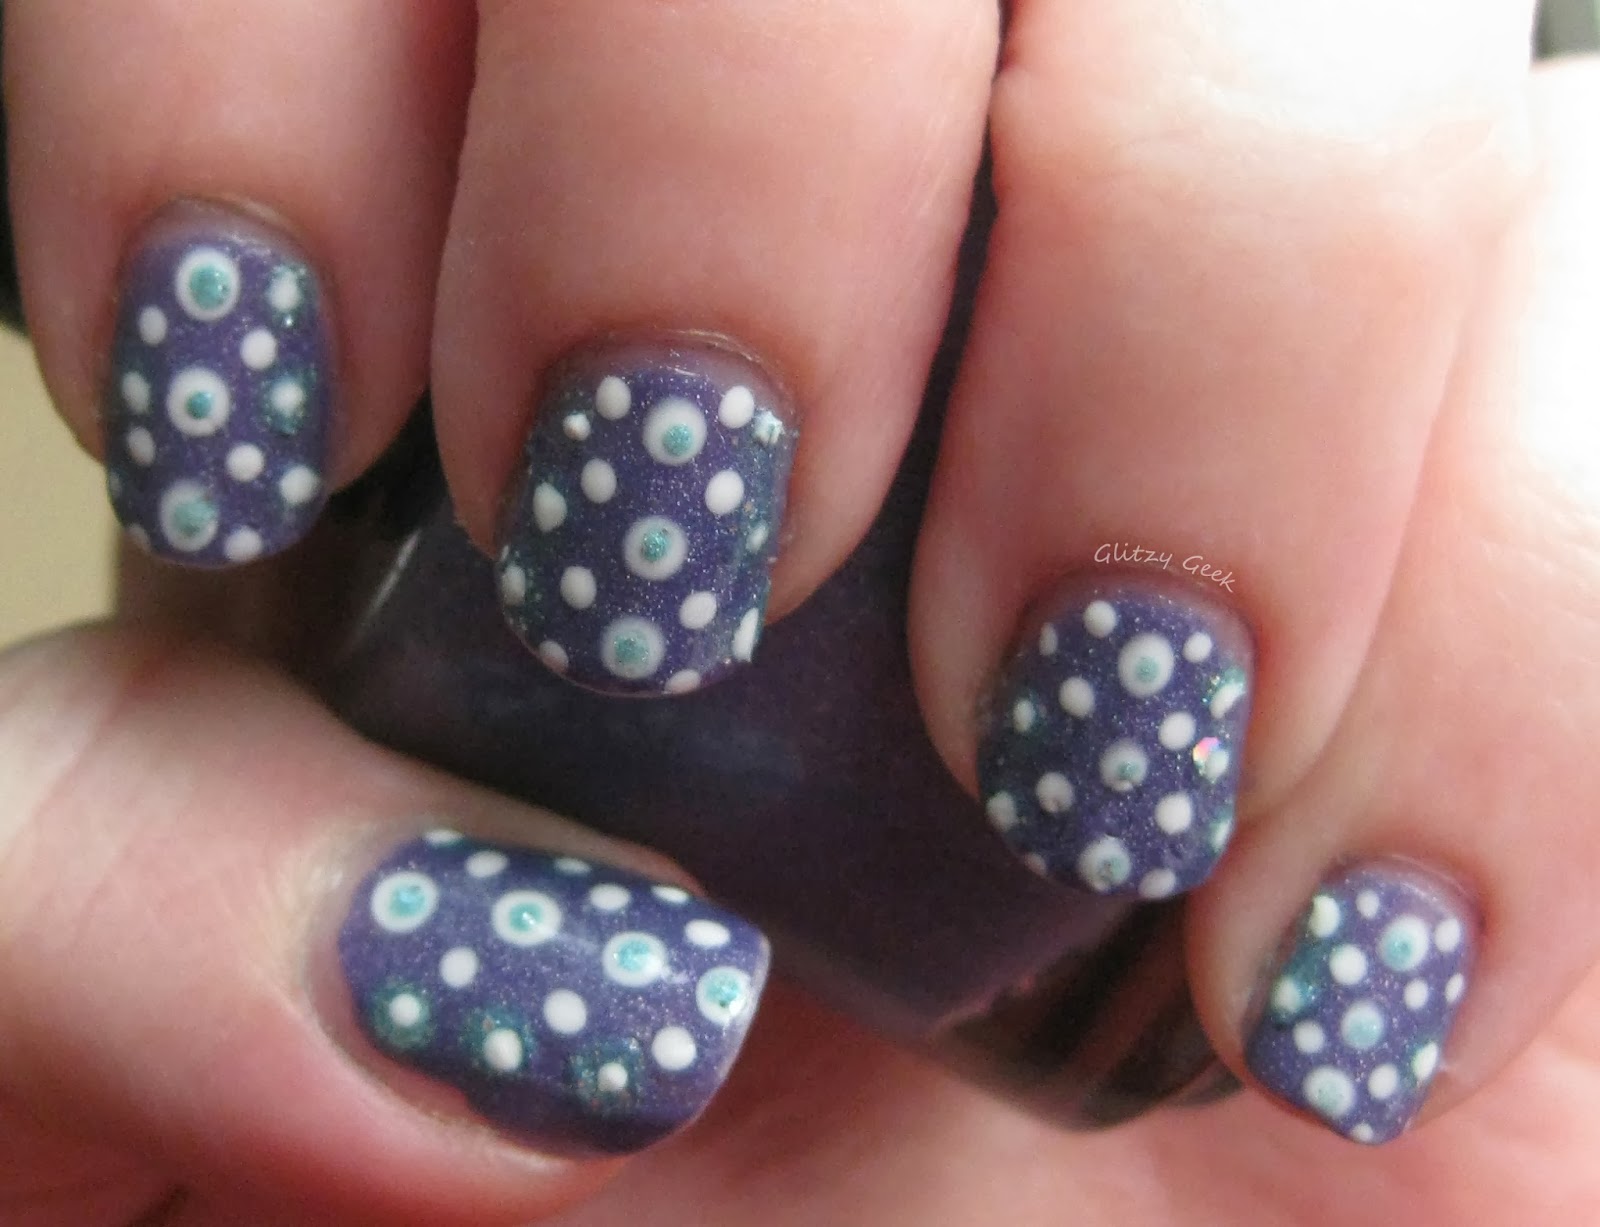
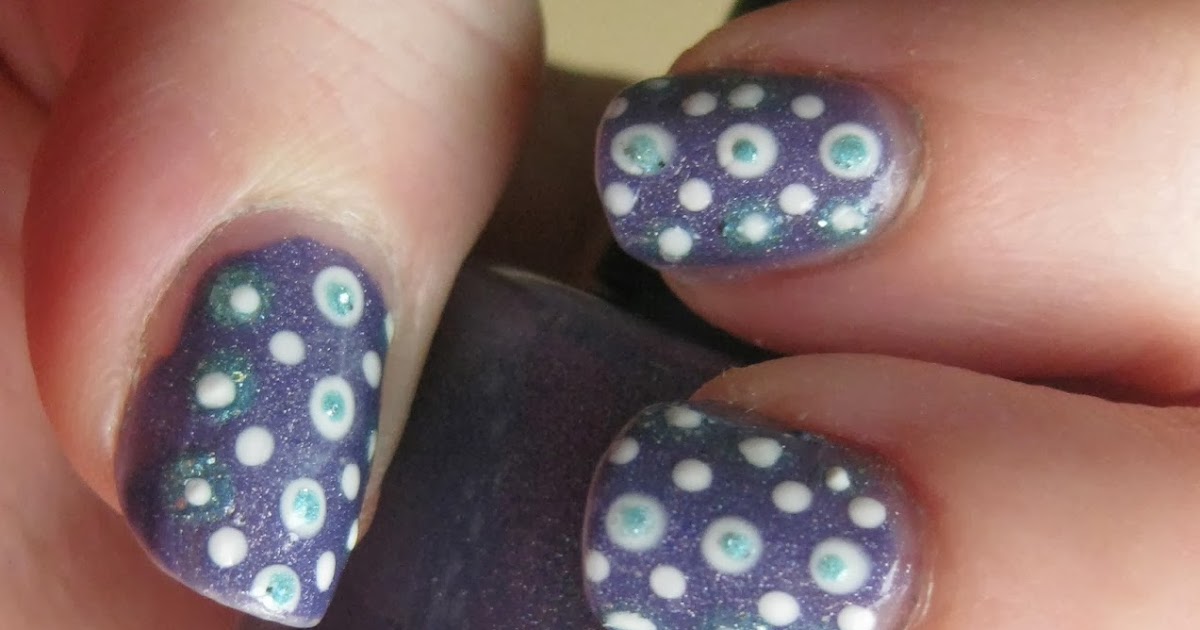
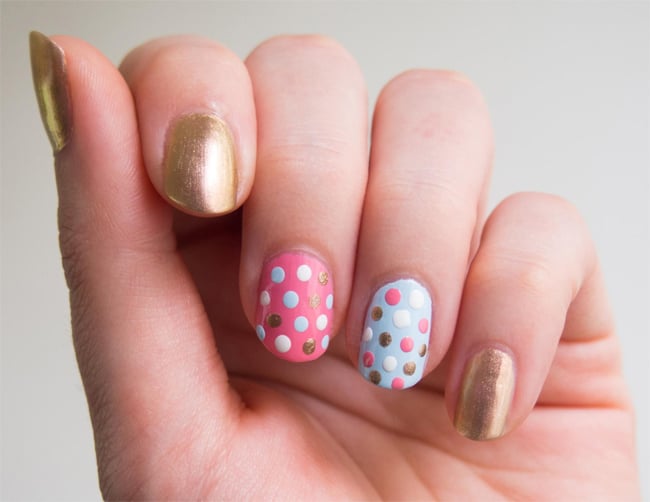
If you're looking for a fun and easy way to jazz up your nails, polka dot nail art is the perfect choice. Not only is it cute and playful, it's also incredibly simple to do at home. All you need is a few basic tools and a little bit of patience. Follow this step-by-step tutorial for an easy polka dot nail art design that will have your nails looking chic and stylish in no time. To start, gather your supplies. You'll need a base coat, a nail polish color of your choice, a dotting tool (or a toothpick), and a top coat. If you want to add some extra flair, you can also use glitter or nail decals. Begin by applying a base coat to your nails to protect them and help your nail polish last longer. Next, choose your desired nail polish color. Bright and bold colors work great for polka dot designs, but you can also opt for a more subtle look with pastel shades or neutral tones. Once your base coat is dry, use your dotting tool or toothpick to create the polka dots. Dip the tool into your nail polish and gently press it onto your nail in a circular motion. You can make the dots as big or as small as you want, depending on your preference. For a more uniform look, try to keep the spacing between the dots consistent. If you want a more playful and random look, vary the spacing between the dots. You can also mix and match different colors for a fun and colorful design. After you've created all your polka dots, let the nail polish dry completely. This is important to avoid smudging or ruining your design. Once dry, seal in your design with a top coat to make it last longer and add some shine. And there you have it, an easy polka dot nail art design that looks like it was done by a professional. With a little bit of practice, you can create endless variations of this design and have fun experimenting with different colors and patterns.1. Easy Polka Dot Nail Art Tutorial
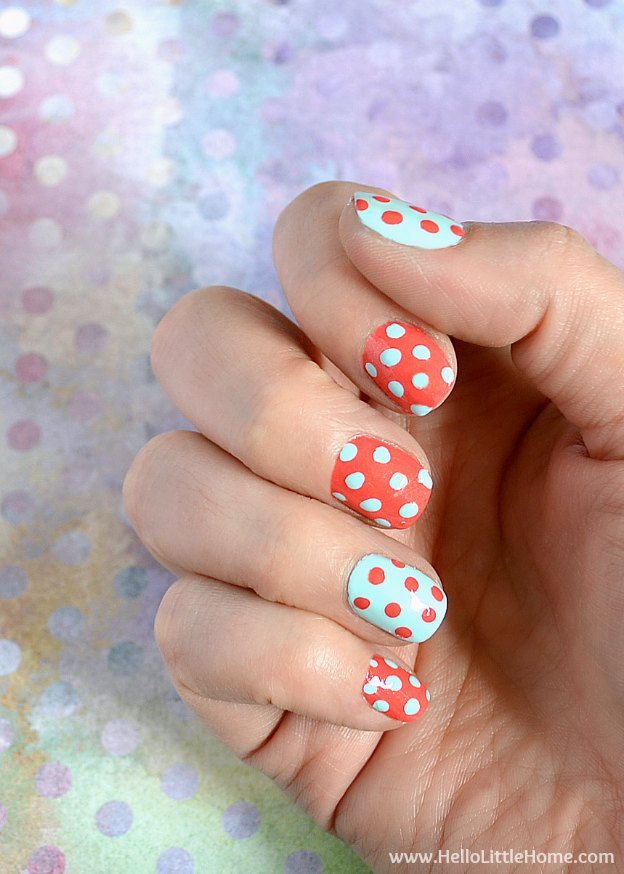

1. Easy Polka Dot Nail Art Tutorial


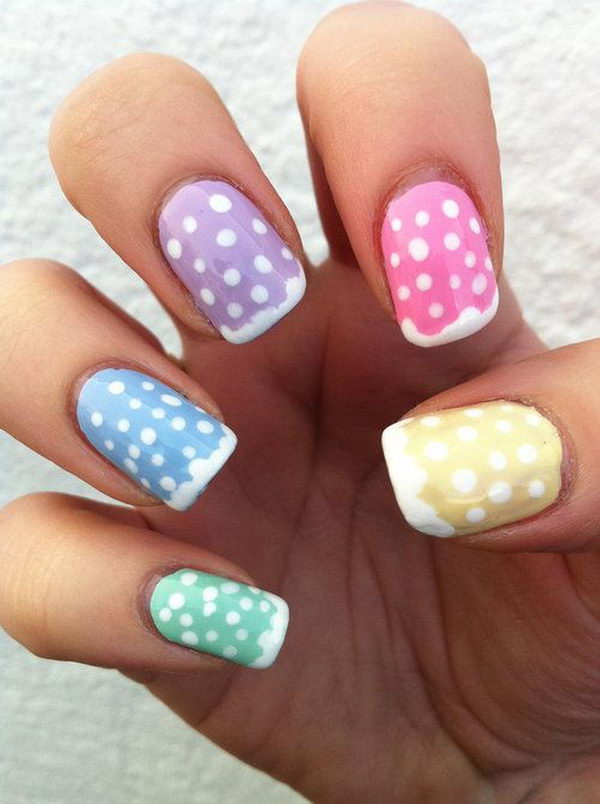
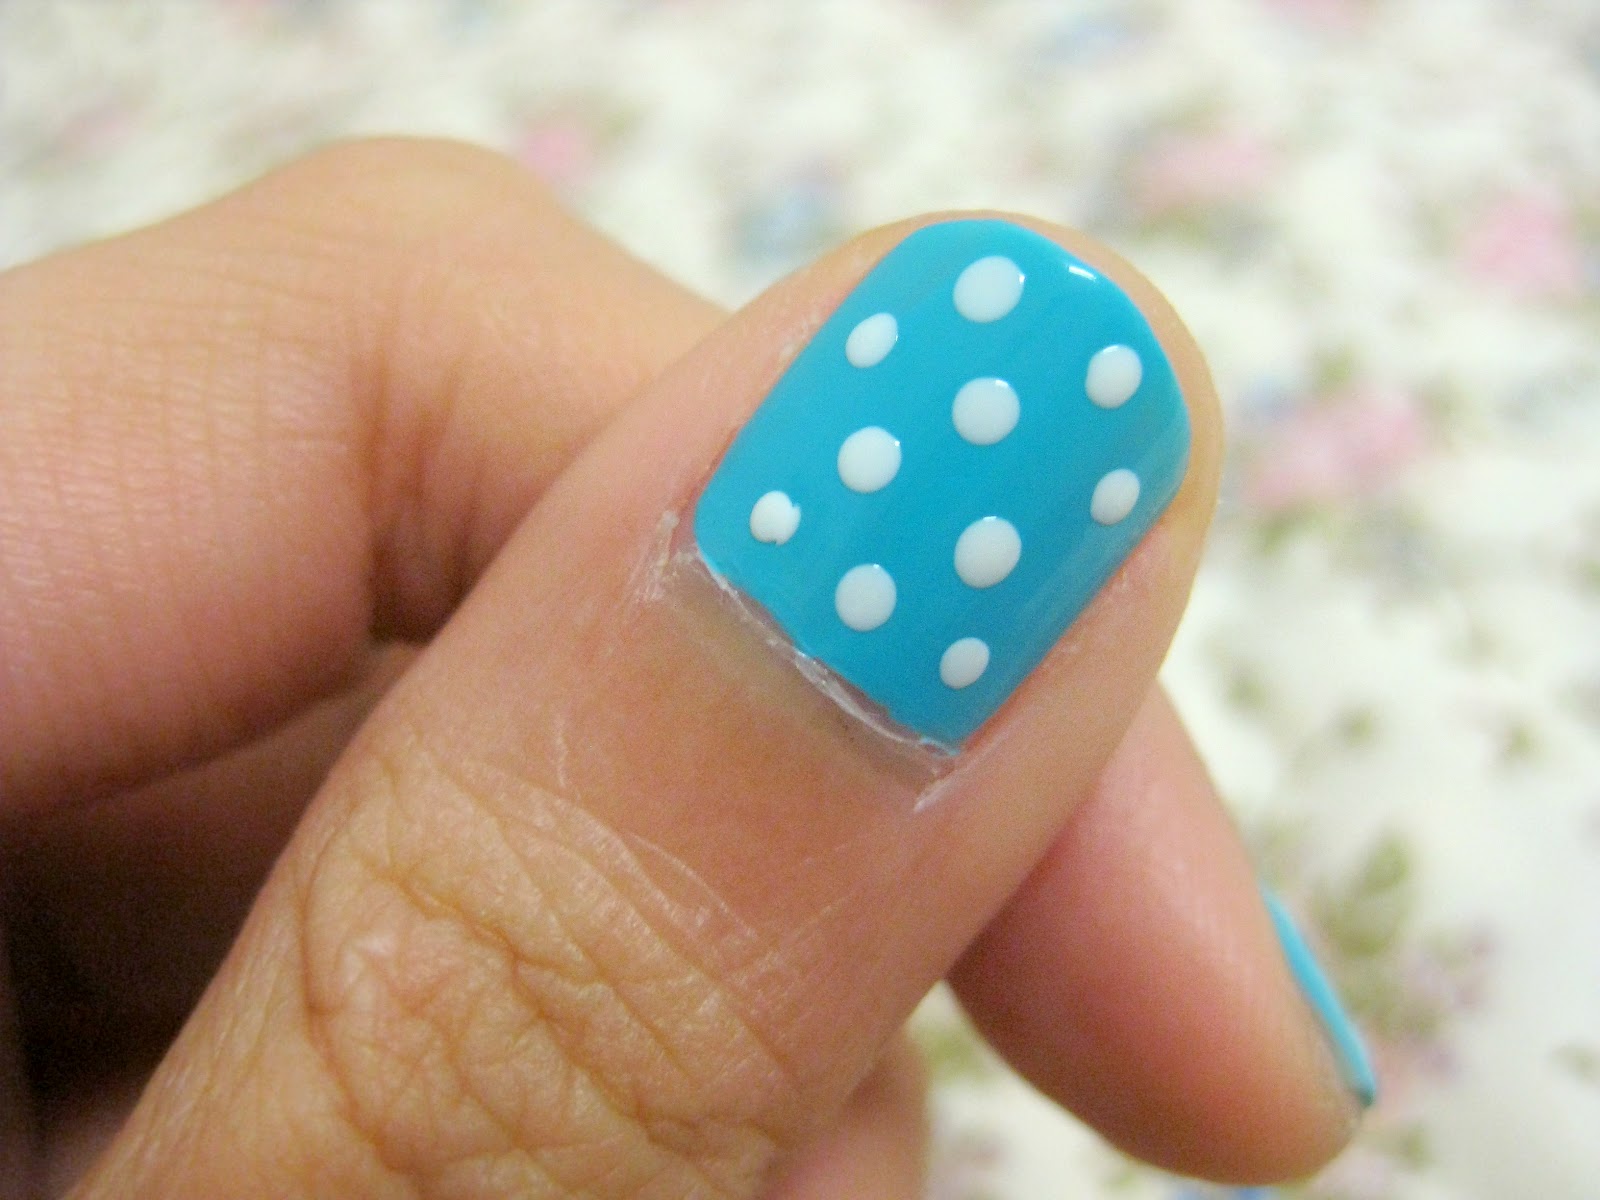
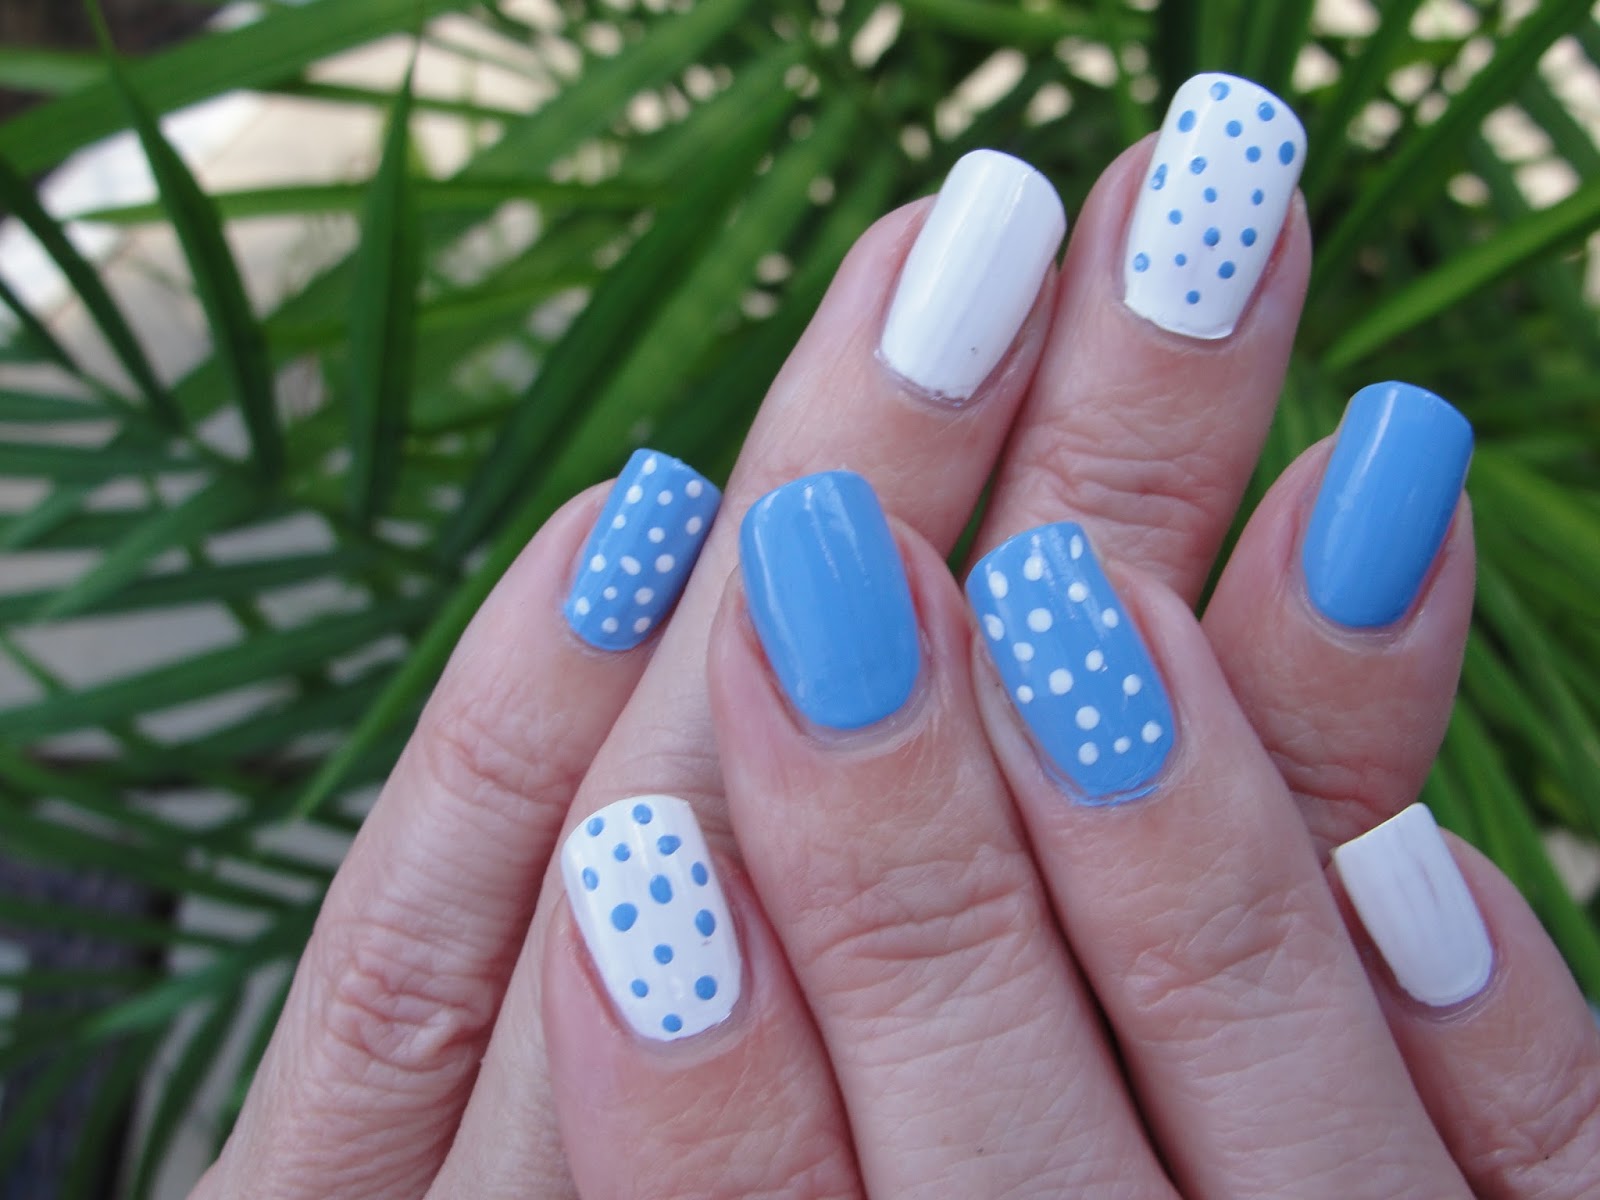
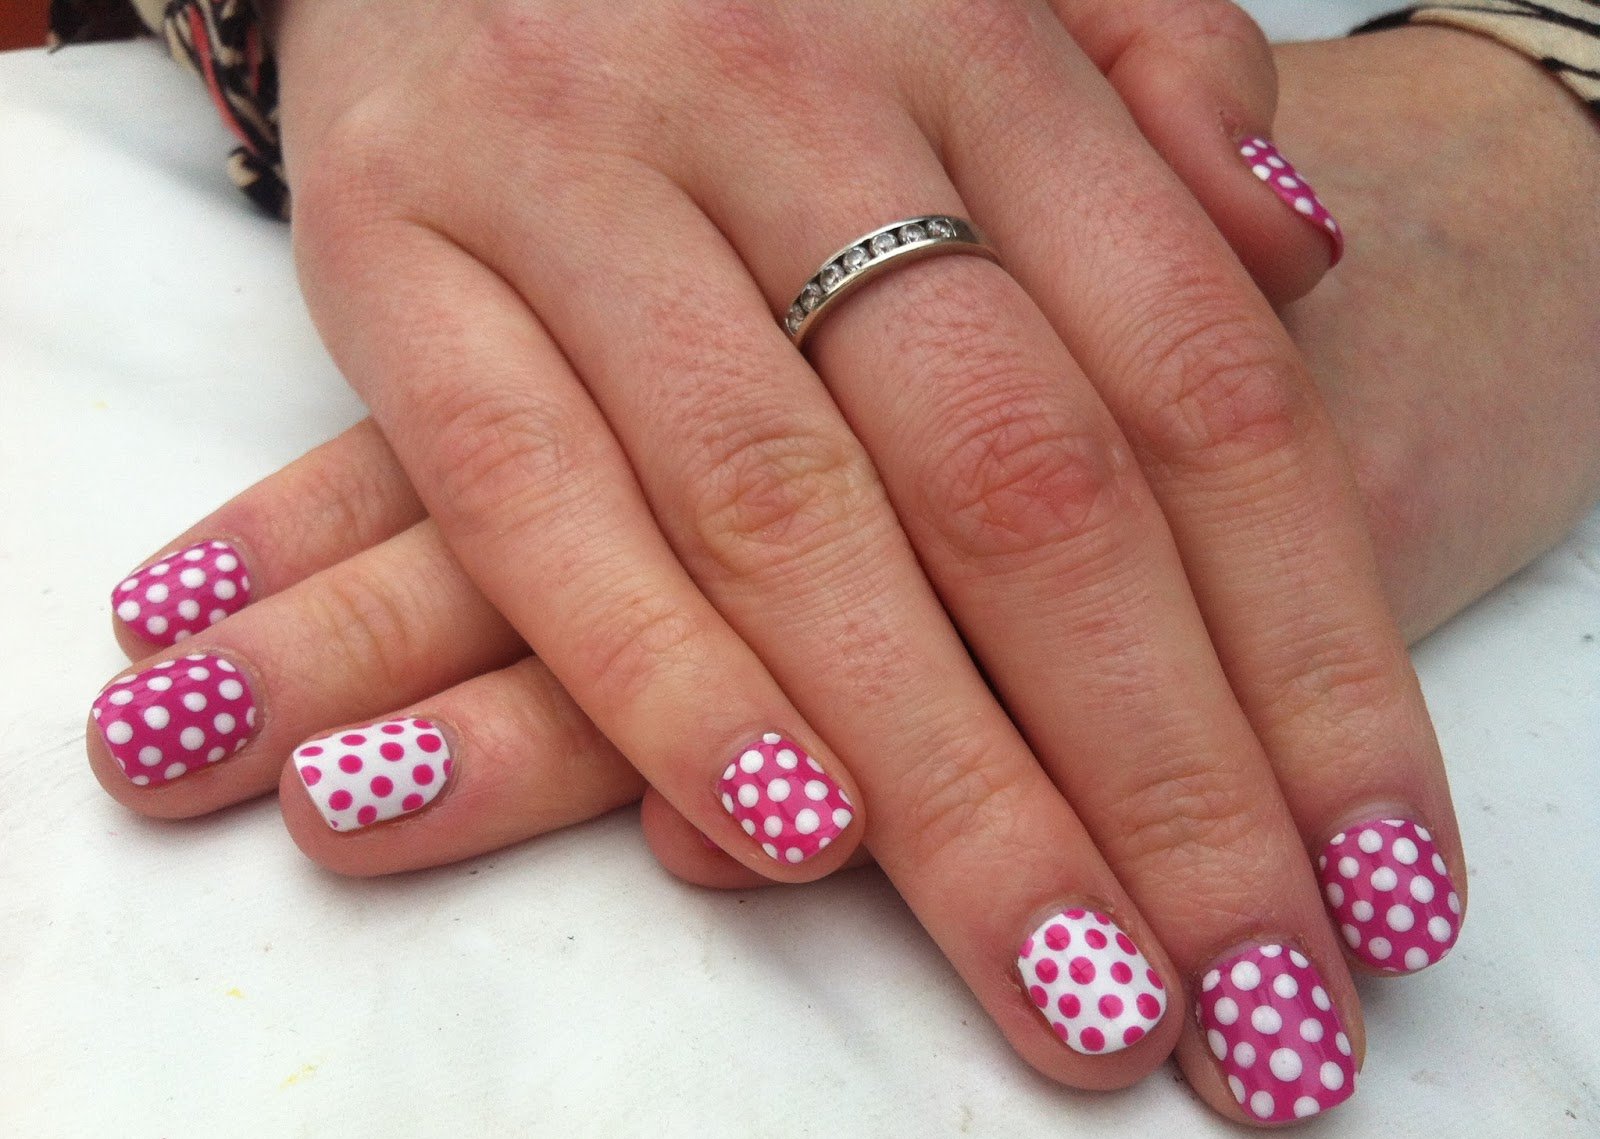
Not everyone has the time or patience to create intricate nail designs. But that doesn't mean you have to miss out on the fun of nail art. Simple polka dot nail designs are the perfect solution for those who want a cute and easy look without too much effort. For a simple yet stylish look, try a monochromatic polka dot design. Choose a base color and create the polka dots using a slightly lighter or darker shade of the same color. This creates a subtle and chic look that is perfect for any occasion. If you want to add a pop of color to your nails, you can create a polka dot design using two complementary colors. For example, a light blue base with white polka dots or a pale pink base with gold polka dots. This is a great way to add some personality to your nails without going overboard. If you're feeling more adventurous, you can try a reverse polka dot design. Instead of creating polka dots on a colored base, paint your nails with white or nude polish and create the polka dots using your desired colors. This creates a unique and eye-catching look that will definitely stand out. Remember, the key to creating simple polka dot nail designs is to keep it minimal. Stick to a few colors, and don't overcrowd your nails with too many polka dots. This will ensure that your design looks clean and polished.2. Simple Polka Dot Nail Designs


2. Simple Polka Dot Nail Designs


Nail salons can be expensive, and sometimes you just don't have the time to go for a professional manicure. But that doesn't mean you can't have beautiful nails. With DIY polka dot nails, you can get the salon look at home without breaking the bank. Start by preparing your nails as you would for any manicure. Trim, file, and shape your nails, and push back your cuticles. Then, apply a base coat to protect your nails and help your polish last longer. Next, choose your desired nail polish color. Dark colors work great for polka dot designs, but you can also opt for lighter shades or pastels. Apply two coats of nail polish, waiting for the first coat to dry before applying the second one. Once your base color is dry, it's time to create the polka dots. You can use a dotting tool, a toothpick, or even the end of a bobby pin to create the dots. Dip the tool into your desired nail polish color and gently press it onto your nails in a circular motion. Remember to vary the spacing between the dots for a more playful look. After you've created all your polka dots, let your nails dry completely before applying a top coat. This will seal in your design and make it last longer. With a little bit of practice, you can become a pro at creating DIY polka dot nails. Experiment with different colors and patterns to find your perfect design.3. DIY Polka Dot Nails


3. DIY Polka Dot Nails

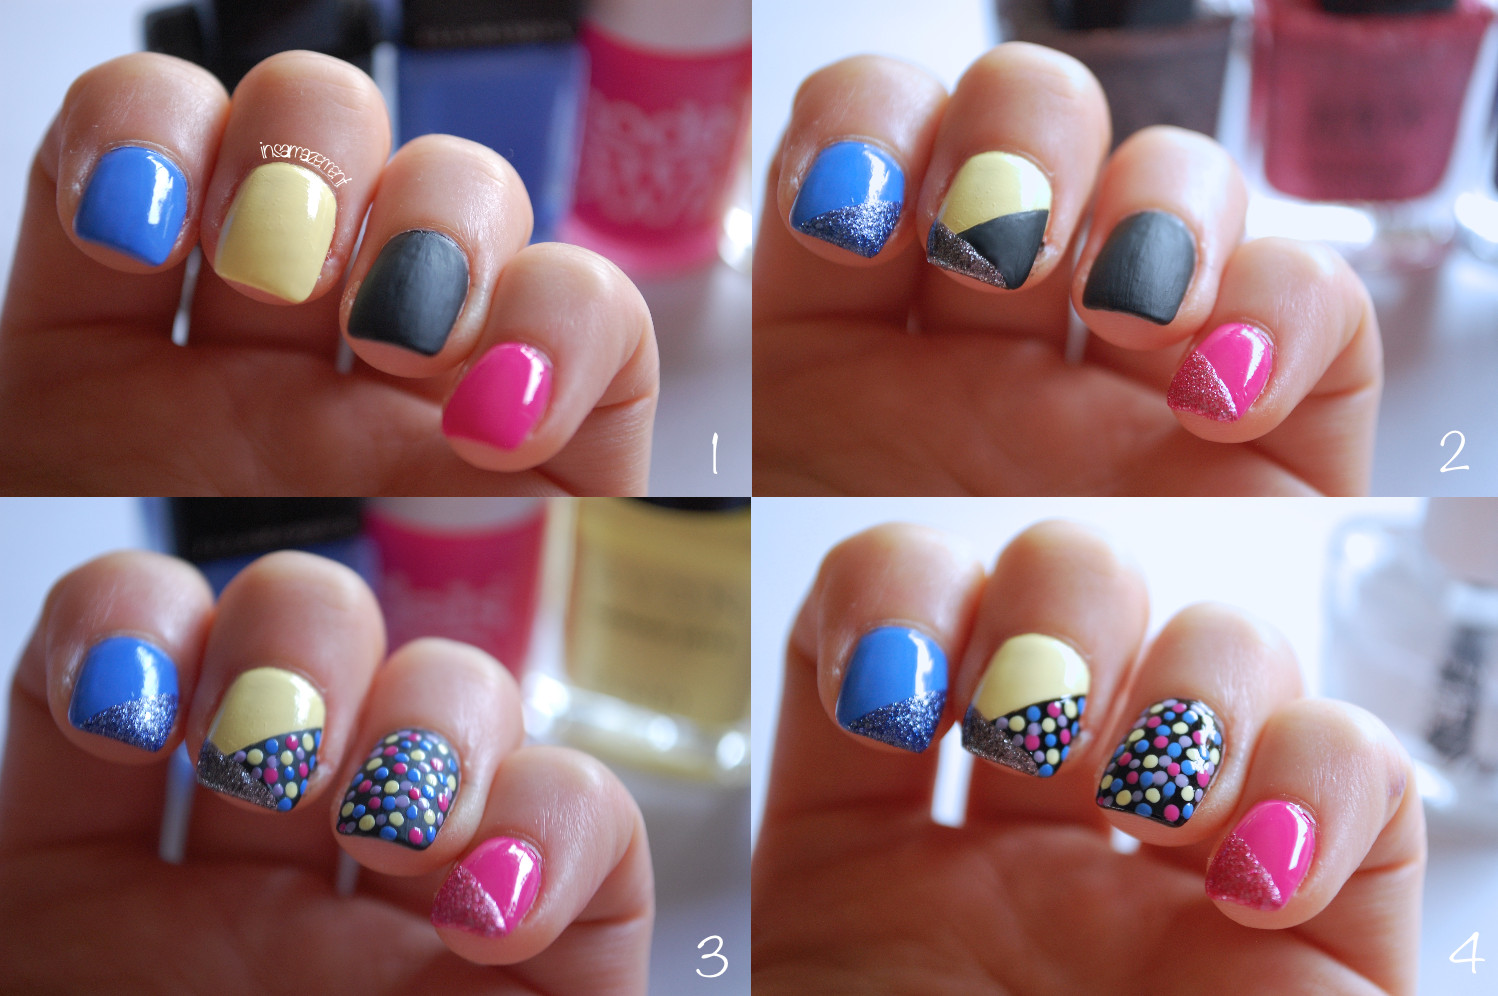
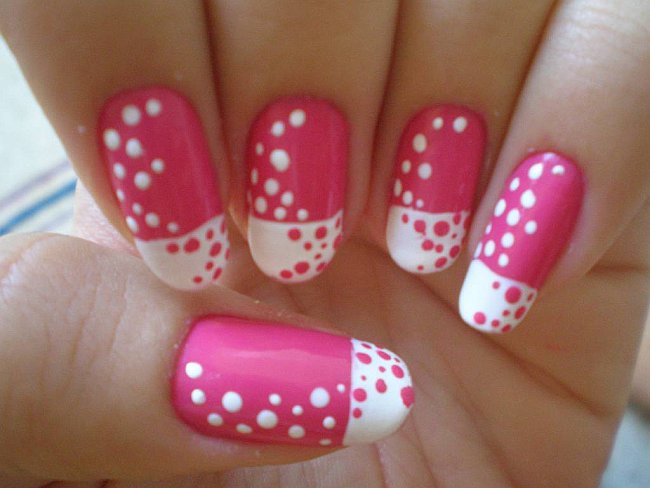
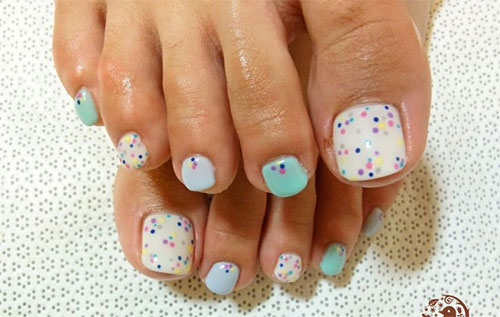
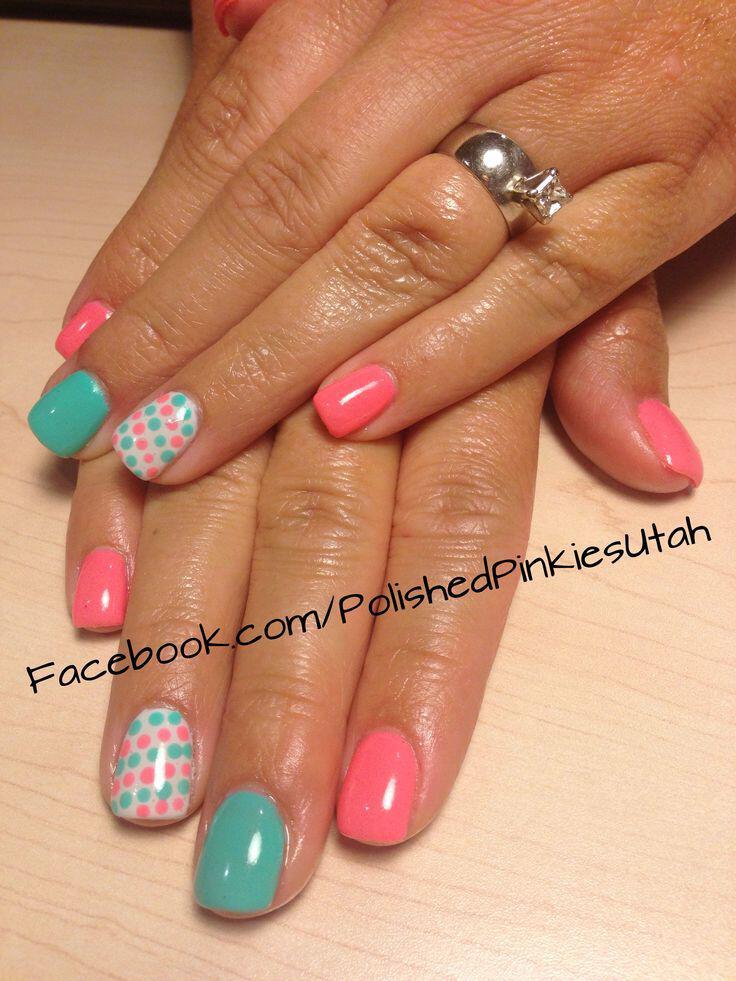
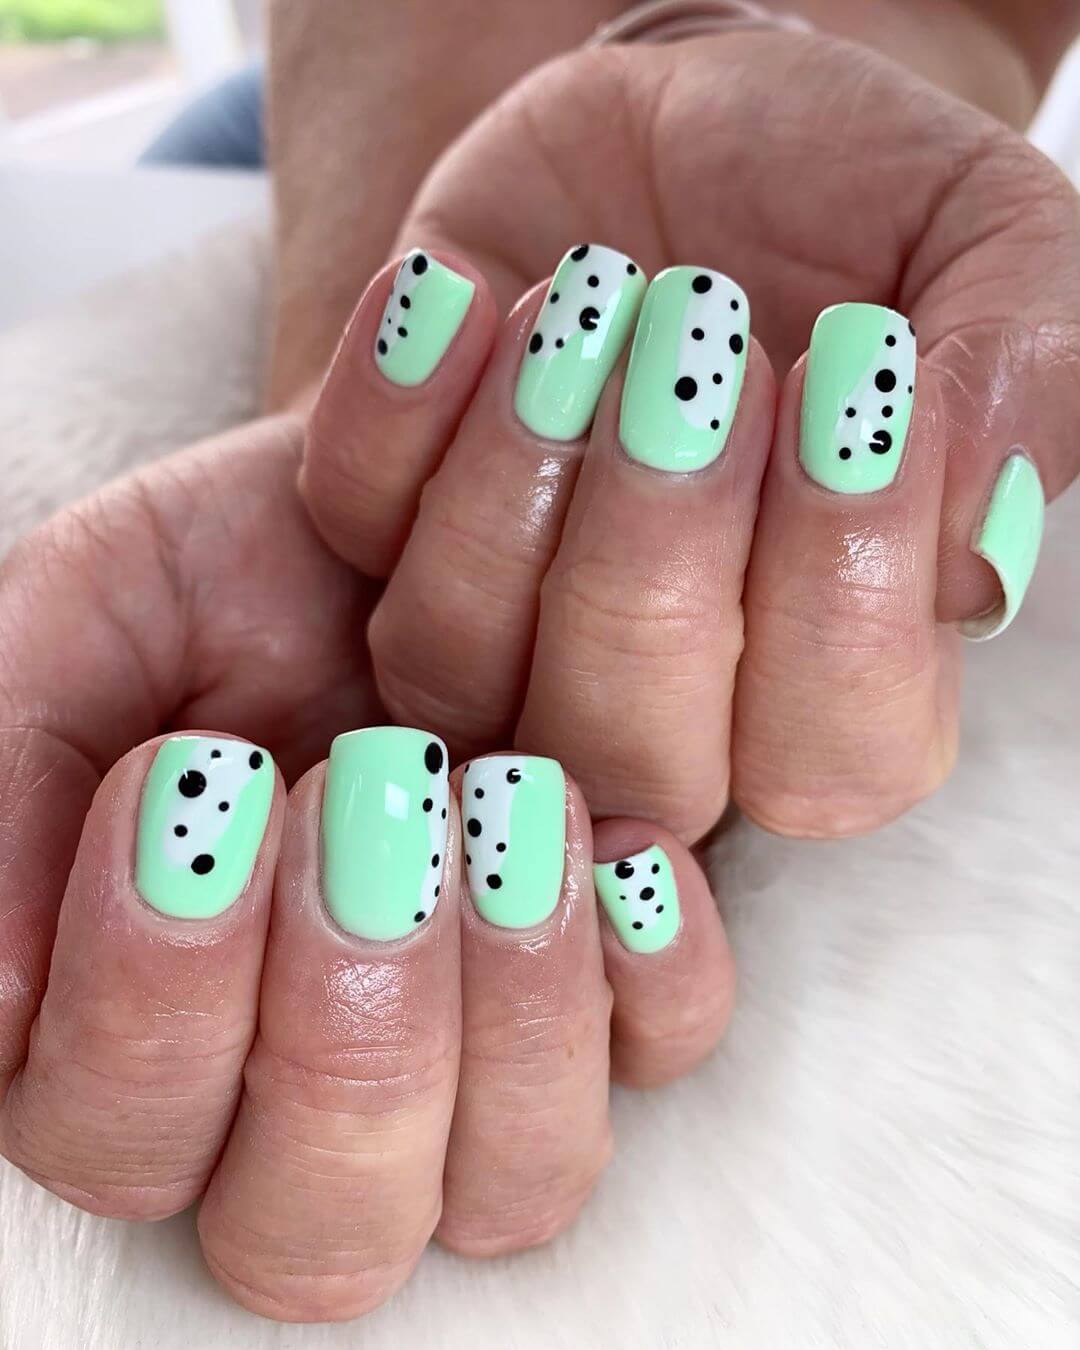
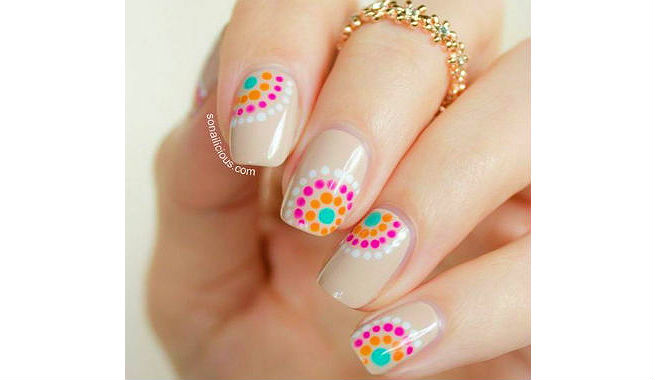
Polka dot nail art doesn't have to be limited to just dots. There are many cute and easy polka dot nail ideas that you can incorporate into your design for a more unique and fun look. One idea is to create a polka dot French manicure. Instead of using a white tip, create polka dots along the tip of your nails using different colors. This adds a playful twist to a classic manicure. You can also try a gradient polka dot design. Choose three nail polish colors that are in the same color family and create polka dots starting from the base of your nail with the darkest color and gradually getting lighter towards the tip. This creates a beautiful ombre effect. Another cute idea is to create a polka dot accent nail. Paint all your nails with a solid color and create a larger polka dot on one nail using a different color. This adds a pop of color and makes your design more interesting. Don't be afraid to experiment with different shapes and sizes of polka dots as well. You can create hearts, stars, or even animal prints using polka dots for a fun and playful look.4. Cute and Easy Polka Dot Nail Ideas

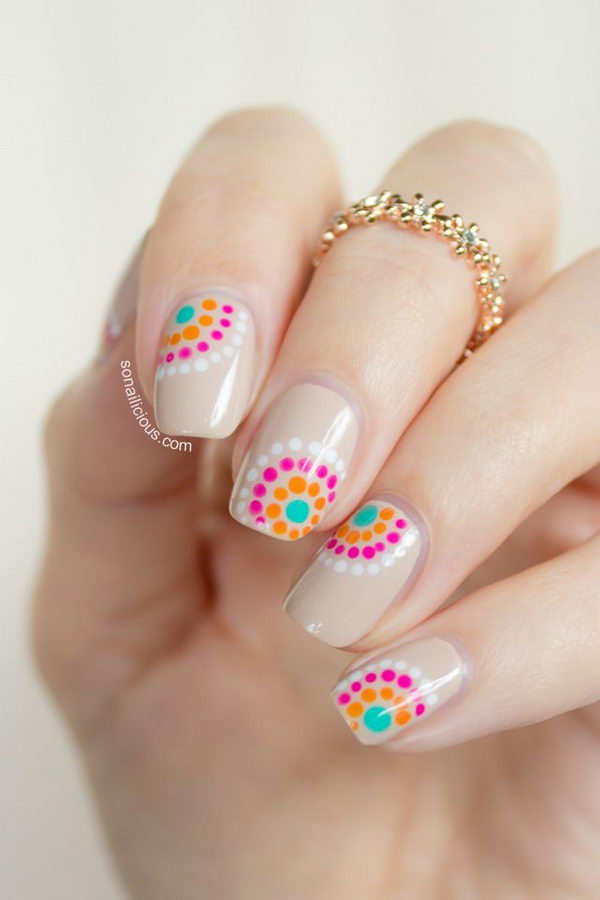
4. Cute and Easy Polka Dot Nail Ideas
We all lead busy lives, and sometimes we don't have the luxury of spending hours on our nails. But that doesn't mean you can't have pretty nails. With these quick and easy polka dot nail designs, you can have gorgeous nails in no time. For a quick and simple look, try a single polka dot on each nail. Choose a contrasting color to your base color, and create a large polka dot on each nail. This adds a pop of color and makes a statement without too much effort. If you want a more intricate design, try creating a diagonal polka dot pattern. Paint your nails with a base color and create diagonal lines of polka dots using a different color. This adds a unique and eye-catching touch to your nails. You can also try a negative space polka dot design. Paint your nails with a neutral color, leaving some space near the base of your nail. Create small polka dots along the space using a different color. This creates a chic and modern look that is perfect for any occasion. With these quick and easy polka dot nail designs, you can have beautiful nails in minutes. Perfect for when you're in a rush or just want a simple yet stylish look.5. Quick and Easy Polka Dot Nail Designs


5. Quick and Easy Polka Dot Nail Designs


If you're new to nail art, polka dots are a great place to start. They are simple, easy, and require minimal tools. Here are some tips for creating polka dot nail art for beginners. First, make sure you have all the necessary tools. A base coat, a nail polish color of your choice, a dotting tool or toothpick, and a top coat. You can also use a bobby pin or the end of a makeup brush as a dotting tool if you don't have one. Start by applying a base coat to protect your nails and help your polish last longer. Then, choose your desired nail polish color and apply two coats, waiting for the first coat to dry before applying the second one. To create the polka dots, dip your dotting tool or toothpick into your desired nail polish color and gently press it onto your nails in a circular motion. Remember to vary the spacing between the dots for a more playful look. Once you've created all your polka dots, let your nails dry completely before applying a top coat to seal in your design. This will make your design last longer and add some shine to your nails. With a little bit of practice, you'll be able to create beautiful polka dot nail art designs that will impress everyone around you.6. Polka Dot Nail Art for Beginners

6. Polka Dot Nail Art for Beginners


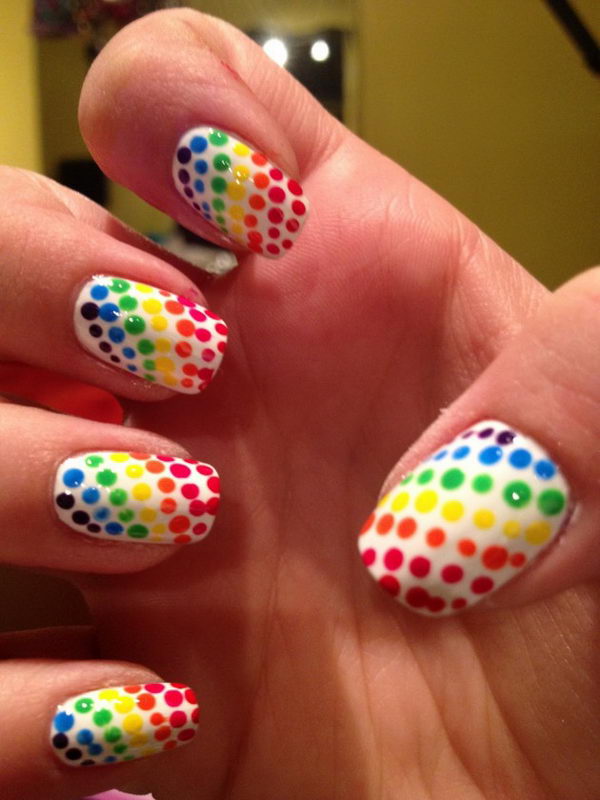
Nail art doesn't have to be serious and complicated. With fun and easy polka dot nail designs, you can add some playfulness and personality to your nails. One fun idea is to create a polka dot rainbow. Choose six different nail polish colors and create a polka dot on each nail using a different color. This creates a cute and colorful look that is perfect for any occasion. Another fun design is to create a polka dot galaxy. Paint your nails with a dark base color and create small white polka dots. Then, using a toothpick, create tiny dots using different colors to represent stars. This creates a unique and whimsical look. If you want to add some texture to your nails, try a glitter polka dot design. Paint your nails with a base color and create polka dots using a glitter nail polish. This adds some sparkle and makes your design truly stand out. With these fun and easy polka dot nail designs, you can let your creativity shine and have some fun with your nails.7. Fun and Easy Polka Dot Nail Designs
7. Fun and Easy Polka Dot Nail Designs


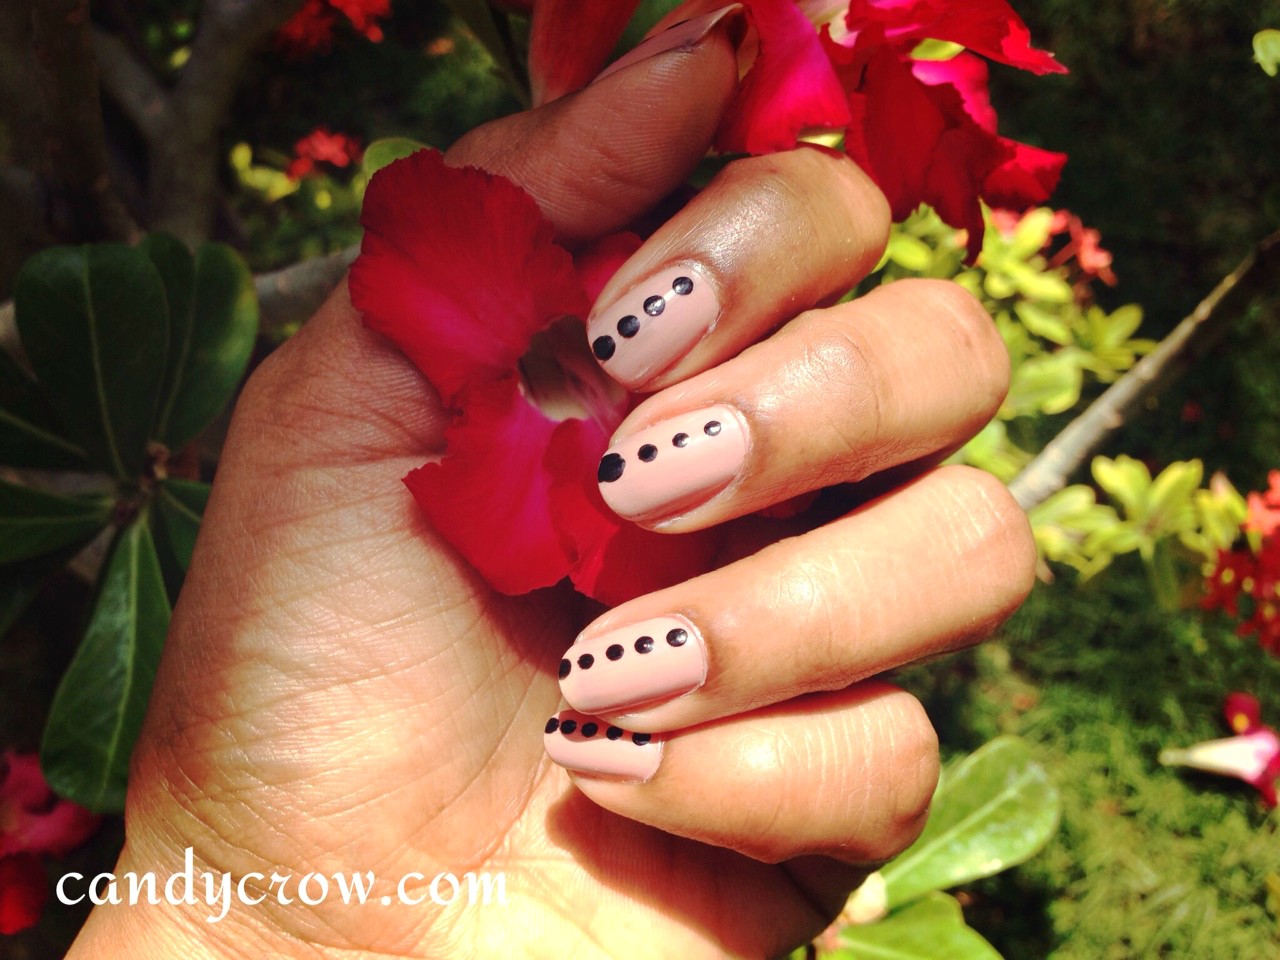
If you prefer a more understated and subtle look, minimalist polka dot nail art is the way to go. These designs are simple yet chic and perfect for those who want a more minimalist approach to nail art. One idea is to create a single polka dot on each nail. Choose a neutral base color and create a small polka dot using a contrasting color. This adds a pop of color without being too bold. You can also try a diagonal polka dot design. Using a neutral base color, create diagonal lines of polka dots using a different color. This creates a chic and modern look that is perfect for any occasion. For a more subtle look, try a negative space polka dot design. Paint your nails with a light base color and create small polka dots along the base of your nail using a darker color. This adds some interest to your nails without being too overpowering. Remember, the key to minimalist polka dot nail art is to keep it simple. Stick to a few colors and clean lines for a polished and sophisticated look.8. Minimalist Polka Dot Nail Art


8. Minimalist Polka Dot Nail Art


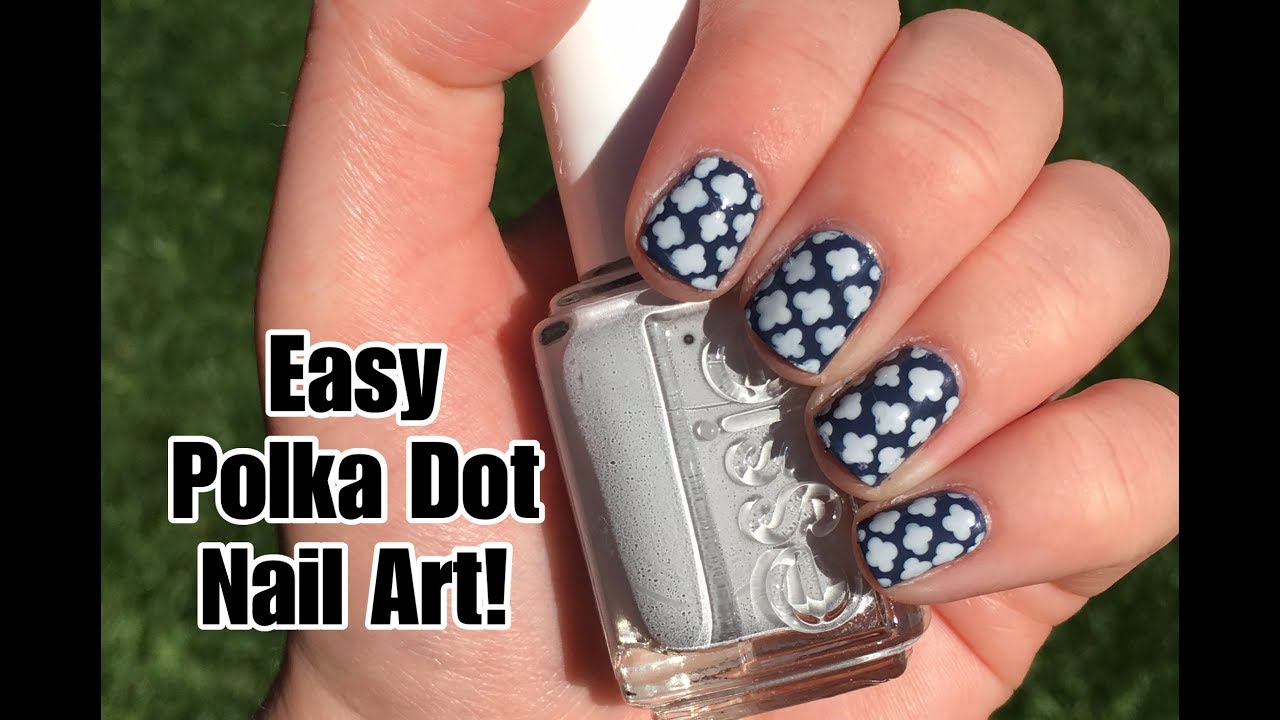
Not everyone has a dotting tool on hand, but that doesn't mean you can't create polka dot nail art. In fact, you can achieve the same results using a simple toothpick. Start by preparing your nails as you would for any manicure. Trim, file, and shape your nails, and push back your cuticles. Then, apply a base coat to protect your nails and help your polish last longer. Next, choose your desired nail polish color and apply two coats, waiting for the first coat to dry before applying the second one. Once your base color is dry, dip the end of a toothpick into your desired nail polish color and gently press it onto your nails in a circular motion to create the polka dots. You can also use the toothpick to create different sizes of polka dots by varying the pressure you apply. Once you've created all your polka dots, let your nails dry completely before applying a top coat to seal in your design. With the help of a toothpick, you can achieve the same results as a dotting tool and create beautiful polka dot nail art designs.9. Polka Dot Nail Art with Toothpick

9. Polka Dot Nail Art with Toothpick

If you have short nails, you may think that nail art is not an option for you. But that's simply not true. With easy polka dot nail art for short nails, you can still have beautiful and stylish nails. For a simple yet elegant look, try a single polka dot on each nail. Choose a light base color and create a small polka dot using a contrasting color. This adds a pop of color and makes your nails look longer. You can also try a diagonal polka dot design. Paint your nails with a base color and create diagonal lines of polka dots using a different color. This creates a unique and stylish look that is perfect for short nails. Another idea is to create a polka dot French manicure. Instead of using a white tip, create polka dots along the tip of your nails using different colors. This adds a playful touch to a classic manicure. With these easy polka dot nail art designs, you can show off your short nails with confidence and style.10. Easy Polka Dot Nail Art for Short Nails

10. Easy Polka Dot Nail Art for Short Nails

Get Creative with Easy Polka Dot Nail Art
Unleash Your Inner Artist with These Simple Techniques
 Are you looking for a fun and easy way to add some flair to your nails? Look no further than polka dot nail art! This trendy design is perfect for any occasion and can easily be done at home with just a few simple tools. Whether you're a beginner or a seasoned pro, you can achieve a fun and stylish manicure with these easy techniques.
First
, gather all the necessary materials. You will need your choice of nail polish colors, a dotting tool or toothpick, and a top coat. Make sure to have a clean and flat surface to work on, such as a table or desk, and a steady hand.
Next
, start by applying a base coat to protect your nails and create a smooth surface for the polish. Once it has dried, choose your base color and apply a thin layer to each nail. This can be any color you like, but
bold
and bright colors work best for a playful polka dot design.
Now
, it's time to create the polka dots! Take your dotting tool or toothpick and dip it into your chosen color.
Dab
the tool onto your nail to create small dots. You can also use the tip of a bobby pin or a small paintbrush if you don't have a dotting tool. Space the dots out evenly, or create a more random pattern for a whimsical look.
For
those who want to add a little extra detail to their design, try using multiple colors for the polka dots. You can alternate colors on each nail or even create a gradient effect by using lighter and darker shades of the same color.
Once
you have finished creating your polka dots, let them dry for a few minutes before applying a top coat. This will seal in your design and help it last longer. You can also add some glitter or rhinestones for a more glamorous look.
Finally
, sit back and admire your fun and easy polka dot nail art! With a little practice, you can experiment with different colors and patterns to create your own unique designs. Don't be afraid to get creative and have fun with it!
In conclusion, polka dot nail art is a simple and versatile design that anyone can achieve. It's a great way to add a pop of color and personality to your nails without breaking the bank. So why not give it a try and show off your artistic side with this fun and trendy nail art?
Are you looking for a fun and easy way to add some flair to your nails? Look no further than polka dot nail art! This trendy design is perfect for any occasion and can easily be done at home with just a few simple tools. Whether you're a beginner or a seasoned pro, you can achieve a fun and stylish manicure with these easy techniques.
First
, gather all the necessary materials. You will need your choice of nail polish colors, a dotting tool or toothpick, and a top coat. Make sure to have a clean and flat surface to work on, such as a table or desk, and a steady hand.
Next
, start by applying a base coat to protect your nails and create a smooth surface for the polish. Once it has dried, choose your base color and apply a thin layer to each nail. This can be any color you like, but
bold
and bright colors work best for a playful polka dot design.
Now
, it's time to create the polka dots! Take your dotting tool or toothpick and dip it into your chosen color.
Dab
the tool onto your nail to create small dots. You can also use the tip of a bobby pin or a small paintbrush if you don't have a dotting tool. Space the dots out evenly, or create a more random pattern for a whimsical look.
For
those who want to add a little extra detail to their design, try using multiple colors for the polka dots. You can alternate colors on each nail or even create a gradient effect by using lighter and darker shades of the same color.
Once
you have finished creating your polka dots, let them dry for a few minutes before applying a top coat. This will seal in your design and help it last longer. You can also add some glitter or rhinestones for a more glamorous look.
Finally
, sit back and admire your fun and easy polka dot nail art! With a little practice, you can experiment with different colors and patterns to create your own unique designs. Don't be afraid to get creative and have fun with it!
In conclusion, polka dot nail art is a simple and versatile design that anyone can achieve. It's a great way to add a pop of color and personality to your nails without breaking the bank. So why not give it a try and show off your artistic side with this fun and trendy nail art?


