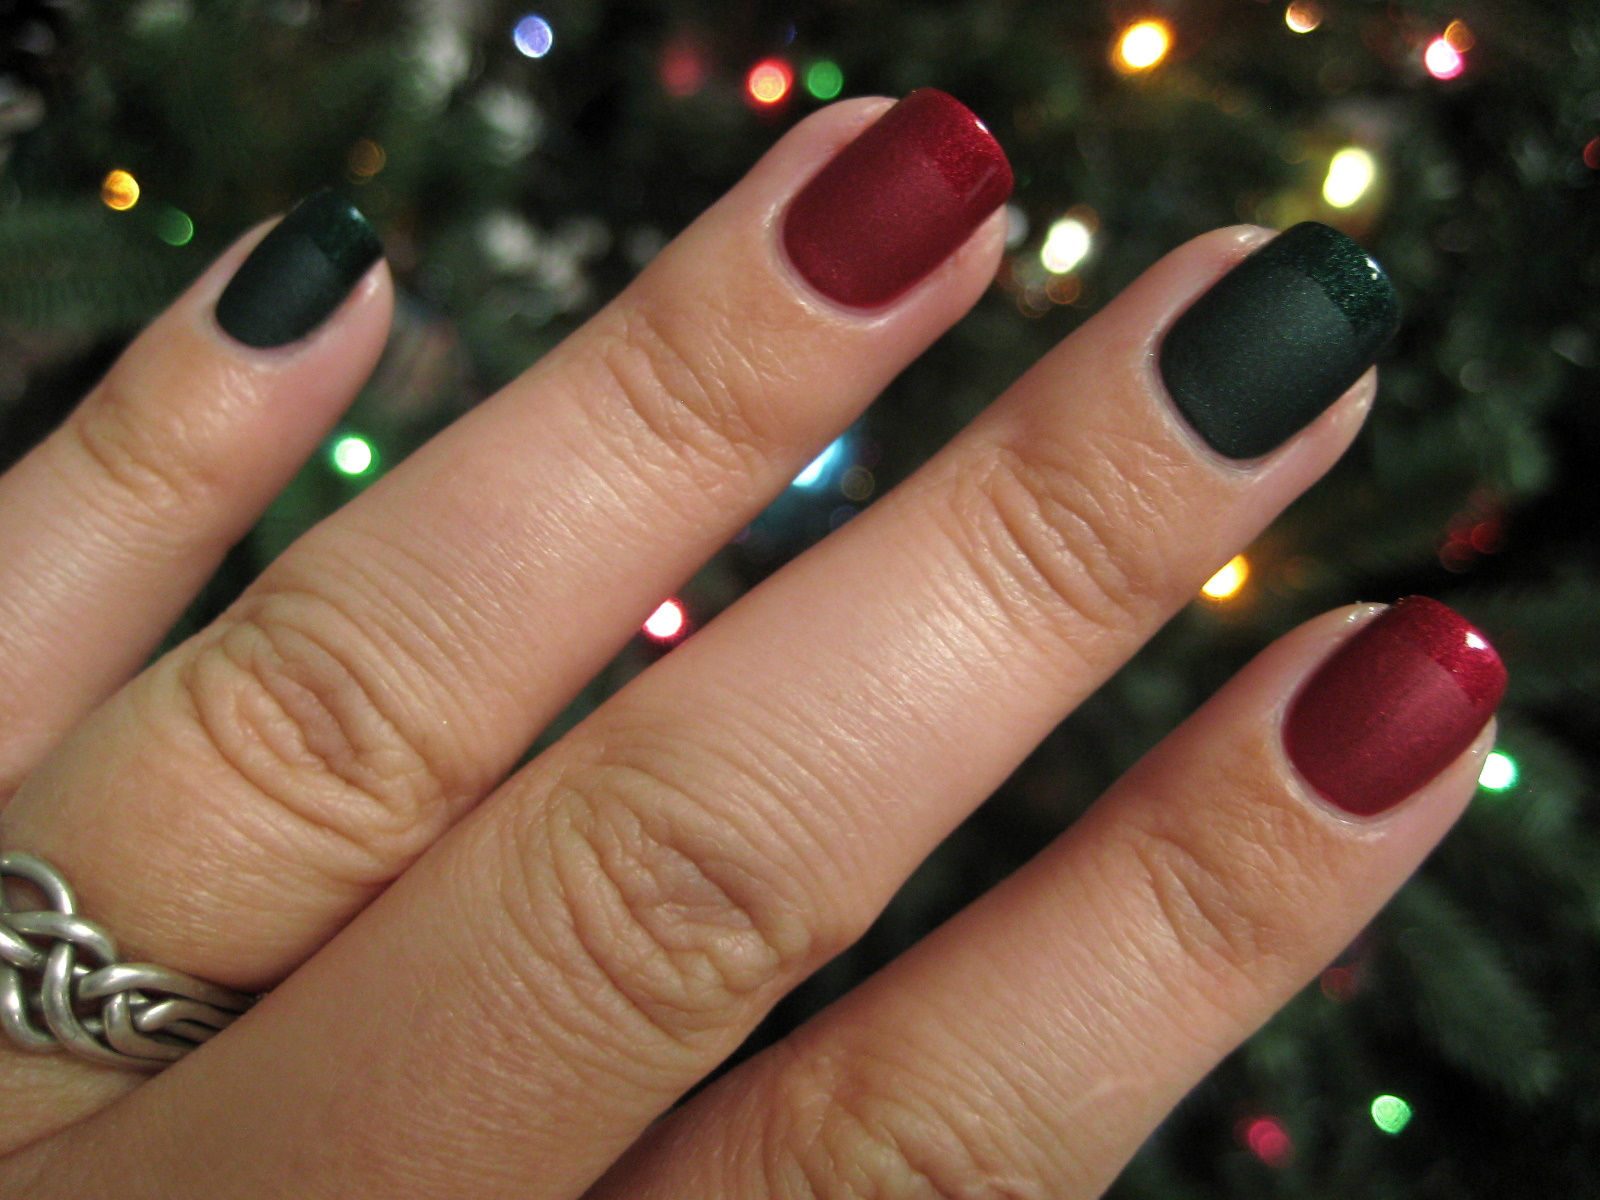
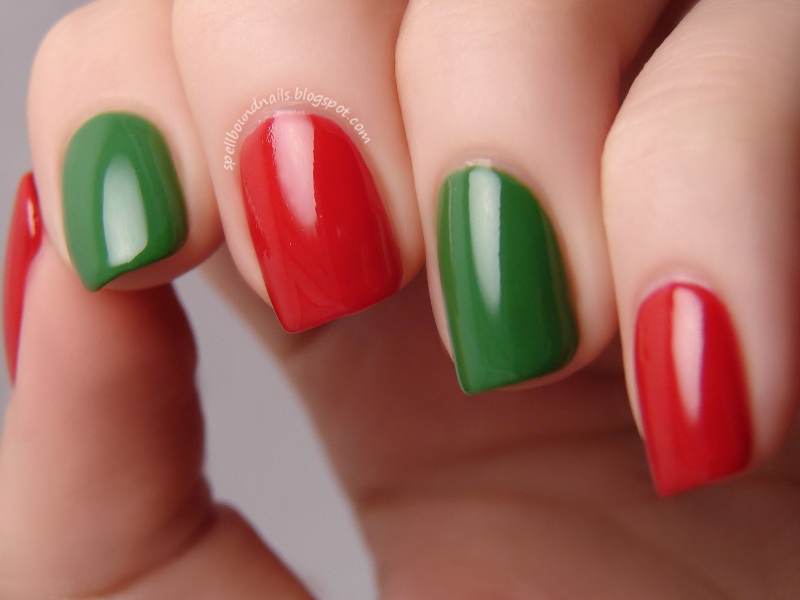
Get ready to spread some holiday cheer with this simple red and green nail art tutorial! With just a few easy steps, you can create a festive and eye-catching look that will have everyone admiring your nails. So grab your favorite red and green polishes and let's get started! First, start off by painting all of your nails with a bright red base color. Make sure to let it dry completely before moving on to the next step. Next, take a small brush or a toothpick and dip it into a green nail polish. Create small dots on your nails to create a polka dot pattern. You can make them as sparse or as dense as you want, depending on your preference. For an added touch, you can also use a green glitter nail polish to create some sparkle and dimension to your design. Simply apply the glitter polish on top of the dots you created, or use it to create a gradient effect by applying it on the tips of your nails. Once you're satisfied with the polka dot pattern, seal it all in with a top coat. This will help your design last longer and prevent any chipping. And there you have it, a simple yet stunning red and green nail art look that is perfect for the holiday season!1. Simple Red and Green Nail Art Tutorial


1. Simple Red and Green Nail Art Tutorial


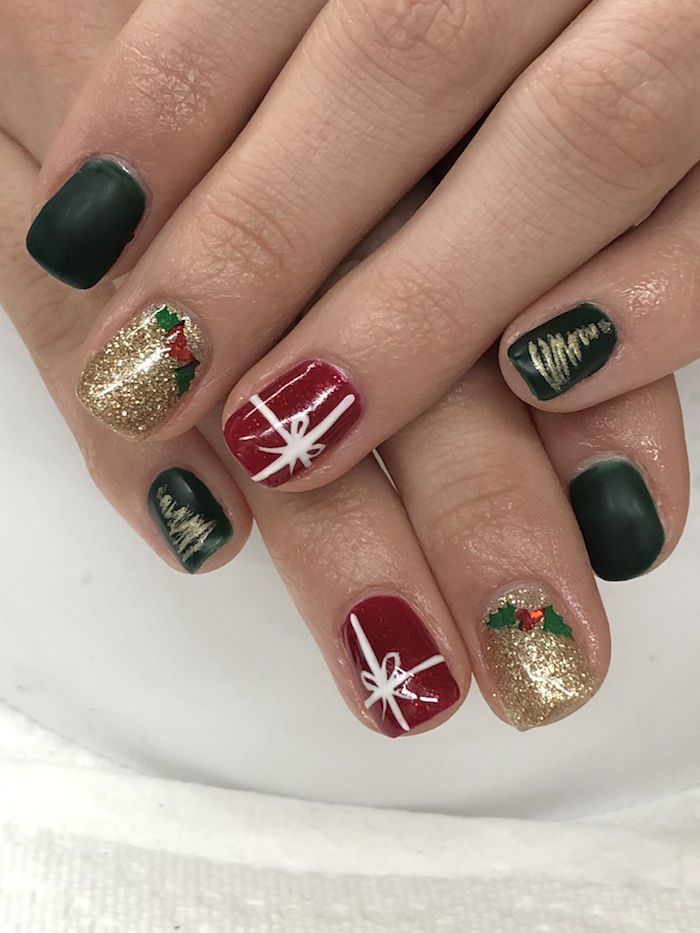
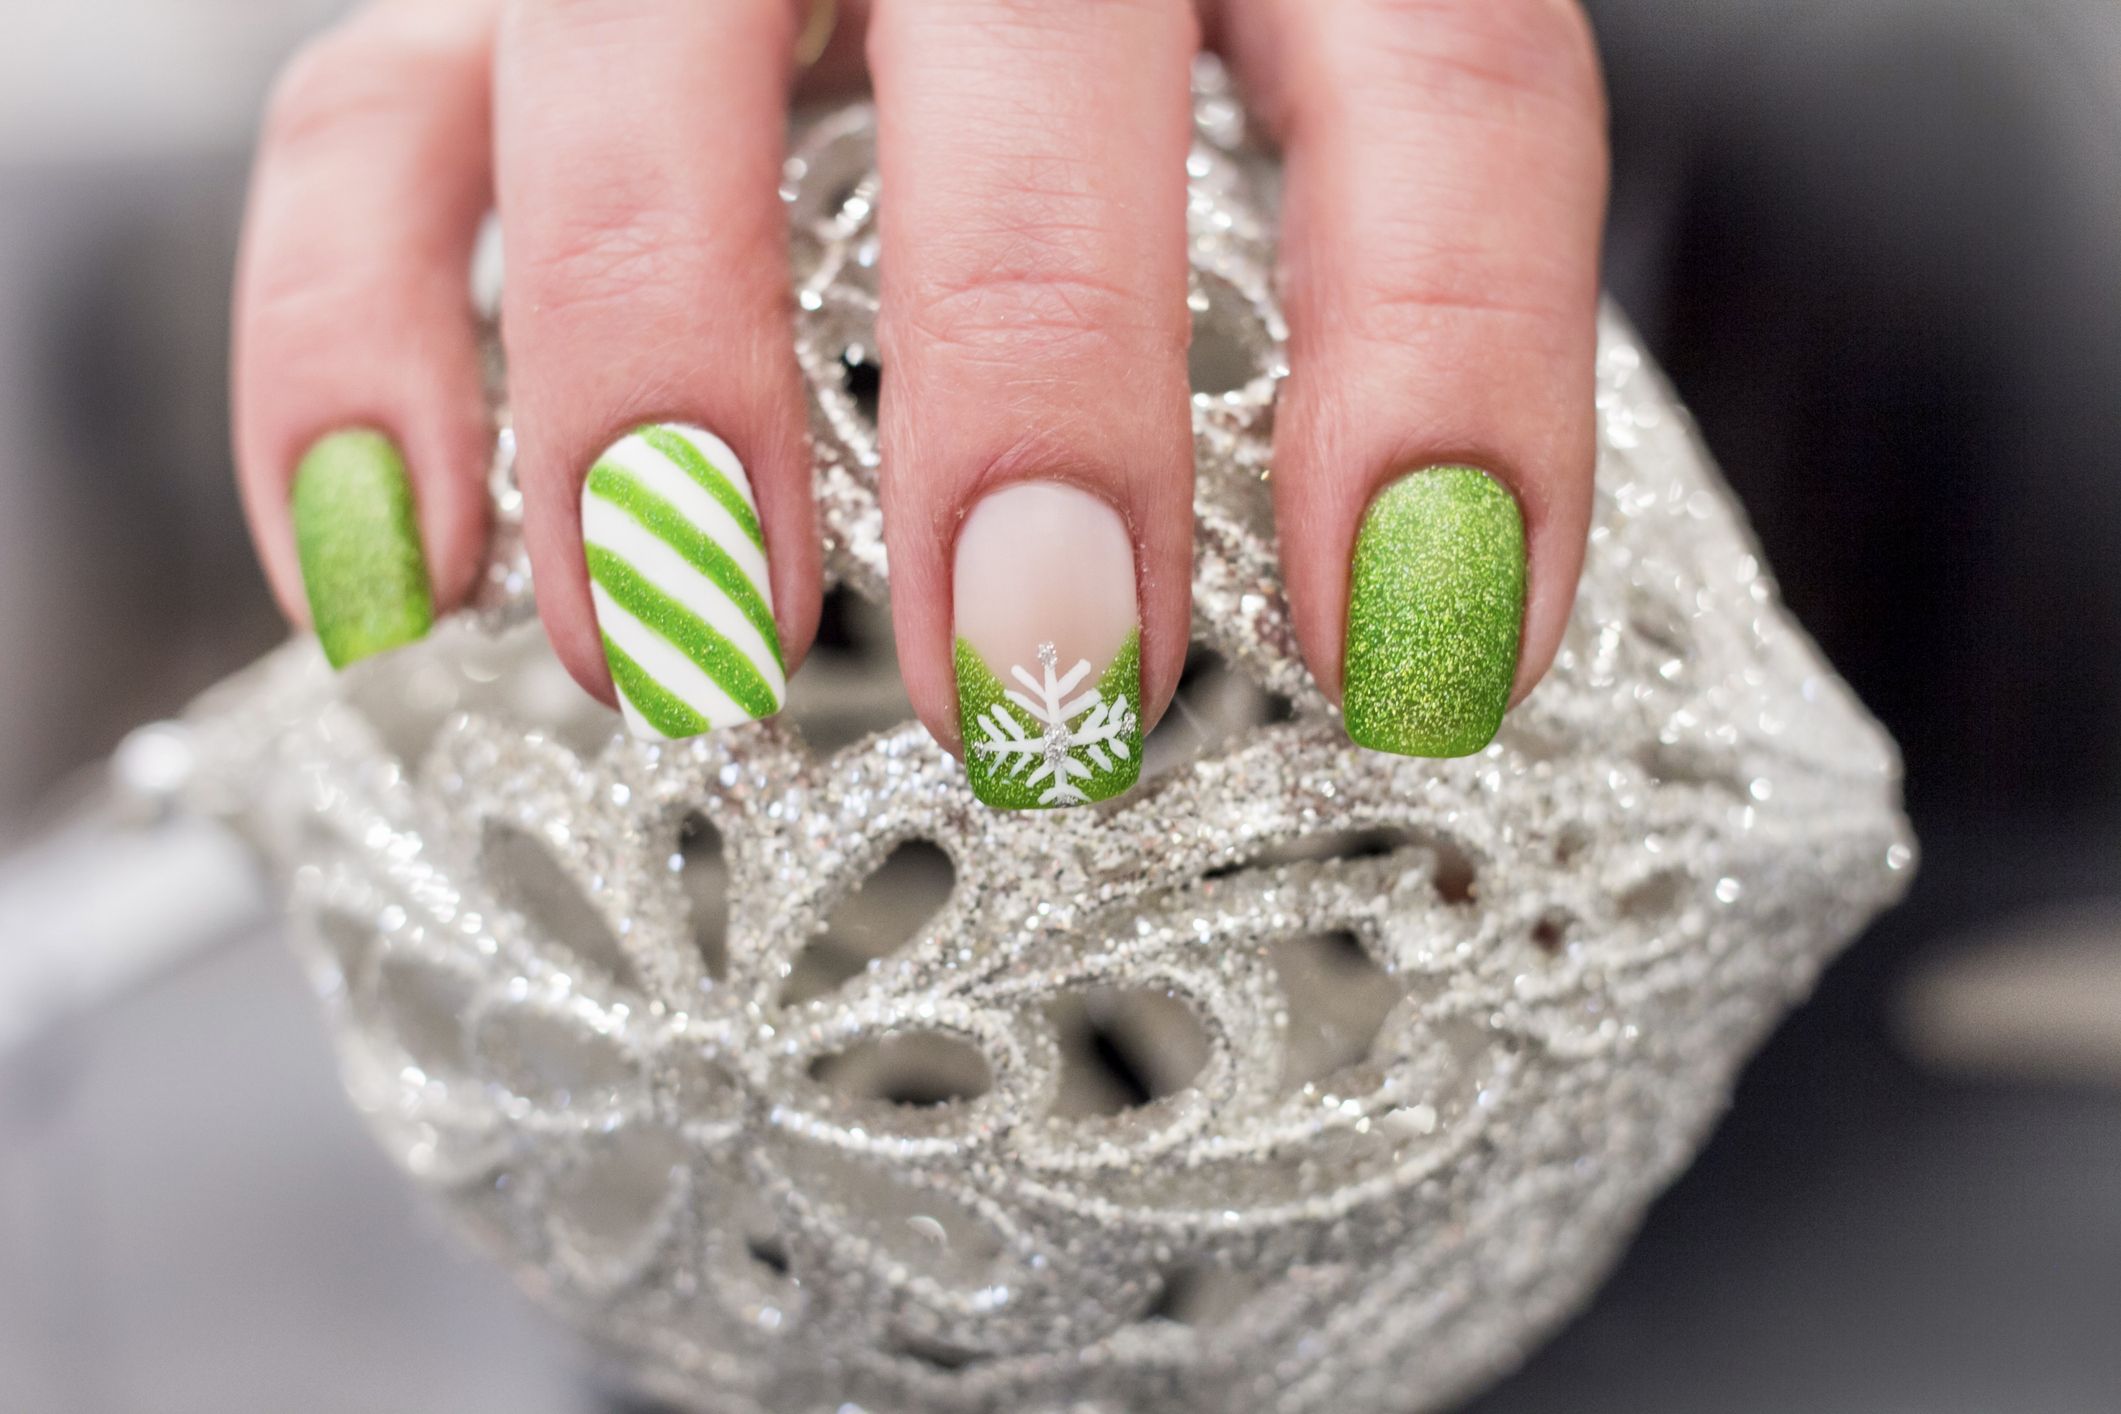
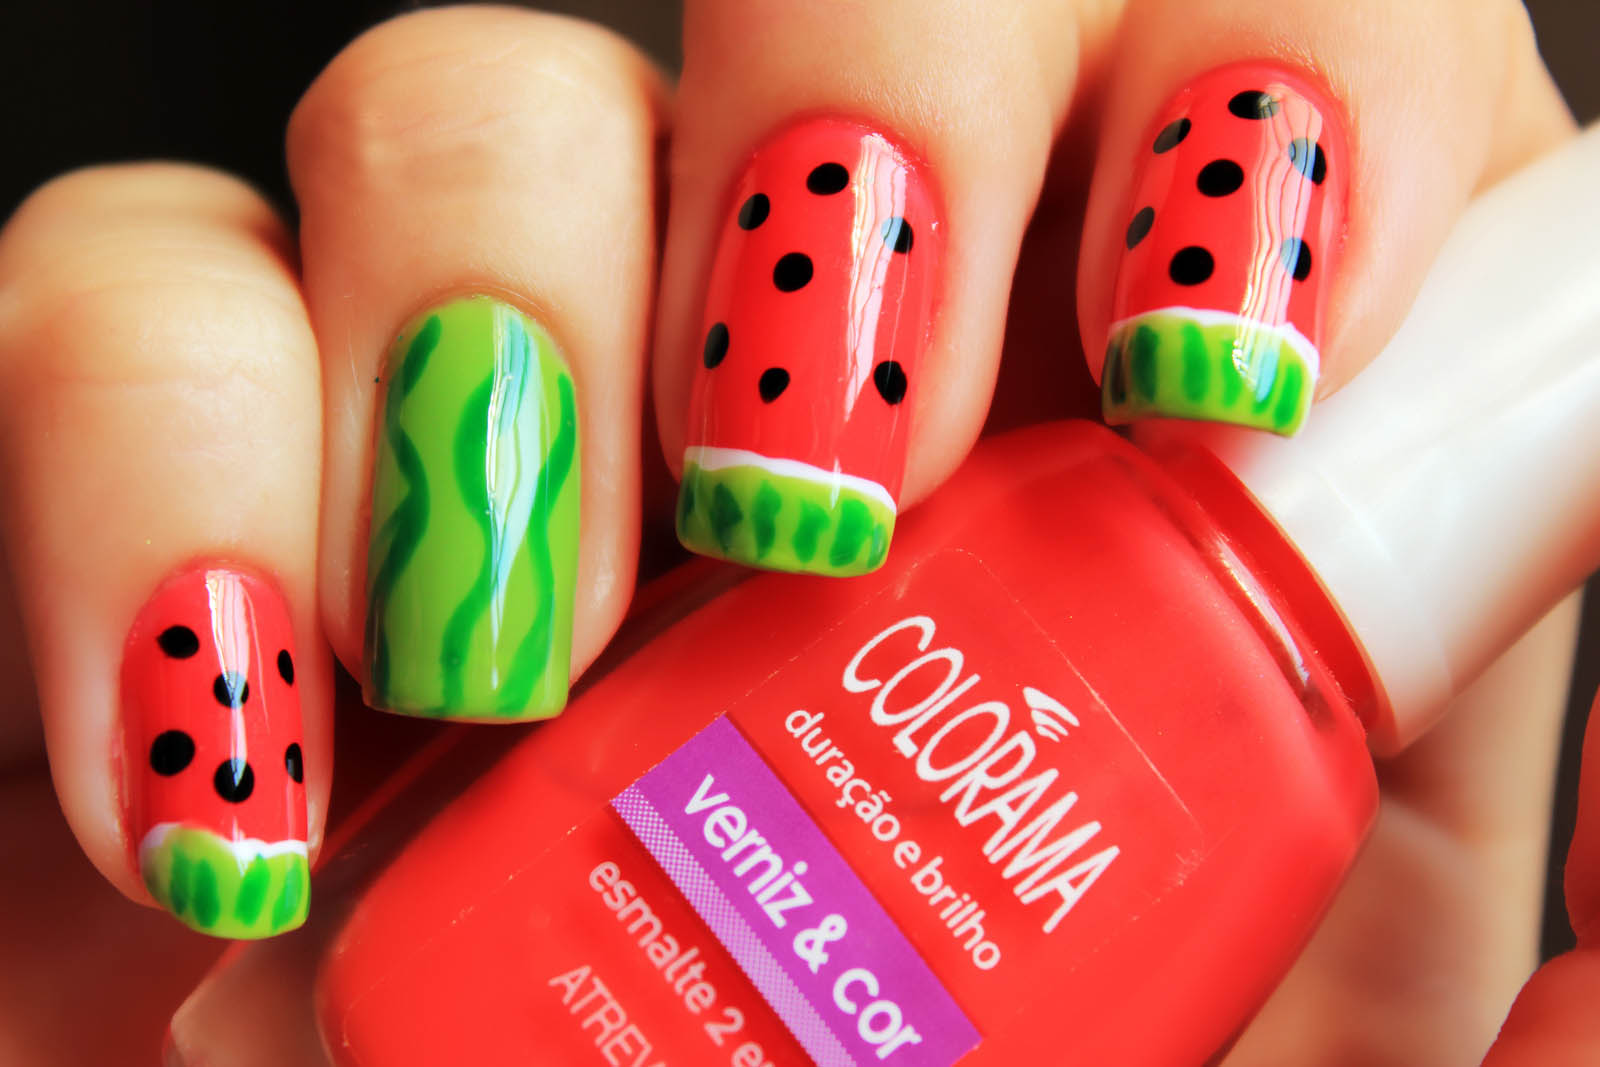
Christmas is the perfect time to get creative with your nail art and add some festive spirit to your look. If you're looking for some easy and fun ideas, we've got you covered! Here are some of our favorite easy Christmas nail art ideas that anyone can recreate. 1. Snowflakes: Create a winter wonderland on your nails by painting them with a light blue or white base color. Then use a thin nail art brush to create delicate snowflakes in silver or white polish. Finish off with a shimmery top coat for a frosty effect. 2. Reindeer: This cute and iconic Christmas character is perfect for a fun nail art design. Start off with a red base color and use a brown polish to draw a reindeer's head on each nail. Add some black dots for the eyes and a nose in red glitter. Finish off with a green or white background for a festive touch. 3. Candy Canes: This classic Christmas candy makes for a fun and easy nail art design. Start off with a white base color and use a red polish to create diagonal stripes on each nail. You can also add some gold or silver glitter for a sparkly touch. 4. Christmas Trees: For a fun and colorful nail art design, try creating Christmas trees on your nails. Start off with a green base color and use a thin brush to create a triangle shape. Then add some ornament shapes in different colors using a dotting tool. Finish off with a star on top in glitter. With these easy Christmas nail art ideas, you can have festive nails in no time!2. Easy Christmas Nail Art Ideas
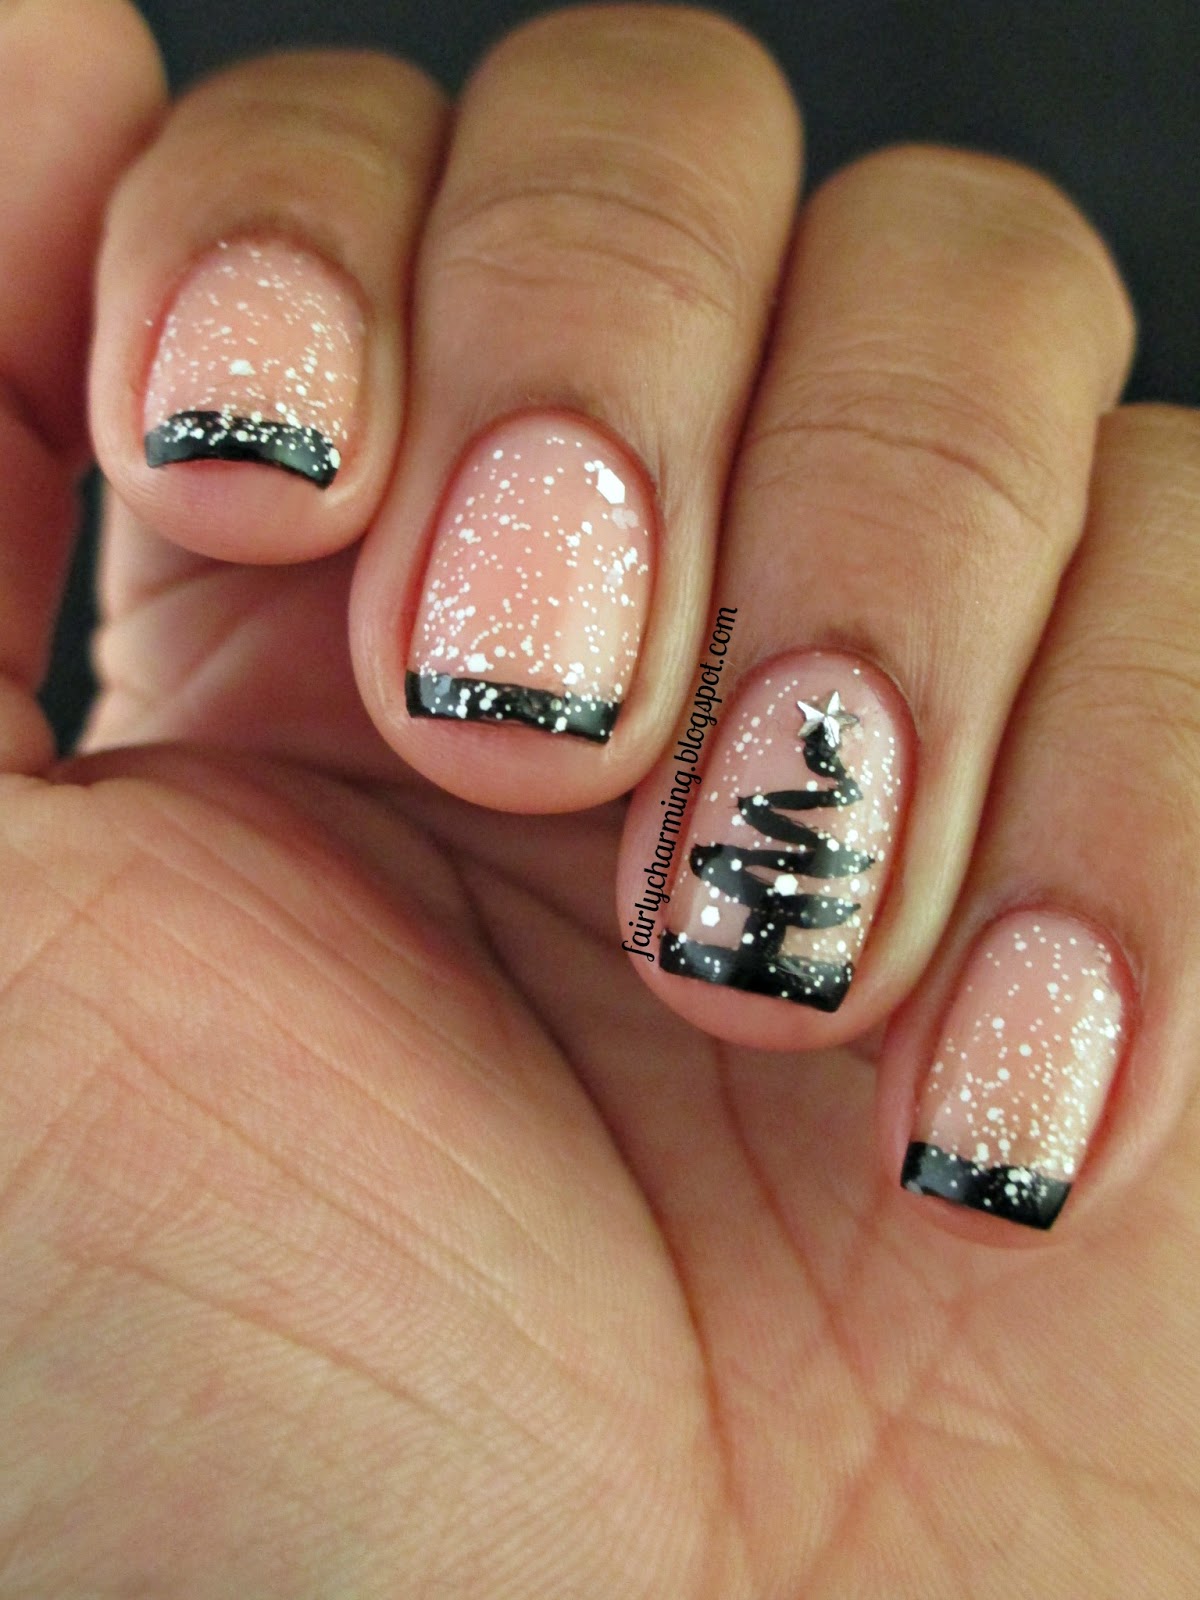


2. Easy Christmas Nail Art Ideas


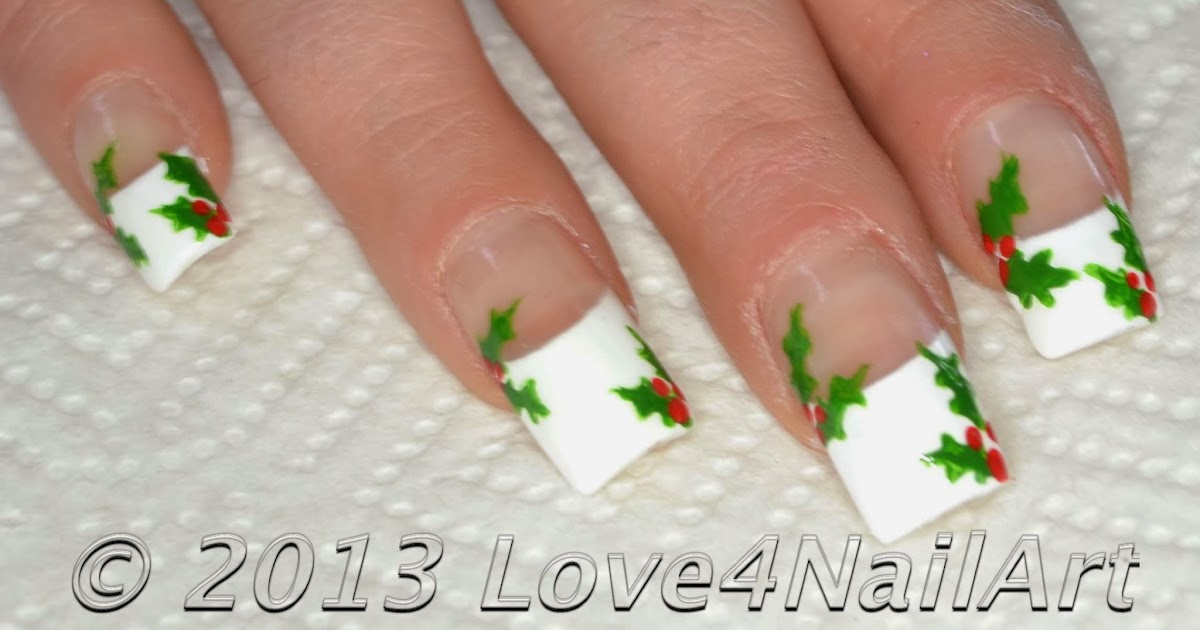
When it comes to holiday nail art, you can't go wrong with a classic red and green color combination. But instead of the traditional polka dot or stripes, why not try some more festive designs? Here are some festive red and green nail designs that will take your holiday look to the next level. 1. Holly Leaves: Create a whimsical look with this holly leaf nail design. Start off with a green base color and use a thin brush to create holly leaves on each nail. Then use a red polish to add berries and finish off with a top coat for a glossy finish. 2. Christmas Lights: This design is perfect for those who love some sparkle and color. Start off with a white base color and use a thin brush to create strings of Christmas lights on each nail. Then use a variety of colors to create the bulbs. Finish off with a top coat and you'll have a festive light show on your nails! 3. Plaid Print: For a cozy and festive look, try a plaid print on your nails. Start off with a red base color and use a thin brush to create green lines in a criss-cross pattern. Then use a green polish to create red lines in the opposite direction. Finish off with a top coat and you'll have a stylish plaid design. With these festive red and green nail designs, you'll be sure to stand out this holiday season!3. Festive Red and Green Nail Designs


3. Festive Red and Green Nail Designs


With the holiday season being such a busy time, sometimes you just don't have the time to spend on intricate nail art. But that doesn't mean you have to miss out on festive nails! Here are some quick and easy holiday nail art ideas that anyone can do in a pinch. 1. Glitter Accent: This is the perfect way to add some holiday sparkle to your nails without spending too much time on it. Start off with a red or green base color and add a glitter accent on one nail. You can use red, green, or gold glitter to match your base color. 2. Ombré Nails: This trendy nail art technique is perfect for the holidays. Start off with a red base color and use a makeup sponge to dab on some green polish on the tips of your nails. You can also reverse the colors and have a green base with red tips. 3. Snowman Nails: This cute and easy design is perfect for the holiday season. Start off with a white base color and use a dotting tool to create buttons in black polish. Then use a thin brush to create arms and a hat in black polish. Finish off with a carrot nose in orange polish and you'll have an adorable snowman on your nails. With these quick and easy holiday nail art ideas, you'll have festive nails in no time!4. Quick and Easy Holiday Nail Art


4. Quick and Easy Holiday Nail Art


A gradient nail design is a fun and easy way to incorporate multiple colors into your look. And for the holiday season, a red and green gradient is the perfect choice! Here's a step-by-step tutorial on how to create a red and green gradient nail design. 1. Start off by painting all of your nails with a white base color. This will help the red and green colors to pop and create a more vibrant gradient. 2. Next, take a makeup sponge and dab on a small amount of red polish on one end and green polish on the other end. Make sure the colors slightly overlap in the middle. 3. Gently dab the sponge onto your nails, making sure to move it slightly from side to side to blend the colors together. You may need to add more polish to the sponge and continue dabbing until you achieve the desired gradient effect. 4. Once you're happy with the gradient, clean up any excess polish around your nails using a brush dipped in nail polish remover. 5. Finish off with a top coat to seal in your design and give it a glossy finish. Now you have a beautiful red and green gradient nail design that is perfect for the holiday season!5. Red and Green Gradient Nail Tutorial


5. Red and Green Gradient Nail Tutorial


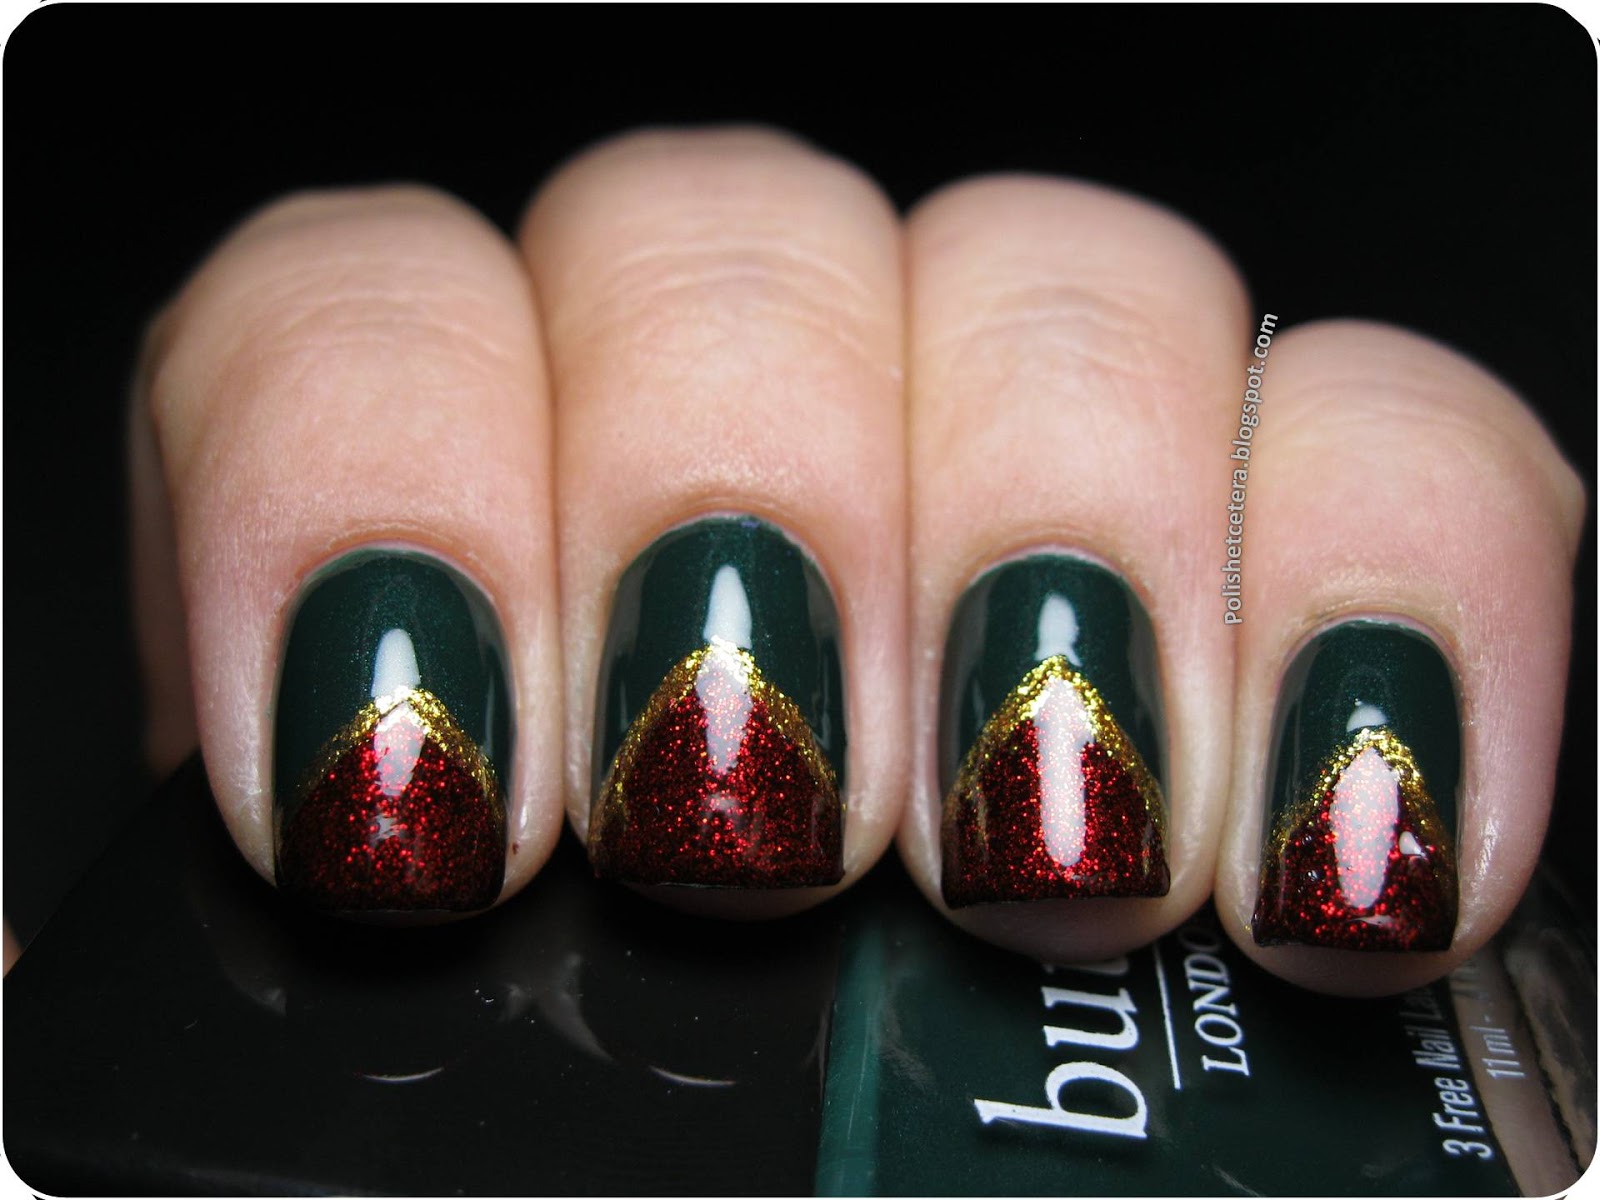
A Christmas tree is a classic symbol of the holiday season and makes for a fun and festive nail art design. Here's an easy Christmas tree nail art tutorial that anyone can recreate. 1. Start off by painting all of your nails with a green base color. You can use a forest green for a traditional look or a mint green for a more modern twist. 2. Next, use a thin brush to create a triangular shape at the tip of your nail. You can also use a dotting tool to create small dots in a triangular shape. 3. Then, use a gold or silver polish to create garland for your tree. You can also use a variety of colors to create colorful garland. 4. Next, use a dotting tool to create ornaments on your tree. You can use different colored polishes to create a variety of ornaments. 5. Finish off your design with a star on top of your tree using glitter polish. You can also add some glitter to the rest of your tree for some added sparkle. With this easy Christmas tree nail art, you'll have a fun and festive look that will impress everyone!6. Easy Christmas Tree Nail Art


6. Easy Christmas Tree Nail Art


A plaid print is a classic and stylish pattern that is perfect for the holiday season. And with some simple techniques, you can recreate a red and green plaid nail design that will be the envy of all your friends. 1. Start off by painting all of your nails with a white base color. This will help the red and green colors to pop and create a more vibrant plaid design. 2. Next, use a thin brush to create green lines in a criss-cross pattern on each nail. Then use a red polish to create red lines in the opposite direction to create the plaid pattern. 3. You can also use a white polish to create smaller lines between the red and green lines to add more dimension to your design. 4. Finish off with a top coat to seal in your design and give it a glossy finish. With this red and green plaid nail design, you'll have a chic and festive look that is perfect for any holiday gathering.7. Red and Green Plaid Nail Design


7. Red and Green Plaid Nail Design


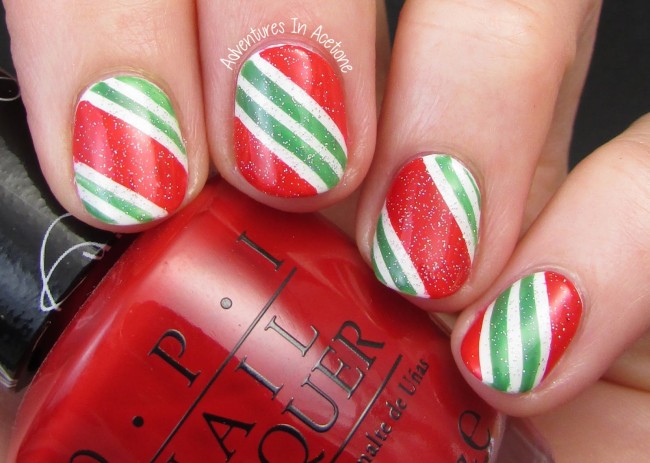
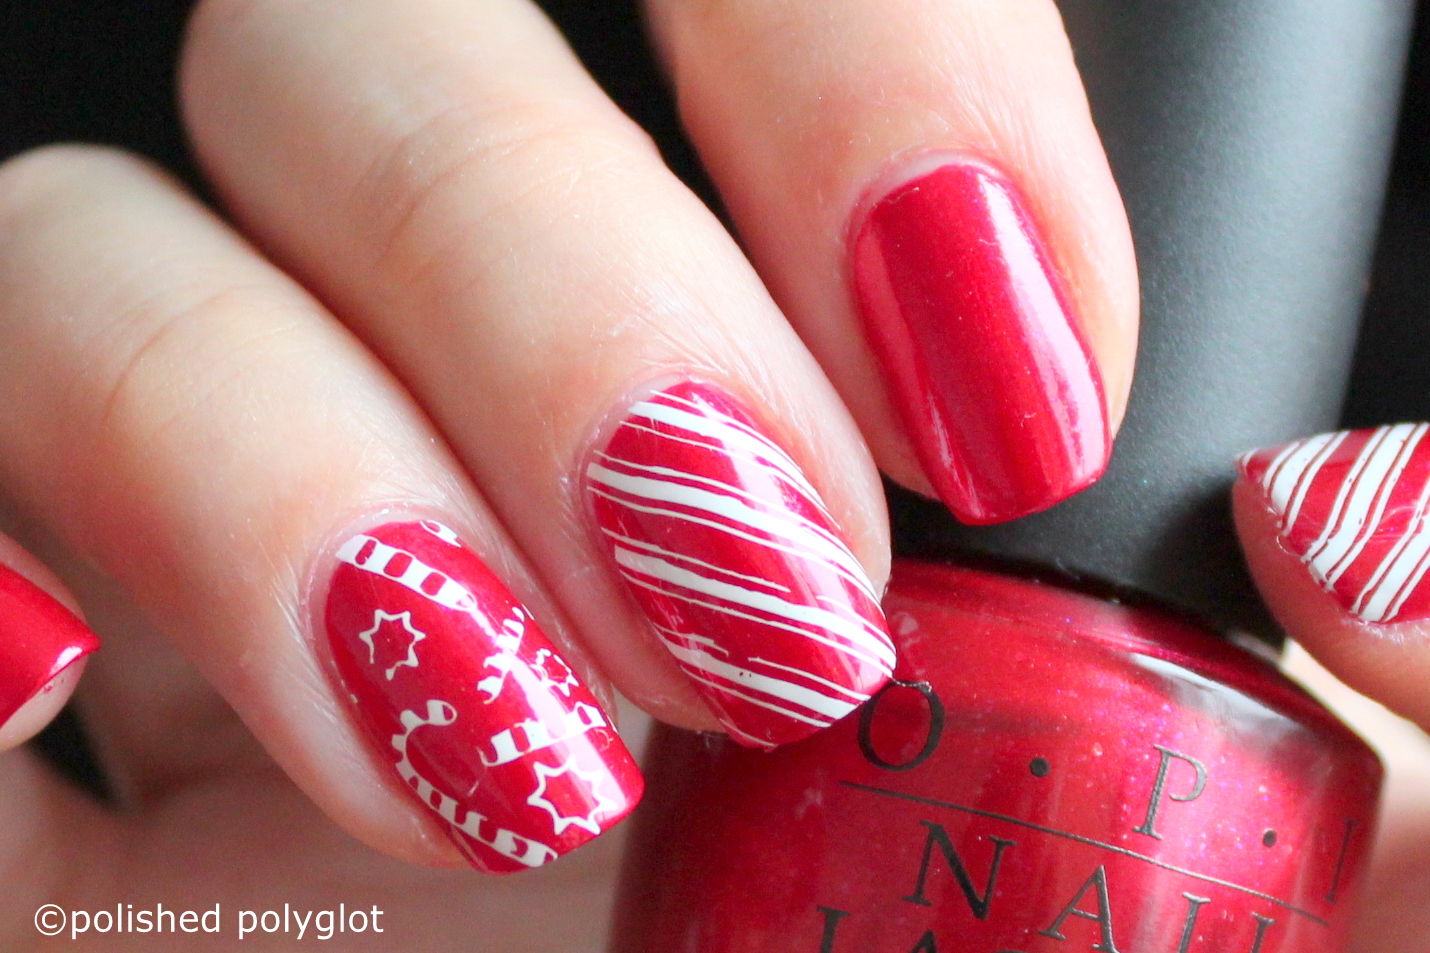
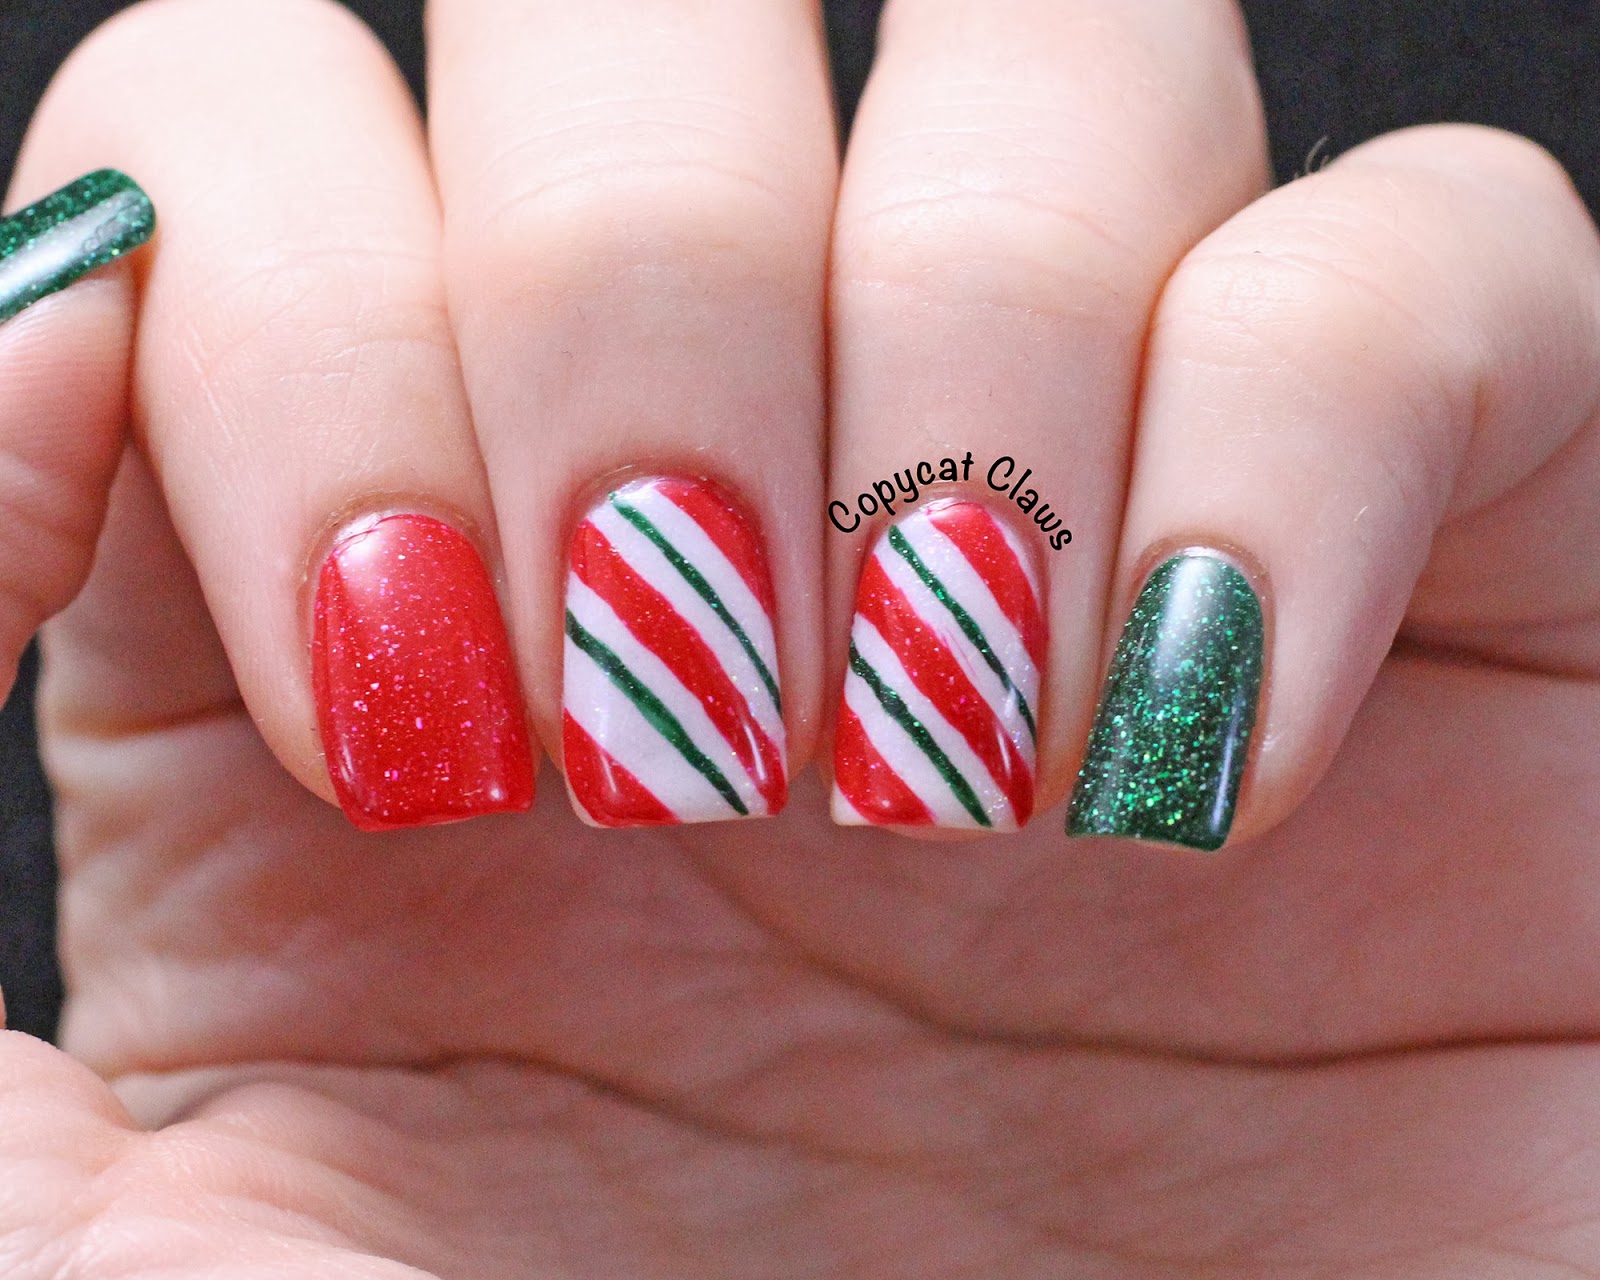
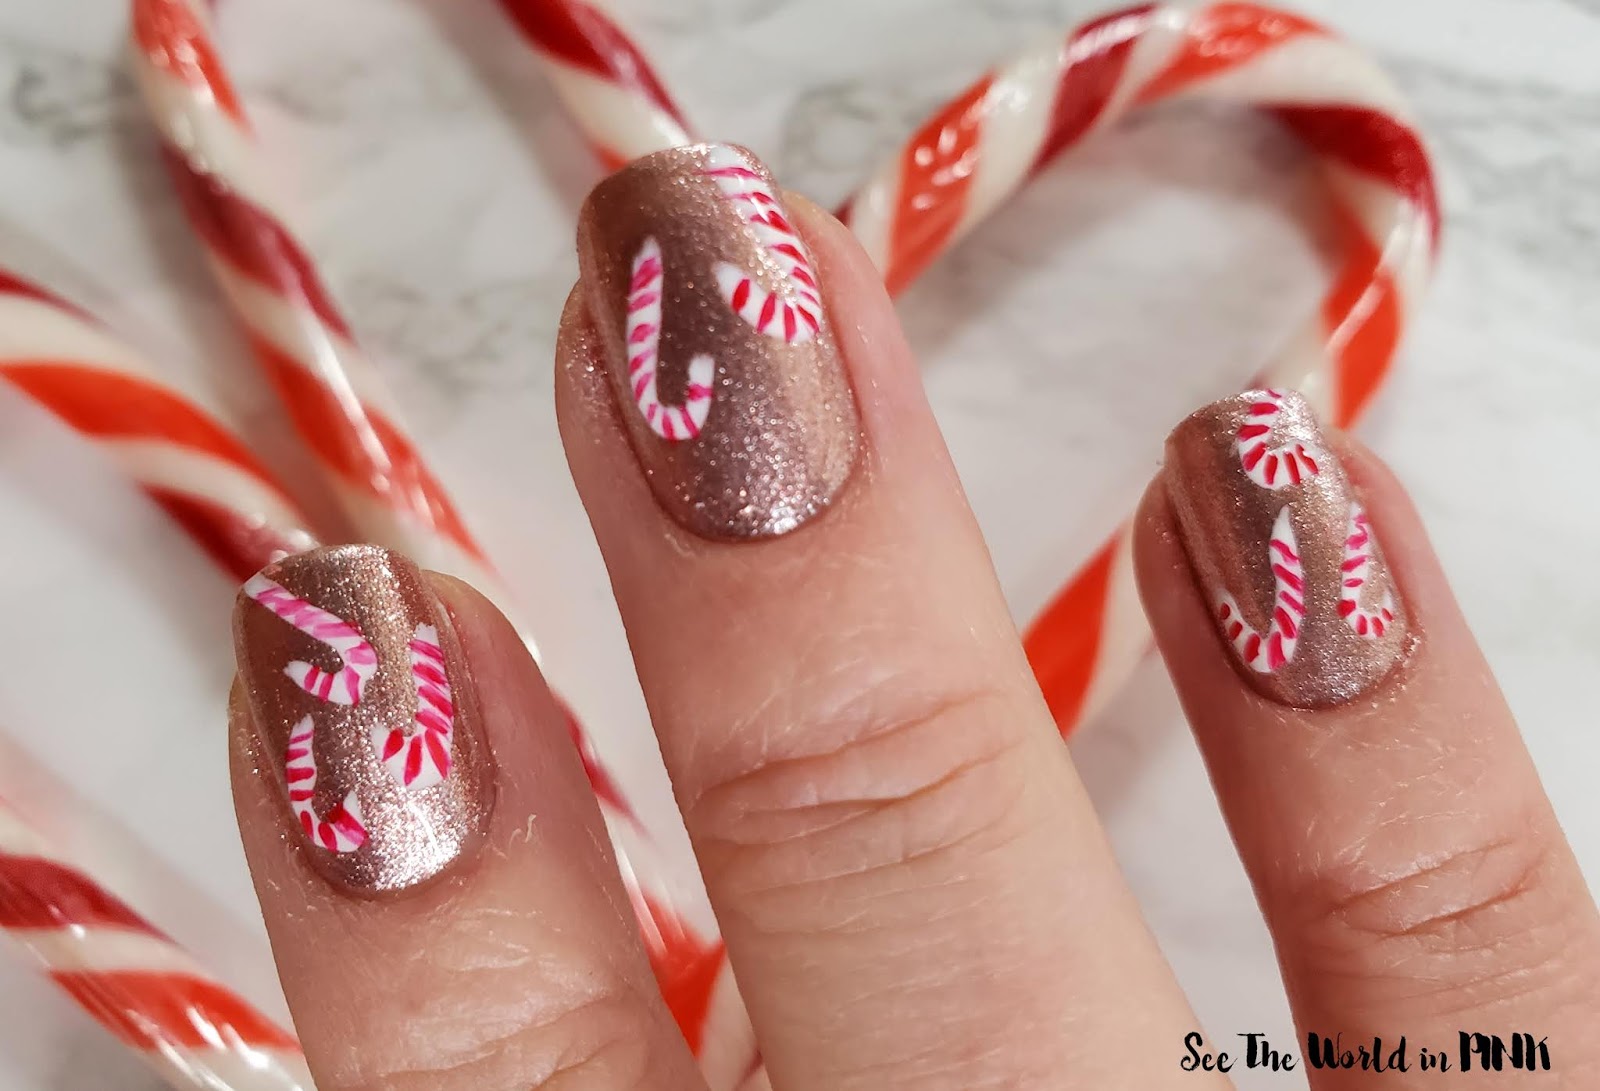
Candy canes are a classic Christmas treat and make for a fun and easy nail art design. Here's a step-by-step tutorial on how to create an easy candy cane nail art look. 1. Start off by painting all of your nails with a white base color. This will help the red stripes to stand out and create a more vibrant design. 2. Next, use a thin brush to create diagonal stripes on your nails using a red polish. You can make them as thick or as thin as you want, depending on your preference. 3. Once the stripes are dry, use a thin brush to create white lines in between the red stripes to create the classic candy cane look. 4. Finish off with a top coat to seal in your design and give it a glossy finish. This easy candy cane nail art is perfect for those who want a festive look without too much effort!8. Easy Candy Cane Nail Art


8. Easy Candy Cane Nail Art


If you love sparkle and shine, then this festive red and green glitter nail design is perfect for you! Here's how to achieve this glamorous look. 1. Start off by painting all of your nails with a green base color. You can use a forest green for a traditional look or a mint green for a more modern twist. 2. Next, use a thin brush to create a triangular shape at the tip of your nail using red glitter polish. You can also use a dotting tool to create small dots in a triangular shape. 3. Then, use a gold or silver glitter polish to create garland for your tree. You can also use a variety of colors to create colorful garland. 4. Next, use a dotting tool to create ornaments on your tree using different colored glitters. You can also add some extra glitter to the rest of your tree for some added sparkle. 5. Finish off your design with a star on top of your tree using gold or silver glitter polish. With this festive red and green glitter nail design, your nails will be the shining star of any holiday party!9. Festive Red and Green Glitter Nails


9. Festive Red and Green Glitter Nails


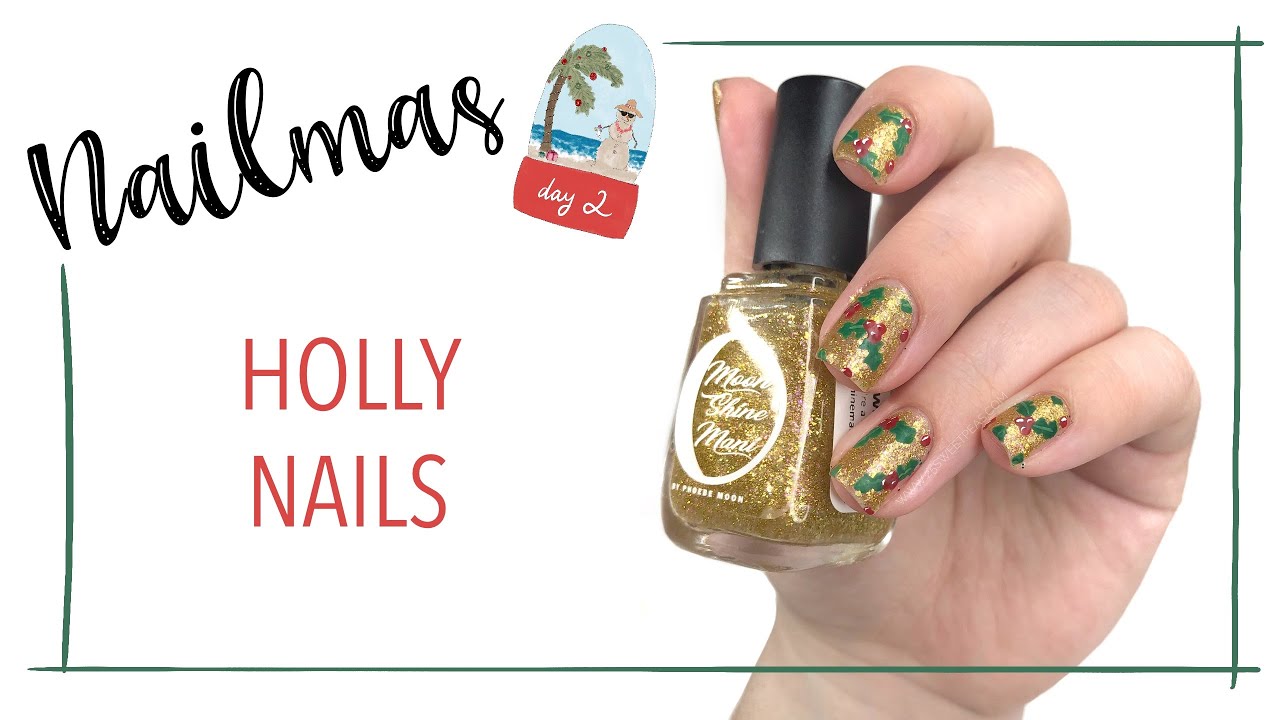
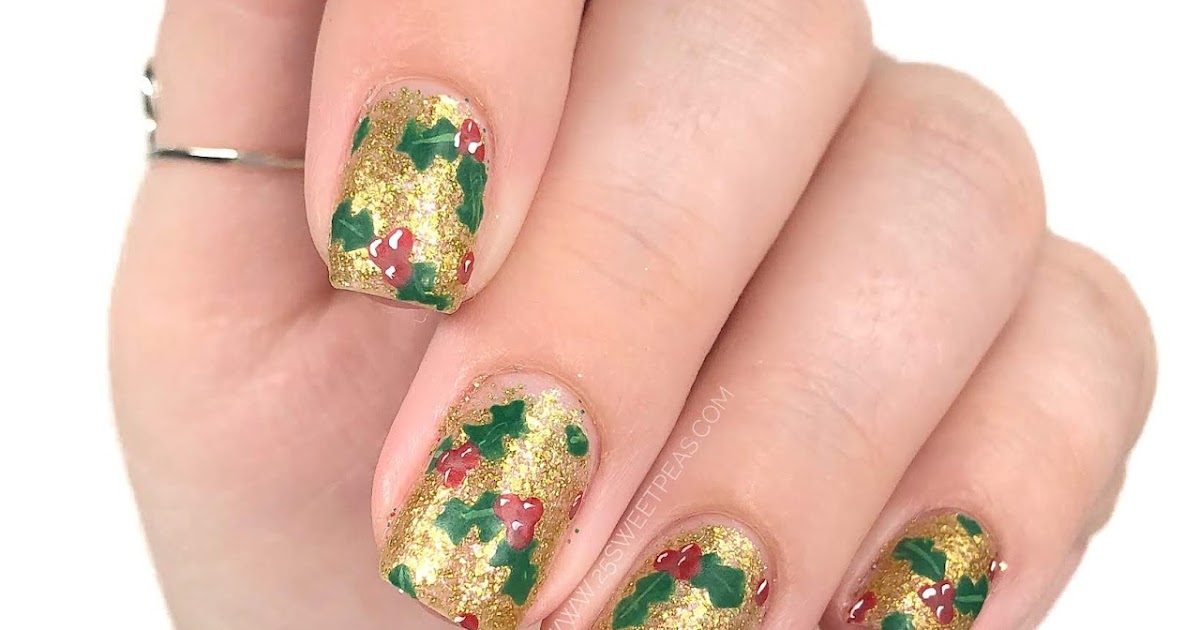
10. Simple Holly Nail Art Tutorial


10. Simple Holly Nail Art Tutorial


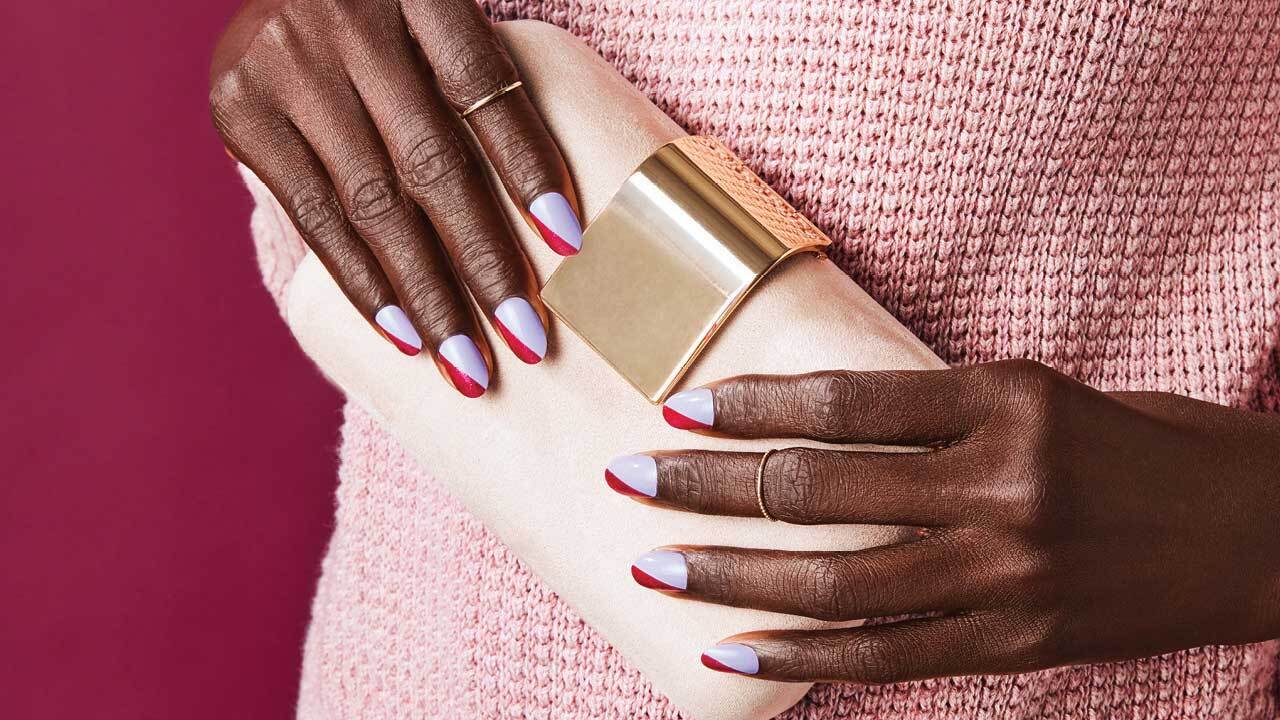
The Versatility of Red and Green Nail Art
Creating Eye-Catching Designs
 With the holiday season approaching, it's the perfect time to experiment with fun and festive nail art designs. And what better colors to use than
red and green
? From classic Christmas themes to modern abstract patterns, these two colors offer endless possibilities for creating eye-catching nail art. Whether you're a beginner or a seasoned nail artist, incorporating red and green into your designs is sure to make a statement.
With the holiday season approaching, it's the perfect time to experiment with fun and festive nail art designs. And what better colors to use than
red and green
? From classic Christmas themes to modern abstract patterns, these two colors offer endless possibilities for creating eye-catching nail art. Whether you're a beginner or a seasoned nail artist, incorporating red and green into your designs is sure to make a statement.
The Symbolism of Red and Green
 Aside from their association with the holiday season,
red and green
also carry deep symbolic meanings. Red has long been associated with love, passion, and energy, while green represents growth, harmony, and balance. Combining these two colors in nail art can not only create visually appealing designs but also convey powerful messages and emotions.
Aside from their association with the holiday season,
red and green
also carry deep symbolic meanings. Red has long been associated with love, passion, and energy, while green represents growth, harmony, and balance. Combining these two colors in nail art can not only create visually appealing designs but also convey powerful messages and emotions.
Easy Techniques for Red and Green Nail Art
 One of the best things about using
red and green
in nail art is their versatility. These colors can be used for simple designs with clean lines or more intricate and detailed patterns. For beginners, creating a classic candy cane design or a simple alternating red and green stripe is a great way to start. For more advanced nail artists, using
red and green
in ombre or gradient designs can add depth and dimension to the nails.
One of the best things about using
red and green
in nail art is their versatility. These colors can be used for simple designs with clean lines or more intricate and detailed patterns. For beginners, creating a classic candy cane design or a simple alternating red and green stripe is a great way to start. For more advanced nail artists, using
red and green
in ombre or gradient designs can add depth and dimension to the nails.
Adding a Touch of Glam with Glitter
 For those who want to add some sparkle to their
red and green
nail art, incorporating glitter is the perfect way to do so. Glitter can be used as an accent to highlight certain parts of the design, or it can be used as a top coat to add a touch of glamour to the entire look. Red and green glitter can also be used to create fun and festive designs, such as glittery Christmas trees or sparkly snowflakes.
For those who want to add some sparkle to their
red and green
nail art, incorporating glitter is the perfect way to do so. Glitter can be used as an accent to highlight certain parts of the design, or it can be used as a top coat to add a touch of glamour to the entire look. Red and green glitter can also be used to create fun and festive designs, such as glittery Christmas trees or sparkly snowflakes.
Final Thoughts
 In conclusion,
red and green
are two colors that offer endless possibilities for creating unique and eye-catching nail art designs. From simple patterns to more intricate details, these colors can be used to convey powerful messages and add a touch of glamour to any look. So why not give
red and green
nail art a try and see how these versatile colors can elevate your nail game?
In conclusion,
red and green
are two colors that offer endless possibilities for creating unique and eye-catching nail art designs. From simple patterns to more intricate details, these colors can be used to convey powerful messages and add a touch of glamour to any look. So why not give
red and green
nail art a try and see how these versatile colors can elevate your nail game?


