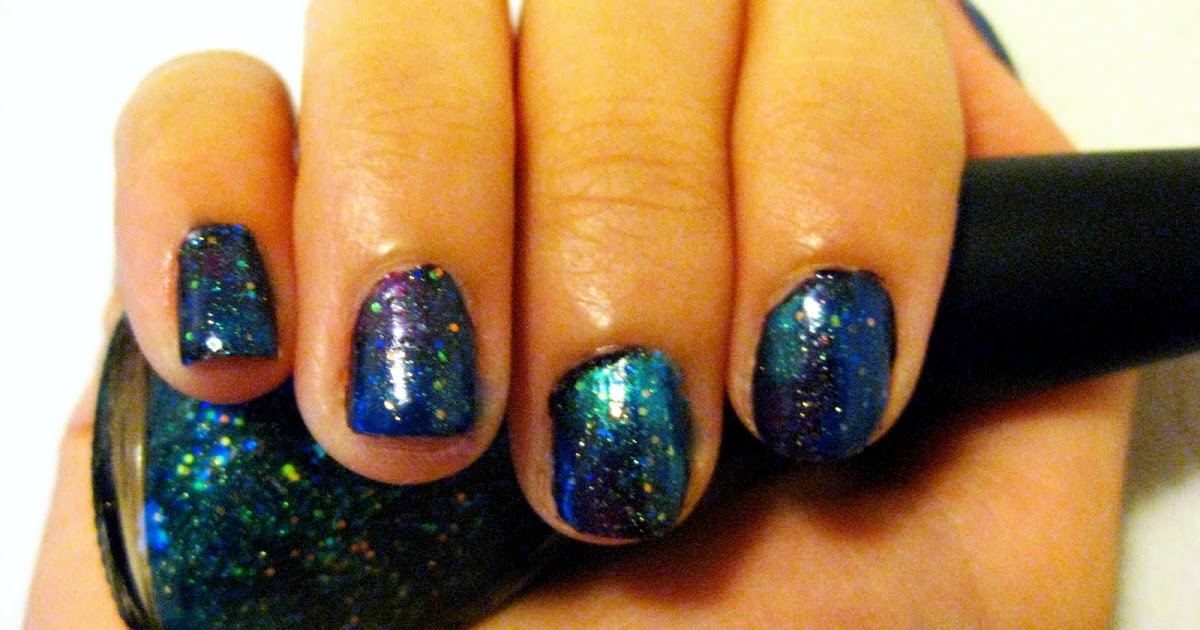
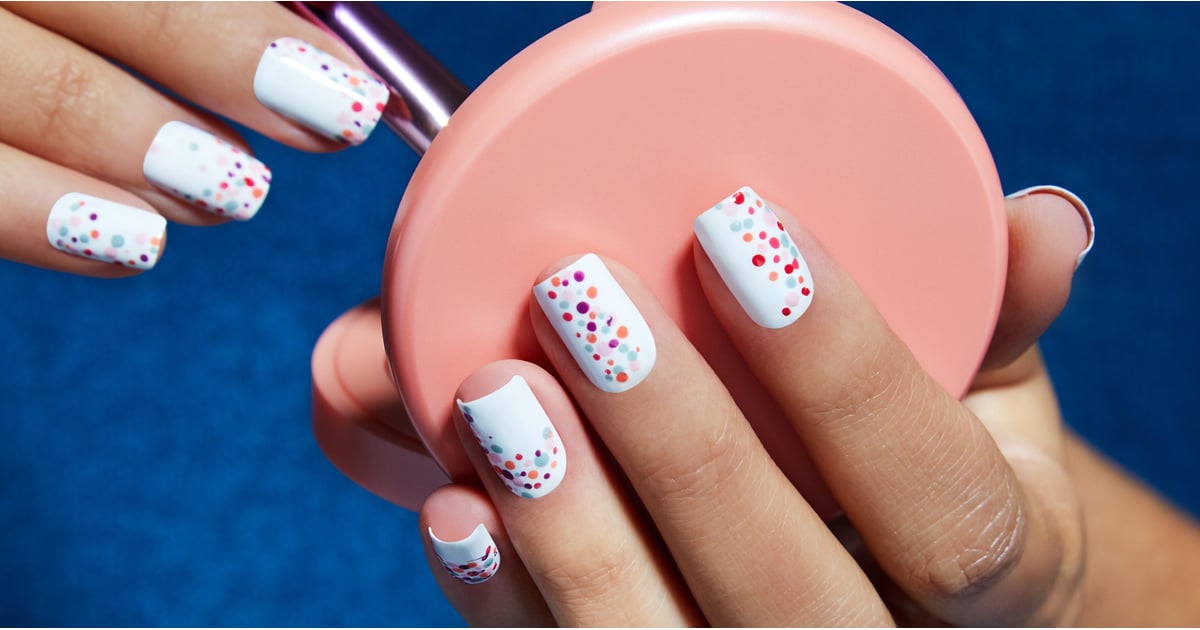
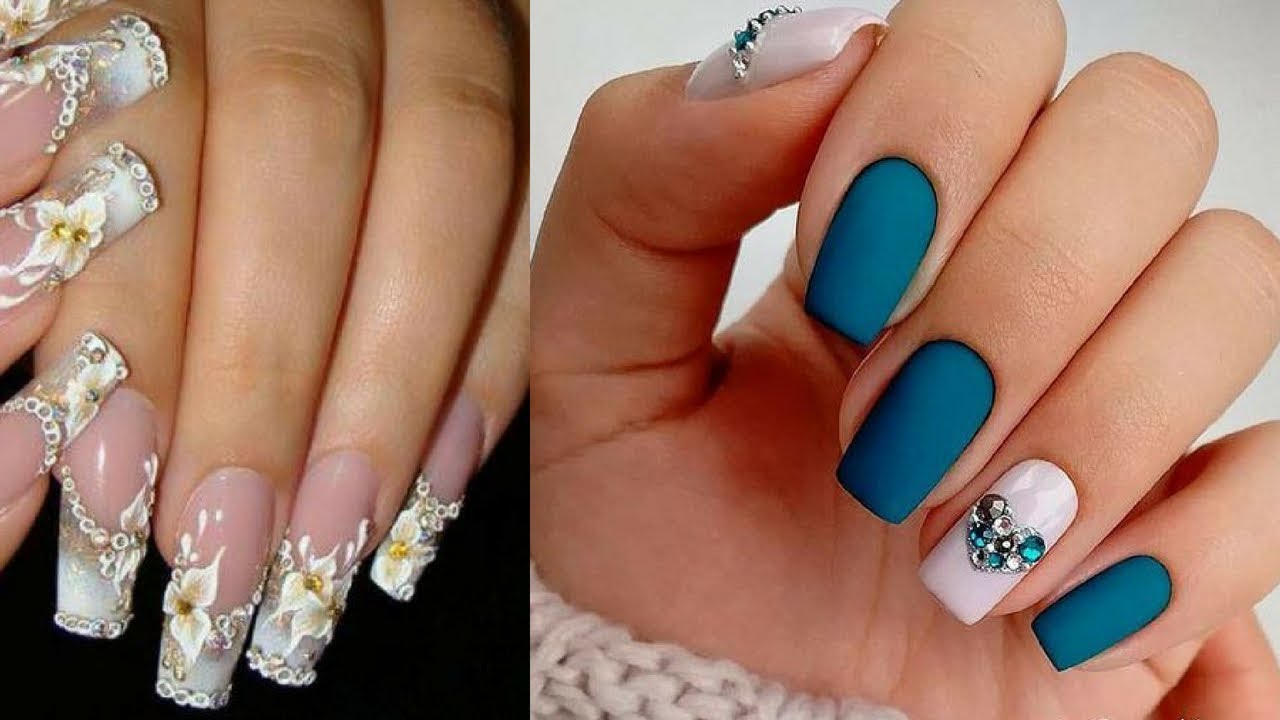
If you're new to the world of nail art, you might feel intimidated by all the intricate designs you see online. But don't worry, you don't have to be a professional to create stunning and sparkly nail art. We've rounded up 10 easy and beginner-friendly ideas that will make your nails stand out in all the right ways. Sparkly nail art is all about adding a touch of glitz and glam to your nails. Whether you prefer subtle shimmer or full-on bling, there's a sparkly nail art design that will suit your style and skill level. So grab your nail polish and let's get started!1. 10 Easy Sparkly Nail Art Ideas for Beginners

1. 10 Easy Sparkly Nail Art Ideas for Beginners


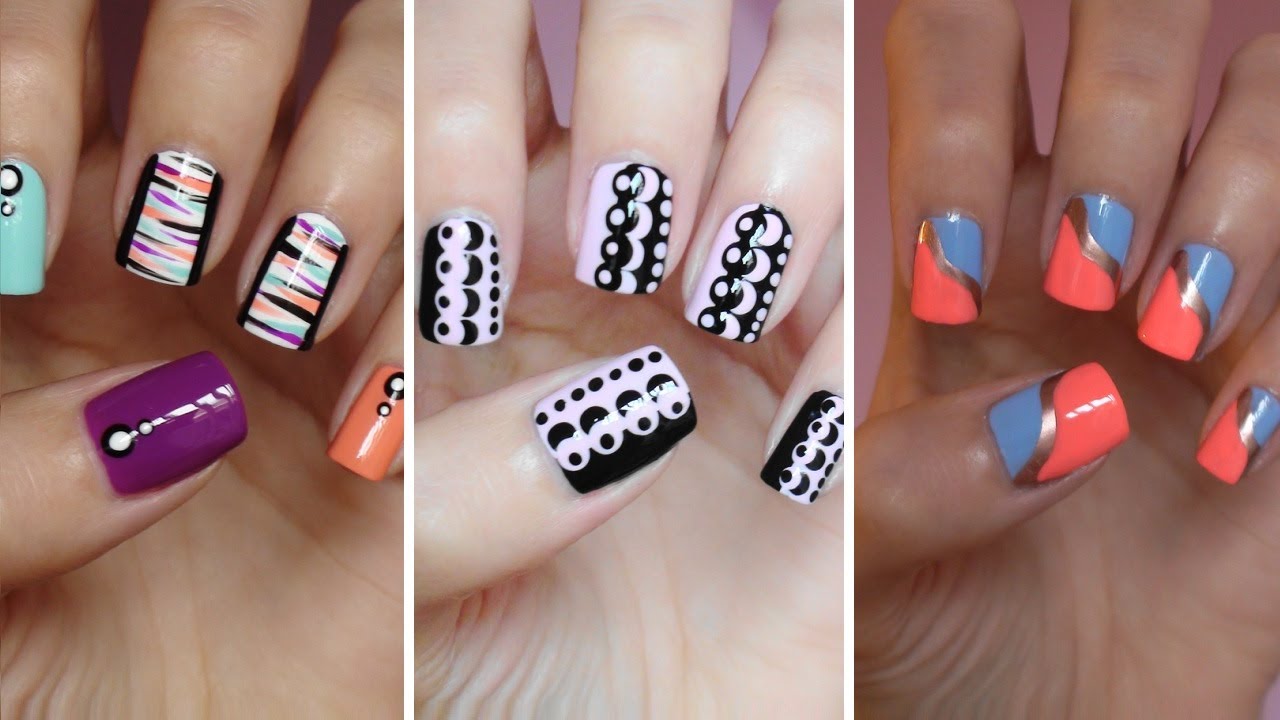
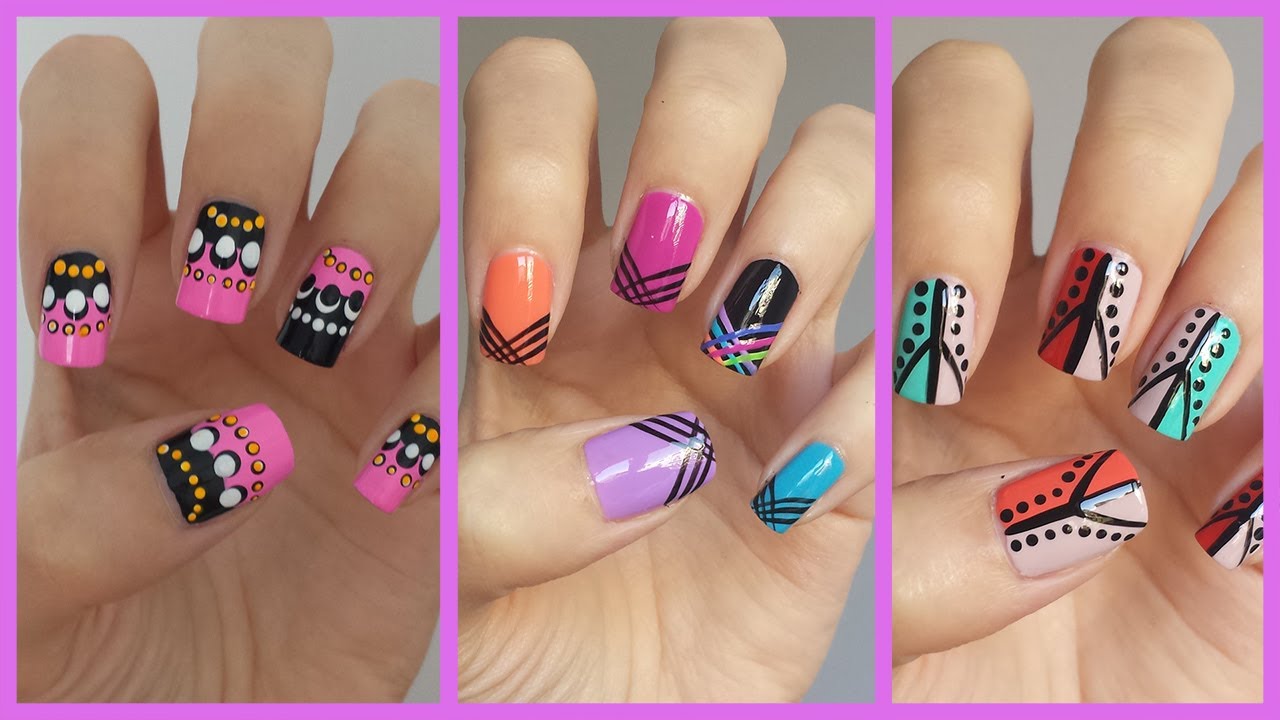
Who says you need to go to a salon to get fabulous nails? With a few simple tools and some creativity, you can achieve salon-worthy sparkly nail art in the comfort of your own home. Start by gathering all your supplies, including a base coat, your chosen nail polish, and some sparkly nail art accessories like glitter, rhinestones, and studs. Next, prep your nails by filing and shaping them to your desired length and shape. Apply a base coat to protect your nails and allow it to dry completely. Then, it's time to get creative! Use a toothpick or a small nail art brush to create your desired design with your chosen sparkly nail polish. You can add a touch of glitter or a few rhinestones to make your nails sparkle even more.2. How to Create Easy Sparkly Nail Art at Home


2. How to Create Easy Sparkly Nail Art at Home


If you're short on time but still want to add some sparkle to your nails, this 5-minute sparkly nail art tutorial is perfect for you. Start by applying a base coat and allowing it to dry. Then, choose a sparkly nail polish in your favorite color and paint your nails. You can choose to cover all your nails with the sparkly polish or leave some nails bare for a more subtle look. Next, take a toothpick or a thin nail art brush and dip it into a contrasting nail polish color. Create small dots or lines on your nails to add some dimension and interest. Finally, seal your sparkly nail art with a top coat to make it last longer and give it a glossy finish.3. 5 Minute Sparkly Nail Art Tutorial


3. 5 Minute Sparkly Nail Art Tutorial


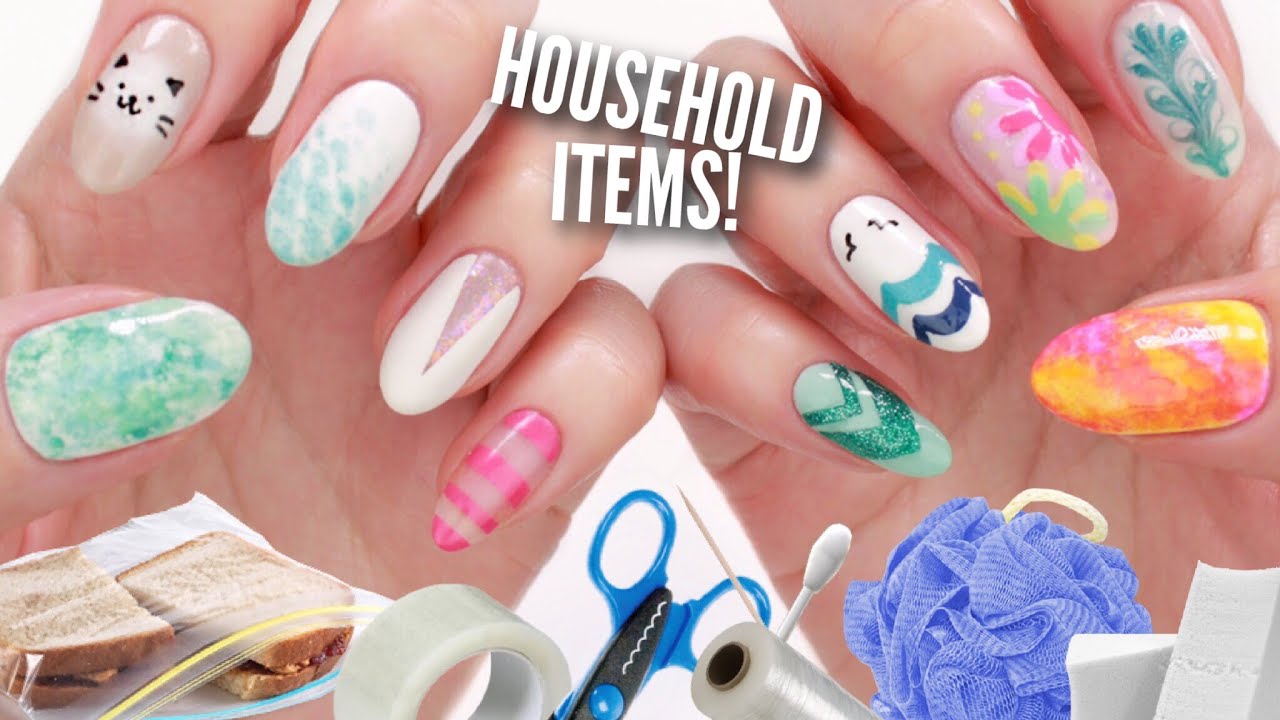
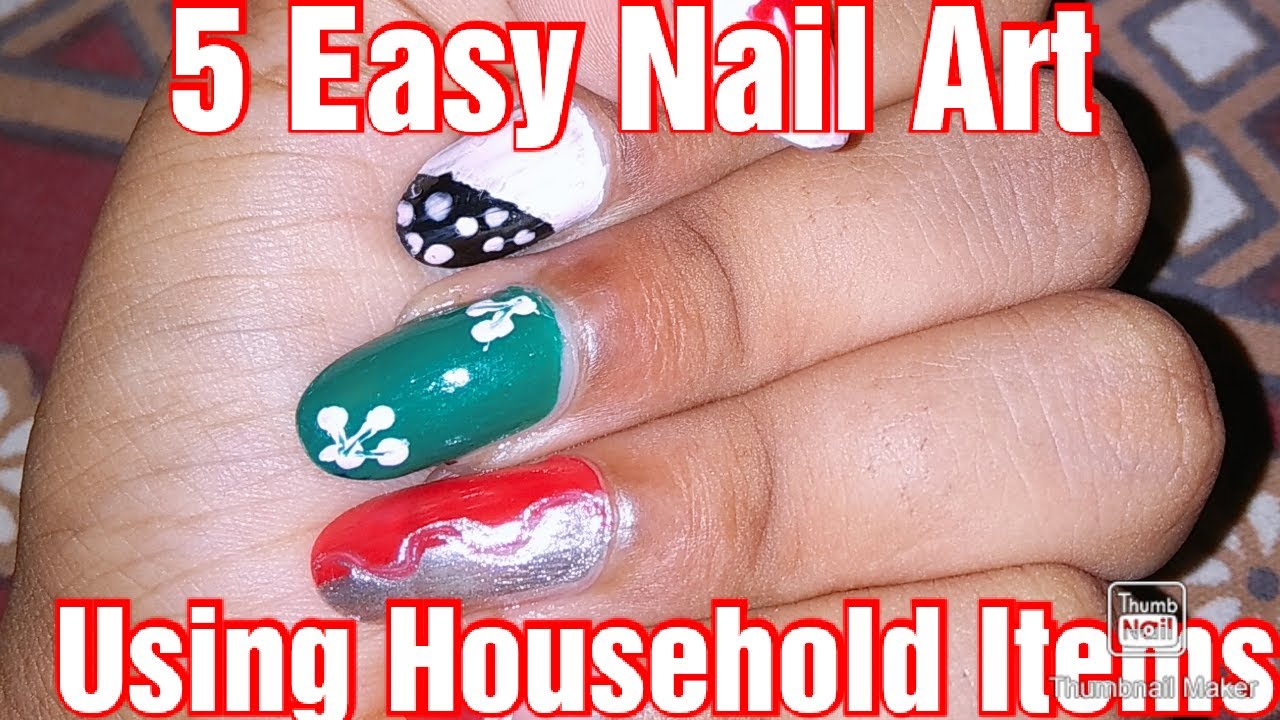
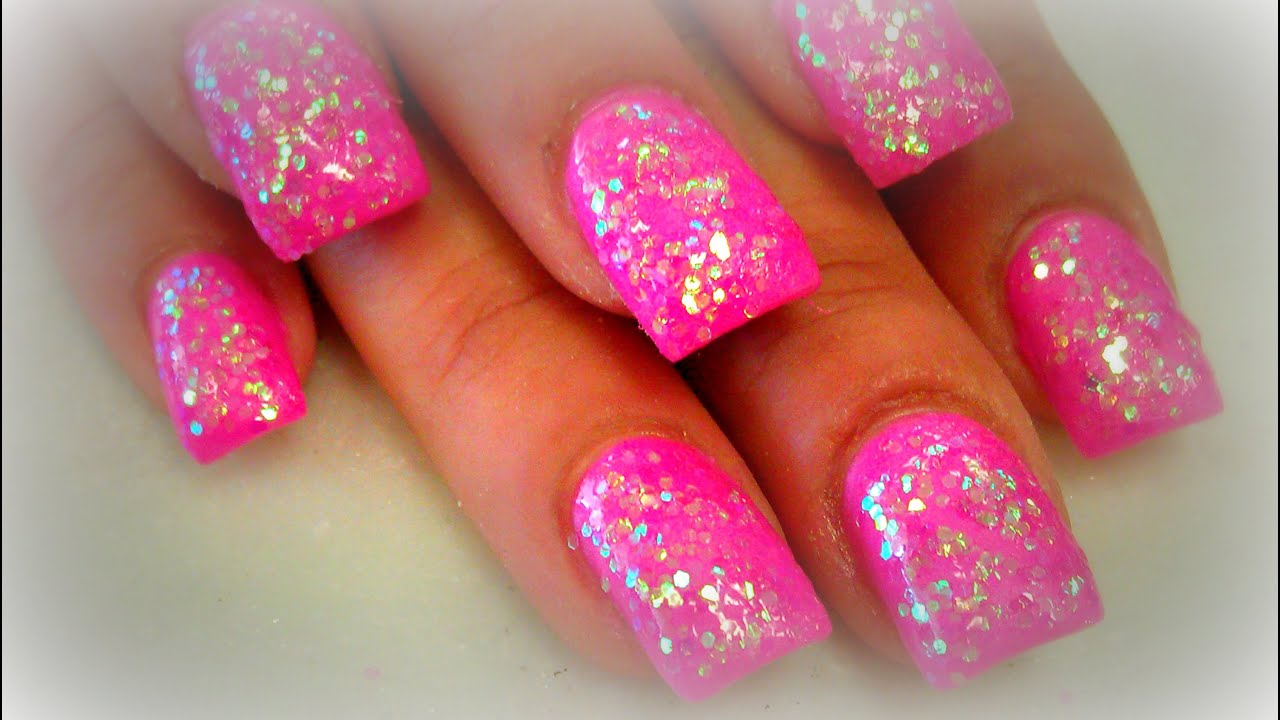
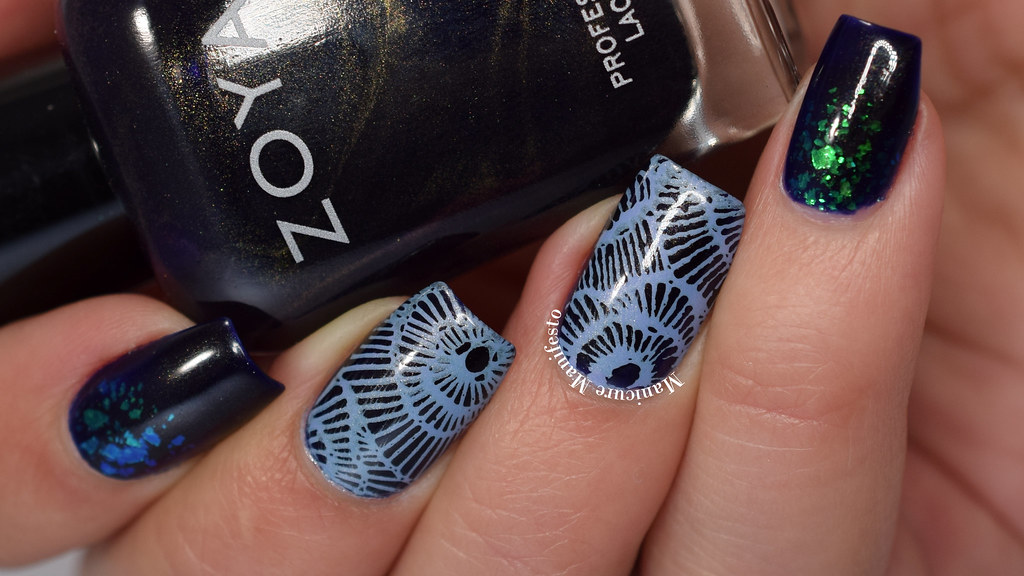
You don't need to break the bank to achieve sparkly nail art. In fact, you can use everyday household items to add some bling to your nails. For a simple and easy design, try using a makeup sponge to create an ombre effect with your sparkly nail polish. Simply paint your nails with a base color, then apply your chosen sparkly polish onto the sponge and dab it onto the tips of your nails. You can also use a bobby pin or a toothpick to create small dots with your sparkly nail polish. Or, if you have a thin paintbrush, you can use it to create intricate designs with your sparkly polish. The possibilities are endless!4. DIY Sparkly Nail Art Using Household Items


4. DIY Sparkly Nail Art Using Household Items


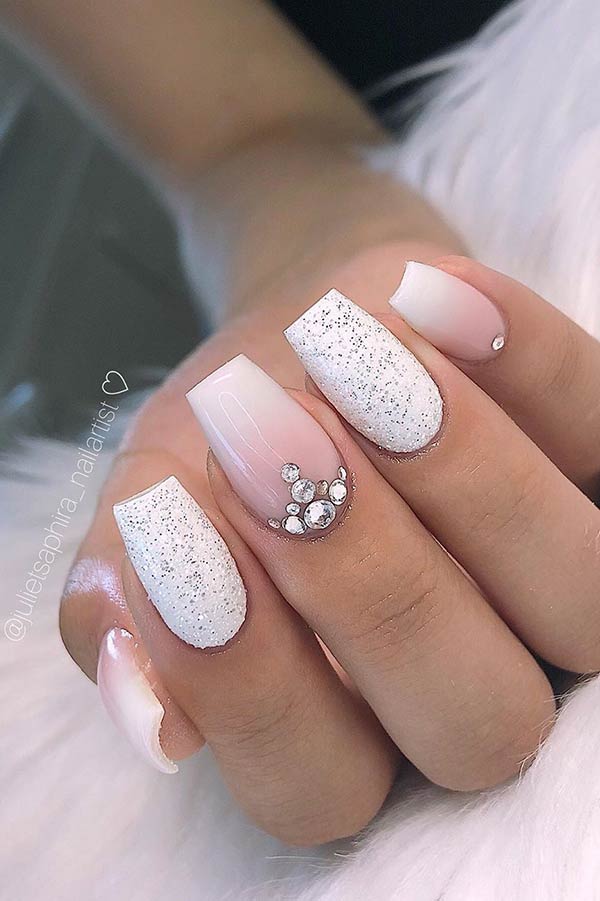
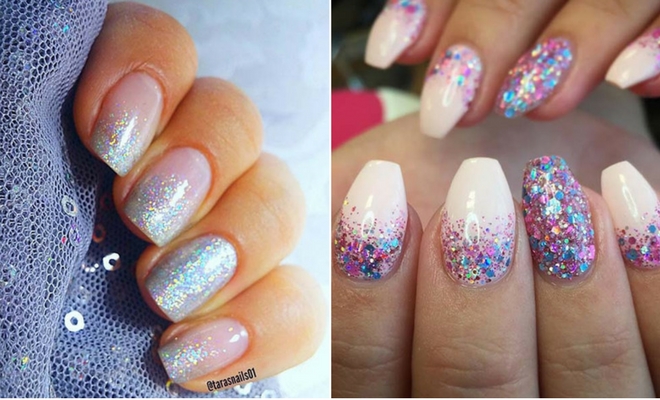
Not all sparkly nail art has to be complicated and time-consuming. Sometimes, a simple design can make a big impact. For a quick and easy sparkly nail art design, try painting your nails with a nude or pastel polish and adding a single glitter accent nail. This will add a touch of sparkle without being too overwhelming. You can also try creating a glitter gradient by painting your nails with a base color, then using a makeup sponge to dab on a layer of glitter polish at the tips of your nails and gradually blending it upwards. This is a simple yet effective way to add some sparkle to your nails.5. Quick and Easy Sparkly Nail Art Designs


5. Quick and Easy Sparkly Nail Art Designs


:max_bytes(150000):strip_icc()/072922-beauty-nail-art-lead-2000-21de3481261e48a995c855269f9846ad.jpg)

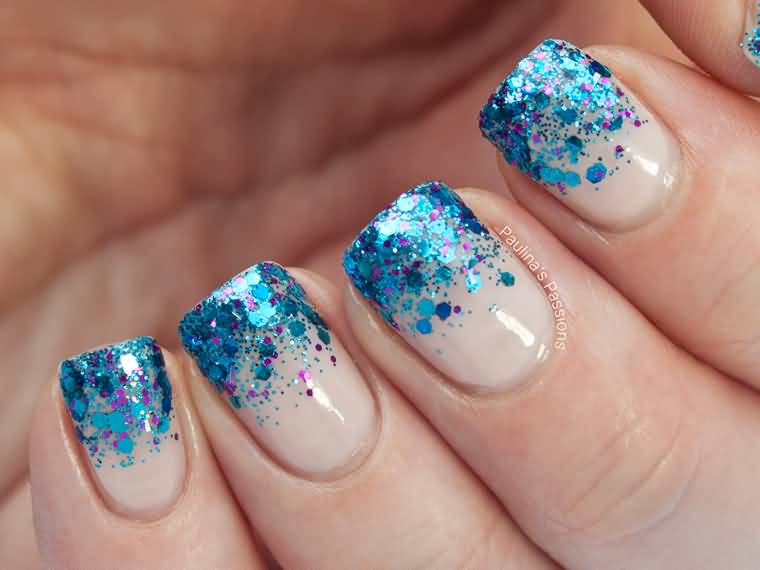
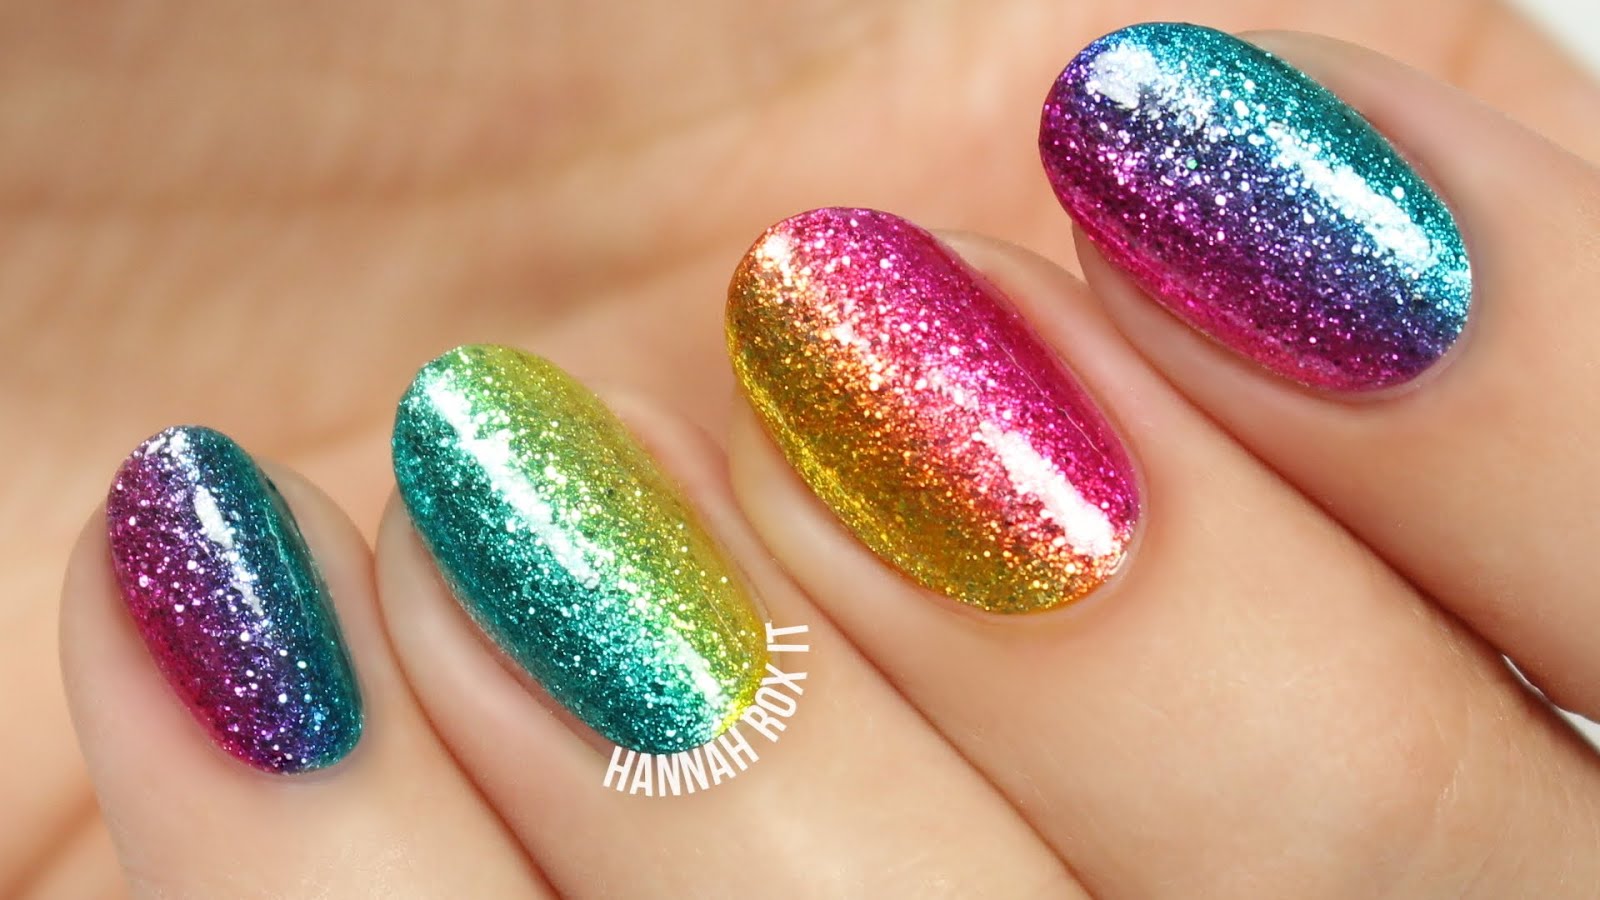
If you want to take your sparkly nail art to the next level, try this glitter gradient tutorial. Start by painting your nails with a base color and allowing it to dry completely. Then, take a makeup sponge and apply your chosen glitter polish onto the sponge. Dab the sponge onto the tips of your nails, gradually moving upwards to create a gradient effect. You can use different colors of glitter polish for each nail or stick to one color for a more cohesive look. For an added touch of glamour, you can also add some rhinestones or studs to your nails using a toothpick or a small nail art brush. Finish off with a top coat for a long-lasting and sparkly finish.6. Glitter Gradient Nail Art Tutorial
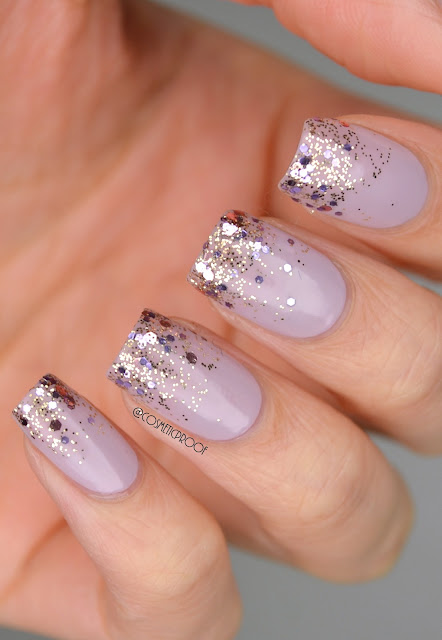


6. Glitter Gradient Nail Art Tutorial


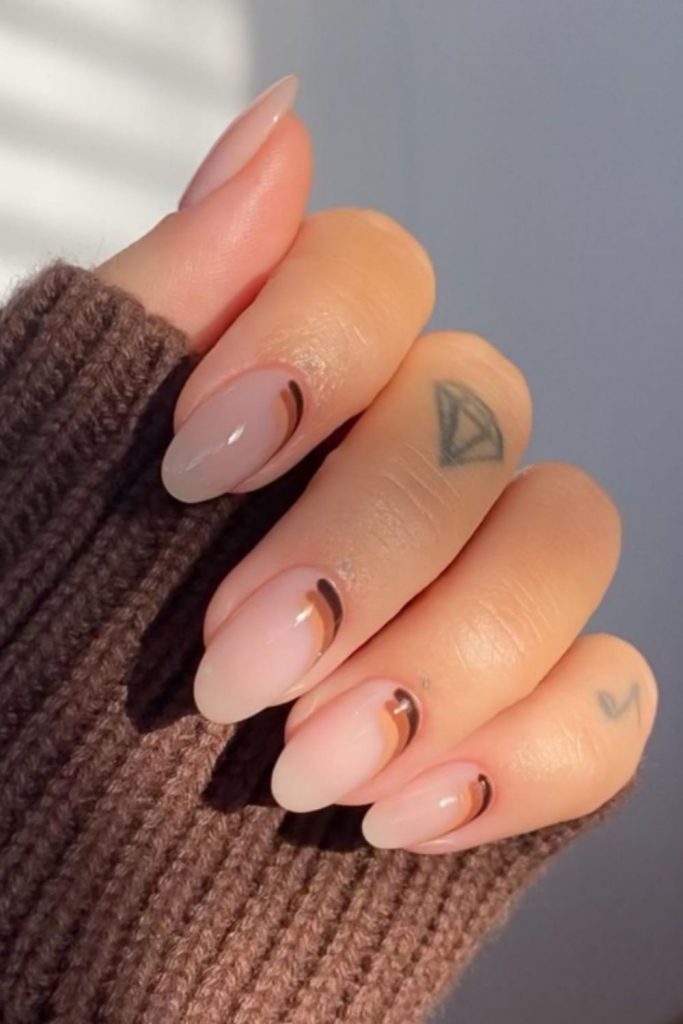
Whether you're attending a wedding or just want to add some sparkle to your everyday look, this simple sparkly nail art design is perfect for any occasion. Start by painting your nails with a base color, then use a toothpick or a small nail art brush to create a diagonal line across your nails with your chosen glitter polish. You can also add some rhinestones or studs along the line for a more glamorous look. Or, for a subtler design, you can create a single glitter stripe down the middle of your nail. This is a simple yet chic way to add some sparkle to your nails.7. Simple Sparkly Nail Art for Any Occasion

7. Simple Sparkly Nail Art for Any Occasion

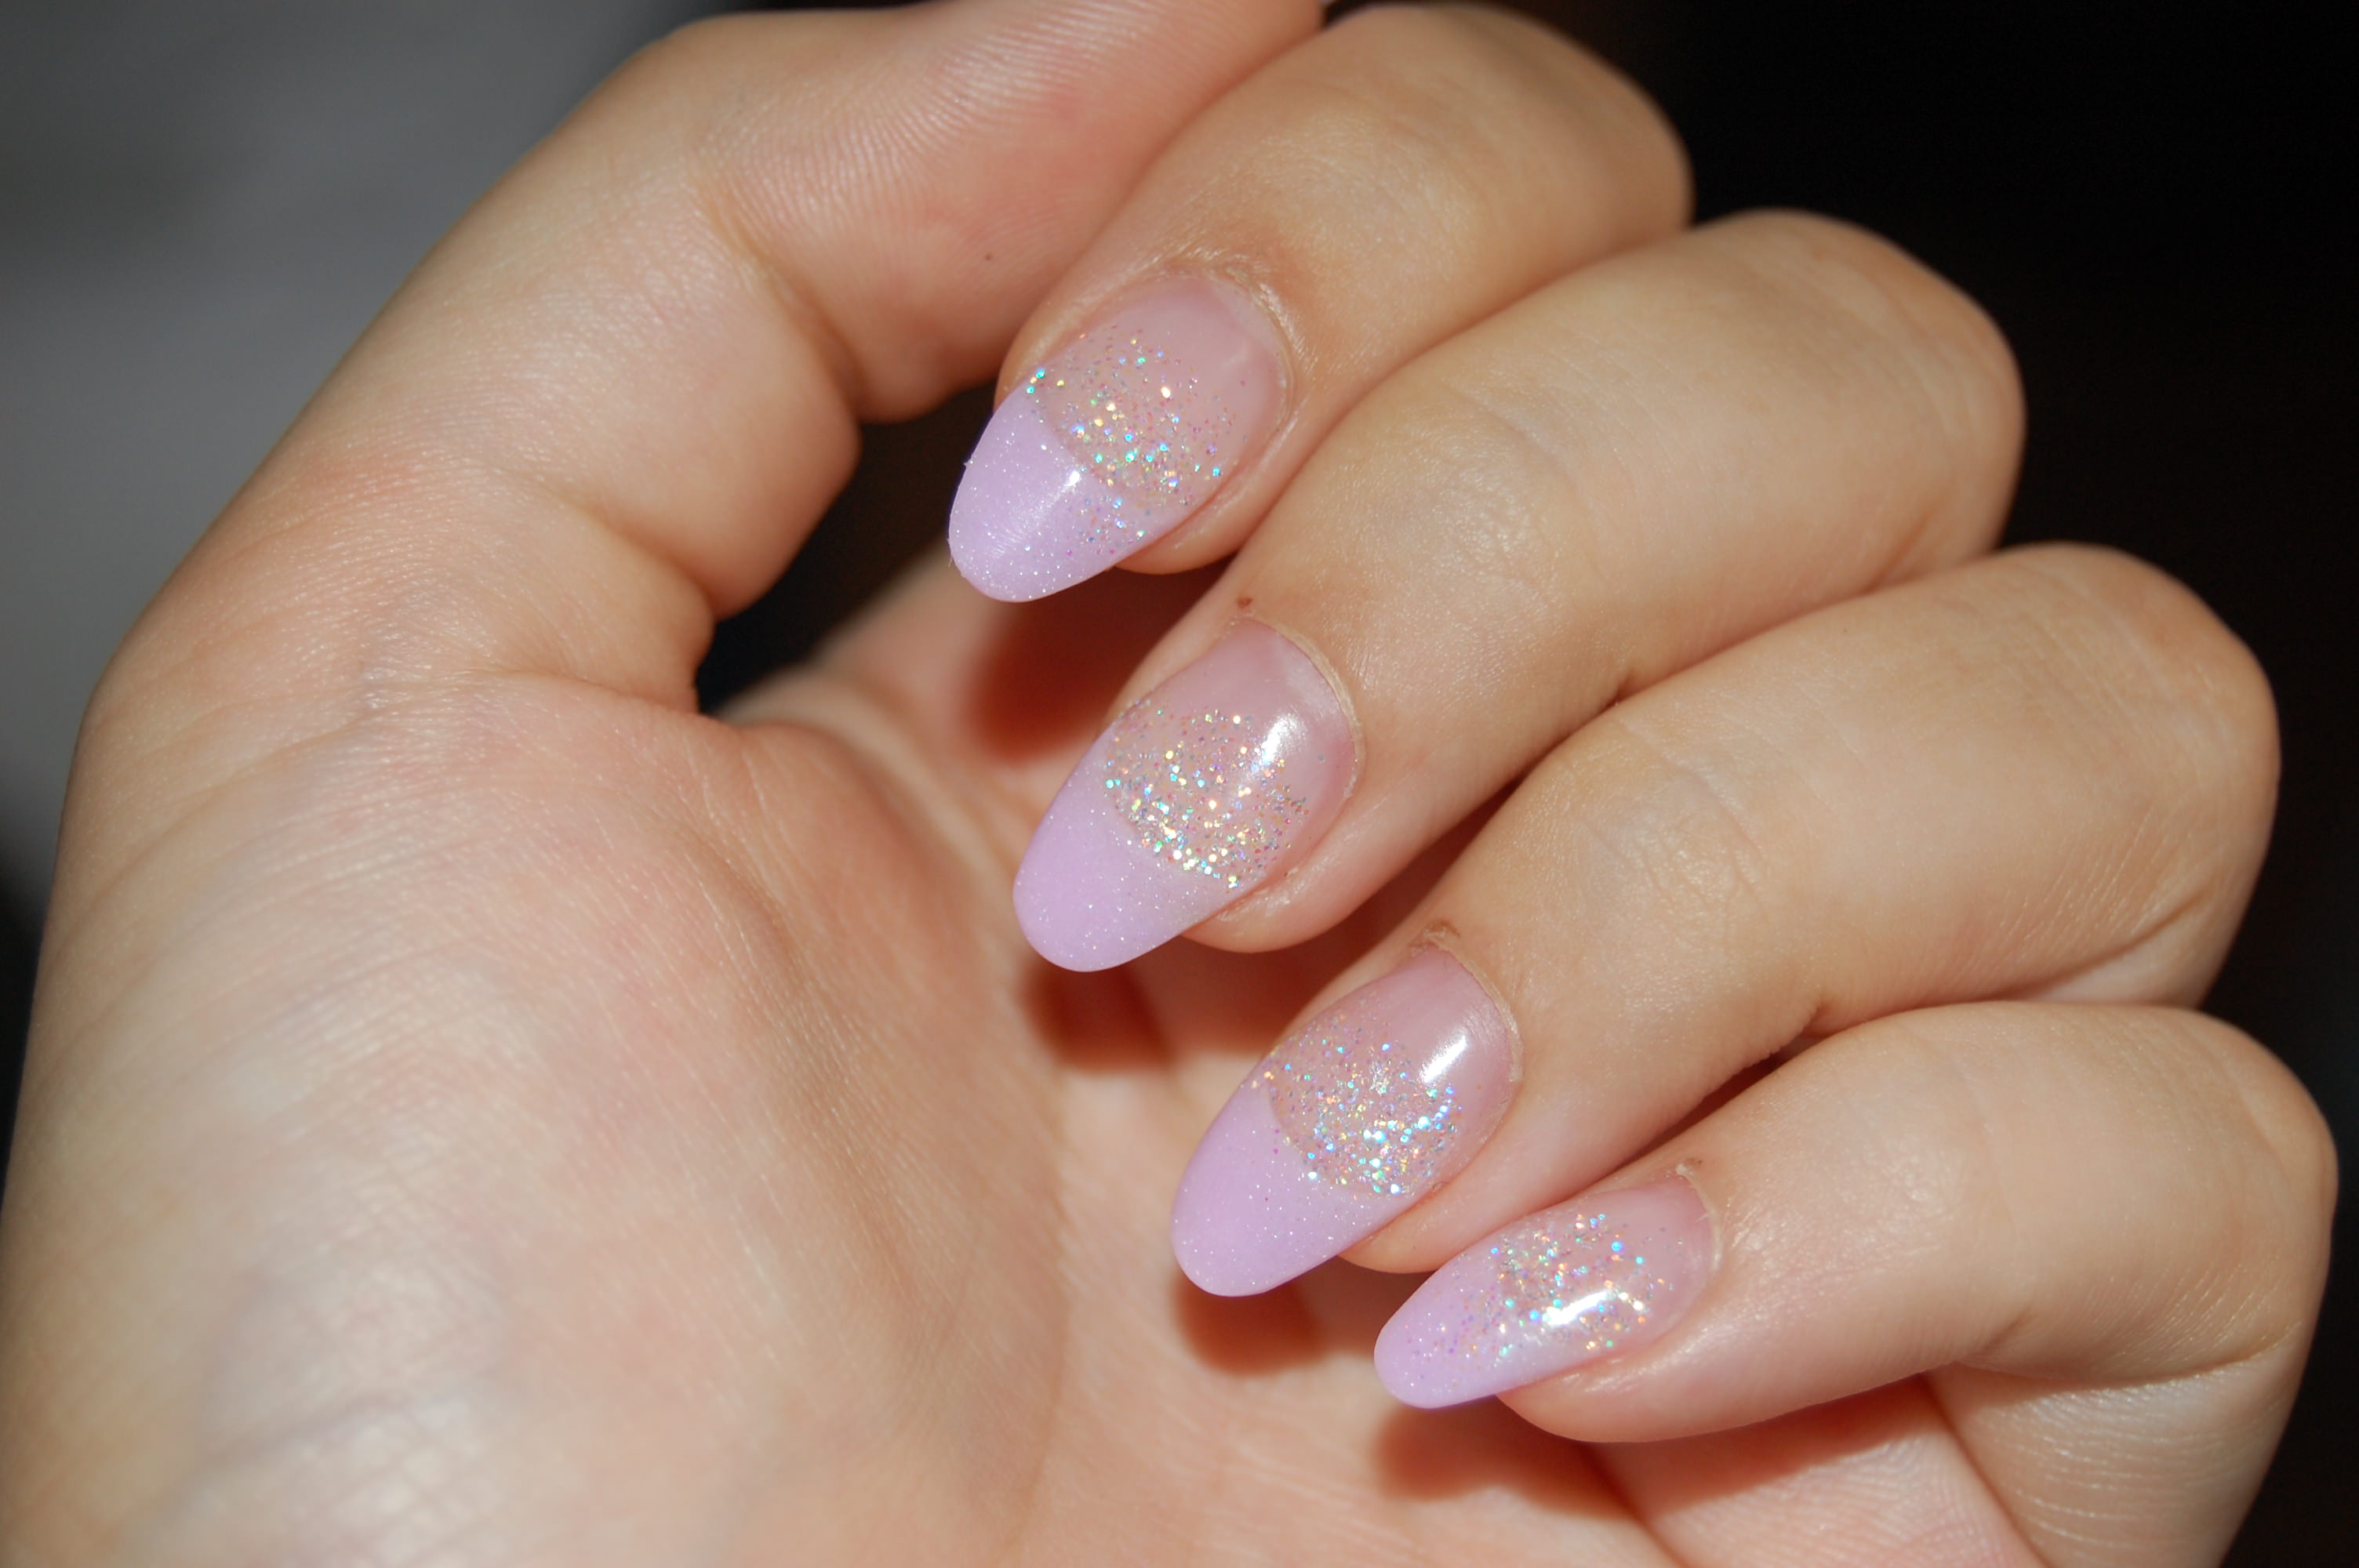

Just because you have short nails doesn't mean you can't rock sparkly nail art. In fact, short nails are the perfect canvas for creating simple yet stunning designs. One easy idea is to paint your nails with a base color and add a single glitter accent nail. This will elongate your nails and make them look more elegant. You can also try creating a diagonal or vertical line with your chosen glitter polish on one or two nails. This will add some interest to your nails without overwhelming them. And don't be afraid to experiment with different colors and textures to find the perfect sparkly nail art design for your short nails.8. Easy Sparkly Nail Art for Short Nails

8. Easy Sparkly Nail Art for Short Nails


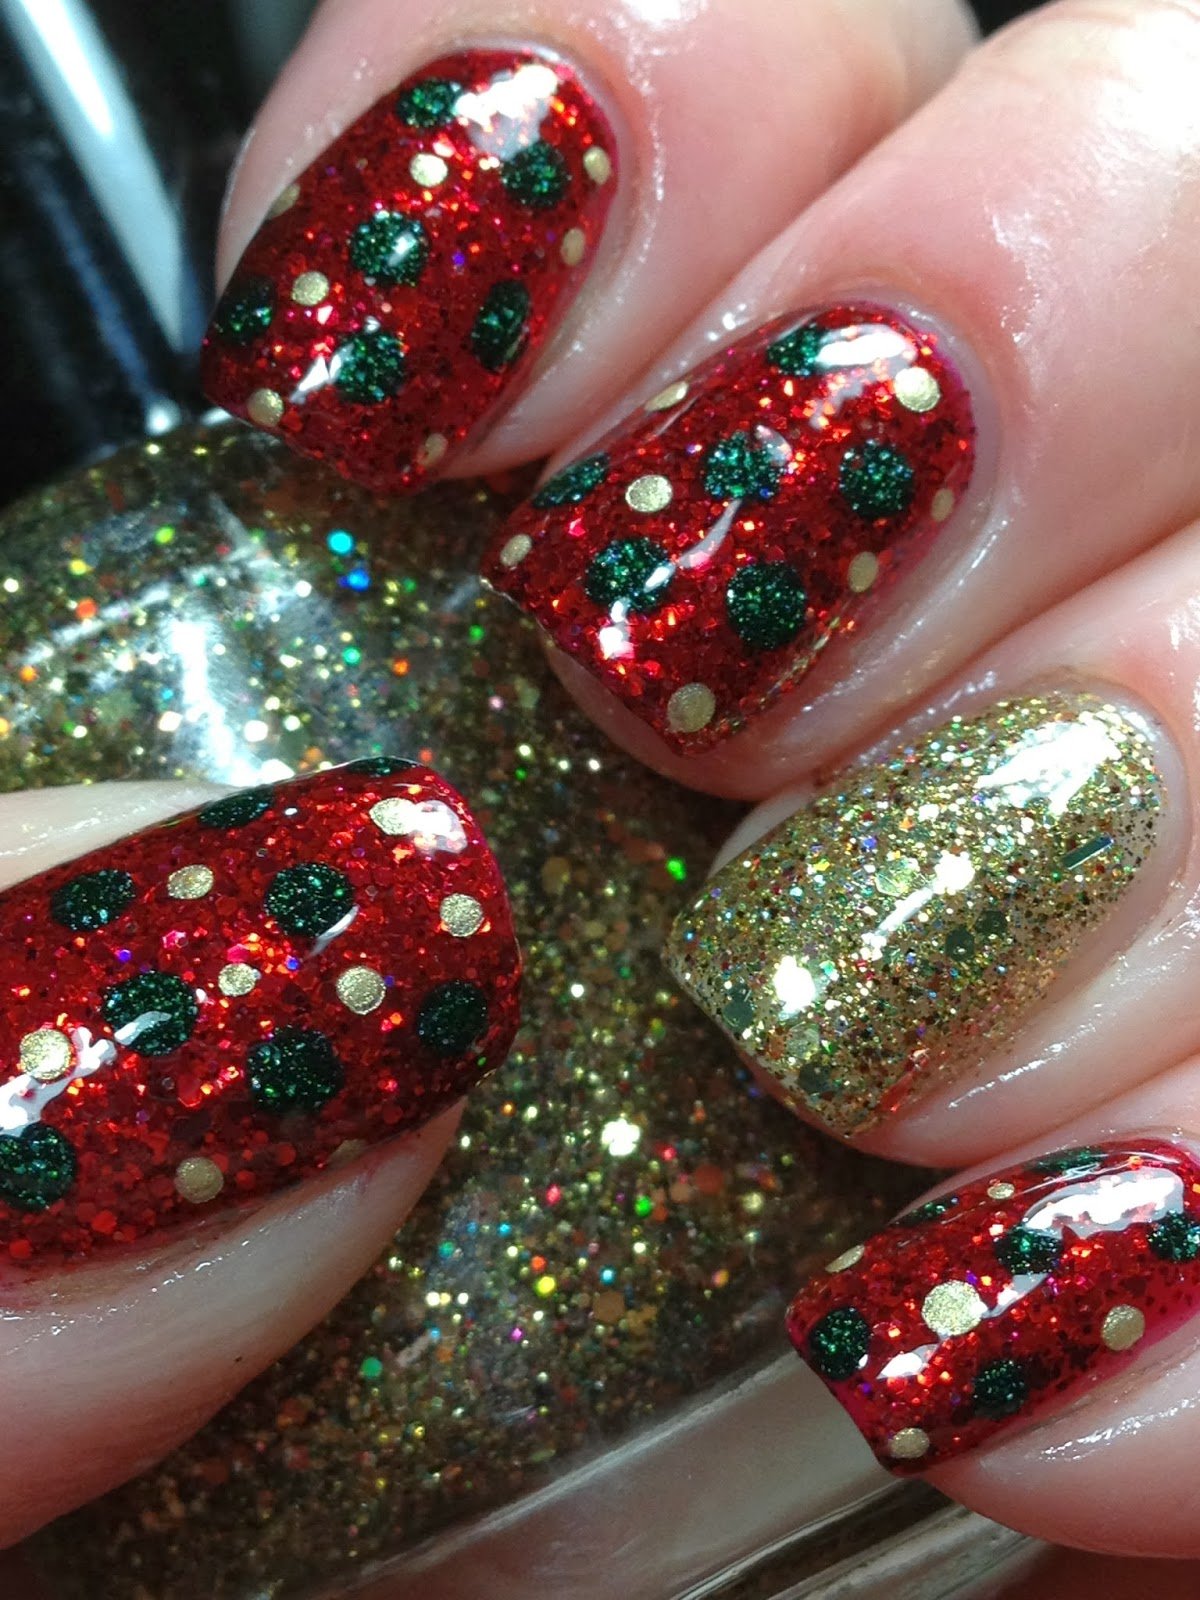
The holiday season is the perfect time to add some sparkle to your nails. Whether you're celebrating Christmas, New Year's, or just love the festive spirit, there are plenty of sparkly nail art ideas to get you in the holiday mood. Try painting your nails with a red or green base color and adding some gold or silver glitter on top for a classic Christmas look. You can also create a snowflake design using white and silver glitter polish, or add some sparkly snowflakes or reindeer decals to your nails. Don't be afraid to get creative and have fun with your sparkly nail art this holiday season.9. Festive Sparkly Nail Art Ideas for the Holidays


9. Festive Sparkly Nail Art Ideas for the Holidays


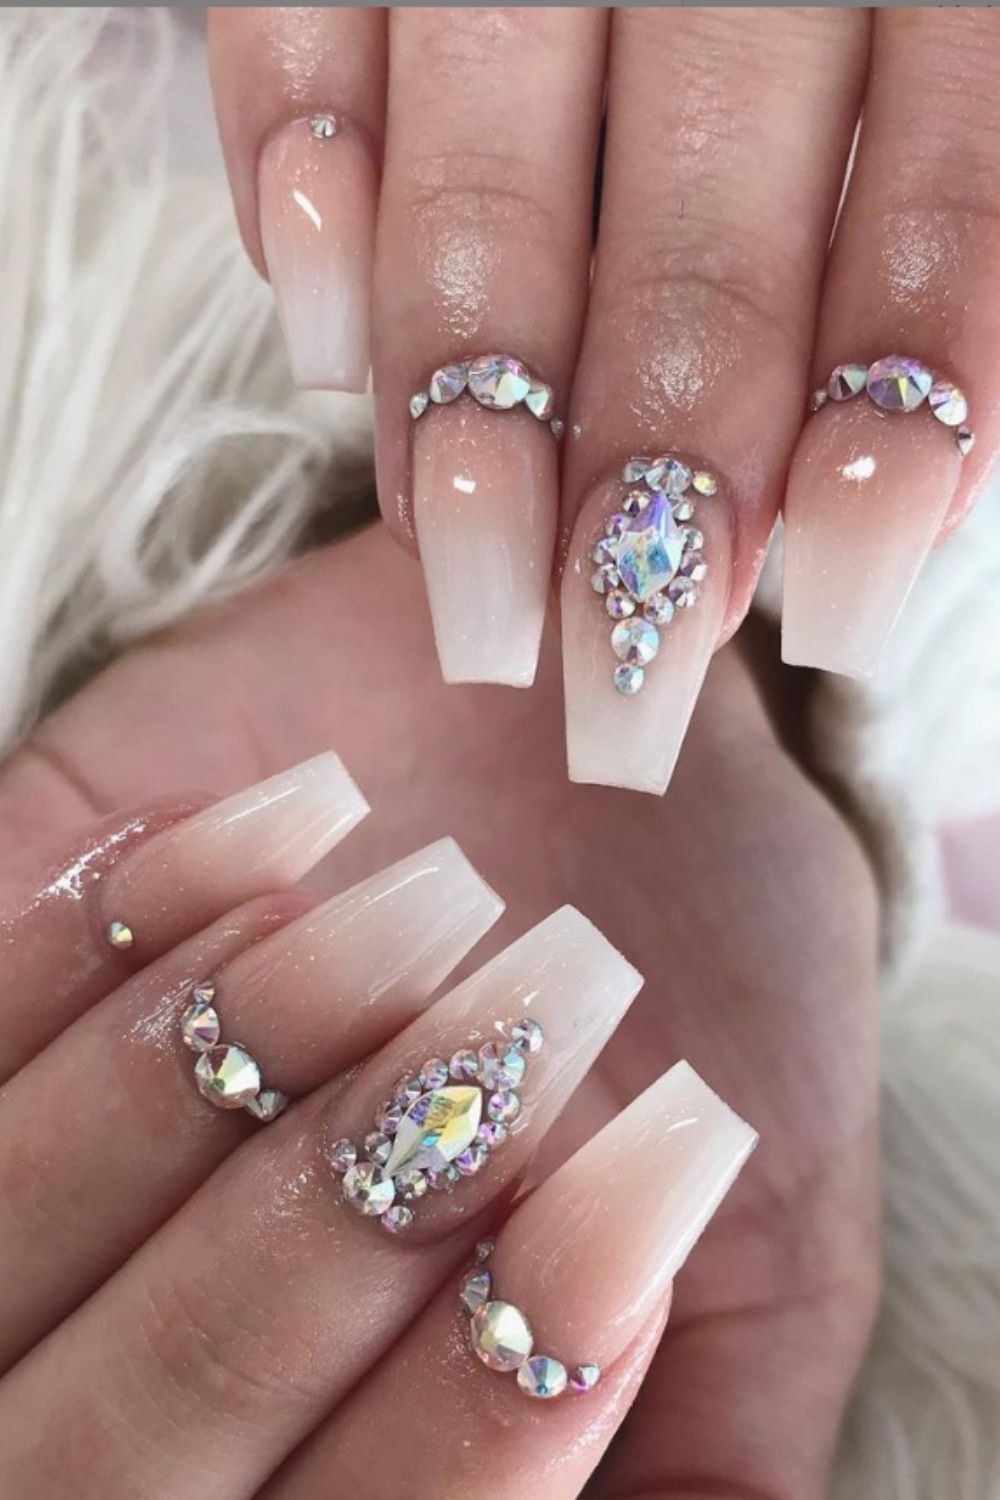
Heading out for a night on the town? Make a statement with your nails by adding some sparkle. For a bold and eye-catching look, try painting your nails with a dark base color and adding a layer of holographic glitter polish on top. This will create a mesmerizing effect that will definitely turn heads. You can also try creating a sparkly nail art design using different shades of glitter polish. Start with a base color, then add different colors and textures of glitter to create a unique and eye-catching design. And don't be afraid to mix and match different sparkly nail art accessories like rhinestones, sequins, and beads to make your nails truly stand out. With these 10 easy and sparkly nail art ideas, you can take your nails from ordinary to extraordinary in no time. Remember to have fun and experiment with different colors, textures, and techniques to find the perfect sparkly nail art design for you. And don't forget to seal your nail art masterpieces with a top coat for a long-lasting and dazzling finish.10. Sparkly Nail Art for a Night Out

10. Sparkly Nail Art for a Night Out
How to Create Easy Sparkly Nail Art for a Glamorous Look

Get Creative with Your Nail Designs
 When it comes to nail art, there are endless possibilities to explore and create.
Sparkly nail art
is one of the most popular and versatile styles that can add a touch of glamour to any outfit. Whether you have a special occasion coming up or just want to add some sparkle to your everyday look,
sparkly nail art
is the way to go. With a few simple tricks and techniques, you can achieve a dazzling and eye-catching manicure.
When it comes to nail art, there are endless possibilities to explore and create.
Sparkly nail art
is one of the most popular and versatile styles that can add a touch of glamour to any outfit. Whether you have a special occasion coming up or just want to add some sparkle to your everyday look,
sparkly nail art
is the way to go. With a few simple tricks and techniques, you can achieve a dazzling and eye-catching manicure.
Choose the Right Tools and Materials
 Before diving into the world of
sparkly nail art
, it's important to have the right tools and materials on hand. You will need a base coat, top coat, your chosen nail polish colors, and of course, some glitter. You can use loose glitter or opt for a glitter nail polish for a more subtle look. You will also need a small brush for precision and a dotting tool for creating different designs.
Before diving into the world of
sparkly nail art
, it's important to have the right tools and materials on hand. You will need a base coat, top coat, your chosen nail polish colors, and of course, some glitter. You can use loose glitter or opt for a glitter nail polish for a more subtle look. You will also need a small brush for precision and a dotting tool for creating different designs.
Prep and Prime Your Nails
 To ensure the longevity of your
sparkly nail art
, it's essential to prep your nails properly. Start by removing any old nail polish and shaping your nails to your desired length and shape. Then, gently push back your cuticles and remove any excess skin. Next, apply a base coat to protect your nails from staining and help the polish adhere better.
To ensure the longevity of your
sparkly nail art
, it's essential to prep your nails properly. Start by removing any old nail polish and shaping your nails to your desired length and shape. Then, gently push back your cuticles and remove any excess skin. Next, apply a base coat to protect your nails from staining and help the polish adhere better.
Get Creative with Your Designs
 Now comes the fun part, creating your
sparkly nail art
designs. You can go for a simple and elegant look by applying a glitter top coat over a base color, or get more intricate and creative with your designs. You can use the dotting tool to create polka dots with glitter, or use the small brush to create lines and shapes. You can also mix and match different glitter colors for a unique and personalized look.
Now comes the fun part, creating your
sparkly nail art
designs. You can go for a simple and elegant look by applying a glitter top coat over a base color, or get more intricate and creative with your designs. You can use the dotting tool to create polka dots with glitter, or use the small brush to create lines and shapes. You can also mix and match different glitter colors for a unique and personalized look.
Seal the Sparkle with a Top Coat
 Once you're happy with your design, it's time to seal the sparkle with a top coat. This will not only give your nails a smooth and glossy finish but also help the glitter stay in place and prevent chipping. Be sure to apply the top coat in thin, even layers to avoid smudging or smearing your design.
Final Touches and Removal
 To add some extra bling to your
sparkly nail art
, you can also use rhinestones or other embellishments. Simply apply a small amount of clear nail polish to the area you want to add the embellishment and gently press it on. When it's time to remove your
sparkly nail art
, soak a cotton pad in nail polish remover and hold it on your nail for a few seconds before wiping it off.
To add some extra bling to your
sparkly nail art
, you can also use rhinestones or other embellishments. Simply apply a small amount of clear nail polish to the area you want to add the embellishment and gently press it on. When it's time to remove your
sparkly nail art
, soak a cotton pad in nail polish remover and hold it on your nail for a few seconds before wiping it off.
In Conclusion
 With these easy steps, you can create
sparkly nail art
that will make your nails stand out and add a touch of glamour to any look. Don't be afraid to experiment and get creative with your designs. With the right tools and techniques, you can achieve a professional-looking manicure that will have everyone asking for your secret. So go ahead and add some sparkle to your life with
sparkly nail art
.
With these easy steps, you can create
sparkly nail art
that will make your nails stand out and add a touch of glamour to any look. Don't be afraid to experiment and get creative with your designs. With the right tools and techniques, you can achieve a professional-looking manicure that will have everyone asking for your secret. So go ahead and add some sparkle to your life with
sparkly nail art
.


