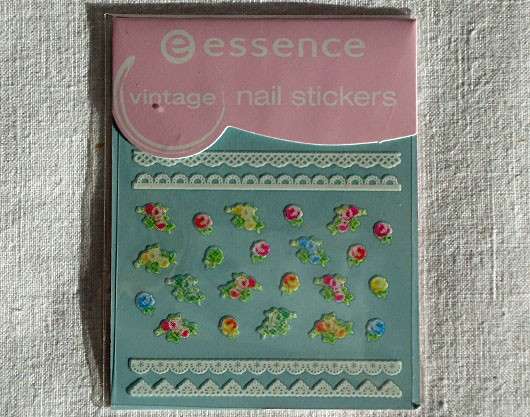
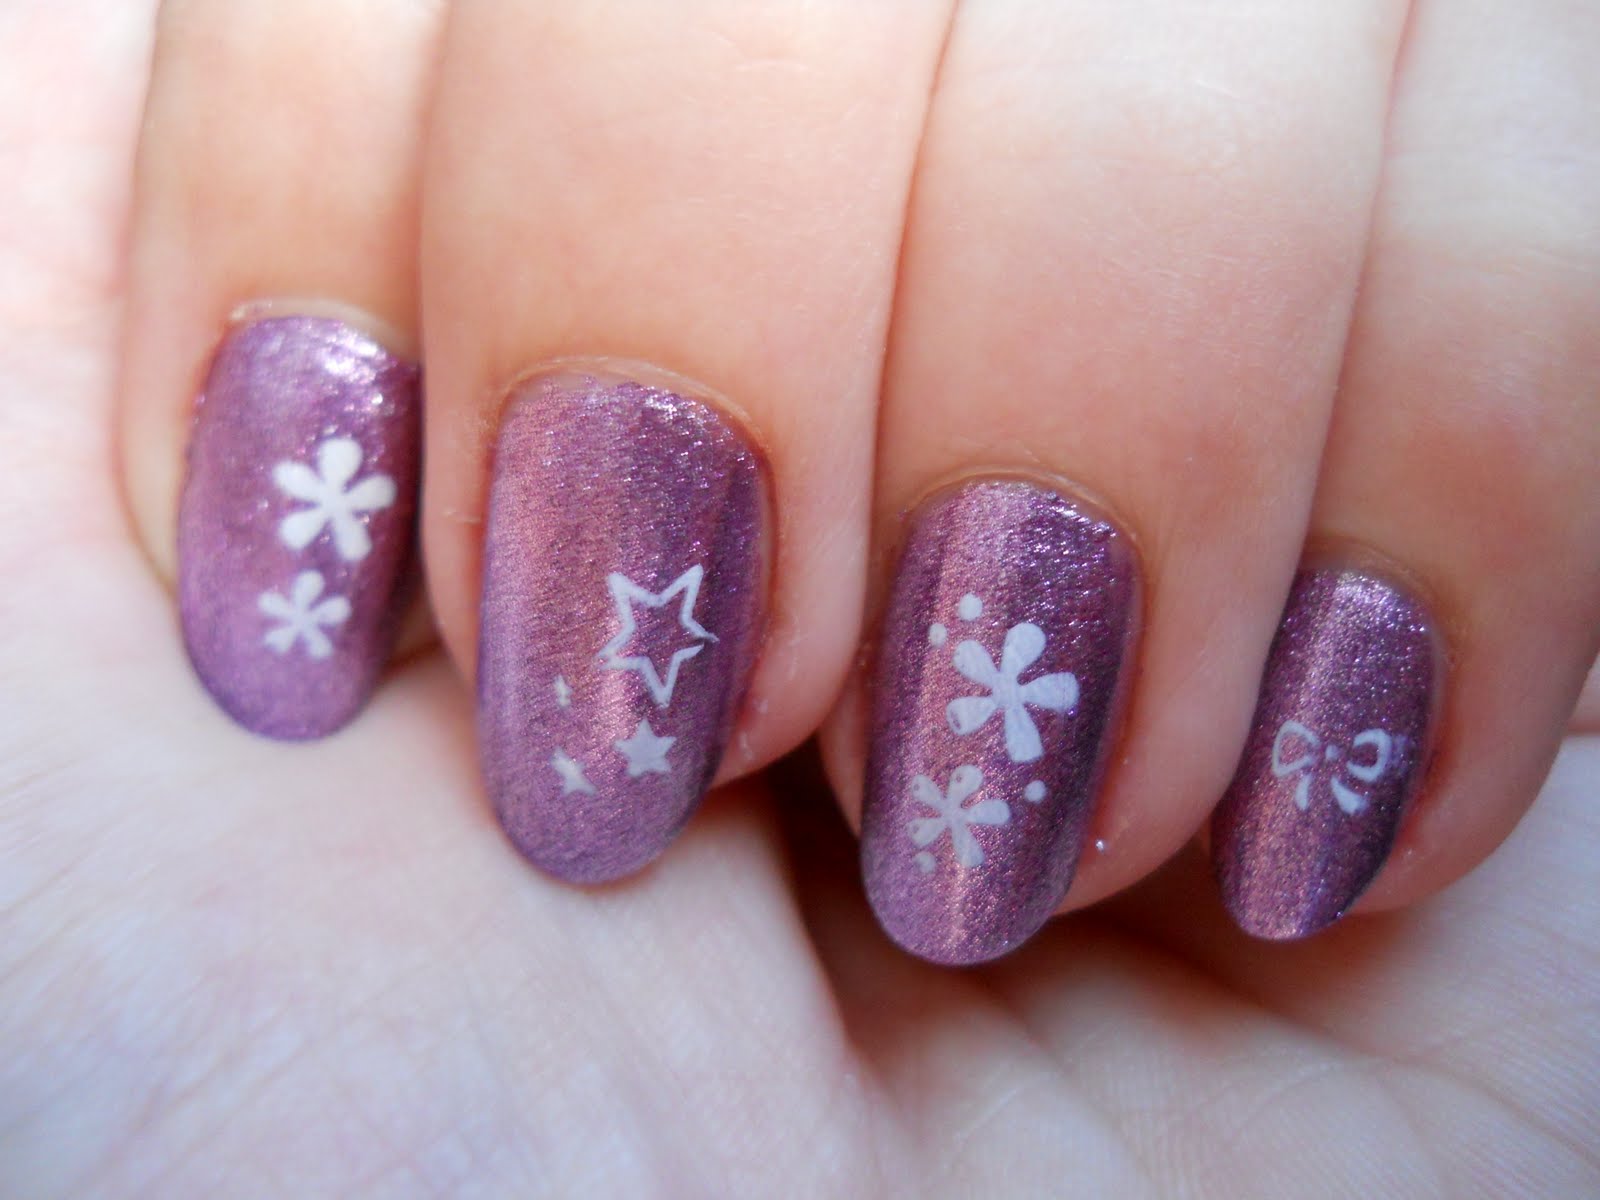
Keywords: Essence Nail Art, Floral Design If you're looking for a fun and easy way to spice up your nails, then look no further than this essence nail art tutorial featuring a beautiful floral design. With just a few simple steps, you can achieve a stunning and colorful look that is perfect for any occasion. To get started, you'll need a few essential nail art tools such as a dotting tool, a thin brush, and your favorite essence nail polish shades. Once you have everything you need, follow these simple steps to recreate this gorgeous floral design. Step 1: Prep and Prime Before you begin painting your nails, make sure you properly clean and prep them. This will ensure that your nail polish goes on smoothly and lasts longer. Start by removing any old nail polish and filing your nails into your desired shape. Next, apply a base coat to protect your nails and help your nail polish adhere better. You can also use a white polish as your base to make the colors of your floral design pop. Step 2: Create the Flowers Using your dotting tool, create small dots in various colors on your nails. These will serve as the centers of your flowers. Then, using a thin brush, carefully create petals around each dot to form a flower shape. You can use different colors and sizes to create a more natural and fun look. Step 3: Add Leaves Once your flowers are complete, use the thin brush and a green polish to add leaves around the flowers. You can create different sizes and shapes of leaves to add more dimension to your design. Step 4: Finishing Touches Lastly, add any additional details you'd like to your design, such as small dots or lines to add more texture. Once you're satisfied with your design, seal it in with a top coat to ensure it lasts longer and adds a nice shine. And there you have it, a beautiful floral nail art design using essence nail polish. Get creative and try different color combinations and designs to make it your own.Essence Nail Art Tutorial: Easy Floral Design


Essence Nail Art Tutorial: Easy Floral Design


Keywords: Essence Nail Art, Gradient Nails Looking for a unique and eye-catching nail art design? Give this essence nail art tutorial featuring gradient nails a try. This design is perfect for those who love a pop of color and want to step up their nail game. Step 1: Prep and Prime Before starting, make sure your nails are clean and prepped. Remove any old nail polish and shape your nails as desired. Apply a base coat to protect your nails and create a smooth canvas for your design. Step 2: Choose Your Colors For this design, you'll need two to three different shades of essence nail polish in the same color family. Choose shades that will blend well together to create a gradient effect. You can also use a white polish as your base to make the colors stand out more. Step 3: Create the Gradient Begin by painting your nails with your lightest shade of polish. Once dry, take a makeup sponge and paint your desired colors onto the sponge in horizontal lines. Then, gently press the sponge onto your nail, moving it up and down slightly to create a gradient effect. Repeat this step with each color, making sure to blend the colors together nicely. Step 4: Add Finishing Touches Once your gradient is complete, you can add some extra details to your design, such as glitter or small dots. You can also use a top coat to seal in your design and add shine. Experiment with different color combinations and have fun with this unique and colorful gradient nail art design.Essence Nail Art Tutorial: Gradient Nails


Essence Nail Art Tutorial: Gradient Nails

Keywords: Essence Nail Art, Geometric Designs If you're a fan of clean and modern nail art, then this essence nail art tutorial featuring geometric designs is perfect for you. With sharp lines and bold colors, this design is sure to make a statement. Step 1: Prep and Prime As always, start by prepping your nails. Clean them and shape them as desired. Apply a base coat to protect your nails and create a smooth base for your design. Step 2: Choose Your Colors For this design, you'll need at least two different shades of essence nail polish. You can choose contrasting colors for a bold look or stick to shades in the same color family for a more subtle design. Step 3: Create the Geometric Shapes Using a thin brush, carefully create different geometric shapes on your nails. You can go for simple shapes like triangles and rectangles or get more creative with your designs. Make sure to let each shape dry completely before moving on to the next one. Step 4: Add Finishing Touches To add some extra flair to your design, you can add small dots or lines to your geometric shapes. You can also use a top coat to seal in your design and add shine. Get creative and have fun with different shapes and color combinations to create your own unique geometric nail art design.Essence Nail Art Tutorial: Geometric Designs

Essence Nail Art Tutorial: Geometric Designs
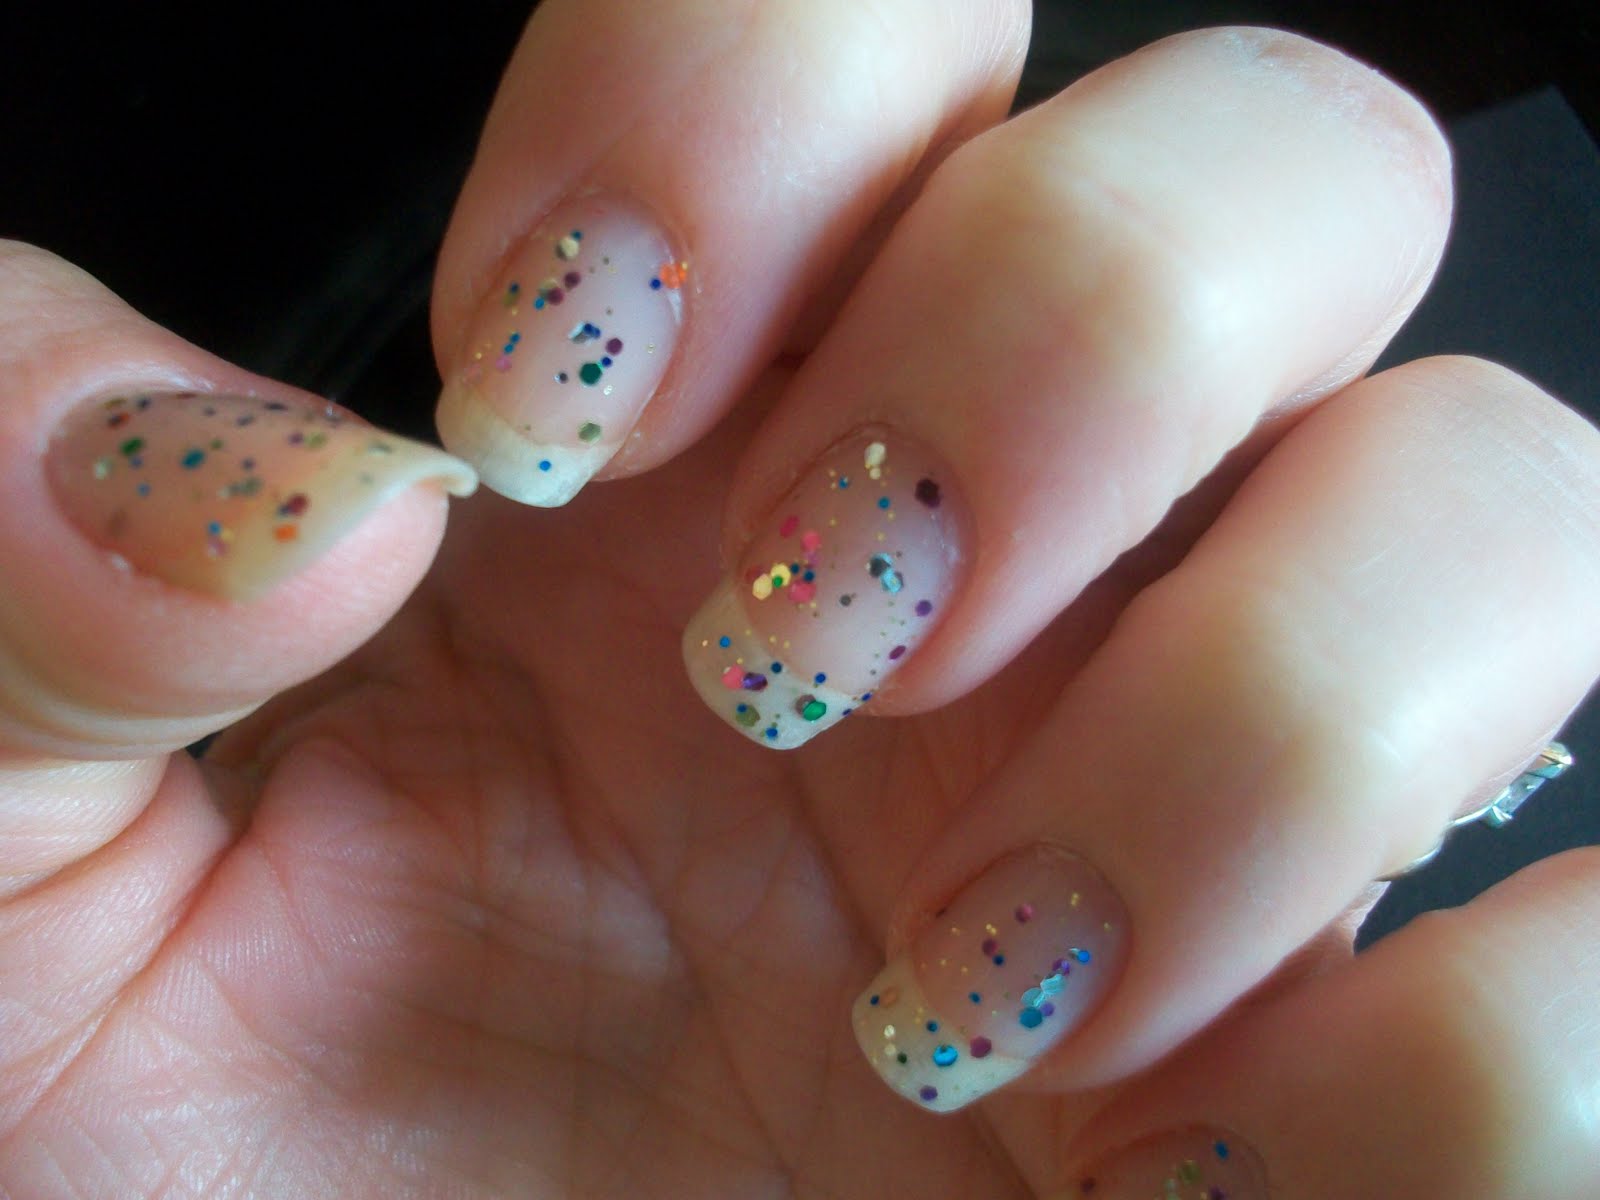
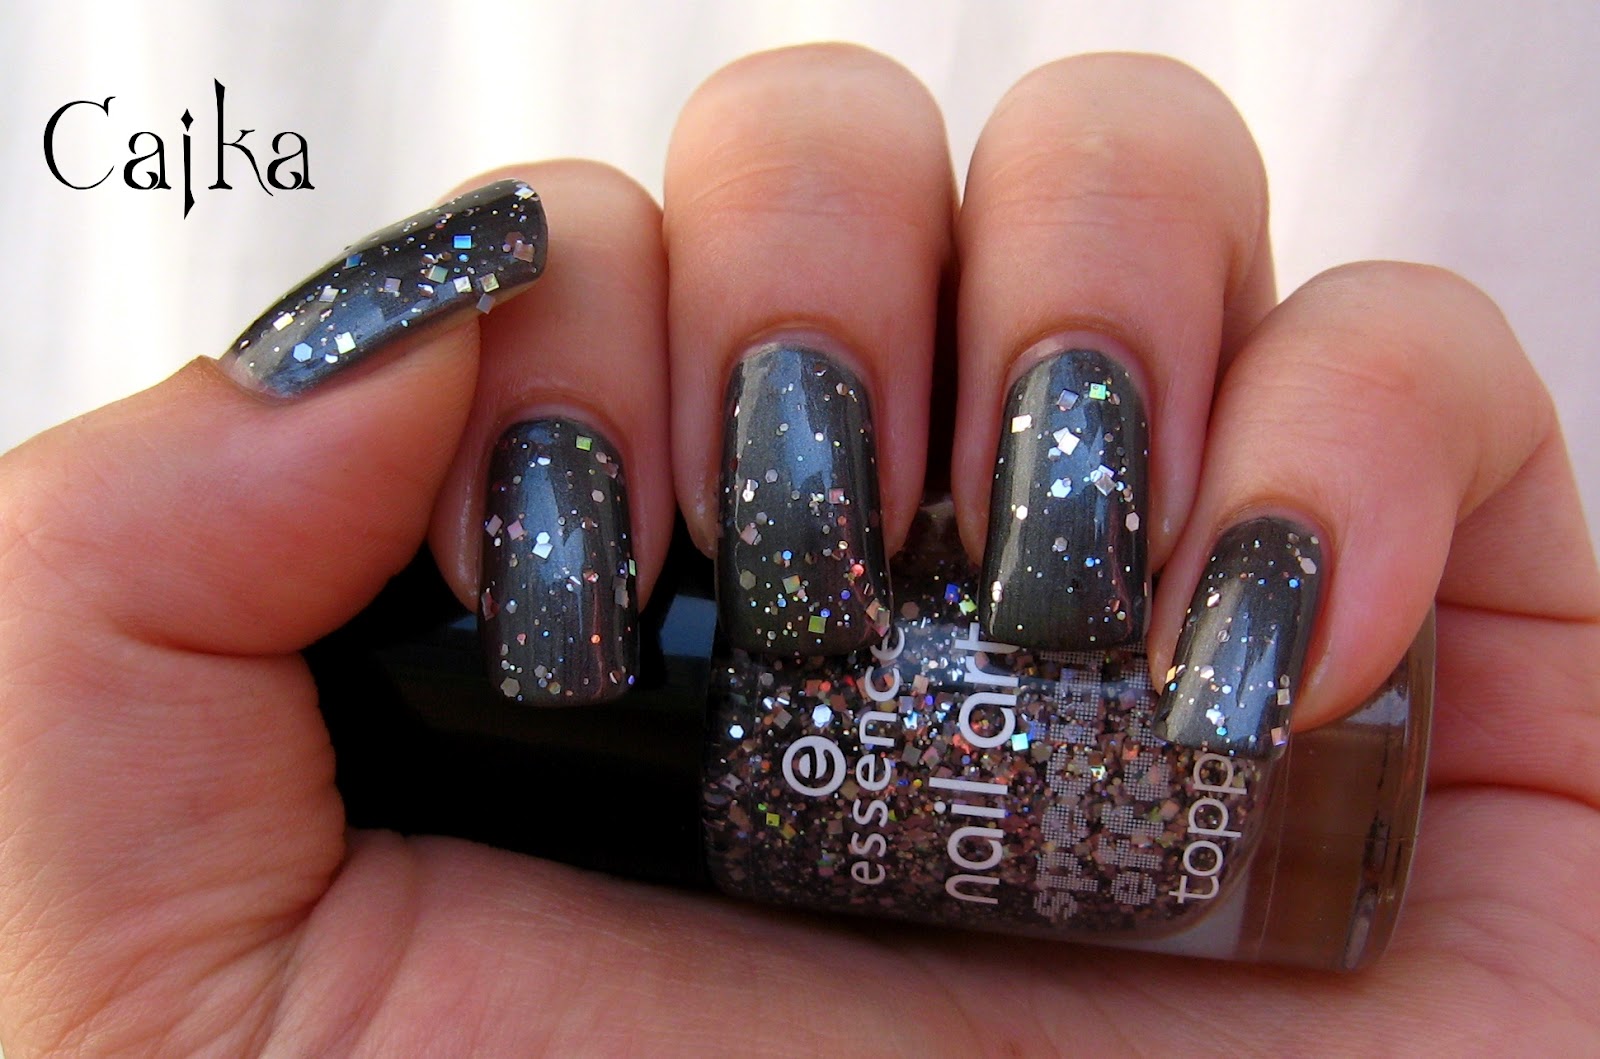
Keywords: Essence Nail Art, Glitter Accent Nails Add some sparkle and shine to your nails with this essence nail art tutorial featuring glitter accent nails. This design is perfect for those who love a little extra bling in their nail art. Step 1: Prep and Prime Start by prepping your nails, removing any old polish and shaping them as desired. Apply a base coat to protect your nails and create a smooth base for your design. Step 2: Choose Your Colors For this design, you'll need at least two different shades of essence nail polish. You can choose a glitter polish as your accent or opt for a solid color to complement your glitter. Step 3: Paint Your Nails Start by painting your nails with your base color. Once dry, use your glitter polish to create an accent nail on each hand. You can also add glitter to all of your nails if you want a more bold look. Step 4: Add Finishing Touches To make your glitter really stand out, you can add a top coat to seal in your design and add shine. You can also add some small dots or lines using a thin brush to add some extra detail to your nails. Get ready to shine with this fun and glamorous glitter accent nail art design.Essence Nail Art Tutorial: Glitter Accent Nails


Essence Nail Art Tutorial: Glitter Accent Nails

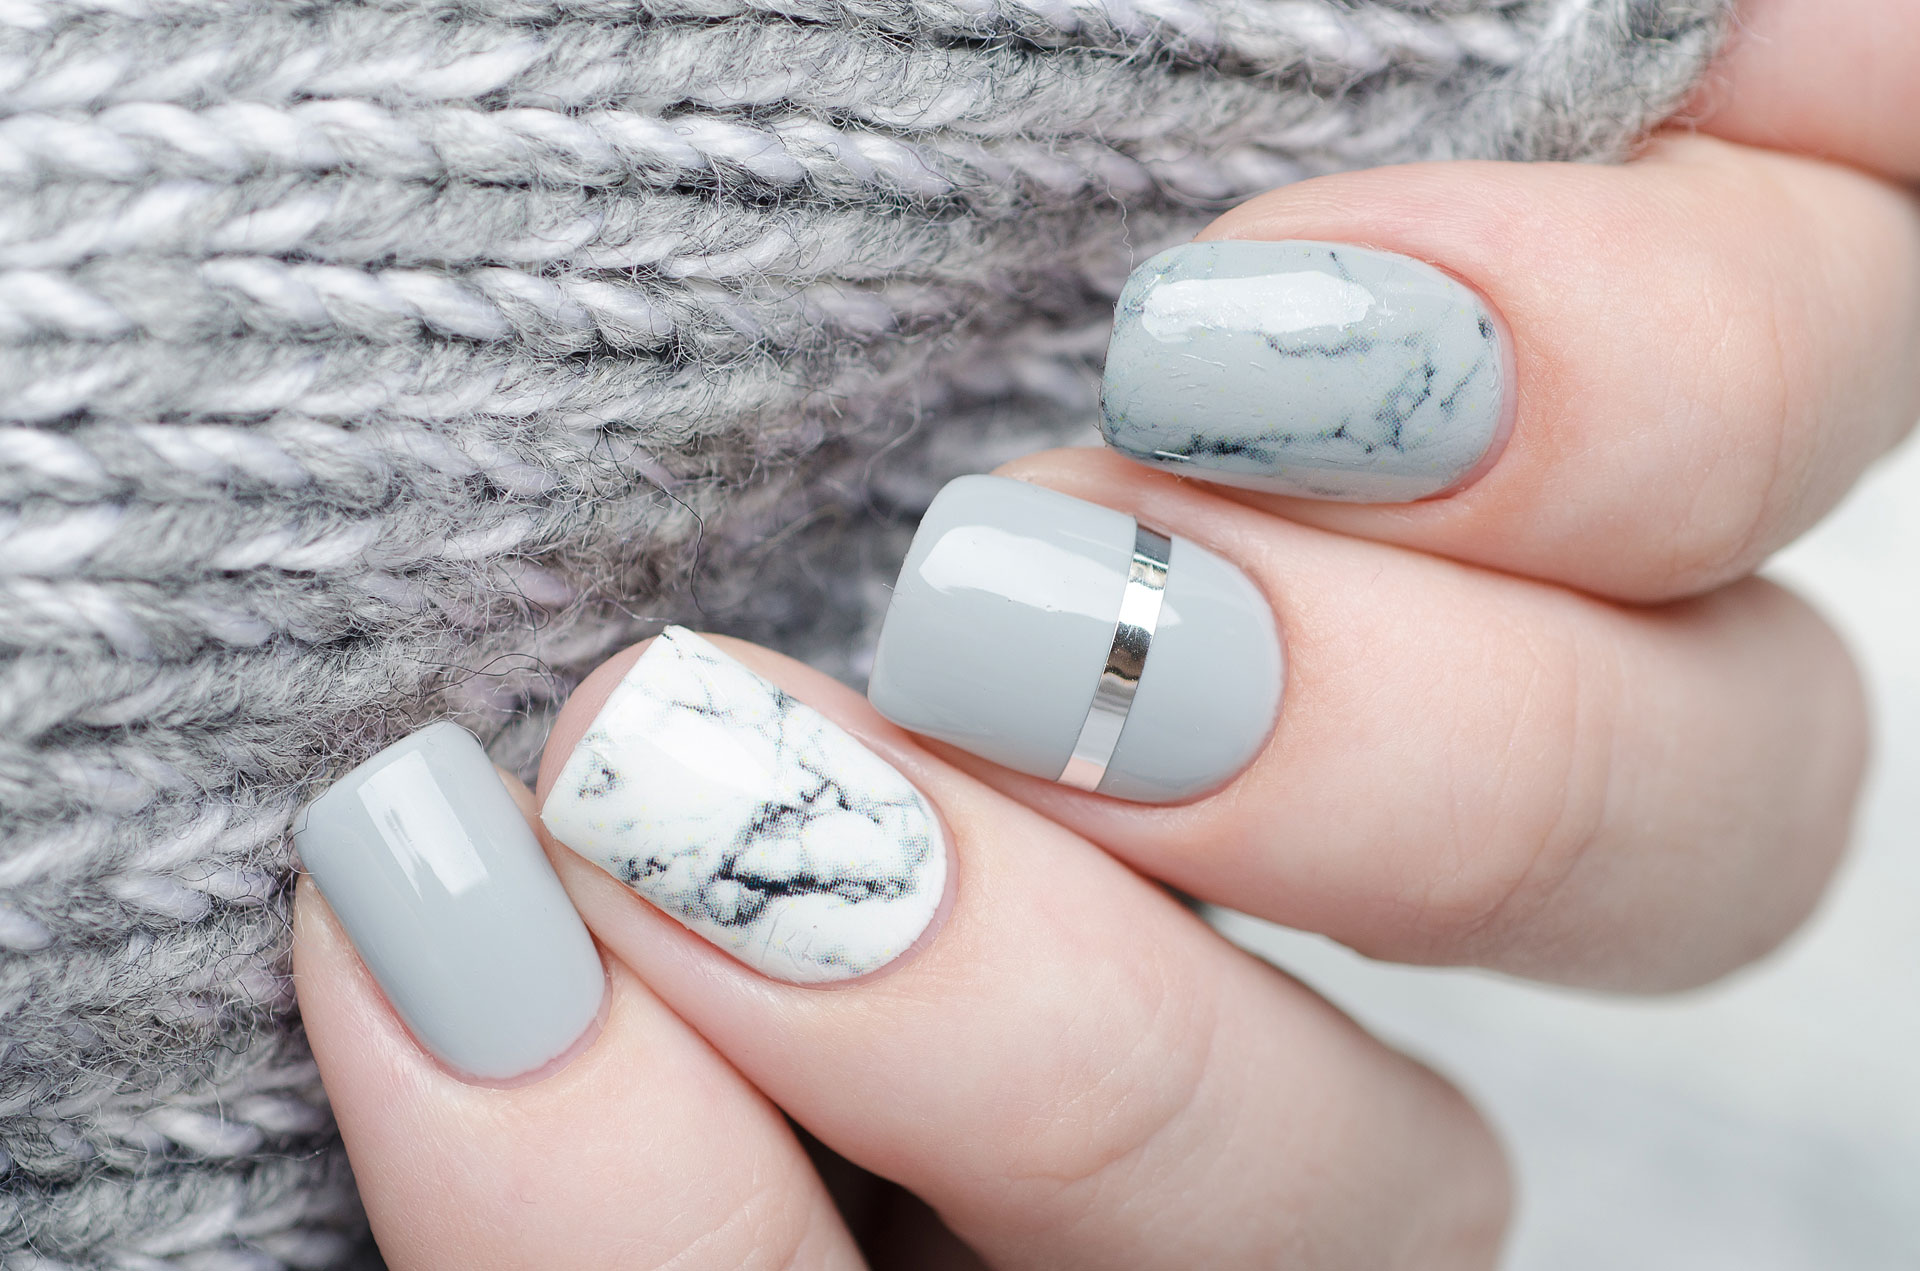
Keywords: Essence Nail Art, Marble Nails Get that trendy marble look on your nails with this essence nail art tutorial featuring marble nails. This design is perfect for those who love a unique and chic nail art look. Step 1: Prep and Prime As always, start by prepping your nails. Clean them and shape them as desired. Apply a base coat to protect your nails and create a smooth base for your design. Step 2: Choose Your Colors For this design, you'll need at least two different shades of essence nail polish. Choose colors that will blend well together to create a marble effect. You can also use a white polish as your base to make the colors stand out more. Step 3: Create the Marble Effect Start by painting your nails with your base color. Once dry, take a plastic sandwich bag and paint your desired colors onto the bag in random splotches. Then, press the bag onto your nail, gently moving it around to create a marble effect. Repeat this step with each nail, making sure to let each one dry completely before moving on to the next. Step 4: Add Finishing Touches Once your marble design is complete, you can add some extra details, such as small dots or lines, using a thin brush. Seal in your design with a top coat to add shine and make it last longer. Get ready to rock this trendy and chic marble nail art design.Essence Nail Art Tutorial: Marble Nails

Essence Nail Art Tutorial: Marble Nails

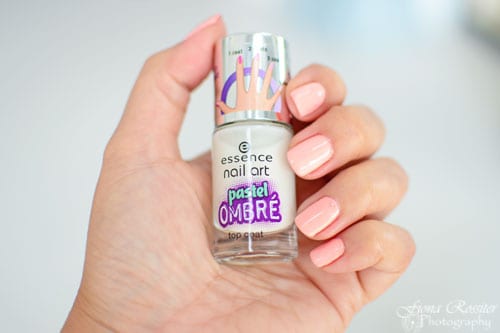
Keywords: Essence Nail Art, Ombre Nails Achieve a stunning gradient effect on your nails with this essence nail art tutorial featuring ombre nails. This design is perfect for those who love a soft and subtle look. Step 1: Prep and Prime Before starting, make sure your nails are clean and prepped. Remove any old nail polish and shape your nails as desired. Apply a base coat to protect your nails and create a smooth base for your design. Step 2: Choose Your Colors For this design, you'll need at least two different shades of essence nail polish in the same color family. Choose shades that will blend well together to create a seamless ombre effect. Step 3: Create the Ombre Start by painting your nails with your lightest shade of polish. Once dry, take a makeup sponge and paint your desired colors onto the sponge in horizontal lines. Then, gently press the sponge onto your nail, moving it up and down slightly to create an ombre effect. Repeat this step with each color, making sure to blend the colors together nicely. Step 4: Add Finishing Touches To add some extra flair to your design, you can add small dots or lines to your ombre nails. You can also use a top coat to seal in your design and add shine. Get ready to rock this soft and subtle ombre nail art design.Essence Nail Art Tutorial: Ombre Nails

Essence Nail Art Tutorial: Ombre Nails
Keywords: Essence Nail Art, Negative Space Nails Take your nail art to the next level with this essence nail art tutorial featuring negative space nails. This design is perfect for those who love a minimalist and modern look. Step 1: Prep and Prime Start by prepping your nails, removing any old polish and shaping them as desired. Apply a base coat to protect your nails and create a smooth base for your design. Step 2: Choose Your Colors For this design, you'll need at least two different shades of essence nail polish. Choose colors that will contrast well together to create a bold look. Step 3: Create the Negative Space Using a thin brush, carefully create negative space on your nails by painting around the edges or in the middle of your nail. This will create a cut-out effect, showing your natural nail peeking through. You can also use tape or stickers to help create clean lines. Step 4: Add Finishing Touches Once your negative space is complete, you can add some extra details, such as small dots or lines, using a thin brush. Seal in your design with a top coat to add shine and make it last longer. Get ready to rock this edgy and modern negative space nail art design.Essence Nail Art Tutorial: Negative Space Nails
Essence Nail Art Tutorial: Negative Space Nails


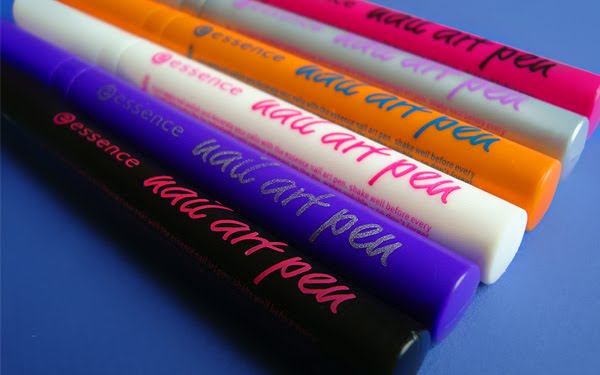
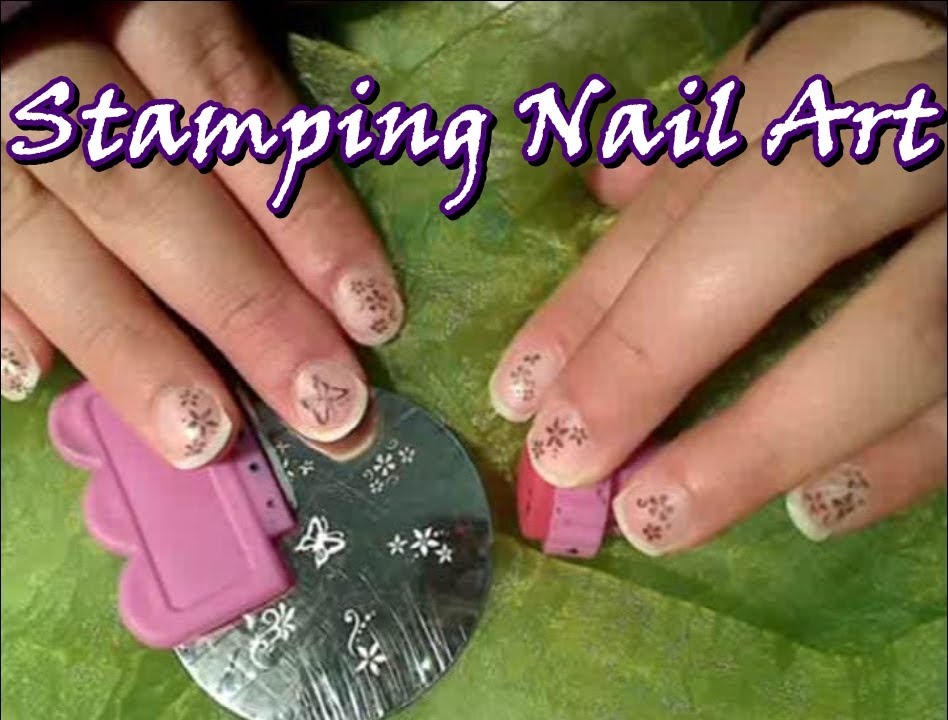
Keywords: Essence Nail Art, Stamping Designs Elevate your nail art game with this essence nail art tutorial featuring stamping designs. This technique allows you to create intricate and detailed designs on your nails with ease. Step 1: Prep and Prime Before starting, make sure your nails are clean and prepped. Remove any old nail polish and shape your nails as desired. Apply a base coat to protect your nails and create a smooth base for your design. Step 2: Choose Your Stamping Kit To create stamping designs, you'll need a stamping kit which includes a stamping plate, a scraper, and a stamper. You can find these at most beauty supply stores or online. Choose a stamping plate with designs that you like. Step 3: Stamp the Design Start by painting your nails with your desired color. Once dry, apply a layer of nail polish onto your chosen design on the stamping plate. Use the scraper to remove any excess polish and then quickly press the stamper onto the plate to pick up the design. Then, press the stamper onto your nail to transfer the design. Repeat this step for each nail. Step 4: Add Finishing Touches After your design is complete, you can add some extra details, such as small dots or lines, using a thin brush. Seal in your design with a top coat to add shine and make it last longer. Get ready to impress with your detailed and beautiful stamping nail art design.Essence Nail Art Tutorial: Stamping Designs

Essence Nail Art Tutorial: Stamping Designs

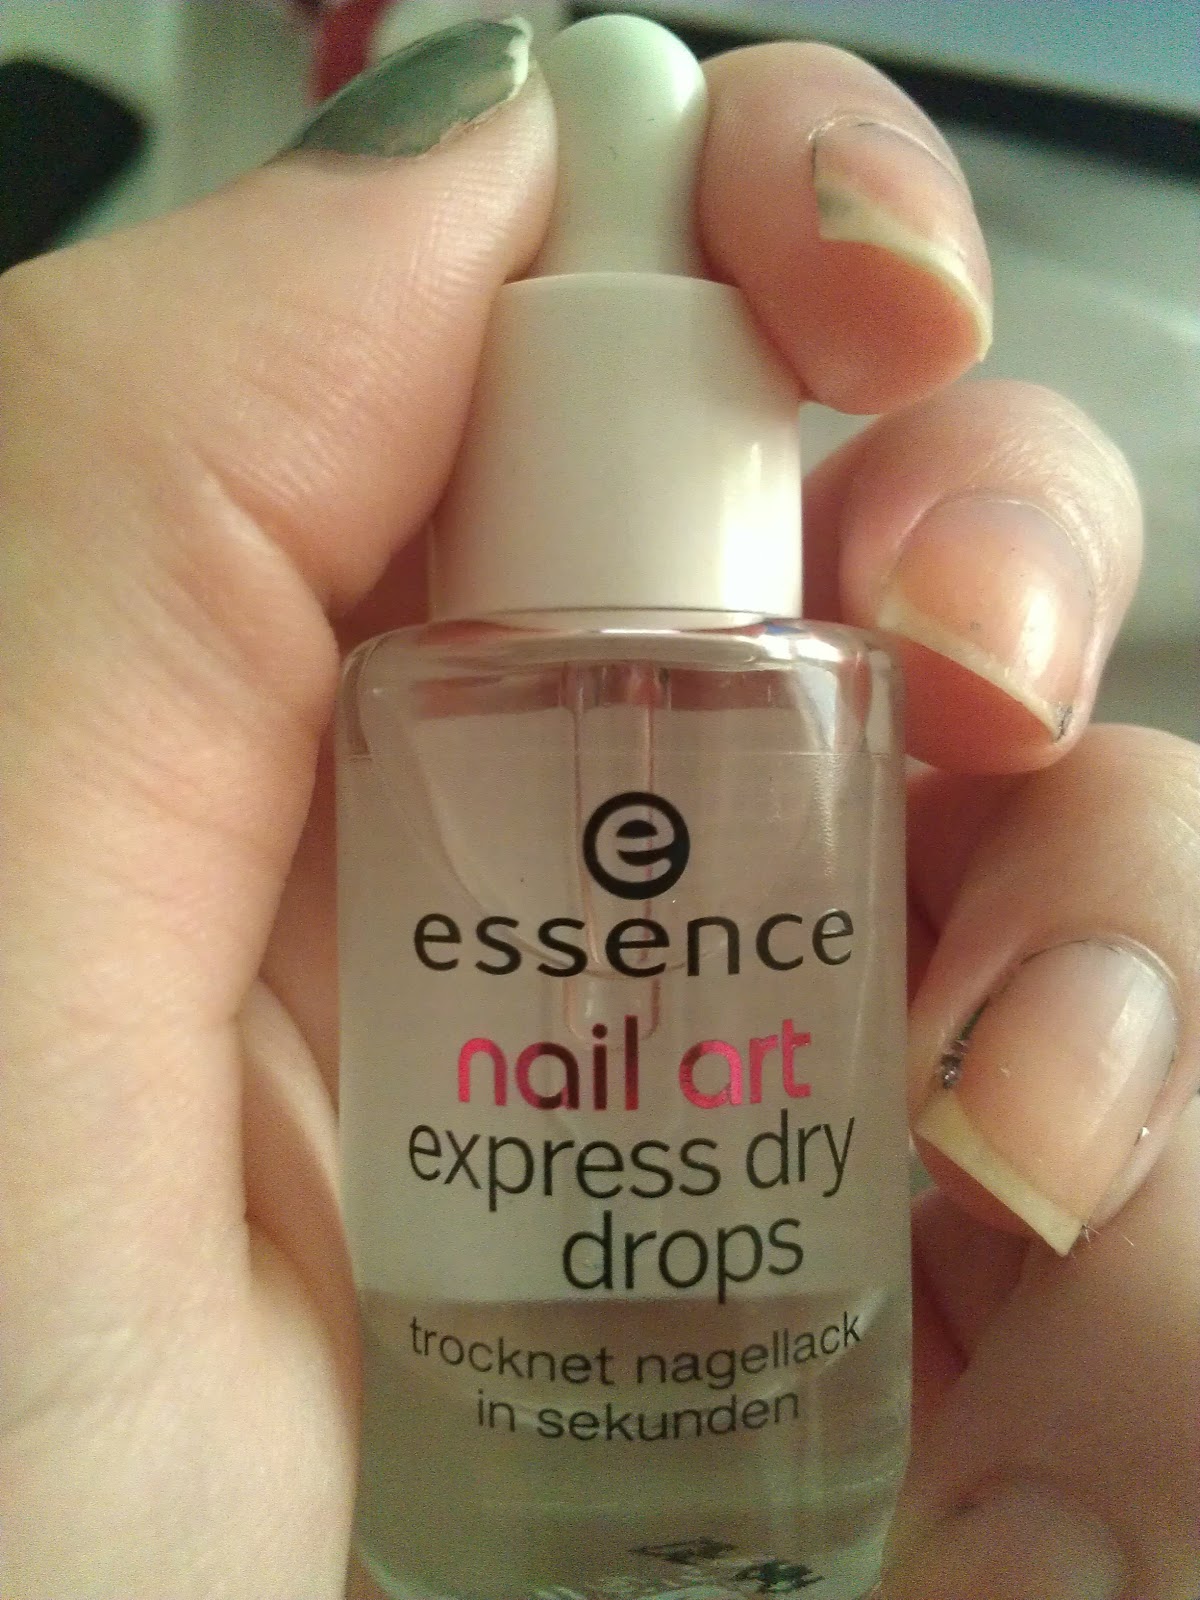
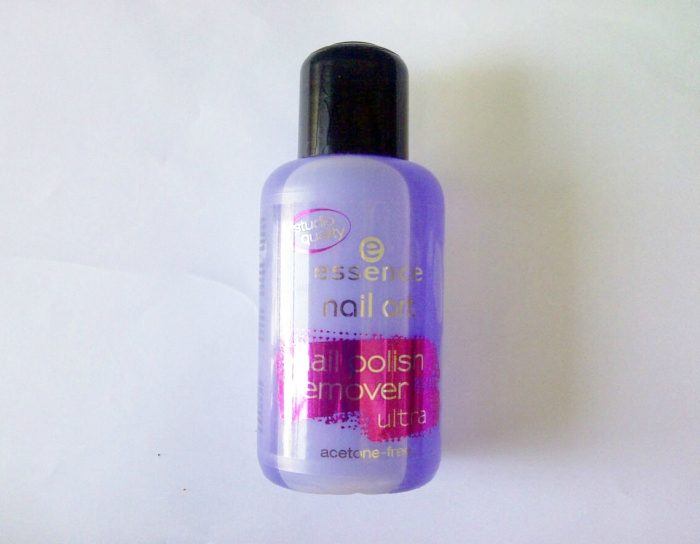
Keywords: Essence Nail Art, Foil Nails Add some metallic shine to your nails with this essence nail art tutorial featuring foil nails. This design is perfect for those who love a bold and glamorous look. Step 1: Prep and Prime Start by prepping your nails, removing any old polish and shaping them as desired. Apply a base coat to protect your nails and create a smooth base for your design. Step 2: Choose Your FoilEssence Nail Art Tutorial: Foil Nails

Essence Nail Art Tutorial: Foil Nails
Unleash Your Creativity with the Essence Nail Art Video
The Power of Nail Art
 Nail art has become a popular form of self-expression, allowing individuals to showcase their creativity and personality through their fingertips. From simple designs to intricate masterpieces, nail art has evolved into an art form that knows no bounds. With the rise of social media and online tutorials, anyone can now learn and create stunning nail art designs right at home. And at the forefront of the nail art world is the Essence Nail Art Video, your go-to source for all things nail art.
The Essence of Essence Nail Art Video
.JPG) Essence is a well-known and trusted brand in the beauty industry, and their nail art video is no exception. This online video series features professional nail artists who share their tips, tricks, and techniques for creating beautiful and unique nail designs. Whether you're a beginner or a seasoned pro, there's something for everyone in the Essence Nail Art Video.
From simple to extravagant, the Essence Nail Art Video covers it all.
You can learn how to create a chic and minimalist look with just a few strokes of polish or take your nail game to the next level with intricate designs that will leave everyone in awe. With step-by-step instructions and detailed demonstrations, the video makes it easy for anyone to achieve salon-worthy nails at home.
Essence is a well-known and trusted brand in the beauty industry, and their nail art video is no exception. This online video series features professional nail artists who share their tips, tricks, and techniques for creating beautiful and unique nail designs. Whether you're a beginner or a seasoned pro, there's something for everyone in the Essence Nail Art Video.
From simple to extravagant, the Essence Nail Art Video covers it all.
You can learn how to create a chic and minimalist look with just a few strokes of polish or take your nail game to the next level with intricate designs that will leave everyone in awe. With step-by-step instructions and detailed demonstrations, the video makes it easy for anyone to achieve salon-worthy nails at home.
Why Choose Essence Nail Art Video?
 Aside from the amazing designs and expert guidance, the Essence Nail Art Video stands out for its accessibility and affordability.
You don't need to be a professional nail artist or have expensive tools to create stunning nail art. The video features designs that can be recreated using basic nail polish and household items, making it accessible for everyone. Plus, with the option to watch the video on any device at any time, you can learn and practice at your own pace.
Aside from the amazing designs and expert guidance, the Essence Nail Art Video stands out for its accessibility and affordability.
You don't need to be a professional nail artist or have expensive tools to create stunning nail art. The video features designs that can be recreated using basic nail polish and household items, making it accessible for everyone. Plus, with the option to watch the video on any device at any time, you can learn and practice at your own pace.
Unleash Your Inner Nail Artist
 Nail art is not just about having pretty nails; it's about expressing yourself and showcasing your unique style. With the Essence Nail Art Video, you have the power to unleash your creativity and take your nail game to new heights. So why settle for plain nails when you can turn them into a work of art?
Get inspired, get creative, and get ready to elevate your nail game with the Essence Nail Art Video.
Nail art is not just about having pretty nails; it's about expressing yourself and showcasing your unique style. With the Essence Nail Art Video, you have the power to unleash your creativity and take your nail game to new heights. So why settle for plain nails when you can turn them into a work of art?
Get inspired, get creative, and get ready to elevate your nail game with the Essence Nail Art Video.


