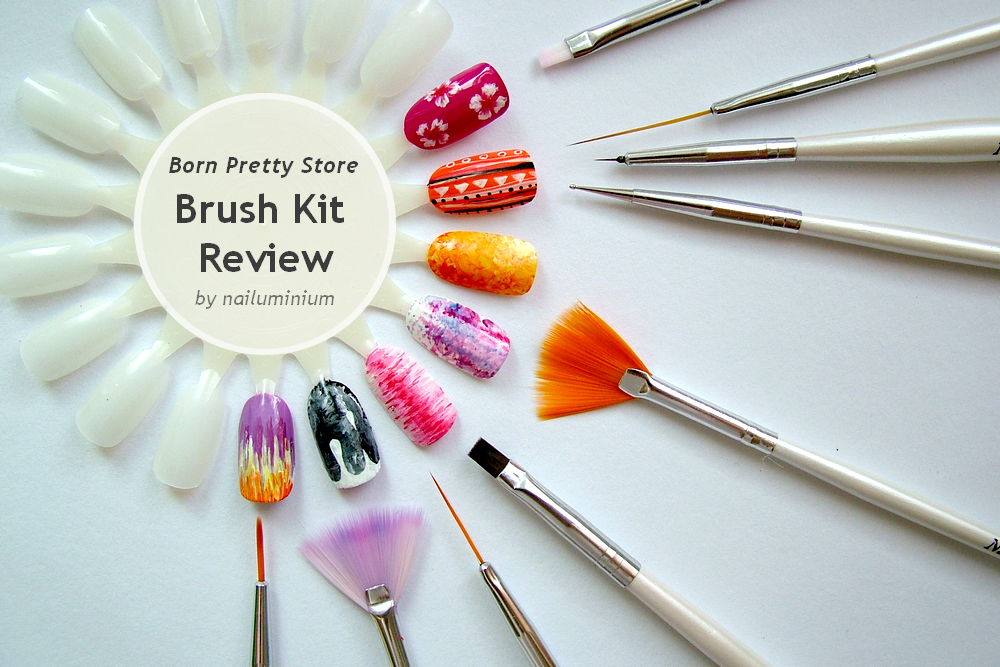
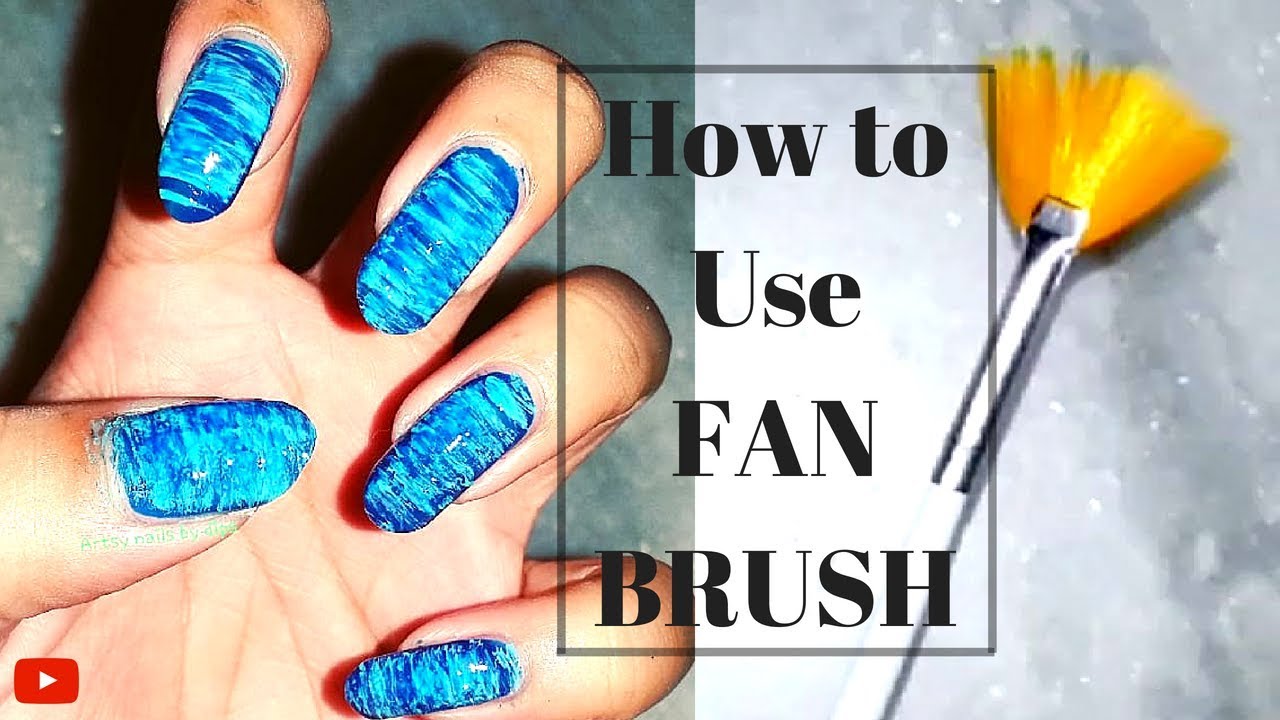
If you're new to the world of nail art, using a fan brush may seem intimidating. But fear not, because creating beautiful designs with this simple tool is easier than you think. With a few easy steps and some practice, you'll be able to achieve stunning nail art looks that will have everyone asking how you did it. So grab your fan brush and let's get started! To start, you'll need a few basic supplies. Of course, your fan brush is the most important tool, but you'll also need nail polish in your desired colors, a top coat, and a small dish of water. It's also helpful to have a clean-up brush or cotton swabs for any mistakes. First, choose your base color and apply it to your nails. Let it dry completely before moving on to the next step. Next, dip your fan brush in water and then lightly tap it on a paper towel to remove any excess. This step is important because it helps to thin out the nail polish and create a watercolor effect. Now, take your desired color and lightly swipe the fan brush across your nail. You can do this in a horizontal, vertical, or diagonal motion, depending on the look you're going for. The key is to keep the strokes light and gentle, as the fan brush will disperse the color in a unique pattern. Continue adding colors and layering them until you achieve the desired look. You can also use multiple fan brushes at once to create a more complex design. Once you're happy with the design, let it dry completely before applying a top coat to seal in the colors and add shine. And voila, you have a gorgeous fan brush nail art look that's perfect for beginners!1. Easy Fan Brush Nail Art Tutorial for Beginners


1. Easy Fan Brush Nail Art Tutorial for Beginners


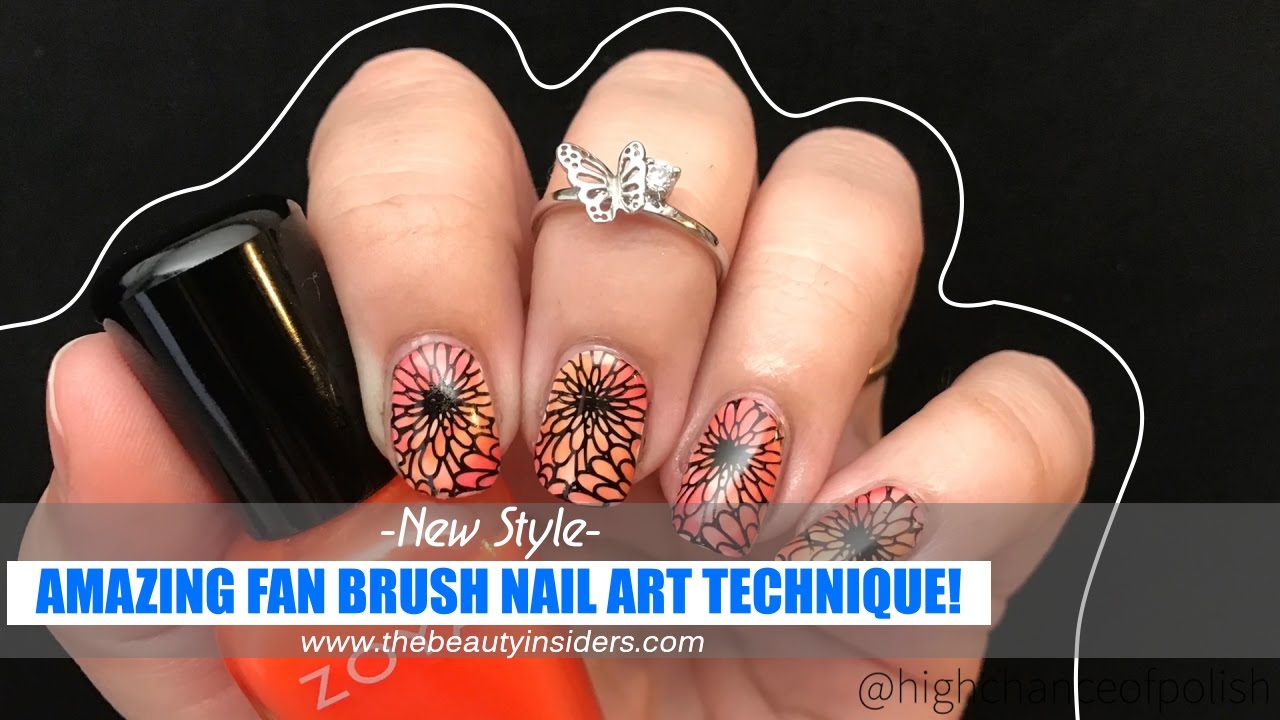
If you're looking to take your nail art game to the next level, using a fan brush is a must-try technique. With this simple tool, you can create beautiful and intricate designs that will make your nails stand out from the crowd. The first step is to gather your supplies. Along with your fan brush, you'll need a variety of nail polish colors, a top coat, and a small dish of water. It's also helpful to have a clean-up brush or cotton swabs on hand for any mistakes. To create a stunning fan brush nail art look, it's important to choose complementary colors that will blend well together. You can also play with different shades of the same color for a more monochromatic look. Start by applying a base color and letting it dry completely. Then, dip your fan brush in water and lightly tap it on a paper towel to remove any excess. Take one of your chosen colors and swipe the fan brush across your nail, using a light and gentle motion. Next, take a second color and layer it on top of the first, using the same technique. You can continue adding more colors and experimenting with different strokes to create a unique and eye-catching design. Once you're happy with the look, let it dry completely before applying a top coat to seal in the colors and add shine. With a little practice and some creativity, you'll be able to create stunning nail art looks with your fan brush.2. How to Create Stunning Nail Art with a Fan Brush


2. How to Create Stunning Nail Art with a Fan Brush

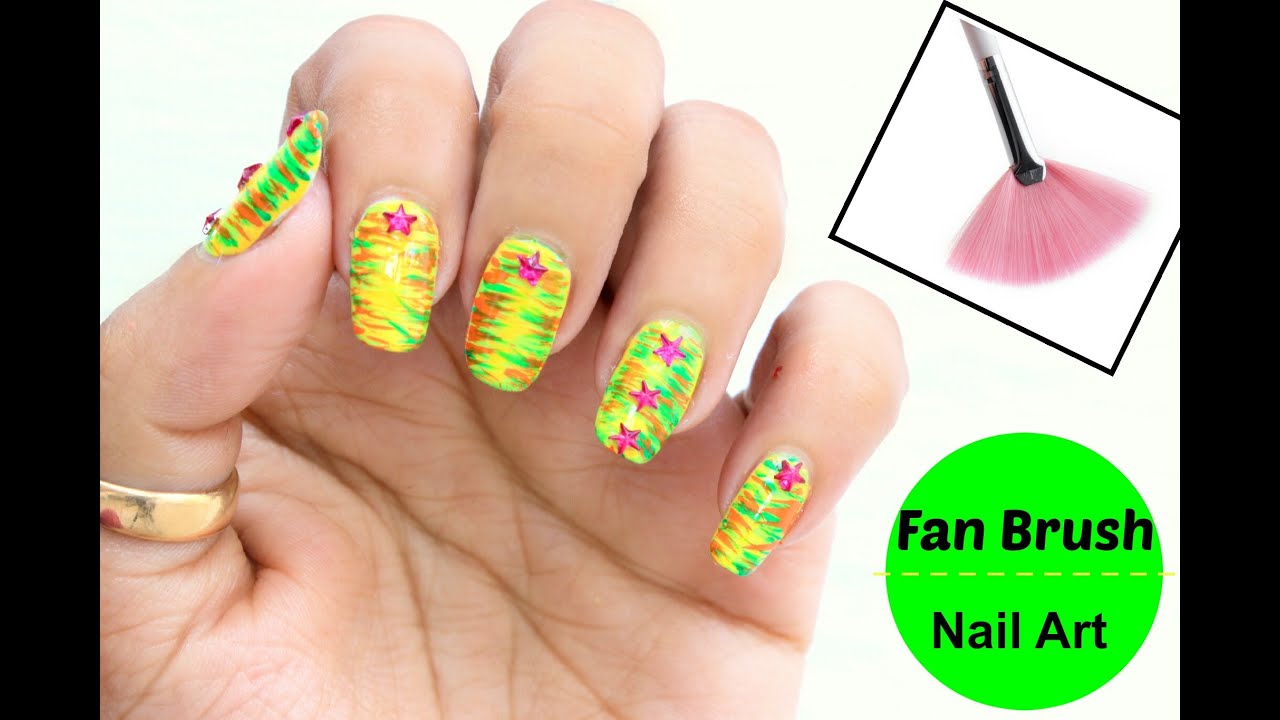
If you're a visual learner, a step-by-step tutorial is the perfect way to learn how to create fan brush nail art. Follow these simple steps to achieve a beautiful and unique design on your nails. Step 1: Gather your supplies, including a fan brush, a variety of nail polish colors, a top coat, and a small dish of water. Step 2: Apply a base color and let it dry completely. Step 3: Dip your fan brush in water and lightly tap off any excess. Step 4: Take your chosen color and lightly swipe the fan brush across your nail. Step 5: Continue adding colors and layering them, using different strokes and techniques to create a unique design. Step 6: Let the design dry completely before applying a top coat to seal in the colors and add shine. With these simple steps, you'll be able to create stunning fan brush nail art looks in no time!3. Step-by-Step Fan Brush Nail Art Tutorial


3. Step-by-Step Fan Brush Nail Art Tutorial


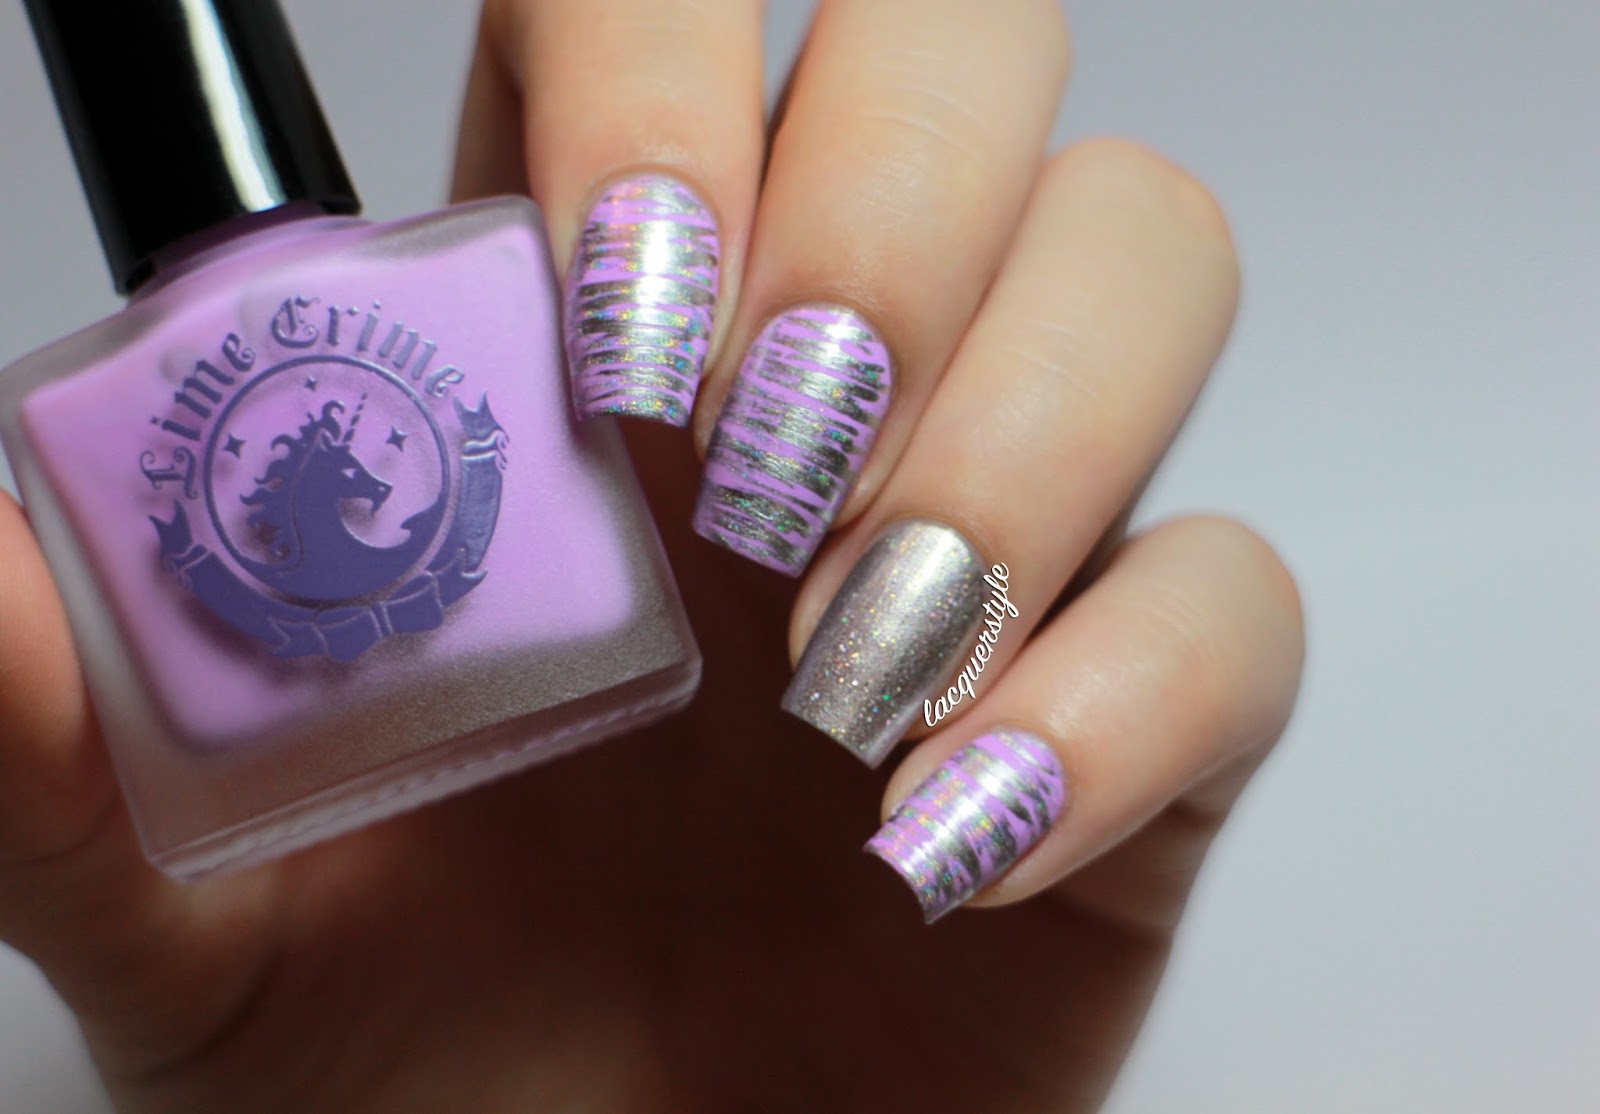
One of the best things about fan brush nail art is its versatility. Whether you're dressing up for a special occasion or just want to add some flair to your everyday look, there's a fan brush design for every occasion. For a glamorous evening look, try a metallic fan brush design with shades of gold, silver, and bronze. You can also add some rhinestones or glitter for an extra touch of sparkle. For a more subtle and sophisticated look, opt for a monochromatic fan brush design using shades of the same color. This is perfect for the office or a more formal event. If you're feeling bold and playful, try a rainbow fan brush design with a variety of bright and vibrant colors. This is perfect for summer or when you just want to have some fun with your nails. With so many options, you'll never run out of fan brush nail art designs to try for any occasion.4. Fan Brush Nail Art Designs for Every Occasion


4. Fan Brush Nail Art Designs for Every Occasion

As with any nail art technique, there are a few tips and tricks that can help you achieve the best results with a fan brush. First, make sure to use a clean and dry fan brush for each color. This will prevent the colors from blending too much and creating a muddy look. Second, don't load too much polish on the fan brush. A little goes a long way, and you can always add more as needed. Third, don't press too hard on the nail with the fan brush. Remember to keep the strokes light and gentle to achieve the desired effect. And finally, have fun and experiment with different colors, techniques, and designs. The beauty of fan brush nail art is that there are no rules, so let your creativity run wild!5. Fan Brush Nail Art Tutorial: Tips and Tricks

5. Fan Brush Nail Art Tutorial: Tips and Tricks

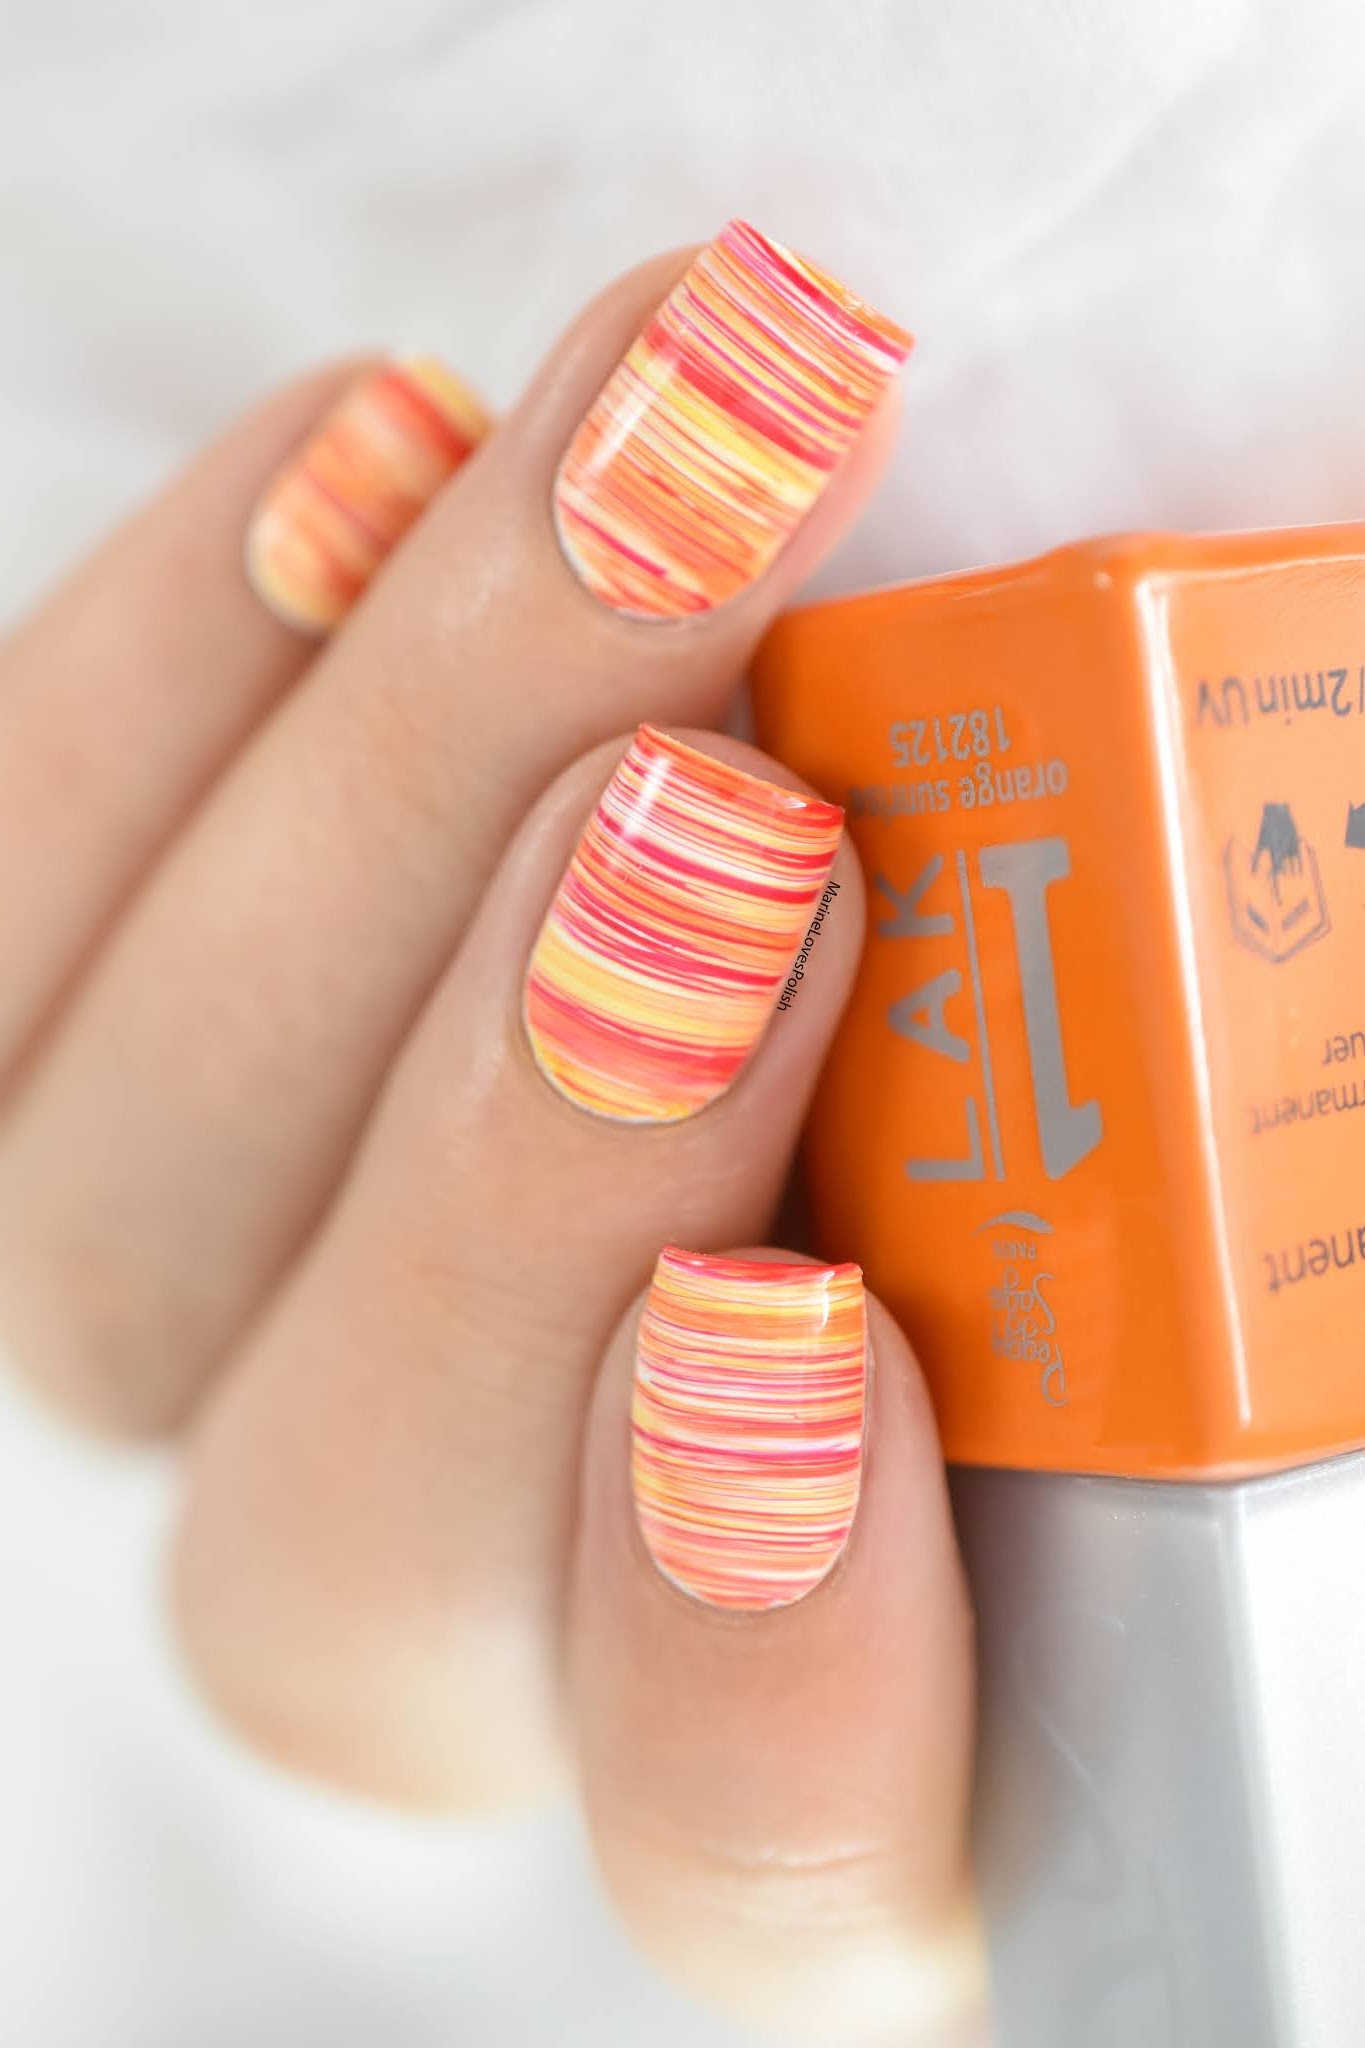
Looking for some inspiration for your next fan brush nail art look? Here are a few ideas to get your creative juices flowing: Create a sunset ombre effect using shades of yellow, orange, and red. Use a fan brush to create a perfect French manicure with a twist. Try a geometric design using different colors and shapes. Use a fan brush to add some splatter paint accents to your nails. Create a galaxy-inspired design with shades of blue, purple, and pink. The possibilities are endless with fan brush nail art, so don't be afraid to get creative and try new things!6. Fun and Creative Fan Brush Nail Art Ideas


6. Fun and Creative Fan Brush Nail Art Ideas

The ombre effect is a popular and stylish design for both hair and nails. With a fan brush, you can easily achieve this gradient look on your nails in just a few simple steps. Start with a light base color and let it dry completely. Then, using a fan brush, lightly swipe a darker color on the tip of the nail, blending it towards the base color. You can continue adding more layers of the darker color until you achieve the desired ombre effect. For a more dramatic look, you can also use multiple fan brushes with different shades of the same color to create a more blended and seamless gradient.7. Fan Brush Nail Art Tutorial: Ombre Effect
7. Fan Brush Nail Art Tutorial: Ombre Effect
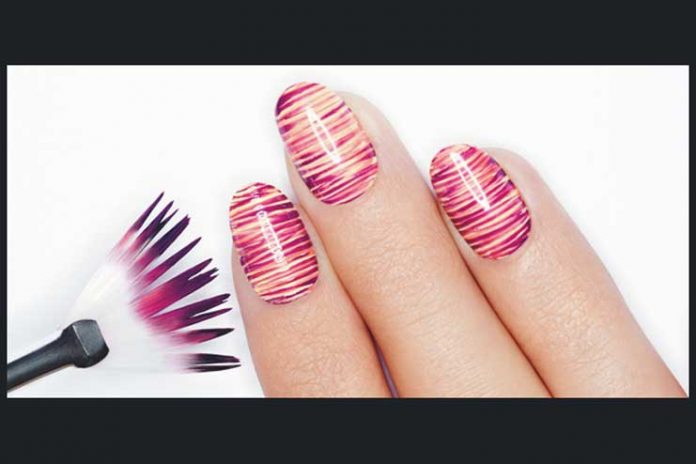
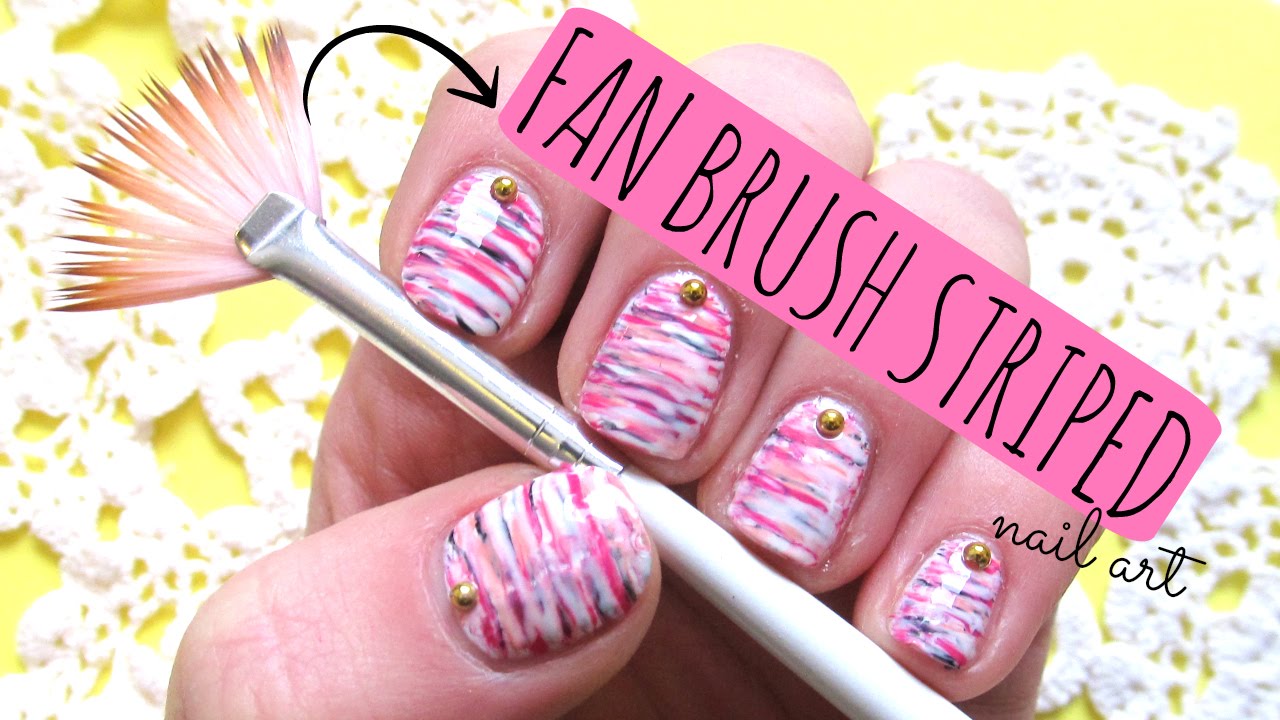
While the fan brush is a versatile tool for creating different designs, there are a few techniques that can help you achieve specific looks. The dragging technique: This involves dragging the fan brush across the nail in a specific direction to create lines or stripes. The dabbing technique: Dabbing the fan brush on the nail creates a more textured look, perfect for creating an abstract design. The criss-cross technique: This technique involves crossing the fan brush strokes in an X or criss-cross pattern to create a more intricate design. With these techniques, you can take your fan brush nail art to the next level and create unique and eye-catching designs.8. Mastering the Fan Brush: Nail Art Techniques

8. Mastering the Fan Brush: Nail Art Techniques
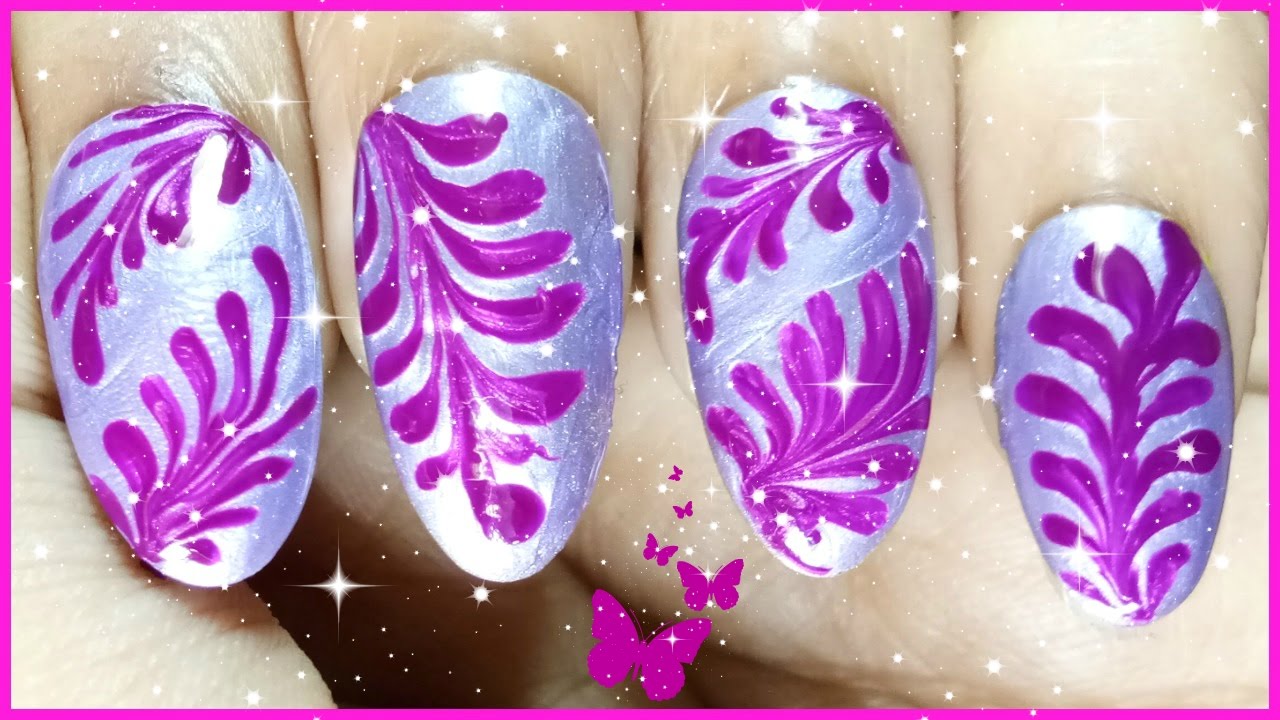
One of the most popular designs for fan brush nail art is floral designs. With a fan brush, you can easily create delicate and beautiful flower petals that will make your nails look like a work of art. Start with a base color and let it dry completely. Then, using a lighter shade of the same color, swipe the fan brush in a circular motion to create the petals. You can also add different colors or shades to create a more realistic and vibrant flower. For a more abstract look, you can use multiple fan brushes and different colors to create a bouquet of flowers on your nails.9. Fan Brush Nail Art Tutorial: Floral Designs

9. Fan Brush Nail Art Tutorial: Floral Designs
For a modern and edgy look, try using a fan brush to create geometric patterns on your nails. This is a great way to add some interest and dimension to your nail art. Start with a base color and let it dry completely. Then, using different colors and straight strokes with the fan brush, create triangles, squares, or any other shape you desire. You can also use multiple fan brushes and colors to create a more complex design. This is a fun and creative way to use your fan brush and add a unique touch to your nail art.10. Fan Brush Nail Art Tutorial: Geometric Patterns
10. Fan Brush Nail Art Tutorial: Geometric Patterns
How to Create Stunning Nail Art Using a Fan Brush: A Step-by-Step Tutorial
Introduction
 In today's world of social media and beauty trends,
nail art
has become a popular form of self-expression. From simple designs to intricate patterns, there are endless possibilities when it comes to decorating your nails. One tool that has gained popularity among nail artists is the
fan brush
. This versatile and easy-to-use brush allows you to create beautiful and unique designs with just a few simple strokes. In this tutorial, we will guide you through the steps of creating stunning
nail art
using a fan brush.
In today's world of social media and beauty trends,
nail art
has become a popular form of self-expression. From simple designs to intricate patterns, there are endless possibilities when it comes to decorating your nails. One tool that has gained popularity among nail artists is the
fan brush
. This versatile and easy-to-use brush allows you to create beautiful and unique designs with just a few simple strokes. In this tutorial, we will guide you through the steps of creating stunning
nail art
using a fan brush.
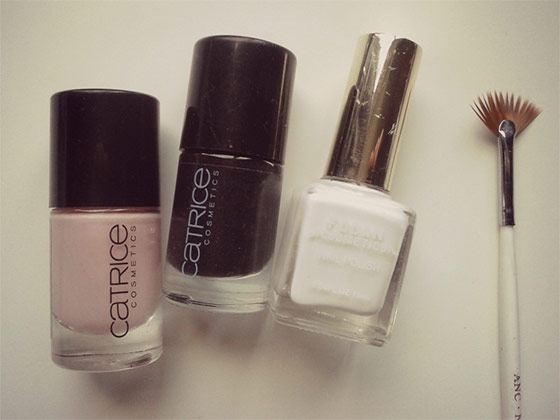
Step 1: Gather Your Materials
 Before we begin, make sure you have all the necessary materials. You will need a fan brush, base coat,
nail polish
in your desired colors, top coat, and a small dish of water. You can also use a
nail art
pen or a toothpick for more intricate designs.
Before we begin, make sure you have all the necessary materials. You will need a fan brush, base coat,
nail polish
in your desired colors, top coat, and a small dish of water. You can also use a
nail art
pen or a toothpick for more intricate designs.
Step 2: Apply a Base Coat
 Start by applying a base coat to your nails. This will protect your nails and help the
nail polish
last longer. Let it dry completely before moving on to the next step.
Start by applying a base coat to your nails. This will protect your nails and help the
nail polish
last longer. Let it dry completely before moving on to the next step.
Step 3: Choose Your Colors
 Next, choose the colors you want to use for your
nail art
. You can use one color or multiple colors for a more vibrant look. Dip the fan brush into the
nail polish
and wipe off the excess on the rim of the bottle.
Next, choose the colors you want to use for your
nail art
. You can use one color or multiple colors for a more vibrant look. Dip the fan brush into the
nail polish
and wipe off the excess on the rim of the bottle.
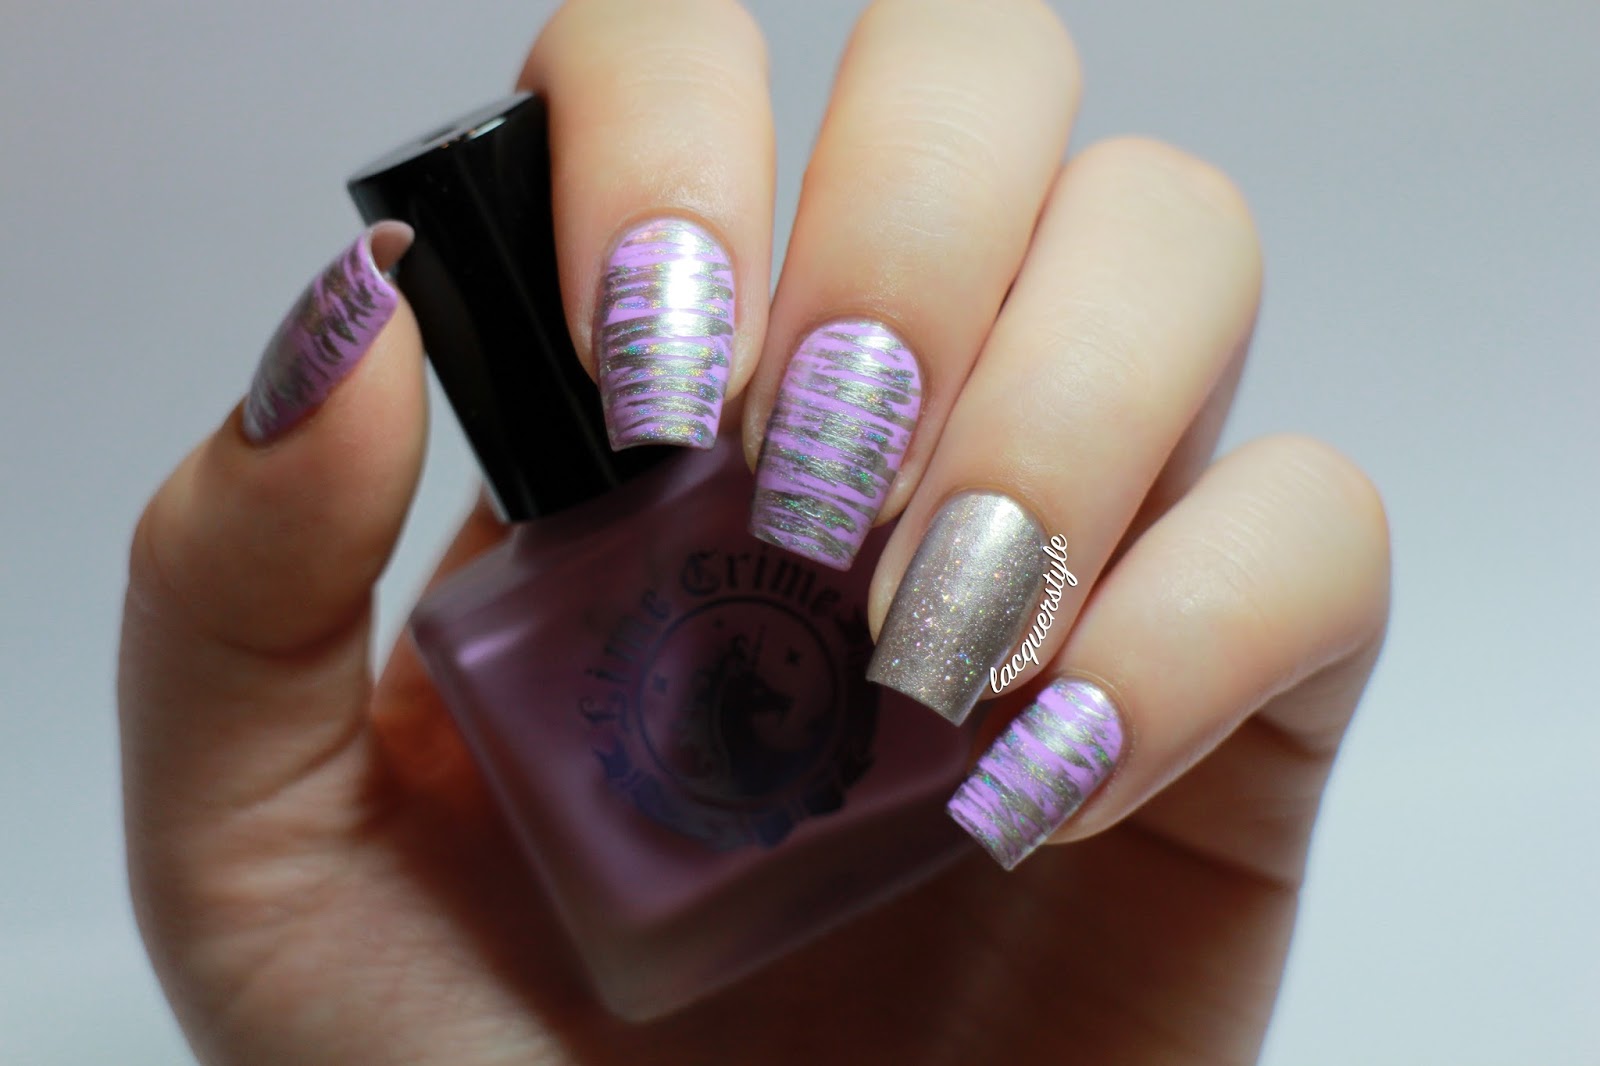
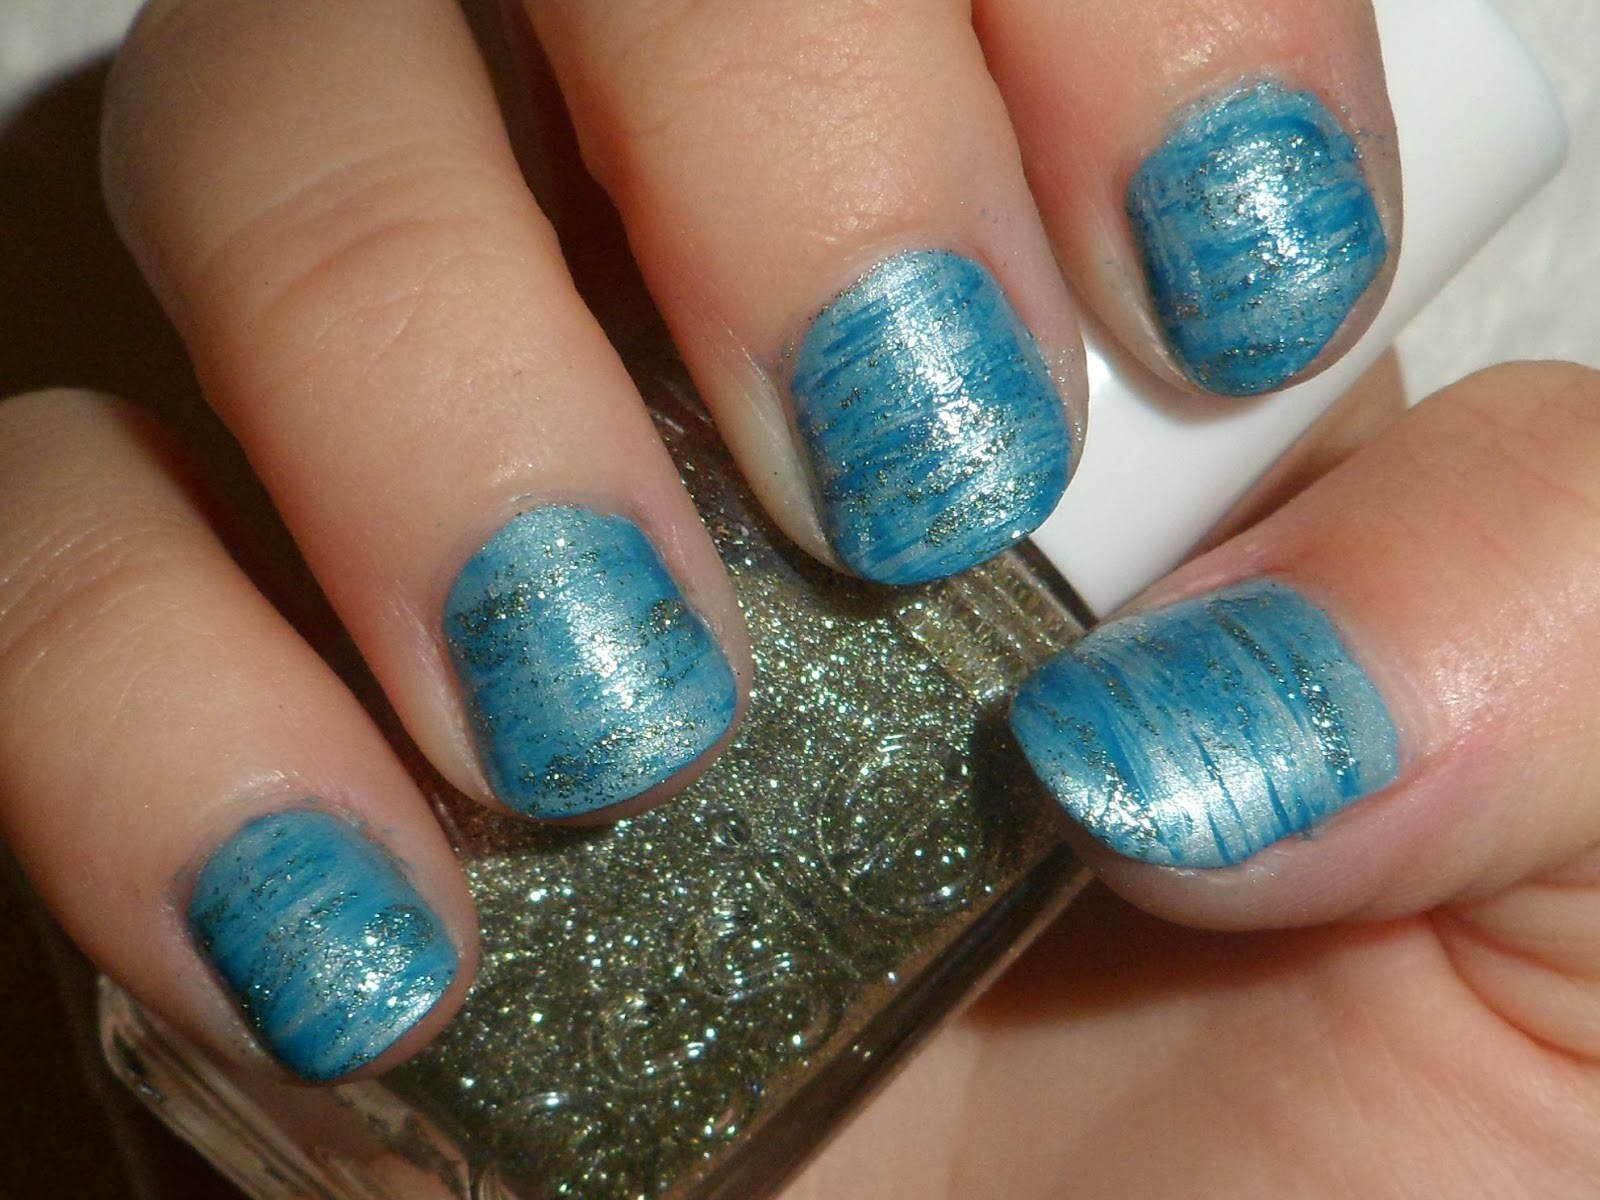
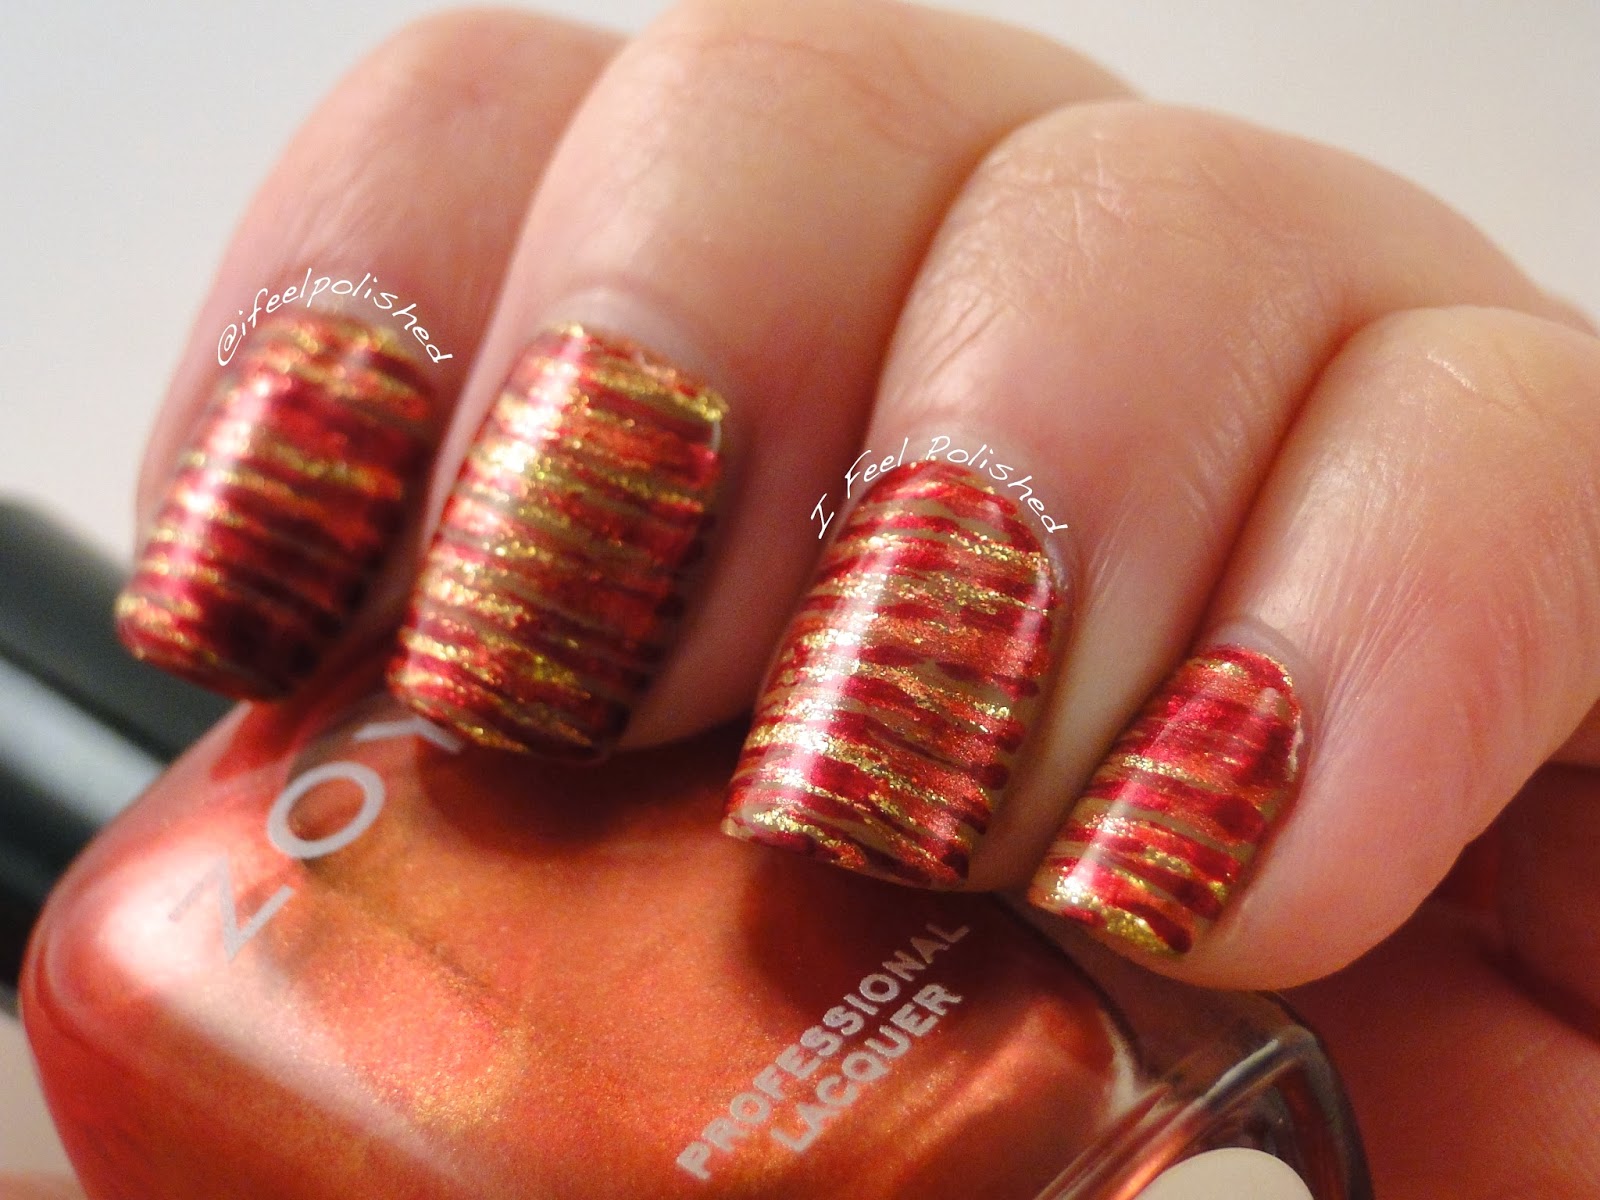
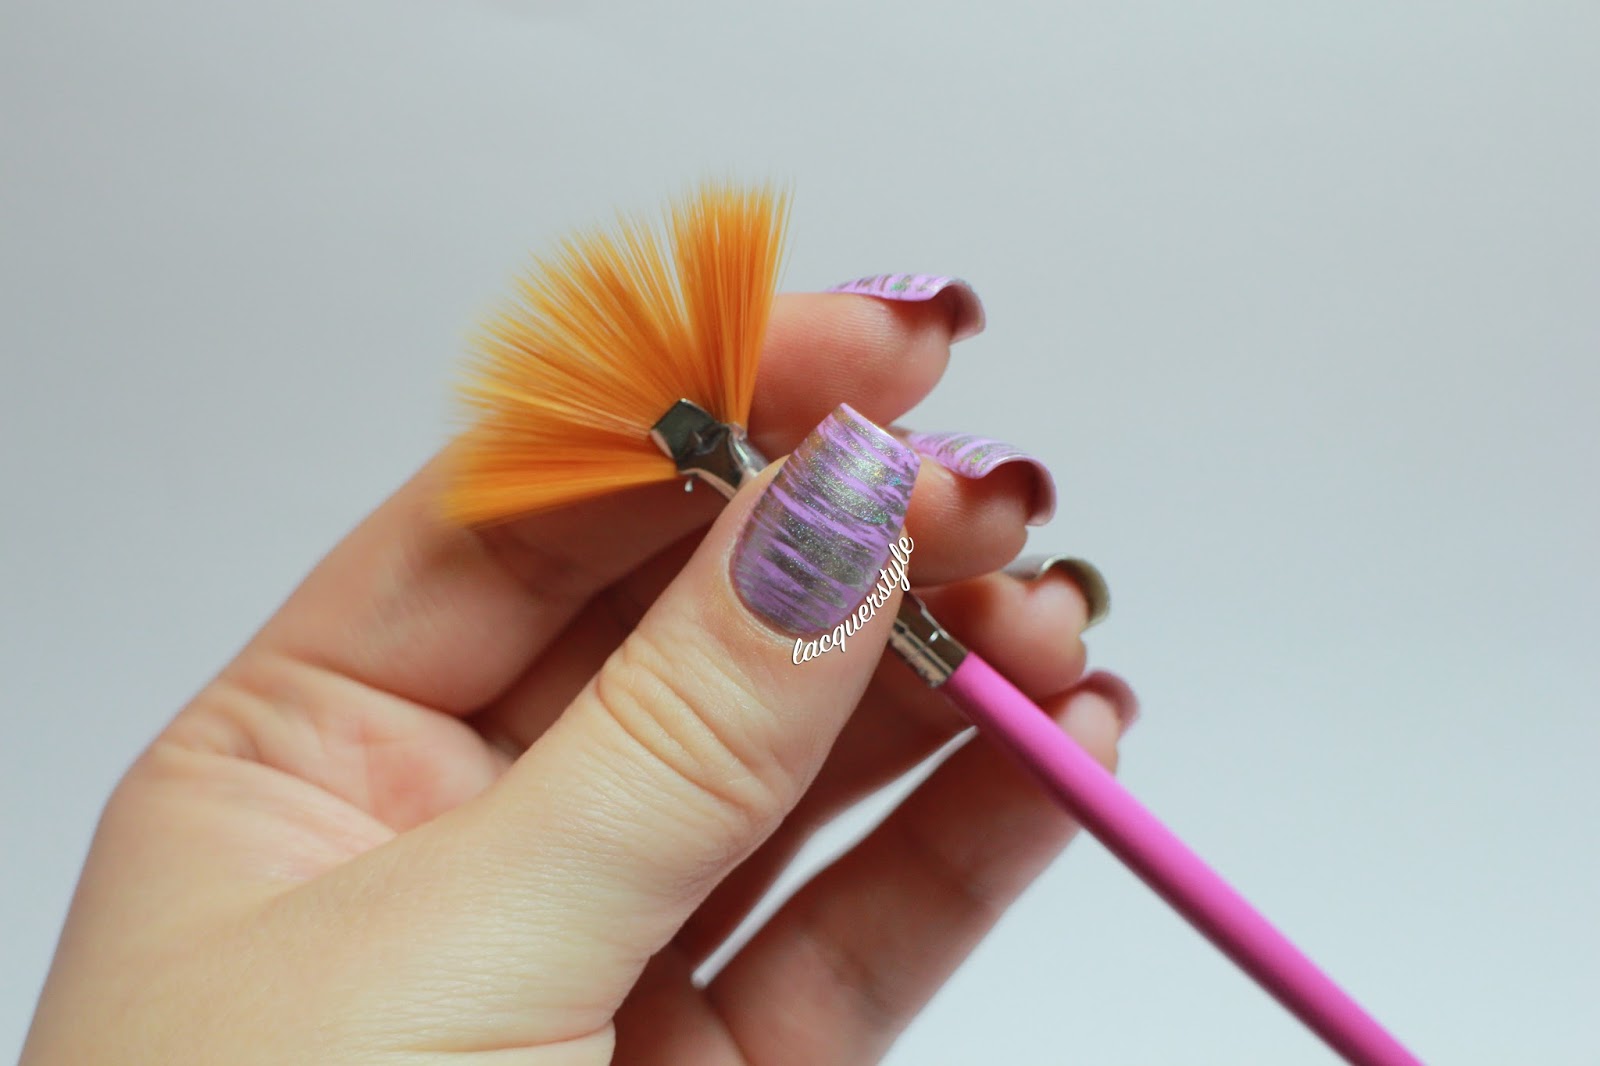
Step 4: Create the Fan Brush Effect
 Hold the fan brush at an angle and lightly drag it across your nail. This will create a fan-like effect with the
nail polish
. You can vary the pressure to create different effects. You can also use a different color for each nail or alternate between colors for a more dynamic look.
Hold the fan brush at an angle and lightly drag it across your nail. This will create a fan-like effect with the
nail polish
. You can vary the pressure to create different effects. You can also use a different color for each nail or alternate between colors for a more dynamic look.
Step 5: Add Details
 Once the base color is dry, you can use a
nail art
pen or a toothpick to add details to your design. You can create lines, dots, or any other pattern you desire. This is where you can let your creativity shine.
Once the base color is dry, you can use a
nail art
pen or a toothpick to add details to your design. You can create lines, dots, or any other pattern you desire. This is where you can let your creativity shine.
Step 6: Seal with a Top Coat
 To protect your
nail art
and make it last longer, apply a top coat over your design. This will also give your nails a glossy finish.
To protect your
nail art
and make it last longer, apply a top coat over your design. This will also give your nails a glossy finish.
Step 7: Clean Up
 Lastly, clean up any excess
nail polish
around your nails using a cotton swab dipped in nail polish remover. This will give your
nail art
a clean and polished look.
Lastly, clean up any excess
nail polish
around your nails using a cotton swab dipped in nail polish remover. This will give your
nail art
a clean and polished look.
Conclusion
 Using a fan brush is a fun and easy way to create beautiful
nail art
designs. With a little bit of practice, you can achieve stunning results that will make your nails stand out. So grab your fan brush and get creative!
Using a fan brush is a fun and easy way to create beautiful
nail art
designs. With a little bit of practice, you can achieve stunning results that will make your nails stand out. So grab your fan brush and get creative!


