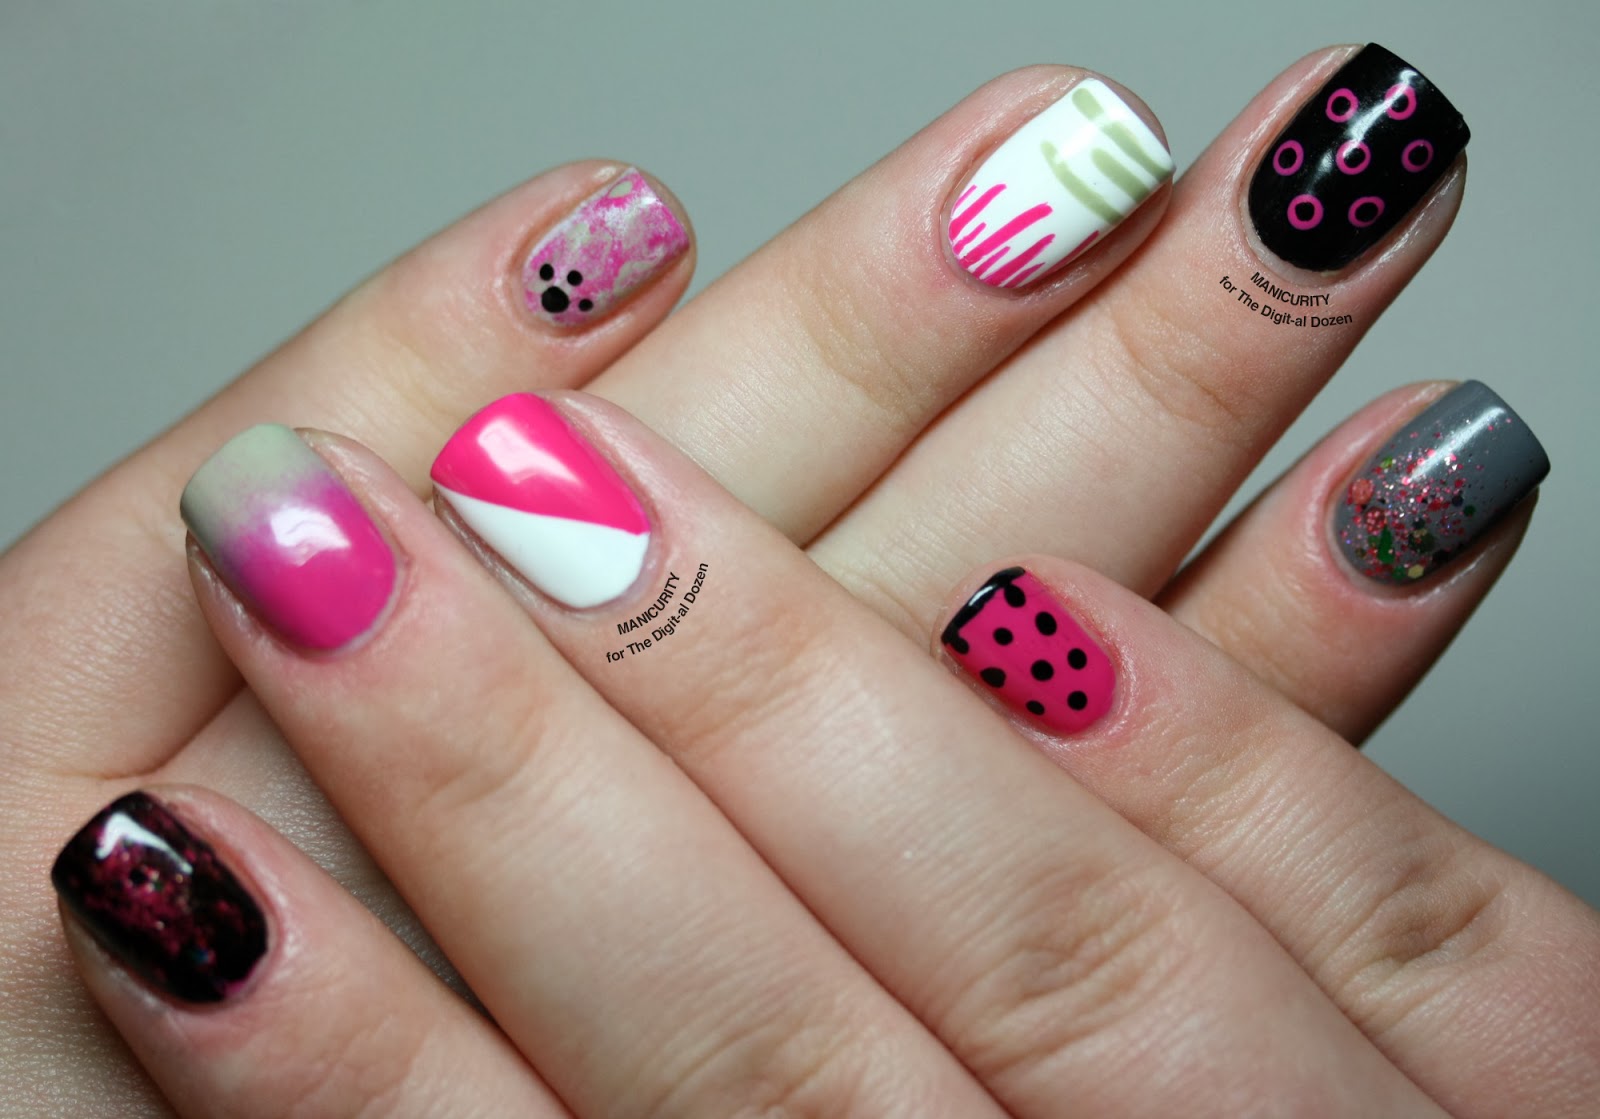
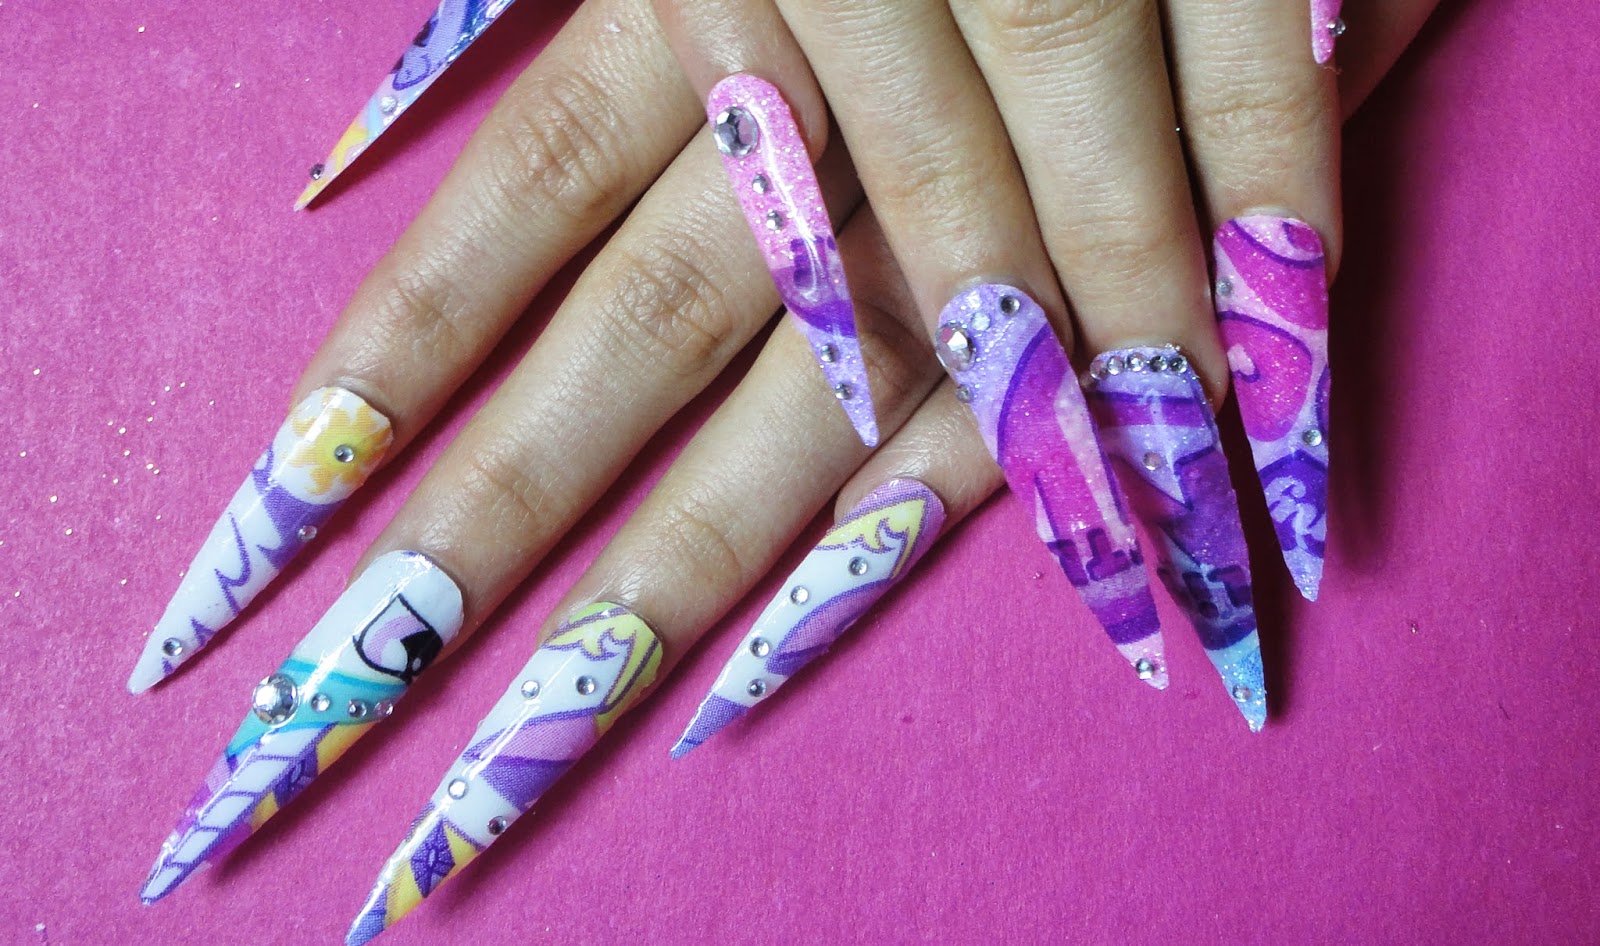
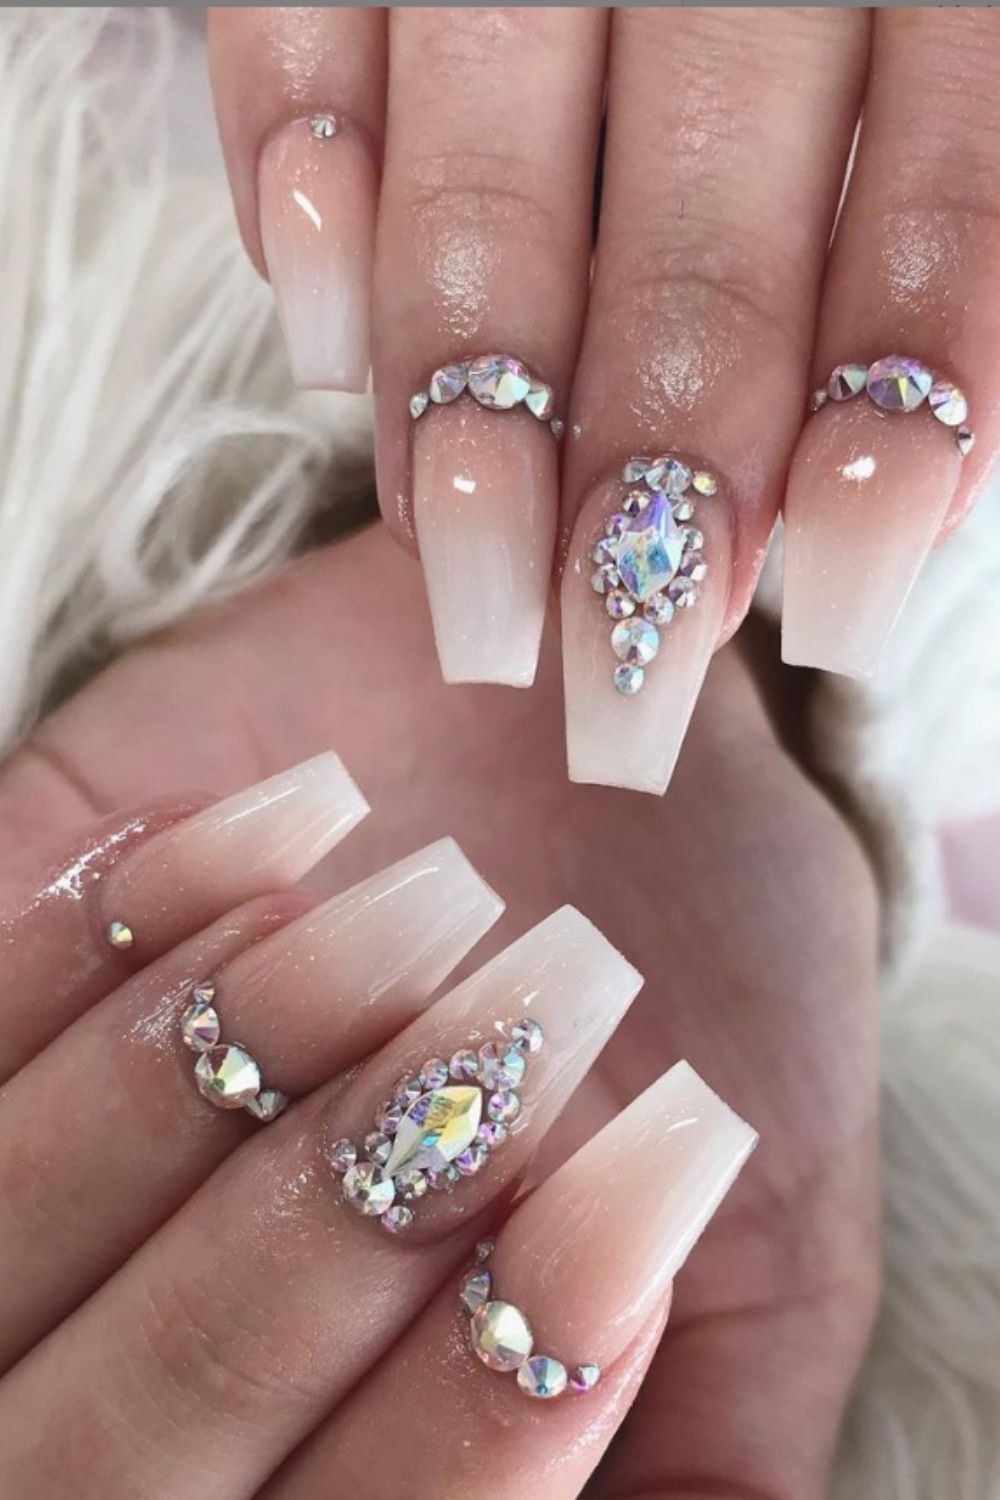
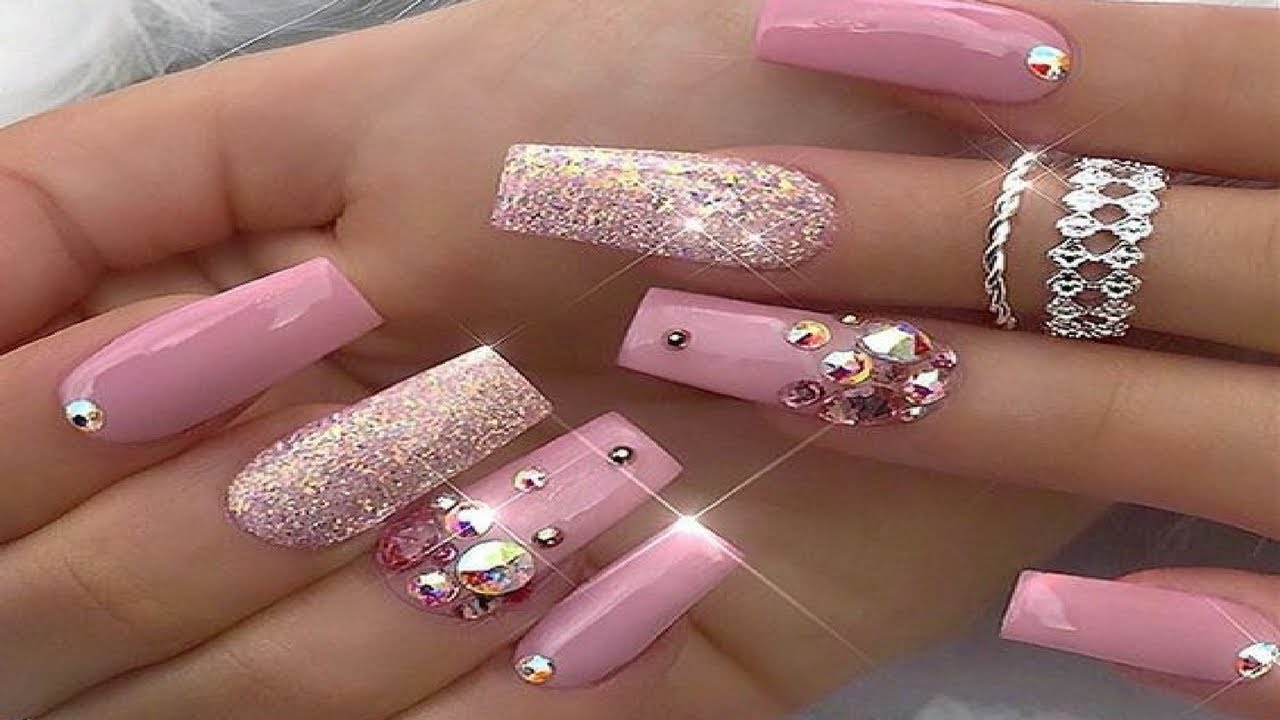
Are you new to the world of nail art and feeling overwhelmed with all the intricate designs and techniques? Don't worry, we've got you covered! Here are 10 easy nail art designs that are perfect for beginners and will have your nails looking fancy in no time. First up, we have the classic polka dot design. All you need is a dotting tool or a bobby pin and your favorite nail polish colors. Simply dip the tool into the polish and create dots on your nails. You can mix and match colors or stick to one color for a more minimalist look. Next, we have the ombre effect. This is achieved by blending two or more colors together on your nails. You can use a makeup sponge to create a gradual fade or use a brush to create a more defined ombre. This design looks great on all nail lengths, especially short nails. If you're feeling a little more adventurous, try out a geometric design. This can be achieved using striping tape or by free-handing with a thin brush. You can create different shapes and patterns for a unique and eye-catching look. Another simple yet elegant design is the half-moon manicure. This is achieved by painting the bottom half of your nail with one color and the top half with another color. You can use a paper reinforcement sticker to create a clean half-moon shape or free-hand it for a more natural look. For those who prefer a more subtle nail art look, try out a French tip with a twist. Instead of the traditional white tip, use a metallic or glitter polish for a modern and chic look. You can also switch up the colors and have a colored tip with a neutral base. If you're a fan of florals, try out a flower design using a toothpick or a small brush. This design can be customized to your liking, whether you want a simple daisy or a more intricate rose design. You can also add some glitter or rhinestones for some extra sparkle. For a more playful and fun look, try out a cartoon or character design. This can be achieved using nail art stickers or by free-handing with a brush. You can choose your favorite cartoon character or create your own unique design. If you're in need of a quick and easy design, try out a negative space manicure. This involves leaving parts of your nails unpainted to create a unique and modern look. You can use tape or stickers to create clean lines or free-hand it for a more abstract look. For a more glamorous and fancy look, try out a glitter gradient design. This is achieved by gradually applying glitter polish from the tip of your nail to the base. You can use different colors for a more vibrant look or stick to one color for a more subtle effect. Lastly, we have the marble effect. This can be achieved using a water marbling technique or by using a plastic bag to create the marble pattern. This design looks great on all nail lengths and adds a touch of sophistication to your nails.1. 10 Easy Nail Art Designs for Beginners: The Ultimate Guide!


1. 10 Easy Nail Art Designs for Beginners: The Ultimate Guide!


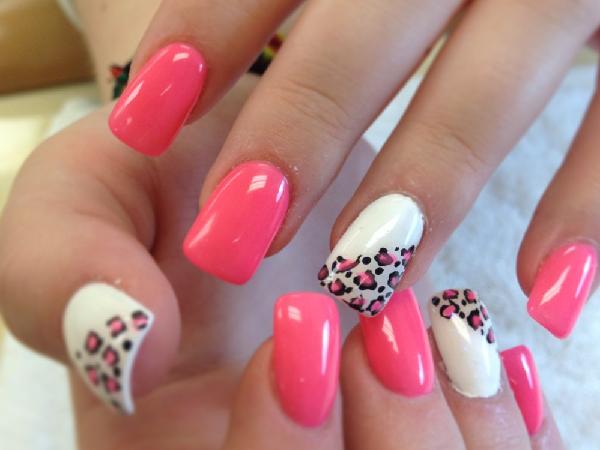

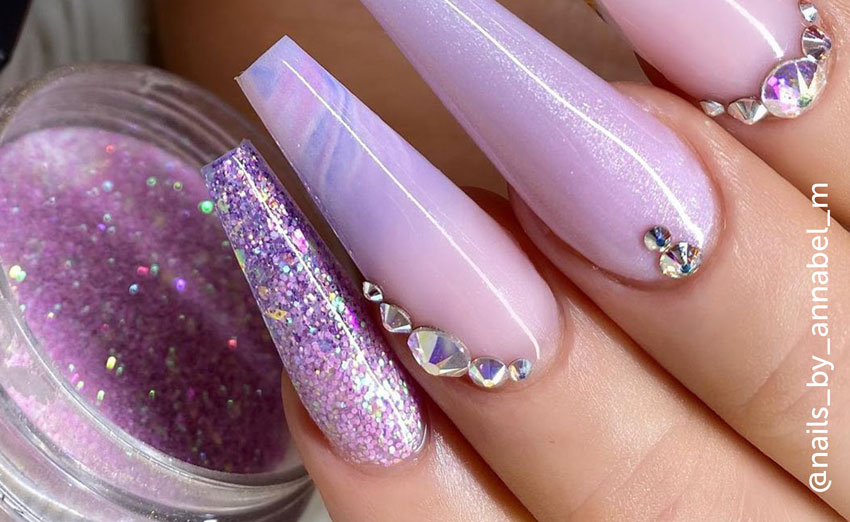
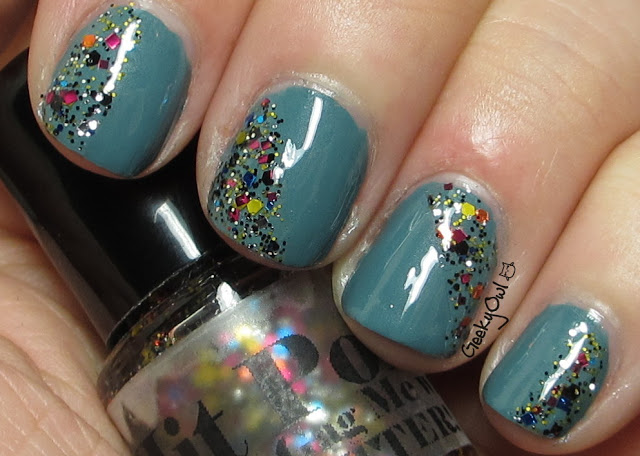
Short nails don't have to limit your nail art options. In fact, there are plenty of designs that look great on short nails and are easy to achieve. Here are 20+ easy nail art designs for short nails that will have your nails looking fancy in no time. First up, we have the classic French manicure. This timeless design looks great on short nails and can be achieved by painting the tips white or using a tip guide for a clean and precise line. Next, we have a simple yet elegant design using a metallic polish. This design involves painting your nails with a metallic polish and adding a few rhinestones or studs for some extra sparkle. If you're a fan of pastel colors, try out a pastel ombre design. This is achieved by blending two or more pastel colors together on your nails. You can use a makeup sponge or a brush for a more defined ombre effect. For a more playful and fun look, try out a rainbow manicure. This involves painting each nail a different color of the rainbow, creating a fun and colorful look. You can also add some glitter or rhinestones for some extra flair. If you're feeling a little more adventurous, try out a tribal print design. This can be achieved using striping tape or by free-handing with a thin brush. You can mix and match different colors and patterns for a unique and eye-catching look. Another simple yet elegant design is the half-moon manicure. This is achieved by painting the bottom half of your nail with one color and the top half with another color. You can use a paper reinforcement sticker to create a clean half-moon shape or free-hand it for a more natural look. If you're in need of a quick and easy design, try out a negative space manicure. This involves leaving parts of your nails unpainted to create a unique and modern look. You can use tape or stickers to create clean lines or free-hand it for a more abstract look. For a more glamorous and fancy look, try out a glitter gradient design. This is achieved by gradually applying glitter polish from the tip of your nail to the base. You can use different colors for a more vibrant look or stick to one color for a more subtle effect. For a more minimalistic look, try out a simple dot design. This can be achieved using a dotting tool or a bobby pin and your favorite nail polish colors. You can mix and match colors or stick to one color for a more minimalistic look. Lastly, we have the marble effect. This can be achieved using a water marbling technique or by using a plastic bag to create the marble pattern. This design looks great on all nail lengths and adds a touch of sophistication to your nails.2. 20+ Easy Nail Art Designs for Short Nails


2. 20+ Easy Nail Art Designs for Short Nails
:max_bytes(150000):strip_icc()/072922-beauty-nail-art-lead-2000-21de3481261e48a995c855269f9846ad.jpg)

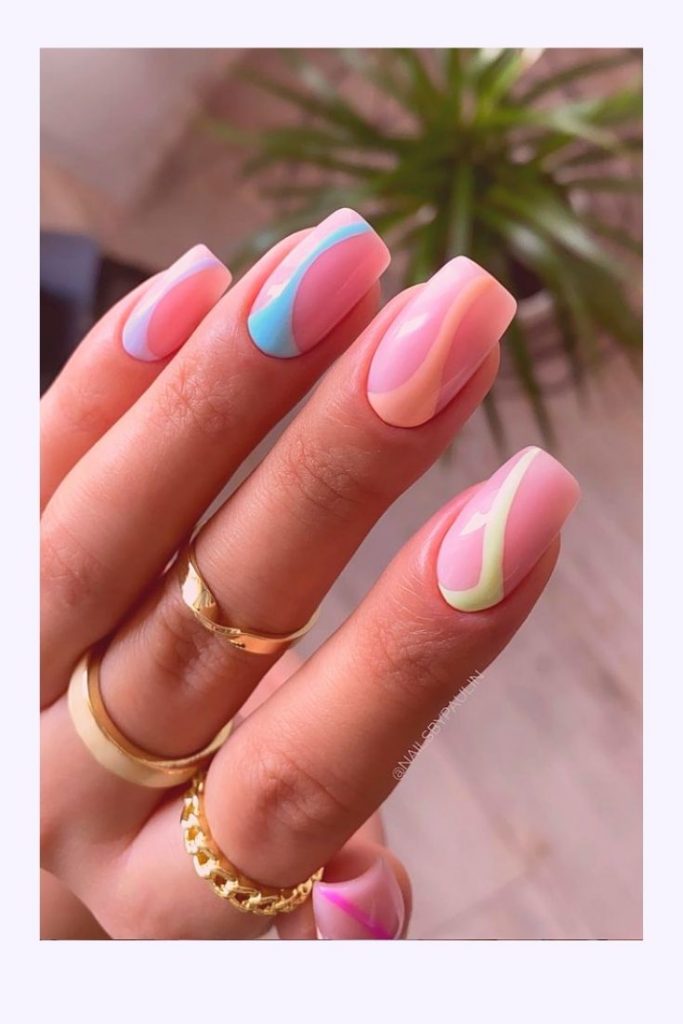
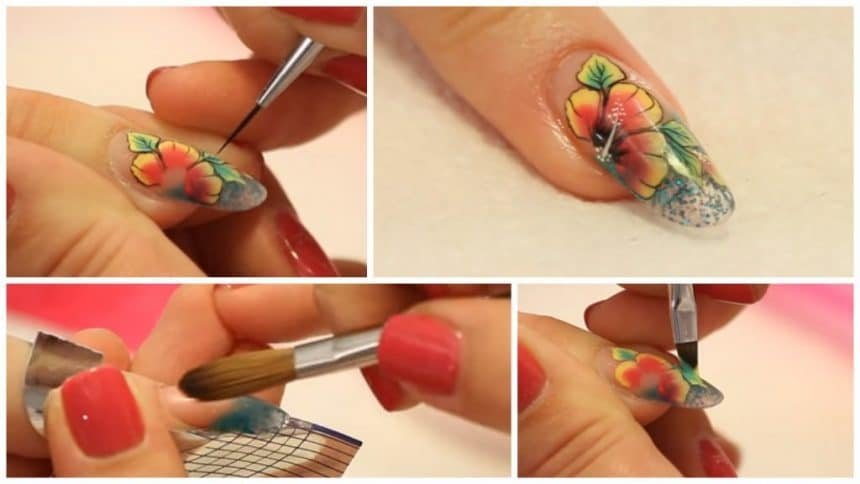
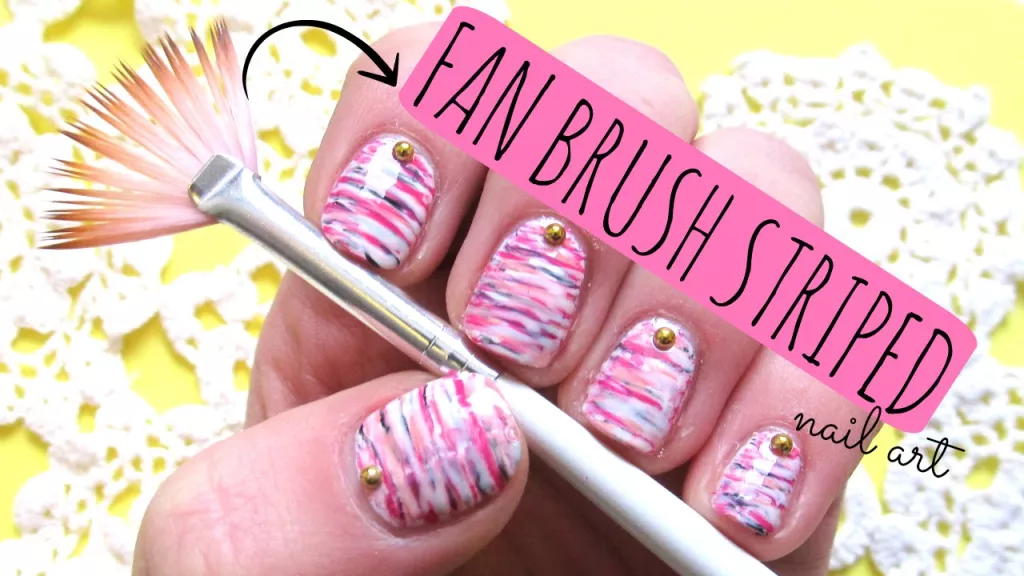
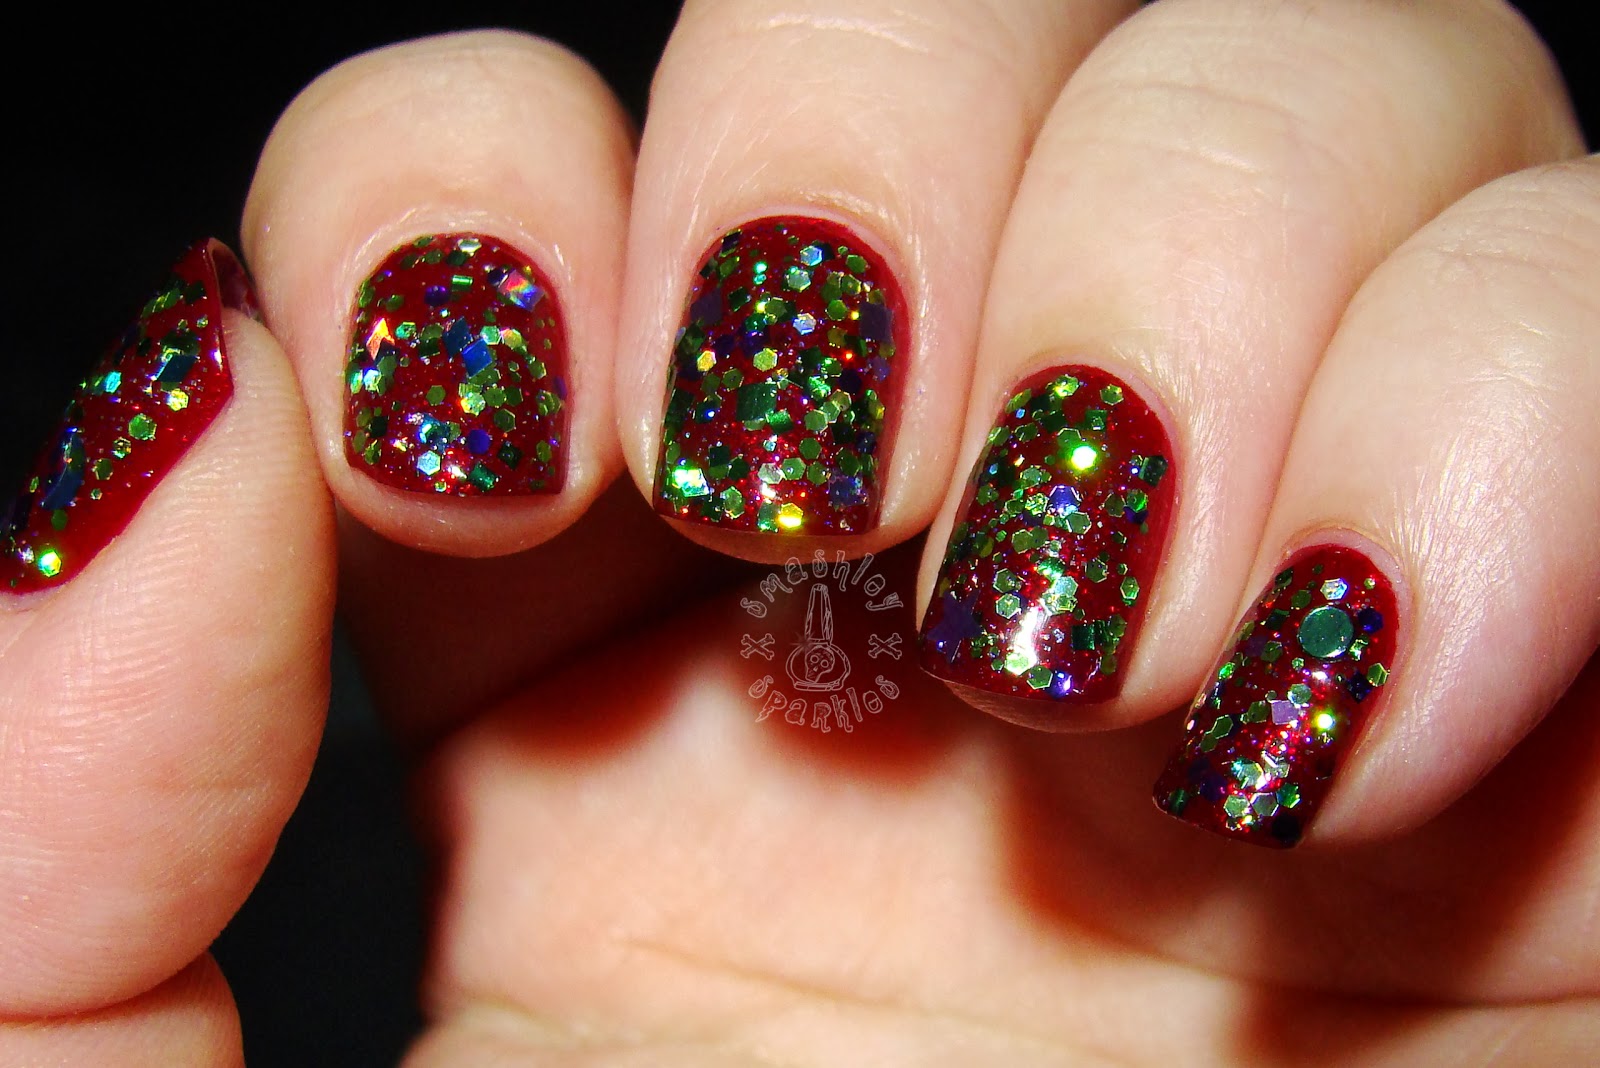
Looking for some new and fun nail art tutorials to try out? Look no further! Here are 25 fun and easy nail art tutorials that will have your nails looking fancy in no time. First up, we have a glitter French tip design. This is a twist on the classic French manicure, where the tips are painted with glitter polish instead of white. You can use different colors of glitter for a fun and playful look. Next, we have a geometric design using striping tape. This involves creating clean and defined lines on your nails using striping tape and different colors of polish. You can mix and match colors and patterns for a unique and eye-catching look. If you're feeling a little more adventurous, try out a galaxy design. This is achieved by blending different colors of polish together on your nails and adding some speckles or stars for a galaxy effect. You can also use a toothbrush for a more natural and abstract look. For a more playful and fun look, try out a cartoon or character design. This can be achieved using nail art stickers or by free-handing with a brush. You can choose your favorite cartoon character or create your own unique design. If you're a fan of florals, try out a flower design using a toothpick or a small brush. This design can be customized to your liking, whether you want a simple daisy or a more intricate rose design. You can also add some glitter or rhinestones for some extra sparkle. For those who prefer a more subtle nail art look, try out a negative space floral design. This involves leaving parts of your nails unpainted to create a unique and modern look. You can use tape or stickers to create clean lines or free-hand it for a more abstract look. If you're in need of a quick and easy design, try out a glitter gradient with a twist. Instead of the traditional gradient from the tip to the base, try out a diagonal gradient for a more unique look. You can also use different colors of glitter for a fun and playful effect. For a more glamorous and fancy look, try out a metallic marble design. This is achieved by blending metallic and regular polish together on your nails to create a marble effect. You can also add some rhinestones or studs for some extra sparkle. Another simple yet elegant design is the half-moon manicure. This is achieved by painting the bottom half of your nail with one color and the top half with another color. You can use a paper reinforcement sticker to create a clean half-moon shape or free-hand it for a more natural look. Lastly, we have a fun and playful tie-dye design. This is achieved by blending different colors of polish together on your nails to create a tie-dye effect. You can also use a toothbrush for a more natural and abstract look.3. 25 Fun and Easy Nail Art Tutorials

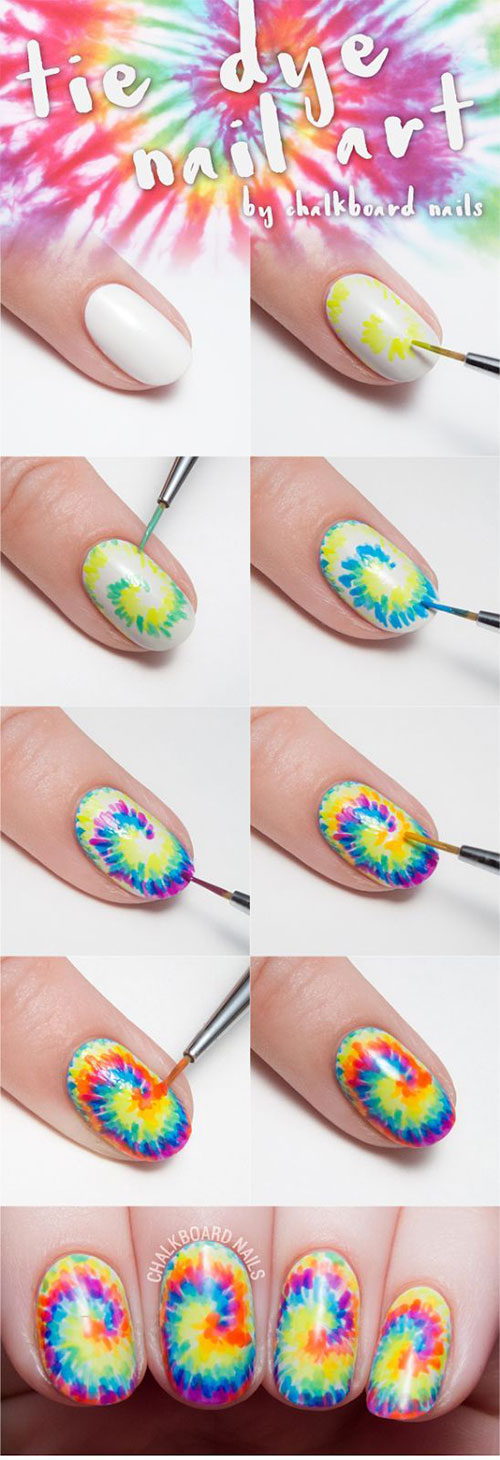
3. 25 Fun and Easy Nail Art Tutorials


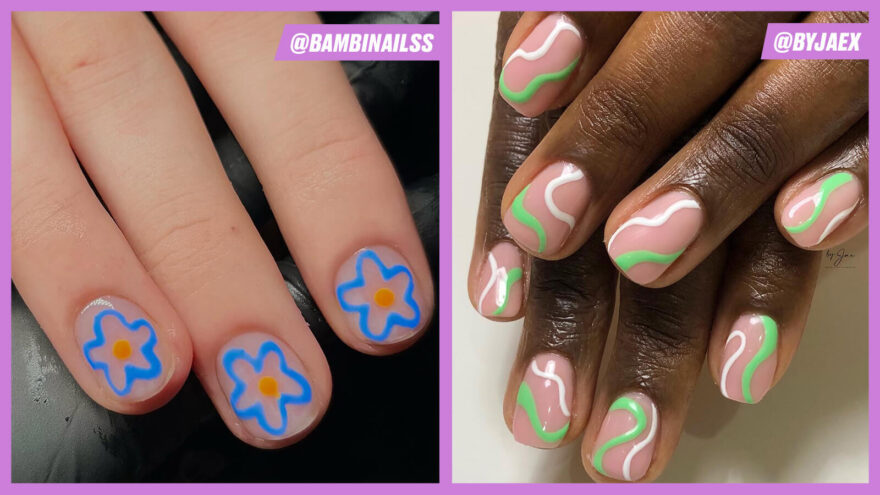
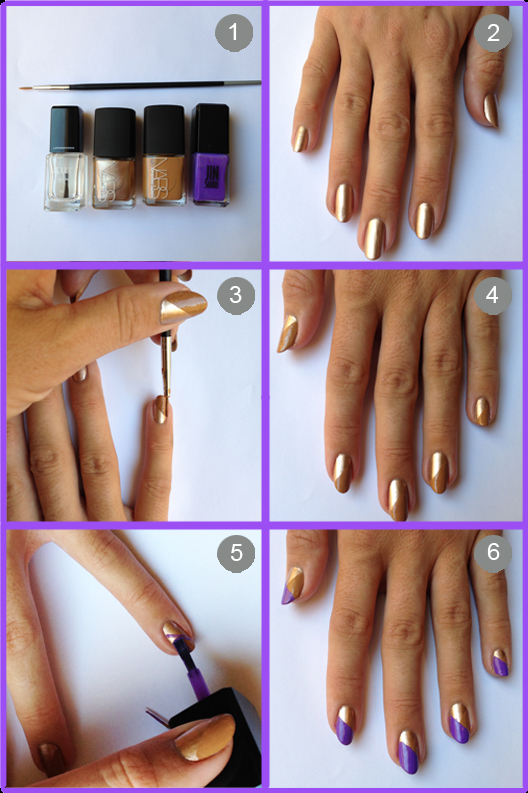
With so many nail art tutorials out there, it can be overwhelming to find the best ones. But look no further, we've rounded up the 30 best nail art tutorials that will have your nails looking fancy in no time. First up, we have a floral French tip design. This is a twist on the classic French manicure, where the tips are painted with a floral design instead of a solid color. You can use different colors and patterns for a unique and eye-catching look. Next, we have a simple yet elegant design using a metallic polish. This design involves painting your nails with a metallic polish and adding a few rhinestones or studs for some extra sparkle. If you're a fan of pastel colors, try out a pastel ombre design. This is achieved by blending two or more pastel colors together on your nails. You can use a makeup sponge or a brush for a more defined ombre effect. For a more playful and fun look, try out a rainbow manicure. This involves painting each nail a different color of the rainbow, creating a fun and colorful look. You can also add some glitter or rhinestones for some extra flair. If you're feeling a little more adventurous, try out a tribal print design. This can be achieved using striping tape or by free-handing with a thin brush. You can mix and match different colors and patterns for a unique and eye-catching look. Another simple yet elegant design is the half-moon manicure. This is achieved by painting the bottom half of your nail with one color and the top half with another color. You can use a paper reinforcement sticker to create a clean half-moon shape or free-hand it for a more natural look. If you're in need of a quick and easy design, try out a negative space manicure. This involves leaving parts of your nails unpainted to create a unique and modern look. You can use tape or stickers to create clean lines or free-hand it for a more abstract look. For a more glamorous and fancy look, try out a glitter gradient design. This is achieved by gradually applying glitter polish from the tip of your nail to the base. You can use different colors for a more vibrant look or stick to one color for a more subtle effect. For a more minimalistic look, try out a simple dot design. This can be achieved using a dotting tool or a bobby pin and your favorite nail polish colors. You can mix and match colors or stick to one color for a more minimalistic look. Lastly, we have a fun and playful tie-dye design. This is achieved by blending different colors of polish together on your nails to create a tie-dye effect. You can also use a toothbrush for a more natural and abstract look.4. 30 Best Nail Art Tutorials


4. 30 Best Nail Art Tutorials


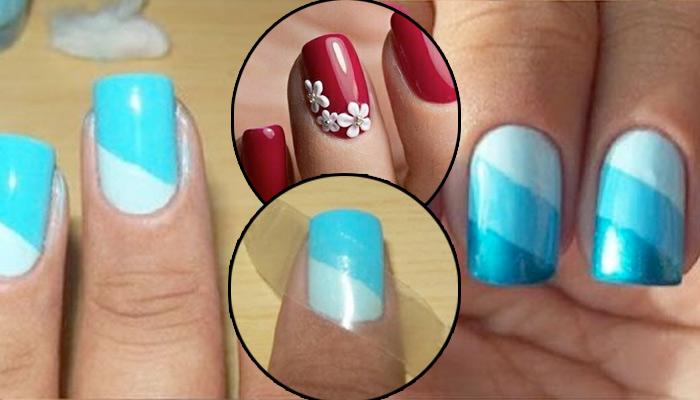
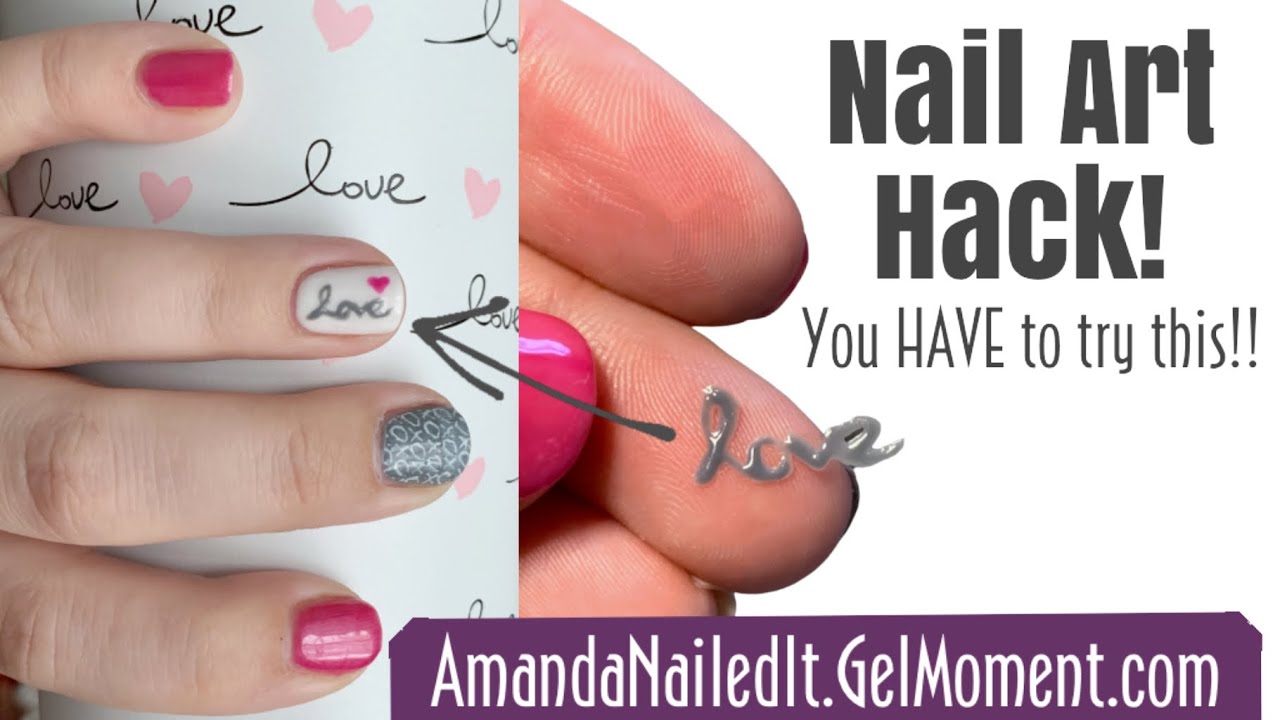
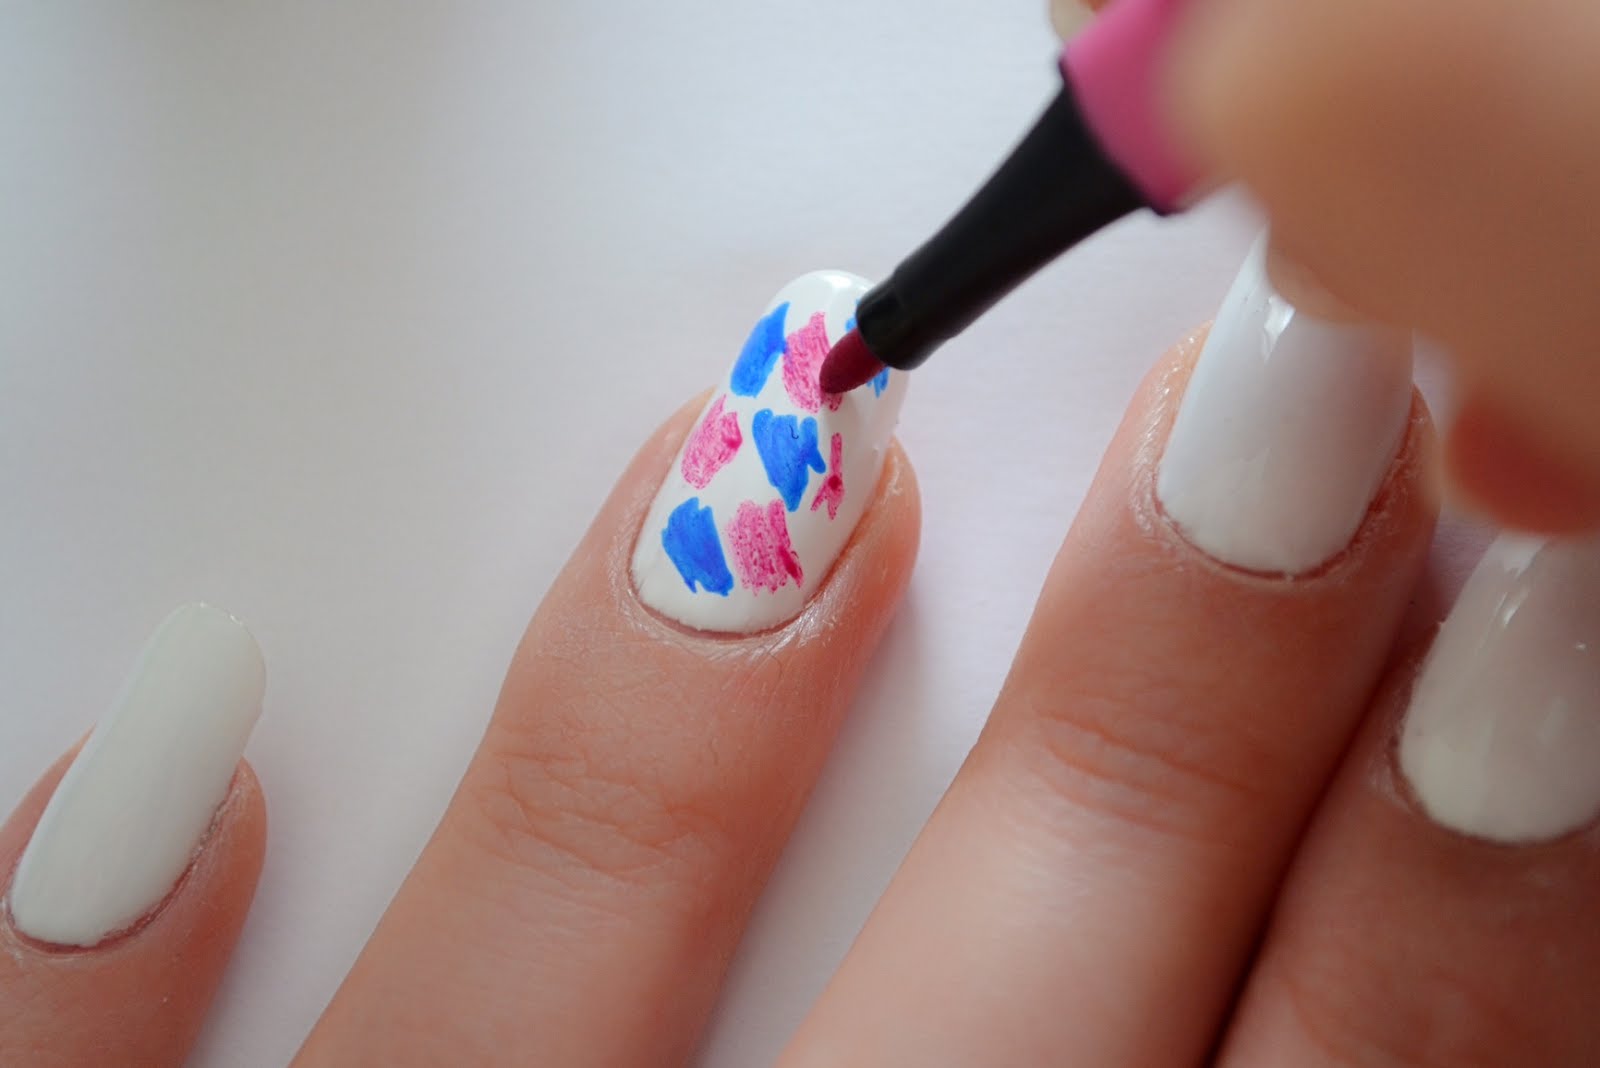
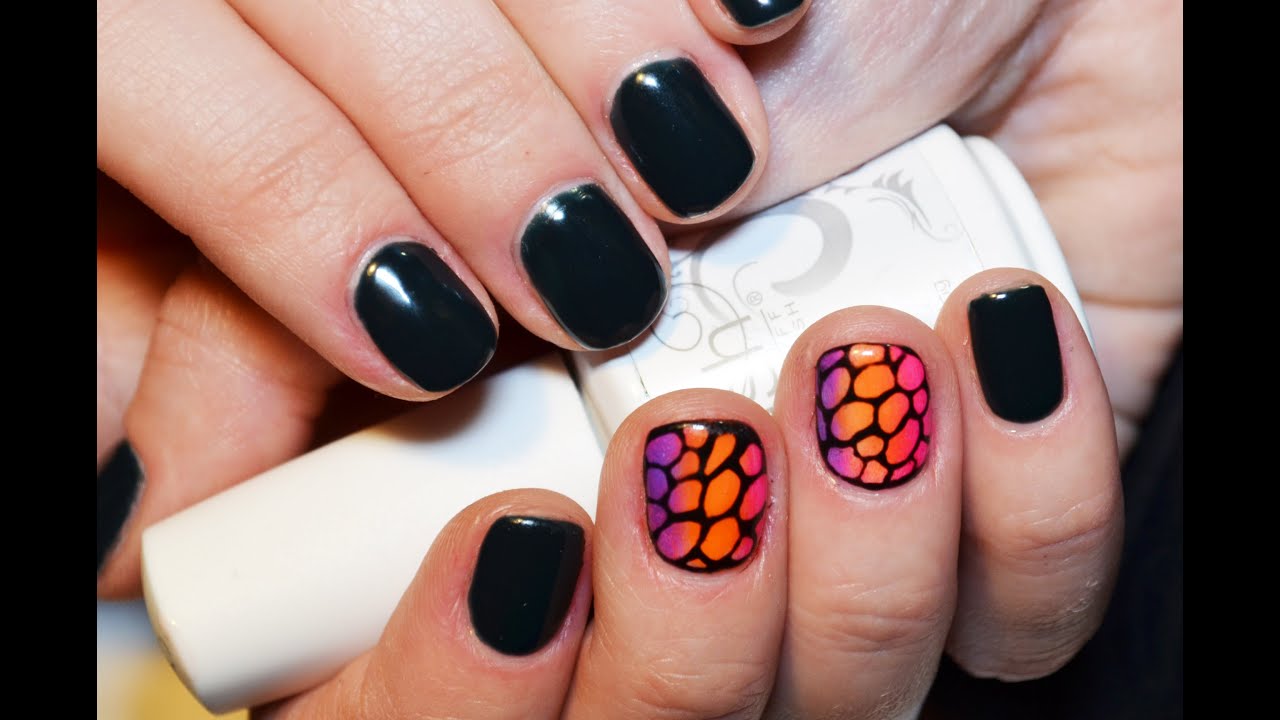
Short on time or don't have all the tools for a fancy nail art design? No problem! Here are 40 DIY nail art hacks that are borderline genius and will have your nails looking fancy in no time. First up, we have a quick and easy way to create an ombre effect using a makeup sponge. Simply paint your desired colors onto the sponge and dab it onto your nails for a perfect ombre every time. Next, if you're struggling with creating clean and precise lines, try using a rubber band as a guide. Place the band around your finger and use it as a guide for your brush or striping tape. If you don't have a dotting tool, use a bobby pin as a substitute. Simply dip the pin into your desired polish and create dots on your nails. You can also use the other end of the pin for smaller dots. For a quick and easy French manicure, use a rubber band to create a clean and precise line. Simply place the band around your finger and paint the tips white or your desired color. If you're struggling with removing glitter polish, try using a peel-off base coat. This will make it much easier to remove the glitter without damaging your nails. If you don't have a makeup sponge for creating a gradient, try using a plastic bag instead. Simply paint your desired colors onto the bag and dab it onto your nails for a perfect gradient every time. For a fun and easy polka dot design, use a pencil eraser as a dotting tool. Simply dip the eraser into your desired polish and create dots on your nails. You can also use the other end of the pencil for smaller dots. If you're struggling with creating a half-moon design, try using a paper reinforcement sticker as a guide. Simply place the sticker on your nail and paint over it with your desired color. If you're in need of a quick dry for your nails, try using a cooking spray. Simply spray it onto your nails after painting and it will help them dry faster. Lastly, if you don't have a brush for creating intricate designs, try using a toothpick instead. It's a great alternative and allows for more precision in your designs.5. 40 DIY Nail Art Hacks That Are Borderline Genius


5. 40 DIY Nail Art Hacks That Are Borderline Genius


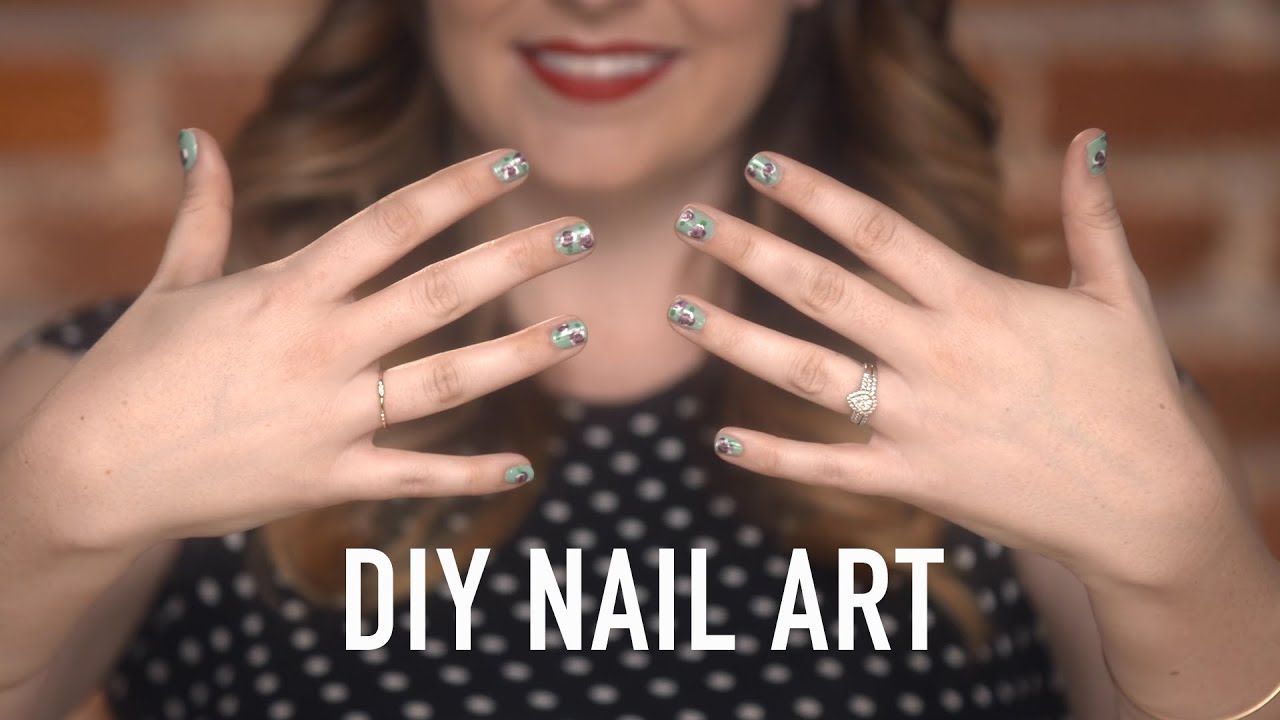


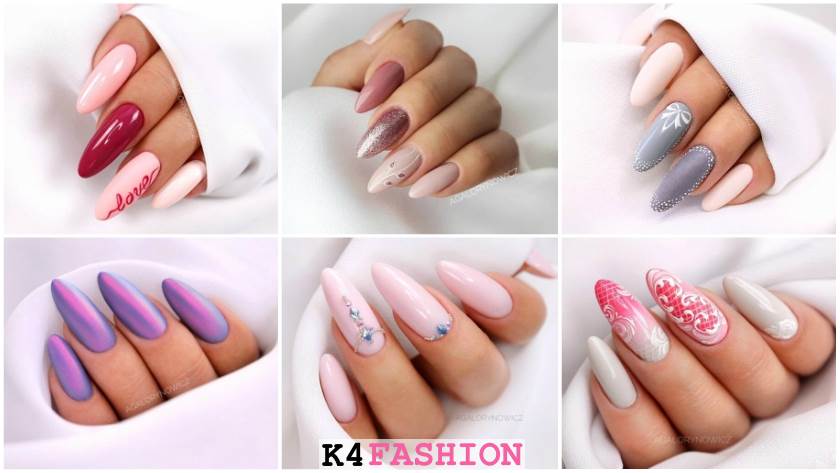
Just starting out with nail art? Don't worry, we've got you covered with 50 amazing nail art designs that are perfect for beginners and will have your nails looking fancy in no time. First up, we have a simple and elegant French manicure. This classic design is perfect for any occasion and can be achieved by painting the tips white or your desired color.6. 50 Amazing Nail Art Designs for Beginners


6. 50 Amazing Nail Art Designs for Beginners

The Art of Nail Design: A Creative Way to Elevate Your House's Aesthetics

What is Nail Art?
 Nail art has become a popular trend in the world of fashion and beauty. It involves decorating and embellishing the fingernails with various designs, patterns, and colors. From simple to intricate designs, nail art has evolved into a creative and artistic way to express oneself. And now, it has extended its reach beyond just our nails but also to our homes.
The Rise of Fancy Nail Art in House Design
 Fancy nail art has become a popular element in interior design, adding a touch of creativity and uniqueness to any living space. It allows homeowners to showcase their personality and style through their home's aesthetics. From using nail polish to create patterns on walls and furniture to incorporating intricate nail designs into home decor, the possibilities are endless.
Featured Keywords: fancy nail art, house design, creativity, uniqueness, living space, interior design, home decor
Fancy nail art has become a popular element in interior design, adding a touch of creativity and uniqueness to any living space. It allows homeowners to showcase their personality and style through their home's aesthetics. From using nail polish to create patterns on walls and furniture to incorporating intricate nail designs into home decor, the possibilities are endless.
Featured Keywords: fancy nail art, house design, creativity, uniqueness, living space, interior design, home decor
How to Incorporate Fancy Nail Art into Your Home
 There are various ways to incorporate fancy nail art into your home's design. You can start with something simple, like using nail polish to create patterns on a plain wall. This can add a pop of color and texture to an otherwise dull wall. You can also use nail polish to create unique designs on your furniture, such as a floral pattern on a plain dresser.
For a more intricate and eye-catching look, you can use nail art stickers or decals on your walls, furniture, or even on your floors. These stickers come in a variety of designs and can easily be applied and removed without damaging your home's surfaces. They are perfect for those who want to add a touch of fancy nail art to their home without committing to a permanent design.
Featured Keywords: nail polish, patterns, plain wall, pop of color, texture, unique designs, floral pattern, stickers, decals, surfaces
There are various ways to incorporate fancy nail art into your home's design. You can start with something simple, like using nail polish to create patterns on a plain wall. This can add a pop of color and texture to an otherwise dull wall. You can also use nail polish to create unique designs on your furniture, such as a floral pattern on a plain dresser.
For a more intricate and eye-catching look, you can use nail art stickers or decals on your walls, furniture, or even on your floors. These stickers come in a variety of designs and can easily be applied and removed without damaging your home's surfaces. They are perfect for those who want to add a touch of fancy nail art to their home without committing to a permanent design.
Featured Keywords: nail polish, patterns, plain wall, pop of color, texture, unique designs, floral pattern, stickers, decals, surfaces
Final Thoughts
 Fancy nail art has become a versatile and creative way to elevate the aesthetics of your home. It allows you to personalize your living space and add a unique touch to your house design. So why not give it a try and see how you can incorporate fancy nail art into your home's interior design. It's a fun and creative way to make your home truly yours.


