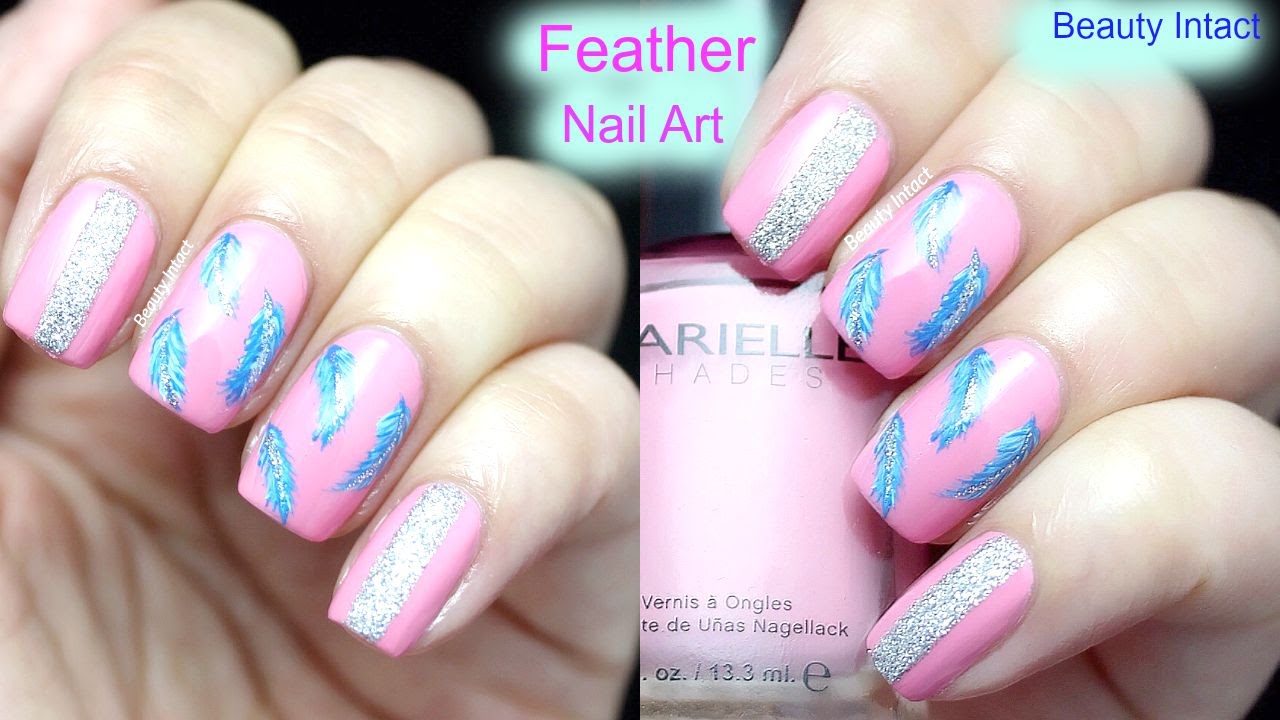
Feather nail art is a popular trend that can add a touch of elegance and whimsy to your nails. It may seem like a difficult design to achieve, but with the right tutorial, you can create stunning feather nail art in no time. In this easy feather nail art tutorial, we will show you step-by-step how to create this beautiful design using just a few tools and nail polish. The key to achieving this feather nail art is to have a steady hand and patience. So, grab your favorite nail polish shades and let’s get started!1. Easy Feather Nail Art Tutorial


1. Easy Feather Nail Art Tutorial


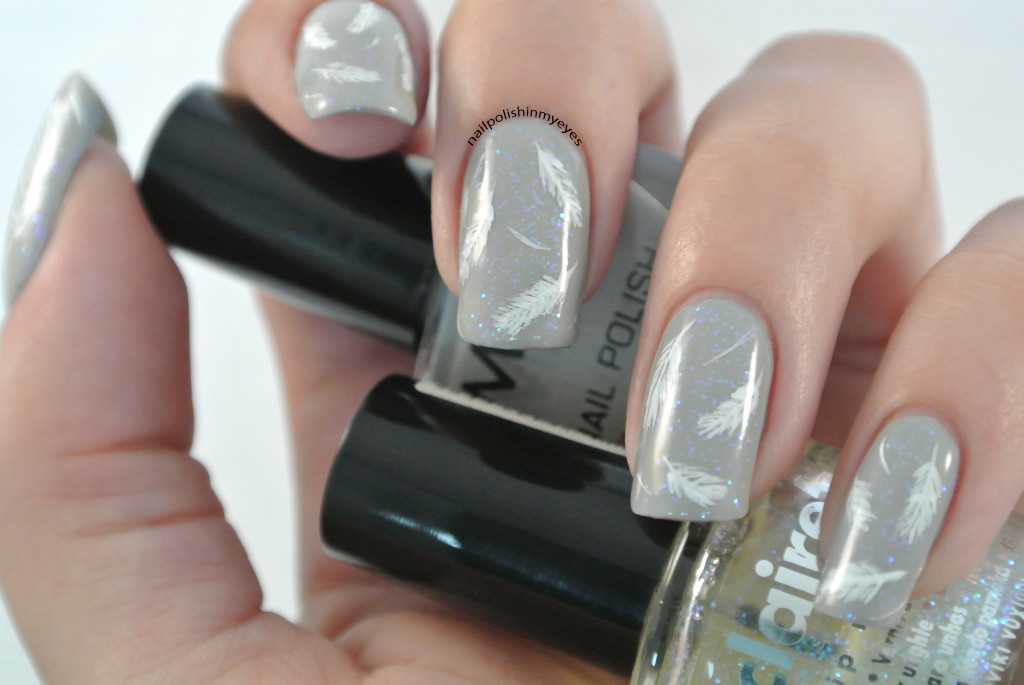


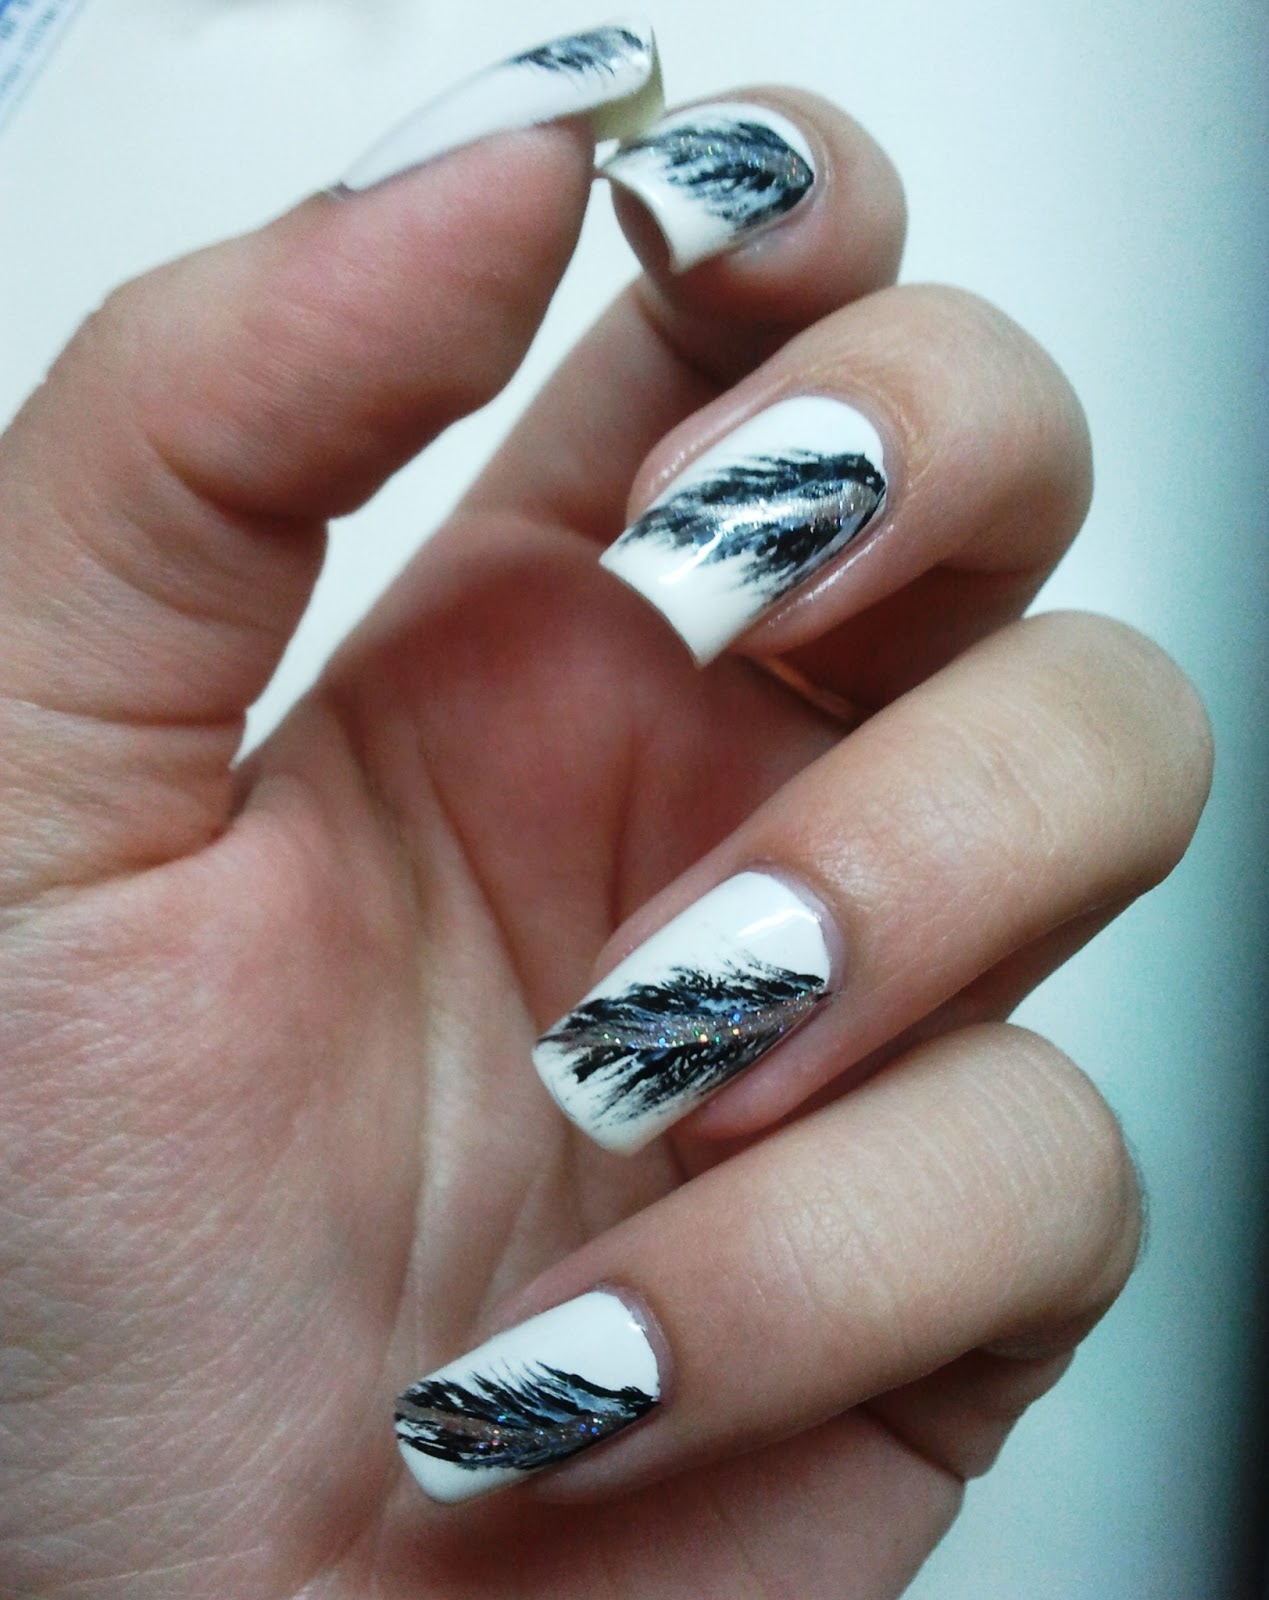
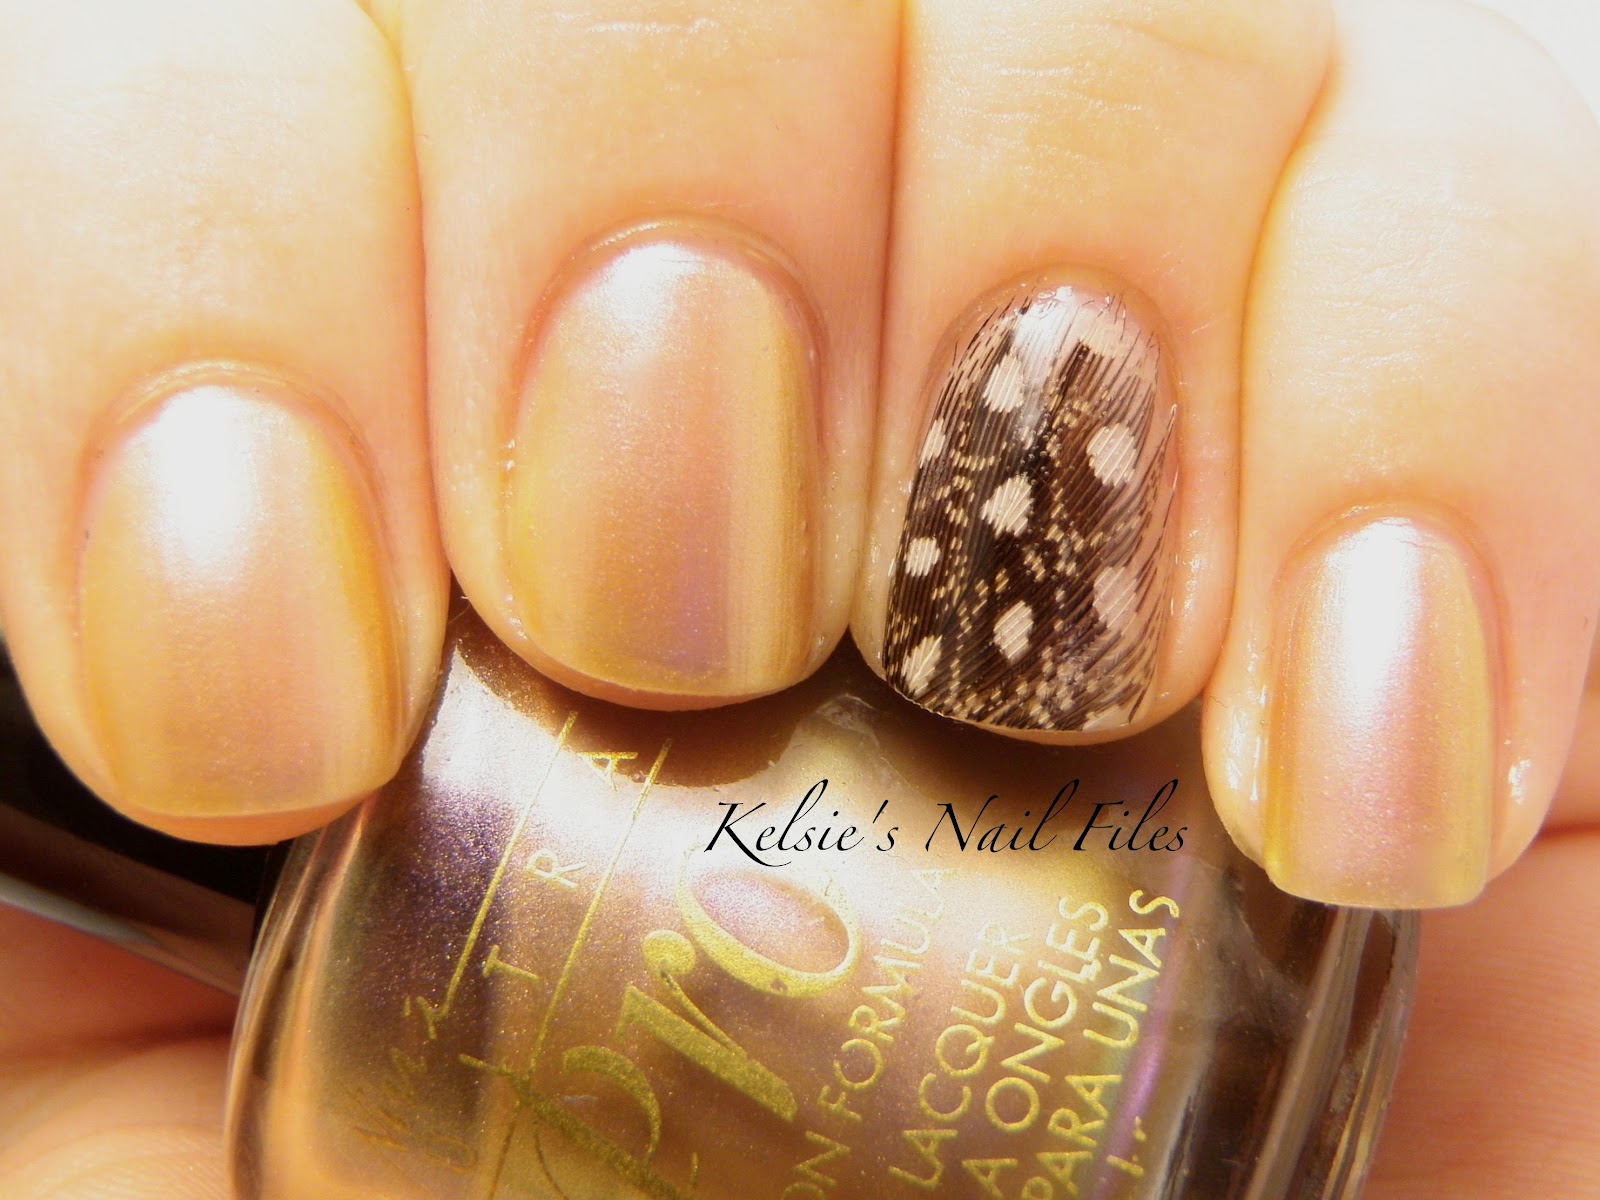
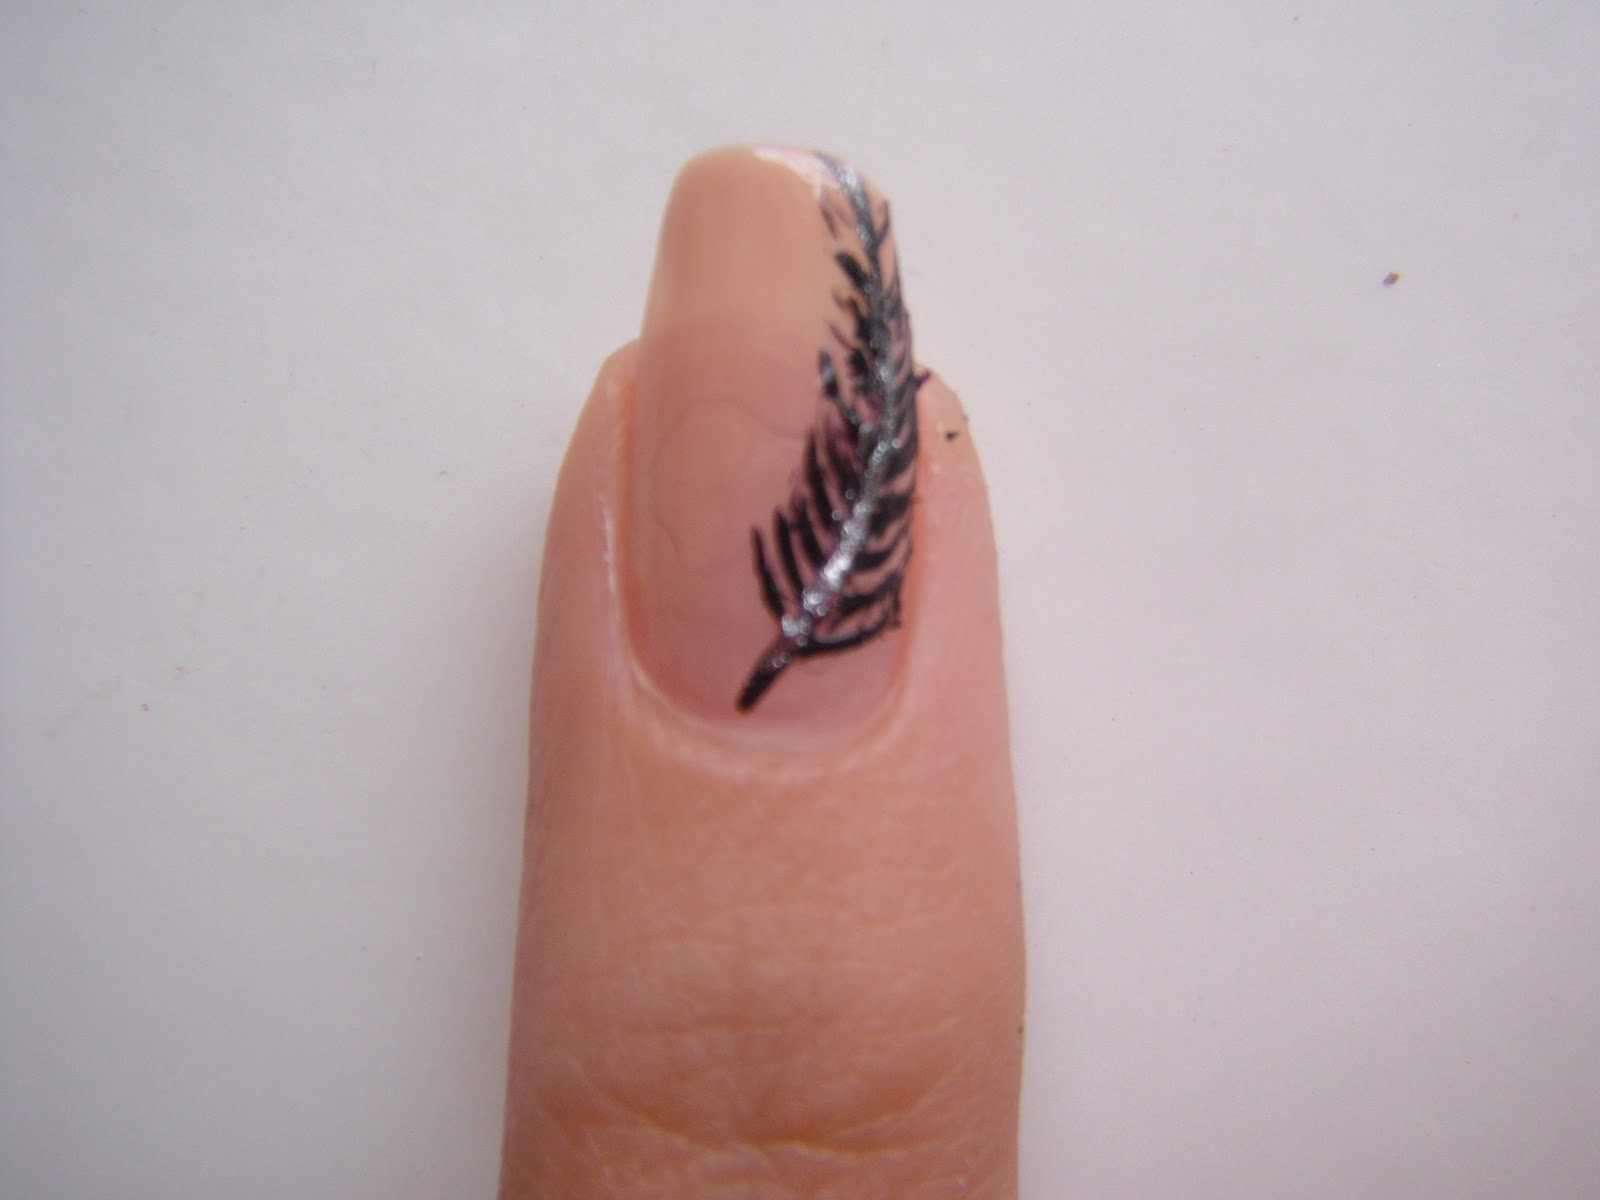
For this step-by-step feather nail art tutorial, you will need a base coat, two nail polish shades of your choice, a thin nail art brush, and a top coat. We recommend using lighter shades for the base and darker shades for the feathers, but feel free to experiment with different color combinations. Step 1: Start by applying a base coat to protect your nails and help the nail polish last longer. Step 2: Once the base coat is dry, apply two coats of your chosen base color and let it dry completely. Step 3: Using the thin nail art brush, create a curved line in the center of your nail with the darker nail polish. This will be the base for your feather. Step 4: Starting from the center line, create thin, curved lines extending outwards to mimic the shape of a feather. Vary the length and thickness of the lines for a more natural look. Step 5: Once you have created the feathers, add small lines and dots in different directions to give the illusion of texture. Step 6: Let the design dry completely and finish it off with a top coat for a glossy finish and to seal in your feather nail art.2. Step-by-Step Feather Nail Art Tutorial


2. Step-by-Step Feather Nail Art Tutorial
.png)


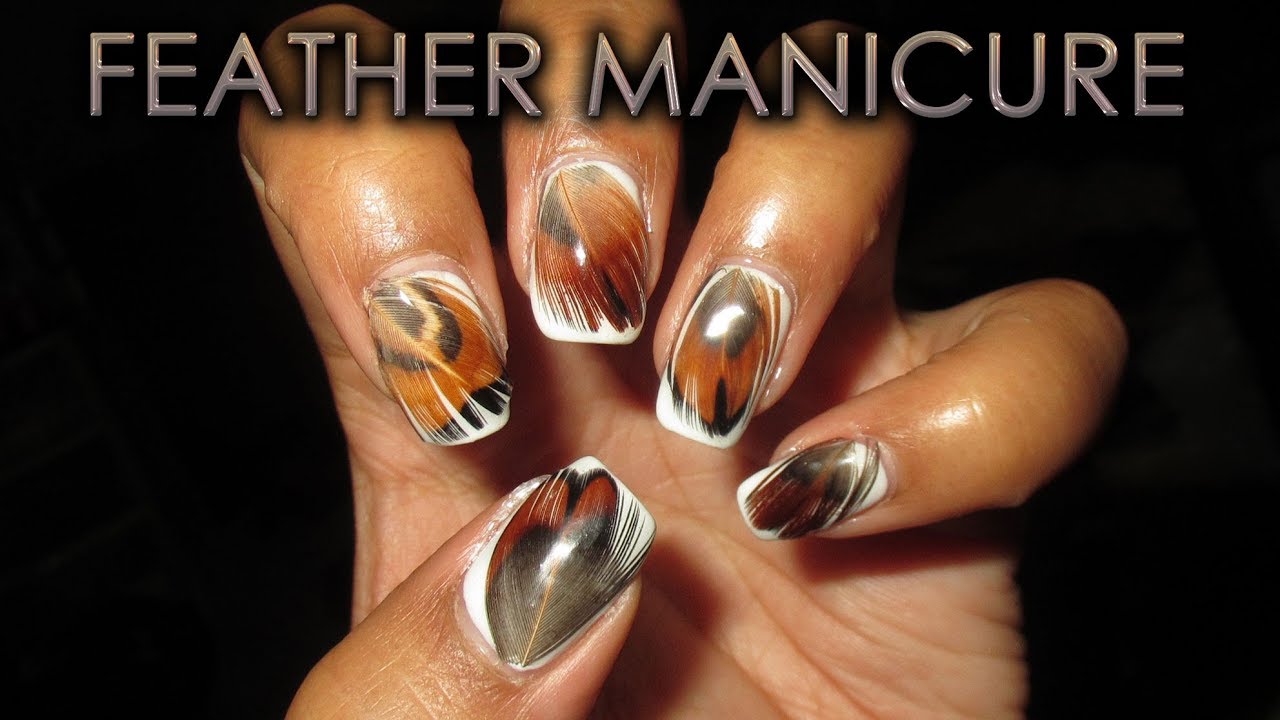
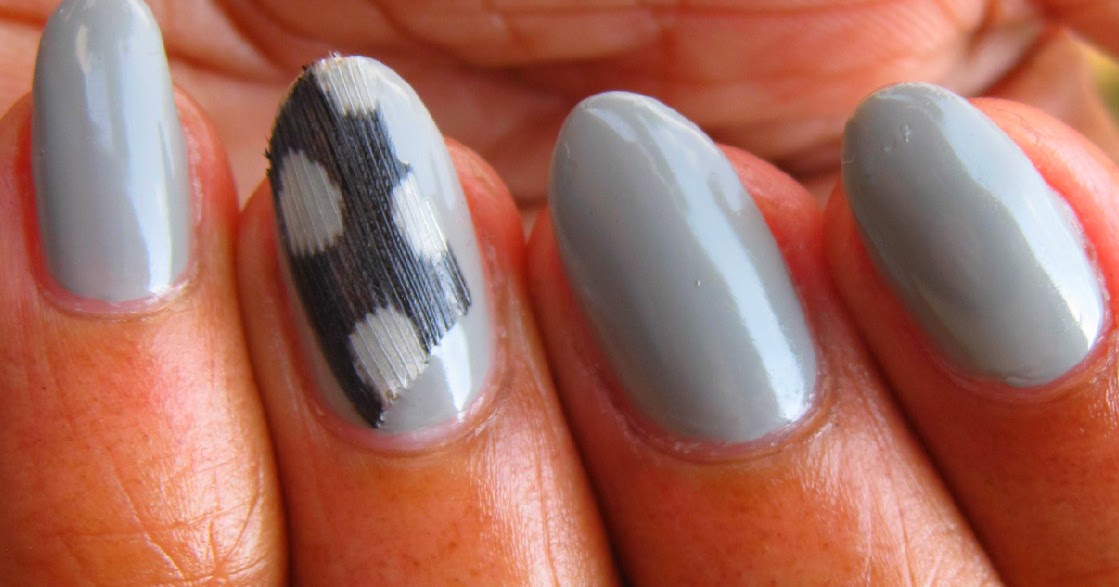
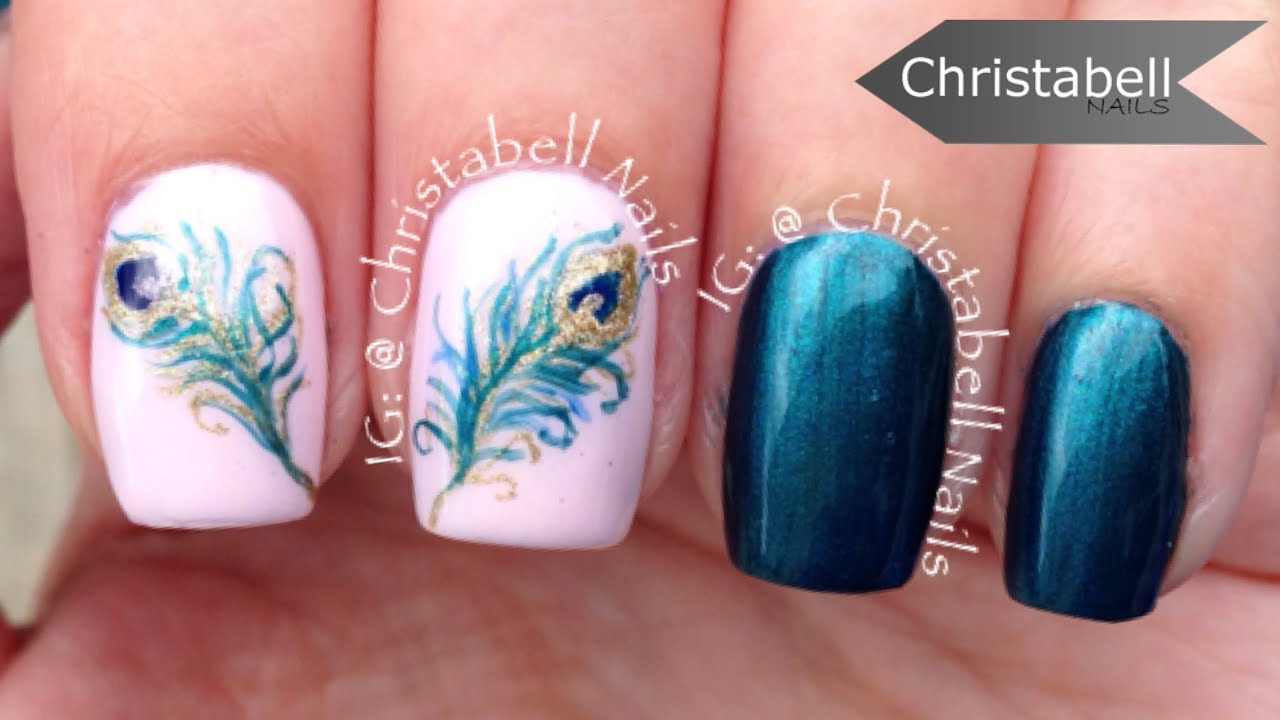
If you love to do your own nails at home, this DIY feather nail art tutorial is perfect for you. You don’t need any fancy tools or nail art supplies, just some basic nail polish colors and a toothpick. Step 1: Start by applying a base coat to protect your nails. Step 2: Apply two coats of your chosen base color and let it dry completely. Step 3: Dip a toothpick in a darker nail polish shade and create a curved line in the center of your nail. Step 4: Using the toothpick, create thin lines extending outwards from the center line to form the feathers. Step 5: Add small lines and dots in different directions to create texture for the feathers. Step 6: Let the design dry completely and finish it off with a top coat for a glossy finish and to seal in your DIY feather nail art.3. DIY Feather Nail Art Tutorial


3. DIY Feather Nail Art Tutorial

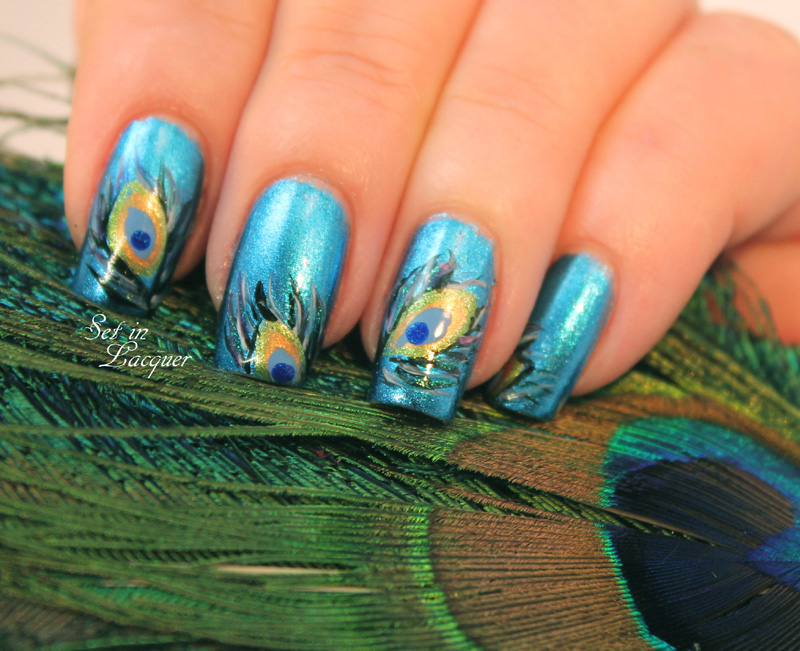
If you are new to nail art, don’t worry, this feather nail art tutorial is perfect for beginners. With just a few simple steps, you can create a beautiful and professional-looking feather design on your nails. Step 1: Apply a base coat to protect your nails. Step 2: Apply two coats of your chosen base color and let it dry completely. Step 3: Using a thin nail art brush, create a curved line in the center of your nail with a darker nail polish shade. Step 4: Using the same brush, create thin lines extending outwards from the center line to form the feathers. Step 5: Add small lines and dots in different directions to create texture for the feathers. Step 6: Finish off with a top coat for a glossy finish and to seal in your feather nail art.4. Feather Nail Art Tutorial for Beginners


4. Feather Nail Art Tutorial for Beginners
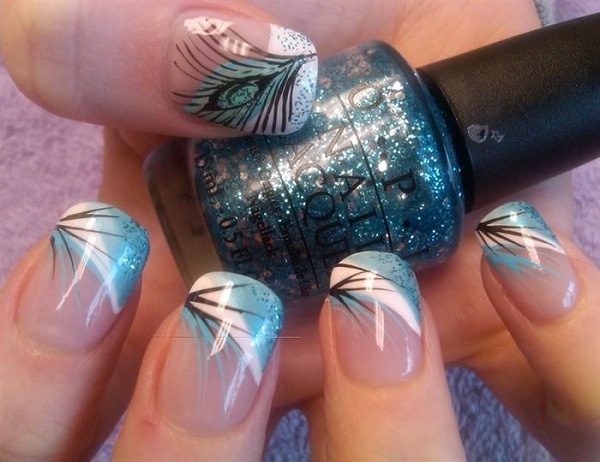
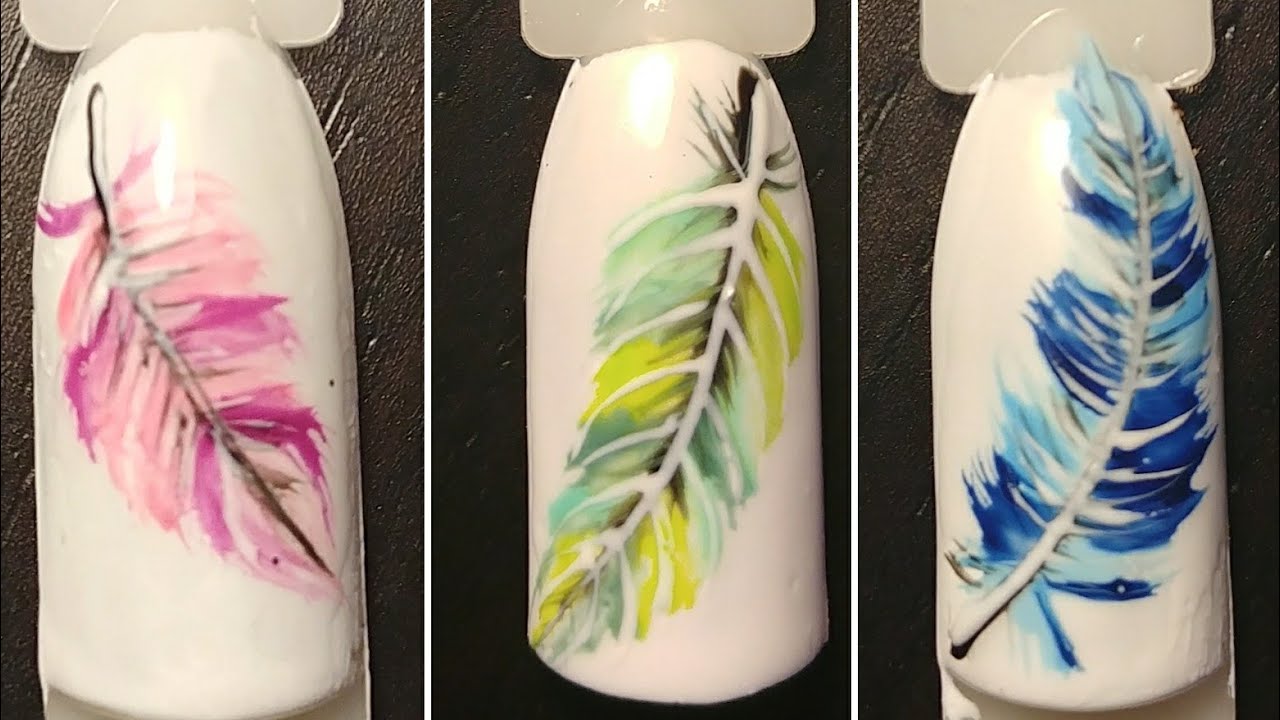
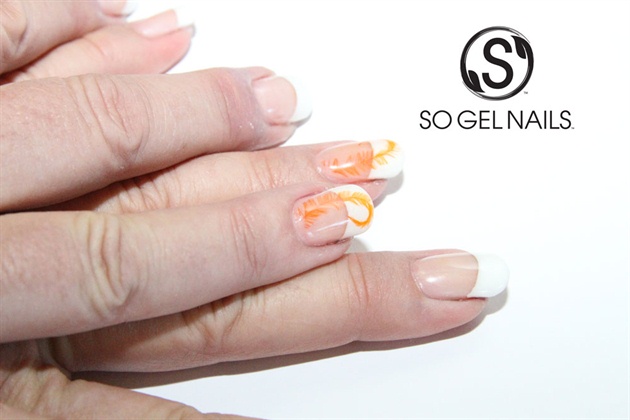
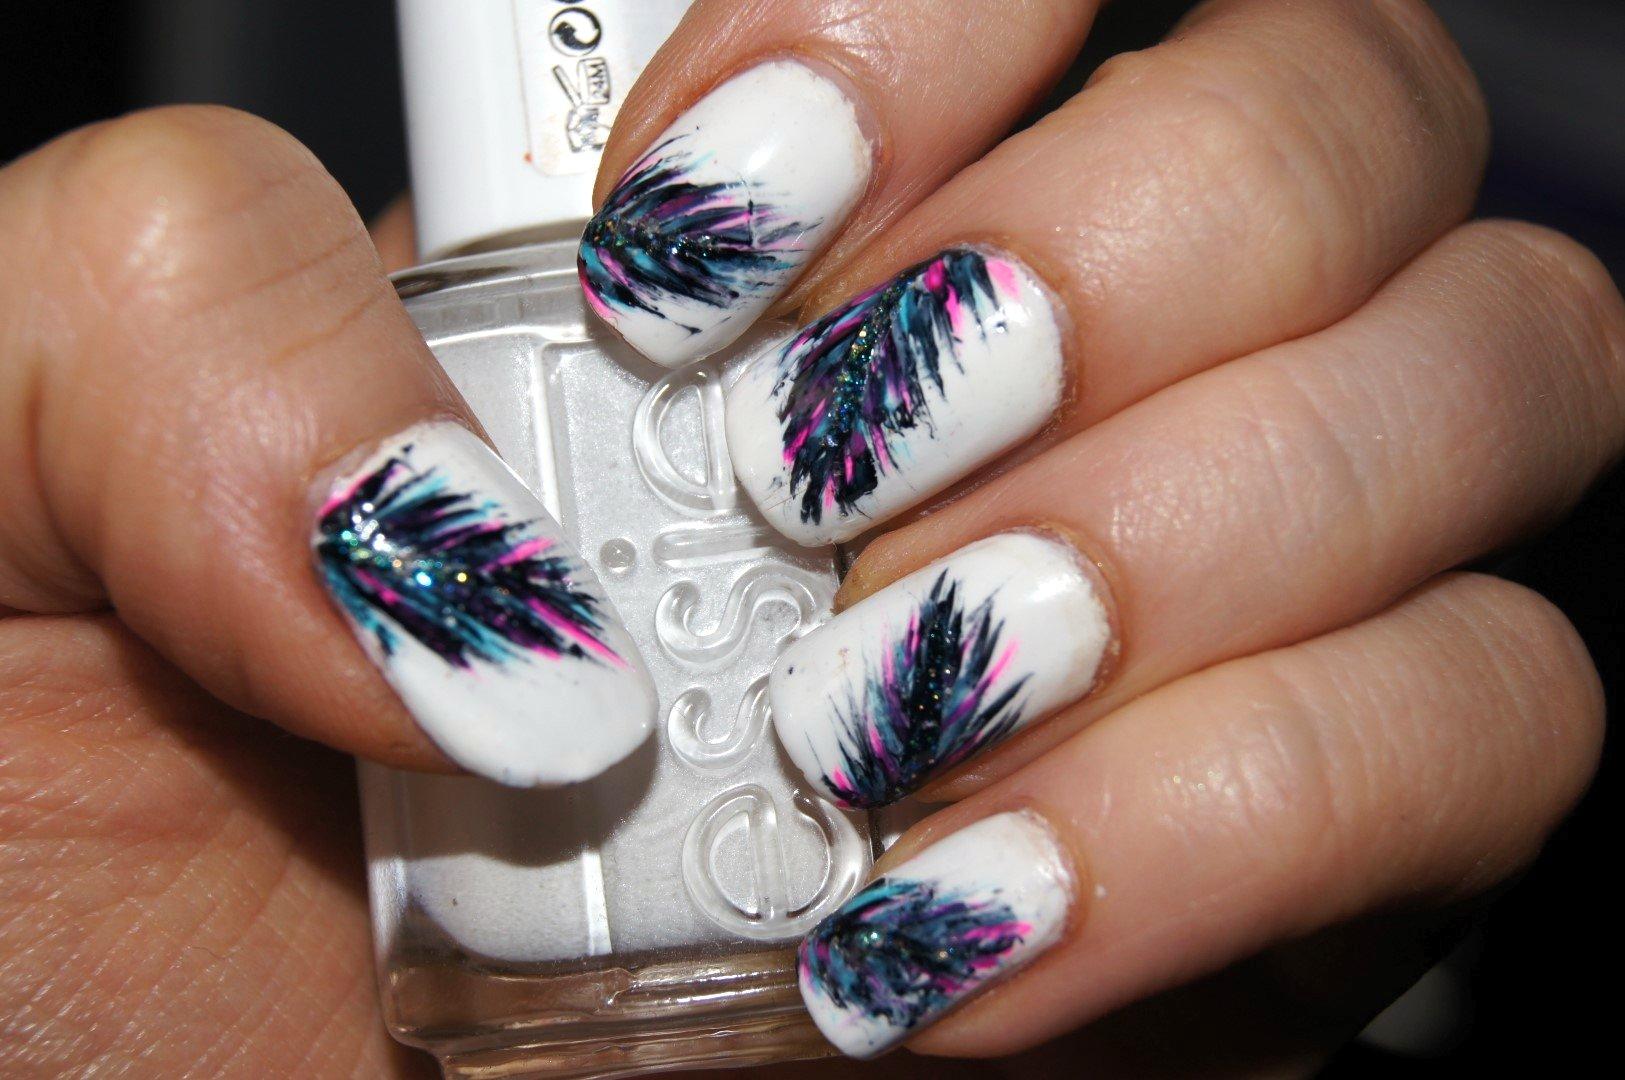
If you want to add a pop of color to your nails, this colorful feather nail art tutorial is perfect for you. You can use a variety of nail polish shades to create a vibrant and unique feather design on your nails. Step 1: Apply a base coat to protect your nails. Step 2: Apply two coats of your chosen base color and let it dry completely. Step 3: Using a thin nail art brush, create a curved line in the center of your nail with a darker nail polish shade. Step 4: Use a different color to create thin lines extending outwards from the center line to form the feathers. Step 5: Add small lines and dots in different directions using various nail polish shades to create a colorful and textured feather design. Step 6: Finish off with a top coat for a glossy finish and to seal in your colorful feather nail art.5. Colorful Feather Nail Art Tutorial
5. Colorful Feather Nail Art Tutorial
If you prefer using gel polish for your nails, you can still achieve a stunning feather design. This tutorial will show you how to create feather nail art using gel polish and a nail art brush. Step 1: Apply a base coat and cure it under a UV or LED lamp. Step 2: Apply two coats of your chosen base color and cure each coat under the lamp. Step 3: Using a thin nail art brush, create a curved line in the center of your nail with a darker gel polish shade. Step 4: Use the brush to create thin lines extending outwards from the center line to form the feathers. Step 5: Add small lines and dots in different directions to create texture for the feathers. Step 6: Cure the design under the lamp and finish off with a top coat for a glossy finish and to seal in your feather nail art.6. Feather Nail Art Tutorial with Gel Polish

6. Feather Nail Art Tutorial with Gel Polish
If you enjoy using acrylic paint for your nail art, you can easily create a feather design with this tutorial. All you need is a few nail polish colors and a small brush. Step 1: Apply a base coat to protect your nails. Step 2: Apply two coats of your chosen base color and let it dry completely. Step 3: Using a small brush, create a curved line in the center of your nail with a darker nail polish shade. Step 4: Use the brush to create thin lines extending outwards from the center line to form the feathers. Step 5: Add small lines and dots in different directions to create texture for the feathers. Step 6: Finish off with a top coat for a glossy finish and to seal in your feather nail art.7. Feather Nail Art Tutorial with Acrylic Paint
7. Feather Nail Art Tutorial with Acrylic Paint
If you want to achieve a perfect feather design without the hassle of painting, you can use nail stickers. This tutorial will show you how to create feather nail art using nail stickers. Step 1: Apply a base coat and let it dry. Step 2: Apply two coats of your chosen base color and let it dry completely. Step 3: Choose a feather nail sticker and carefully place it on your nail. Step 4: Press the sticker down firmly and smooth out any air bubbles. Step 5: Trim off any excess sticker and use a top coat to seal in your feather nail art.8. Feather Nail Art Tutorial with Nail Stickers


8. Feather Nail Art Tutorial with Nail Stickers
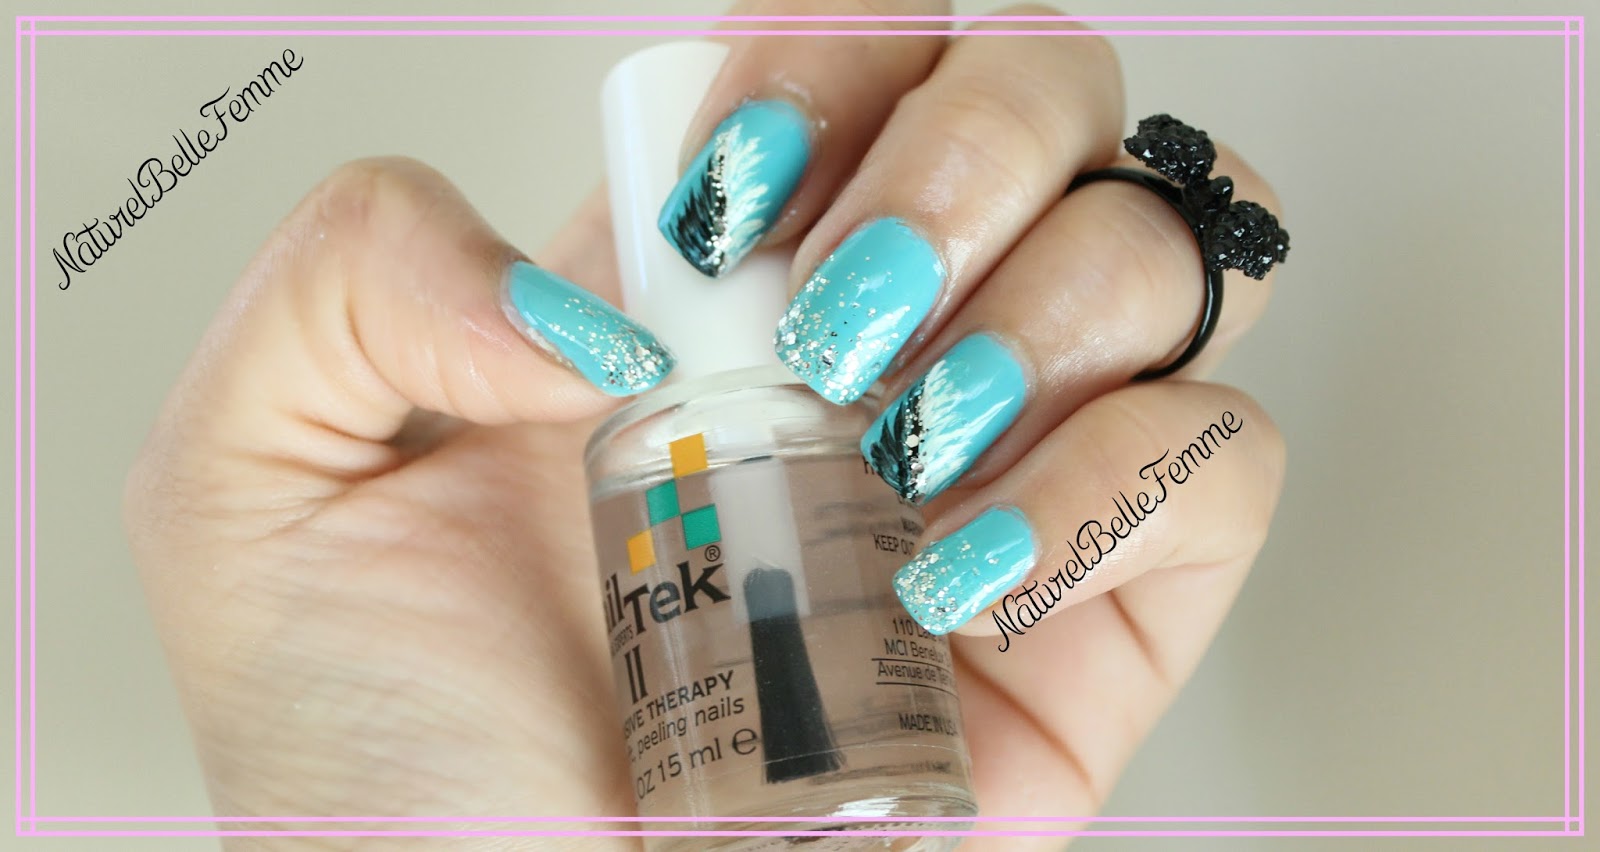
Short nails can still rock a feather design with this tutorial. You can adjust the size and placement of the feathers to suit your nail length. Step 1: Apply a base coat to protect your nails. Step 2: Apply two coats of your chosen base color and let it dry completely. Step 3: Using a thin nail art brush, create a curved line in the center of your nail with a darker nail polish shade. Step 4: Use the brush to create thin lines extending outwards from the center line to form smaller feathers. Step 5: Add small lines and dots in different directions to create texture for the feathers. Step 6: Finish off with a top coat for a glossy finish and to seal in your feather nail art.9. Feather Nail Art Tutorial for Short Nails

9. Feather Nail Art Tutorial for Short Nails

Long nails are perfect for showcasing a bold and intricate feather design. This tutorial will show you how to create a stunning feather design for your long nails. Step 1: Apply a base coat to protect your nails. Step 2: Apply two coats of your chosen base color and let it dry completely. Step 3: Using a thin nail art brush, create a curved line in the center of your nail with a darker nail polish shade. Step 4: Use the brush to create longer and thicker lines extending outwards from the center line to form larger feathers. Step 5: Add small lines and dots in different directions to create texture for the feathers. Step 6: Finish off with a top coat for a glossy finish and to seal in your feather nail art. Feather nail art is a beautiful and versatile design that can be customized to your own style and preferences. Whether you are a beginner or a nail art pro, these tutorials will help you achieve stunning feather nail art on your own. Have fun experimenting with different colors and techniques and make your nails stand out with this trendy and elegant design.10. Feather Nail Art Tutorial for Long Nails

10. Feather Nail Art Tutorial for Long Nails
Feather Nail Art Tutorial: A Fun and Easy Way to Elevate Your Nail Game

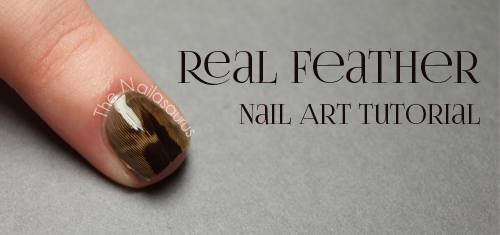
What is Feather Nail Art?
 Feather nail art is a trendy and unique way to add some dimension and texture to your nails. It involves using real or fake feathers to create a whimsical and eye-catching design on your nails. This style has been gaining popularity in recent years and is a fun and easy way to elevate your nail game.
How to Create Feather Nail Art
 Creating feather nail art may seem daunting, but it's actually quite simple. Here are the steps to achieve this fun and unique look:
Step 1: Gather Your Materials
To create feather nail art, you will need the following materials:
- Base coat
- Nail polish in your desired color
- Real or fake feathers
- Scissors
- Tweezers
- Top coat
Step 2: Prep Your Nails
Before you start painting your nails, make sure to prep them properly. This includes trimming and shaping your nails, pushing back your cuticles, and applying a base coat to protect your nails.
Step 3: Paint Your Nails
Choose your desired nail polish color and apply two coats to your nails. Let them dry completely before moving on to the next step.
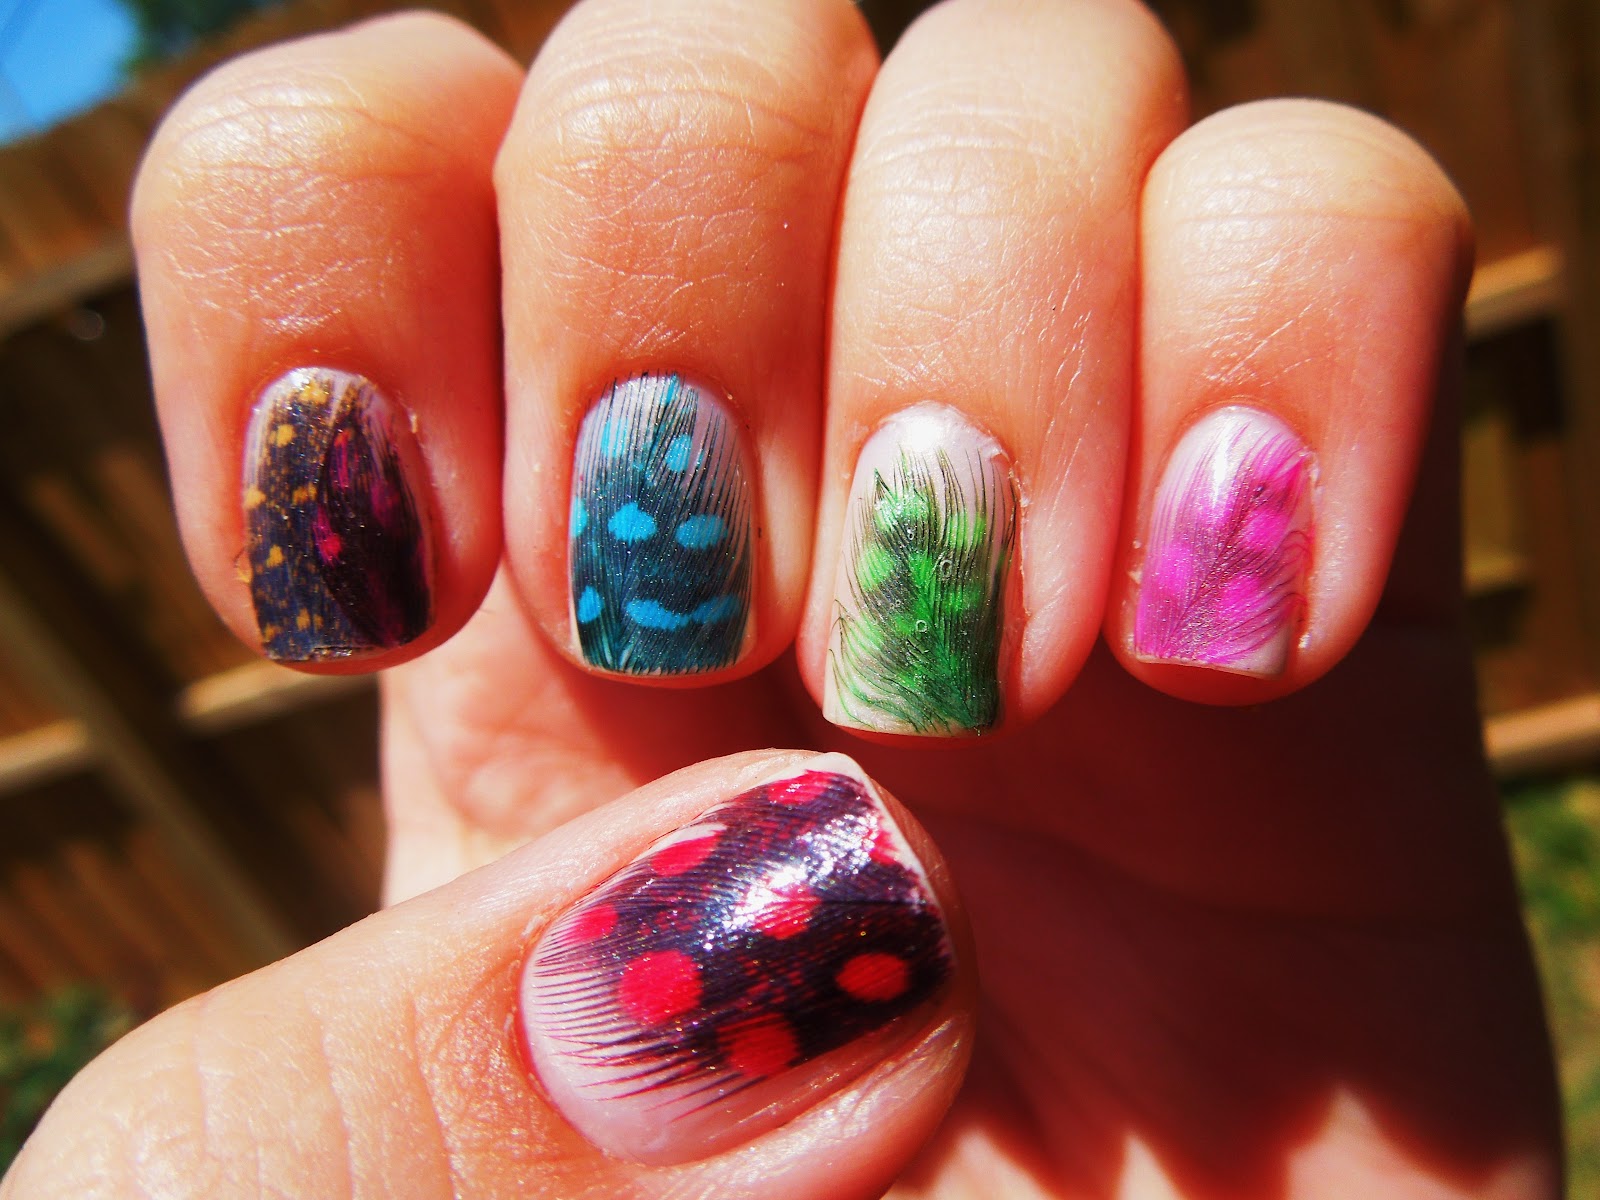
Step 4: Cut the Feathers
Using scissors, cut the feathers into small pieces that will fit on your nails. You can cut them into different shapes and sizes for a more unique and layered look.
Step 5: Apply the Feathers
Using tweezers, carefully place the feather pieces onto your nails. You can place them in a random pattern or create a specific design. Be sure to press down gently to ensure the feathers stick to the nail polish.
Step 6: Seal with Top Coat
Once you have placed all the feathers on your nails, let them dry for a few minutes. Then, apply a top coat to seal in the feathers and give your nails a glossy finish.
Creating feather nail art may seem daunting, but it's actually quite simple. Here are the steps to achieve this fun and unique look:
Step 1: Gather Your Materials
To create feather nail art, you will need the following materials:
- Base coat
- Nail polish in your desired color
- Real or fake feathers
- Scissors
- Tweezers
- Top coat
Step 2: Prep Your Nails
Before you start painting your nails, make sure to prep them properly. This includes trimming and shaping your nails, pushing back your cuticles, and applying a base coat to protect your nails.
Step 3: Paint Your Nails
Choose your desired nail polish color and apply two coats to your nails. Let them dry completely before moving on to the next step.
Step 4: Cut the Feathers
Using scissors, cut the feathers into small pieces that will fit on your nails. You can cut them into different shapes and sizes for a more unique and layered look.
Step 5: Apply the Feathers
Using tweezers, carefully place the feather pieces onto your nails. You can place them in a random pattern or create a specific design. Be sure to press down gently to ensure the feathers stick to the nail polish.
Step 6: Seal with Top Coat
Once you have placed all the feathers on your nails, let them dry for a few minutes. Then, apply a top coat to seal in the feathers and give your nails a glossy finish.
Why Choose Feather Nail Art?
 Feather nail art is a fun and unique way to express your creativity and add some personality to your nails. It's also a great option for those looking for a non-toxic and cruelty-free nail art option, as most feathers used are ethically sourced and can be easily removed without causing harm.
In addition, feather nail art can be customized to fit any occasion or style. You can use different colored feathers, paint your nails a base color that complements the feathers, or even add some glitter for a more glamorous look.
Feather nail art is a fun and unique way to express your creativity and add some personality to your nails. It's also a great option for those looking for a non-toxic and cruelty-free nail art option, as most feathers used are ethically sourced and can be easily removed without causing harm.
In addition, feather nail art can be customized to fit any occasion or style. You can use different colored feathers, paint your nails a base color that complements the feathers, or even add some glitter for a more glamorous look.
Final Thoughts
 Now that you know how to create feather nail art, it's time to try it out for yourself! This fun and easy nail art technique is a great way to change up your manicure and add some flair to your look. So grab some feathers and let your creativity run wild!


