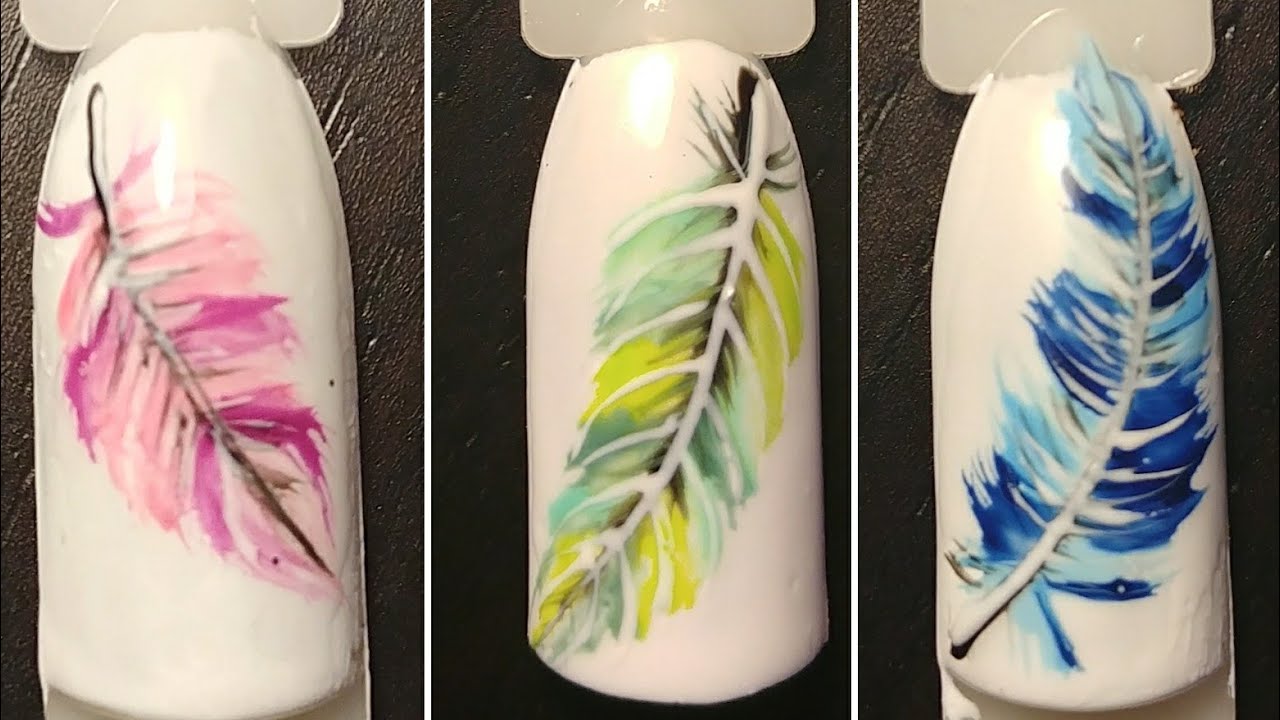
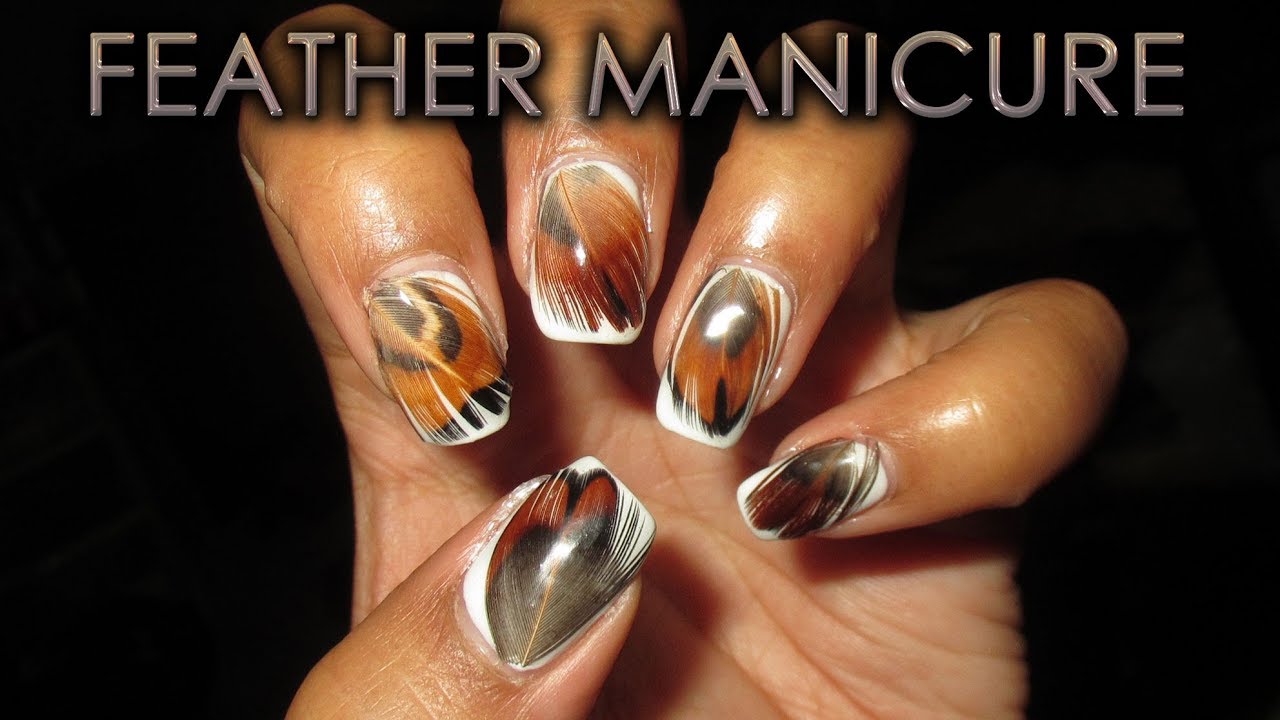
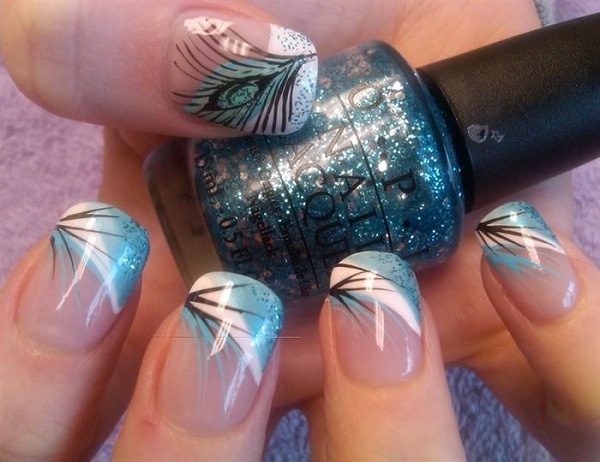
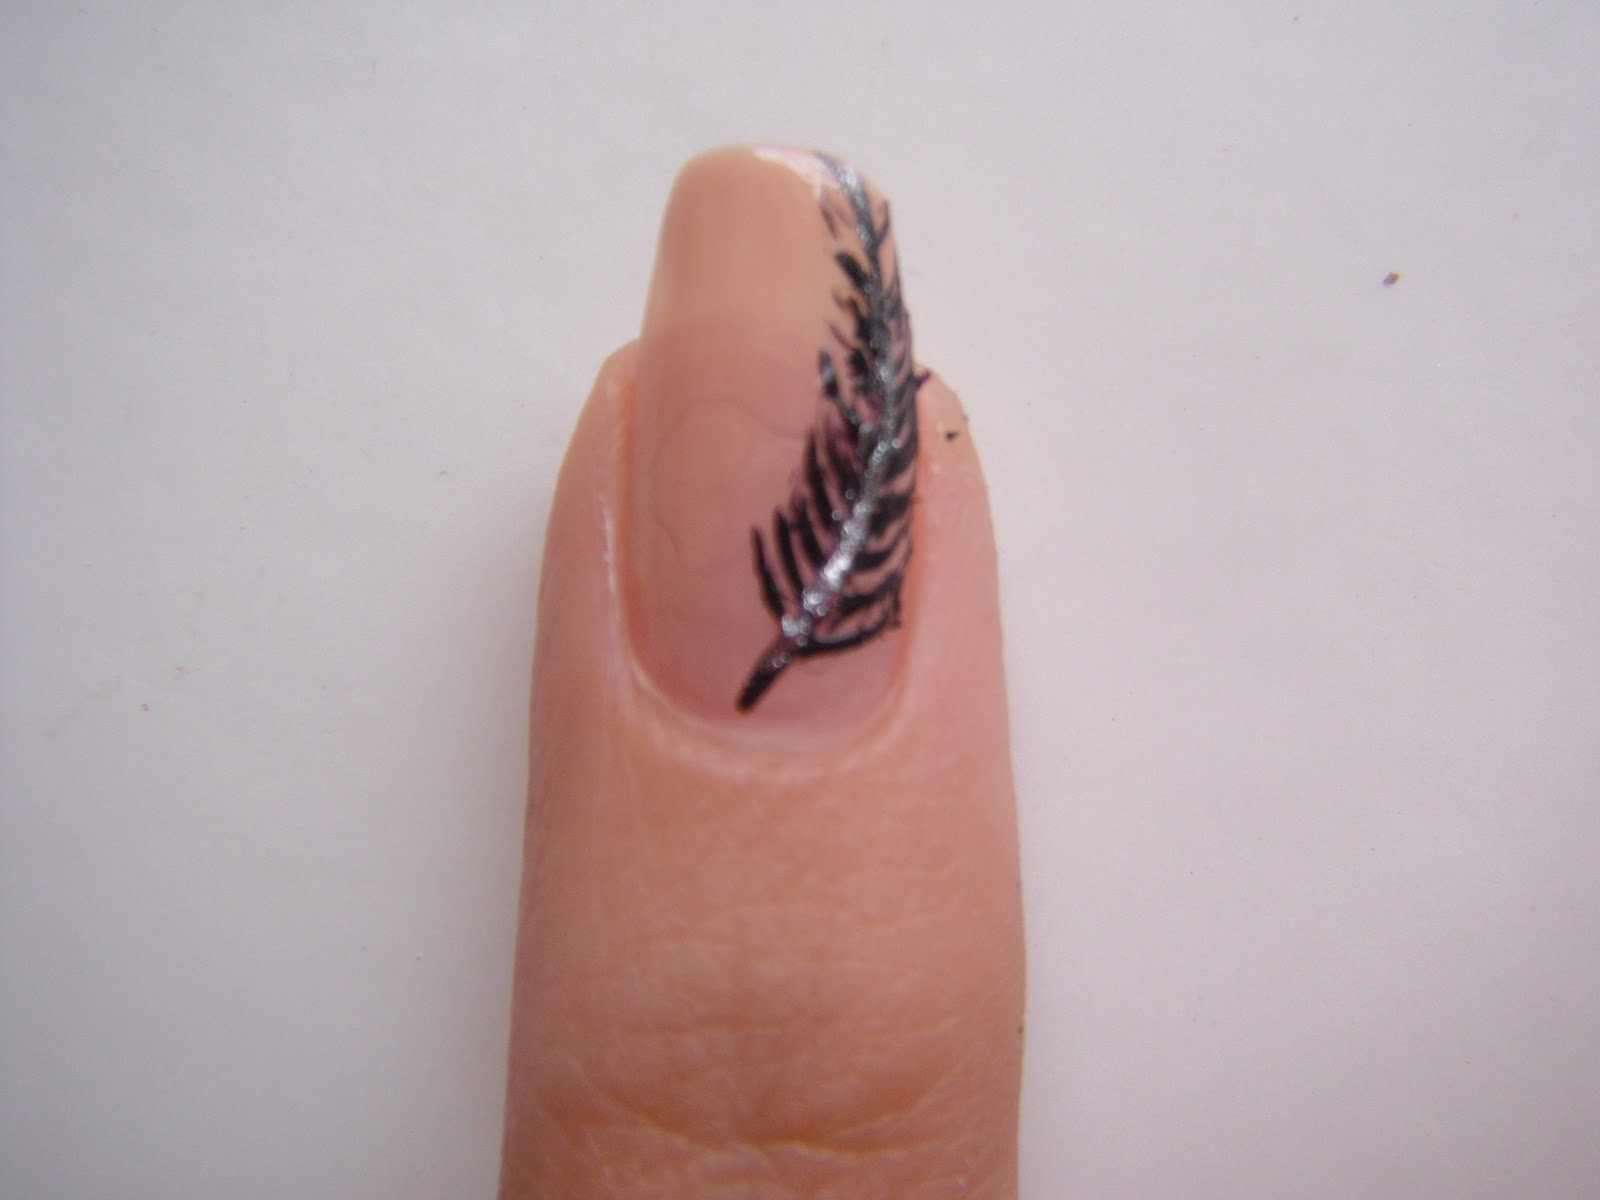
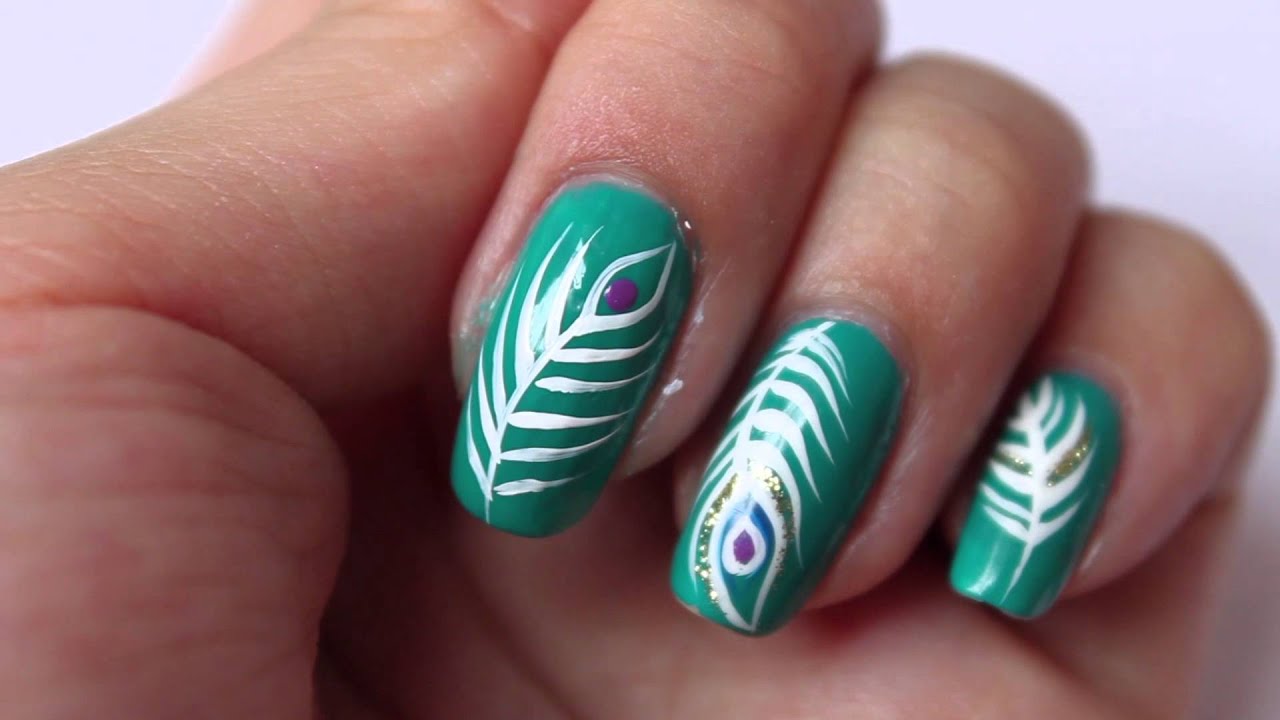
If you're new to nail art and want to try something fun and unique, then feather nail art is perfect for you. This tutorial will guide you through the steps to create a beautiful feather design on your nails. It's easy to do and requires minimal tools, making it perfect for beginners. To start, you'll need a base coat, feather nail decals, nail polish colors of your choice, and a top coat. Begin by applying a base coat to protect your nails and allow it to dry completely. Next, choose the color of your feathers. You can go for a natural look with browns and tans, or get creative with bold colors like blues and purples. Apply the chosen color to your nails and let it dry. Now, it's time to add the feathers. Using the feather nail decals, carefully place them on your nails. You can use tweezers to help with placement. Once they're in place, press down gently to secure them. To add more dimension to your design, you can use a different color of nail polish to paint over the feathers. This will give the appearance of layers and bring the feathers to life. Lastly, finish off with a top coat to seal in your design and add shine. And there you have it, a beautiful feather nail art look that's perfect for any occasion.1. "Easy Feather Nail Art Tutorial"
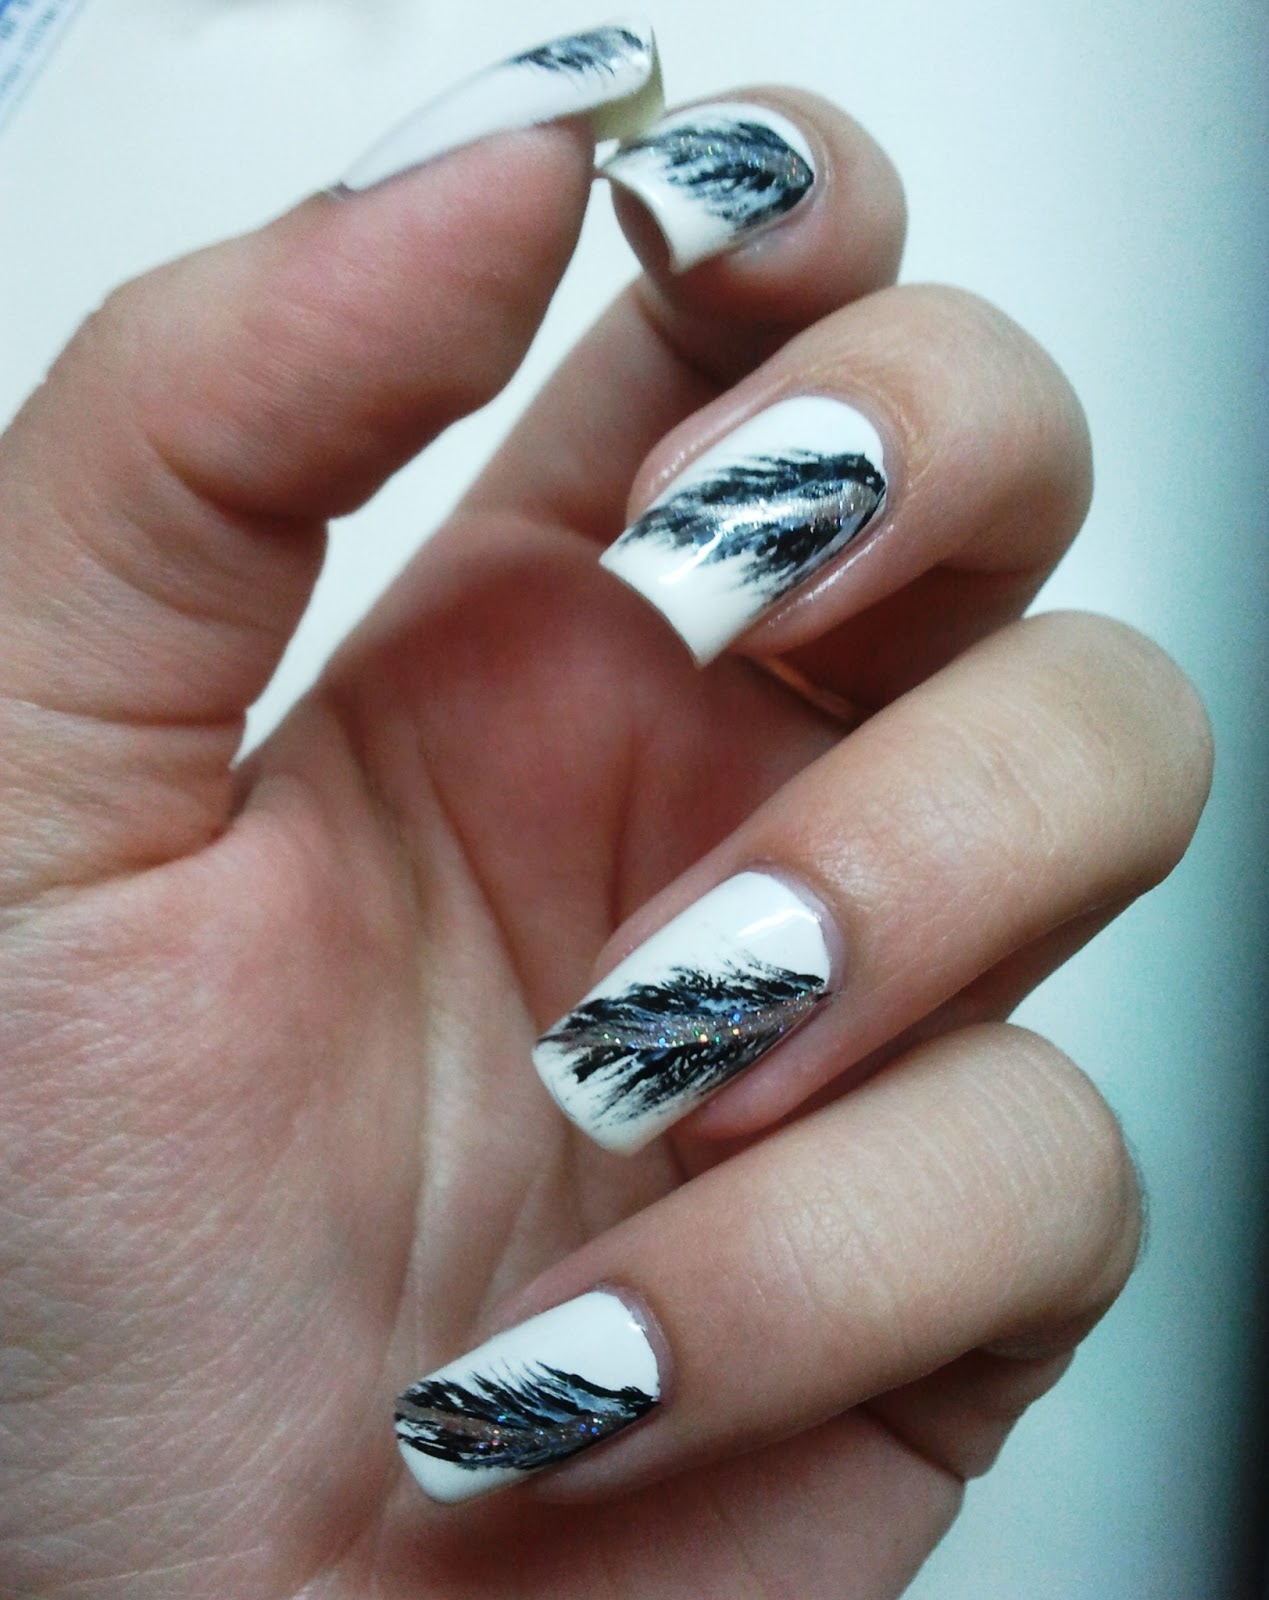


1. "Easy Feather Nail Art Tutorial"
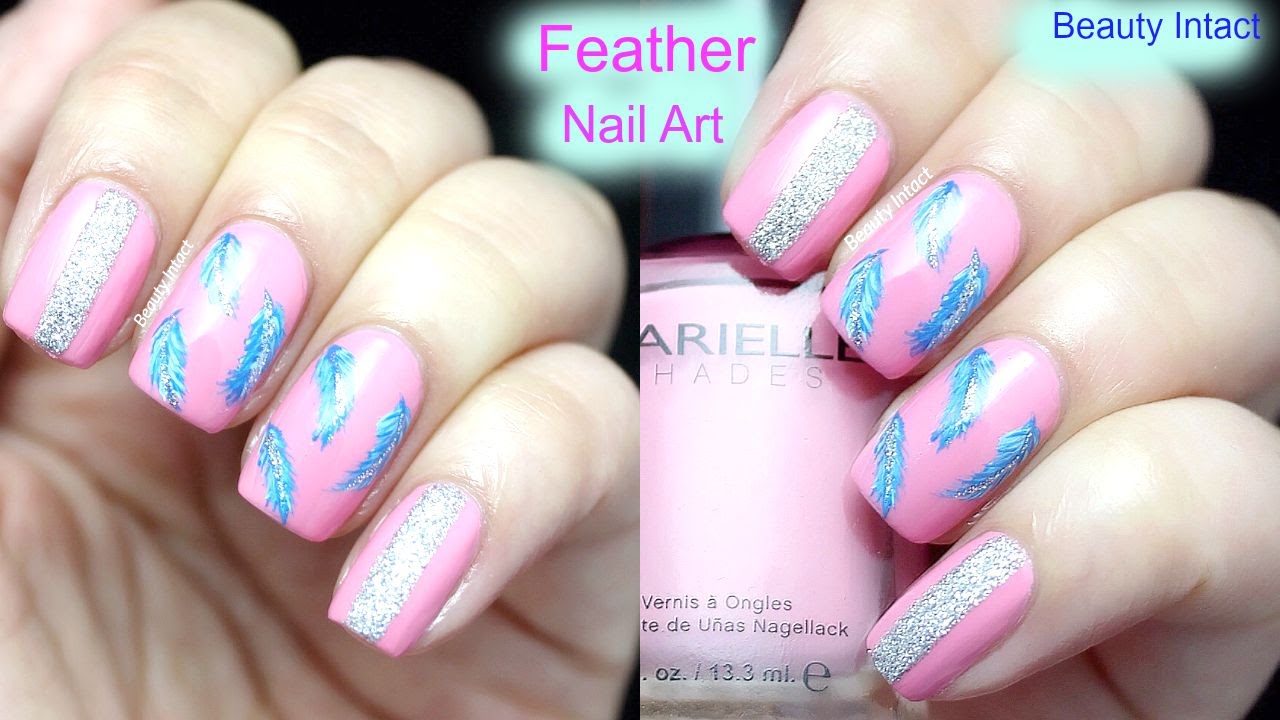


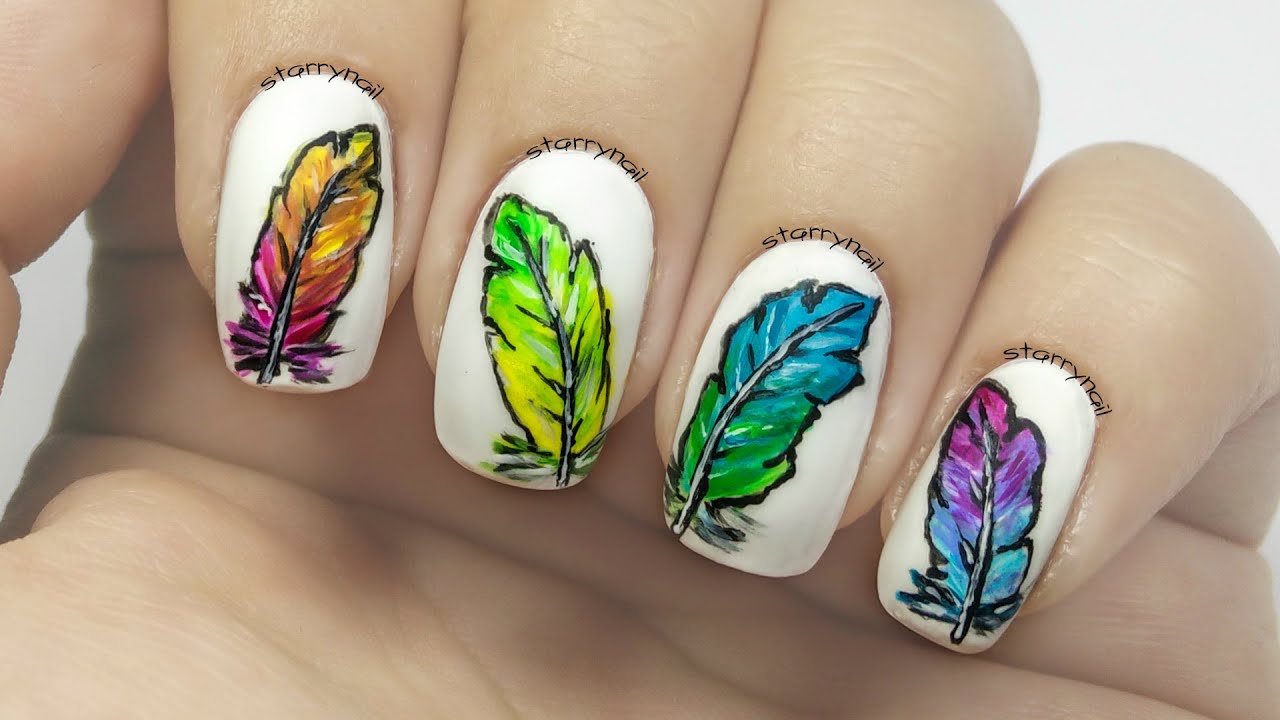
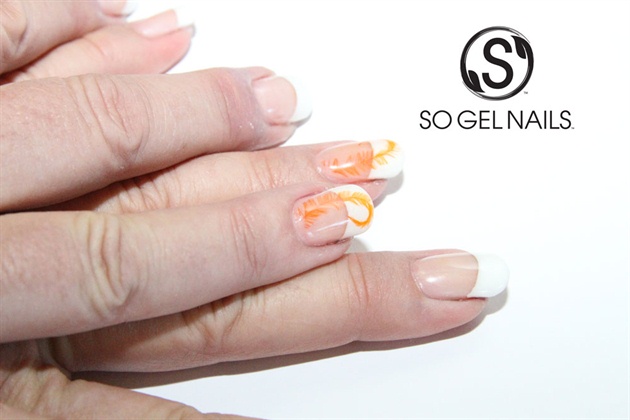
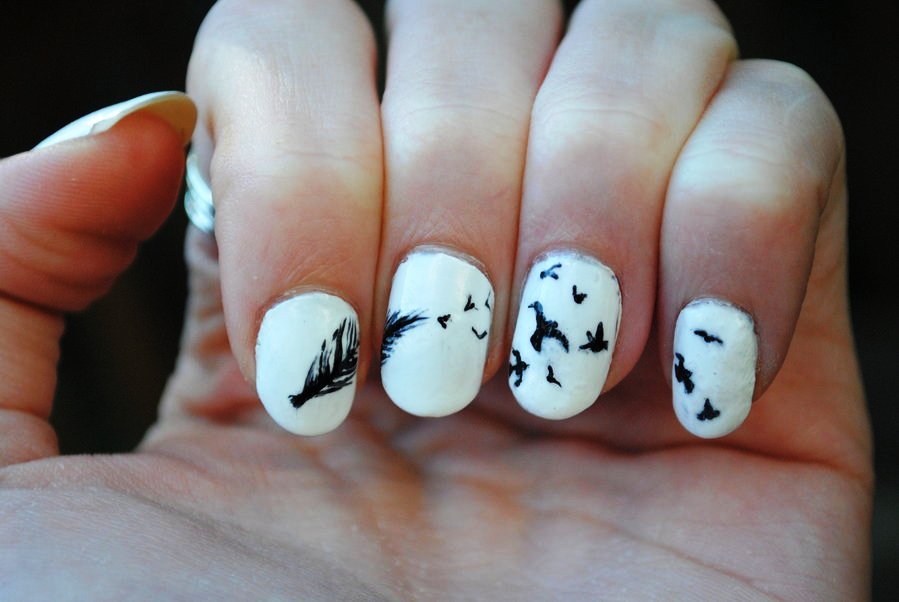
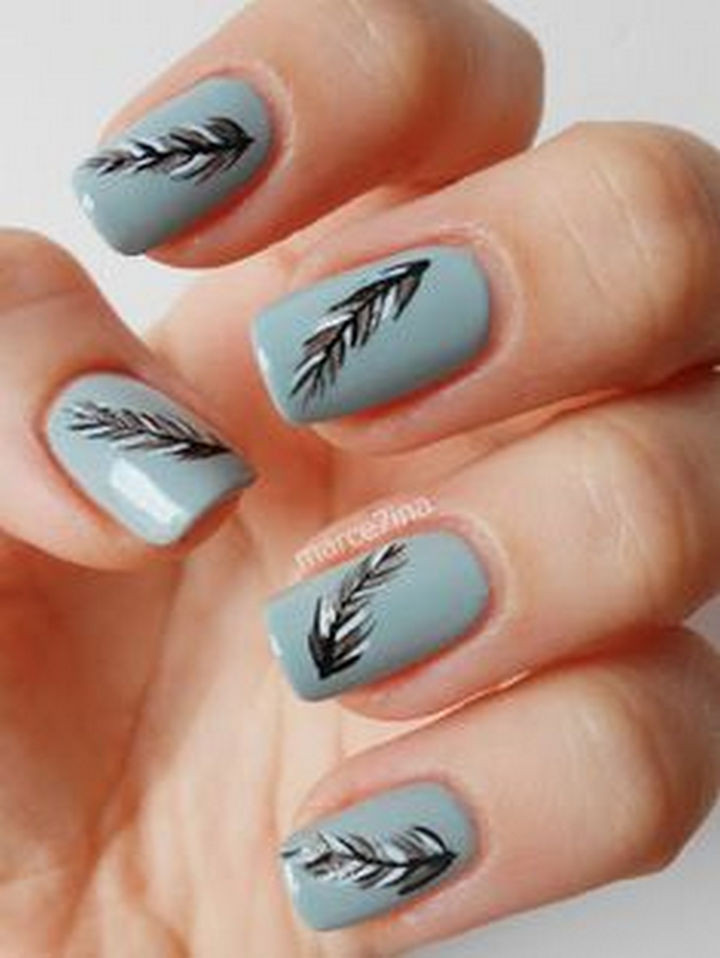
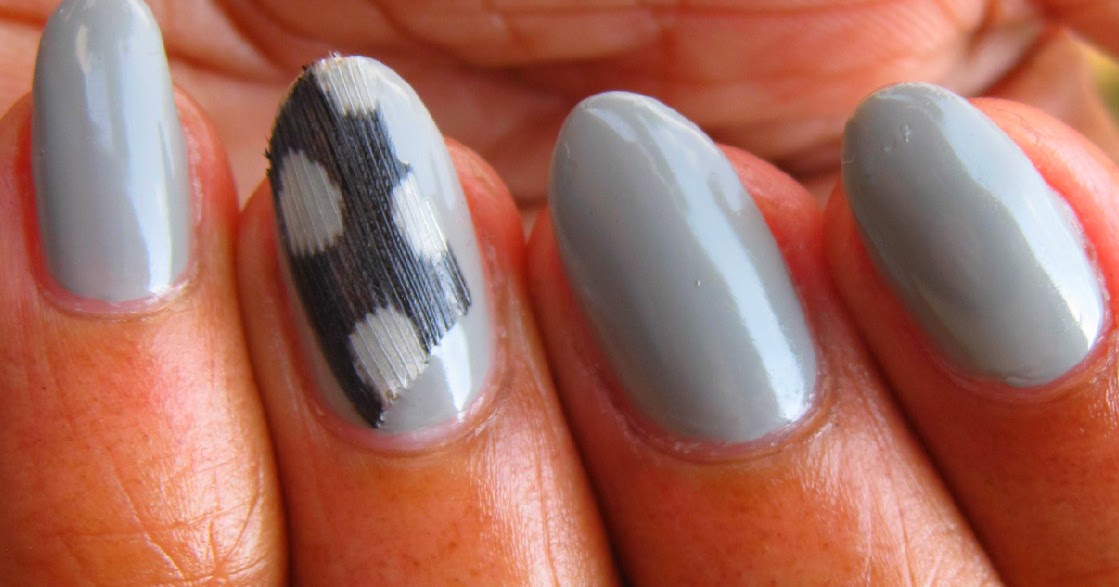
Feather nail art can seem intimidating for beginners, but with the right design, it can be easy and fun to create. Here are some simple feather nail art designs that anyone can try: Feather Accent Nail: For this design, paint all your nails with a solid color and leave one nail blank. On the blank nail, add a feather decal or draw a feather design using a thin nail brush and different colors. Feather French Tips: Create a classic French manicure but instead of a white tip, use a feather decal or draw a feather design. This will add a unique twist to the traditional French manicure. Feather Ombre: Ombre nails are always a hit, and adding feathers to the design can make it stand out even more. Use two or three different shades of the same color and add a feather decal or design on the tips. Feather and Glitter: Glitter can add some sparkle to any design, and this applies to feather nail art too. After applying a base color, add a layer of glitter and then place a feather decal on top. With these simple designs, beginners can create stunning feather nail art looks that are sure to impress.2. "Feather Nail Art Designs for Beginners"


2. "Feather Nail Art Designs for Beginners"


If you're feeling creative, then why not try a DIY feather nail art tutorial? This tutorial will show you how to create your own feather nail decals using household items. What you'll need: - Feather images (printed or drawn) - Clear tape - Scissors - Nail polish colors of your choice - A top coat Instructions: 1. Cut out the feather images and place them on a piece of clear tape. 2. Carefully cut along the edges of the feather to create a decal. 3. Apply a base color to your nails and let it dry completely. 4. Using tweezers, place the feather decal on your nail and press down gently to secure it. 5. Apply a top coat to seal in the design and add shine. And there you have it, custom-made feather nail decals that you can use over and over again!3. "DIY Feather Nail Art Tutorial"

3. "DIY Feather Nail Art Tutorial"

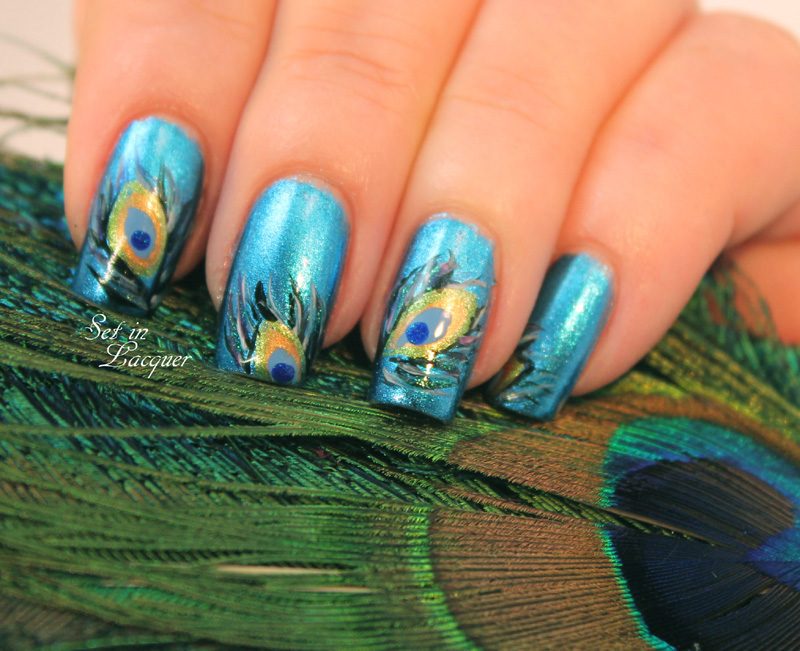
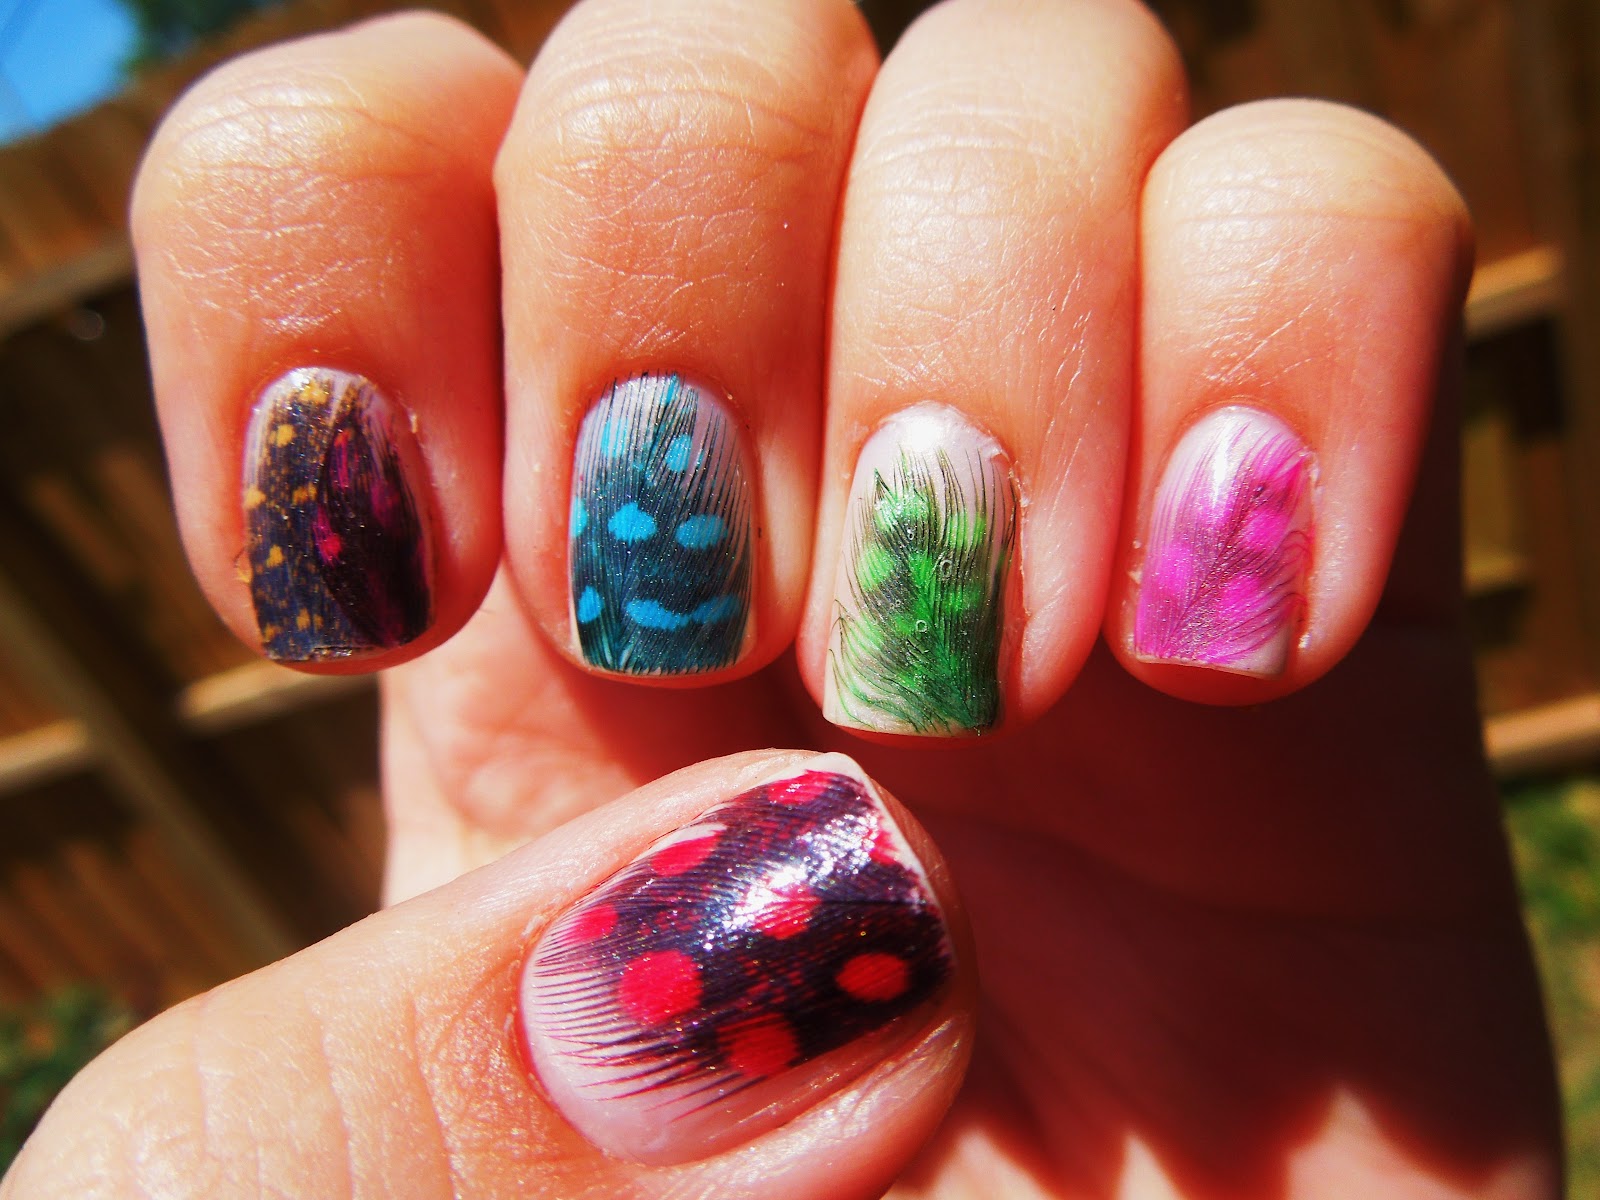
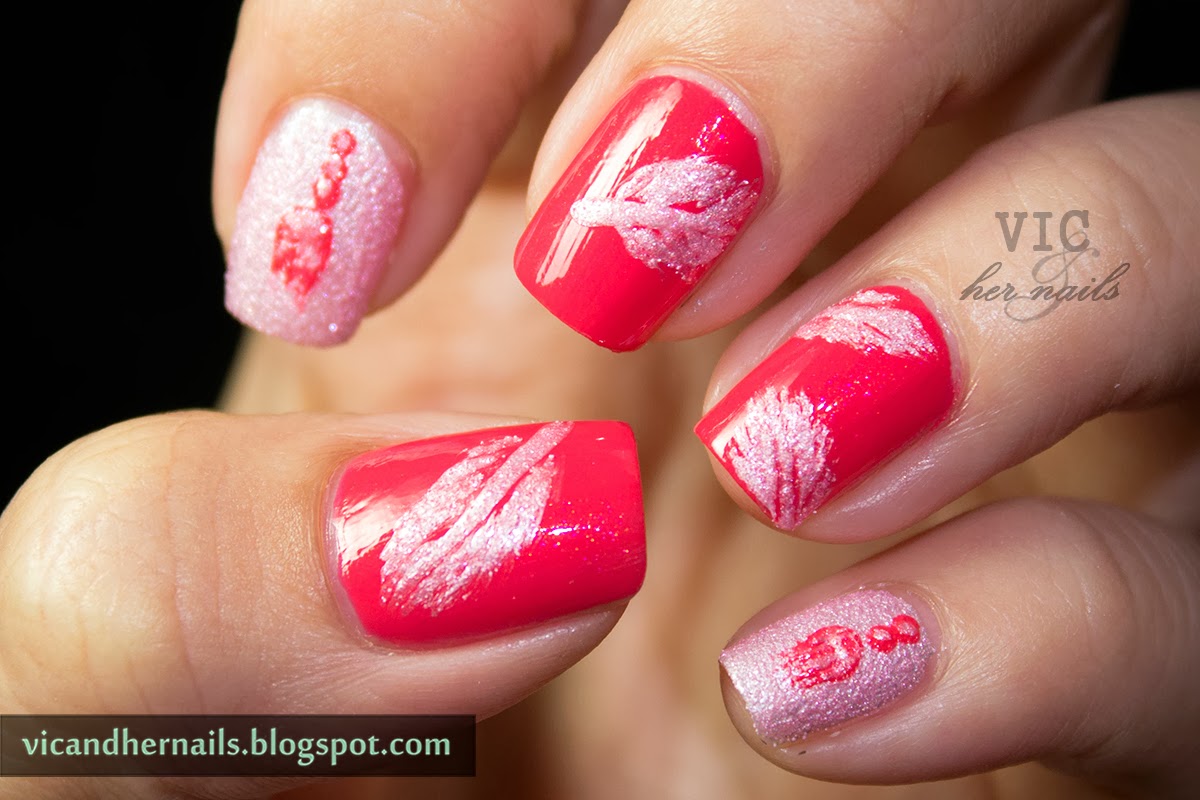
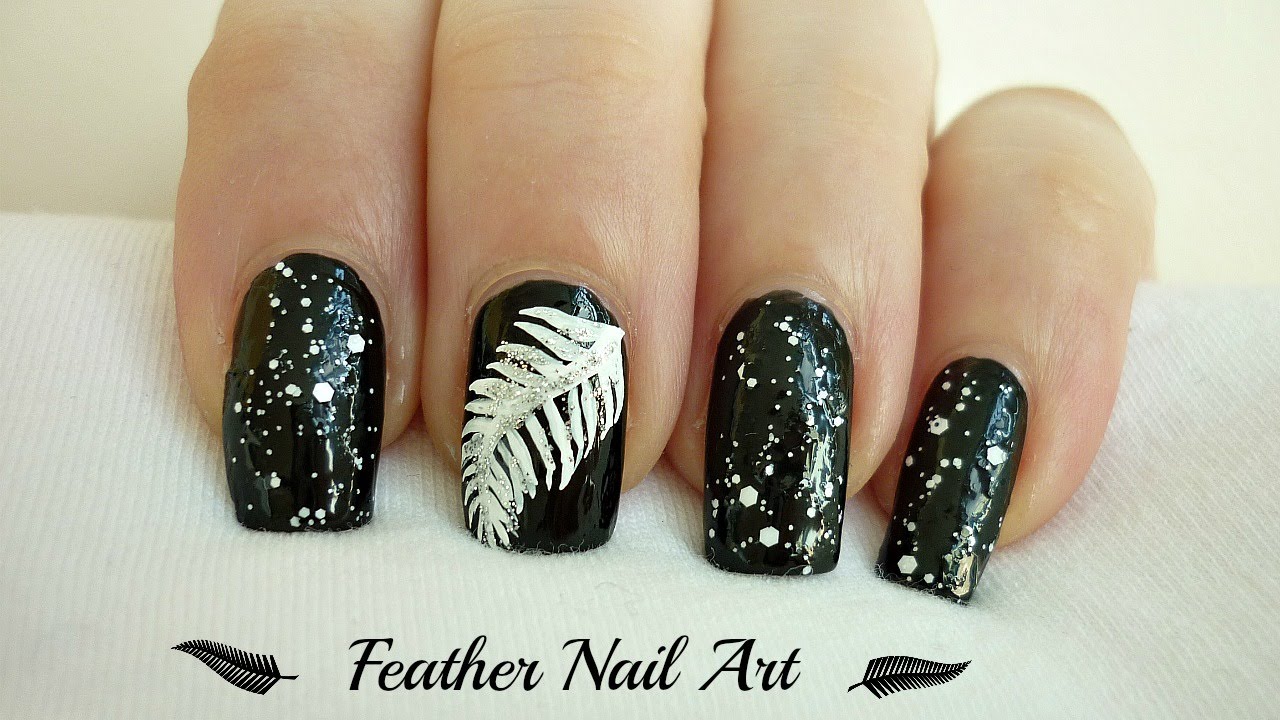
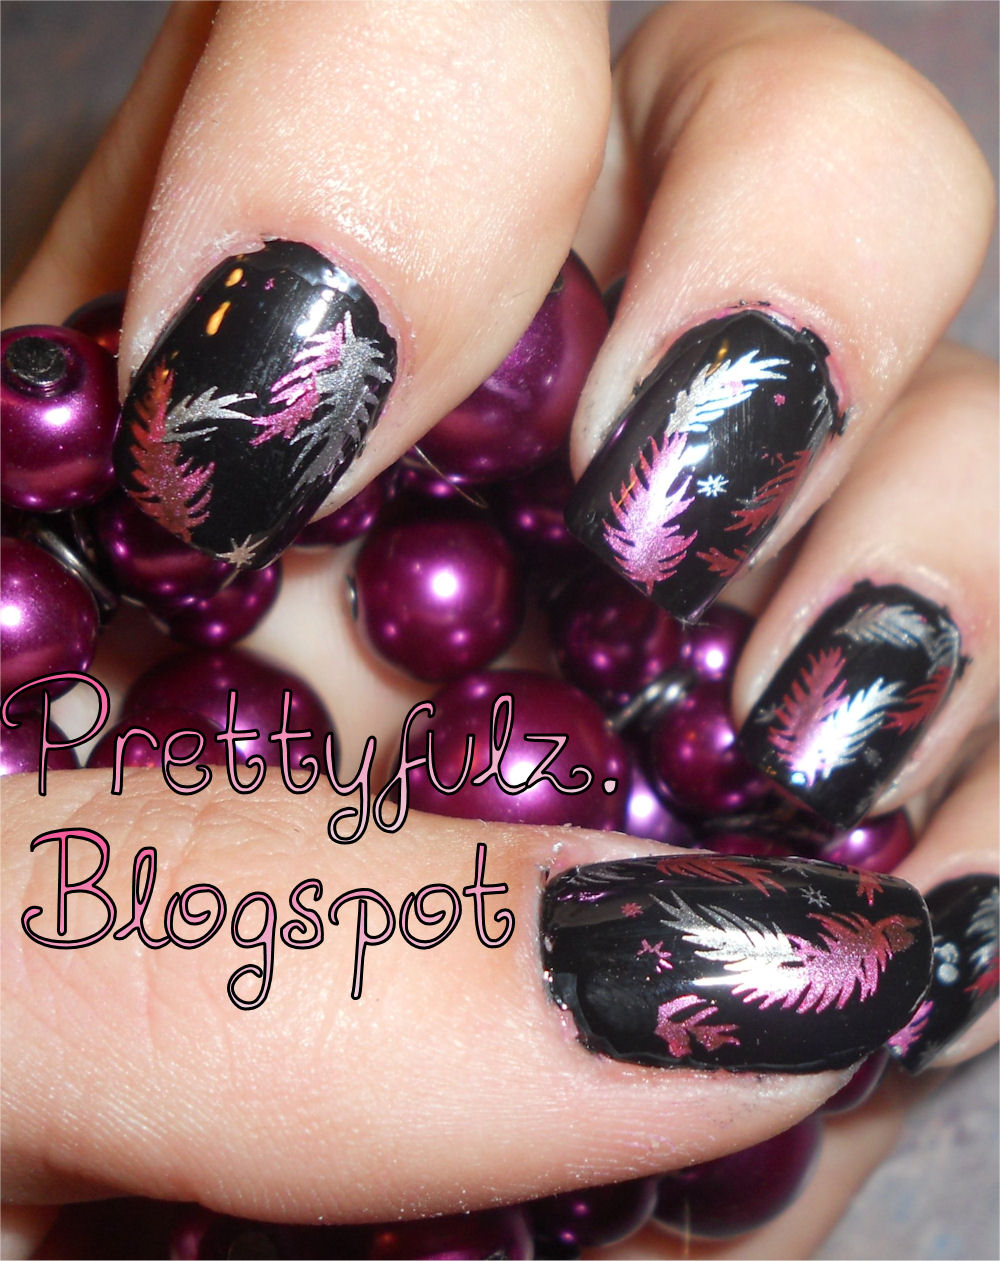
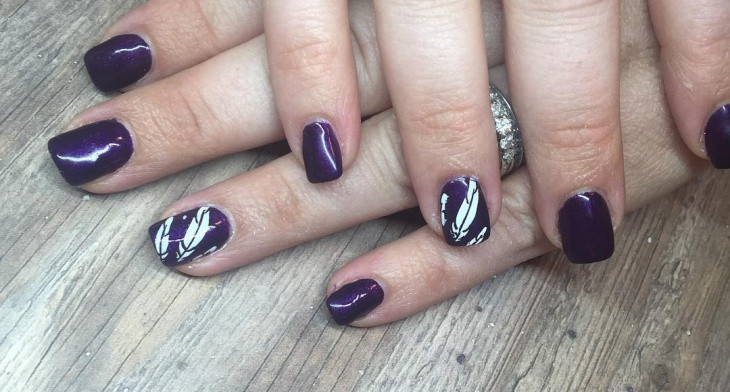
There are endless possibilities when it comes to feather nail art, and this compilation will inspire you to try different designs and techniques. Feather Stamping: Use a stamping plate with feather designs to create a quick and easy feather nail art look. Feather Stencils: If you're not confident in your freehand skills, you can use feather stencils to create a neat and precise design. Feather and Marble: Combine two popular nail art trends by creating a marble effect on your nails and adding a feather design on top. Feather and Floral: Add a pop of color to your feathers by incorporating some floral designs into your nail art. Feather and Negative Space: Leave some of your nails blank to create negative space and use feather decals or designs on the remaining nails. These are just a few ideas, but there are countless ways to incorporate feathers into your nail art.4. "Feather Nail Art Compilation"


4. "Feather Nail Art Compilation"

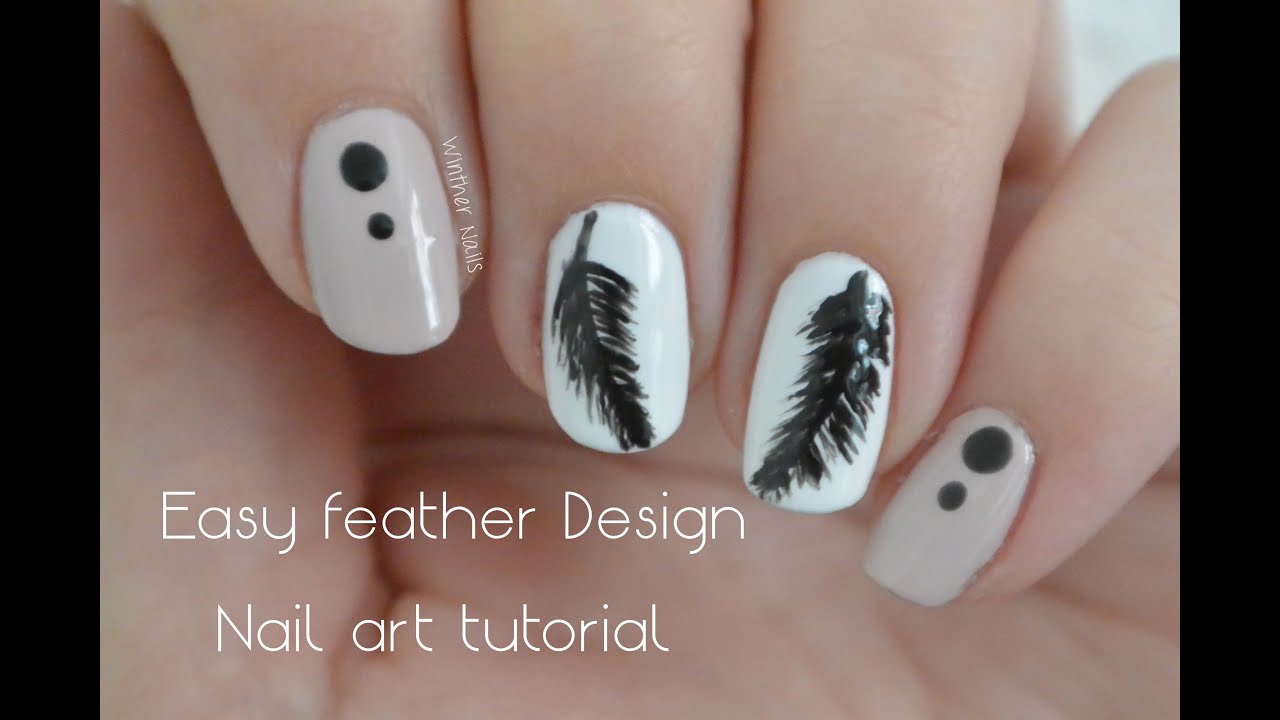
If you prefer following a step-by-step guide, then this tutorial is for you. It breaks down the process of creating feather nail art into easy-to-follow steps. Step 1: Apply a base coat to protect your nails. Step 2: Choose a base color and paint all your nails, letting them dry completely. Step 3: Cut out a feather decal or use a stamping plate to create the design on a piece of clear tape. Step 4: Carefully place the decal on your nail and press down gently. Step 5: Use a different color of nail polish to paint over the feather, creating a layered effect. Step 6: Repeat on all nails, using different colors and feather designs. Step 7: Finish off with a top coat to seal in your design and add shine. With this step-by-step guide, you'll have perfect feather nail art in no time.5. "Feather Nail Art Step by Step"
5. "Feather Nail Art Step by Step"
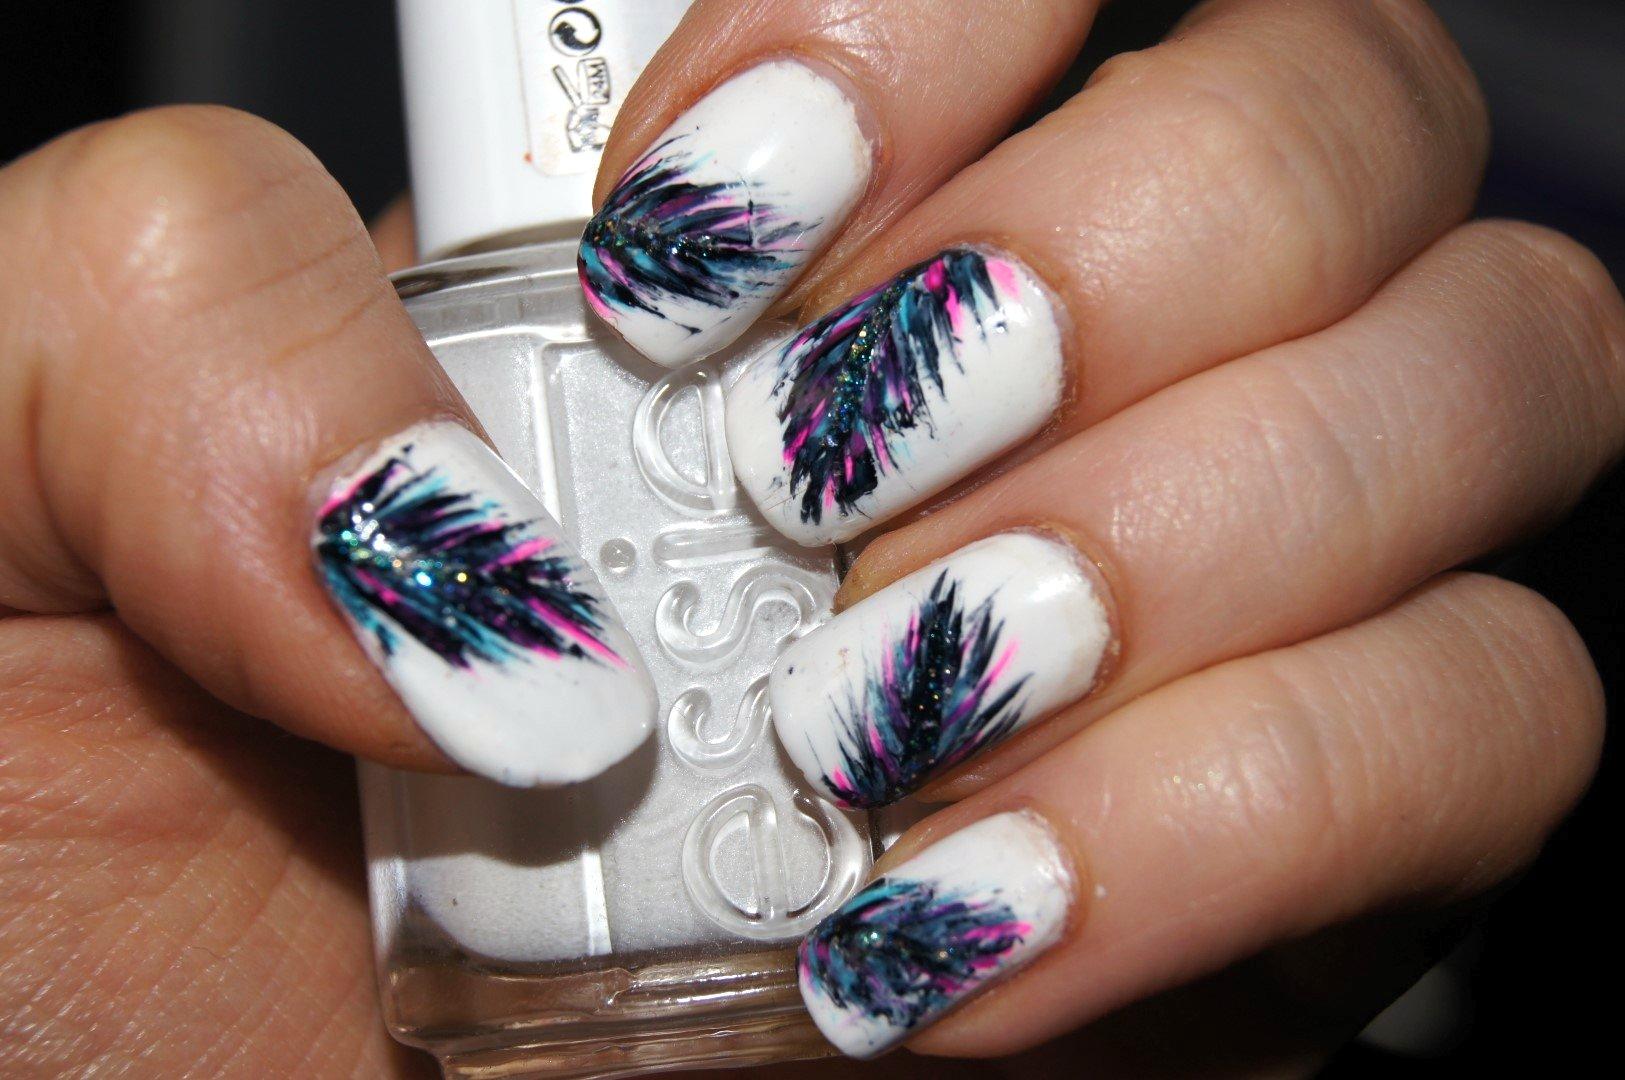
.png)
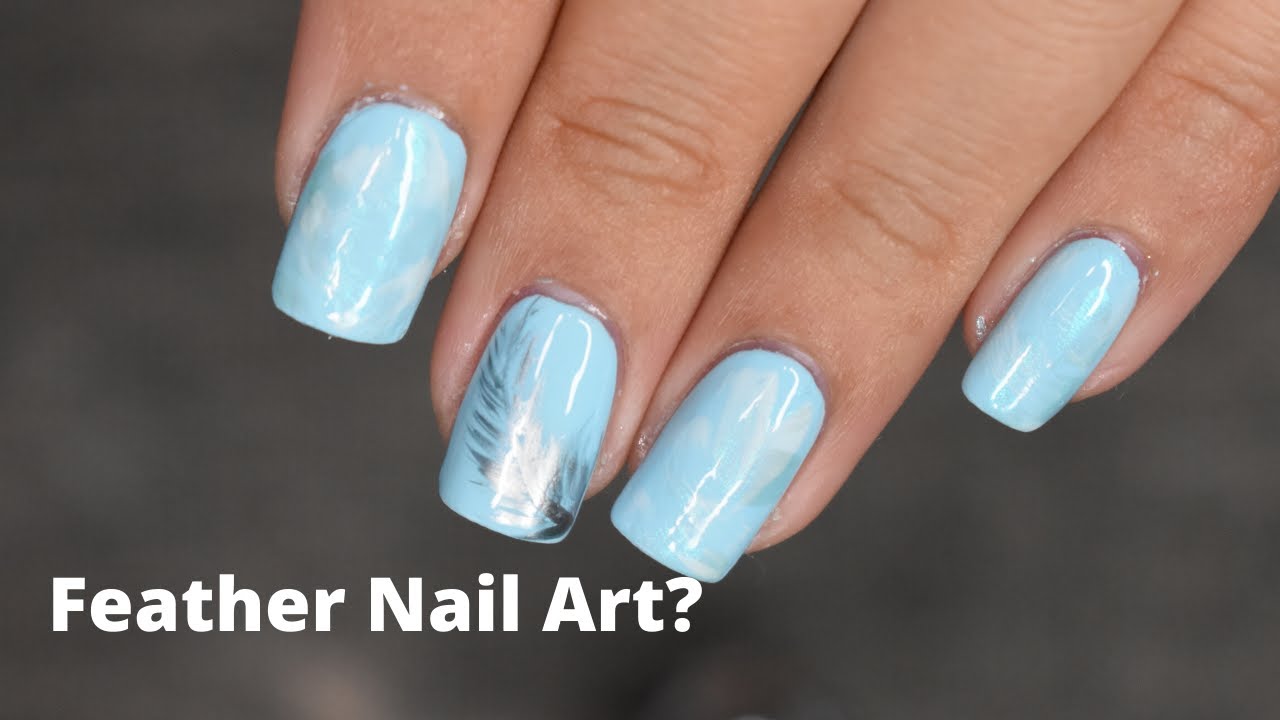
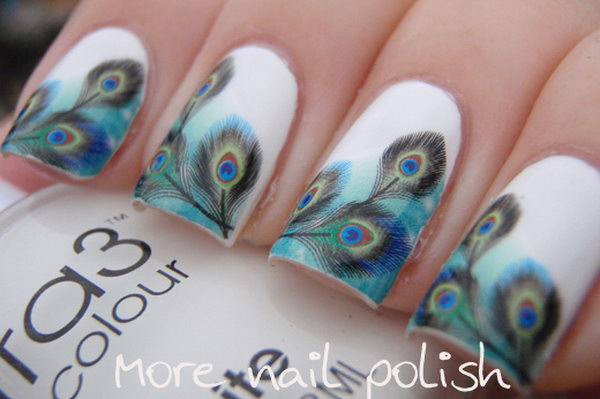
If you're looking for some inspiration for your next feather nail art design, here are some ideas to get you started: Watercolor Feathers: Use a watercolor technique to create a soft and dreamy feather design on your nails. Feather Gradient: Create a gradient effect using feather decals or designs in different shades of the same color. Feather Accent Nails: Keep it simple by adding a feather decal or design to one or two accent nails. Feather Ombre French: Combine two popular nail art trends by creating a French manicure with a feather design and ombre tips. Feather and Rhinestones: Add some bling to your feathers by incorporating rhinestones into your nail art. These are just a few ideas, but don't be afraid to get creative and come up with your own unique feather nail art designs.6. "Feather Nail Art Ideas"

6. "Feather Nail Art Ideas"

Short nails can sometimes limit the designs you can create, but that's not the case with feather nail art. Here are some ideas for short nails: Feather Tips: Paint your nails a solid color and add a feather design to the tips using a thin nail brush. Feather French Tip Accent: Paint your nails with a French manicure and add a feather design to one accent nail. Feather Half-Moons: Create a half-moon design on your nails using a feather decal or design. Feather and Glitter Gradient: Add some sparkle to your feathers by creating a glitter gradient on your short nails. Don't let the length of your nails stop you from trying out feather nail art!7. "Feather Nail Art for Short Nails"


7. "Feather Nail Art for Short Nails"
Gel polish is perfect for creating lasting and vibrant nail art looks, and feather nail art is no exception. Here's how you can use gel polish to create a stunning feather design: Step 1: Apply a base coat and cure it under a UV or LED lamp. Step 2: Paint your nails with a gel nail polish of your choice and cure it under the lamp. Step 3: Use a gel top coat to create a smooth surface for your feathers to adhere to, and cure it under the lamp. Step 4: Place the feather decal on your nail and press down gently. Step 5: Use a different color of gel polish to paint over the feather, creating a layered effect, and cure it under the lamp. Step 6: Repeat on all nails, using different colors and feather designs. Step 7: Finish off with another layer of gel top coat and cure it under the lamp. With gel polish, your feather nail art will last longer and have a glossy finish.8. "Feather Nail Art with Gel Polish"

8. "Feather Nail Art with Gel Polish"

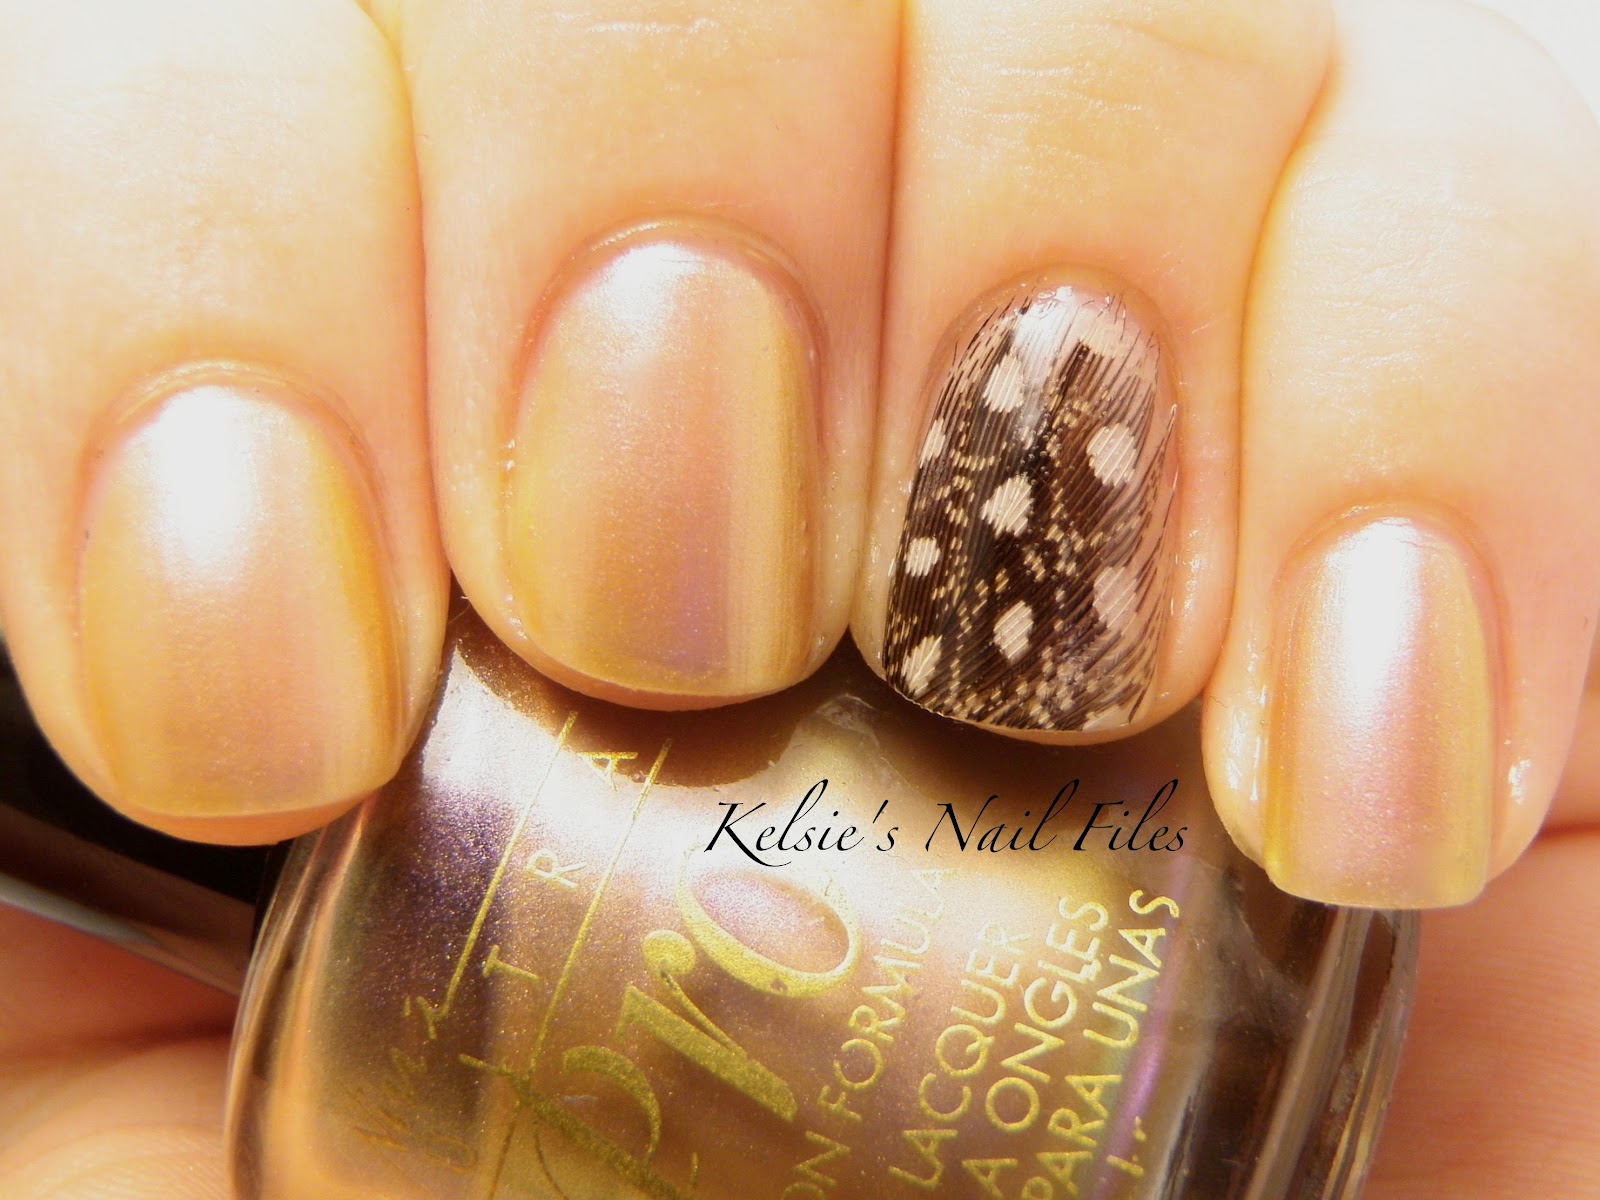
Long nails provide a larger canvas to work with, making it perfect for intricate feather nail art designs. Here are some ideas for long nails: Feather Mosaic: Use different feather decals and designs to create a mosaic effect on your nails. Feather Tipped: Create a gradient effect with feather designs on the tips of your nails. Feather Cuticles: Add a feather design to your cuticles for a unique and delicate look. Feather and Lace: Combine feathers and lace for a romantic and feminine nail art design. With long nails, the possibilities for feather nail art are endless.9. "Feather Nail Art for Long Nails"

9. "Feather Nail Art for Long Nails"

If you're new to nail stamping, this tutorial will guide you through the process of creating feather nail art using stamping plates. What you'll need: - Stamping plate with feather designs - Stamping polish - Scraper - Stamping tool - Base coat - Top coat Instructions: 1. Apply a base coat and let it dry completely. 2. Choose a stamping plate with feather designs and add stamping polish to the desired design. 3. Use the scraper to remove excess polish and quickly use the stamping tool to pick up the design. 4. Carefully stamp the design on your nail and let it dry. 5. Repeat on all nails, using different colors and designs if desired. 6. Finish off with a top coat to seal in your design and add shine. With this technique, you can create intricate and detailed feather nail art looks in no time.10. "Feather Nail Art Using Stamping Plates"
10. "Feather Nail Art Using Stamping Plates"

The Art of Feather Nail Design: A Unique and Creative Way to Enhance Your Nails
Feather Nail Art: A Growing Trend
 Feather nail art has been gaining popularity in recent years, with many nail enthusiasts and professionals embracing this unique and creative design. This trend has been seen on runways, red carpets, and social media, with countless variations and styles emerging. From delicate and intricate feathers to bold and colorful ones, this nail art allows for endless possibilities and self-expression.
Why Choose Feather Nail Art?
 Feather nail art is a great way to add a touch of elegance, sophistication, and personality to your nails. It is a perfect option for those looking for something different and unique, as well as those who want to make a statement with their nails. Not only is it eye-catching and stylish, but it also allows for endless creativity and customization, making it suitable for any occasion.
How to Achieve Feather Nail Art
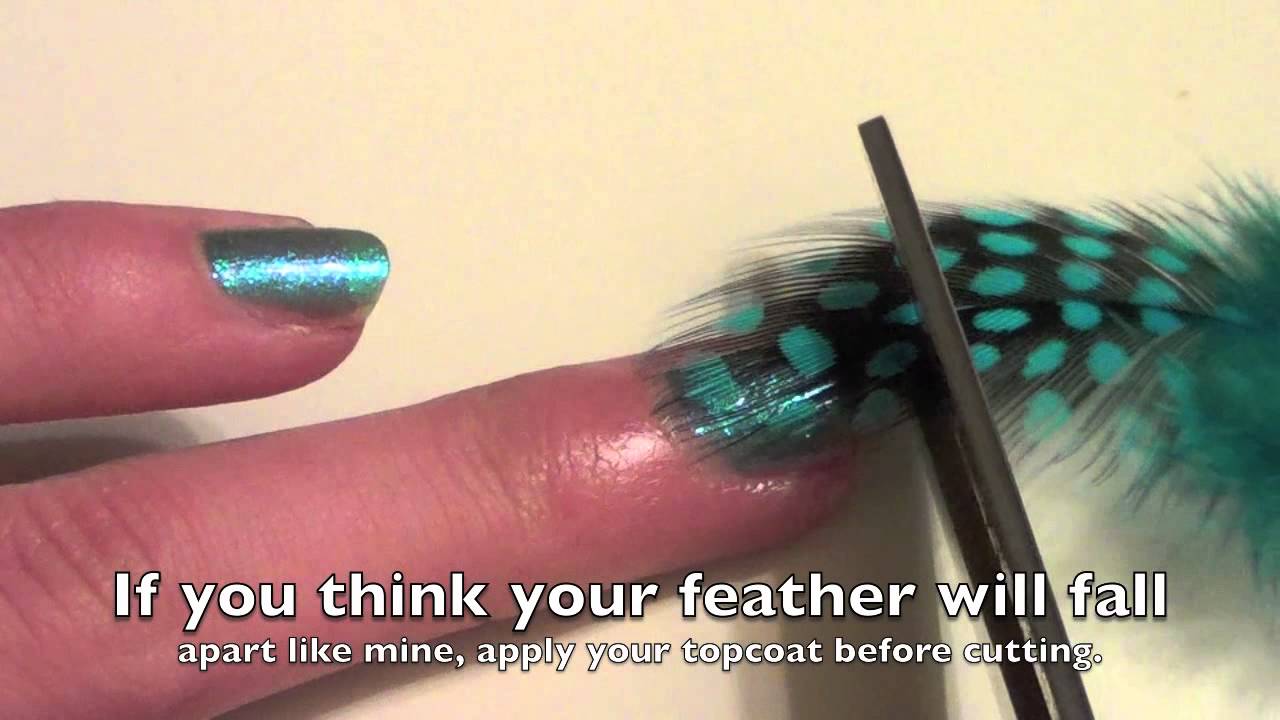
 Creating feather nail art may seem daunting, but with the right tools and techniques, anyone can achieve this look. The first step is choosing the right feathers, which can be found in craft stores or online. Next, you will need a base color of your choice, a clear topcoat, and tweezers. Start by painting your nails with the base color and let it dry completely. Then, using the tweezers, carefully place the feathers on your nails, trimming them to fit the size and shape of your nail. Finally, seal the feathers with a clear topcoat to ensure they stay in place.
Feather Nail Art Video: A Visual Guide
 For those who prefer a visual guide, there are countless feather nail art videos available online. These step-by-step tutorials provide detailed instructions and tips on achieving the perfect feather nail design. They also showcase different color combinations and styles for inspiration. So, whether you are a beginner or a seasoned nail artist, a feather nail art video can help you achieve the desired look.
In Conclusion
 Feather nail art is a unique and creative way to enhance your nails and express your personal style. With endless possibilities and variations, this trend is here to stay. So, why not give it a try and add a touch of elegance and sophistication to your nails? With the help of a feather nail art video and some practice, you can achieve stunning feather nail designs that will surely turn heads.


