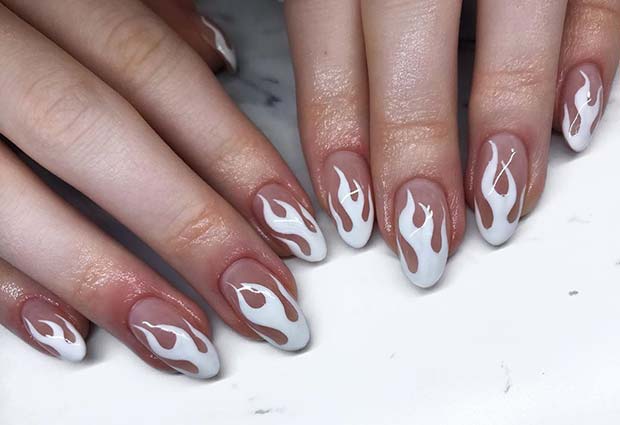
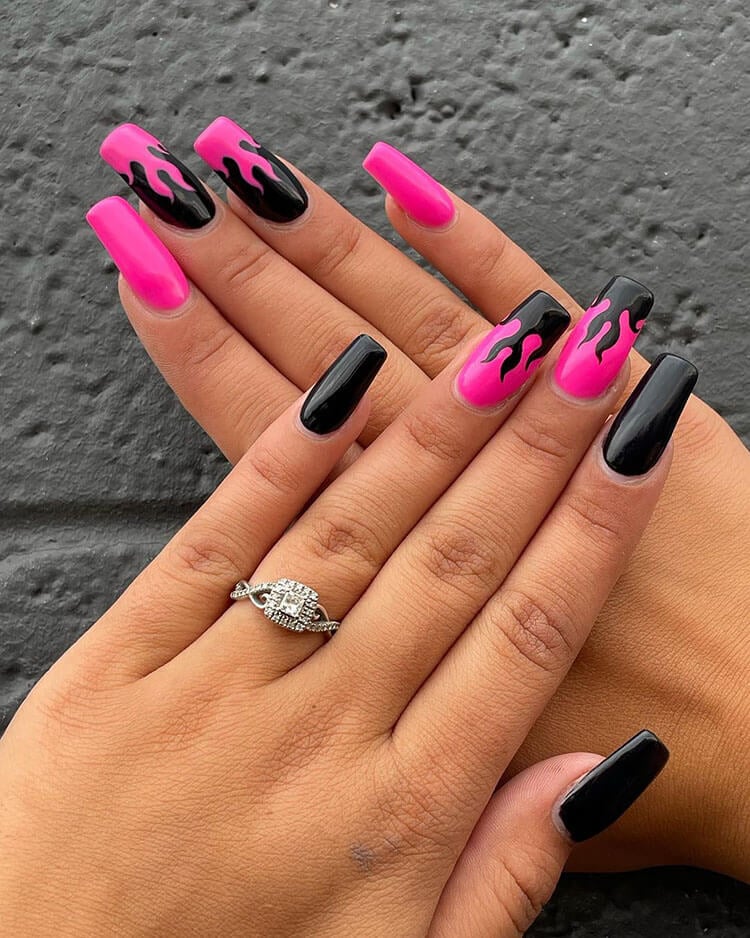
Creating a stunning fire nail art design may seem daunting, but with the right tutorial, even beginners can achieve a fiery look. All you need is a few basic nail polish colors and some simple tools to create a bold and eye-catching manicure. Follow these easy steps to create your own fire nail art design!1. "Easy Fire Nail Art Tutorial for Beginners"


1. "Easy Fire Nail Art Tutorial for Beginners"


If you're looking for a more detailed tutorial, this step-by-step guide will walk you through the process of creating a fire nail art design. From preparing your nails to adding the finishing touches, this tutorial breaks down each step so you can easily recreate this fiery look at home.2. "Step-by-Step Fire Nail Art Tutorial"

2. "Step-by-Step Fire Nail Art Tutorial"


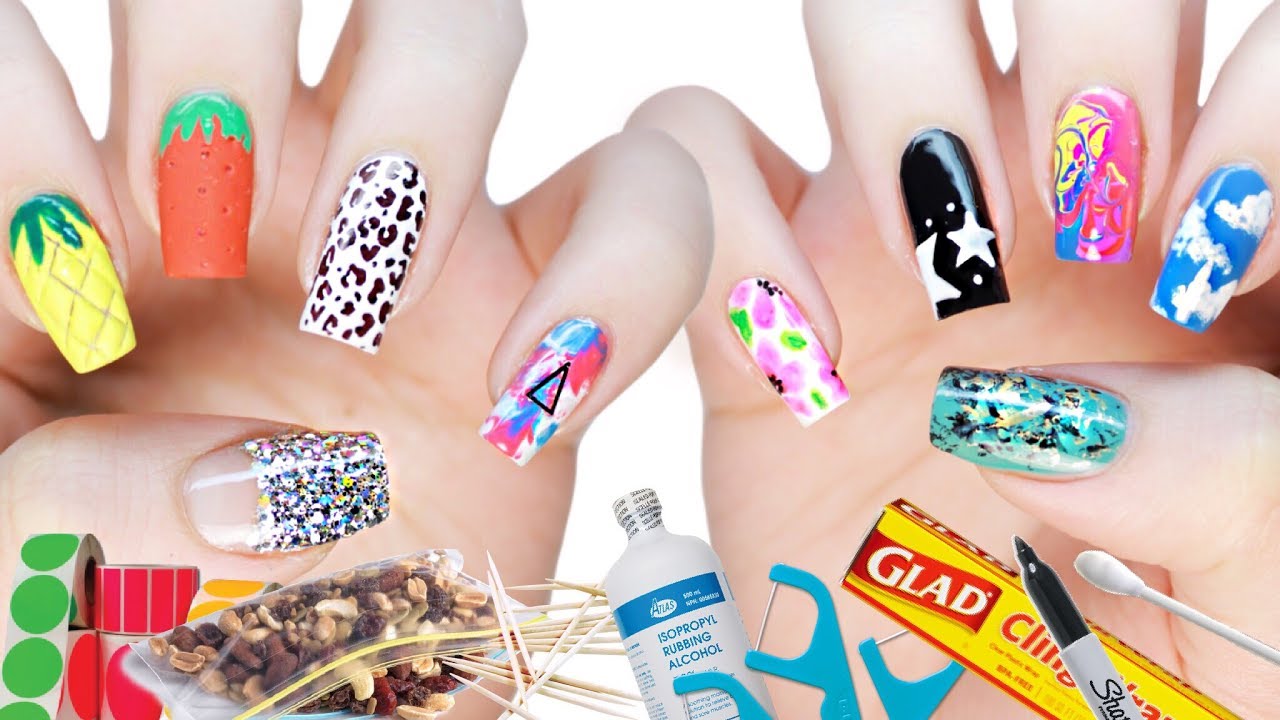
Don't have any fancy nail art tools? No problem! This tutorial shows you how to create a fire nail art design using items you can find around your house. From toothpicks to bobby pins, you'll be surprised at the everyday items you can use to achieve a stunning and unique manicure.3. "DIY Fire Nails Tutorial Using Household Items"


3. "DIY Fire Nails Tutorial Using Household Items"


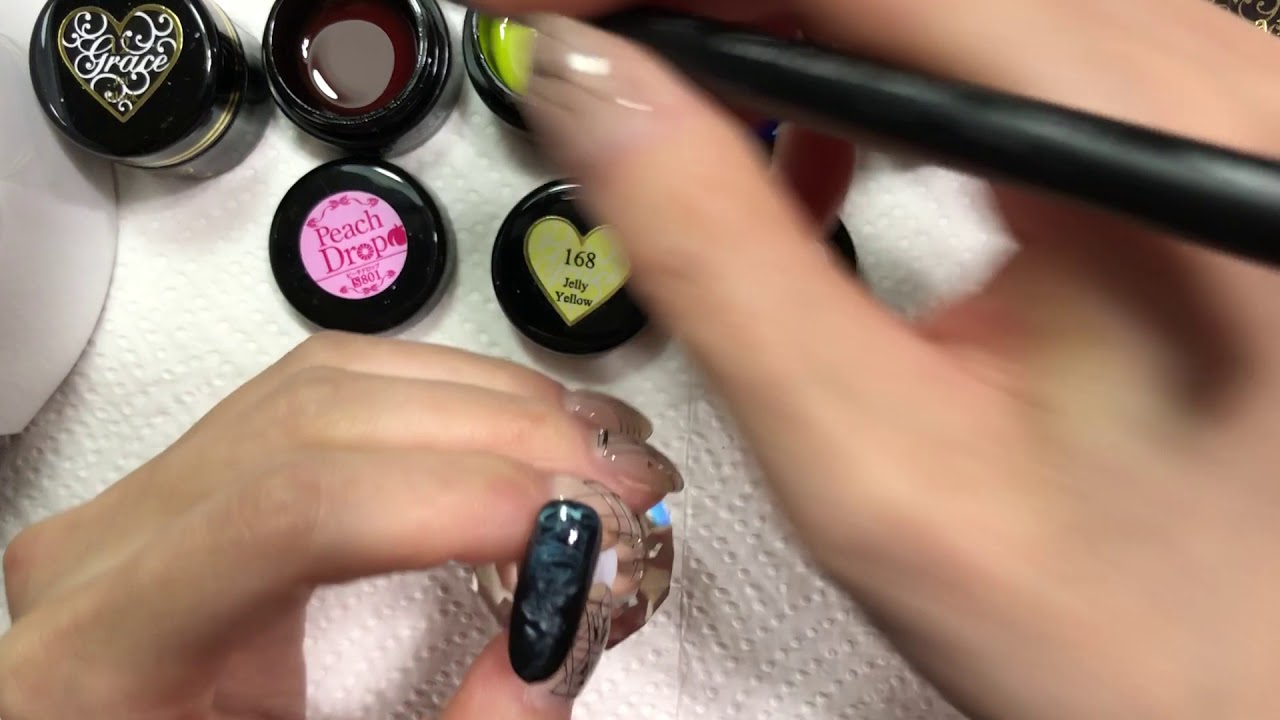


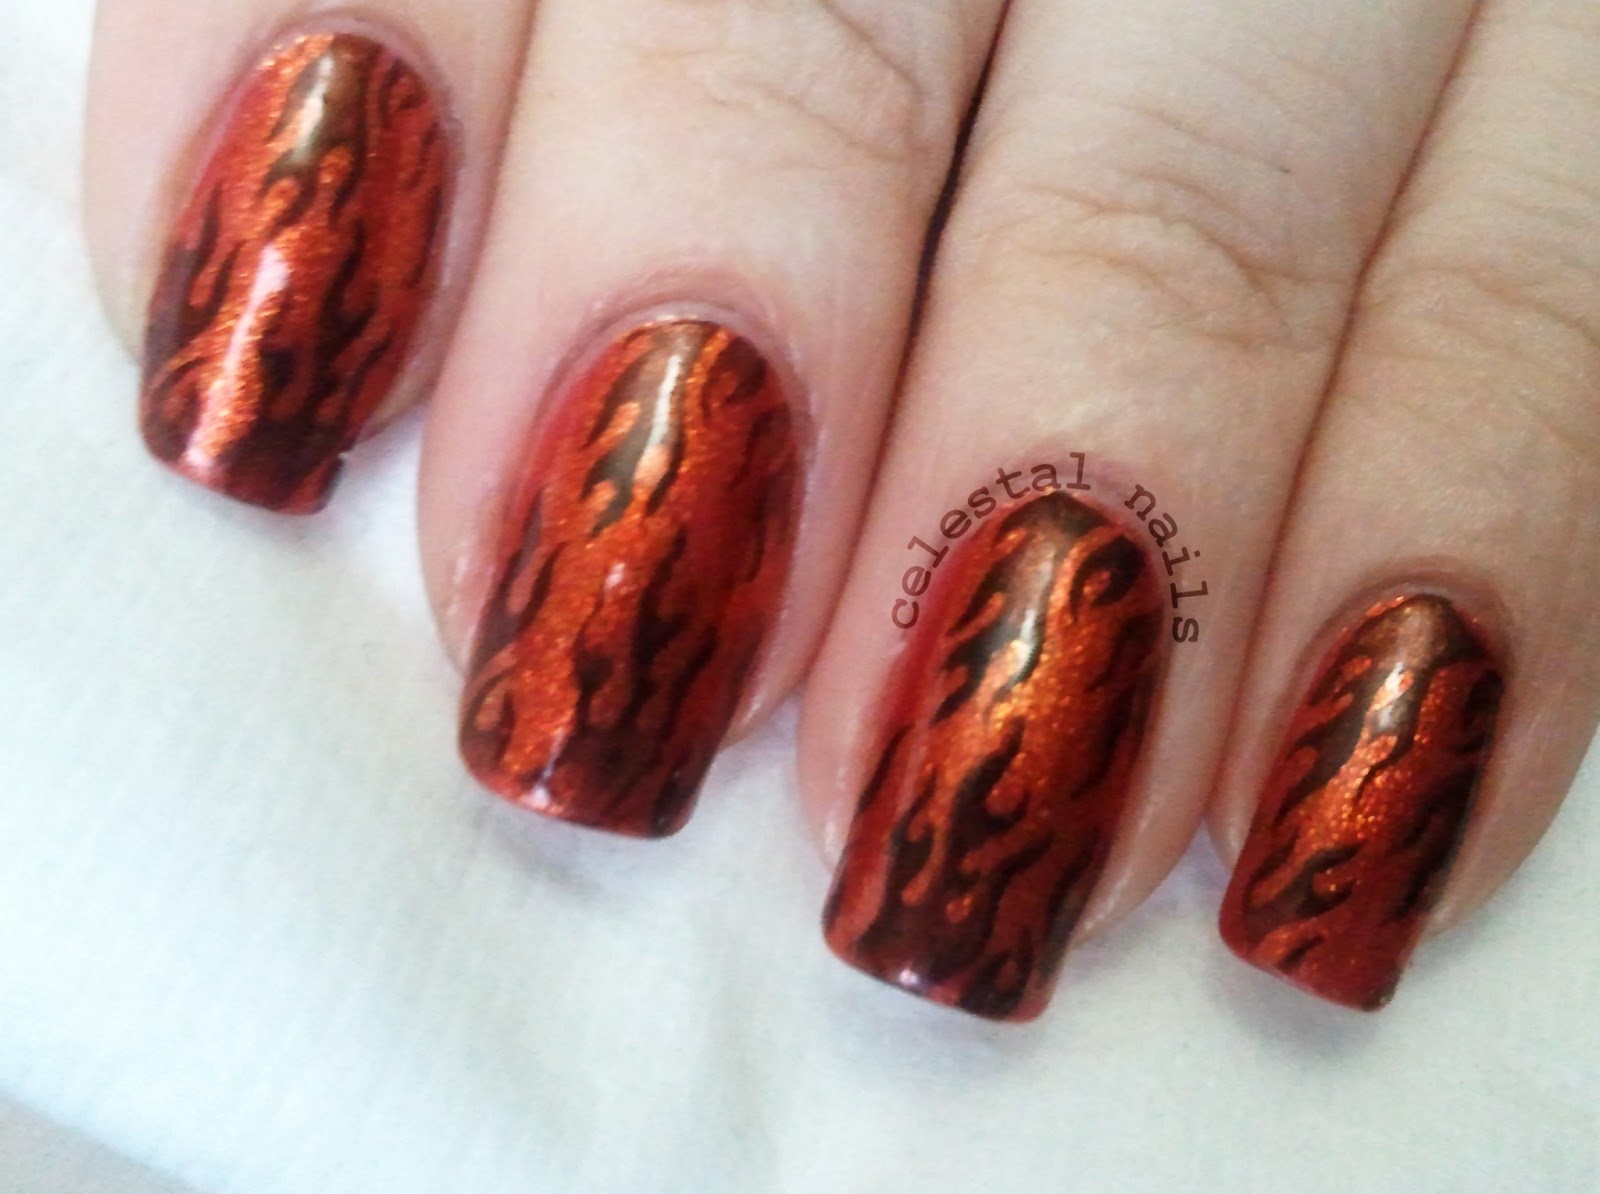
If you're a fan of gel polish, this fire nail art tutorial is for you. With a few different shades of gel polish and a nail art brush, you can create a fiery and long-lasting manicure. The gel polish also allows for more intricate details, making this tutorial perfect for those who want a more advanced fire nail art design.4. "Flame Nail Art Tutorial with Gel Polish"


4. "Flame Nail Art Tutorial with Gel Polish"


Acrylic paint is a versatile and affordable medium for creating unique nail art designs. This tutorial shows you how to use acrylic paint to create a fiery look on your nails. With the ability to mix and blend colors, you can create a one-of-a-kind fire nail art design that is sure to turn heads.5. "How to Create Fire Nails with Acrylic Paint"

5. "How to Create Fire Nails with Acrylic Paint"


Combine two elemental forces with this fire and ice nail art tutorial. Using shades of red and blue, this tutorial shows you how to create a fiery and icy look on your nails. The contrast of the two colors creates a bold and striking manicure that is perfect for any occasion.6. "Fire and Ice Nail Art Tutorial"

6. "Fire and Ice Nail Art Tutorial"
(1).JPG)
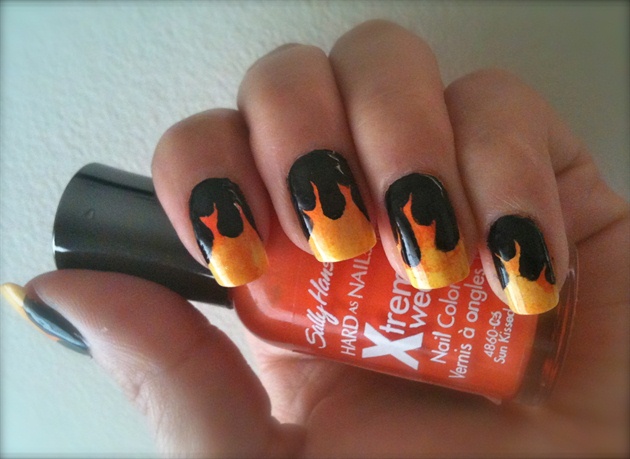

Create a gradient effect with this fire nail art tutorial. Using a sponge and a few different shades of red, orange, and yellow, you can create a gradient that mimics the look of flames. This tutorial also shows you how to add extra details to make your fire nails stand out even more.7. "Gradient Fire Nails Tutorial"


7. "Gradient Fire Nails Tutorial"
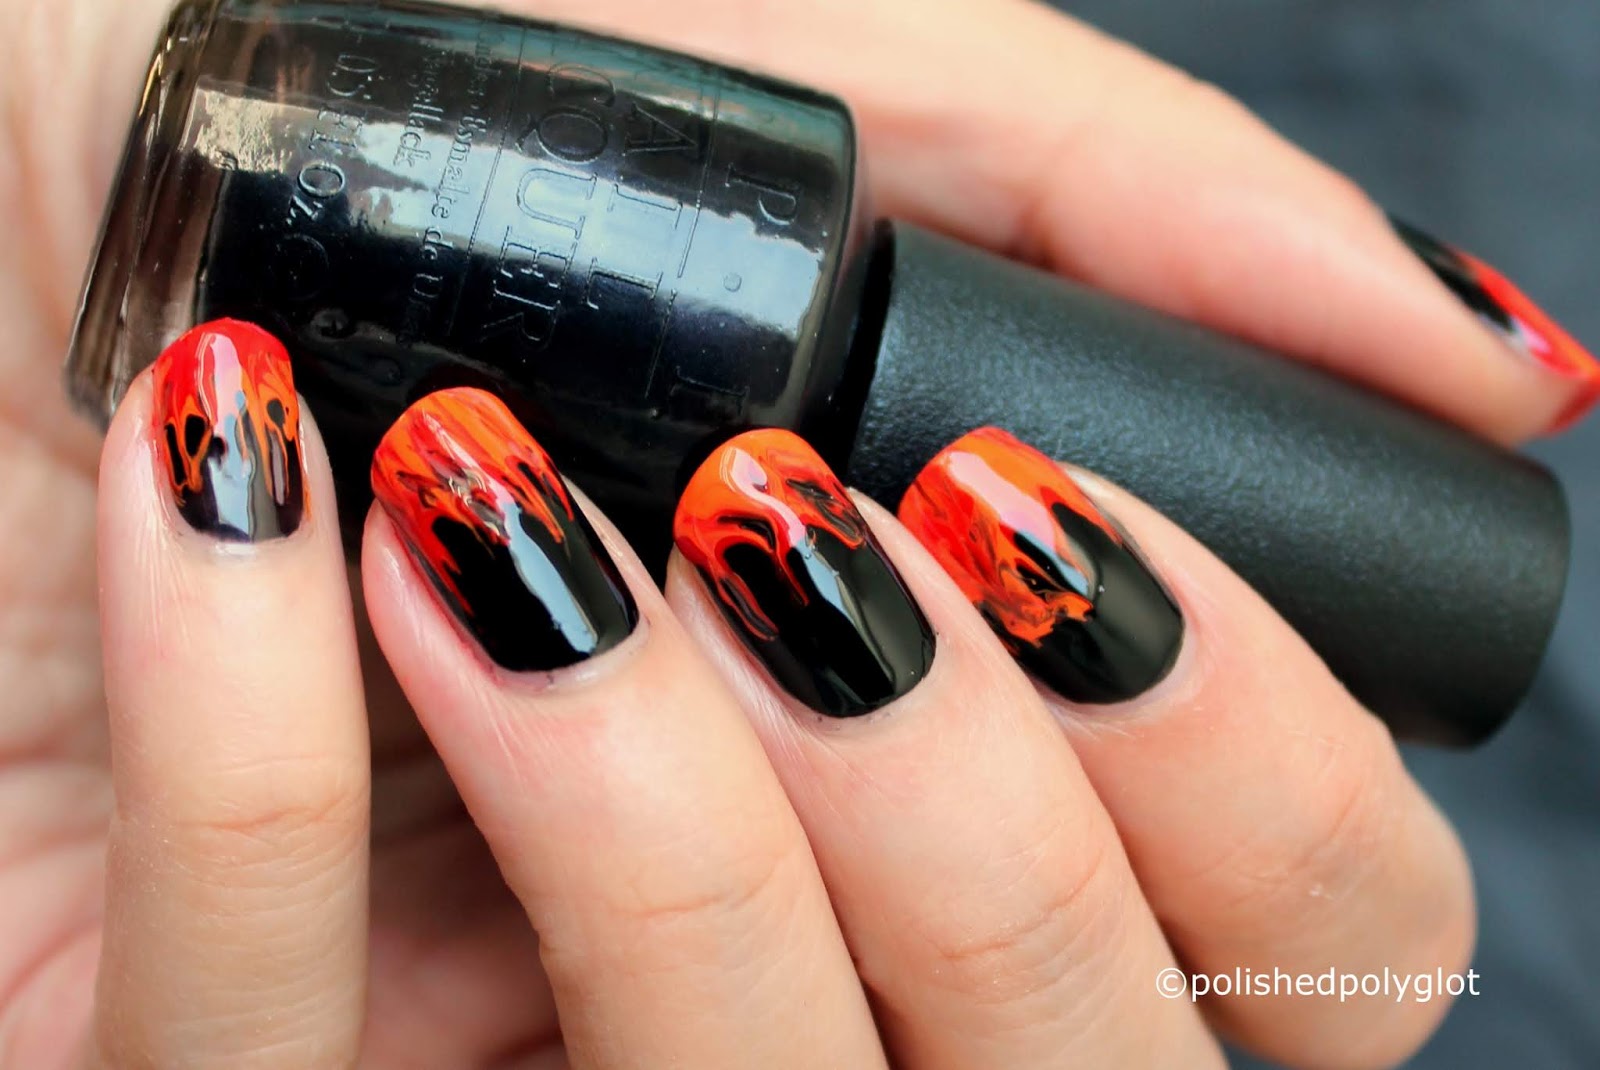
Take your fire nail art design to the next level by adding a smoky effect. This tutorial shows you how to use a sponge and black polish to create a smoky look on your nails. Combined with a fiery base, this tutorial will give your nails a dramatic and edgy look.8. "Fire and Smoke Nail Art Tutorial"


8. "Fire and Smoke Nail Art Tutorial"
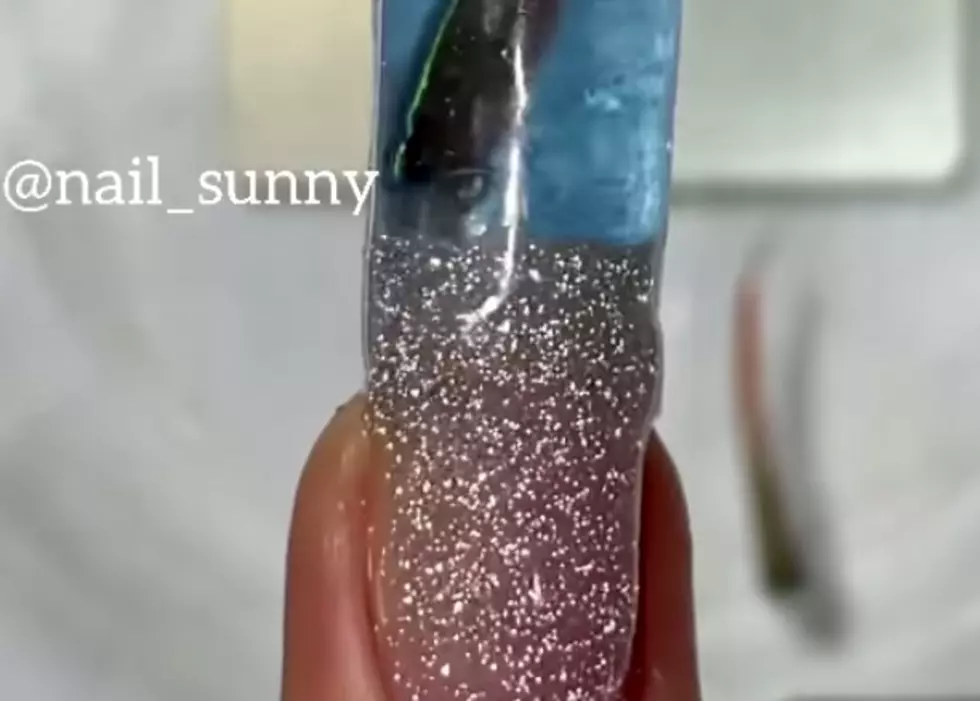
For a unique and mesmerizing look, try out this water marble fire nail art tutorial. With a bowl of water and a few different colors of nail polish, you can create a swirling and fiery design on your nails. This tutorial also shows you how to clean up any mess for a flawless final look.9. "Water Marble Fire Nails Tutorial"


9. "Water Marble Fire Nails Tutorial"
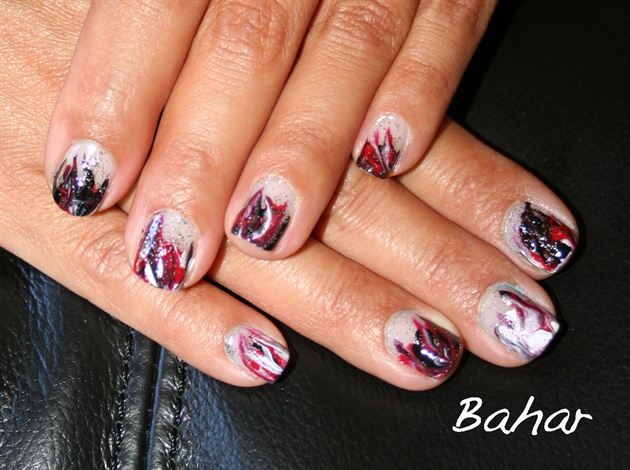
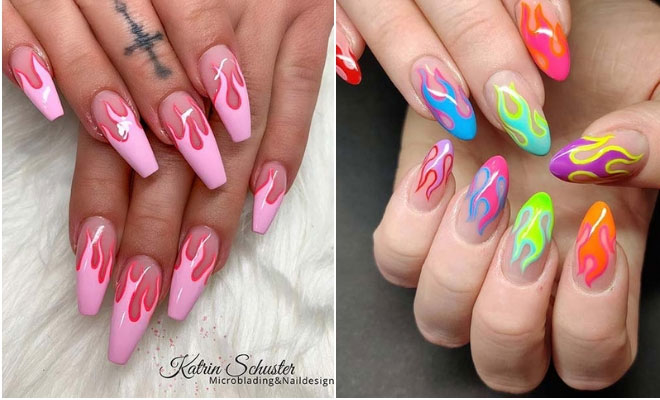
If you're feeling creative and want to try something different, this abstract fire nail art tutorial is perfect for you. Using a variety of colors and different techniques, this tutorial shows you how to create an abstract and fiery design on your nails. Let your imagination run wild and create a unique manicure that is truly one-of-a-kind.10. "Abstract Fire Nail Art Tutorial"

10. "Abstract Fire Nail Art Tutorial"
Creating a Bold and Fiery Look with Fire Nail Art

Unleashing Your Inner Fire with Nail Art
 Are you tired of the same old plain nail designs? Looking to add some heat and excitement to your nails? Look no further than fire nail art! This bold and eye-catching design is perfect for those who want to make a statement and stand out from the crowd.
Fire nail art is a fun and creative way to express your fiery personality. It's a great way to add some spice to your overall look and is perfect for any occasion, whether it's a night out with friends or a special event. With just a few simple steps, you can create a bold and fiery look that will leave everyone in awe.
Are you tired of the same old plain nail designs? Looking to add some heat and excitement to your nails? Look no further than fire nail art! This bold and eye-catching design is perfect for those who want to make a statement and stand out from the crowd.
Fire nail art is a fun and creative way to express your fiery personality. It's a great way to add some spice to your overall look and is perfect for any occasion, whether it's a night out with friends or a special event. With just a few simple steps, you can create a bold and fiery look that will leave everyone in awe.
Gather Your Supplies and Prepare Your Nails
 Before you start, make sure you have all the necessary
supplies
ready. You will need a base coat, top coat,
nail polish
in red, orange, yellow, and black, a thin nail art brush, and a
fire design stencil
. Once you have everything you need, start by preparing your nails. Give them a good wash and file them into your desired shape. Apply a base coat to protect your natural nails and let it dry completely.
Before you start, make sure you have all the necessary
supplies
ready. You will need a base coat, top coat,
nail polish
in red, orange, yellow, and black, a thin nail art brush, and a
fire design stencil
. Once you have everything you need, start by preparing your nails. Give them a good wash and file them into your desired shape. Apply a base coat to protect your natural nails and let it dry completely.
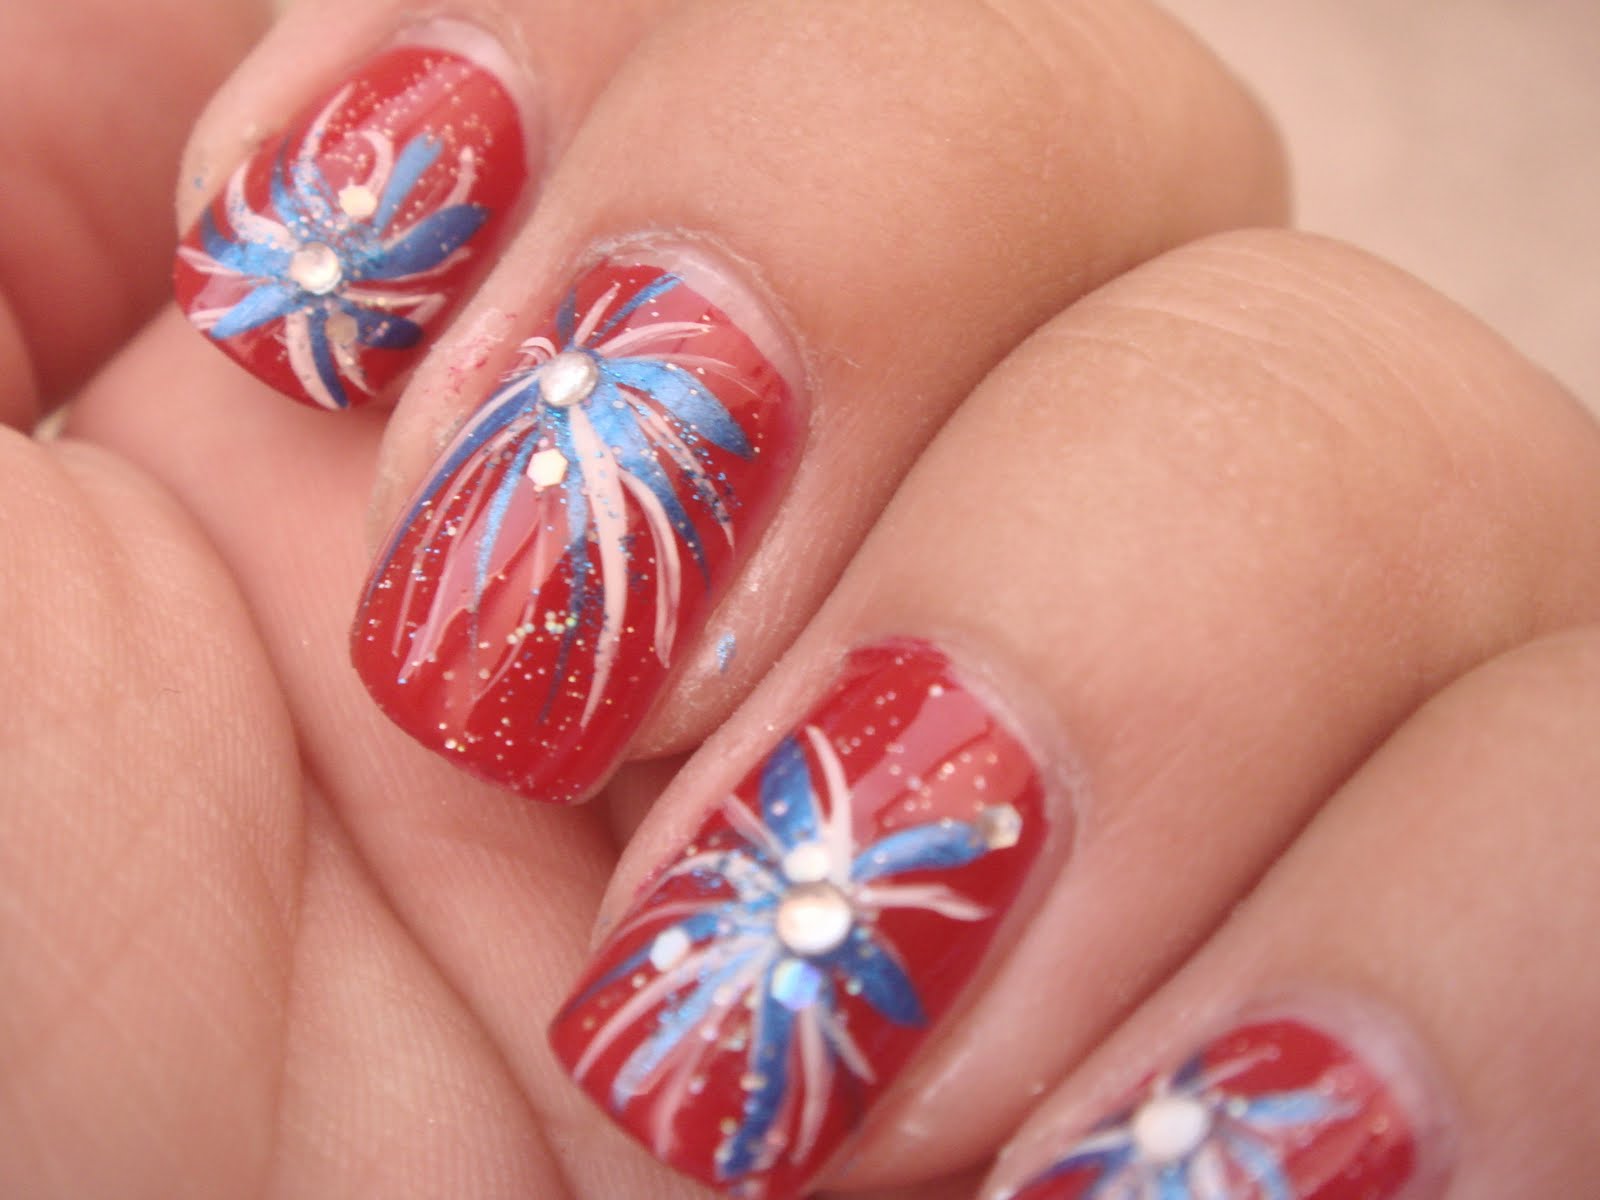
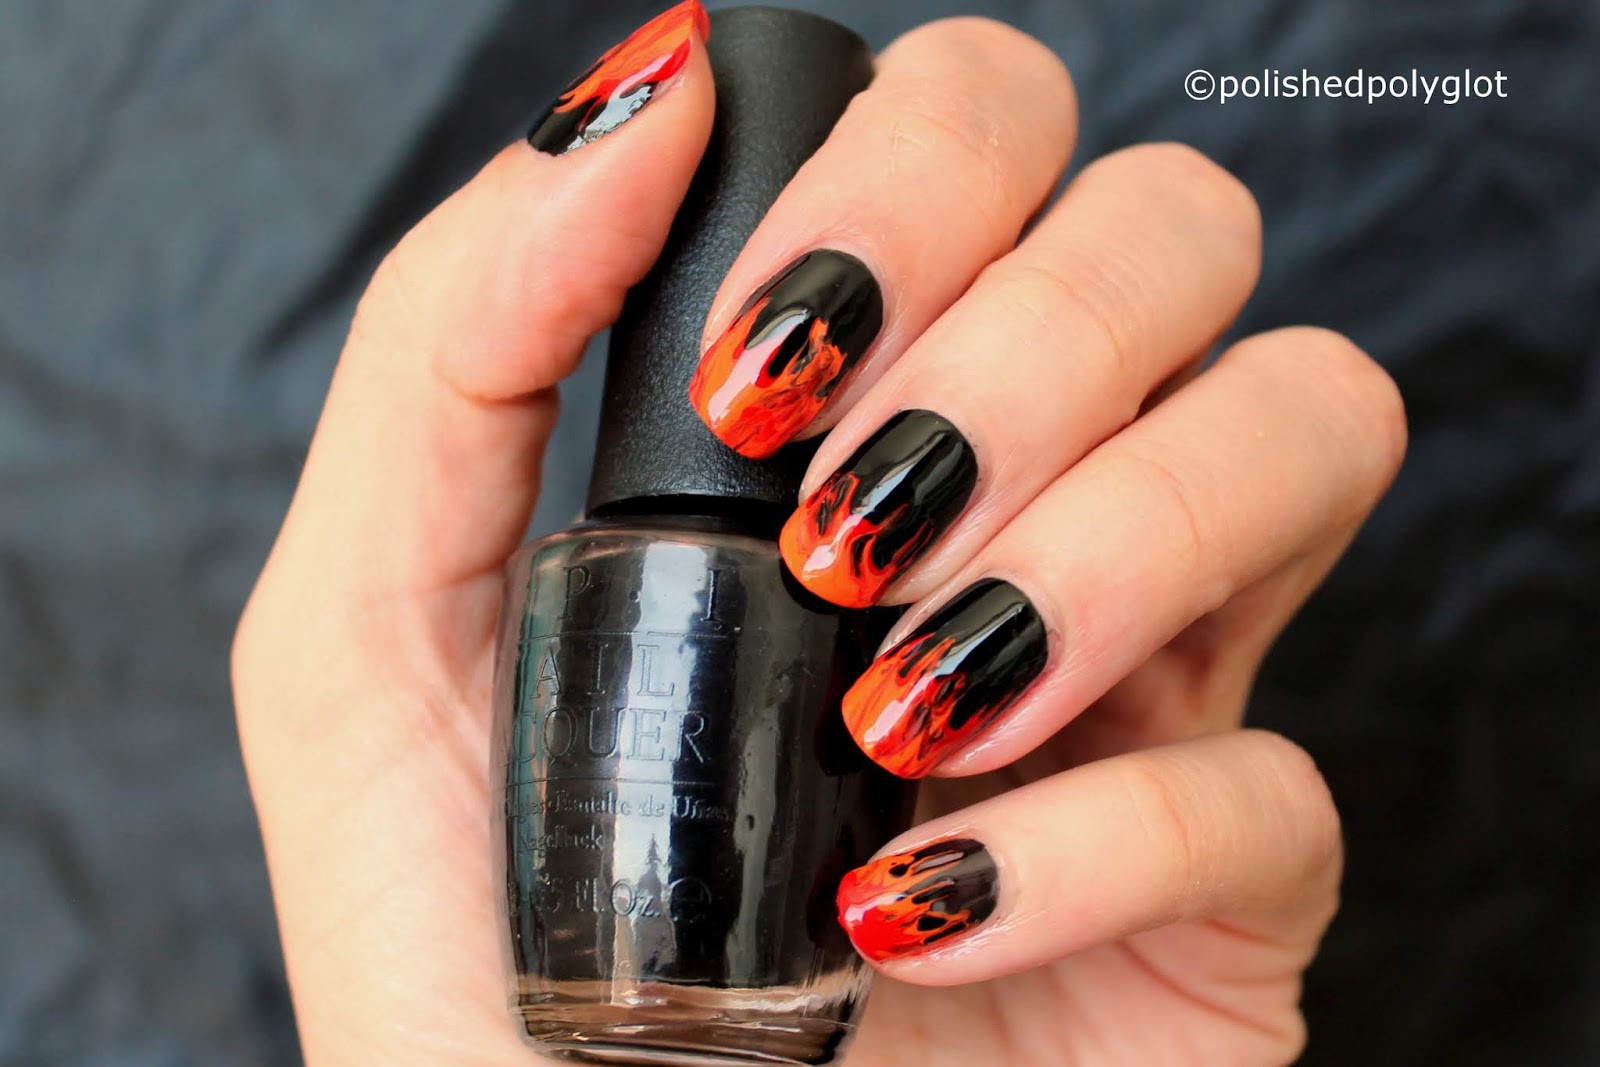
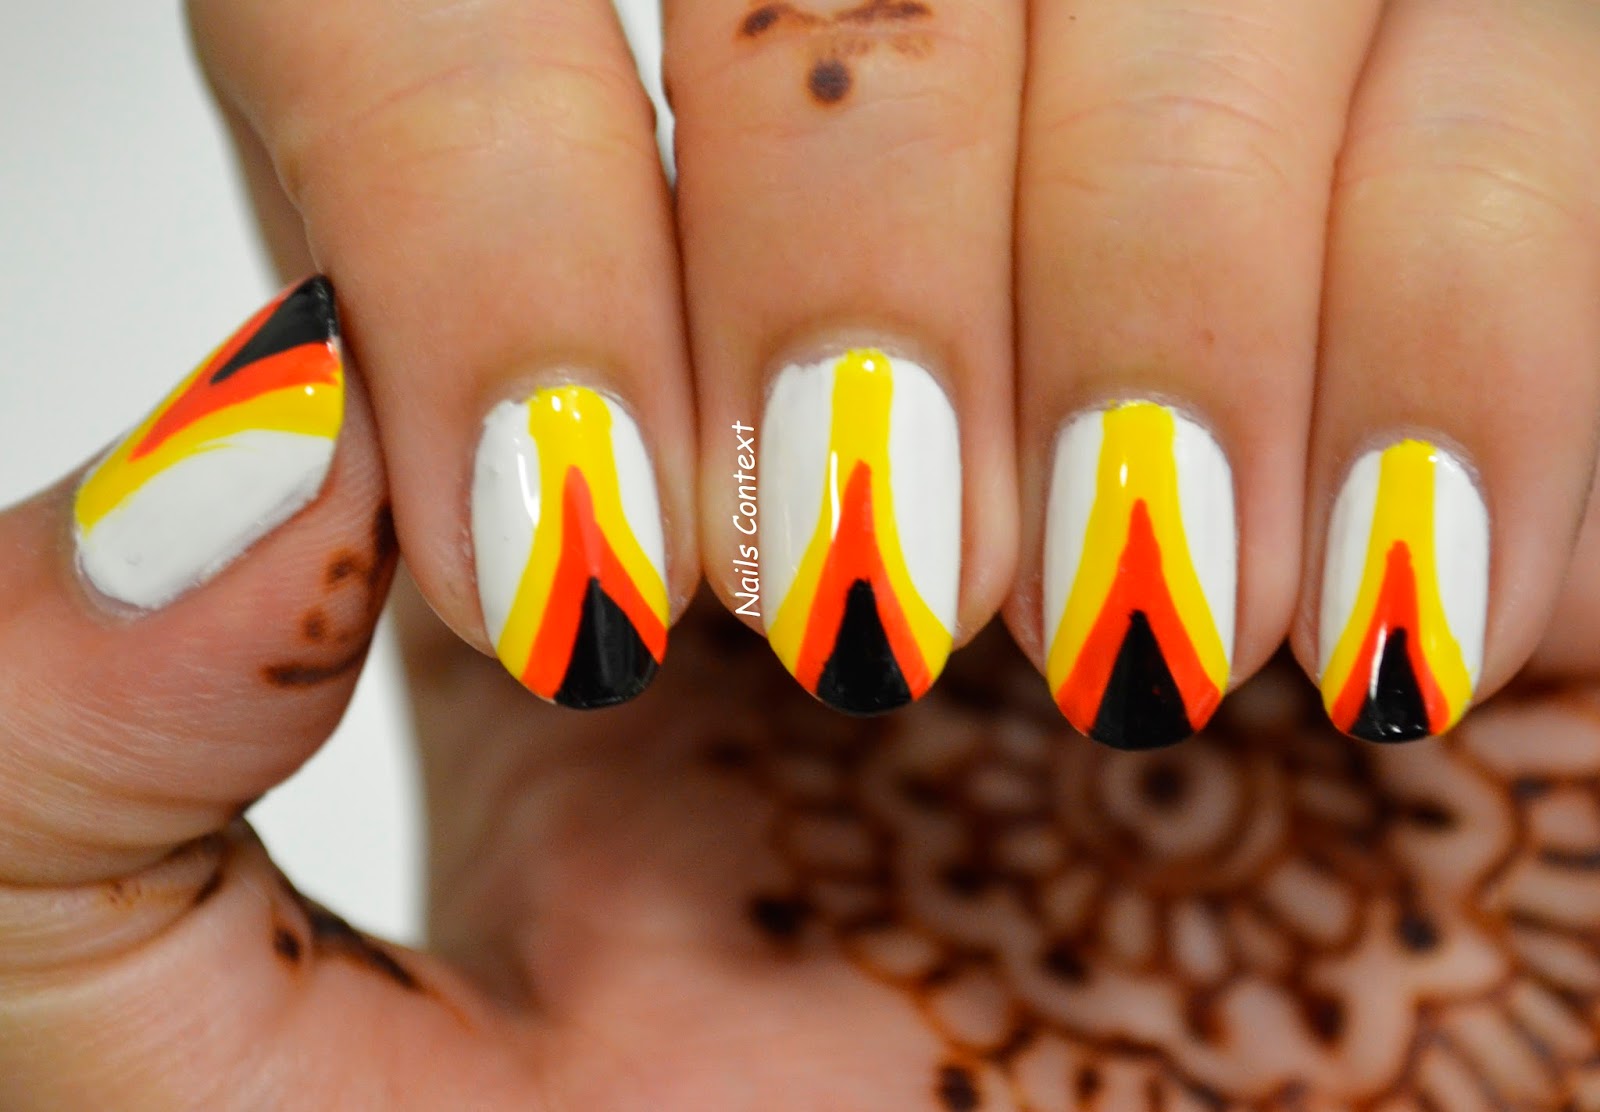
Creating the Fire Design
 Start
by painting your nails with a
red base
color. Once it's
dry
, take your thin nail art brush and dip it into the
orange
nail polish. Start from the bottom of your nail and create a
wavy
line going towards the tip of your nail. Repeat this step with the
yellow
nail polish, creating a
wider
wavy line on top of the orange one. This will give your nails a gradient effect, mimicking the colors of fire.
Start
by painting your nails with a
red base
color. Once it's
dry
, take your thin nail art brush and dip it into the
orange
nail polish. Start from the bottom of your nail and create a
wavy
line going towards the tip of your nail. Repeat this step with the
yellow
nail polish, creating a
wider
wavy line on top of the orange one. This will give your nails a gradient effect, mimicking the colors of fire.
Adding the Finishing Touches
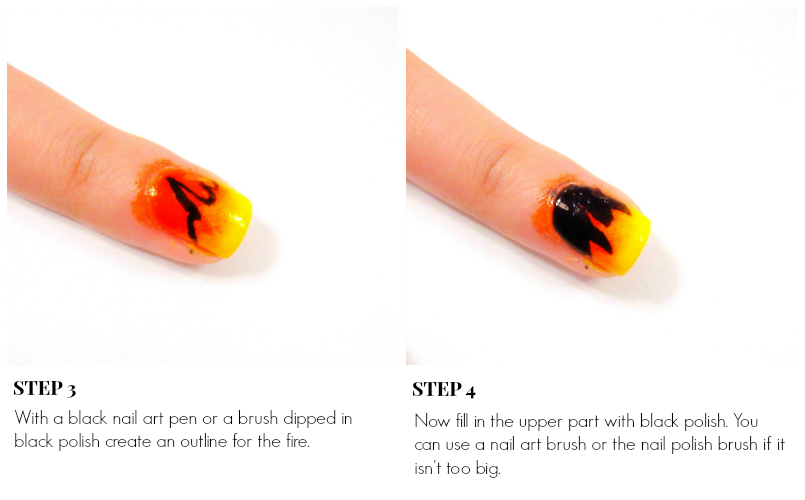 Once the
base
is dry, take your
fire design stencil
and place it on your nail. Using the black nail polish, fill in the
empty spaces
of the stencil to create the
flames
. You can also use the thin nail art brush to create
flames
freehand for a more
organic
look. Let the design dry completely before applying a top coat to seal in your fiery creation.
Once the
base
is dry, take your
fire design stencil
and place it on your nail. Using the black nail polish, fill in the
empty spaces
of the stencil to create the
flames
. You can also use the thin nail art brush to create
flames
freehand for a more
organic
look. Let the design dry completely before applying a top coat to seal in your fiery creation.
Set the World on Fire with Your Bold Nails
 Now that your fire nail art is complete, get ready to turn some heads and set the world on fire with your bold and unique nails. This design is perfect for those who want to make a statement and showcase their fiery personality. So go ahead and unleash your inner fire with fire nail art!


